2003 Titanium Silver E39 M5 – Paint Correction + Opti Coat Pro + Gloss Coat

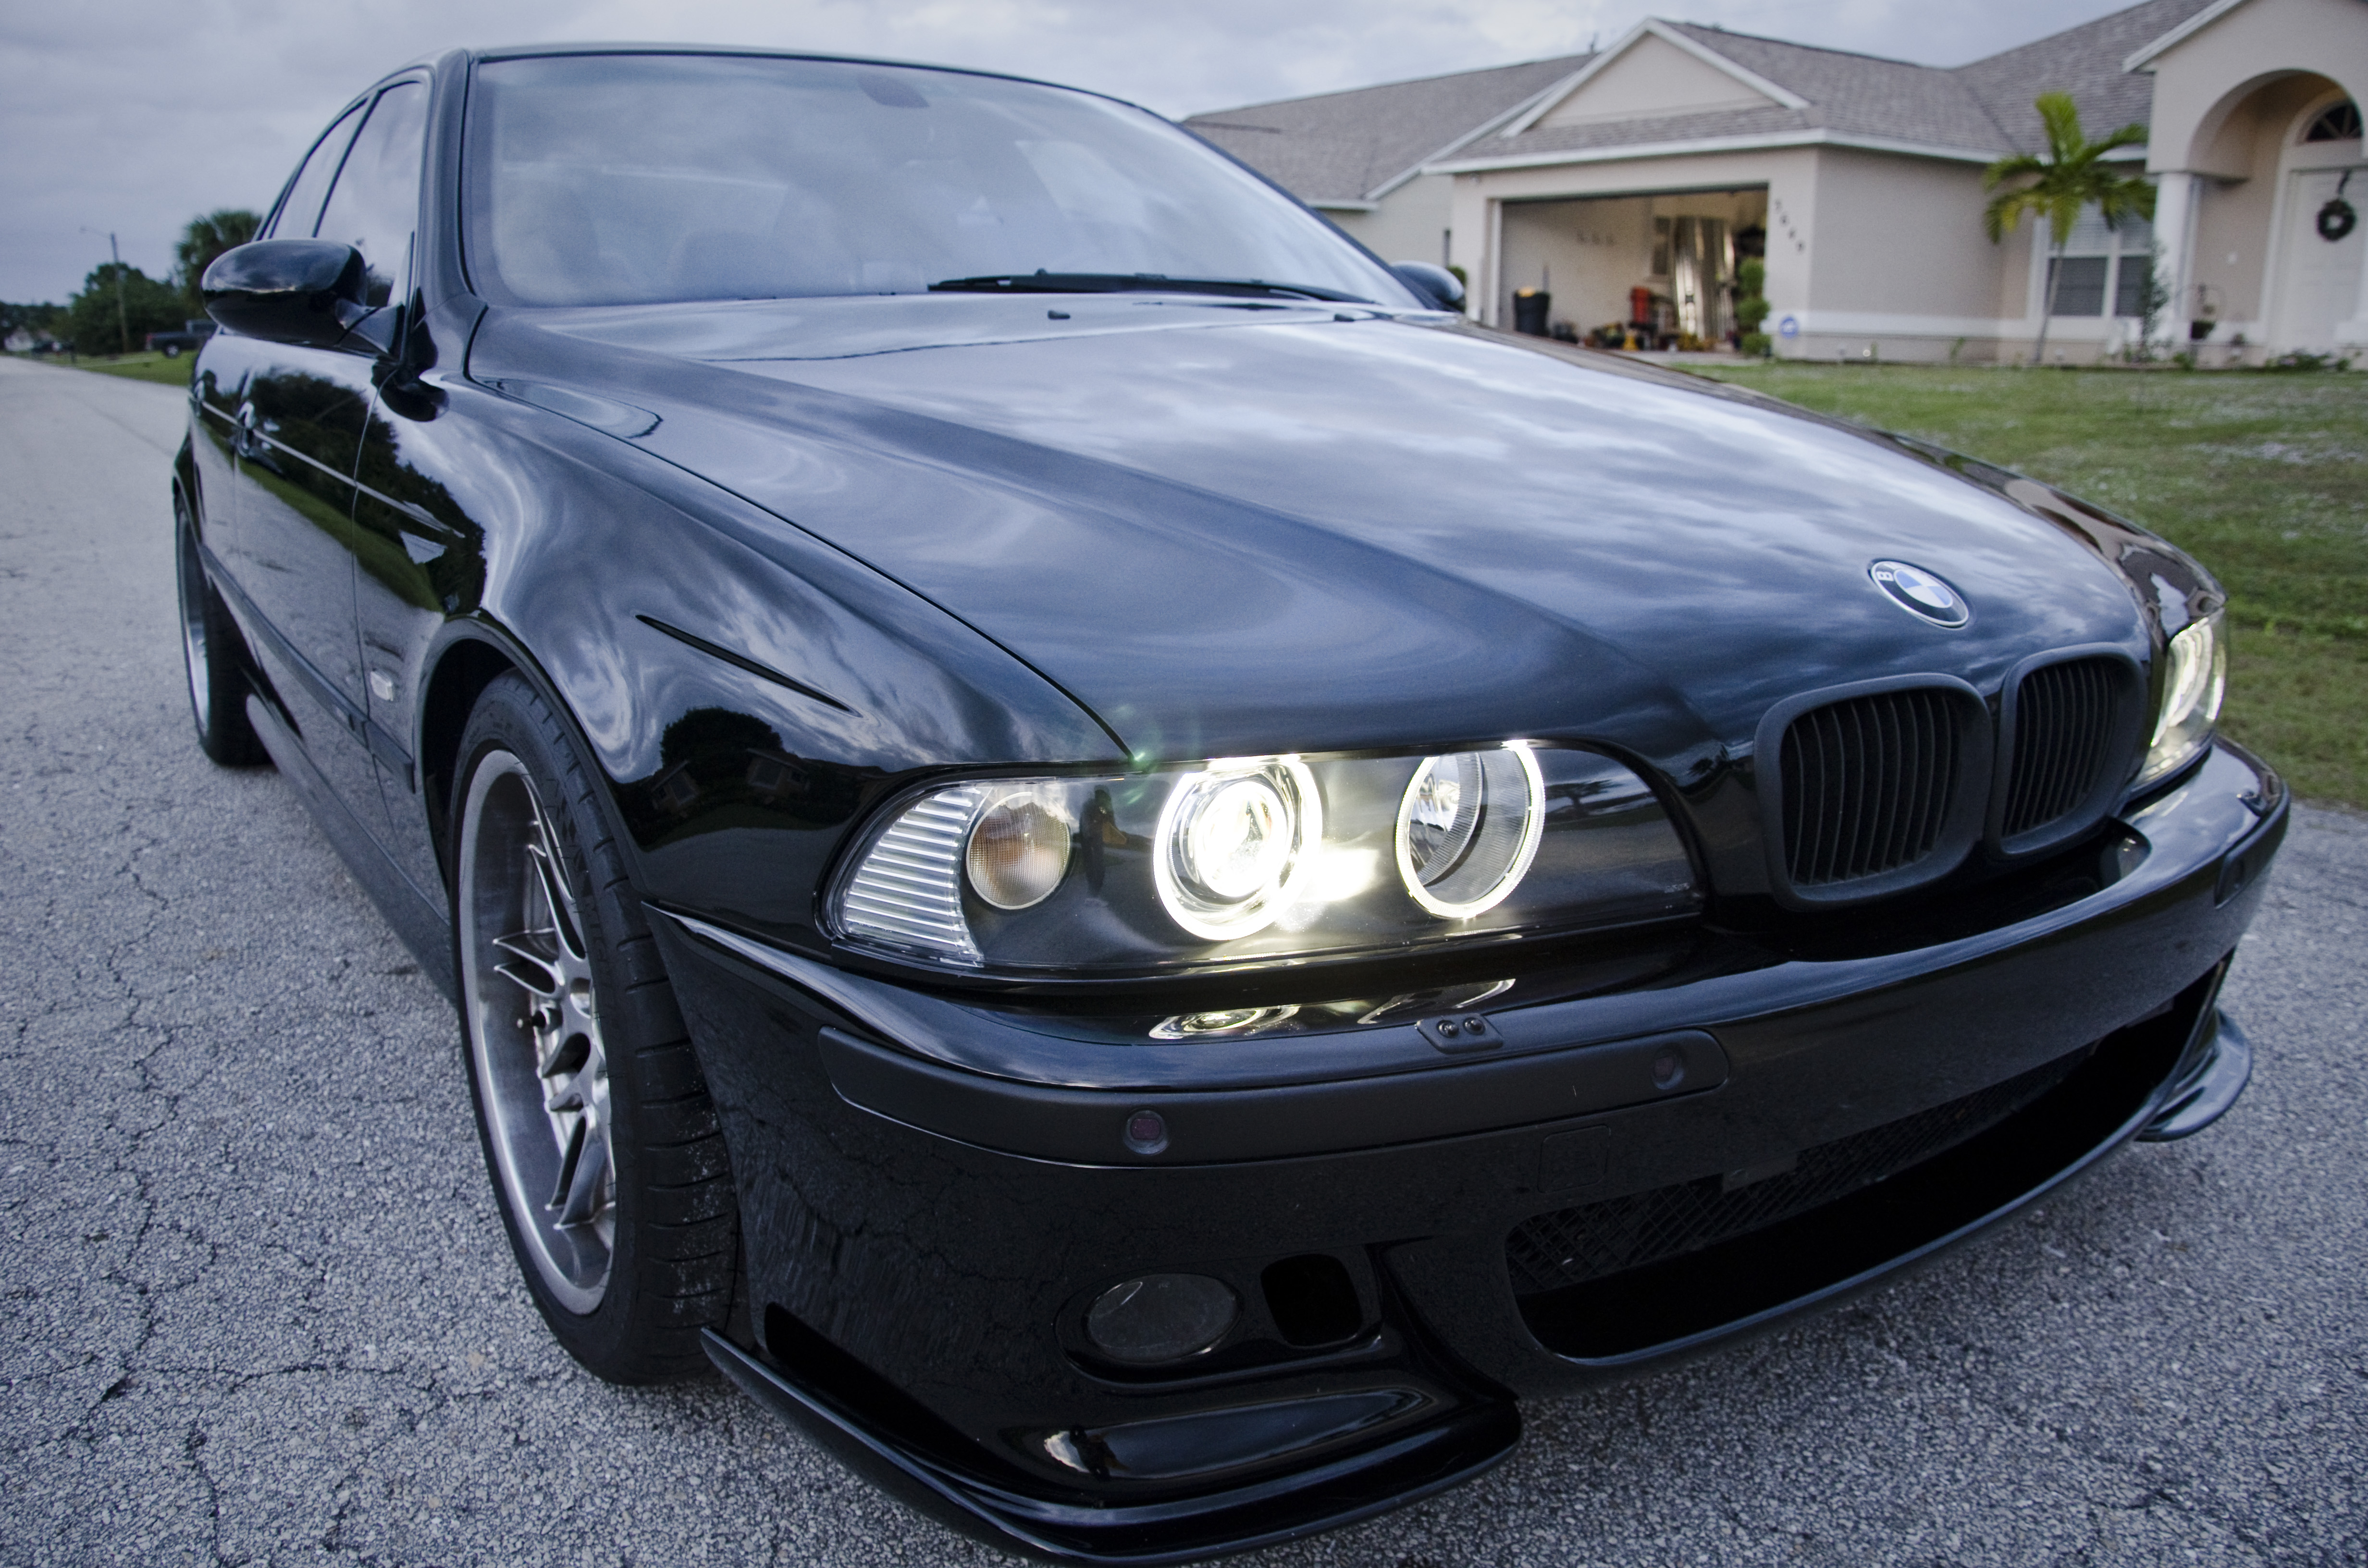
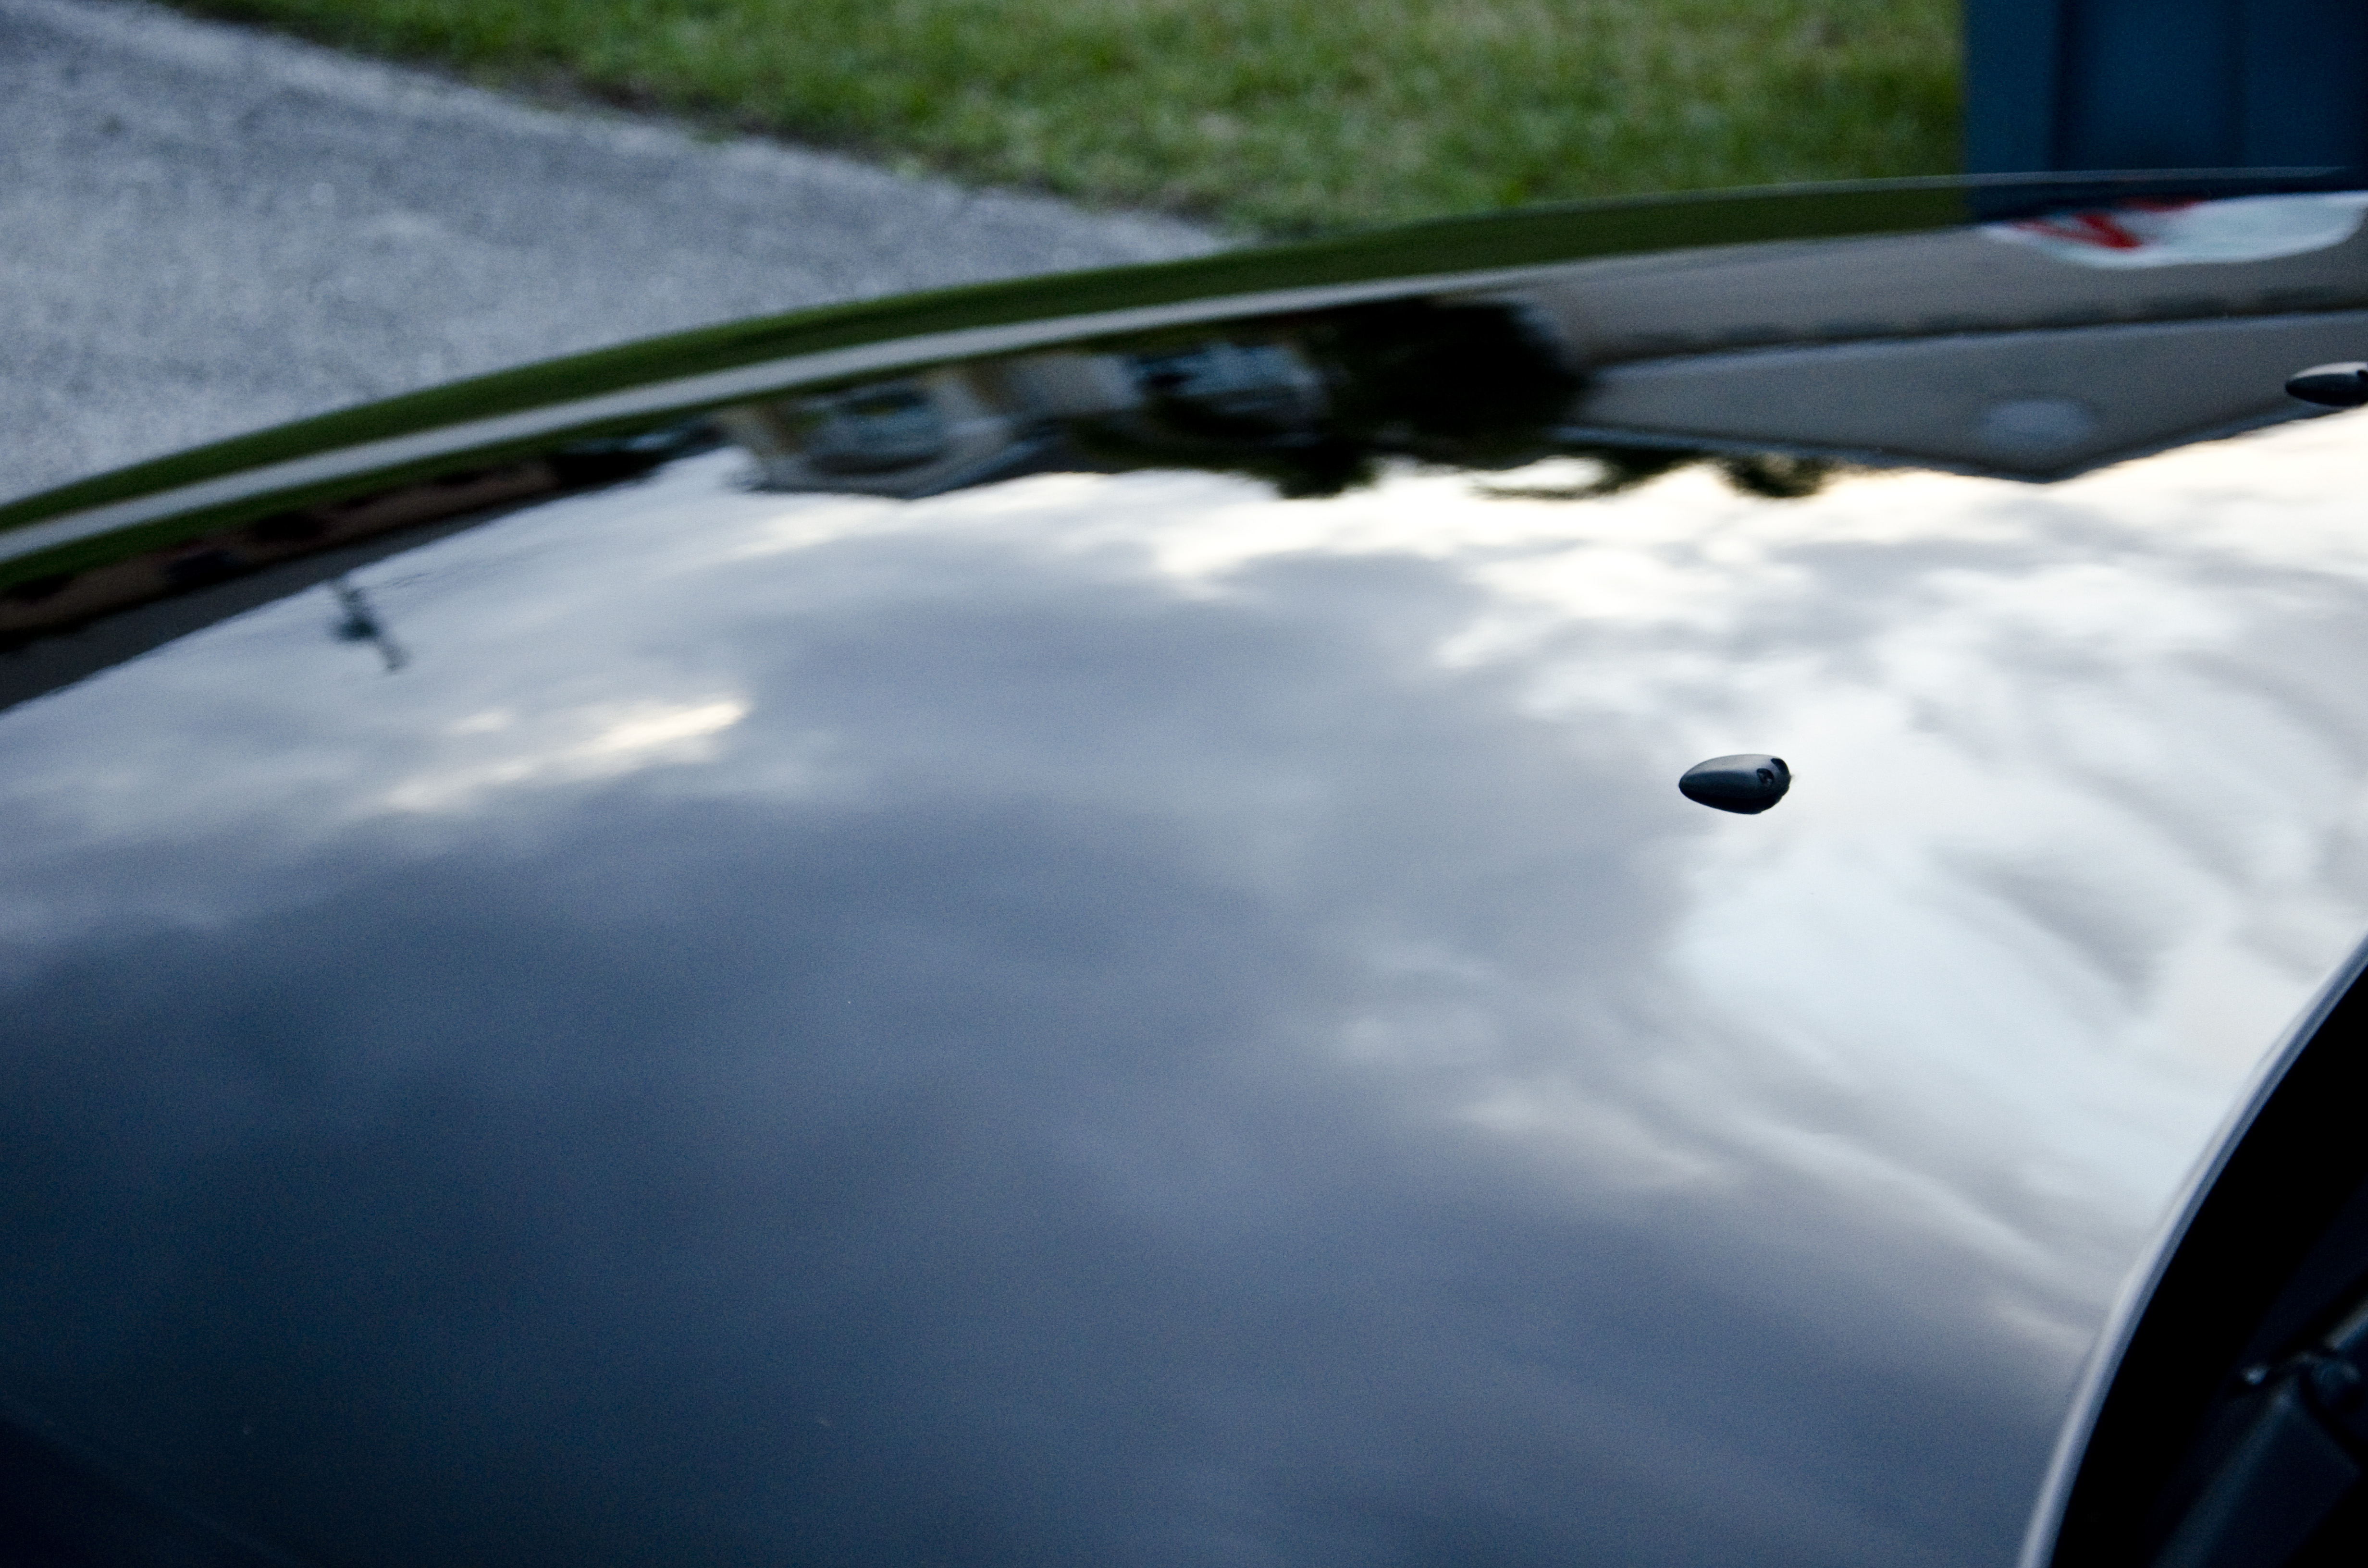
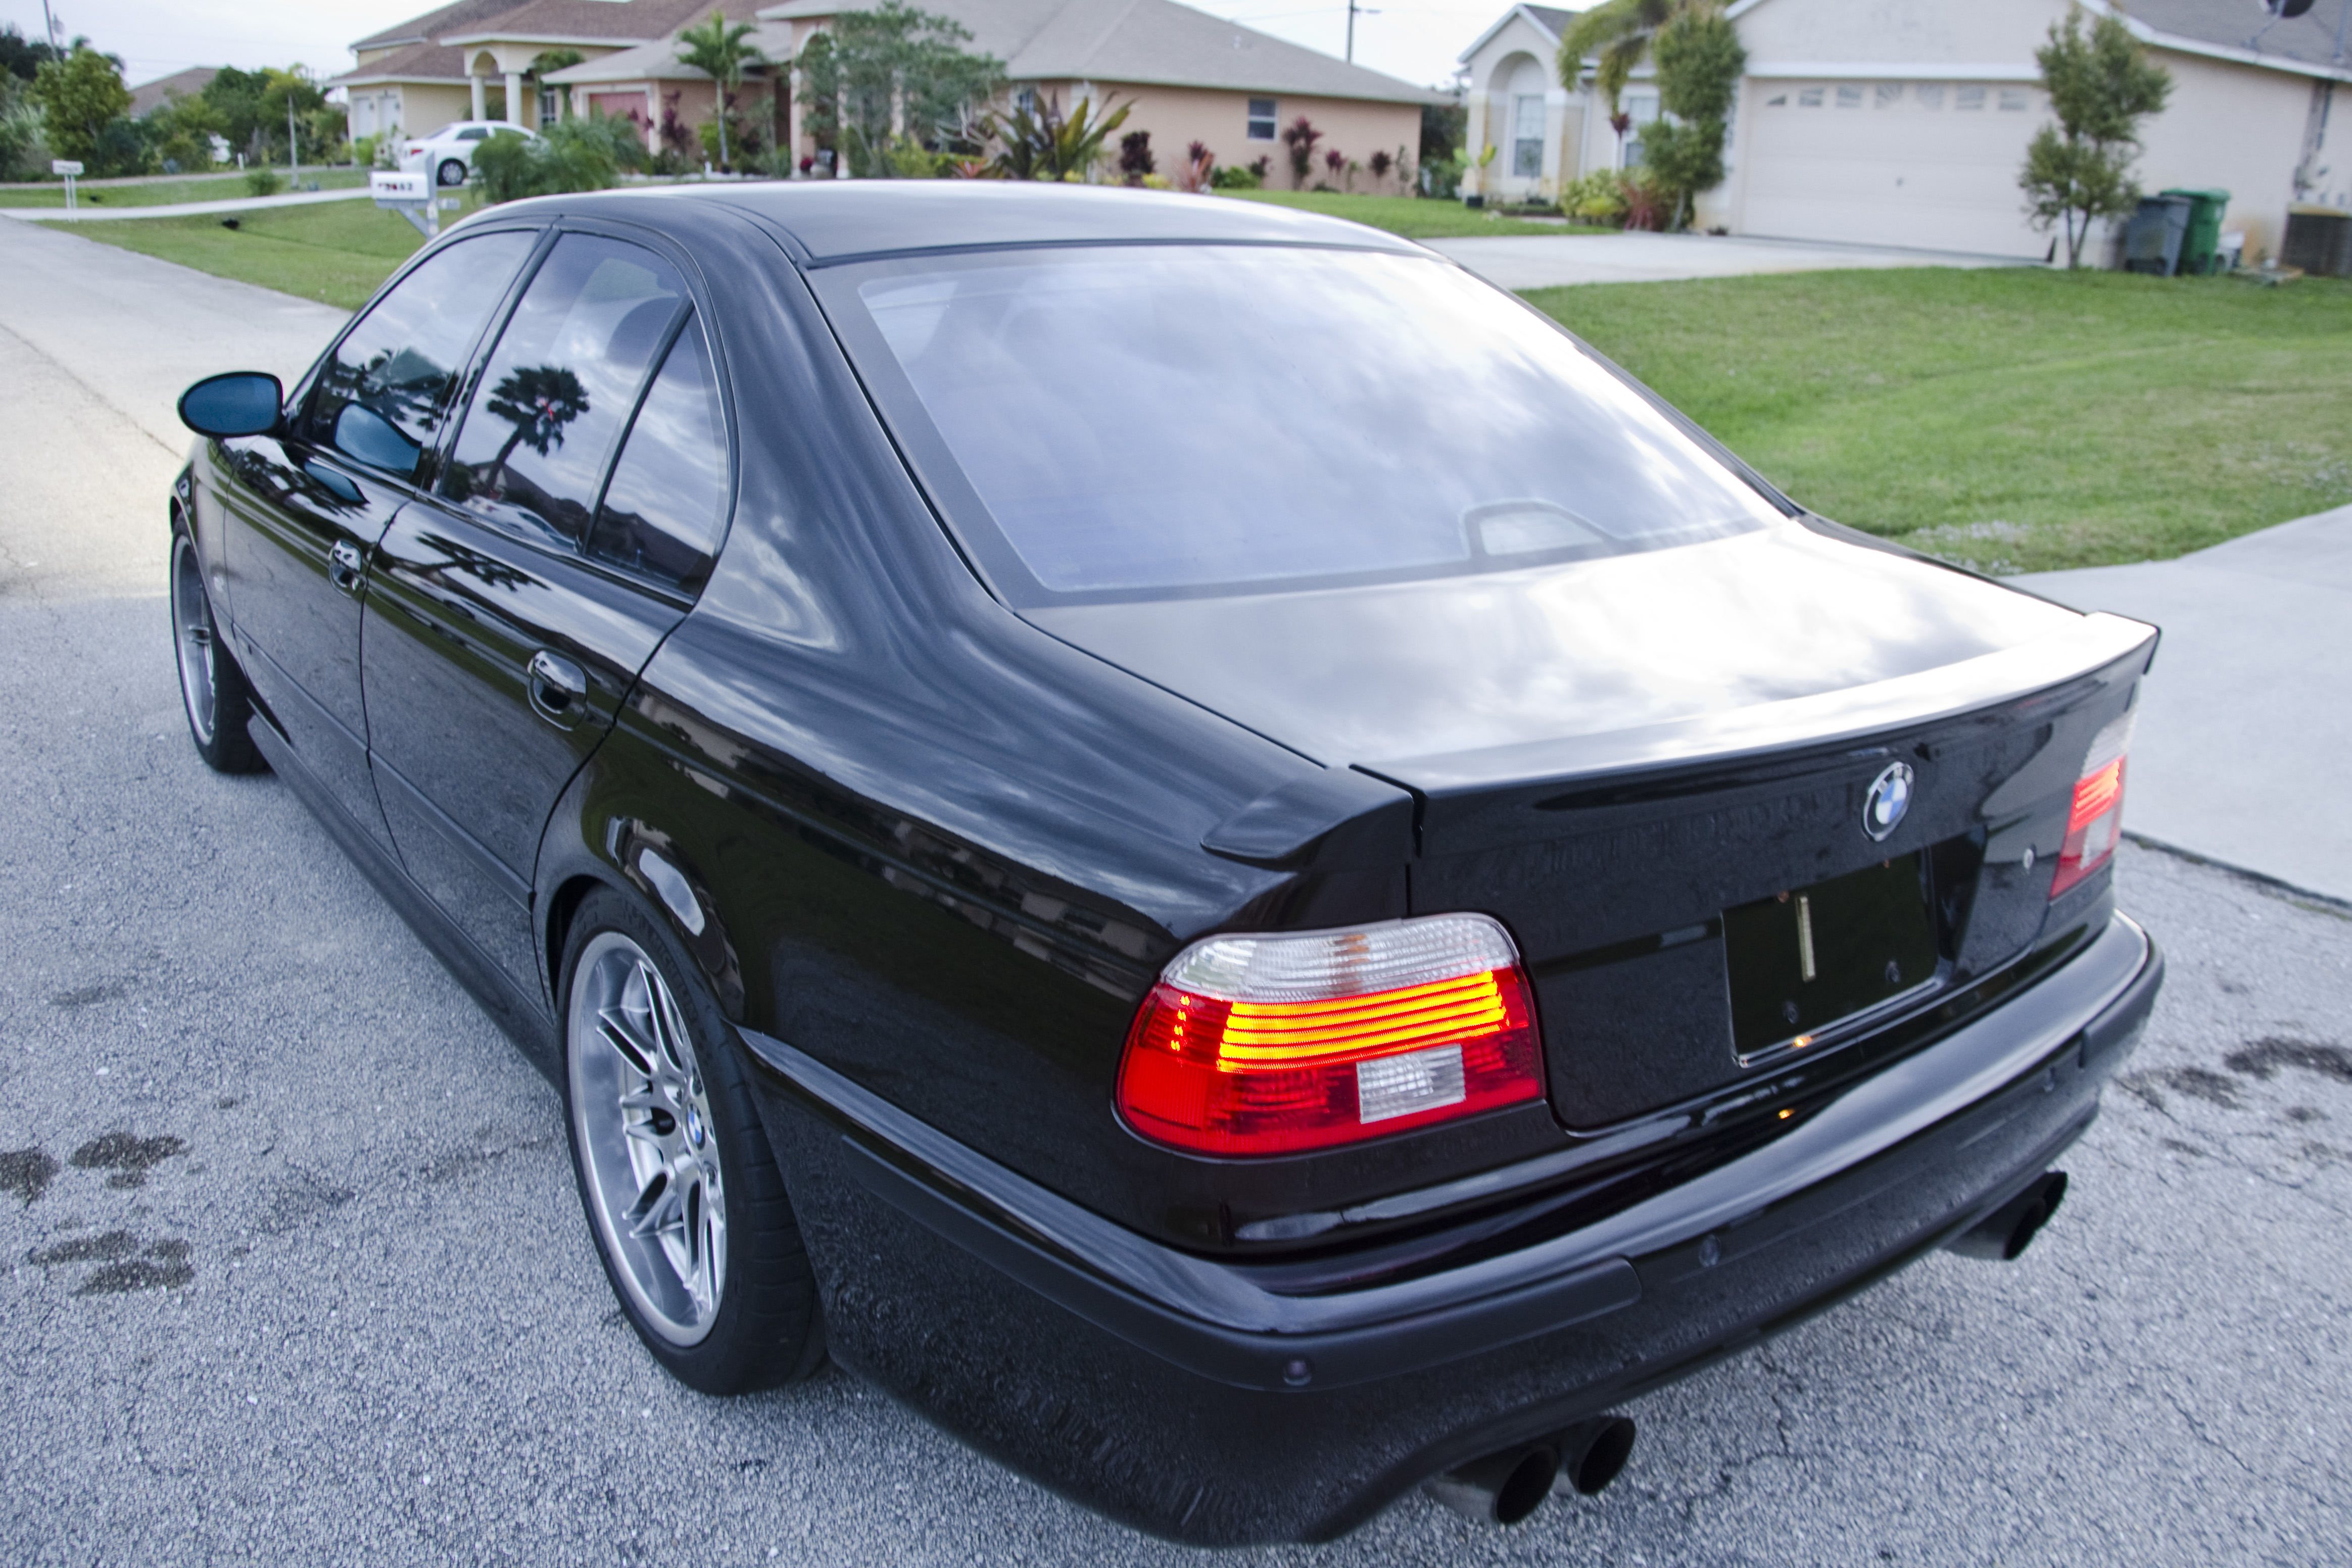
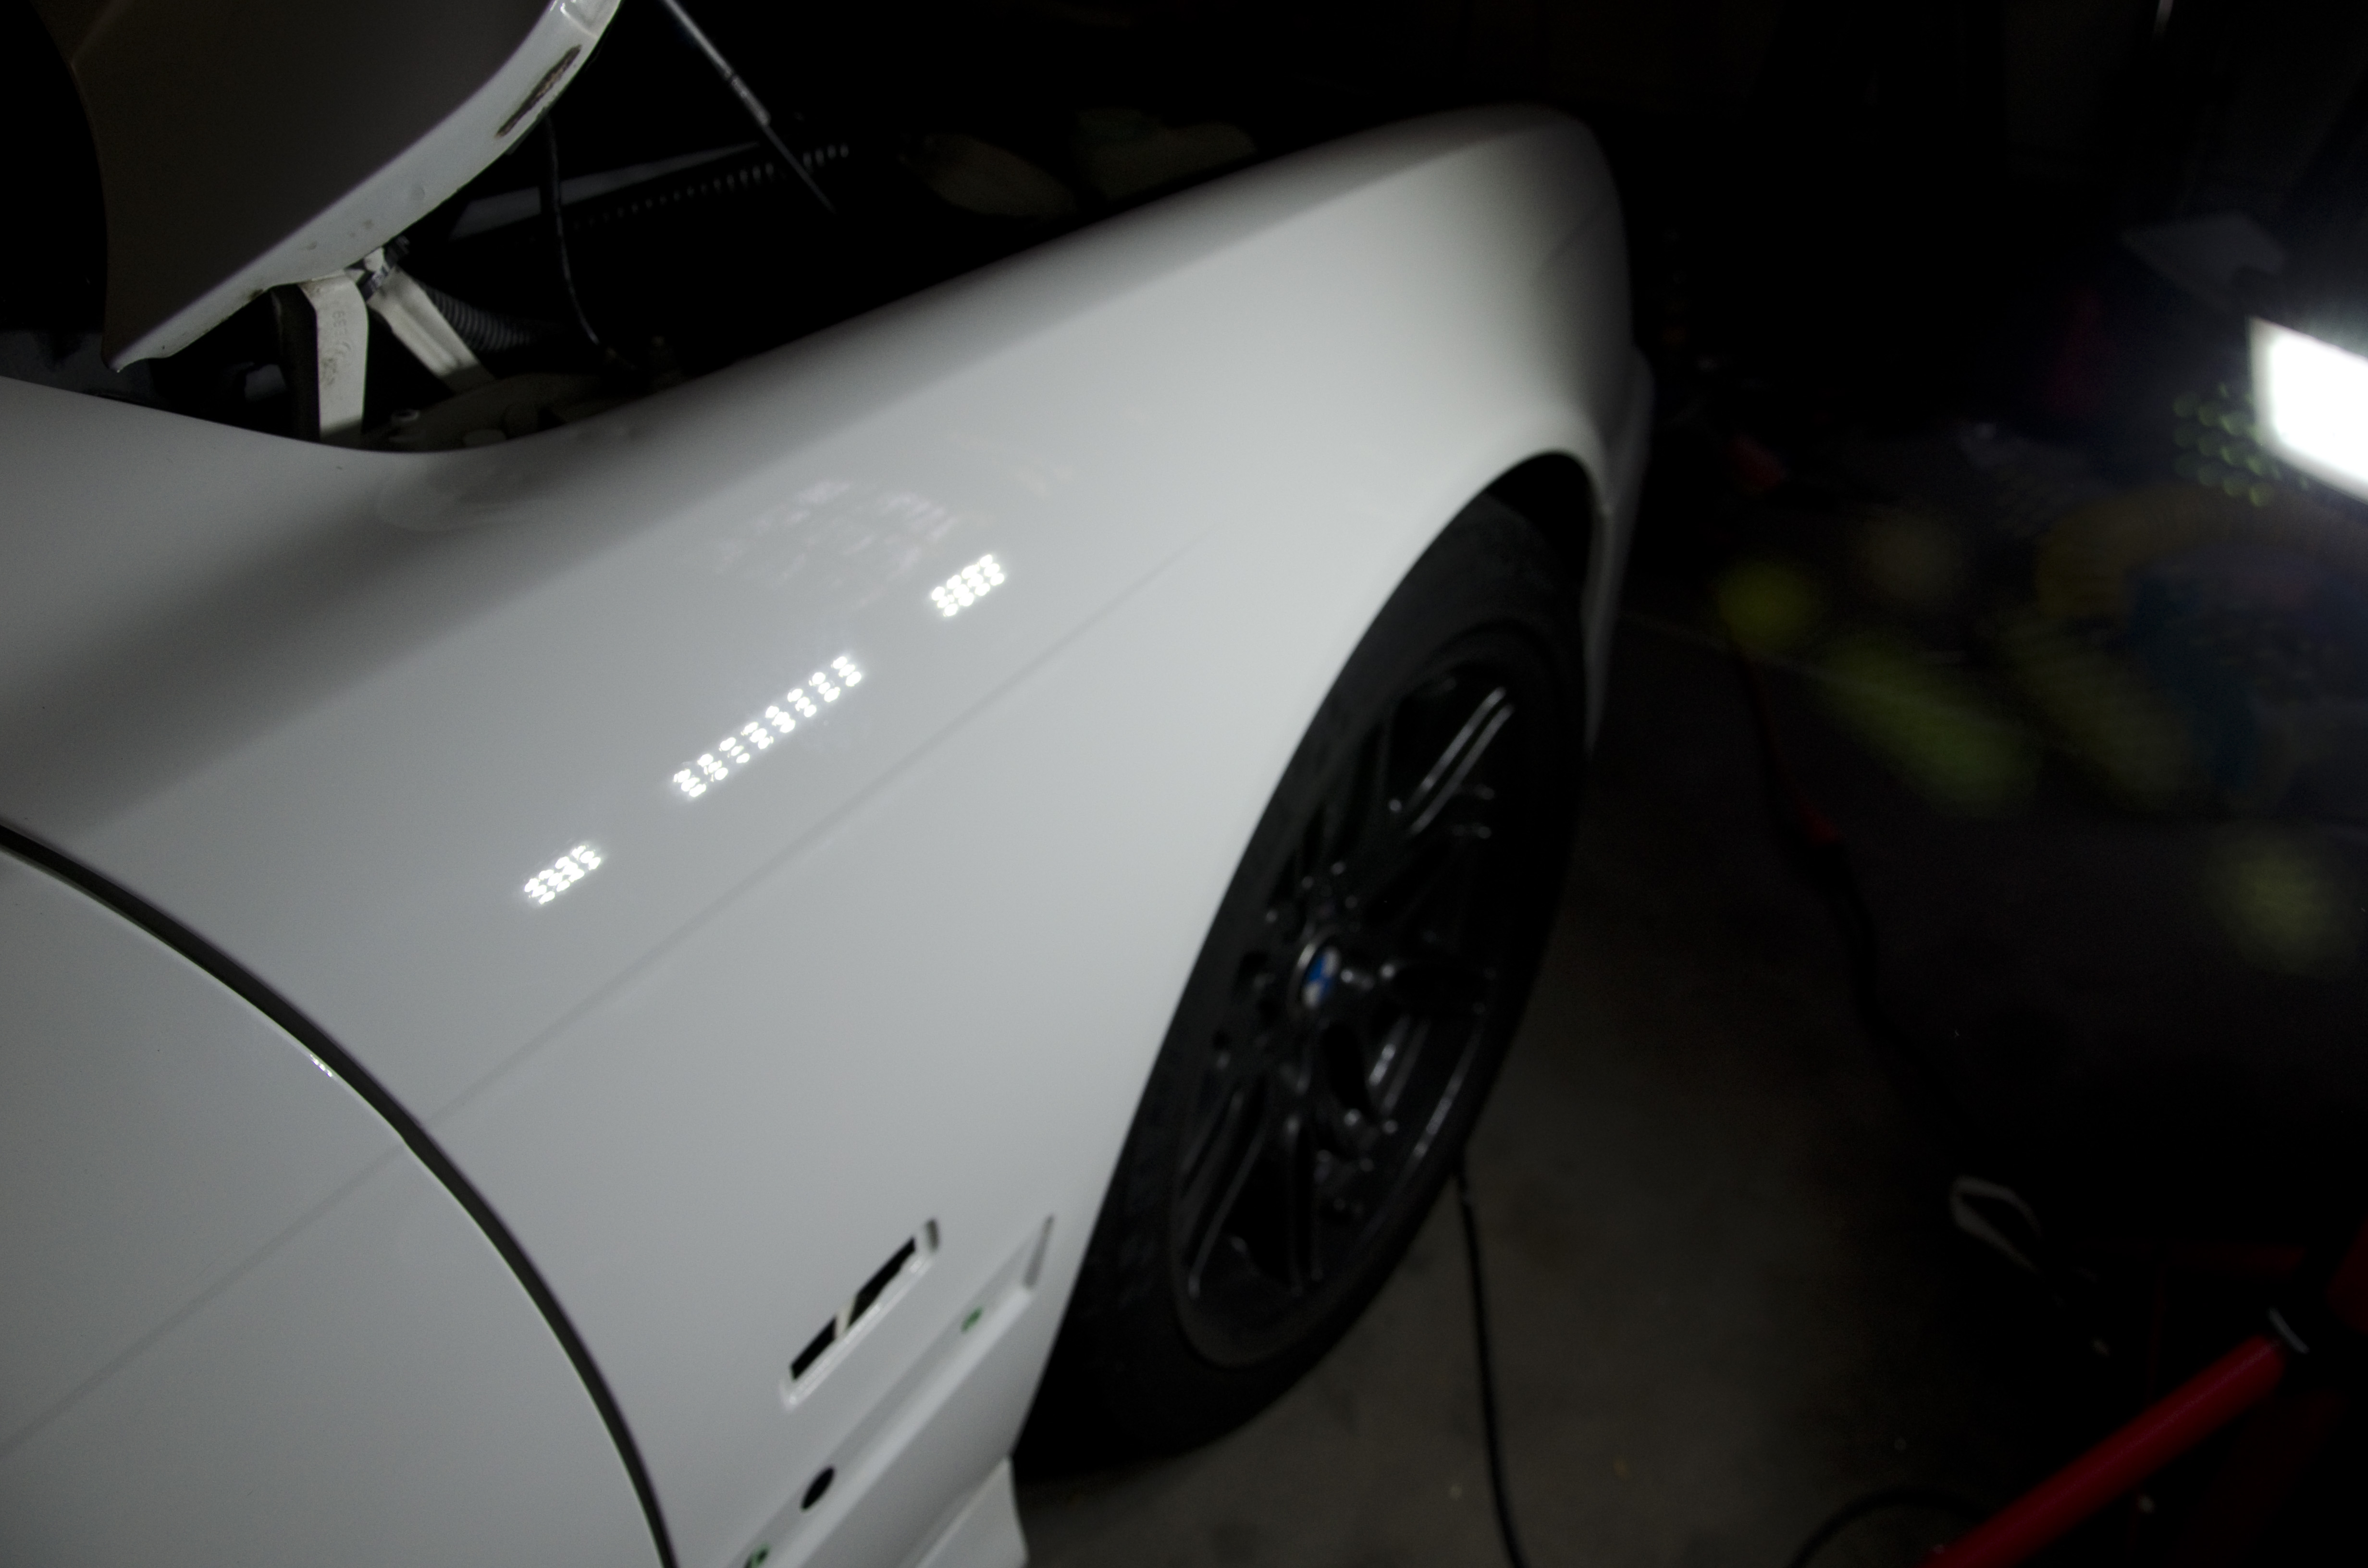
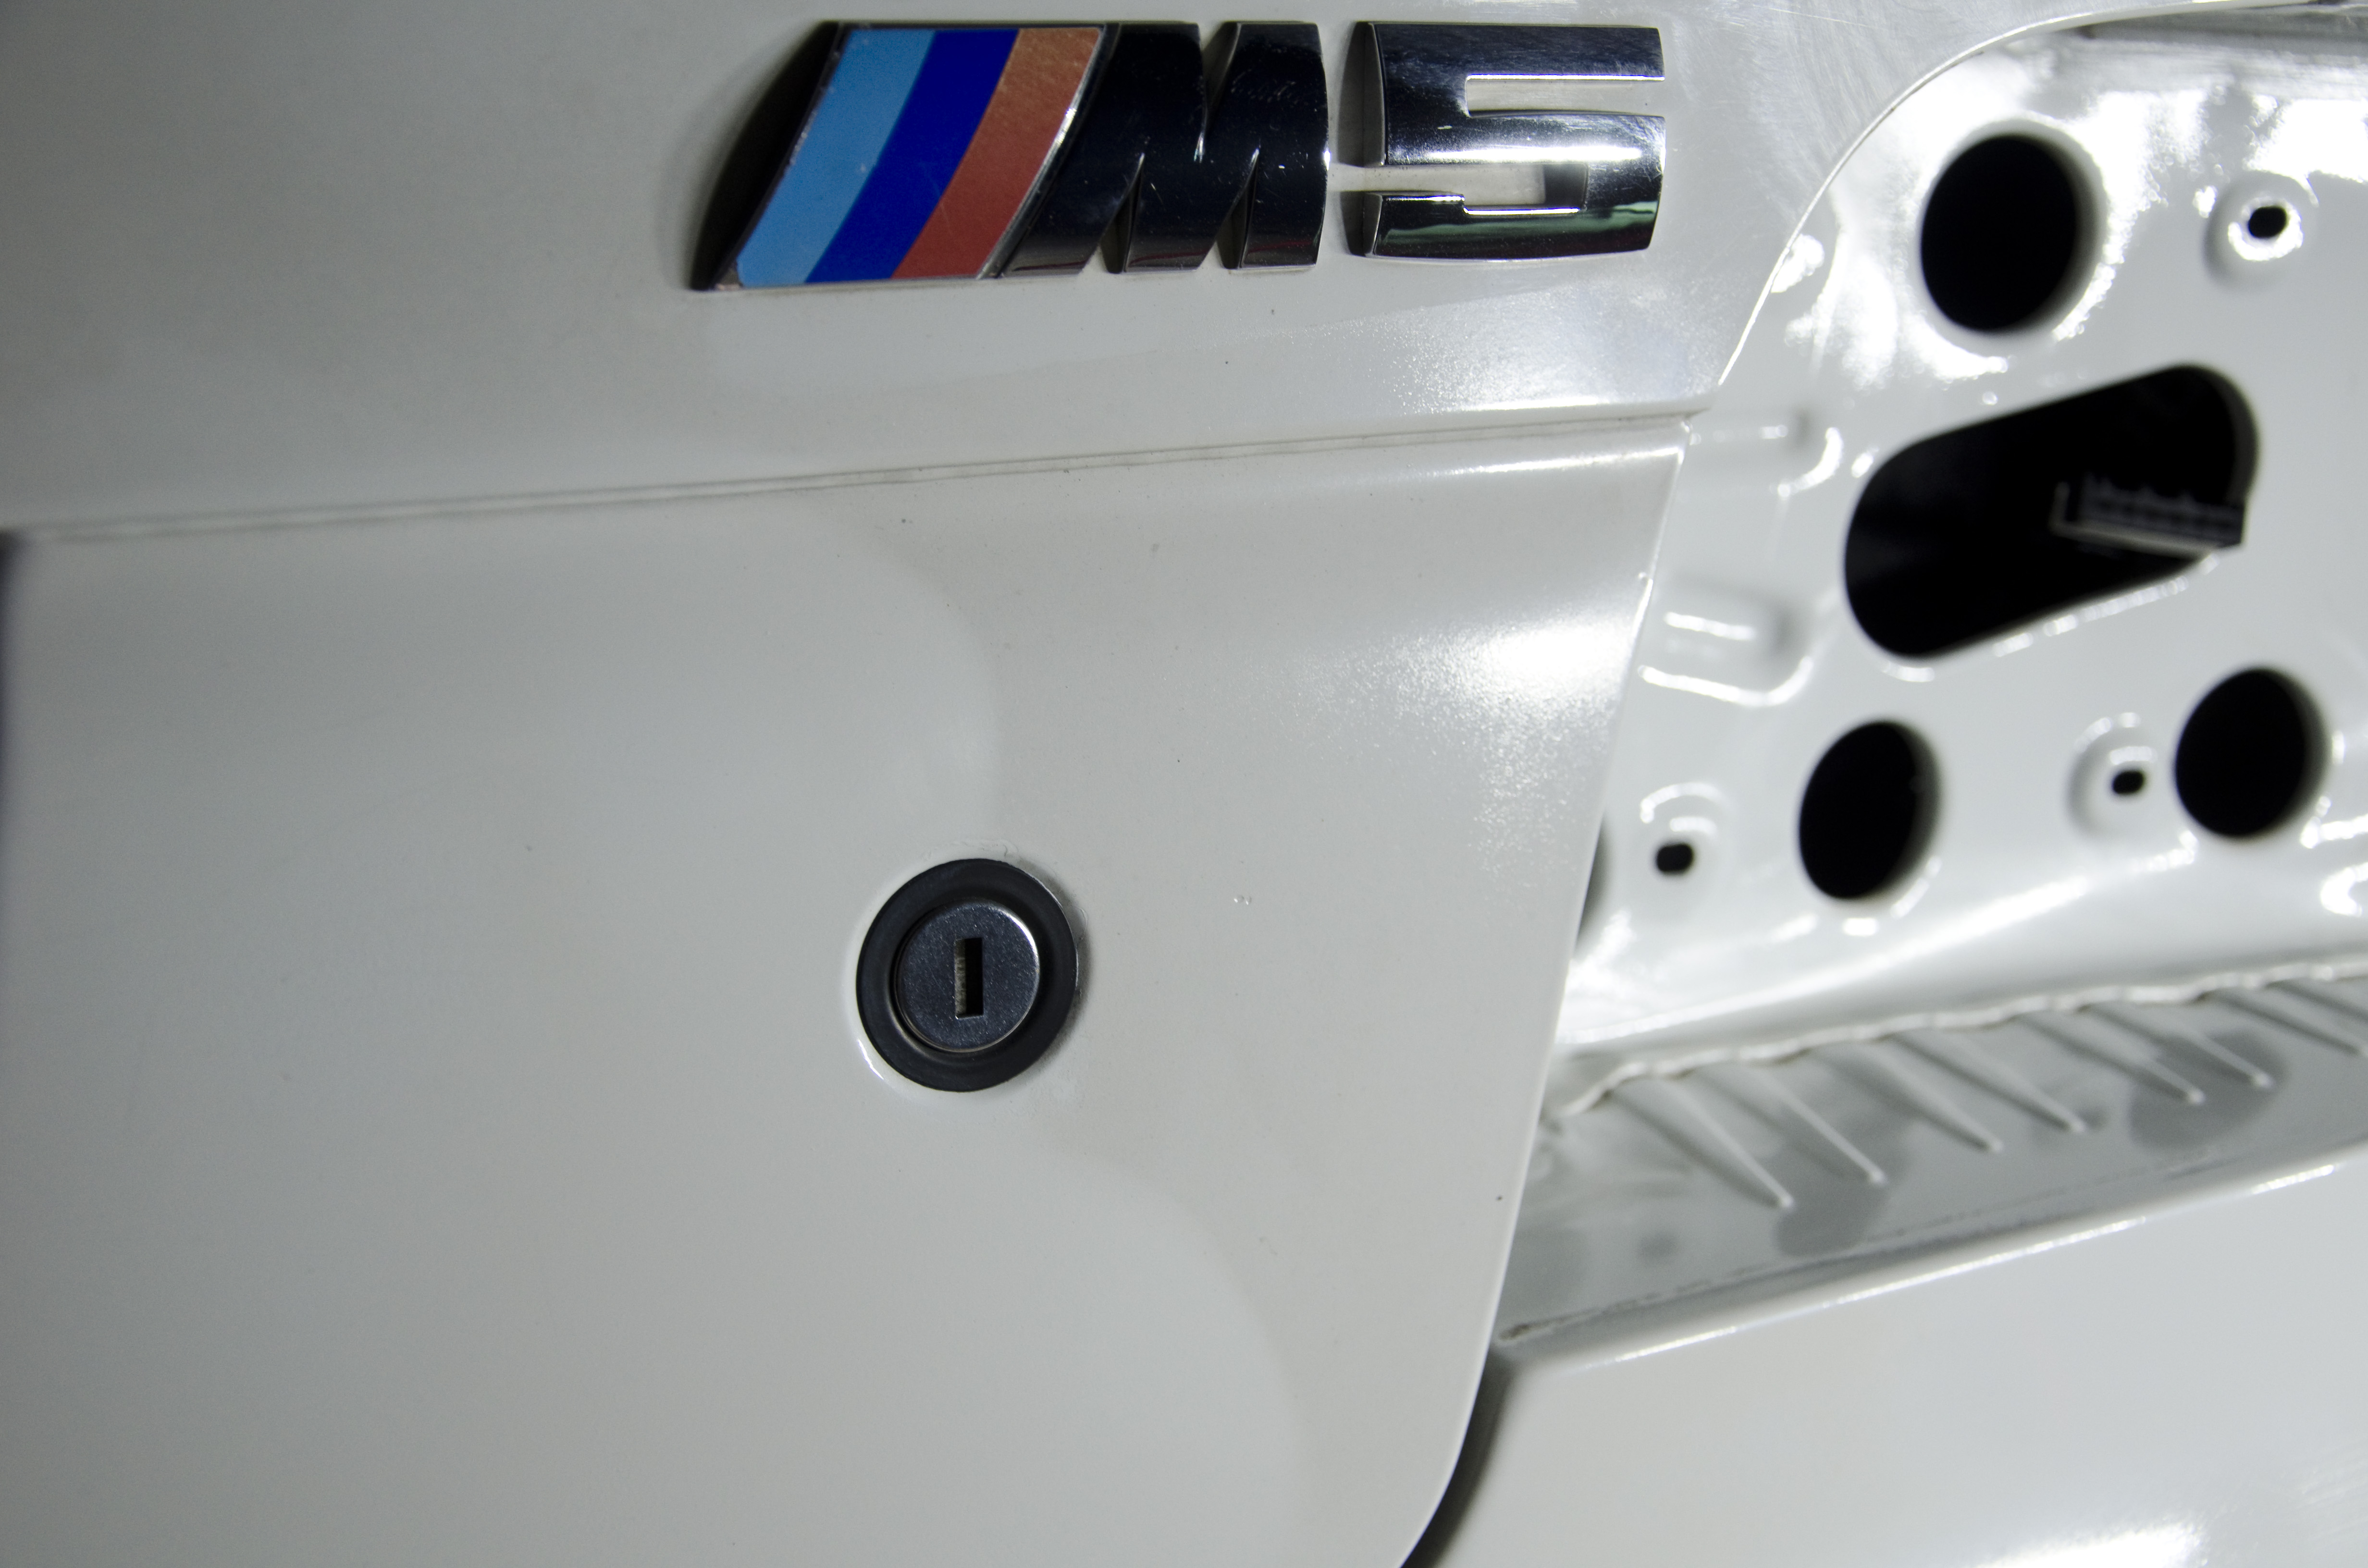
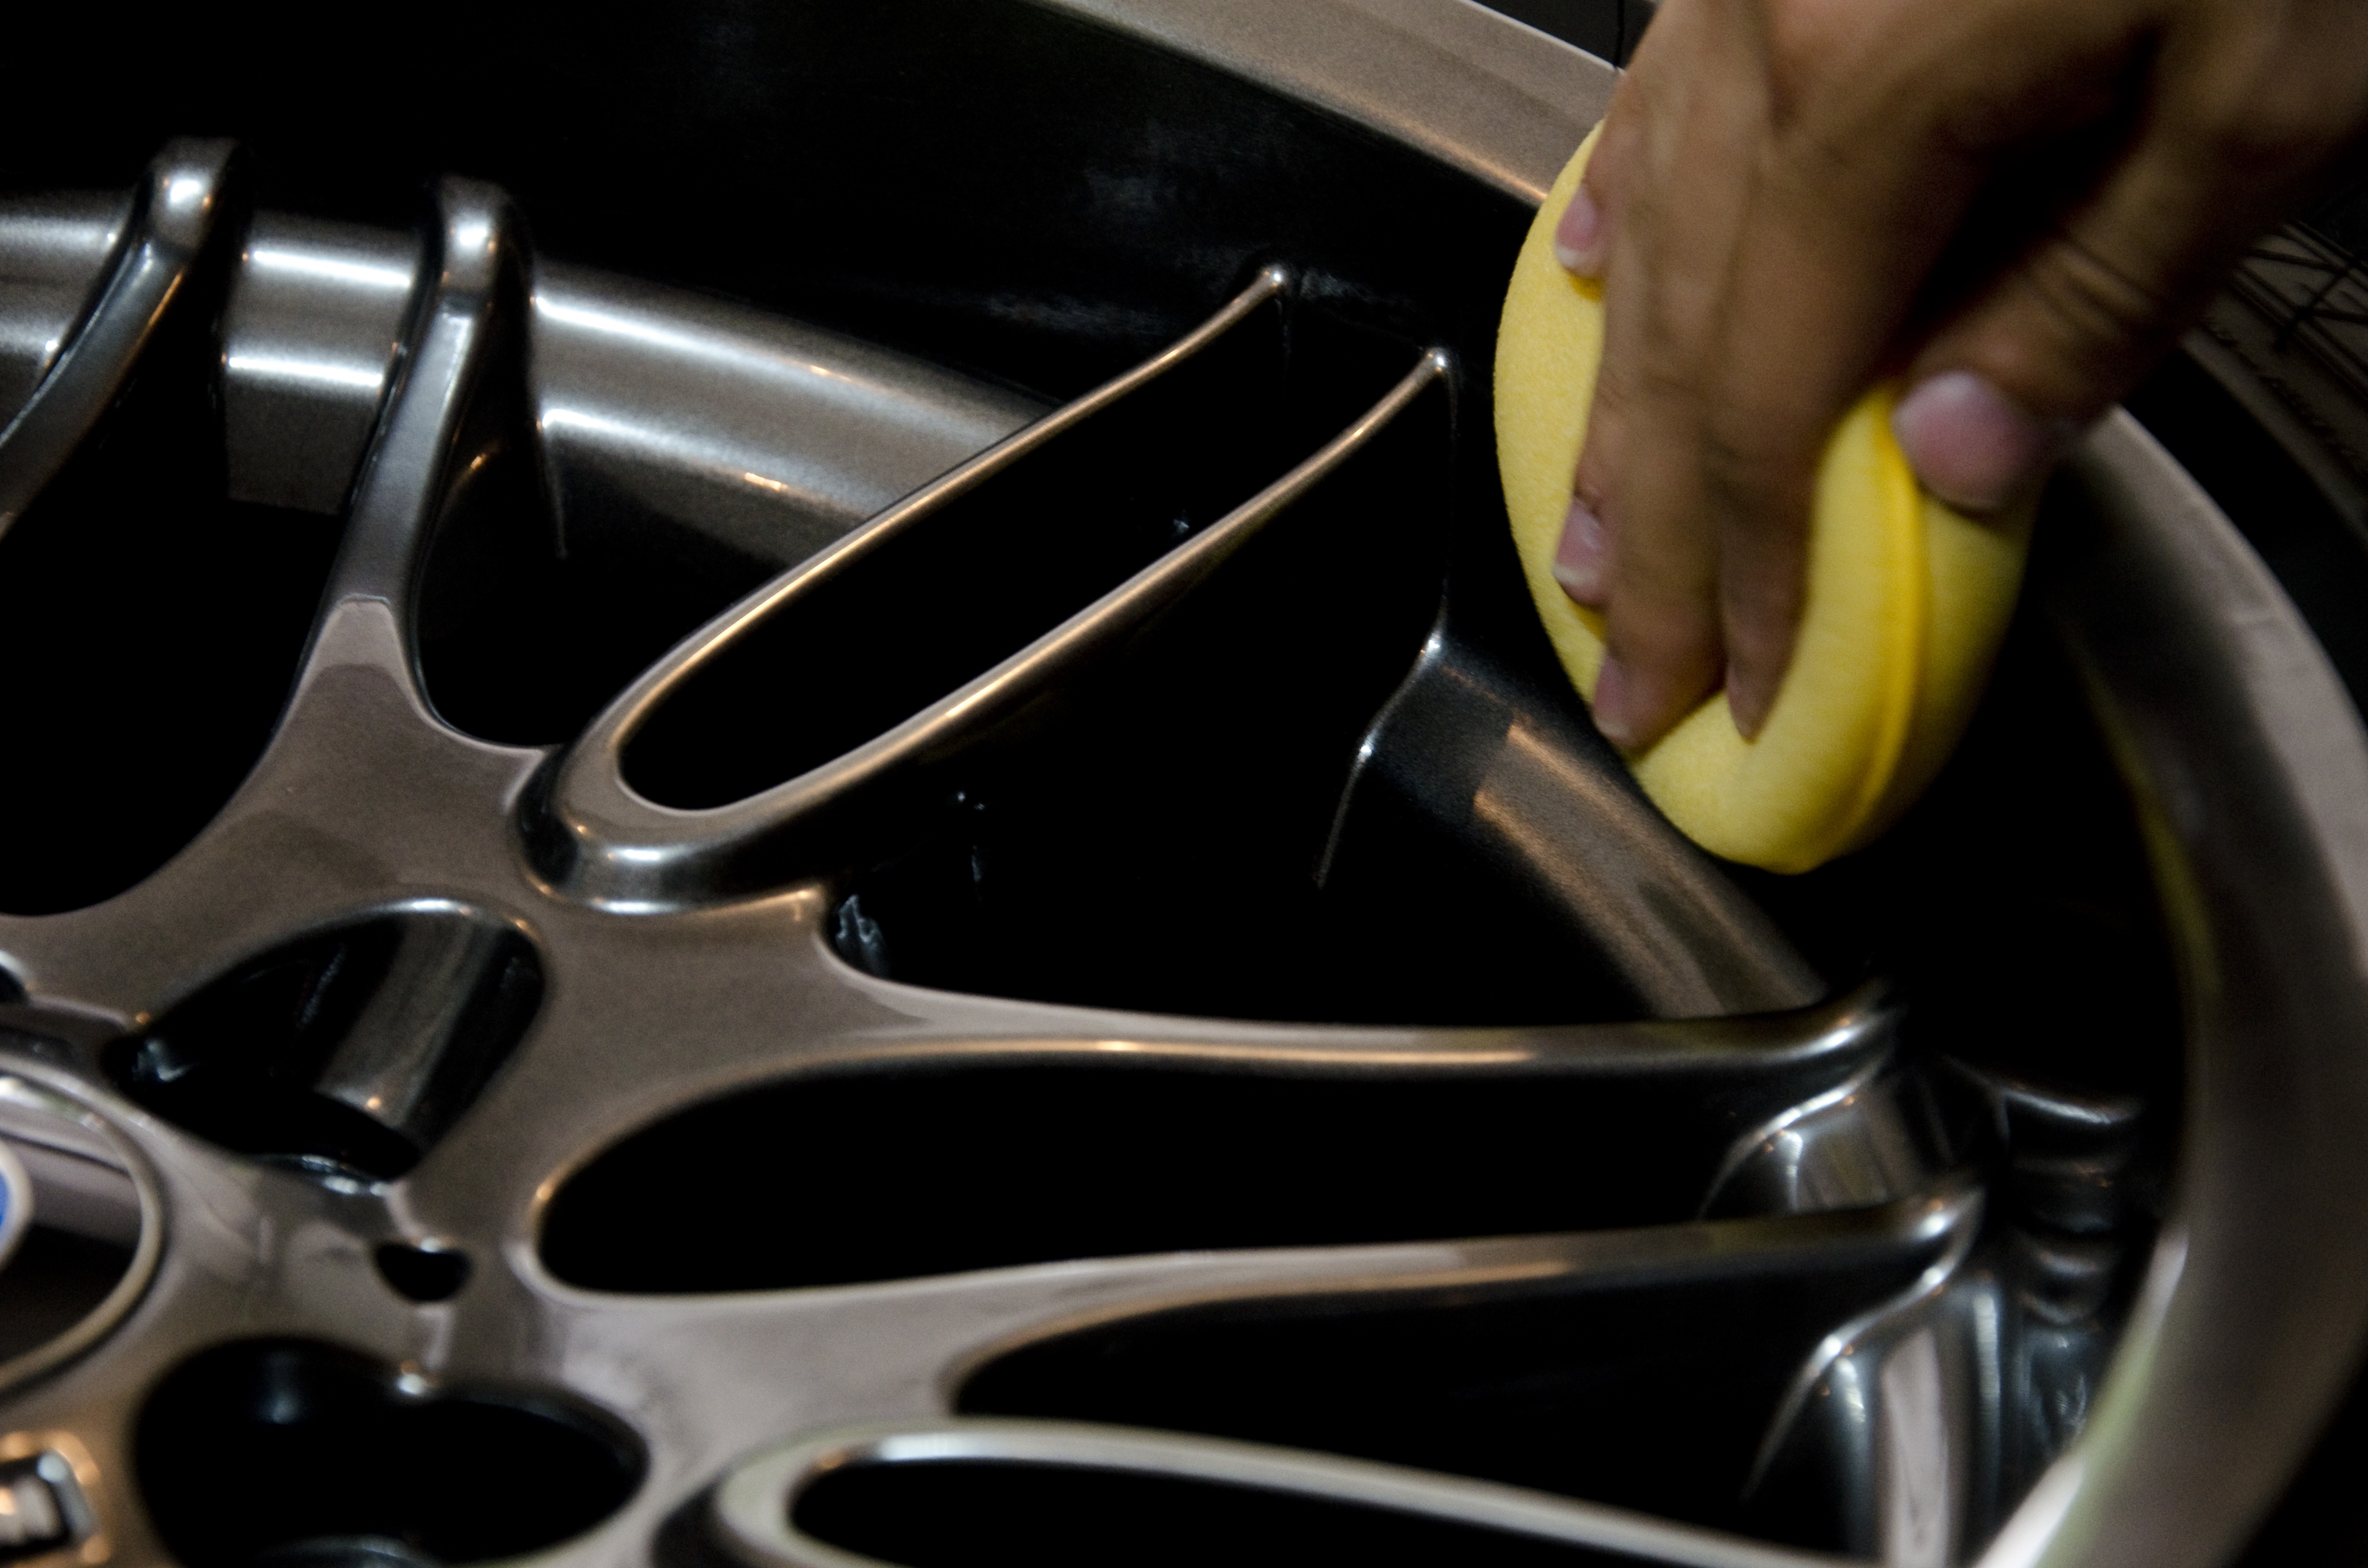
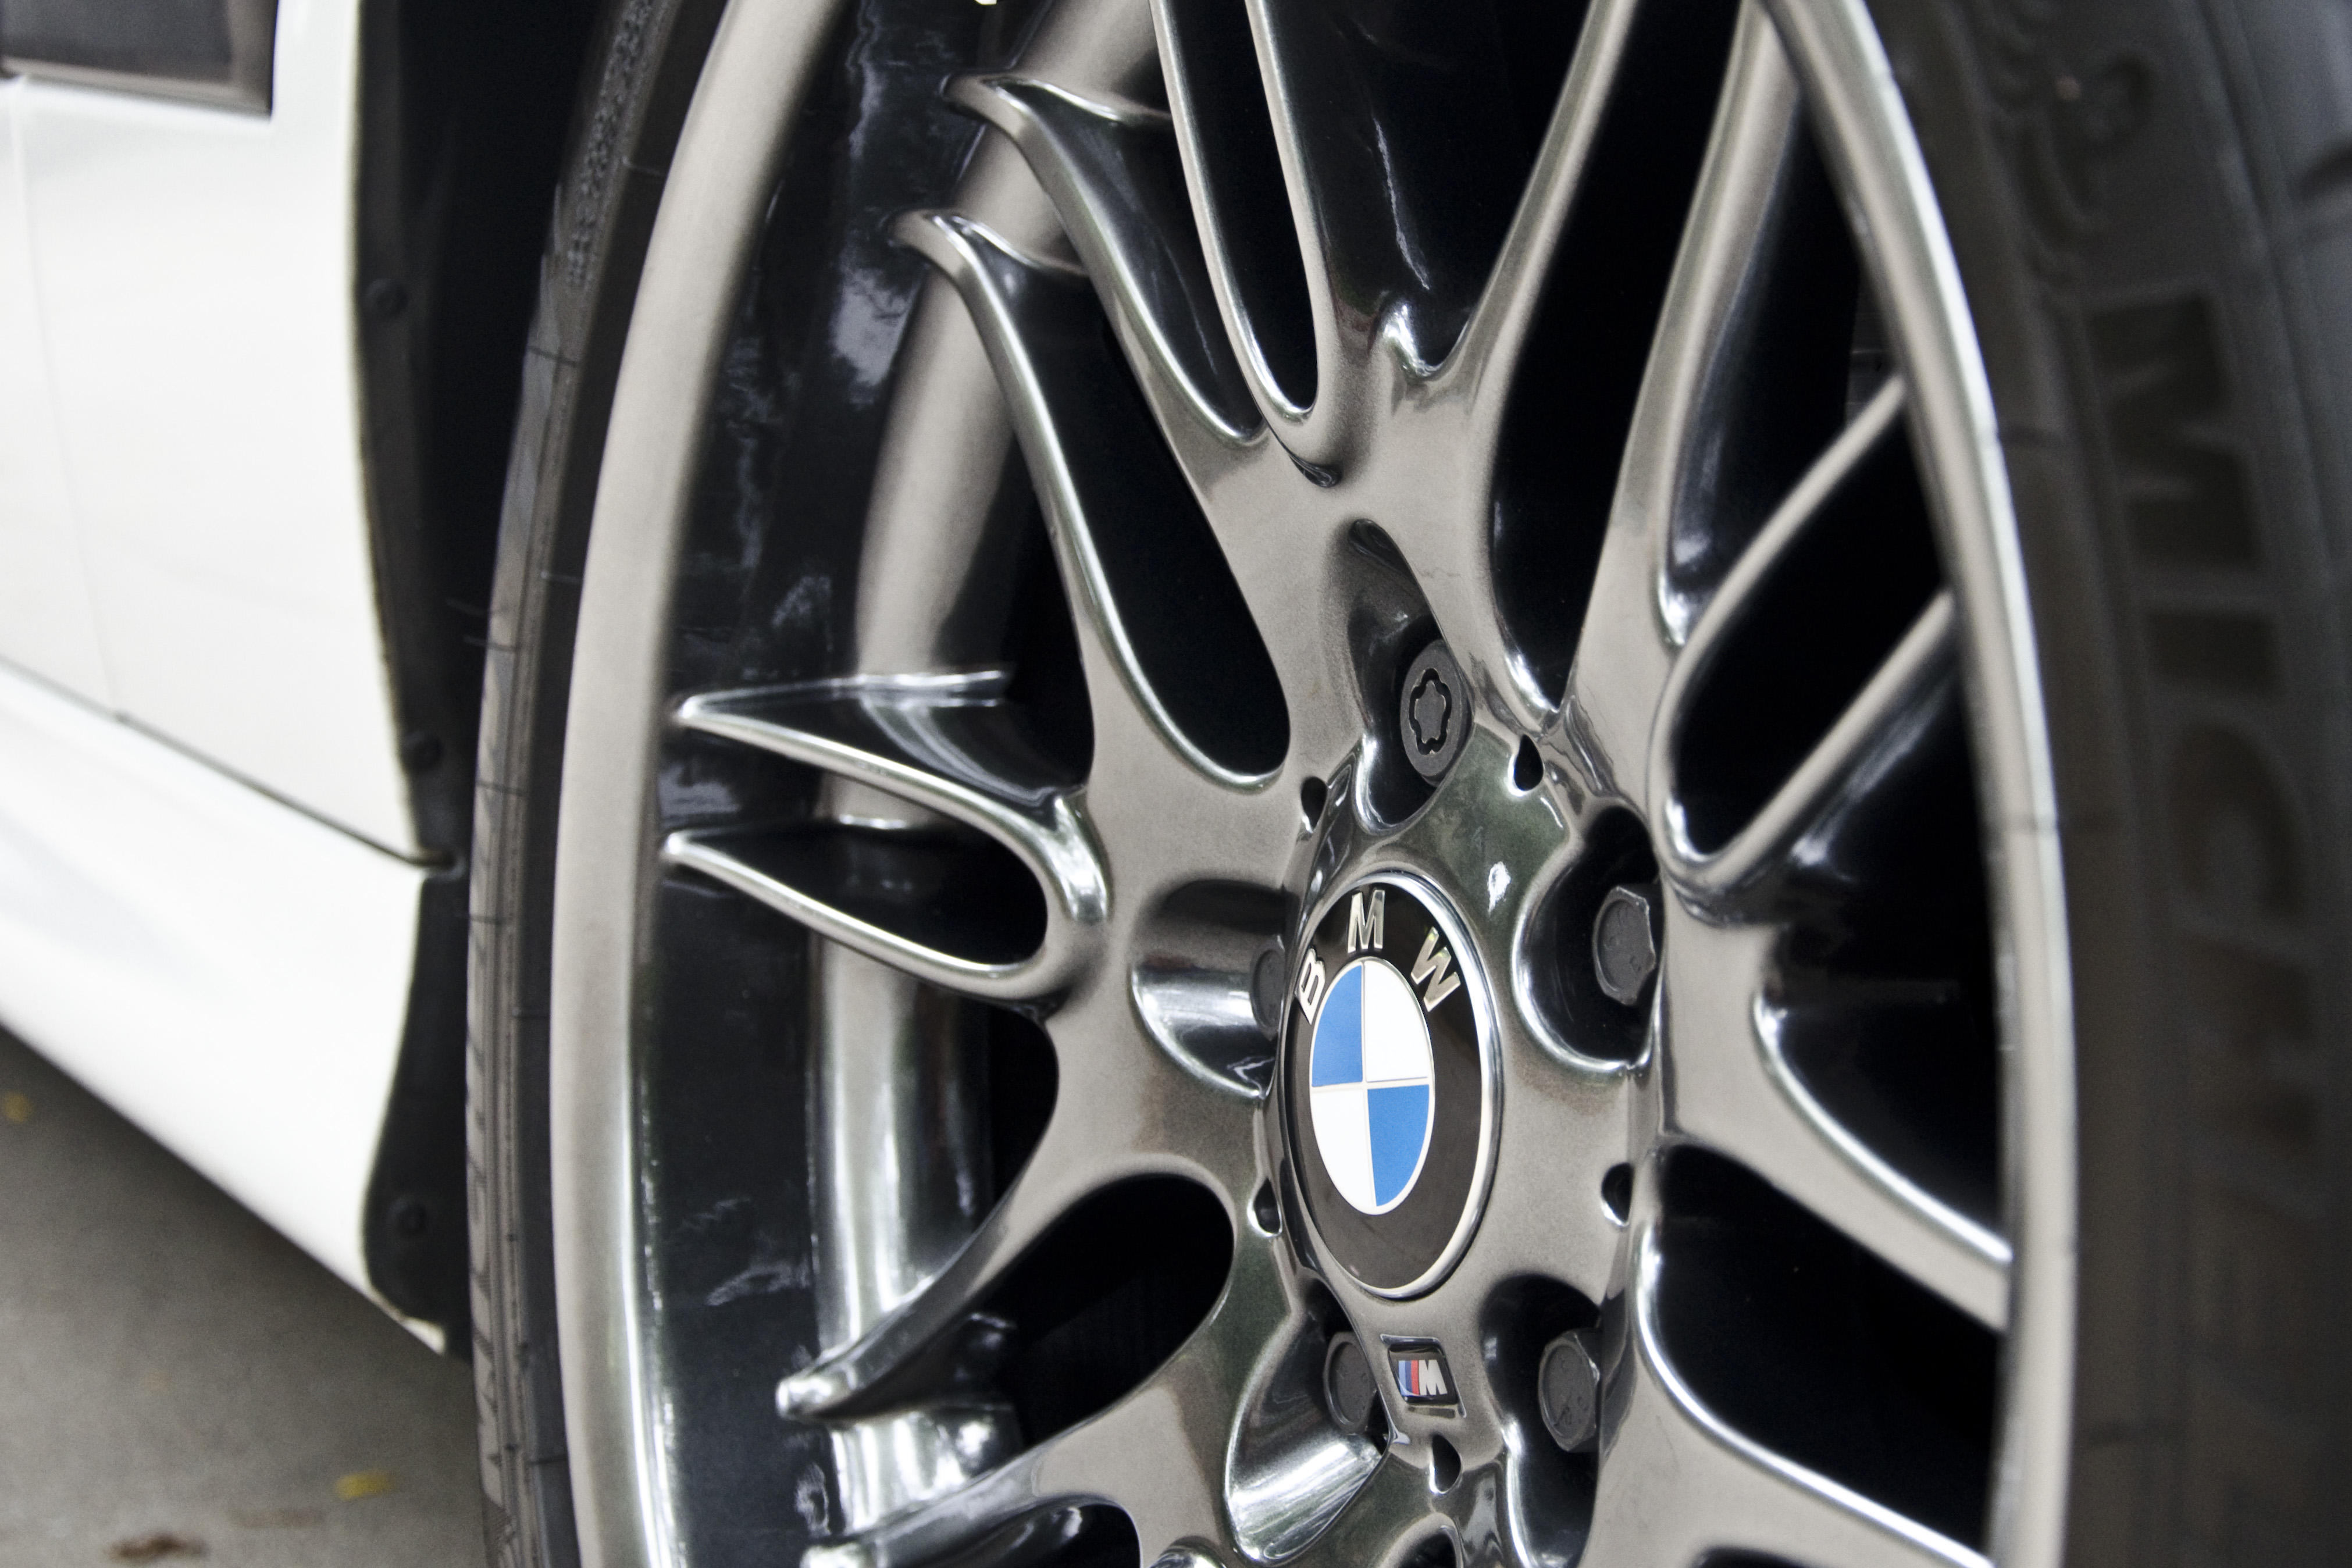
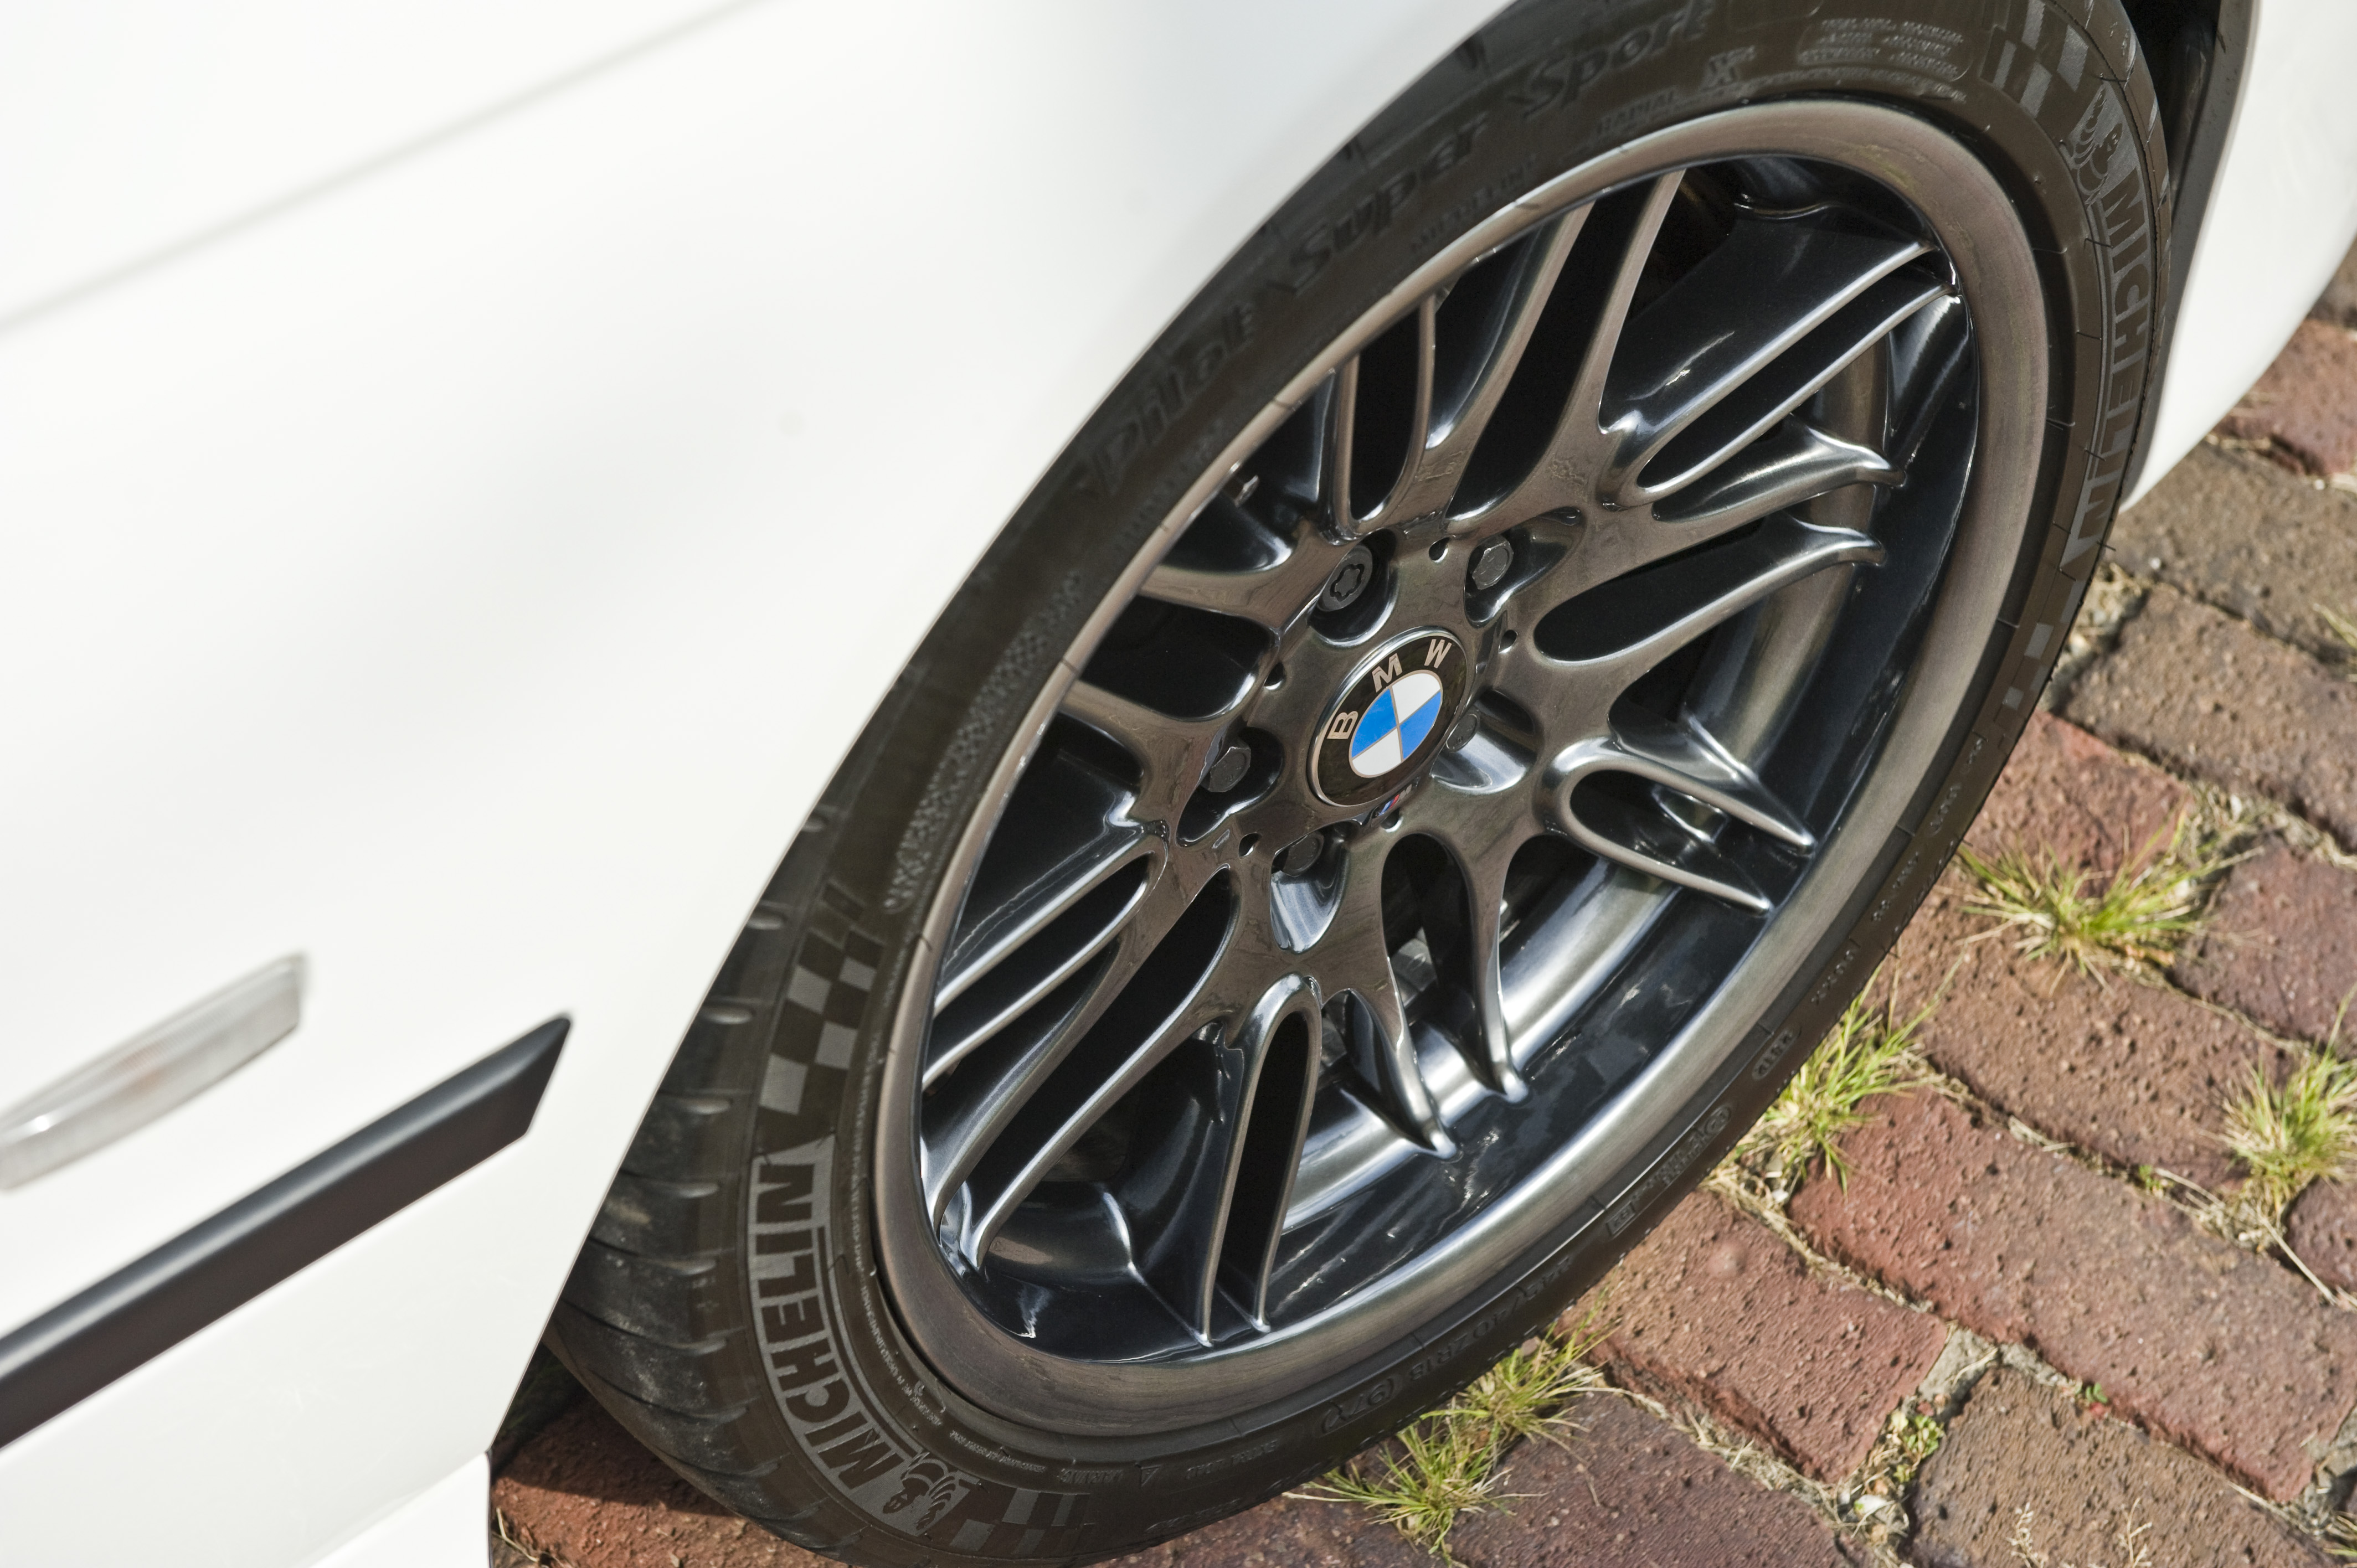
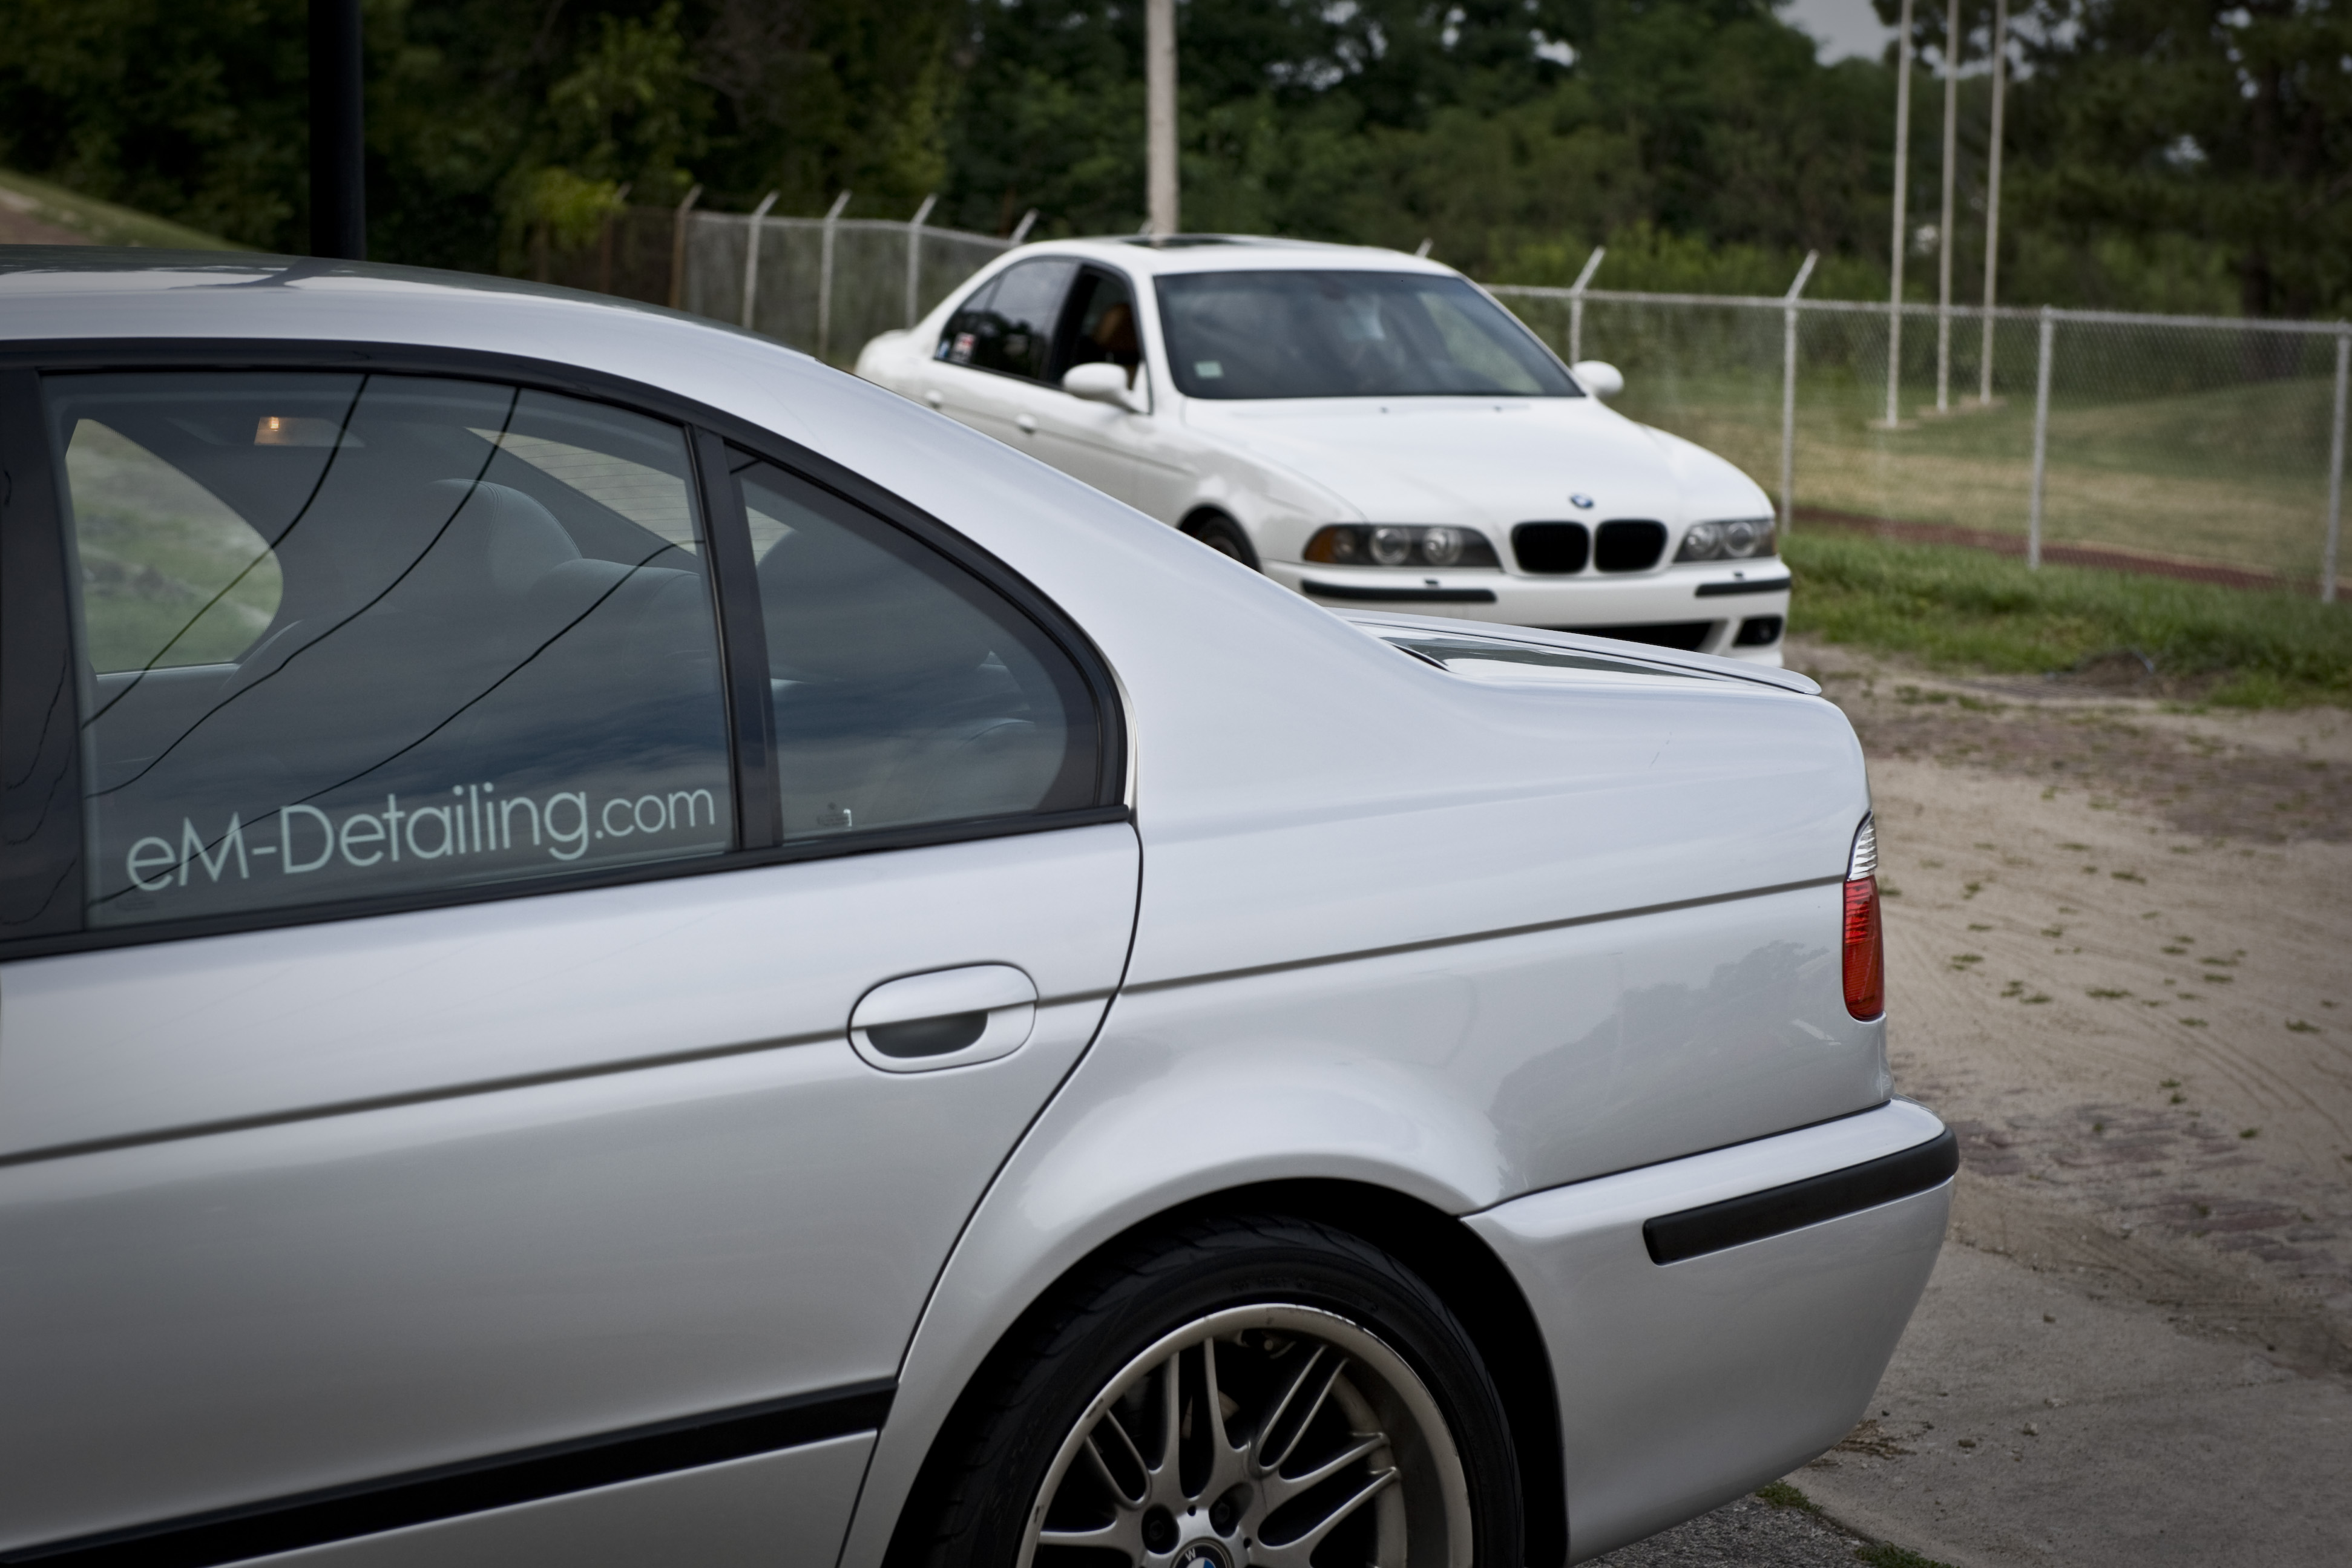
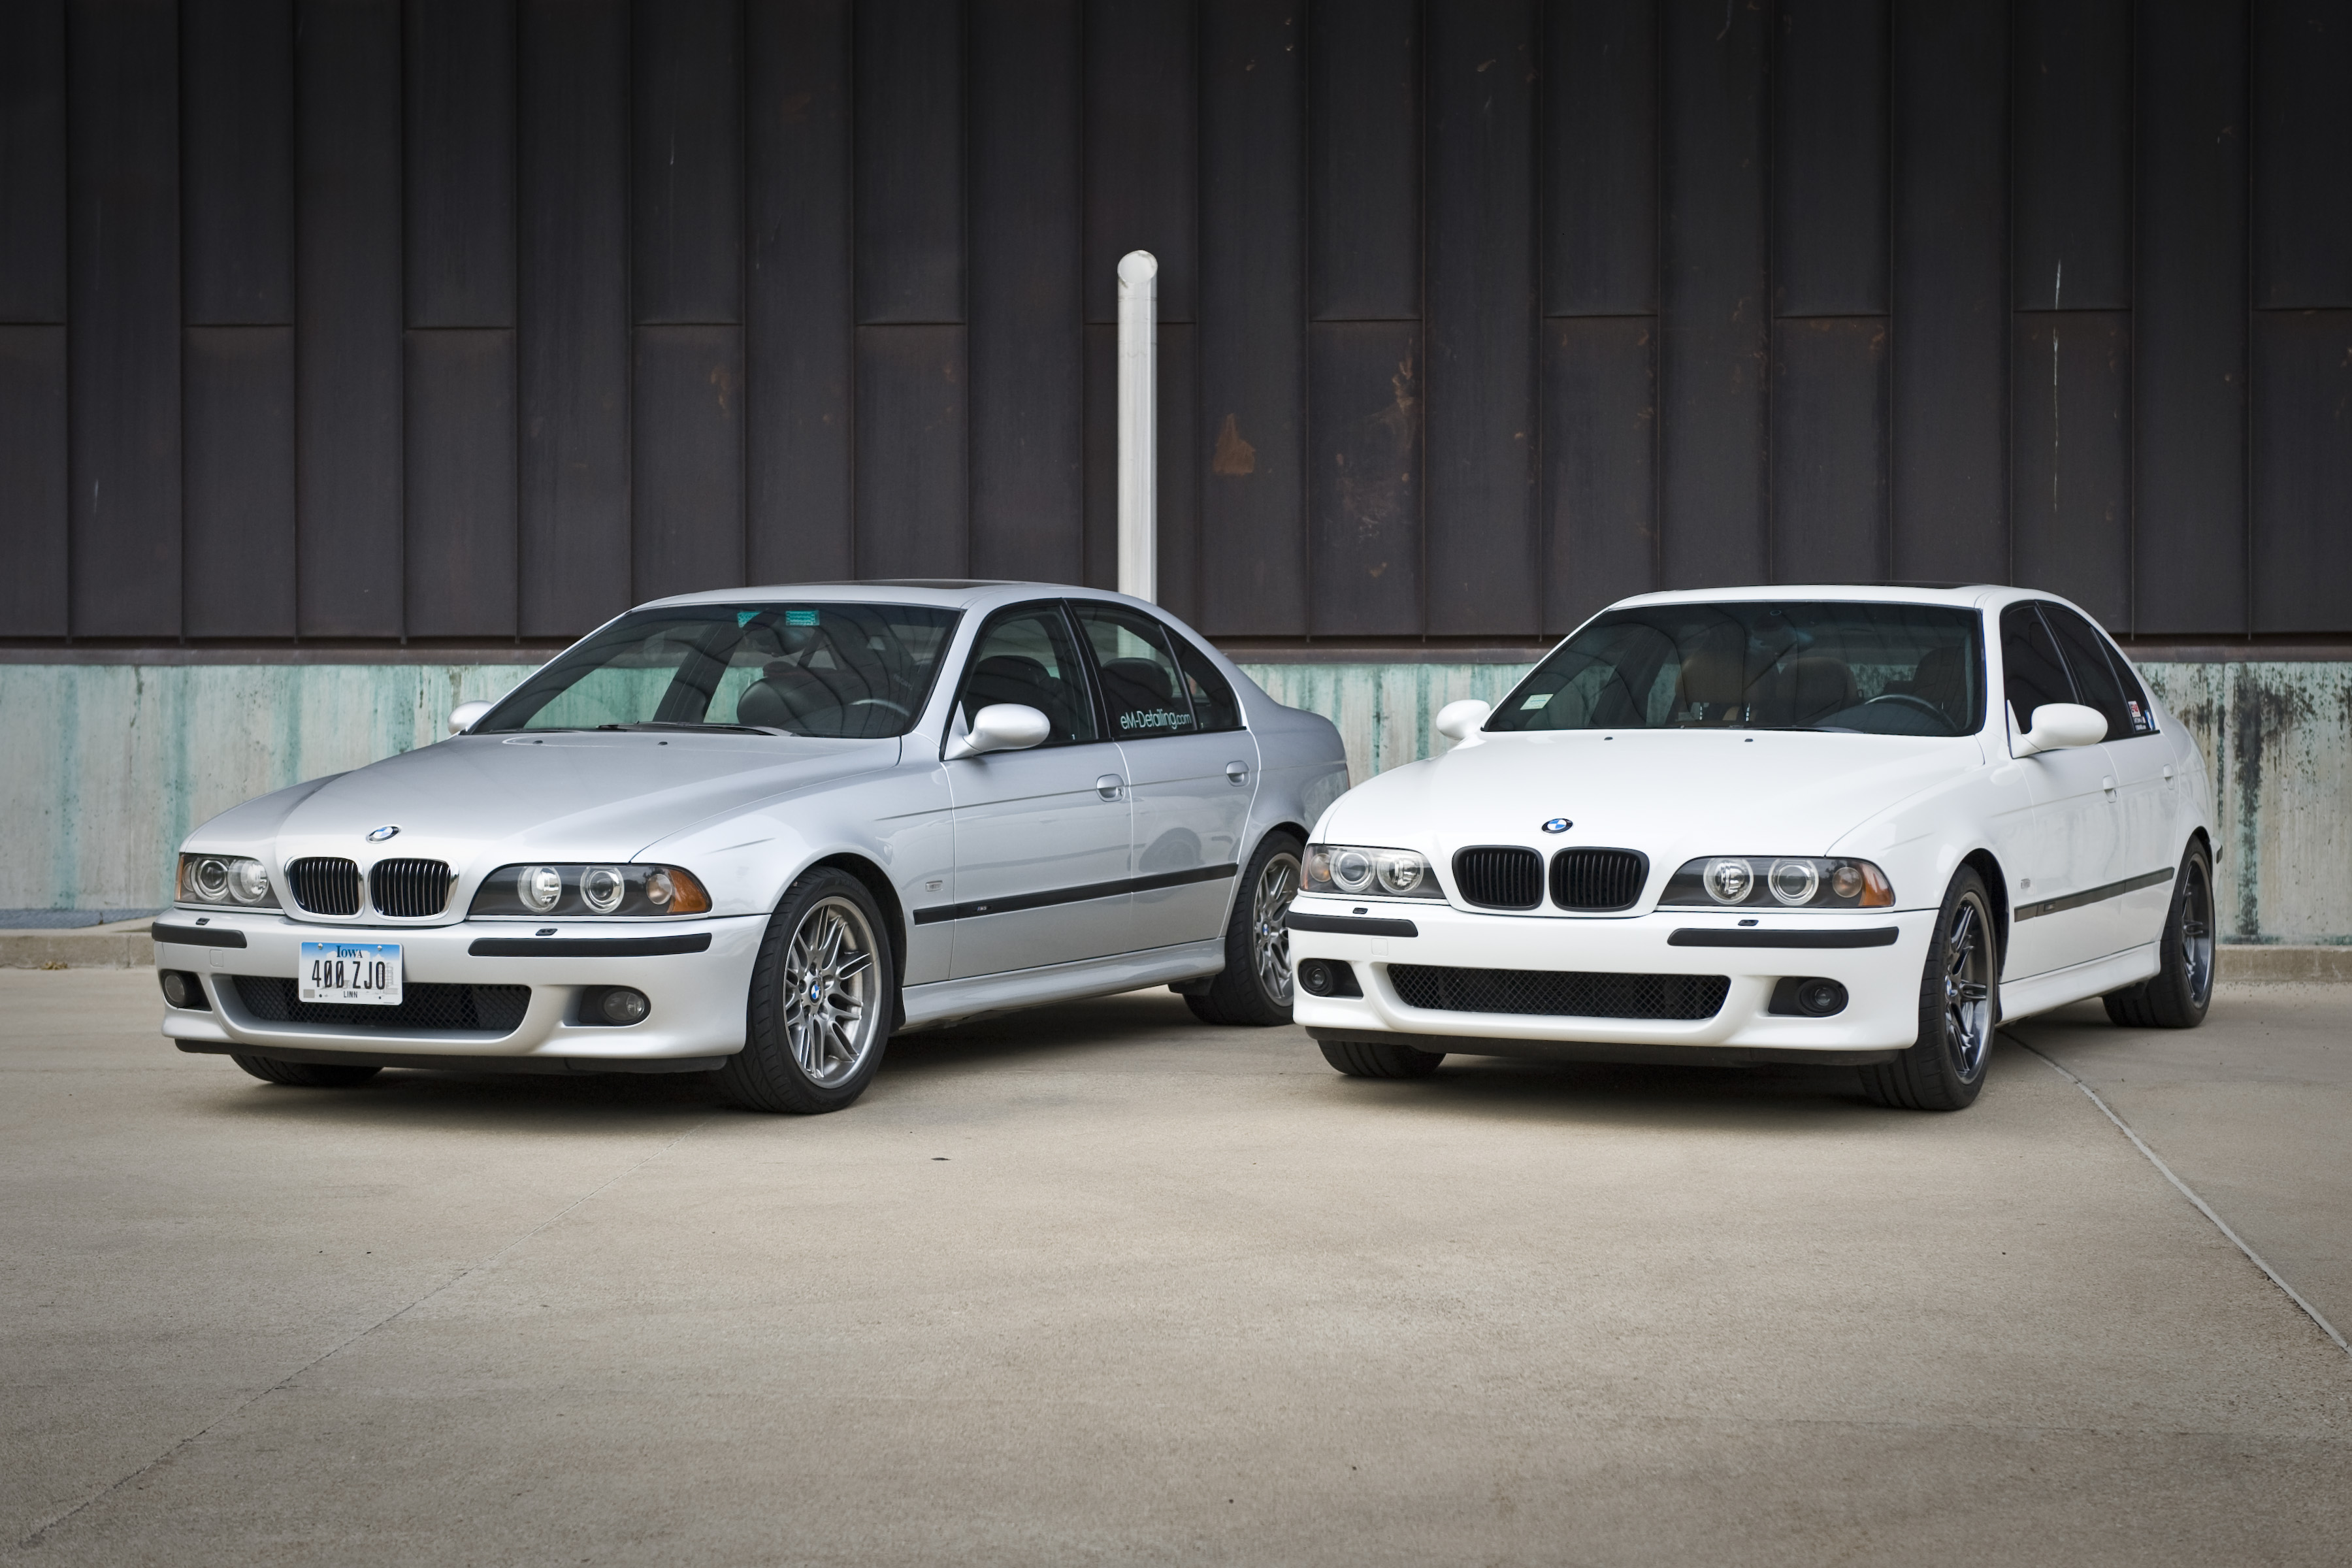
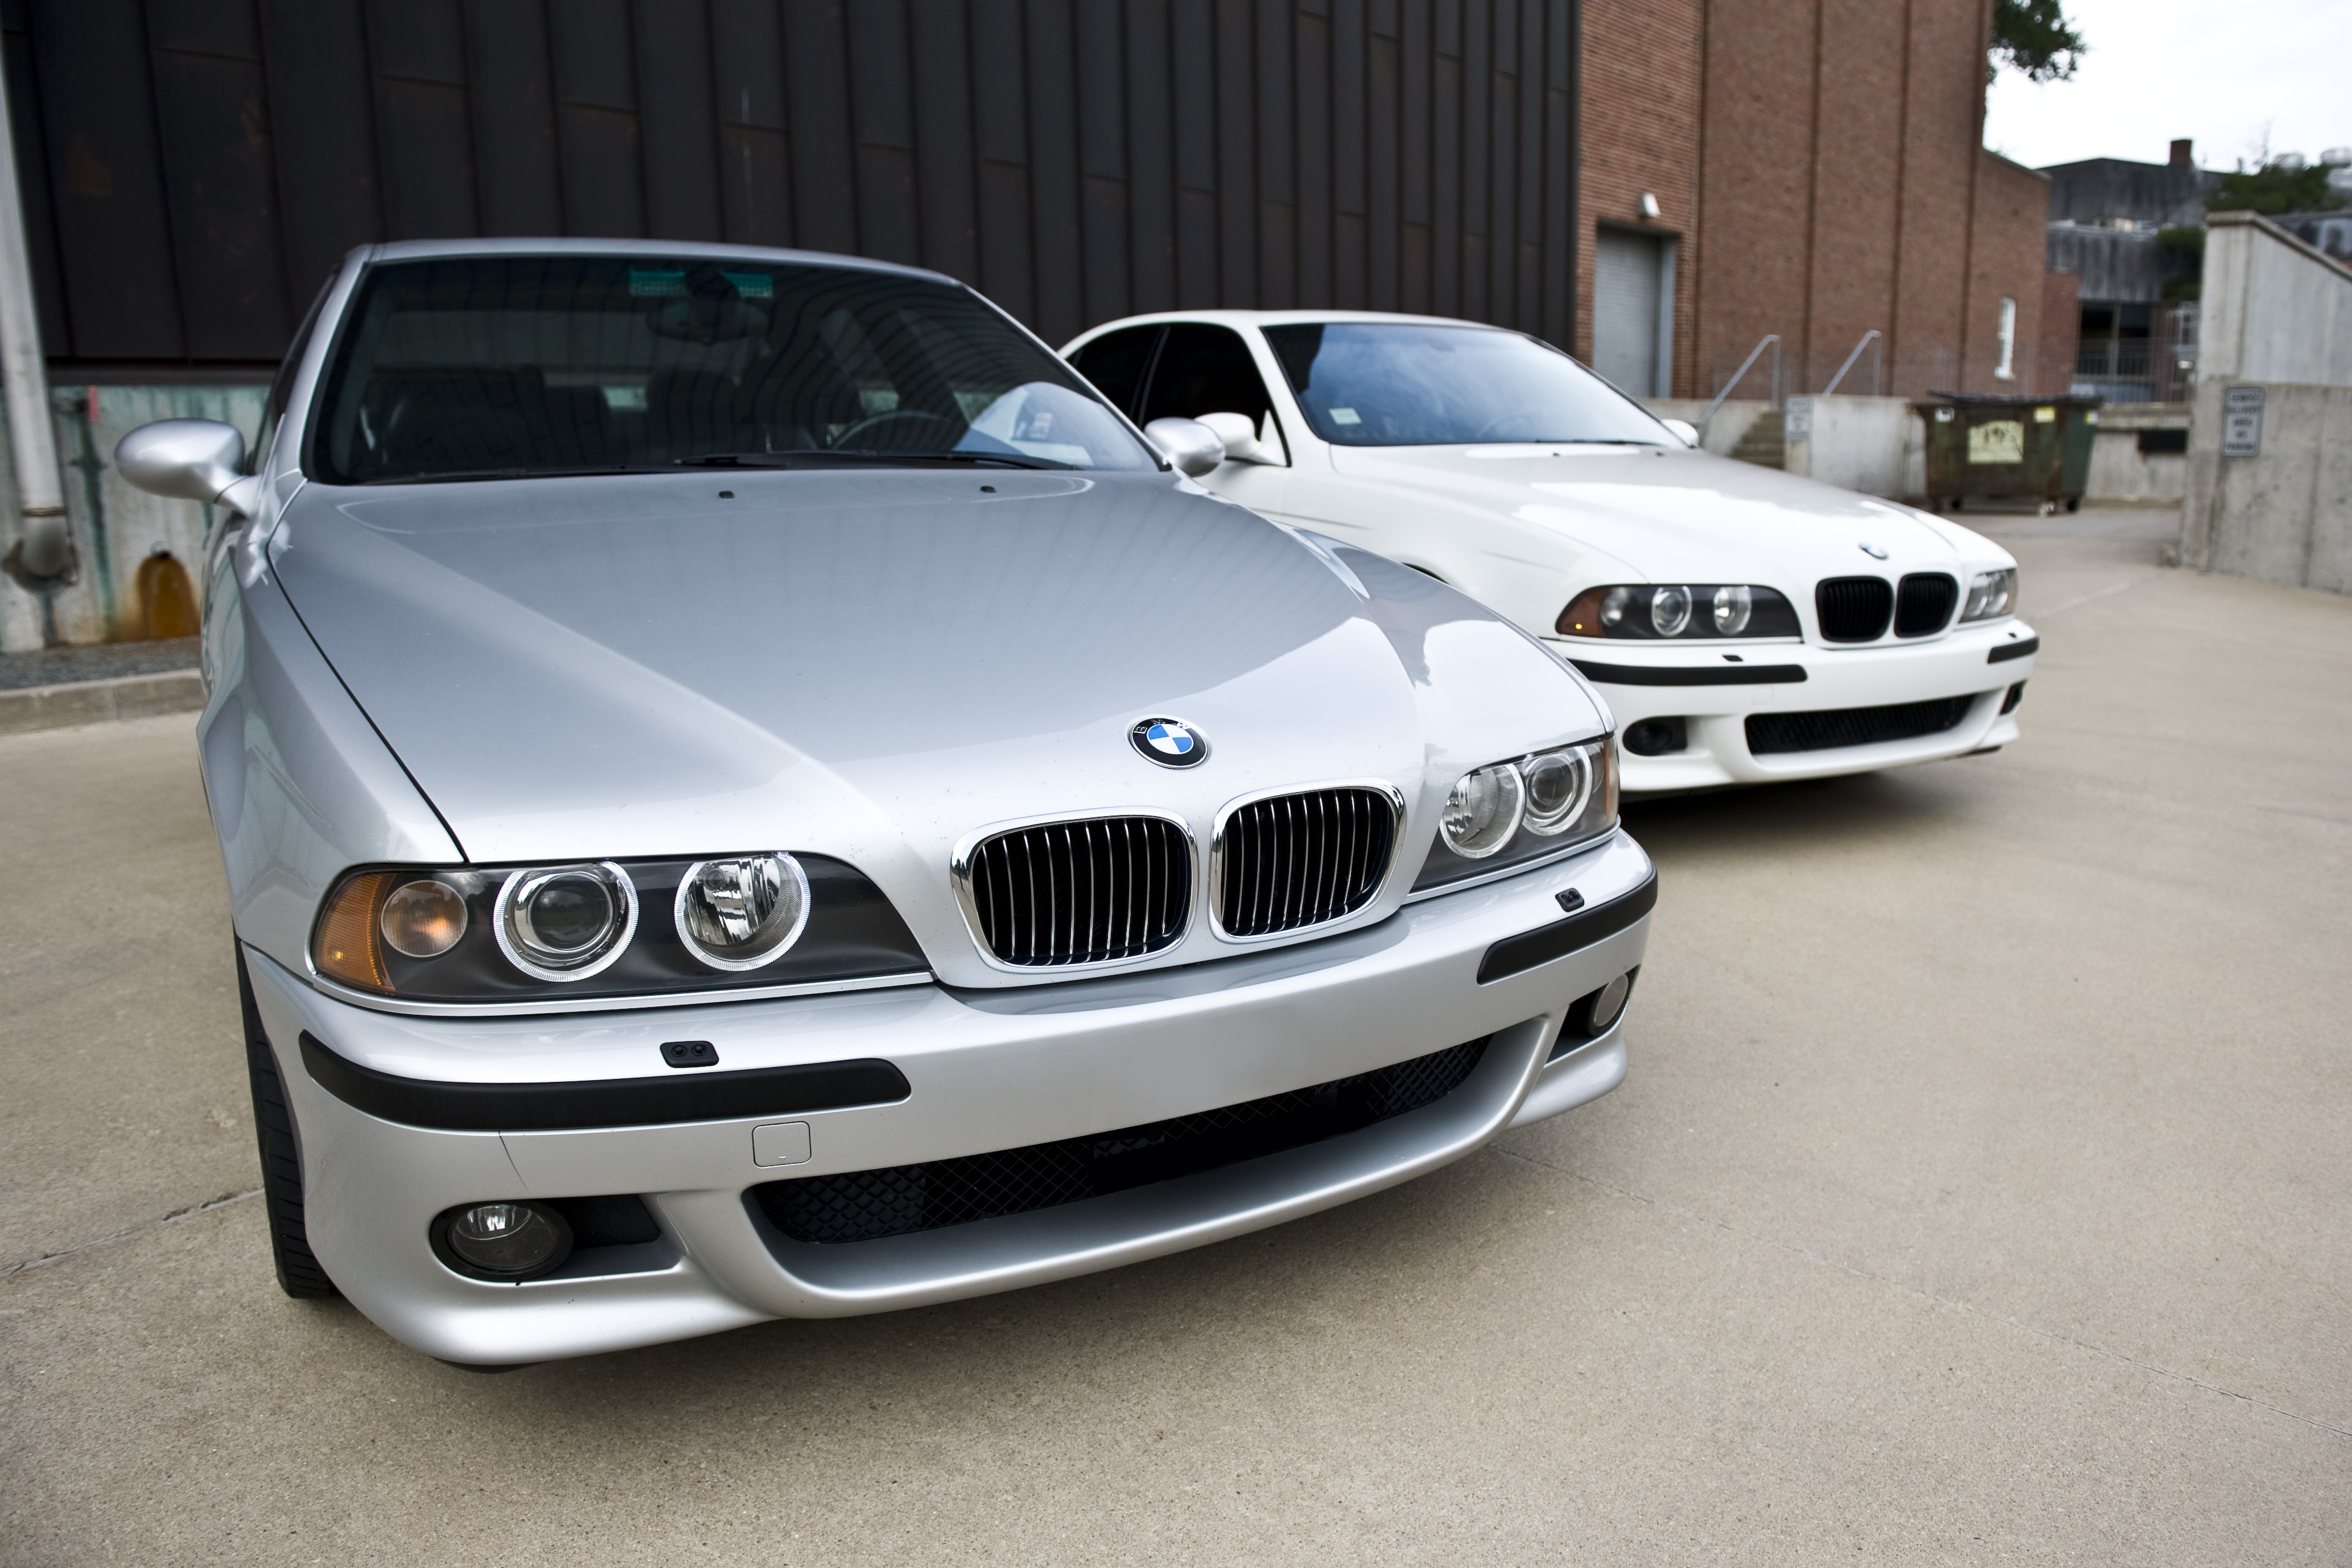
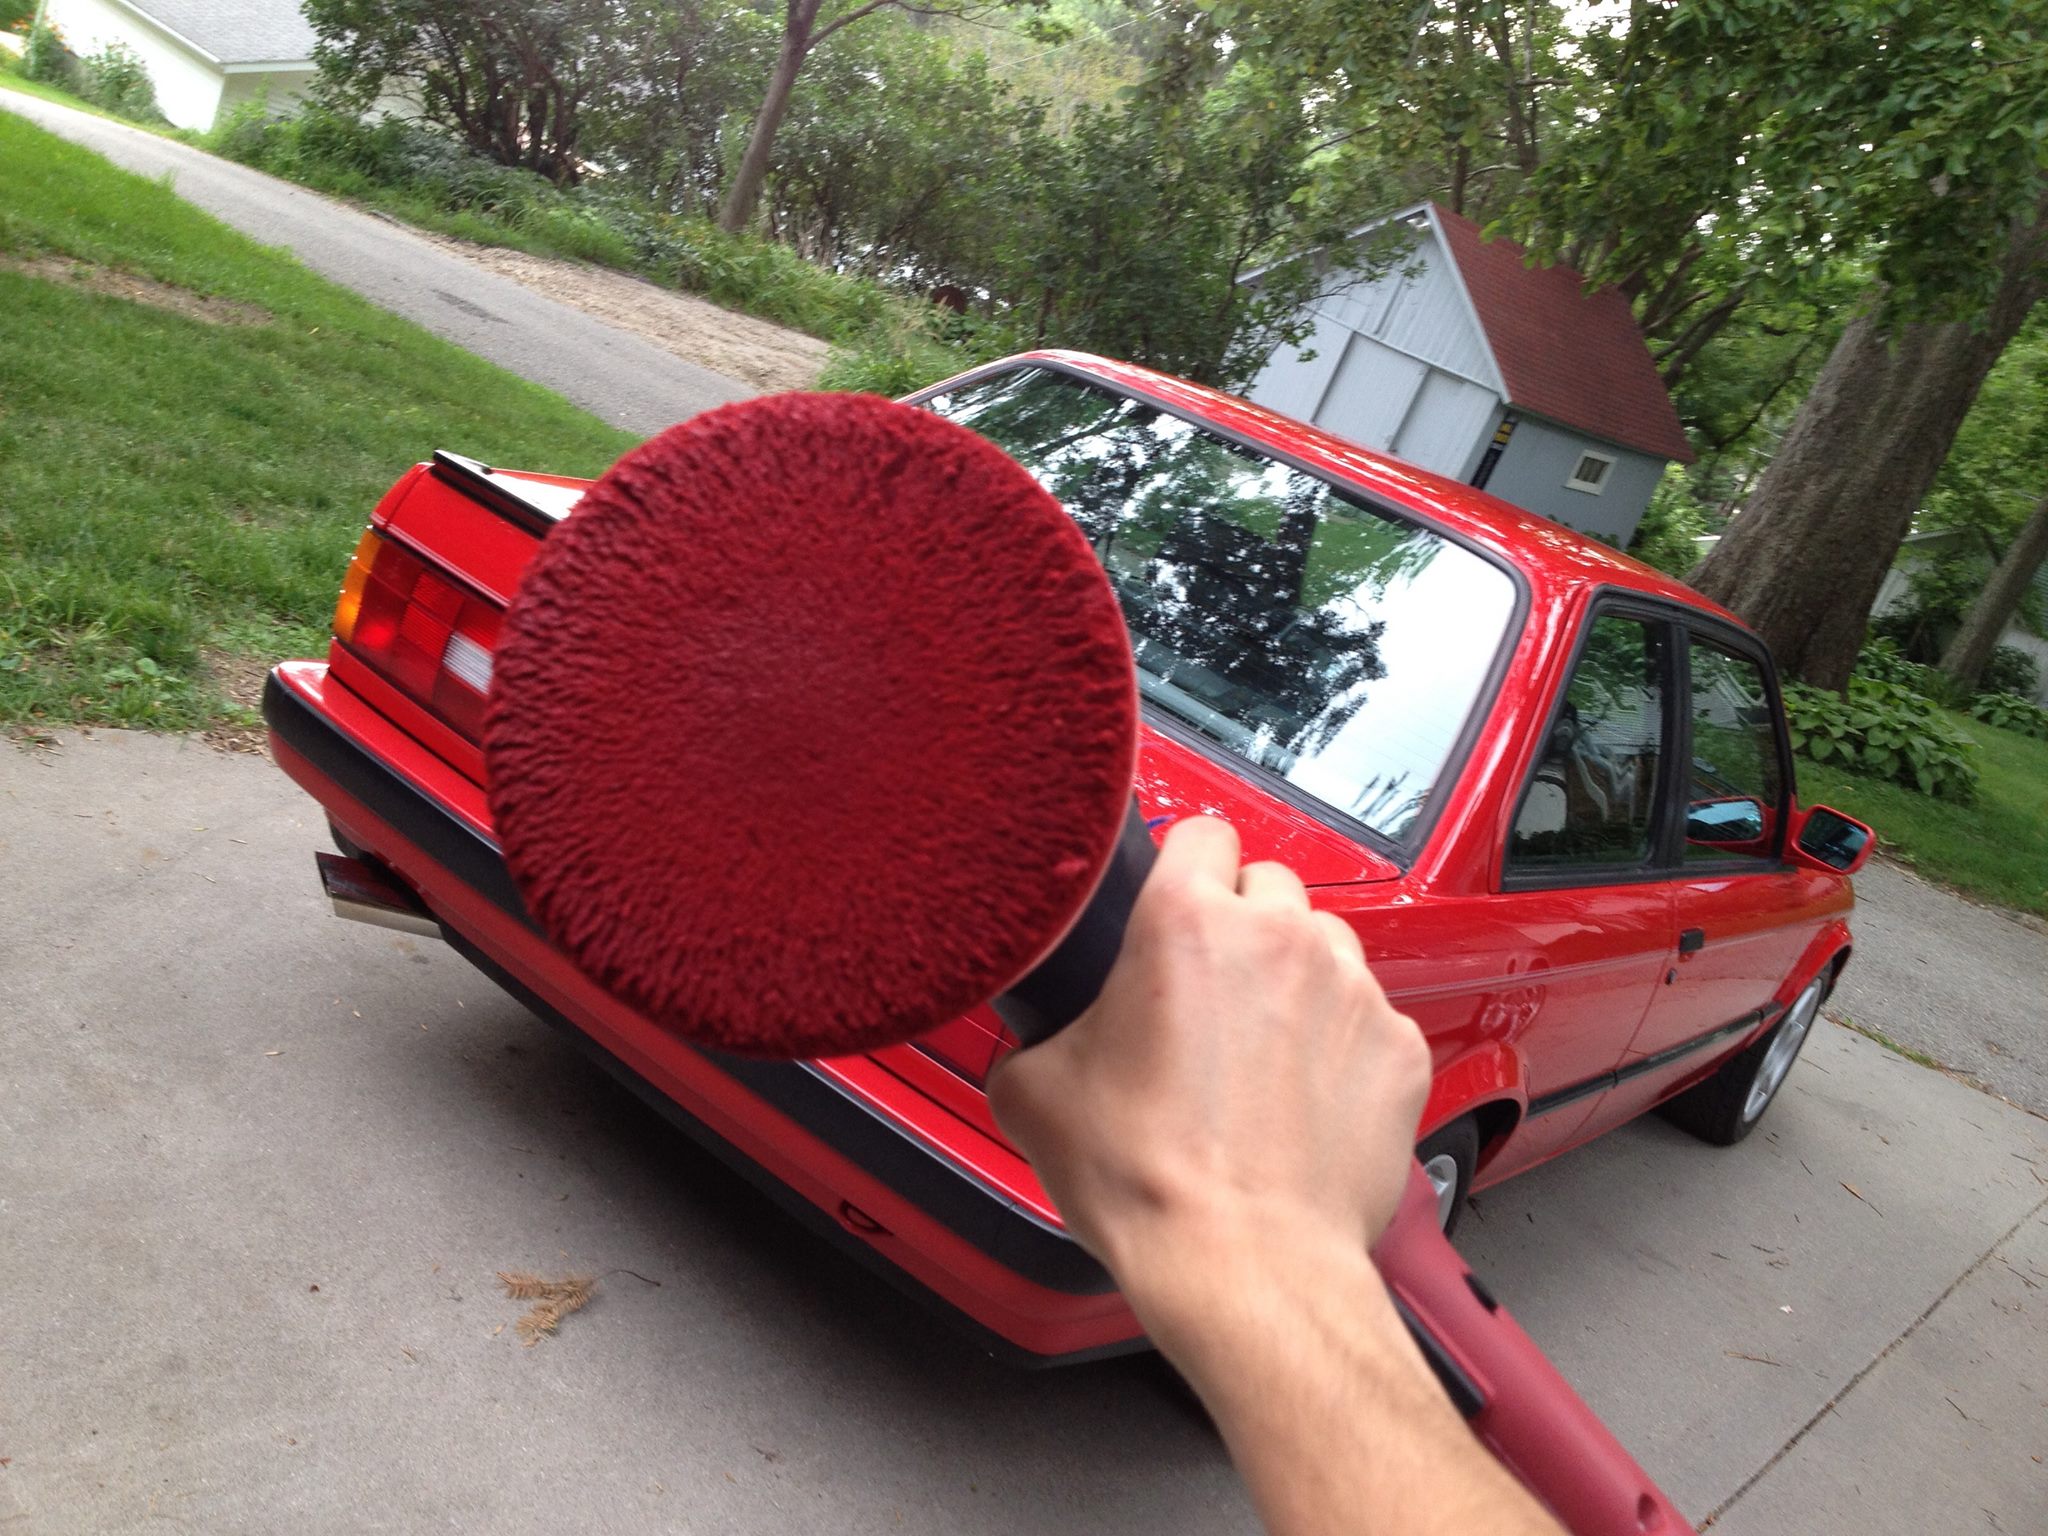
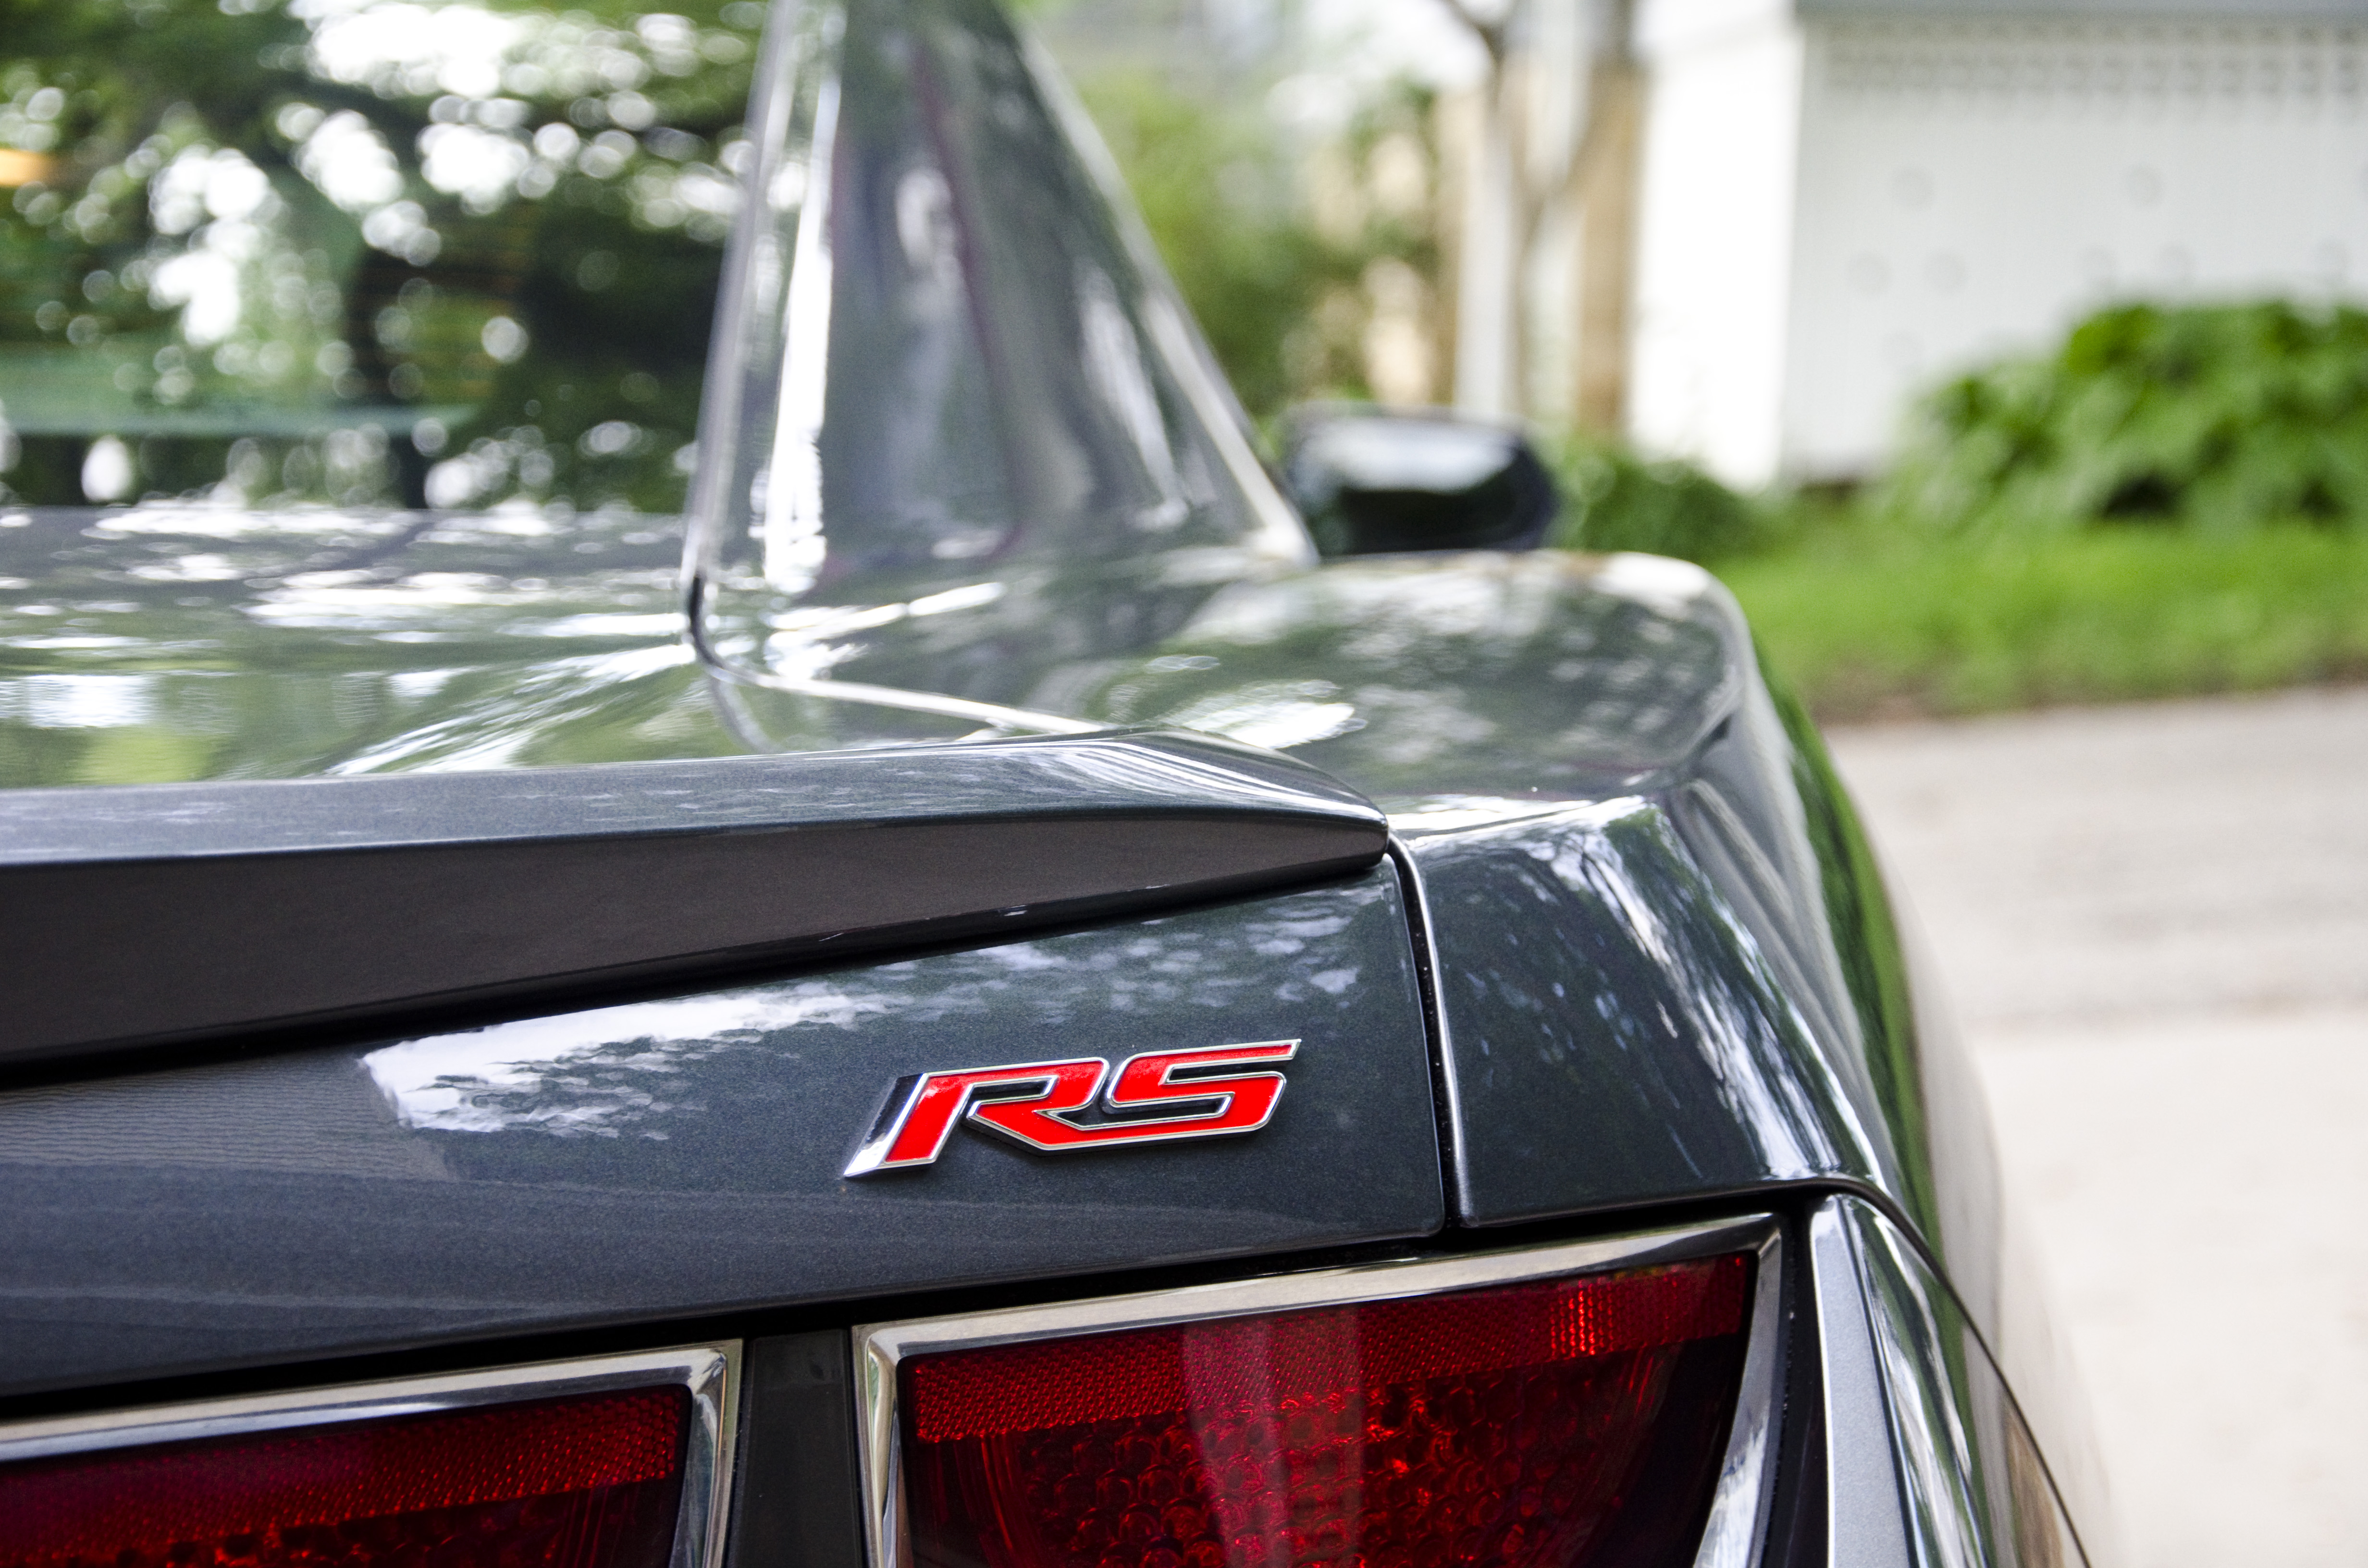
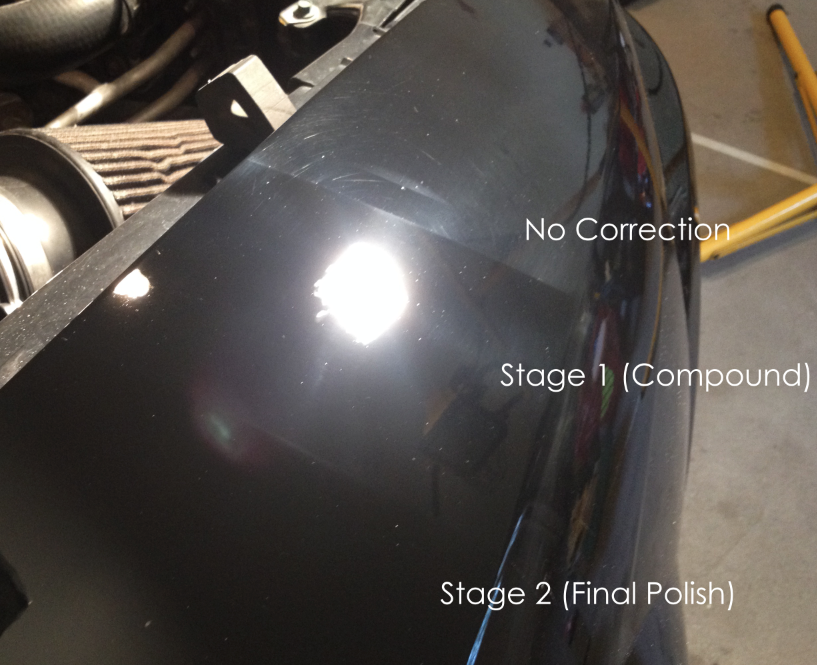
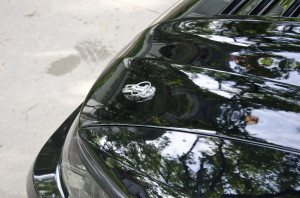
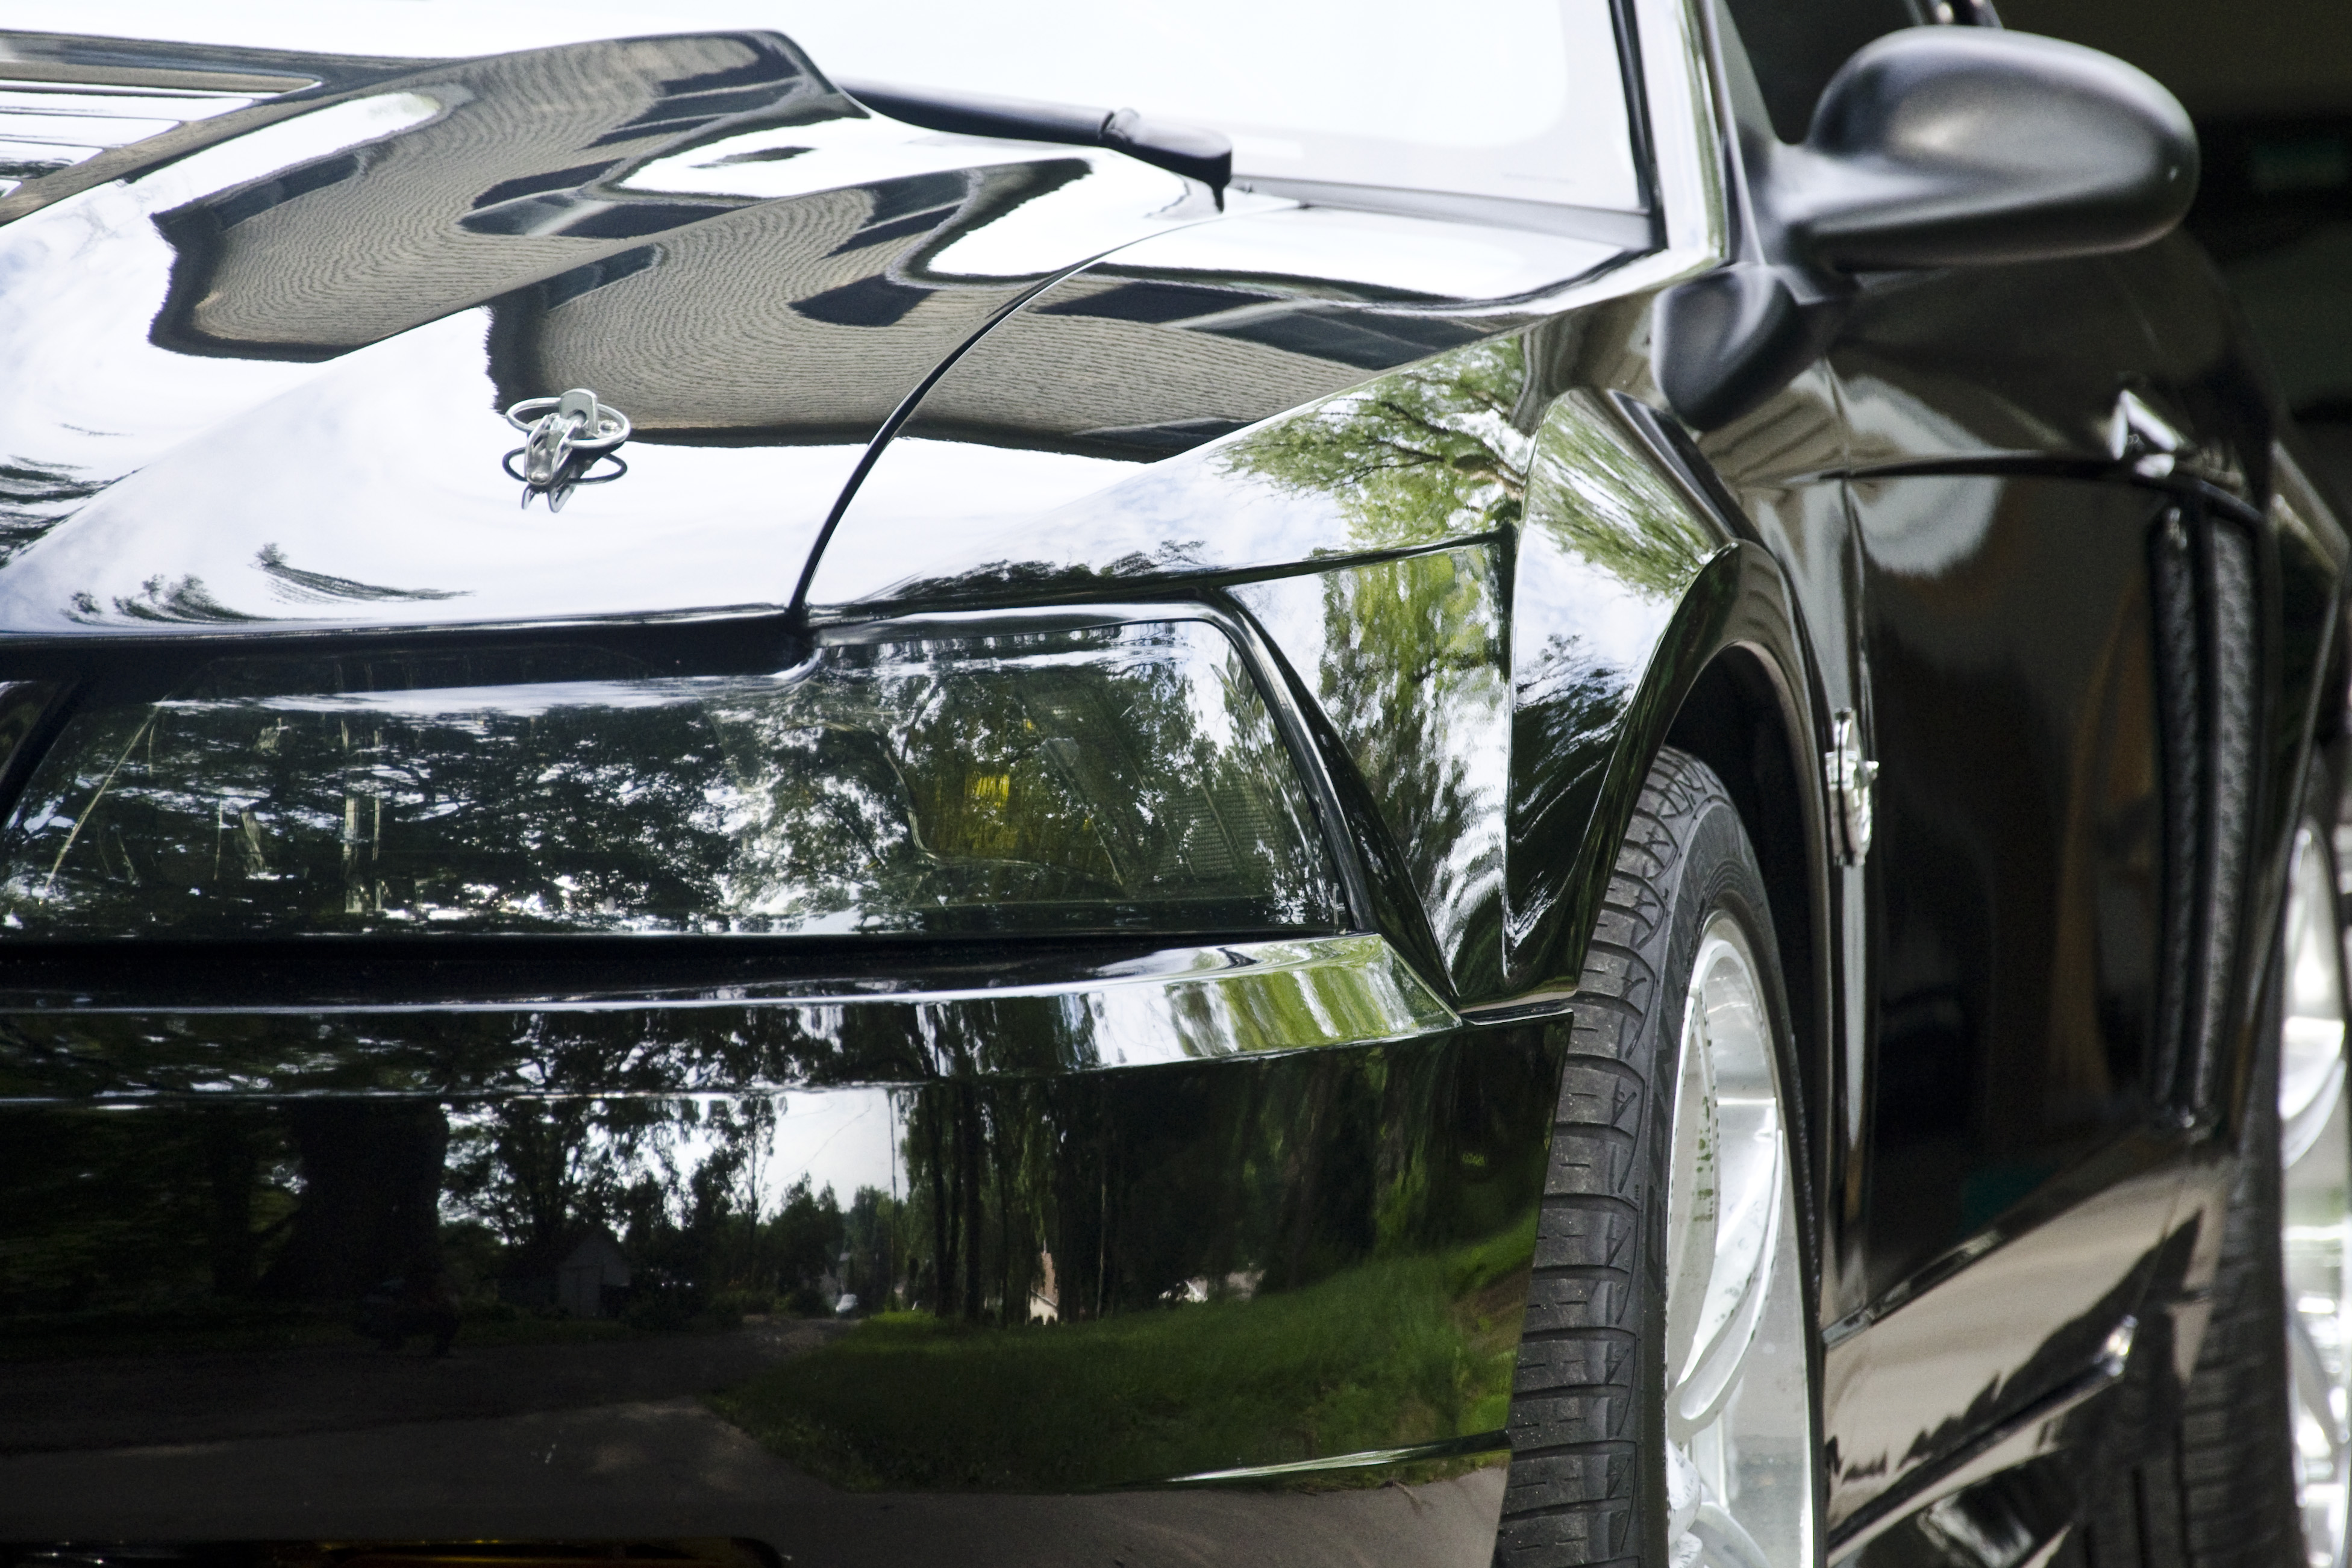
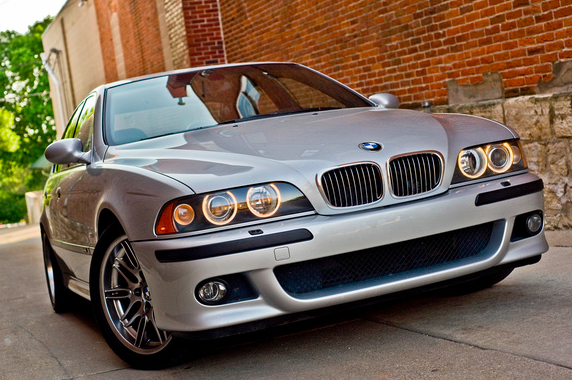
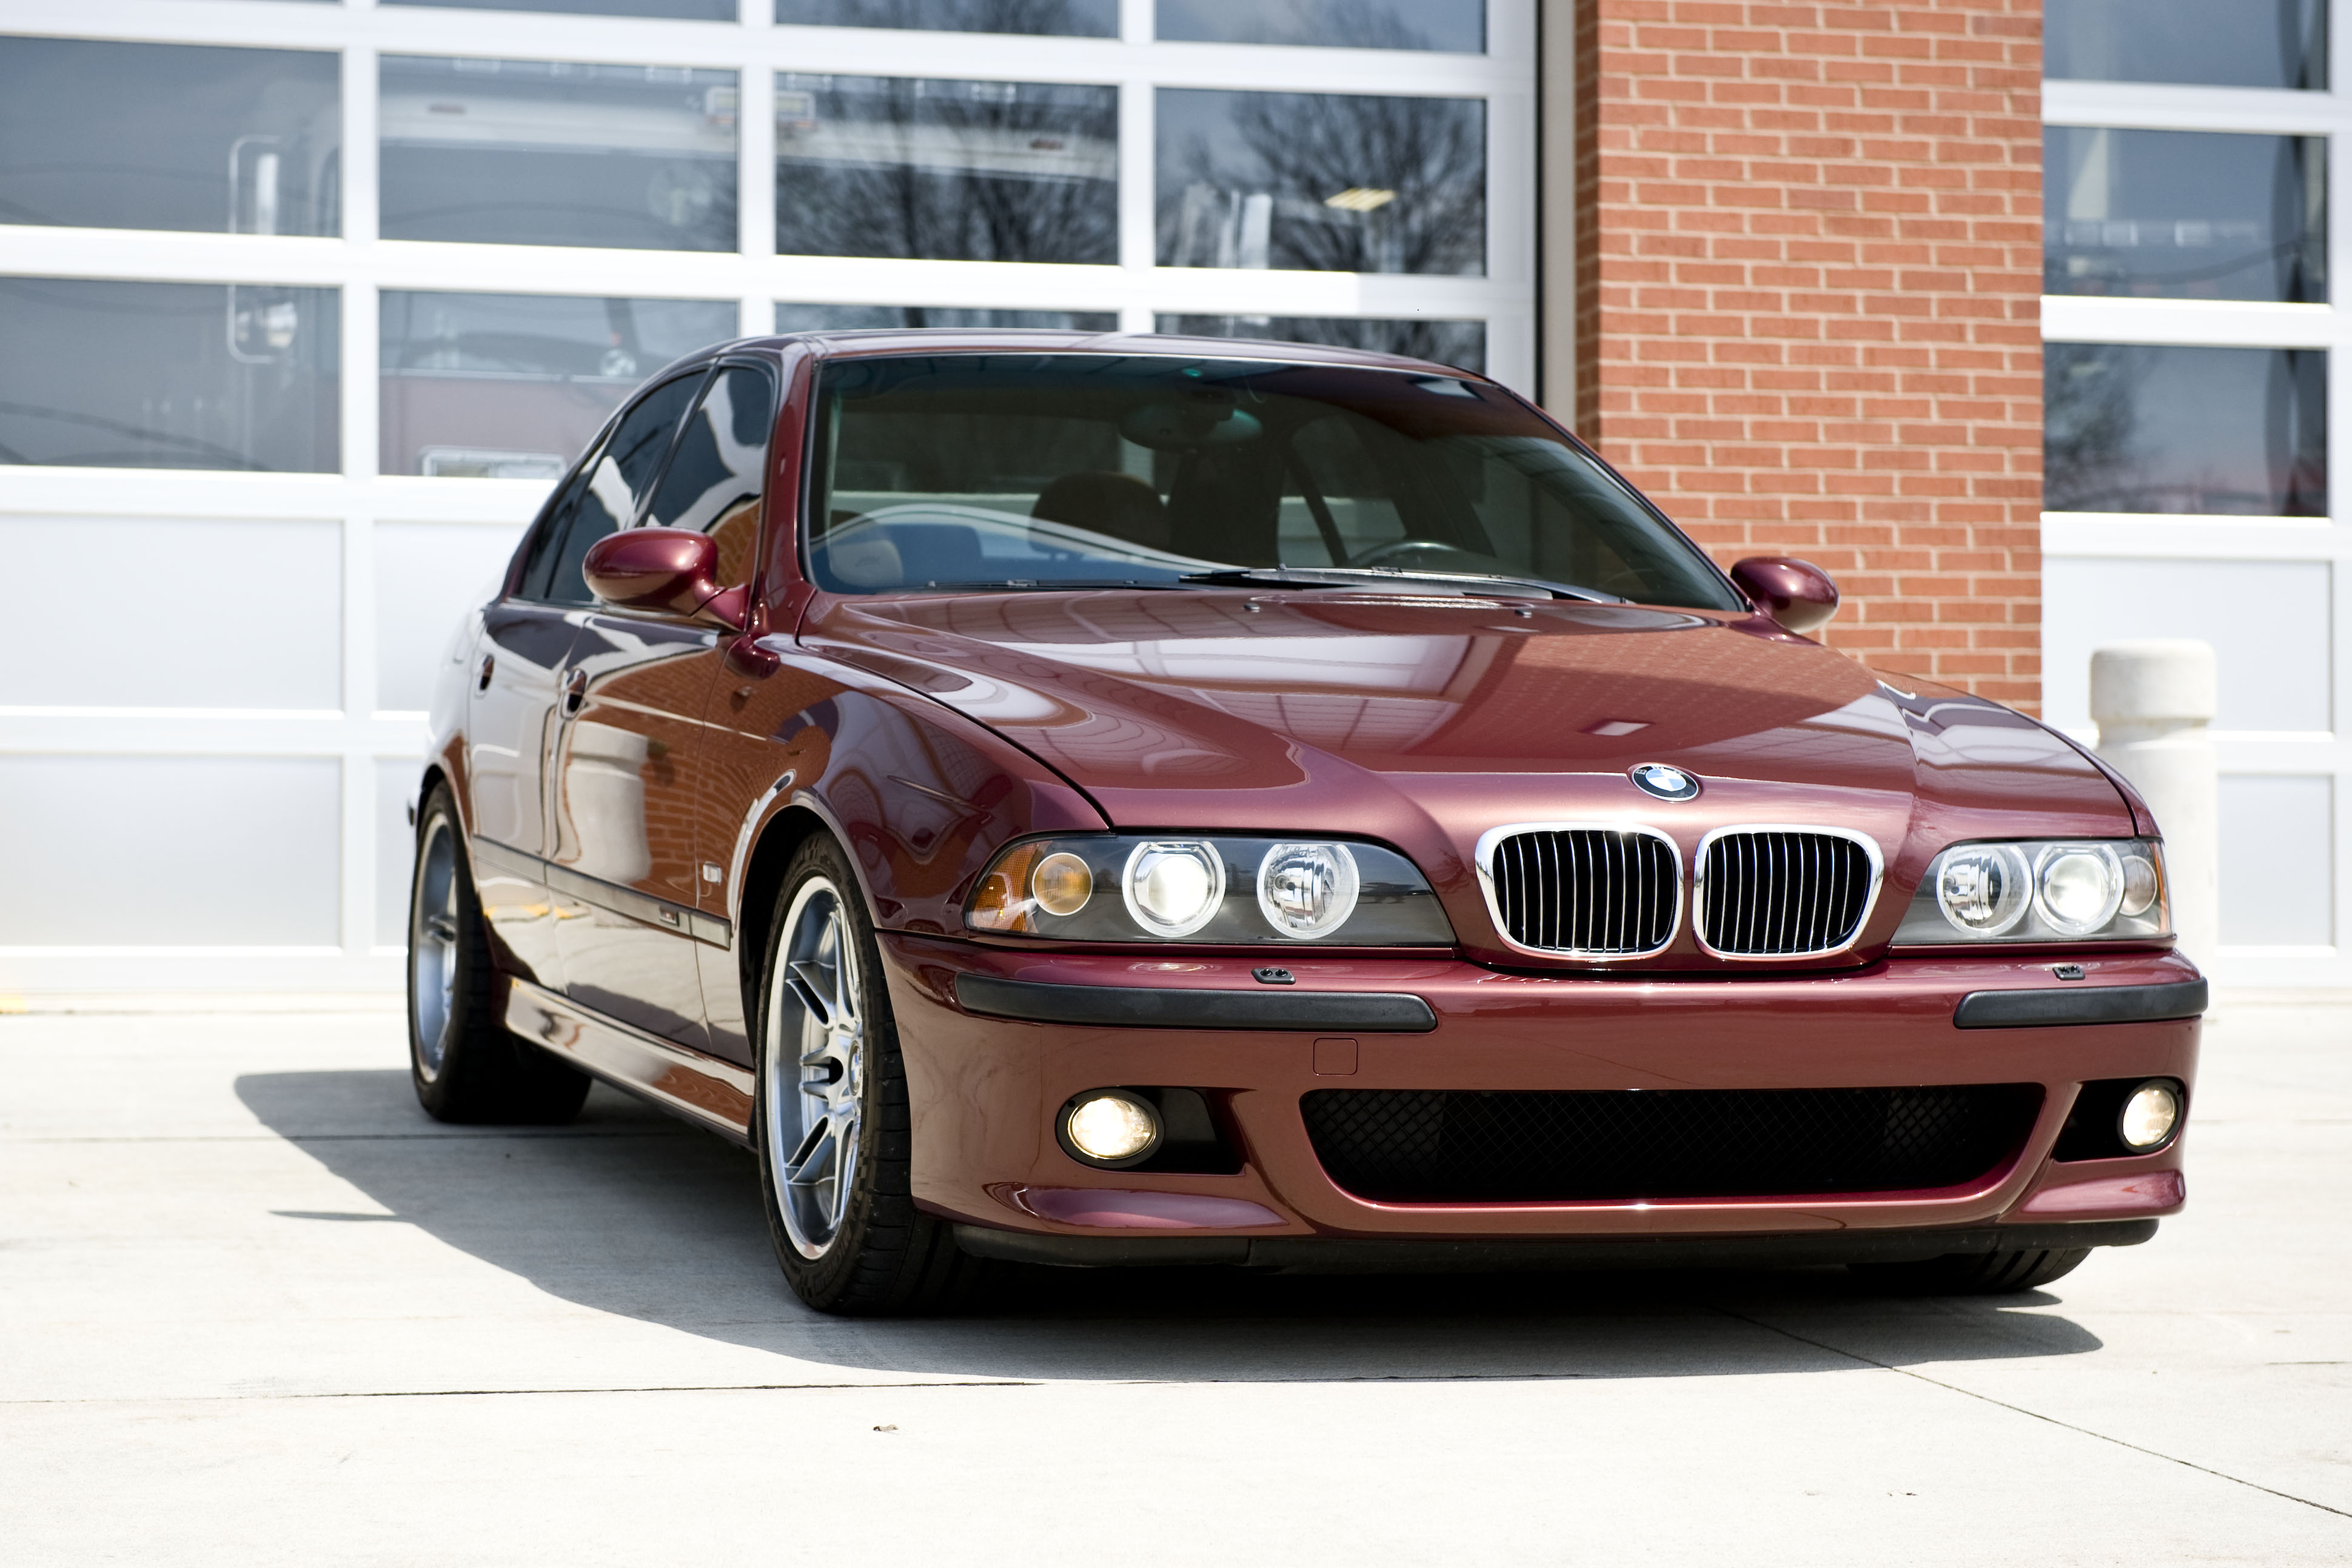
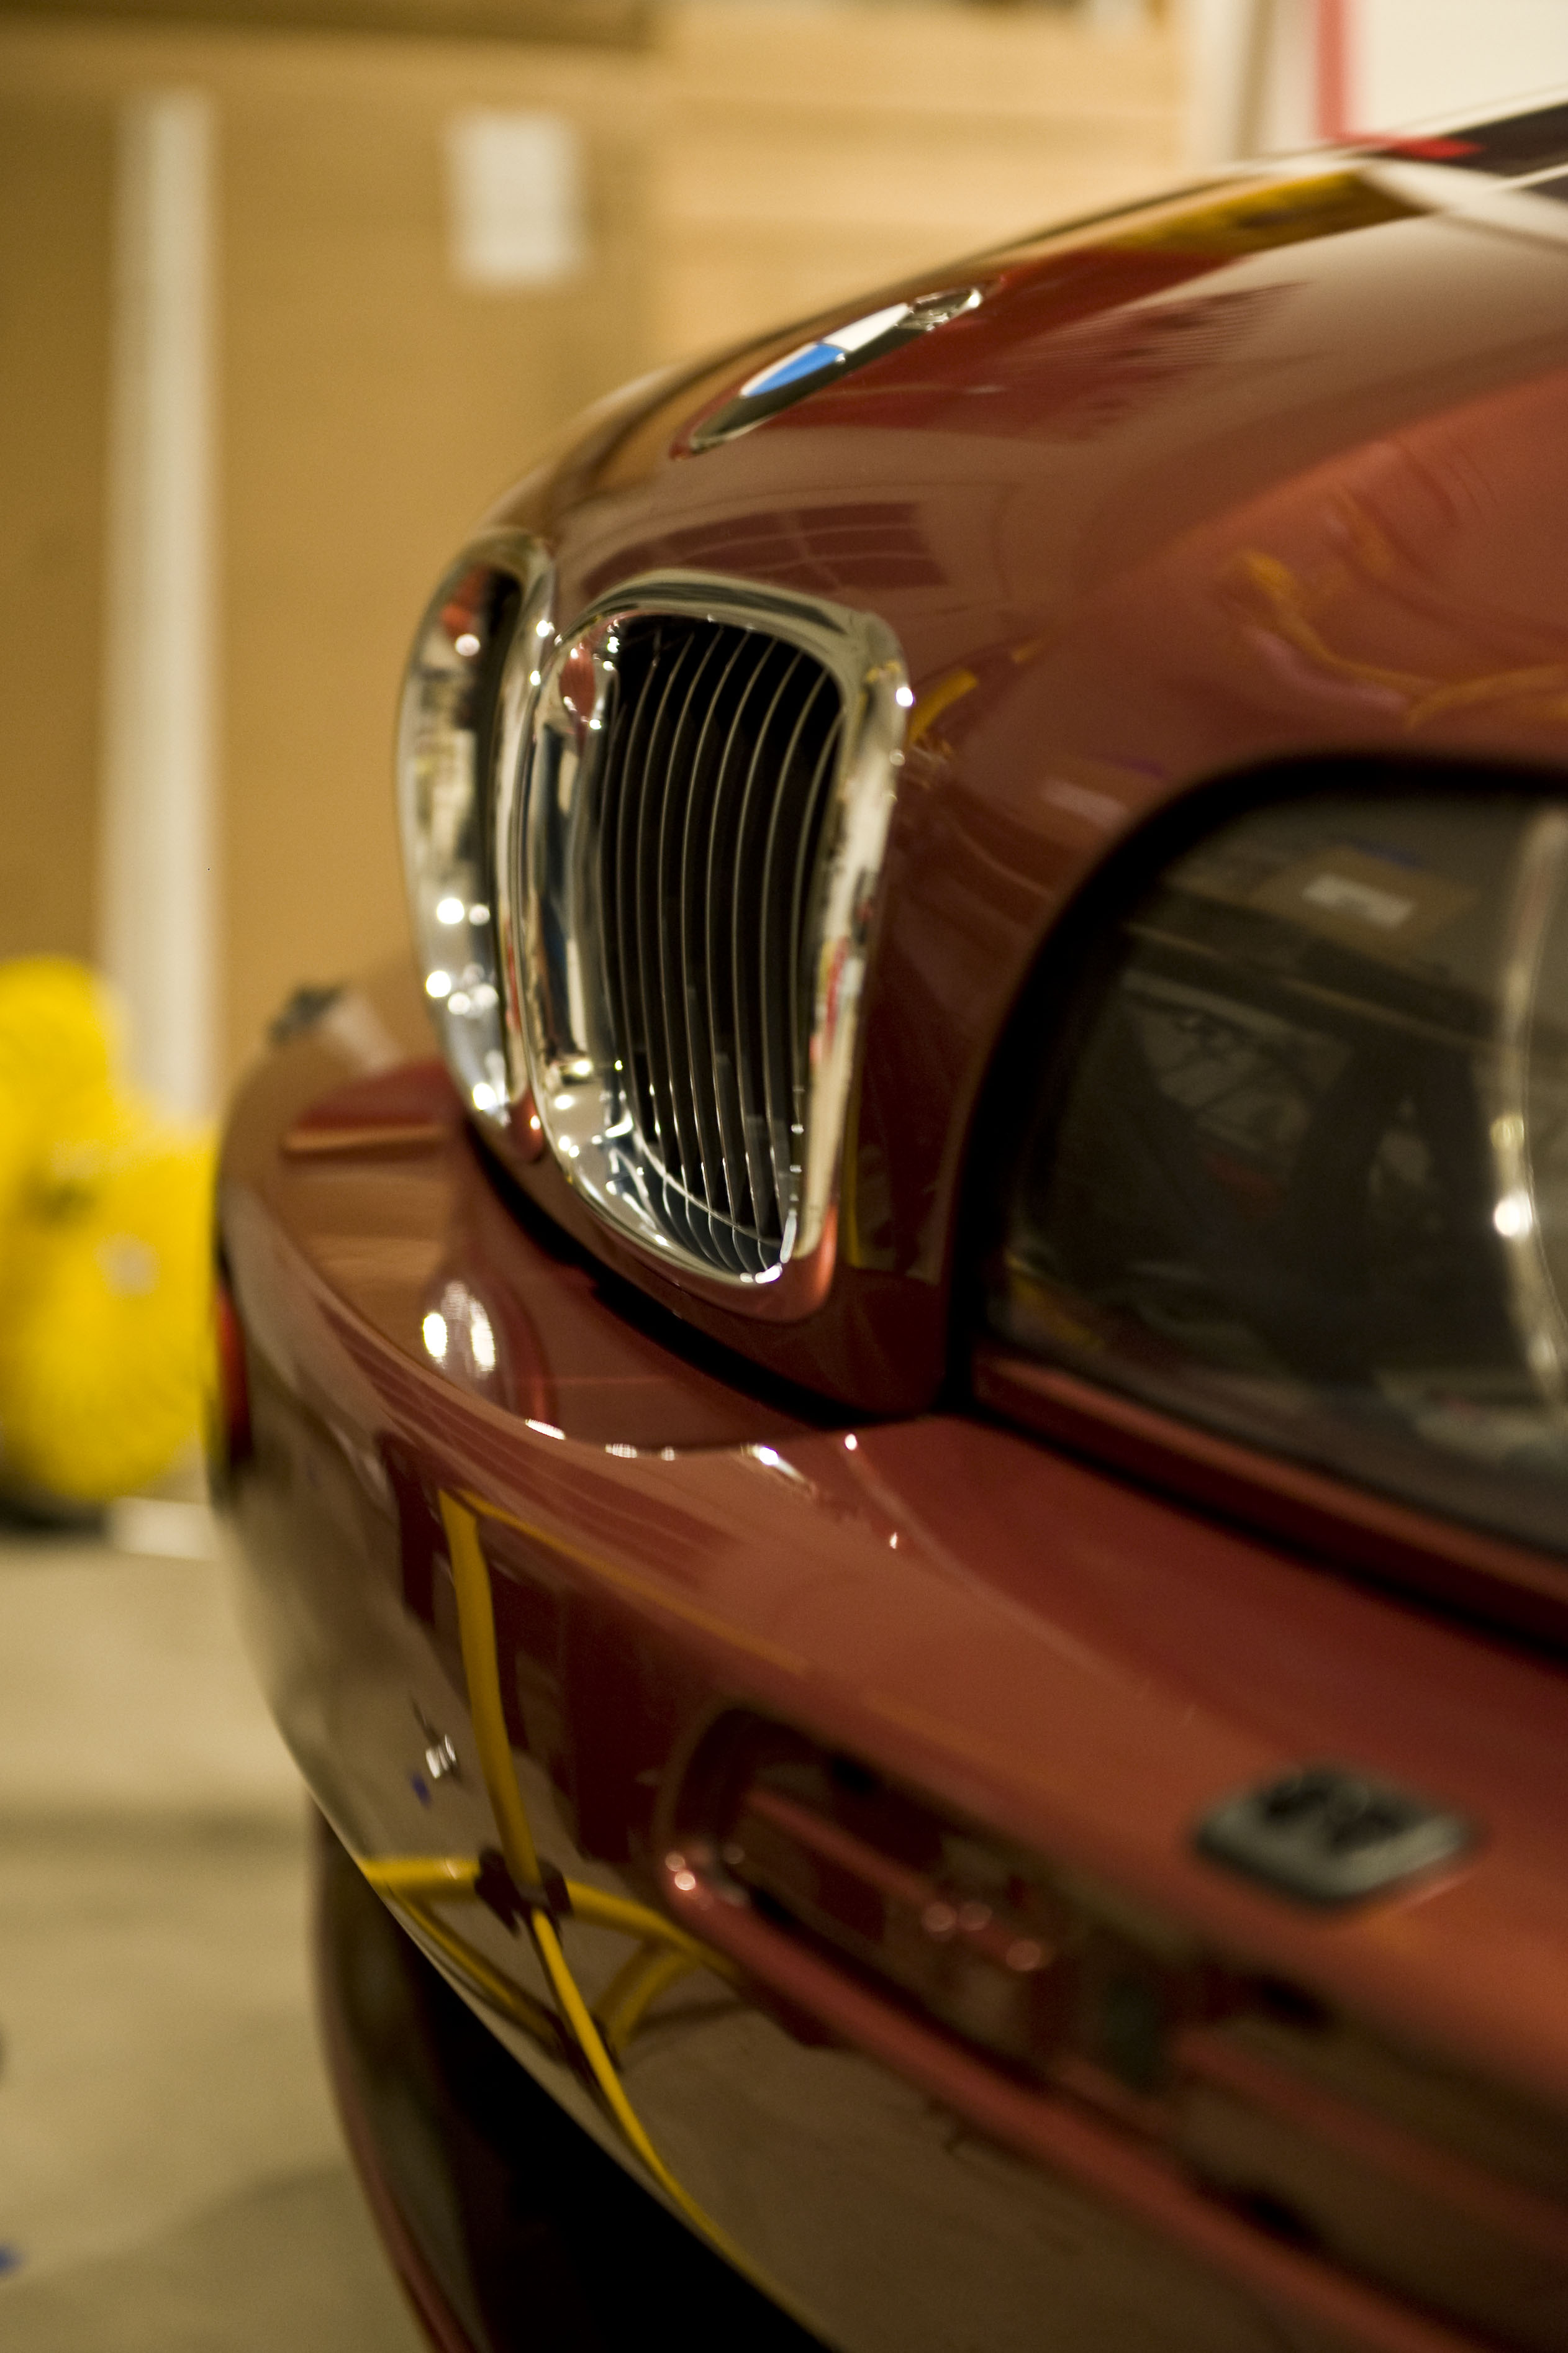
More from Florida Detail Fest, another E39 M5. This Titanium Silver M5 was in for a pin stripe removal, dual stage paint correction, Opti Coat Pro topped with Gloss Coat, Glass Coat Pro, Wheel and Caliper Coating, and Interior Clean and Condition. Needless to say there was a lot of work and I hardly got any pictures of the process.

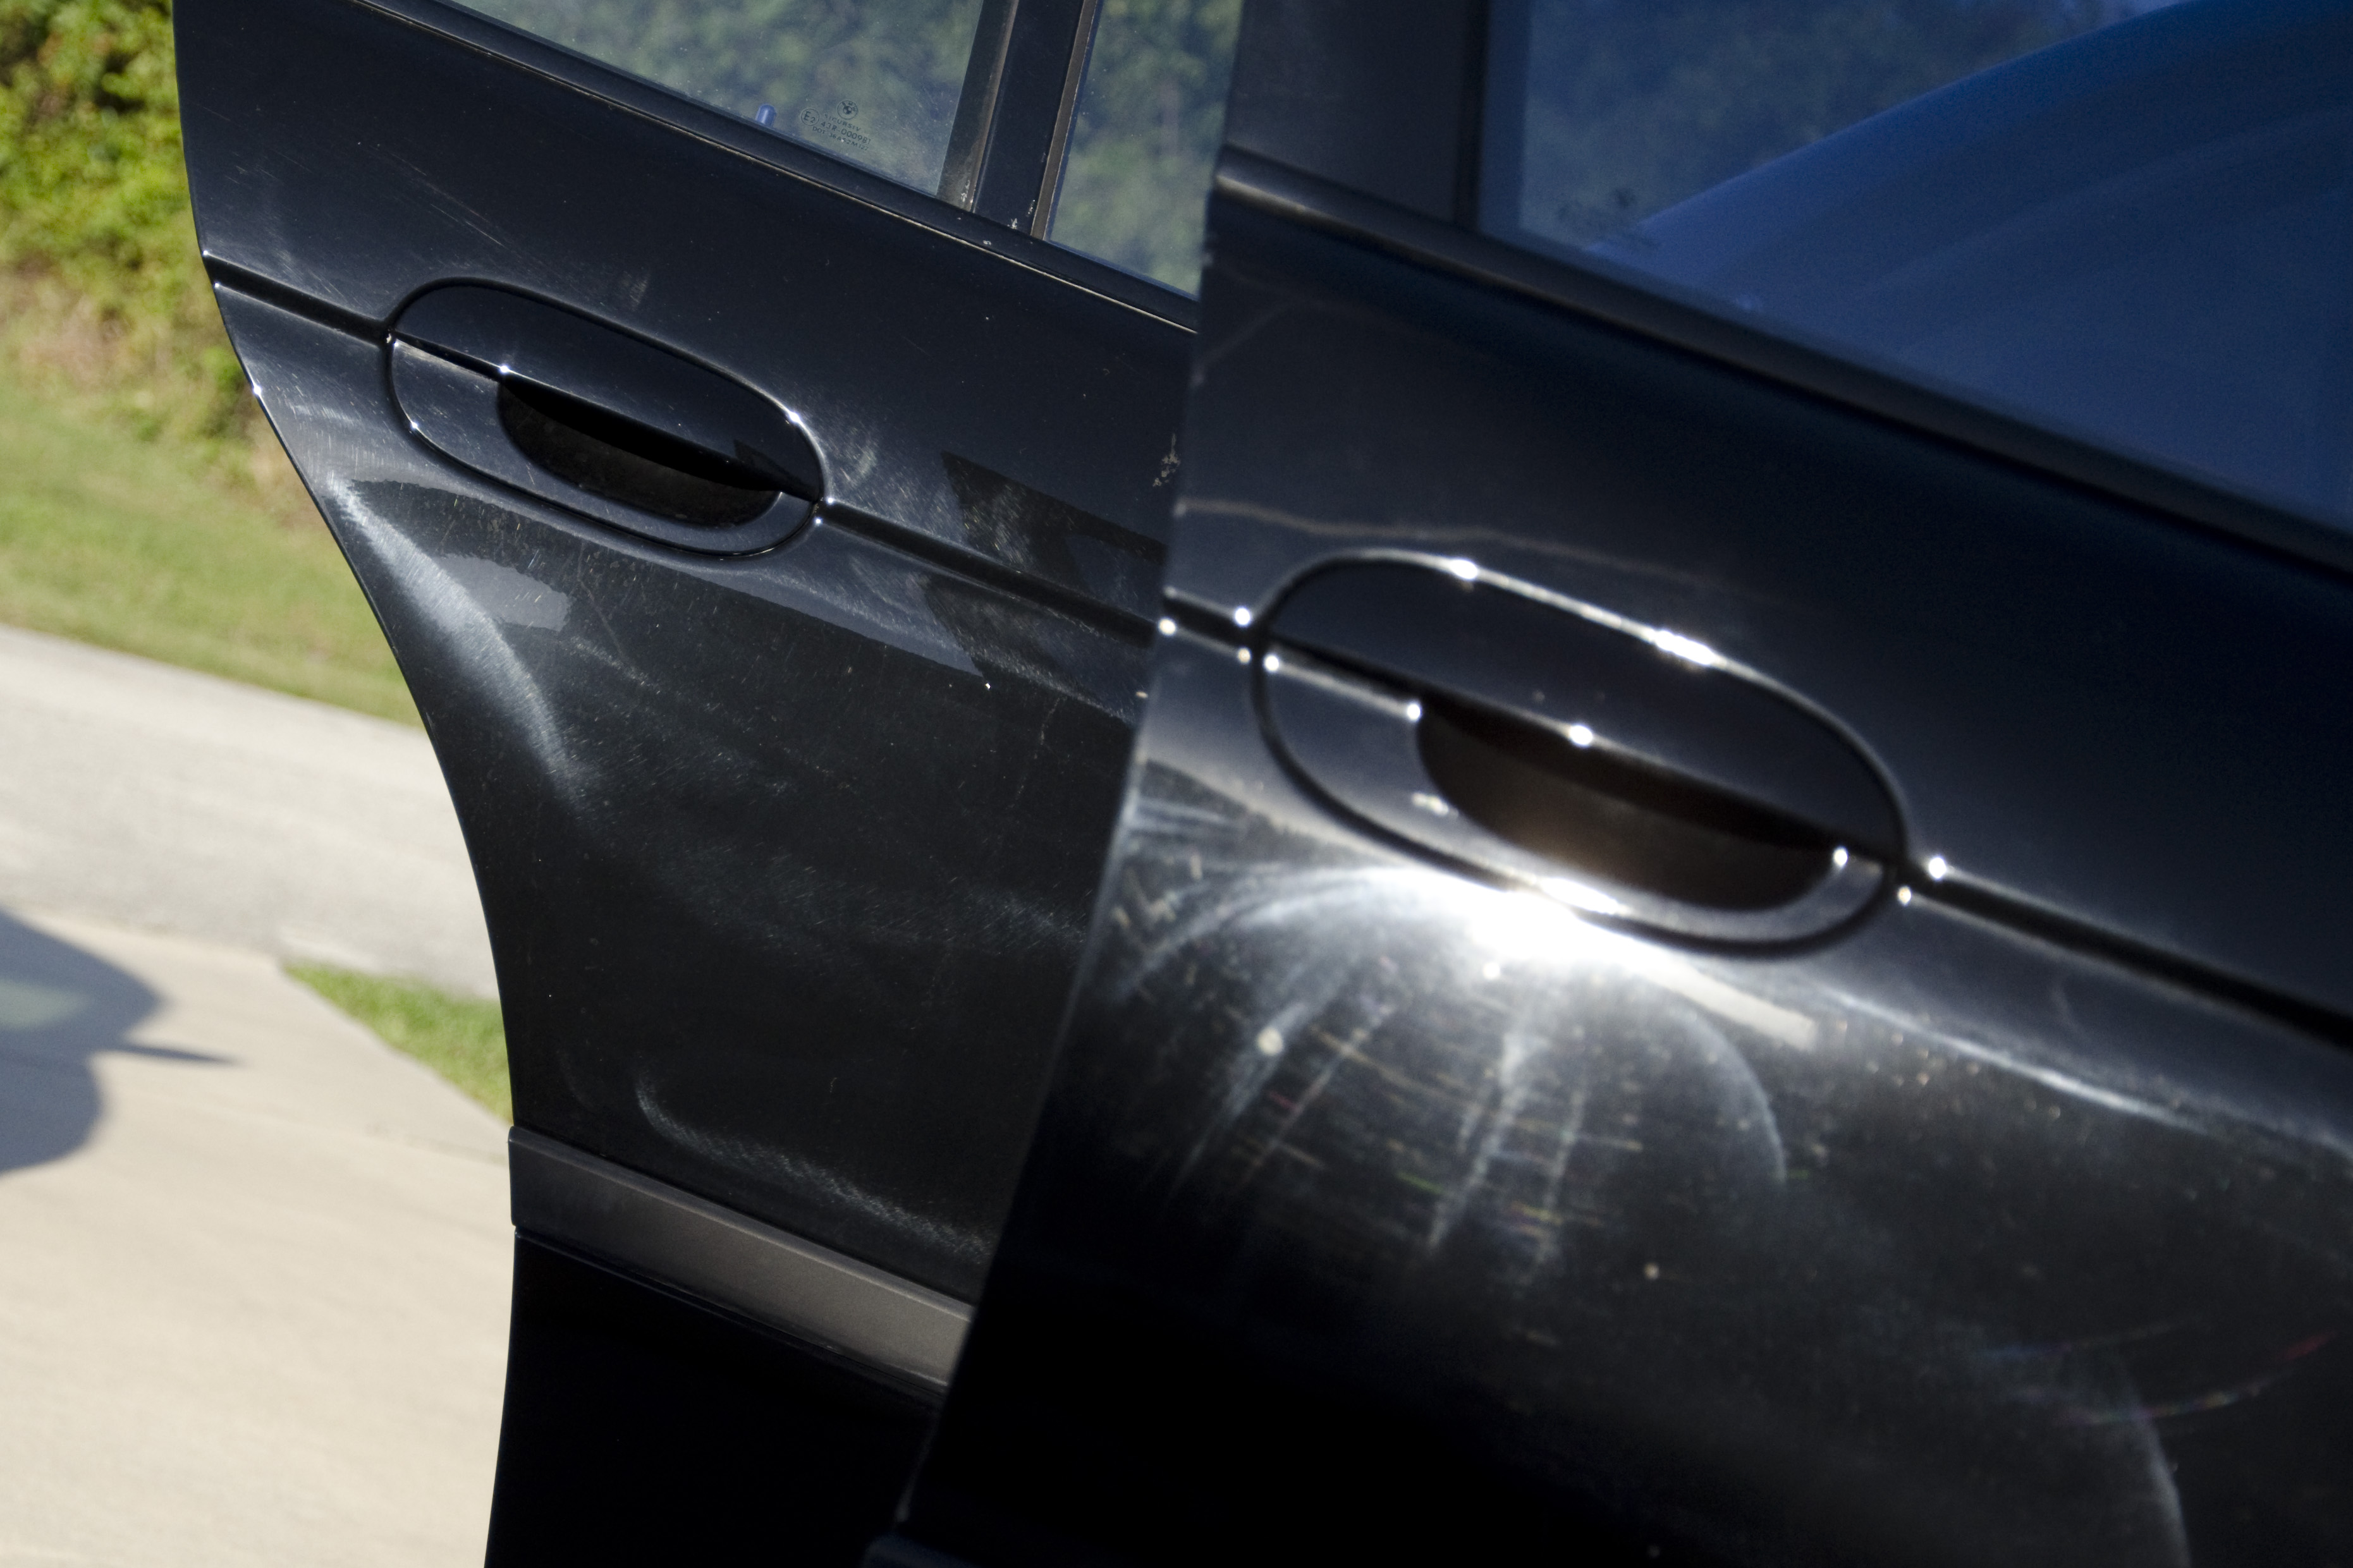
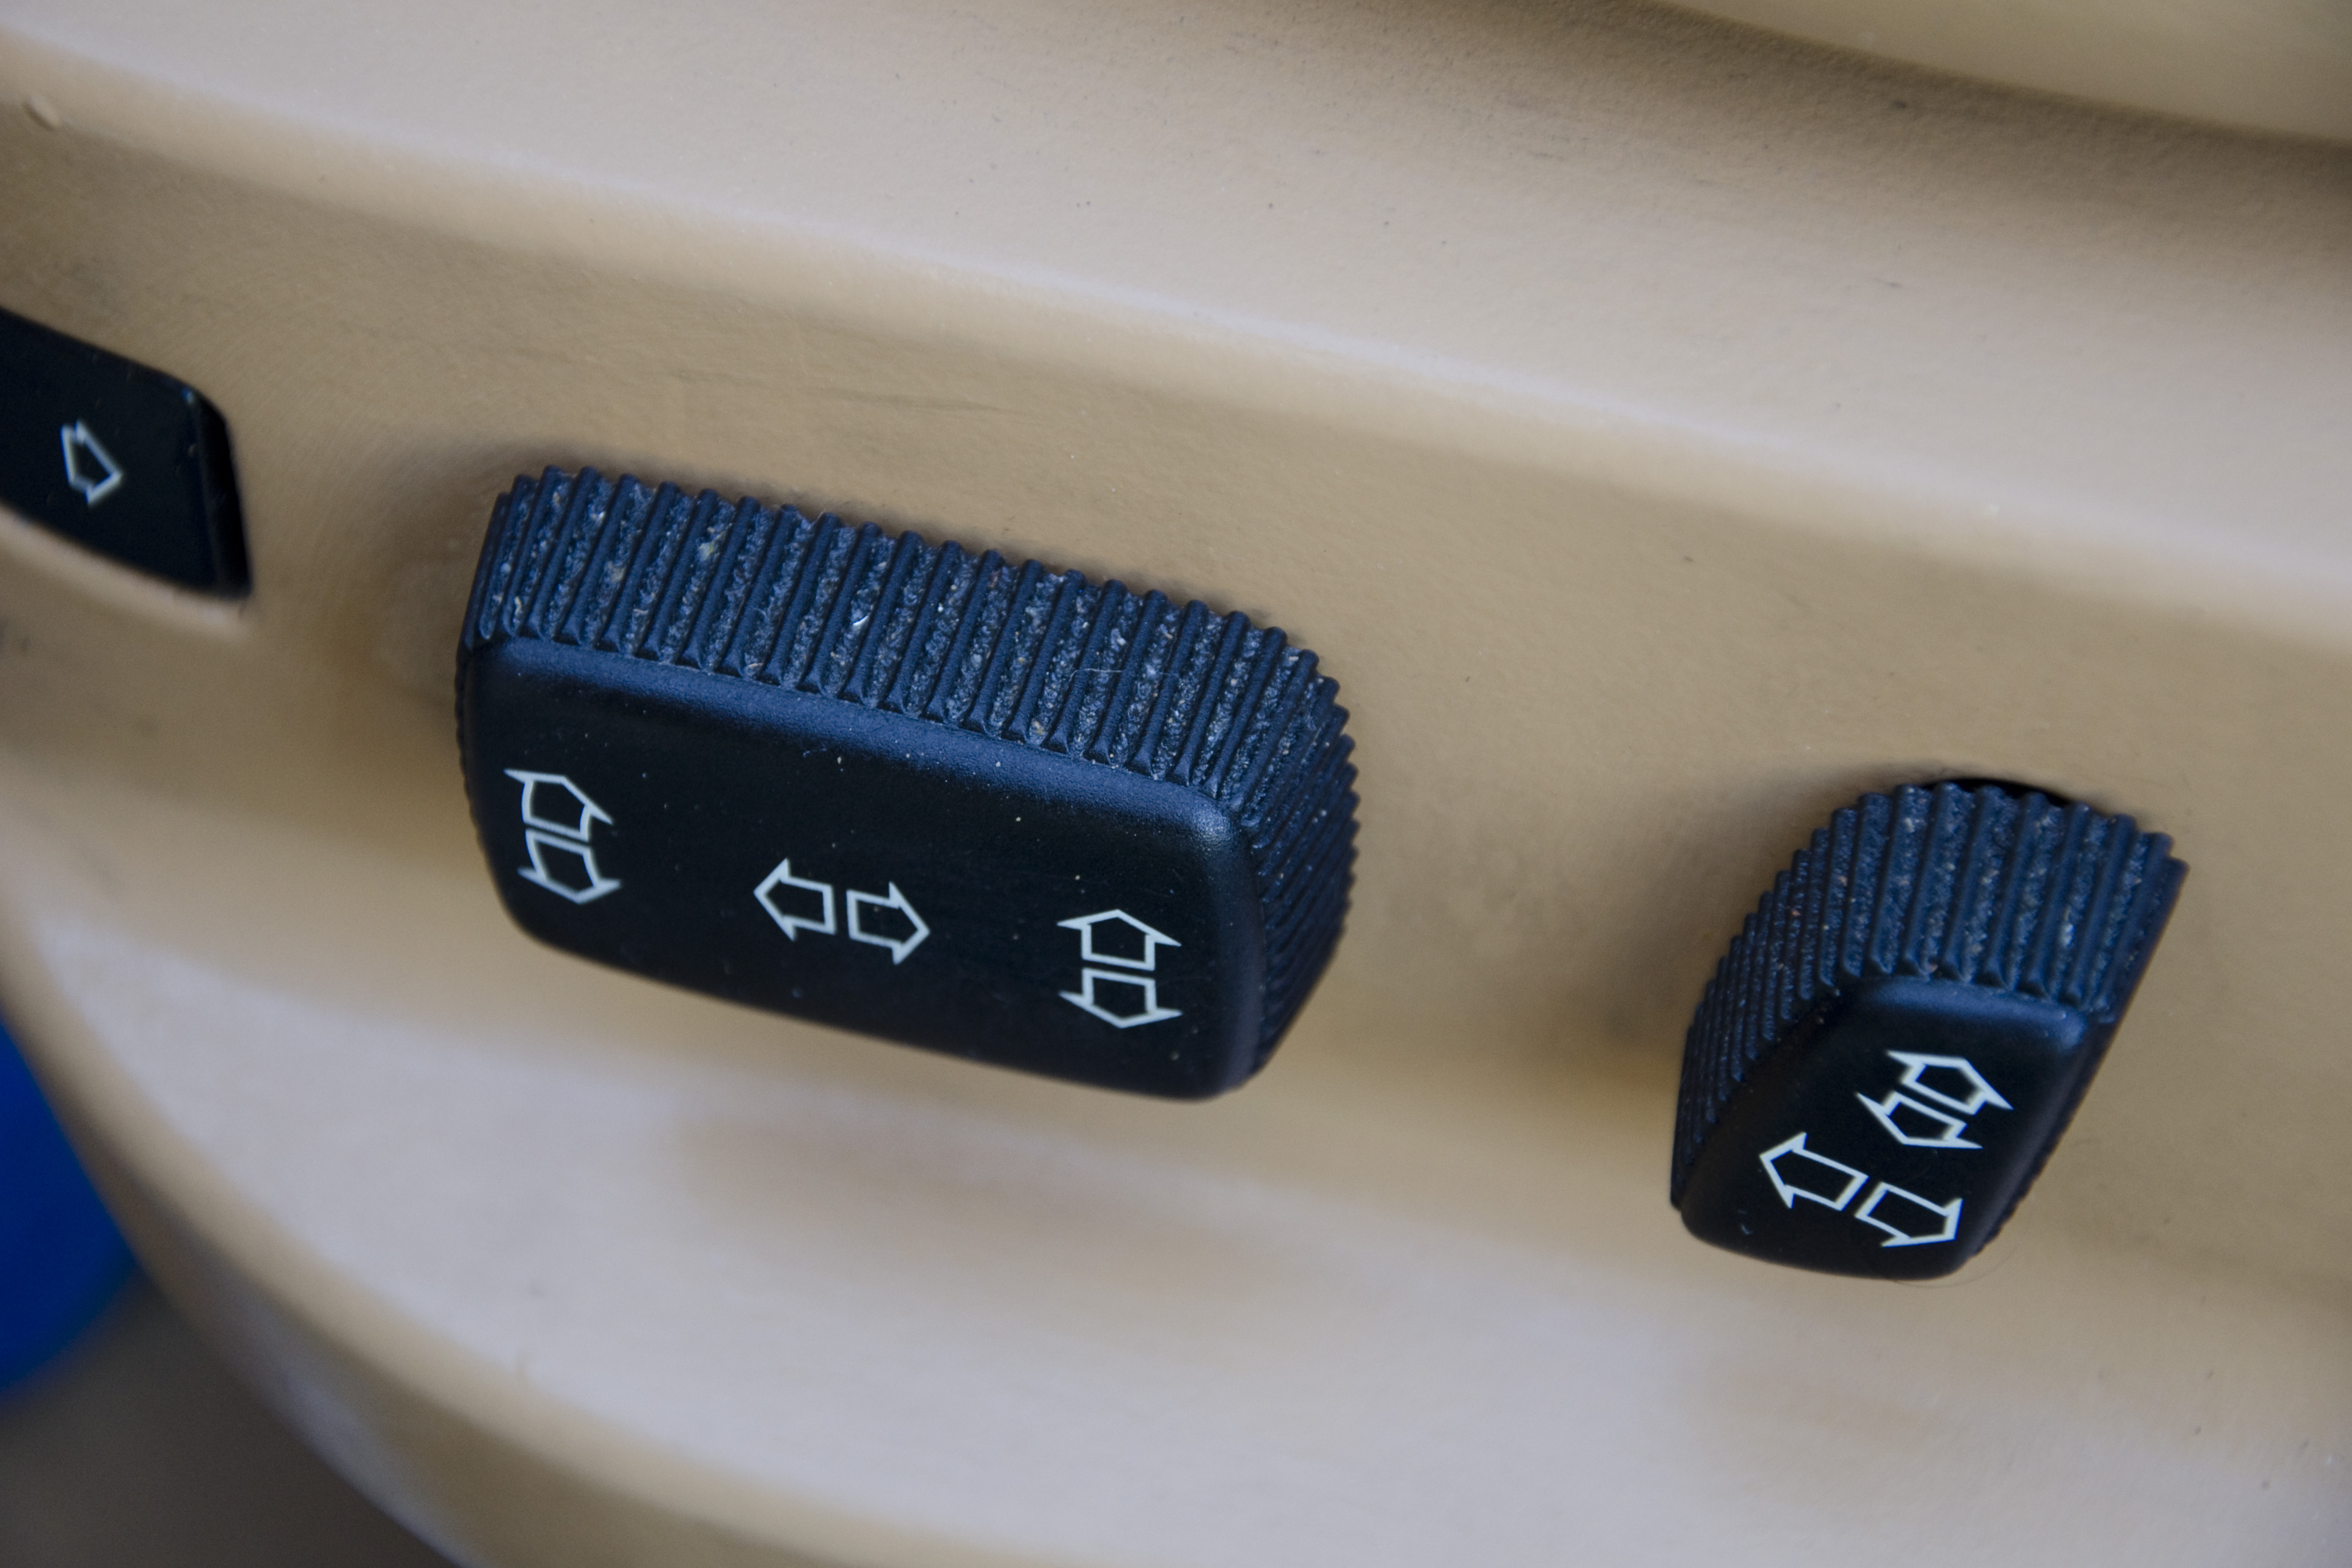
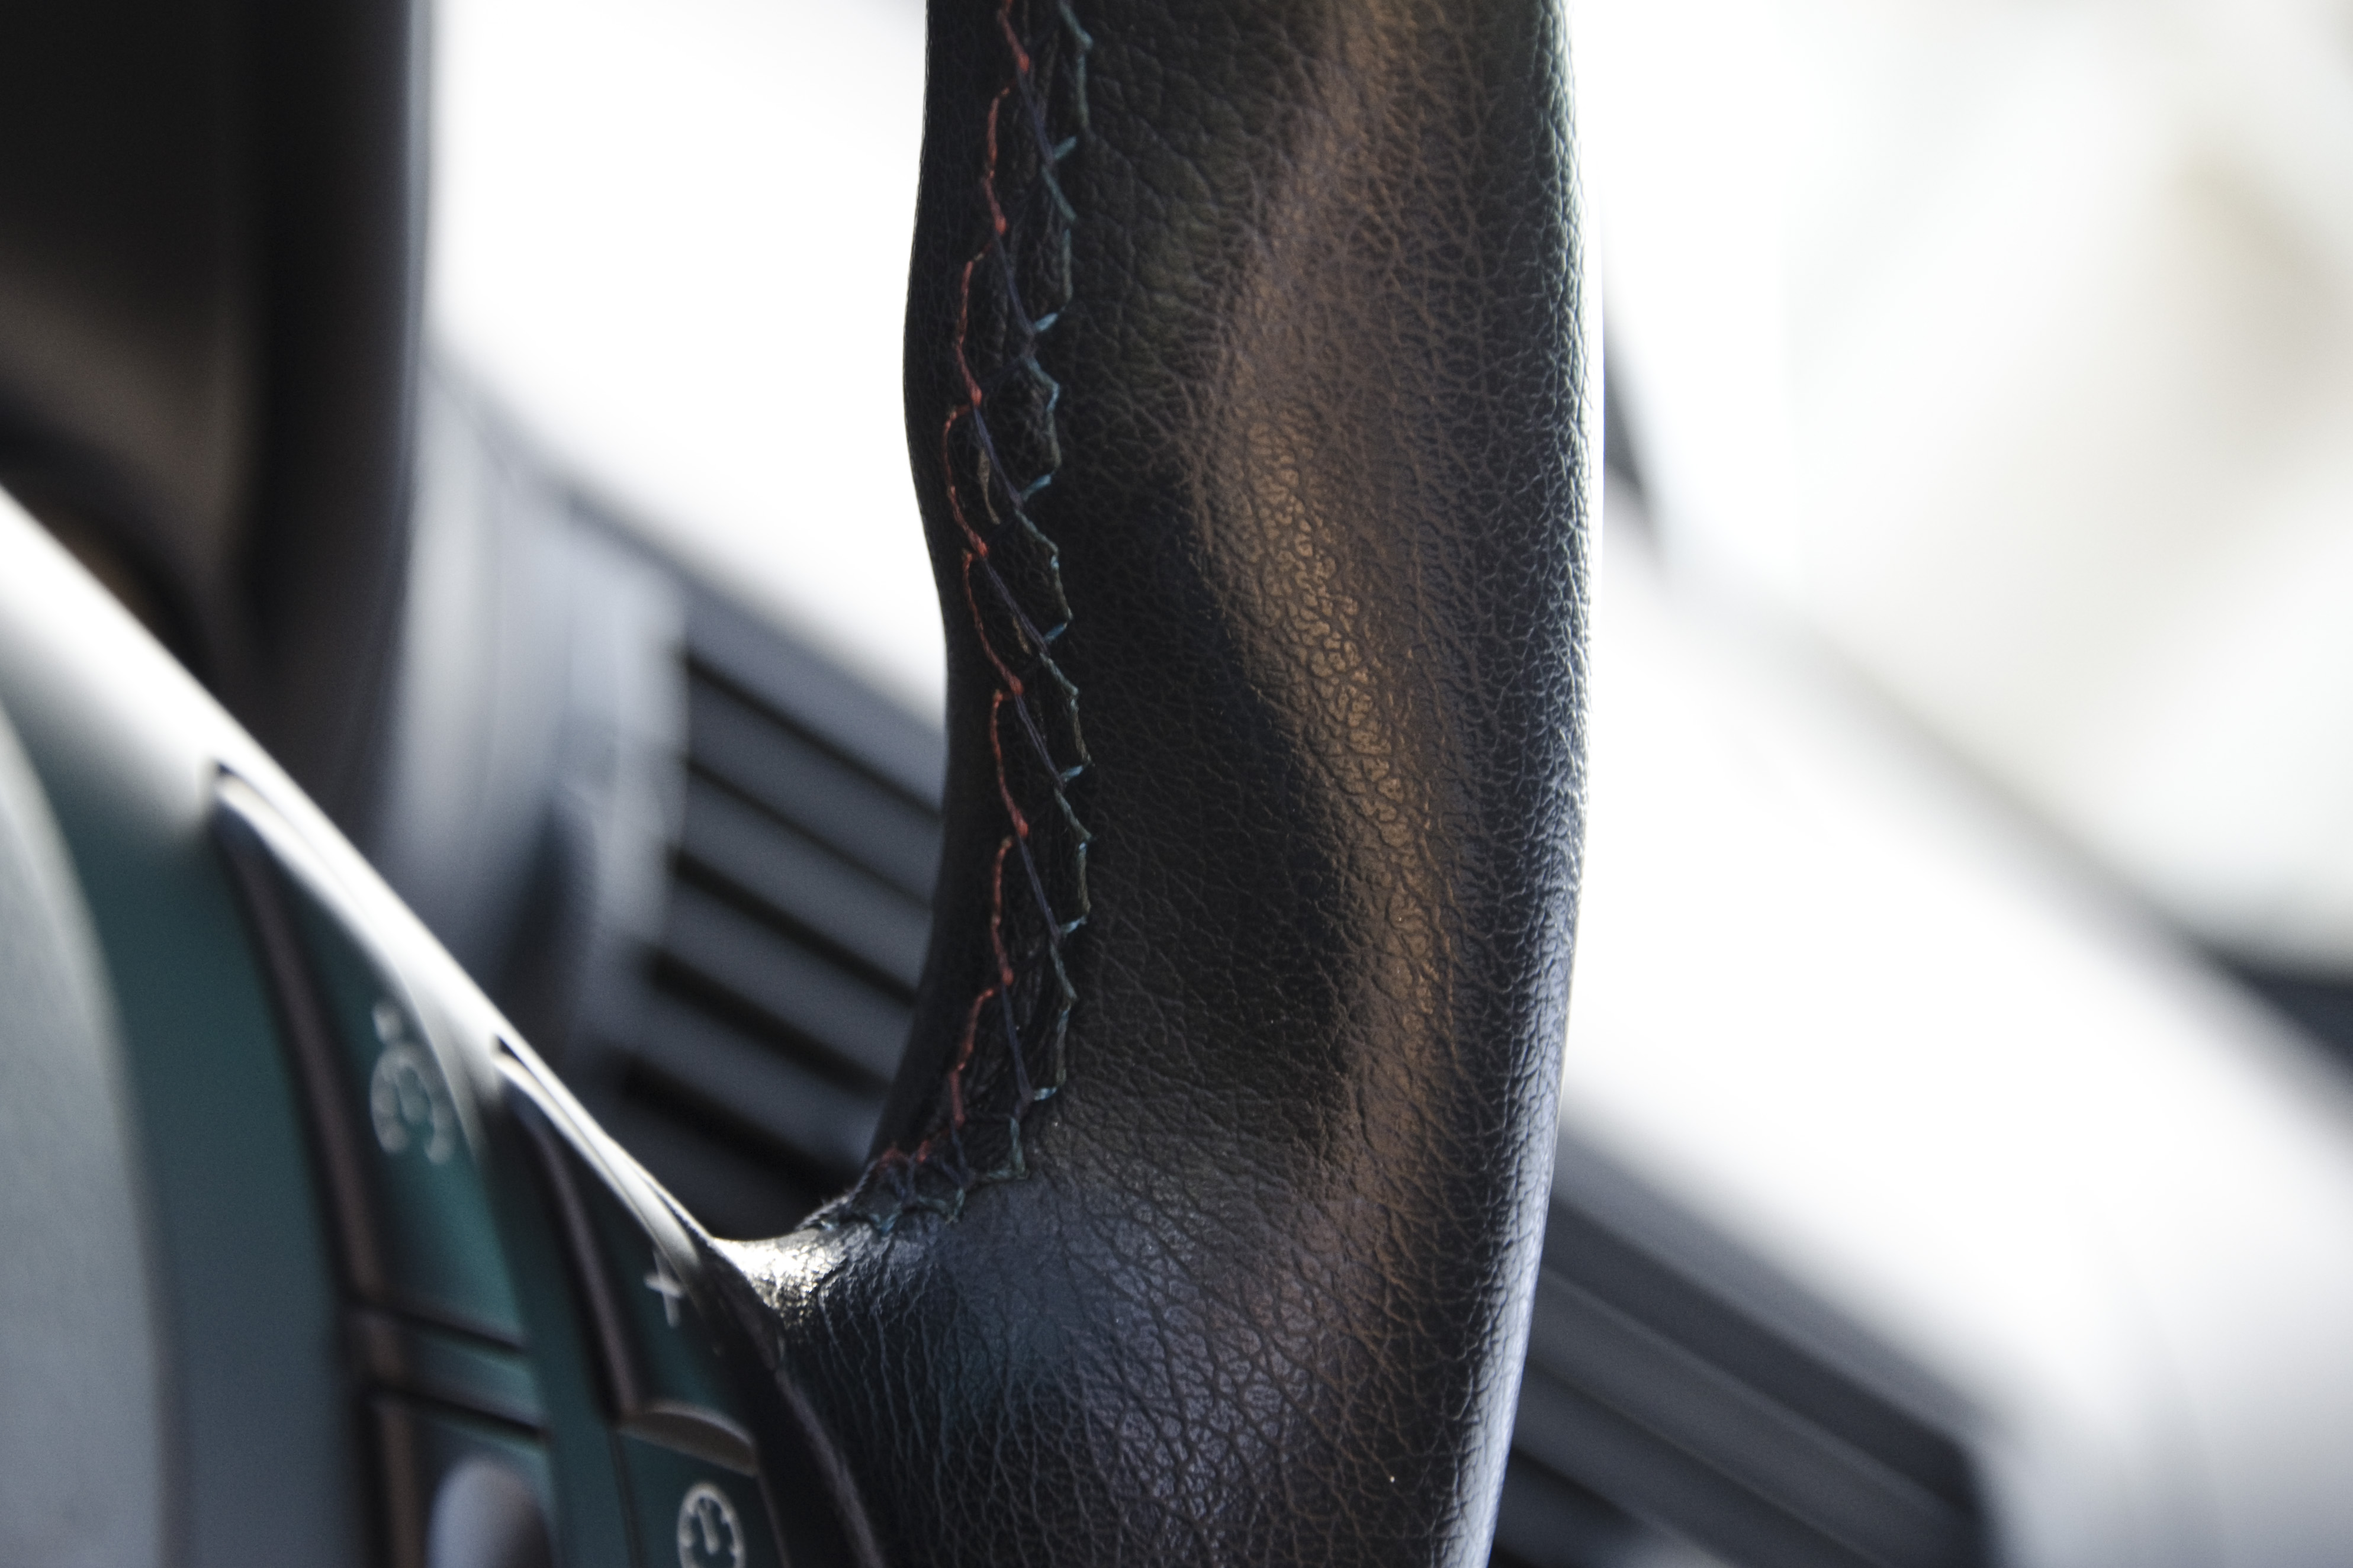
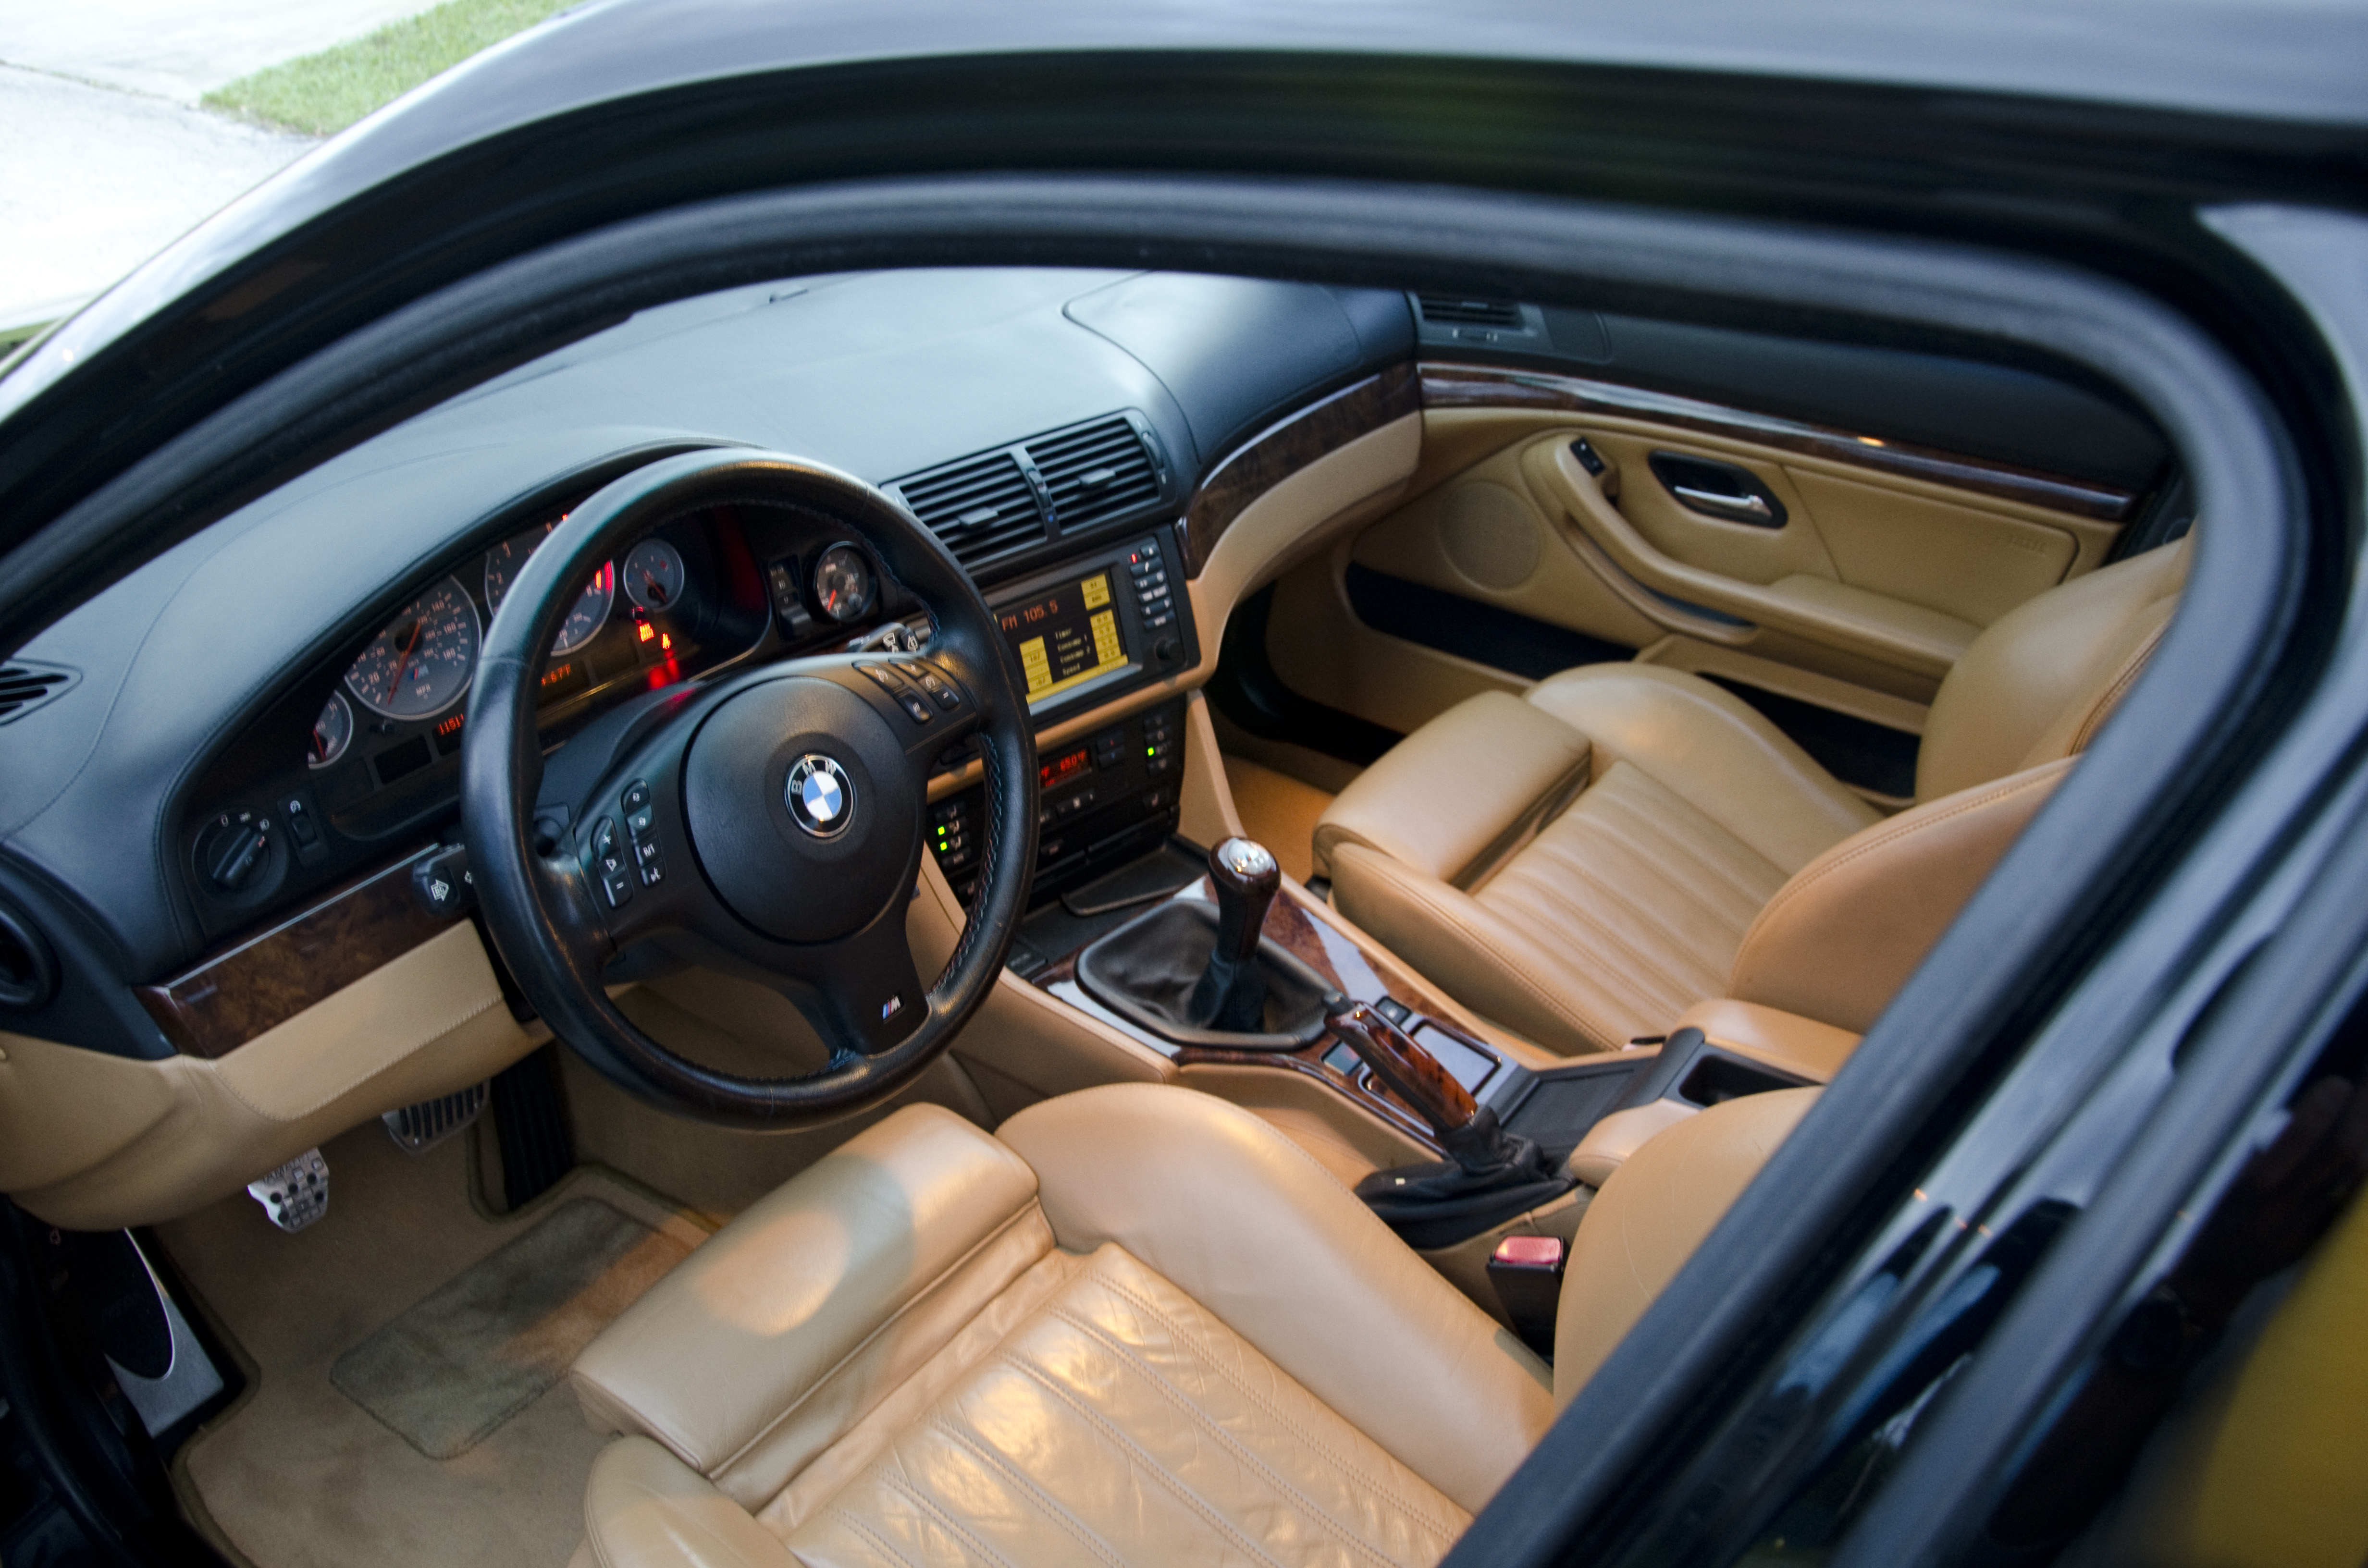
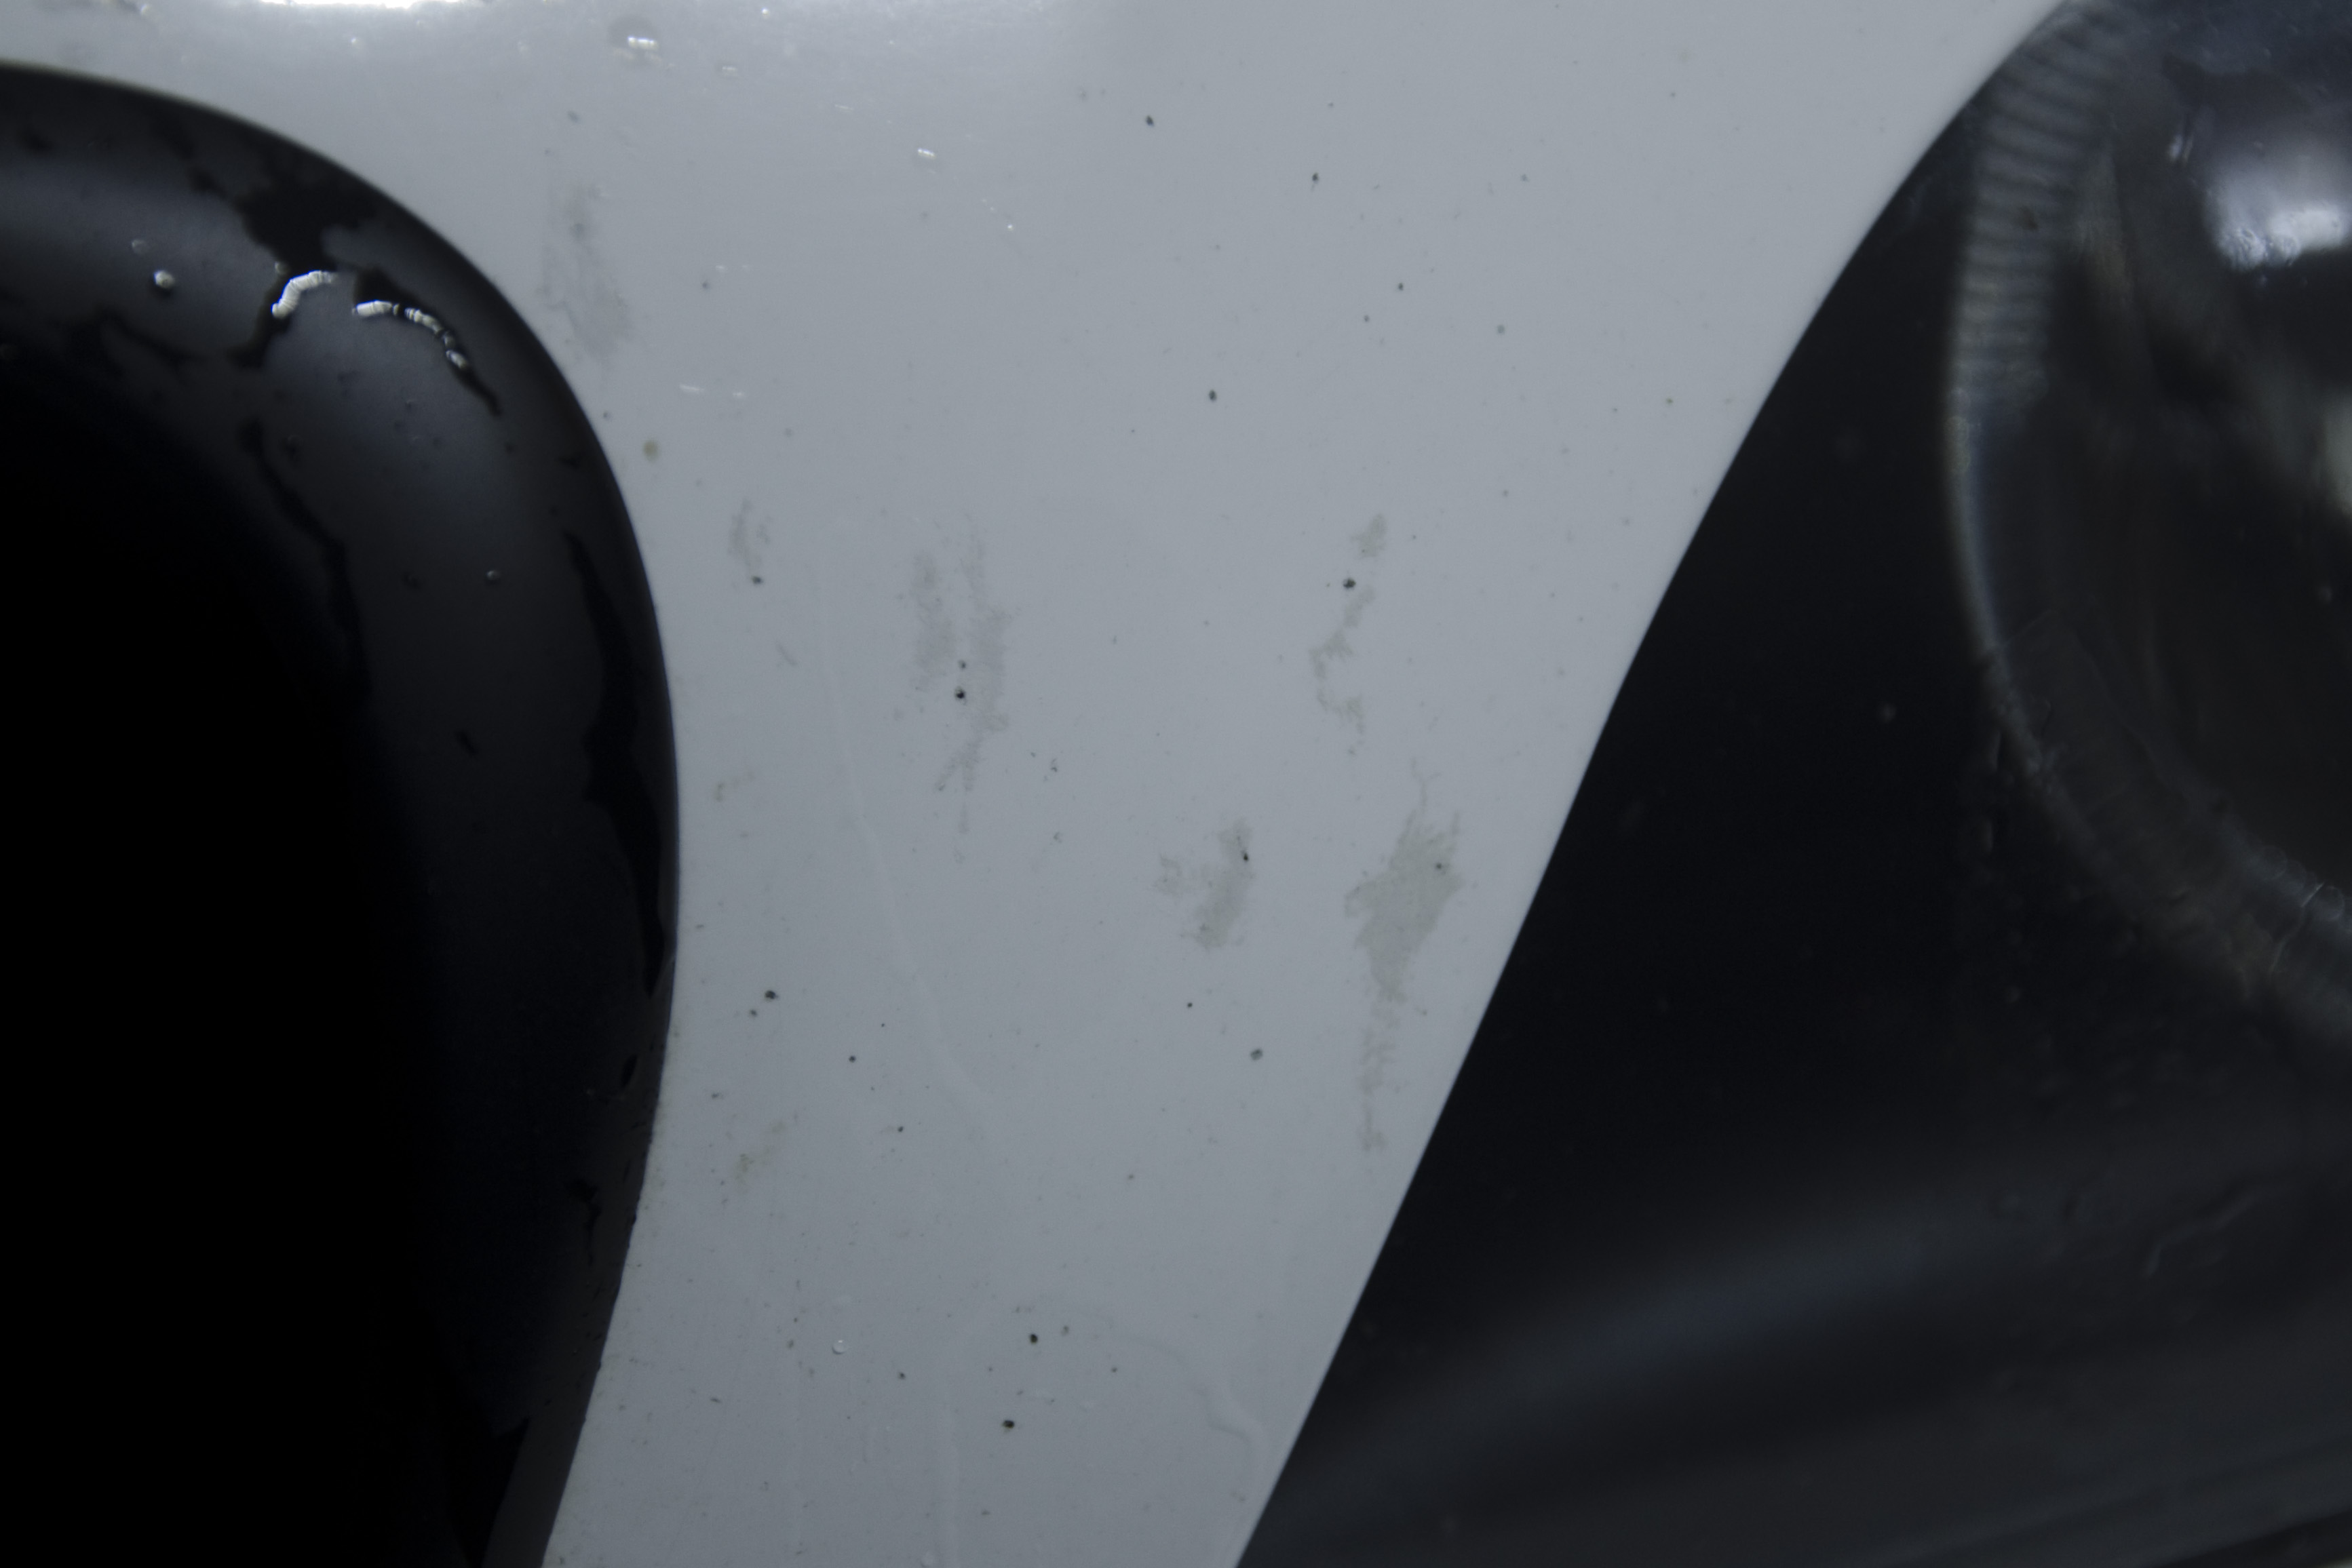
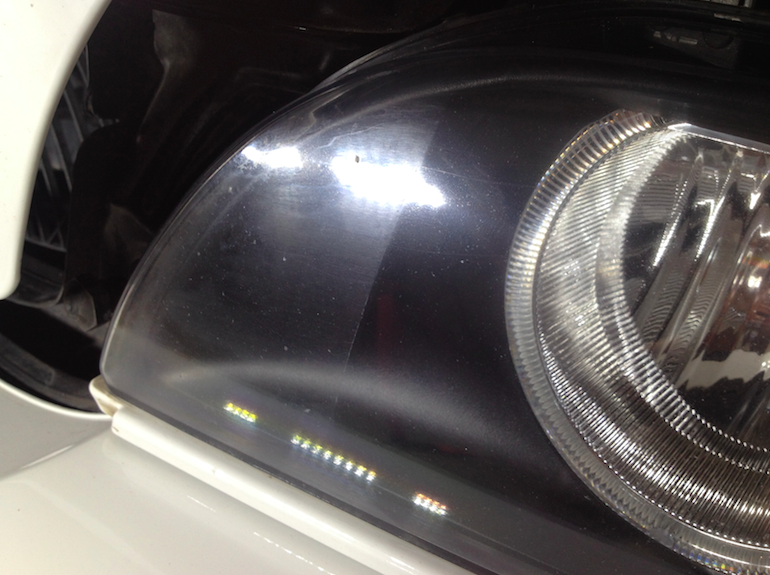
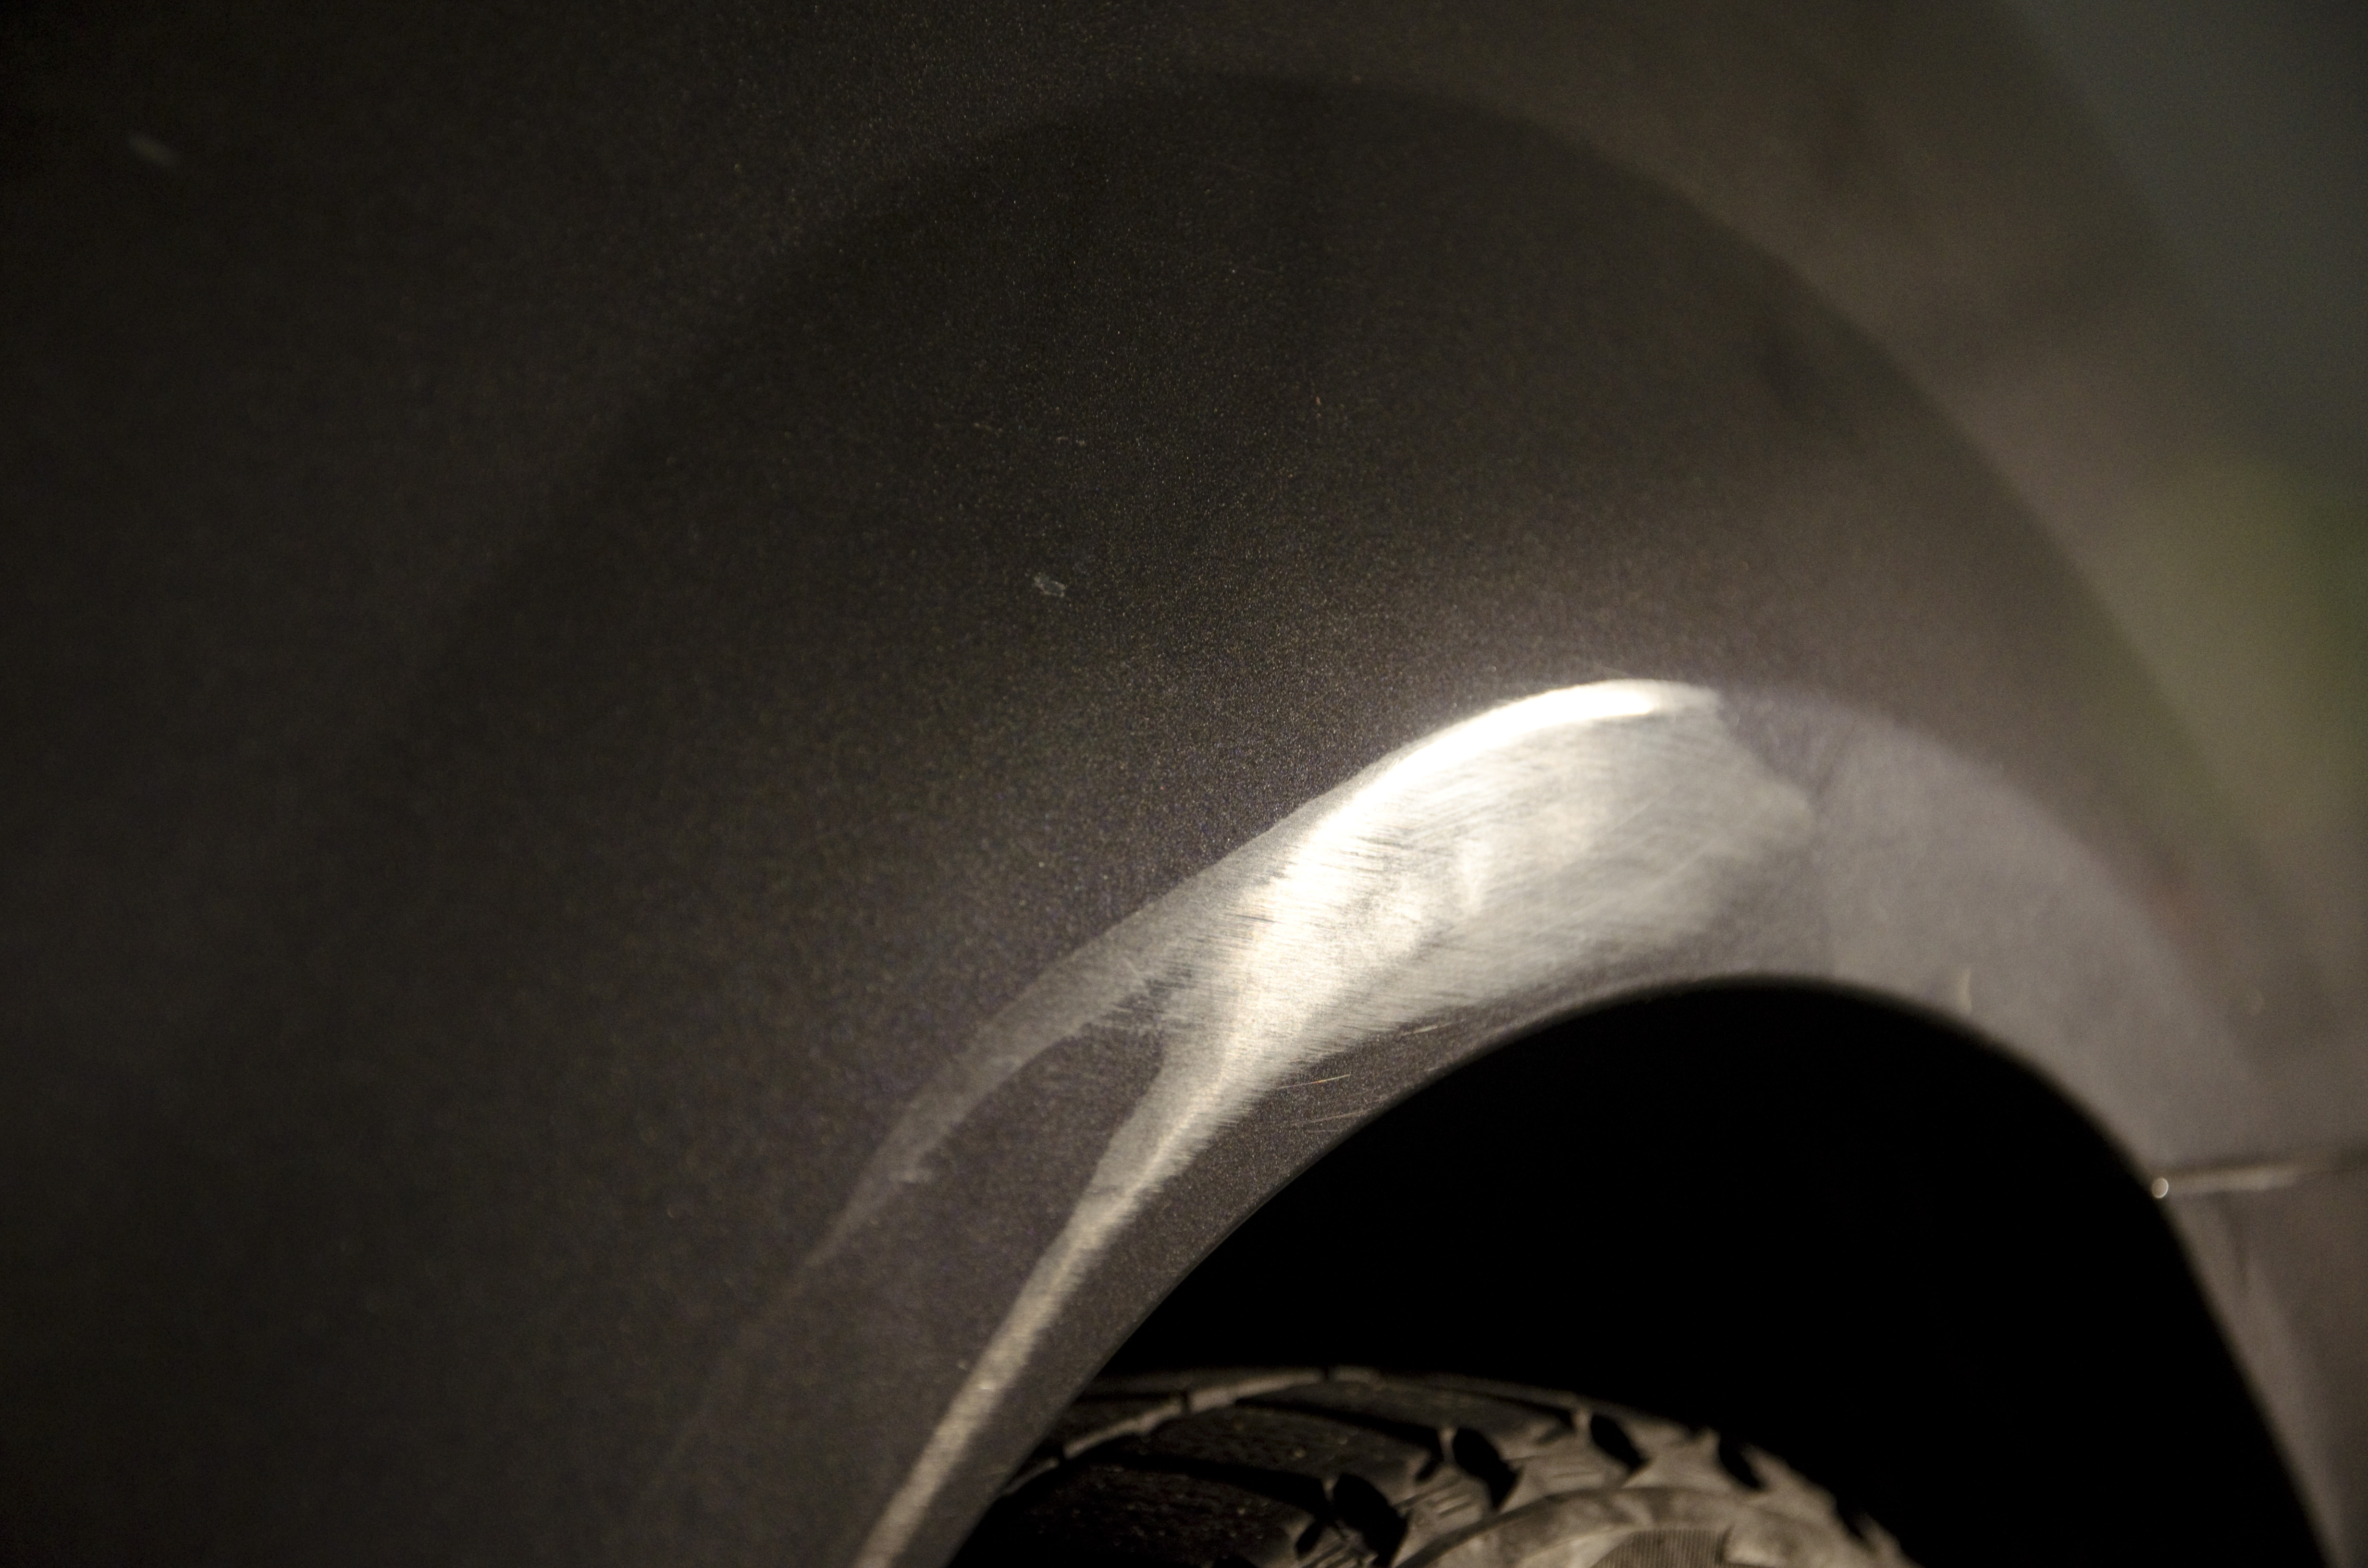
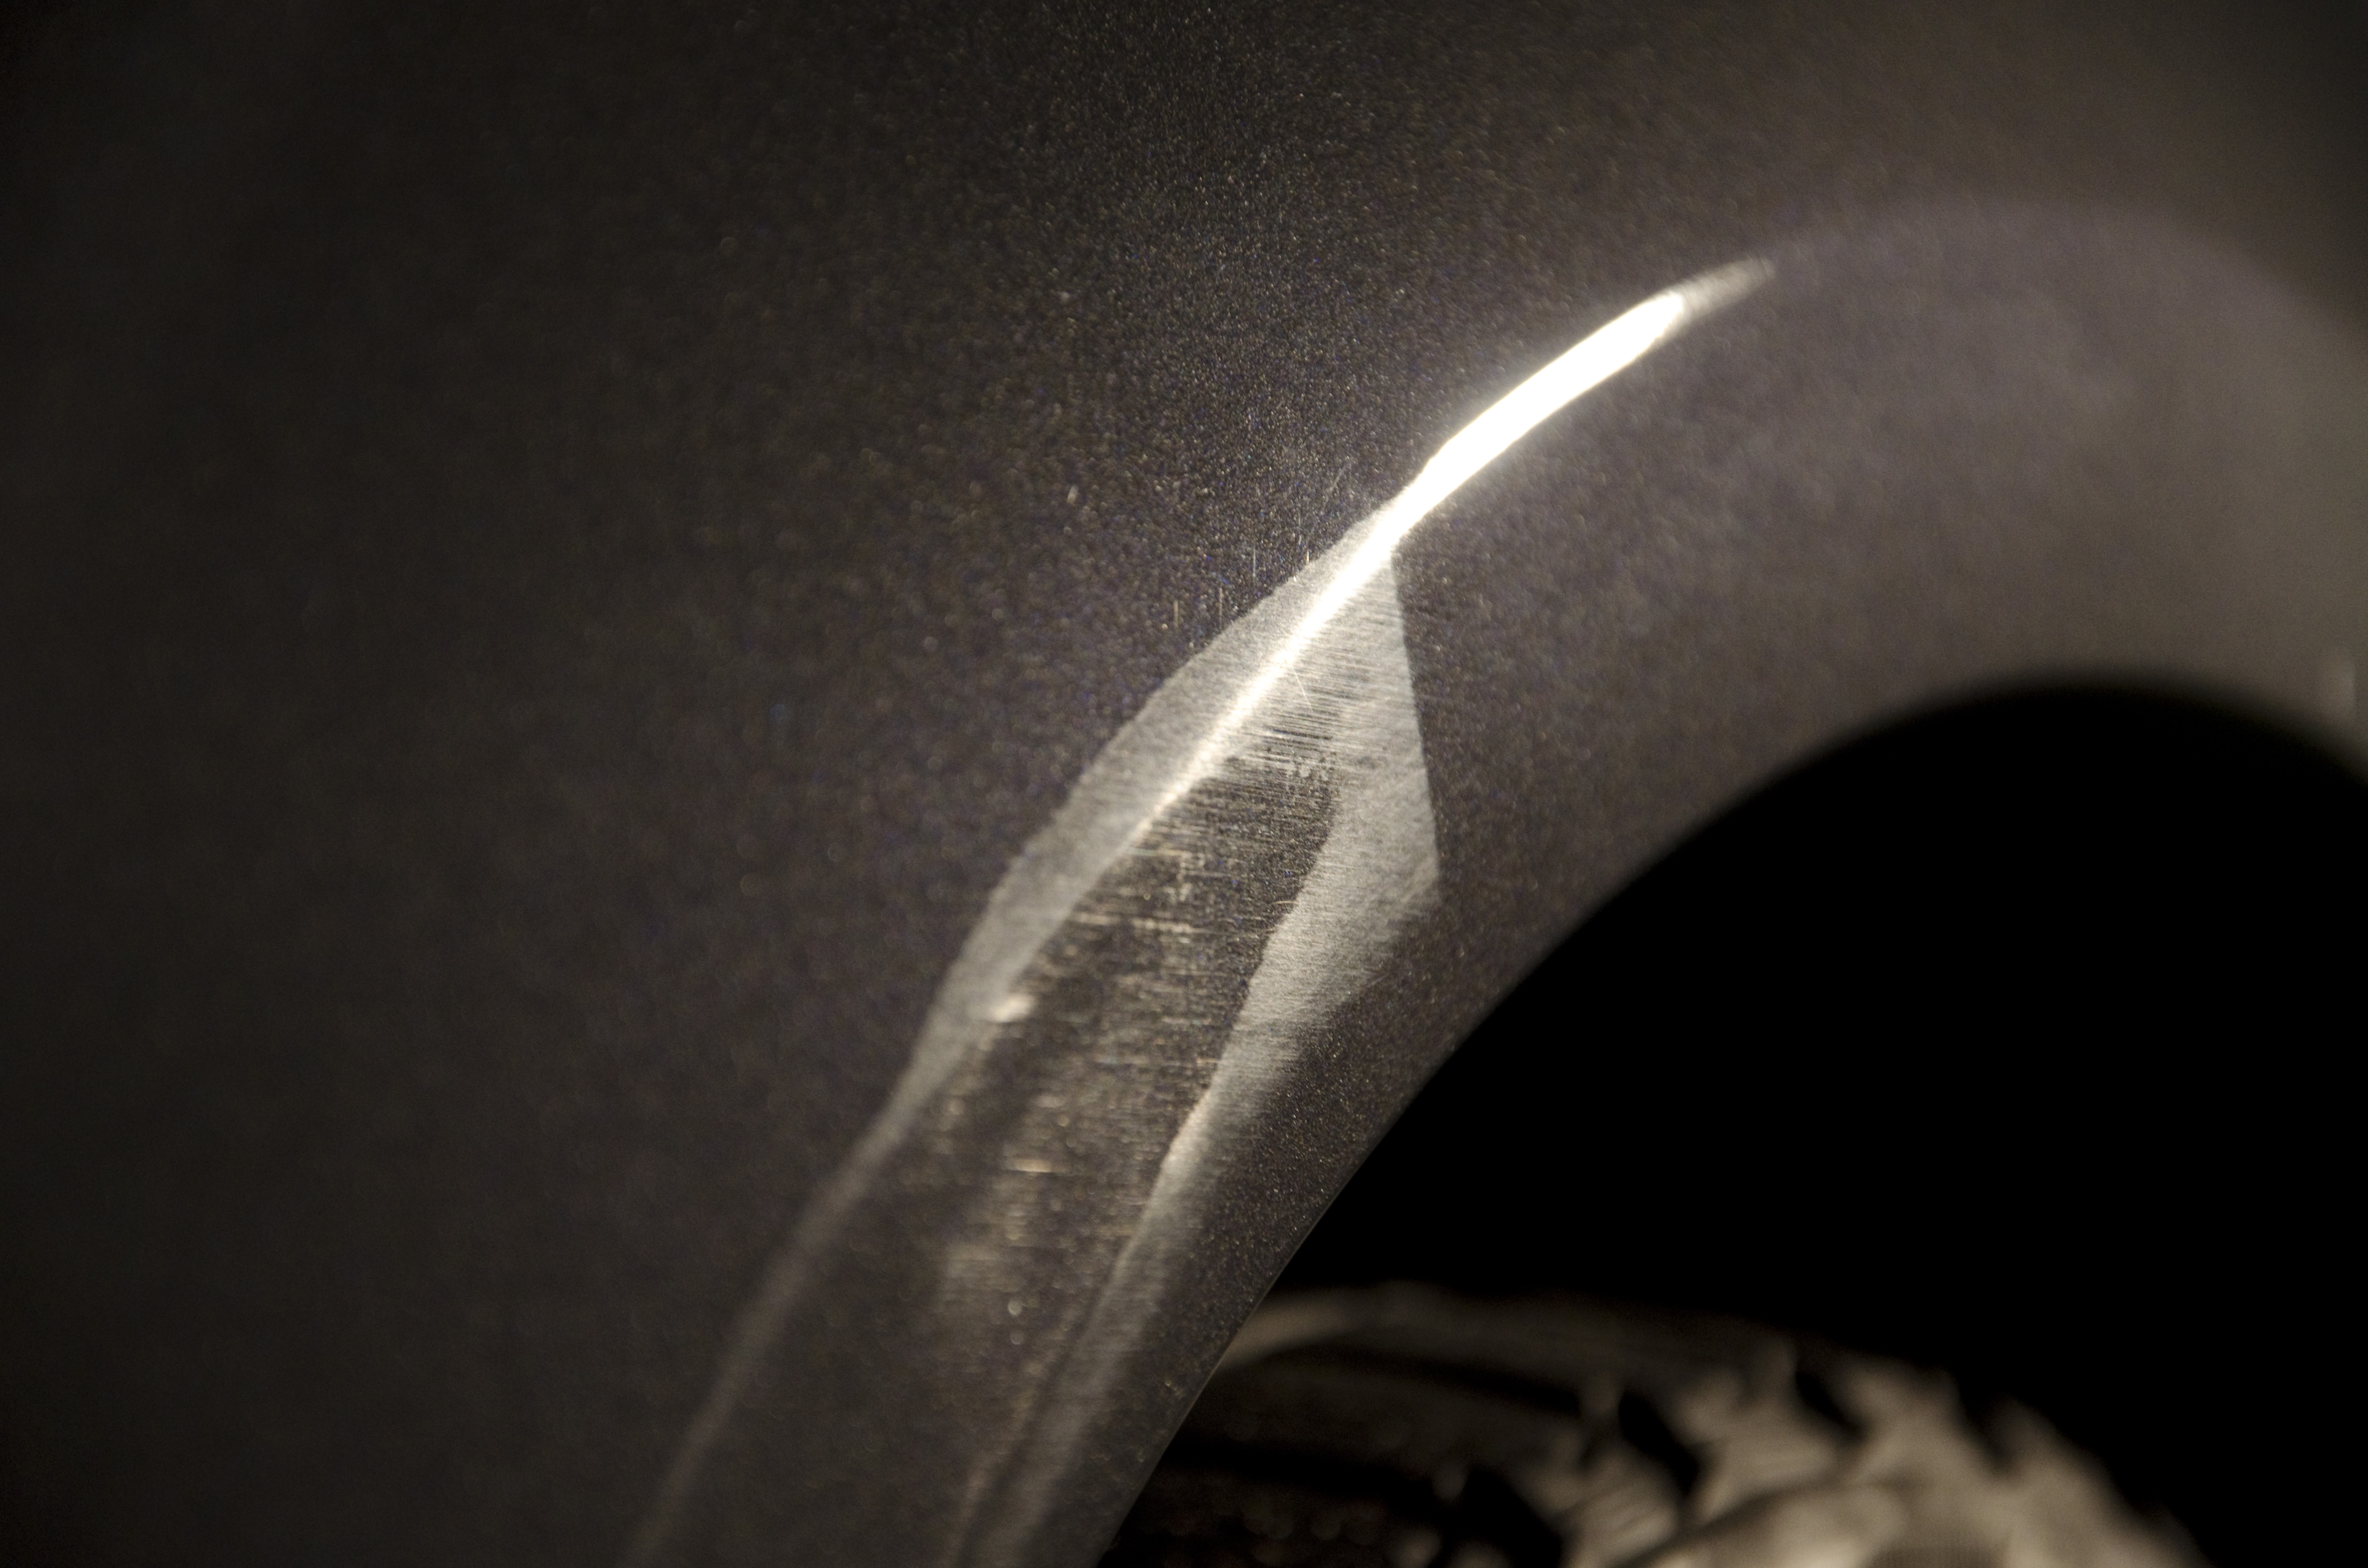
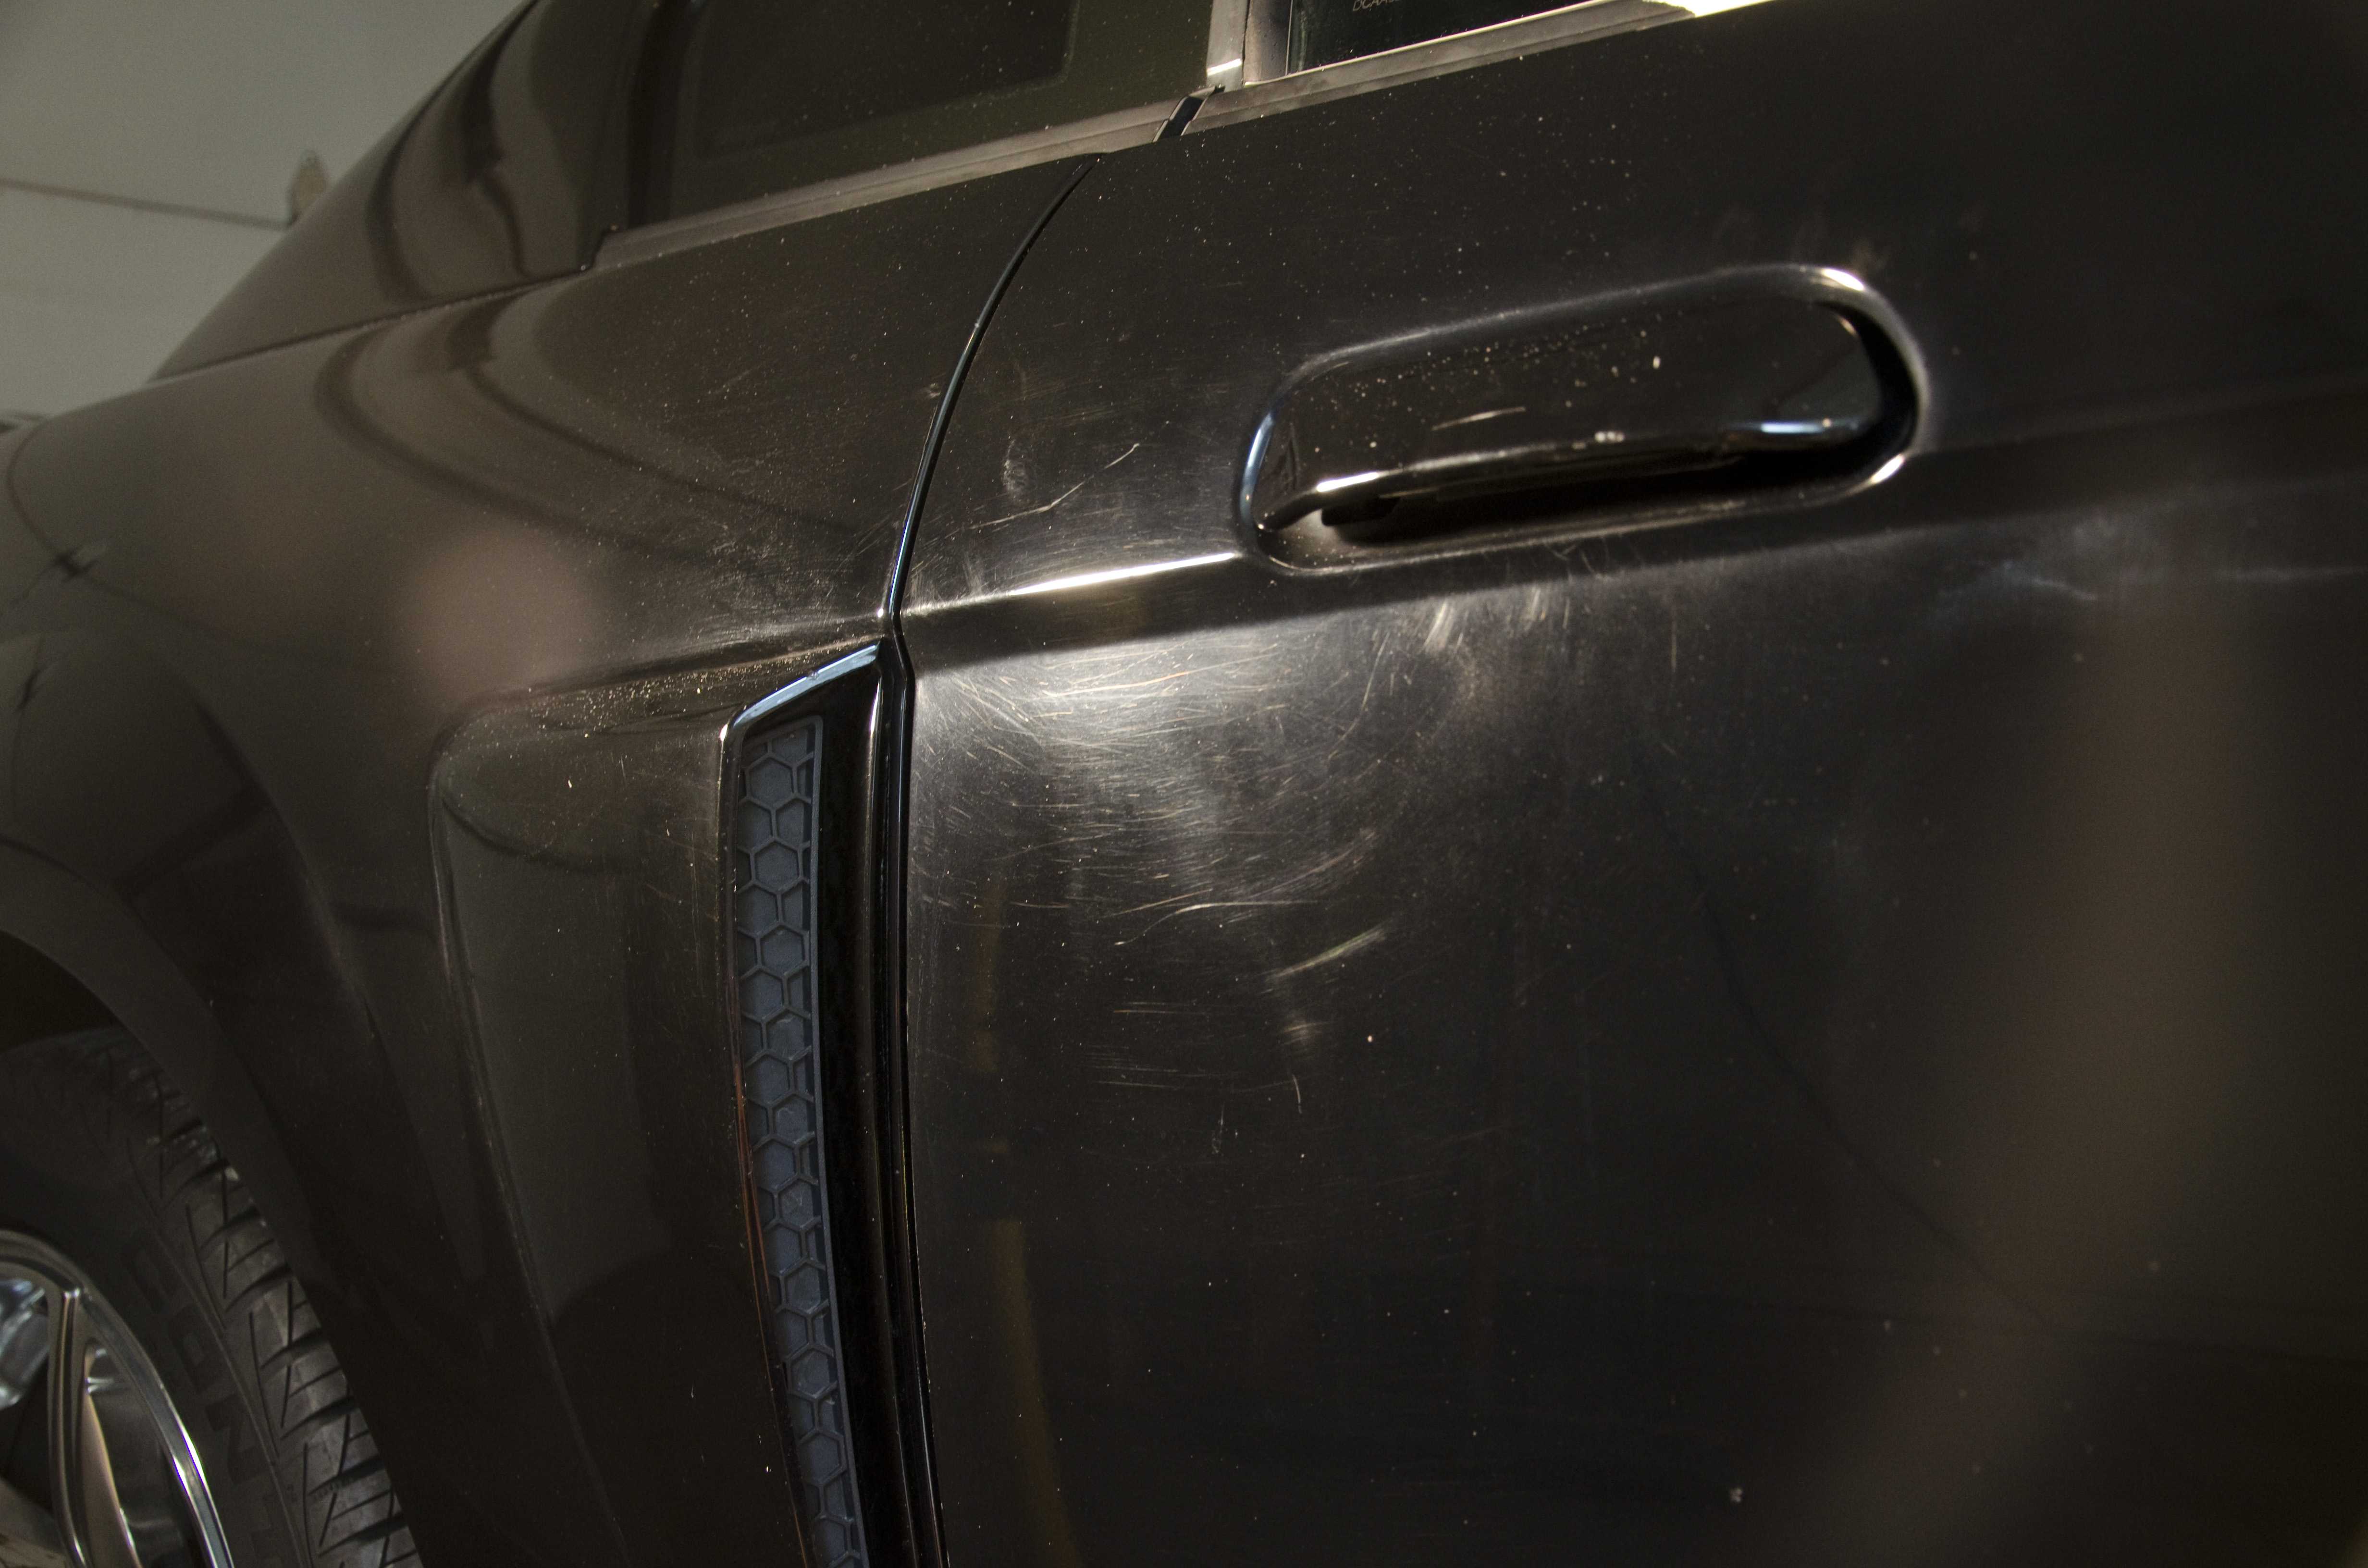
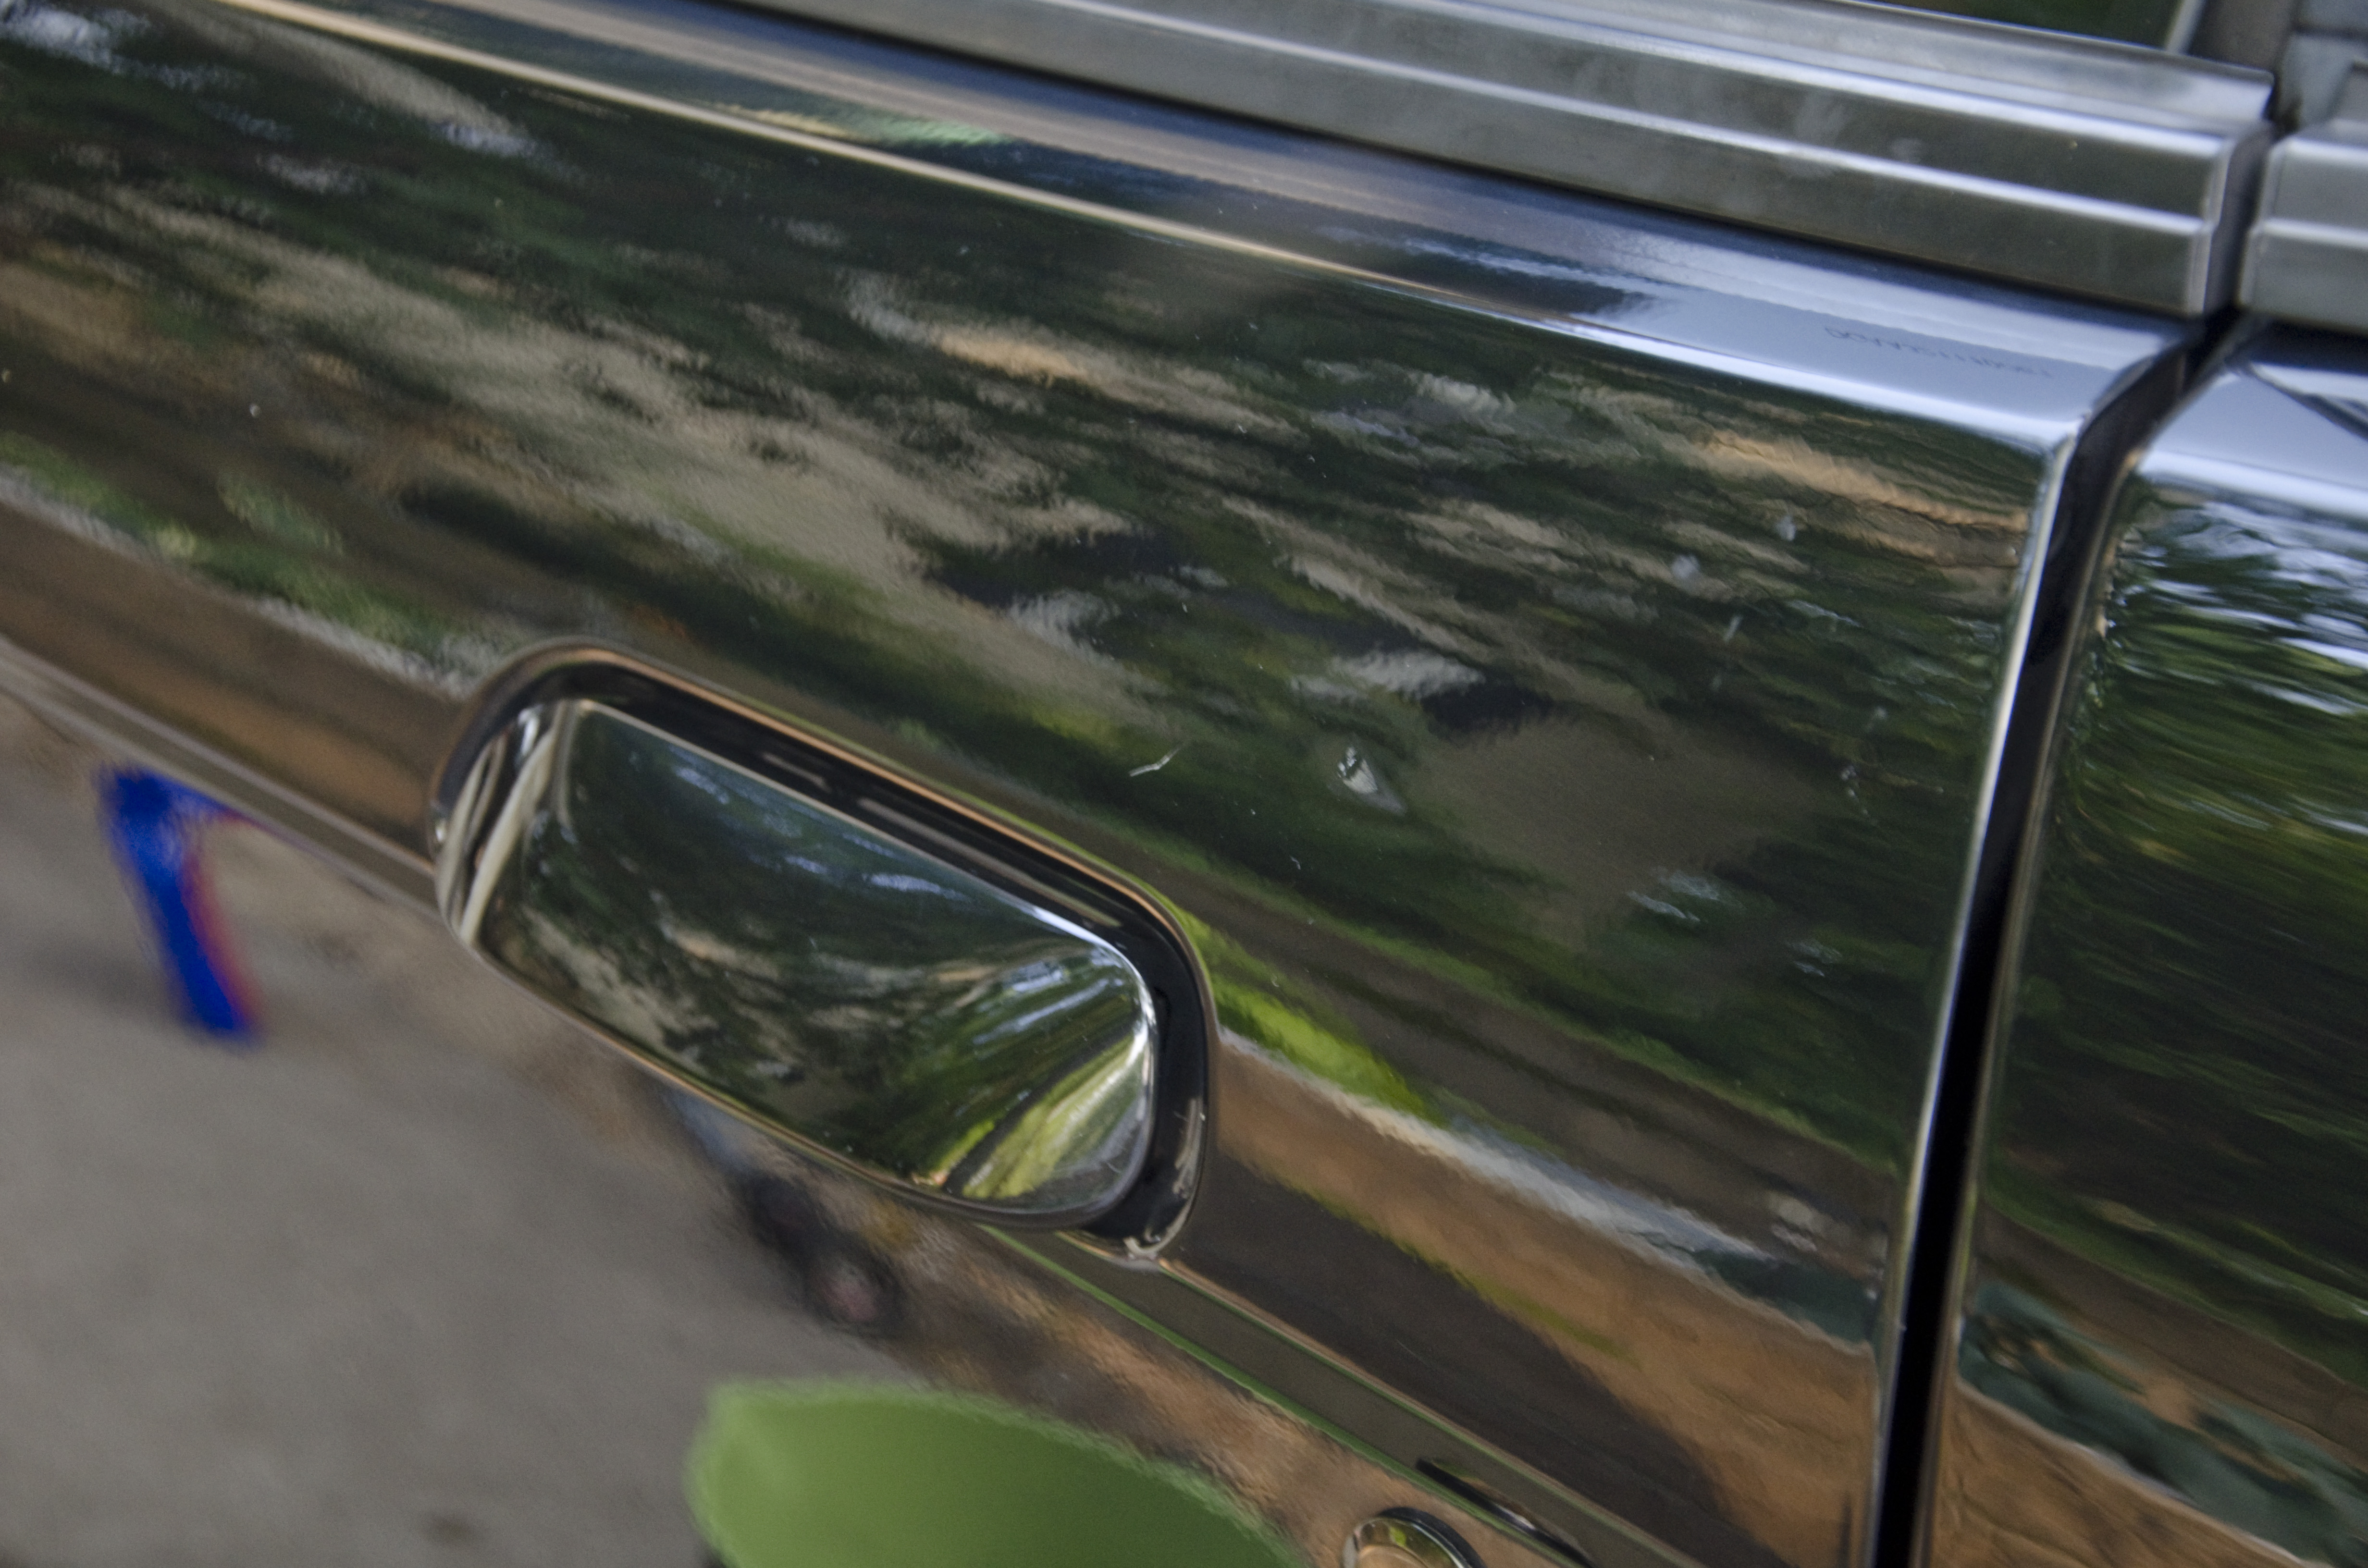
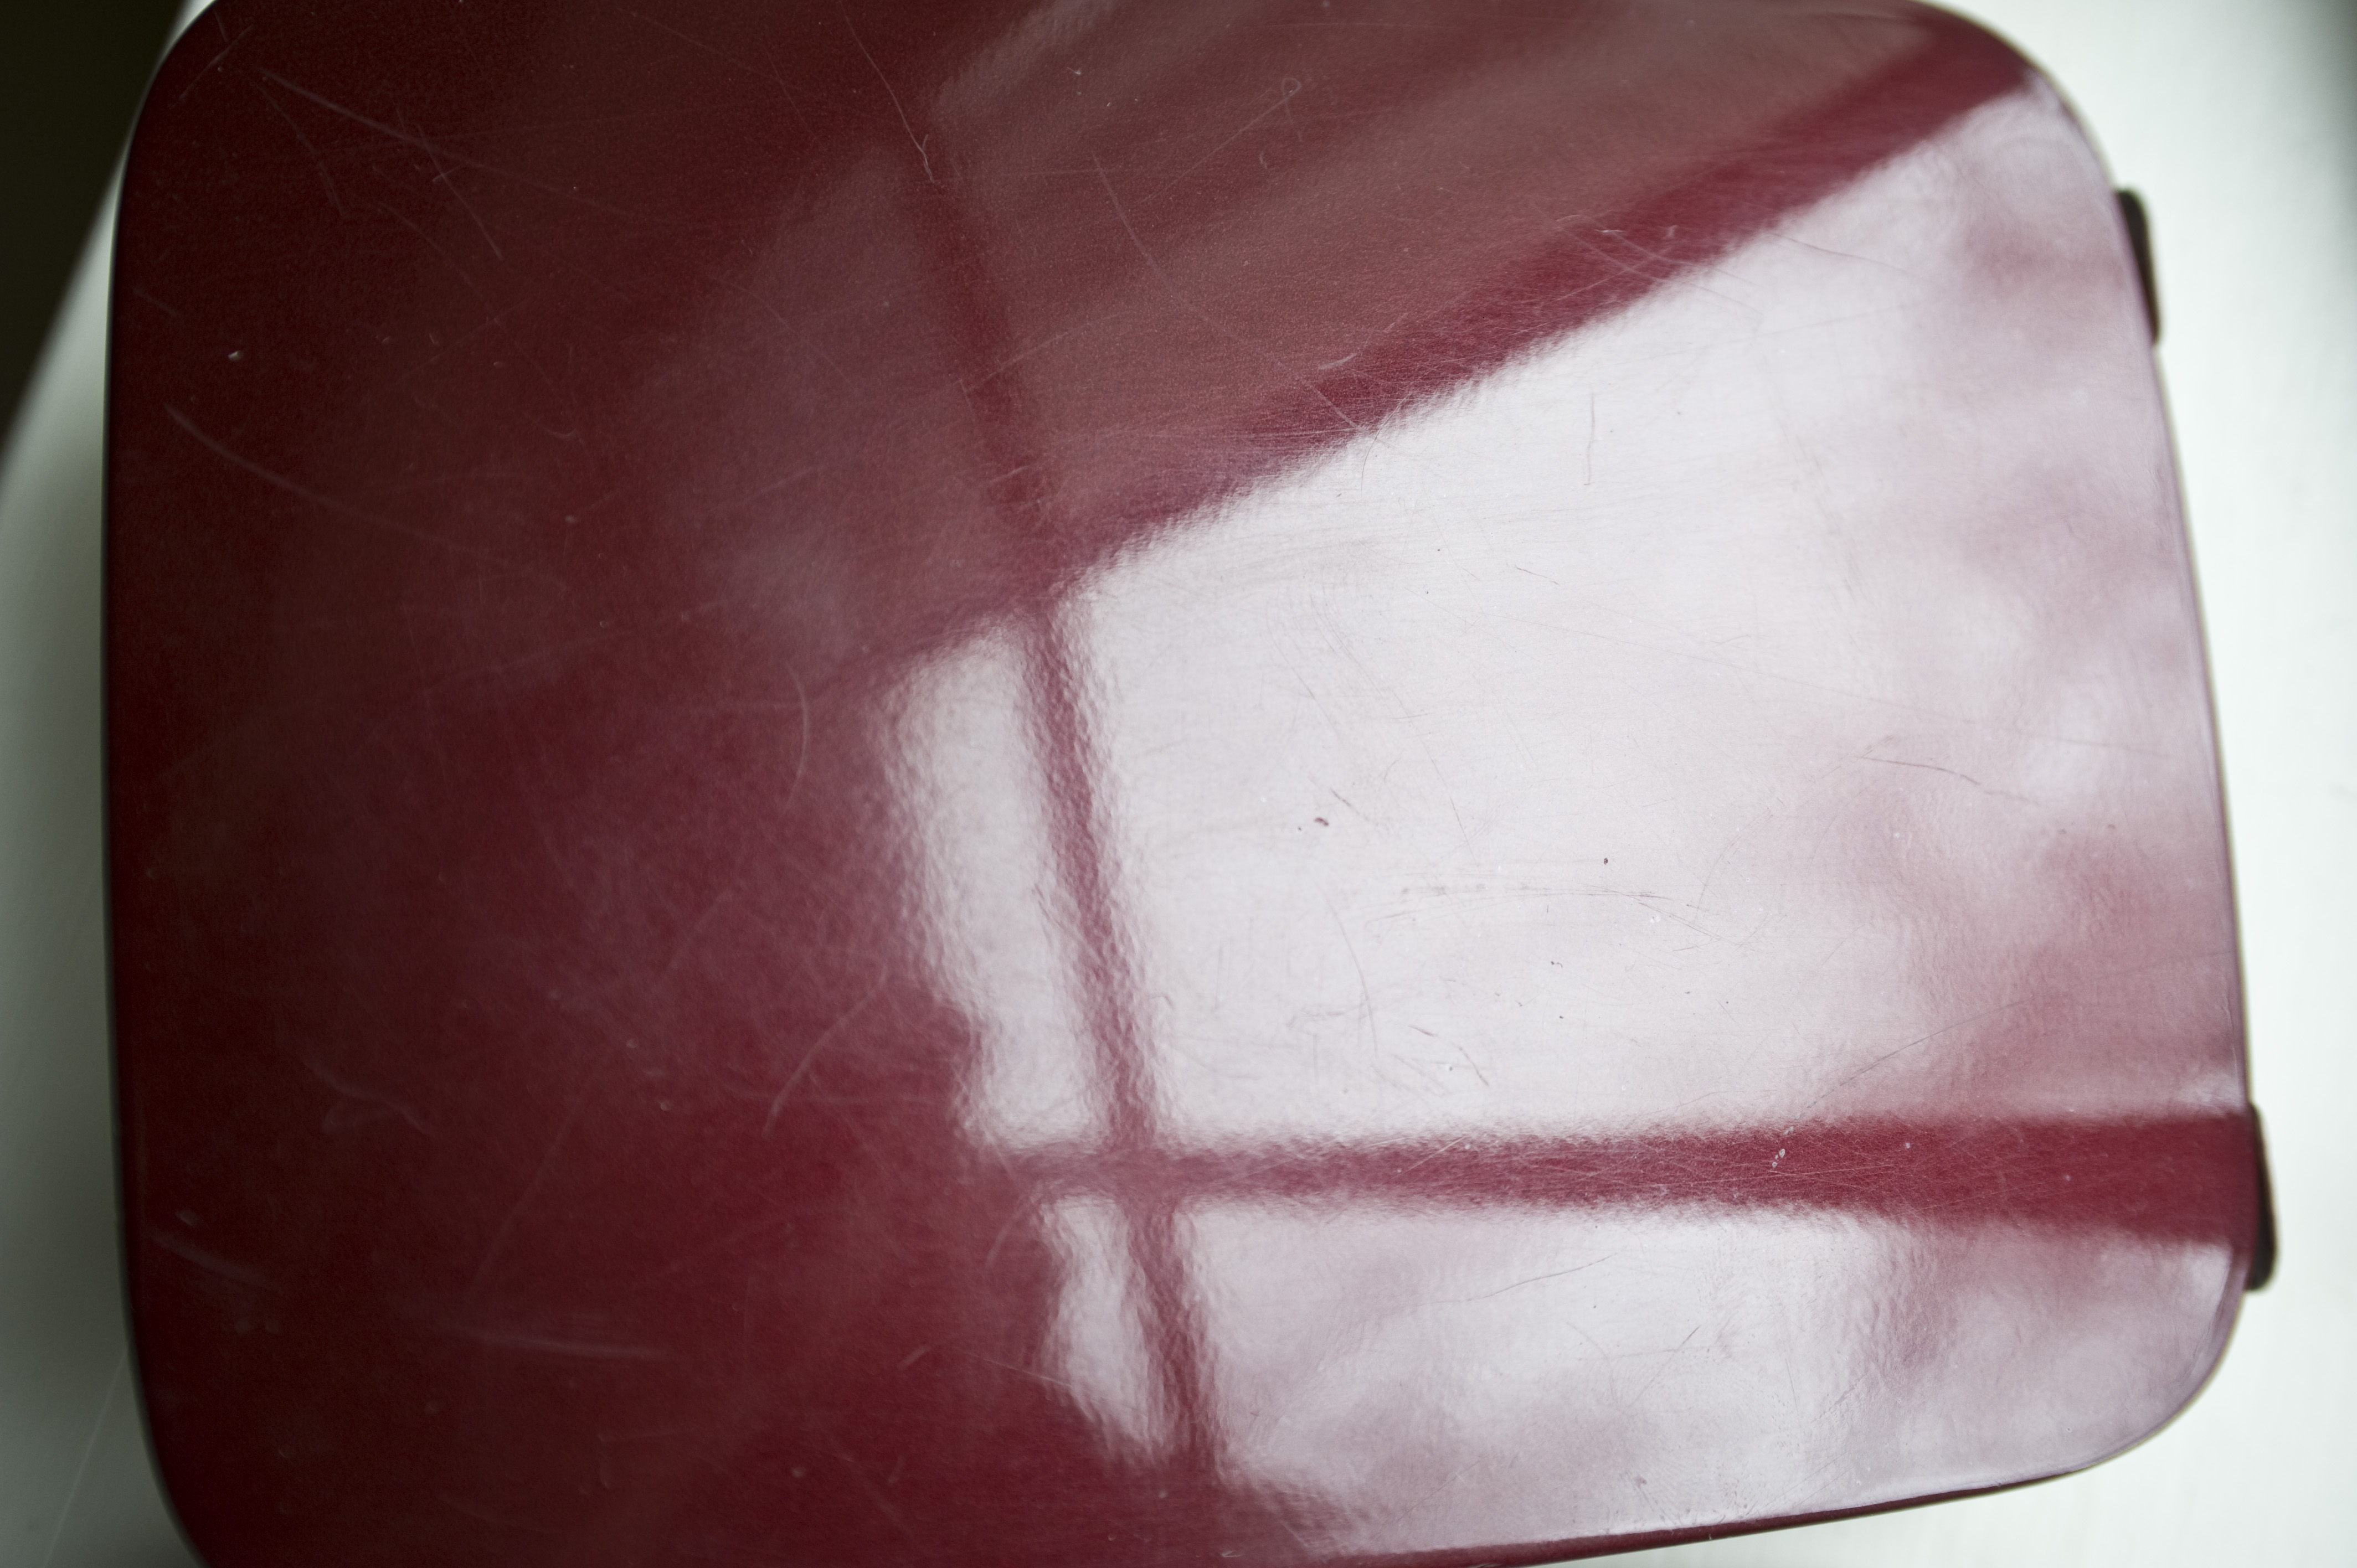
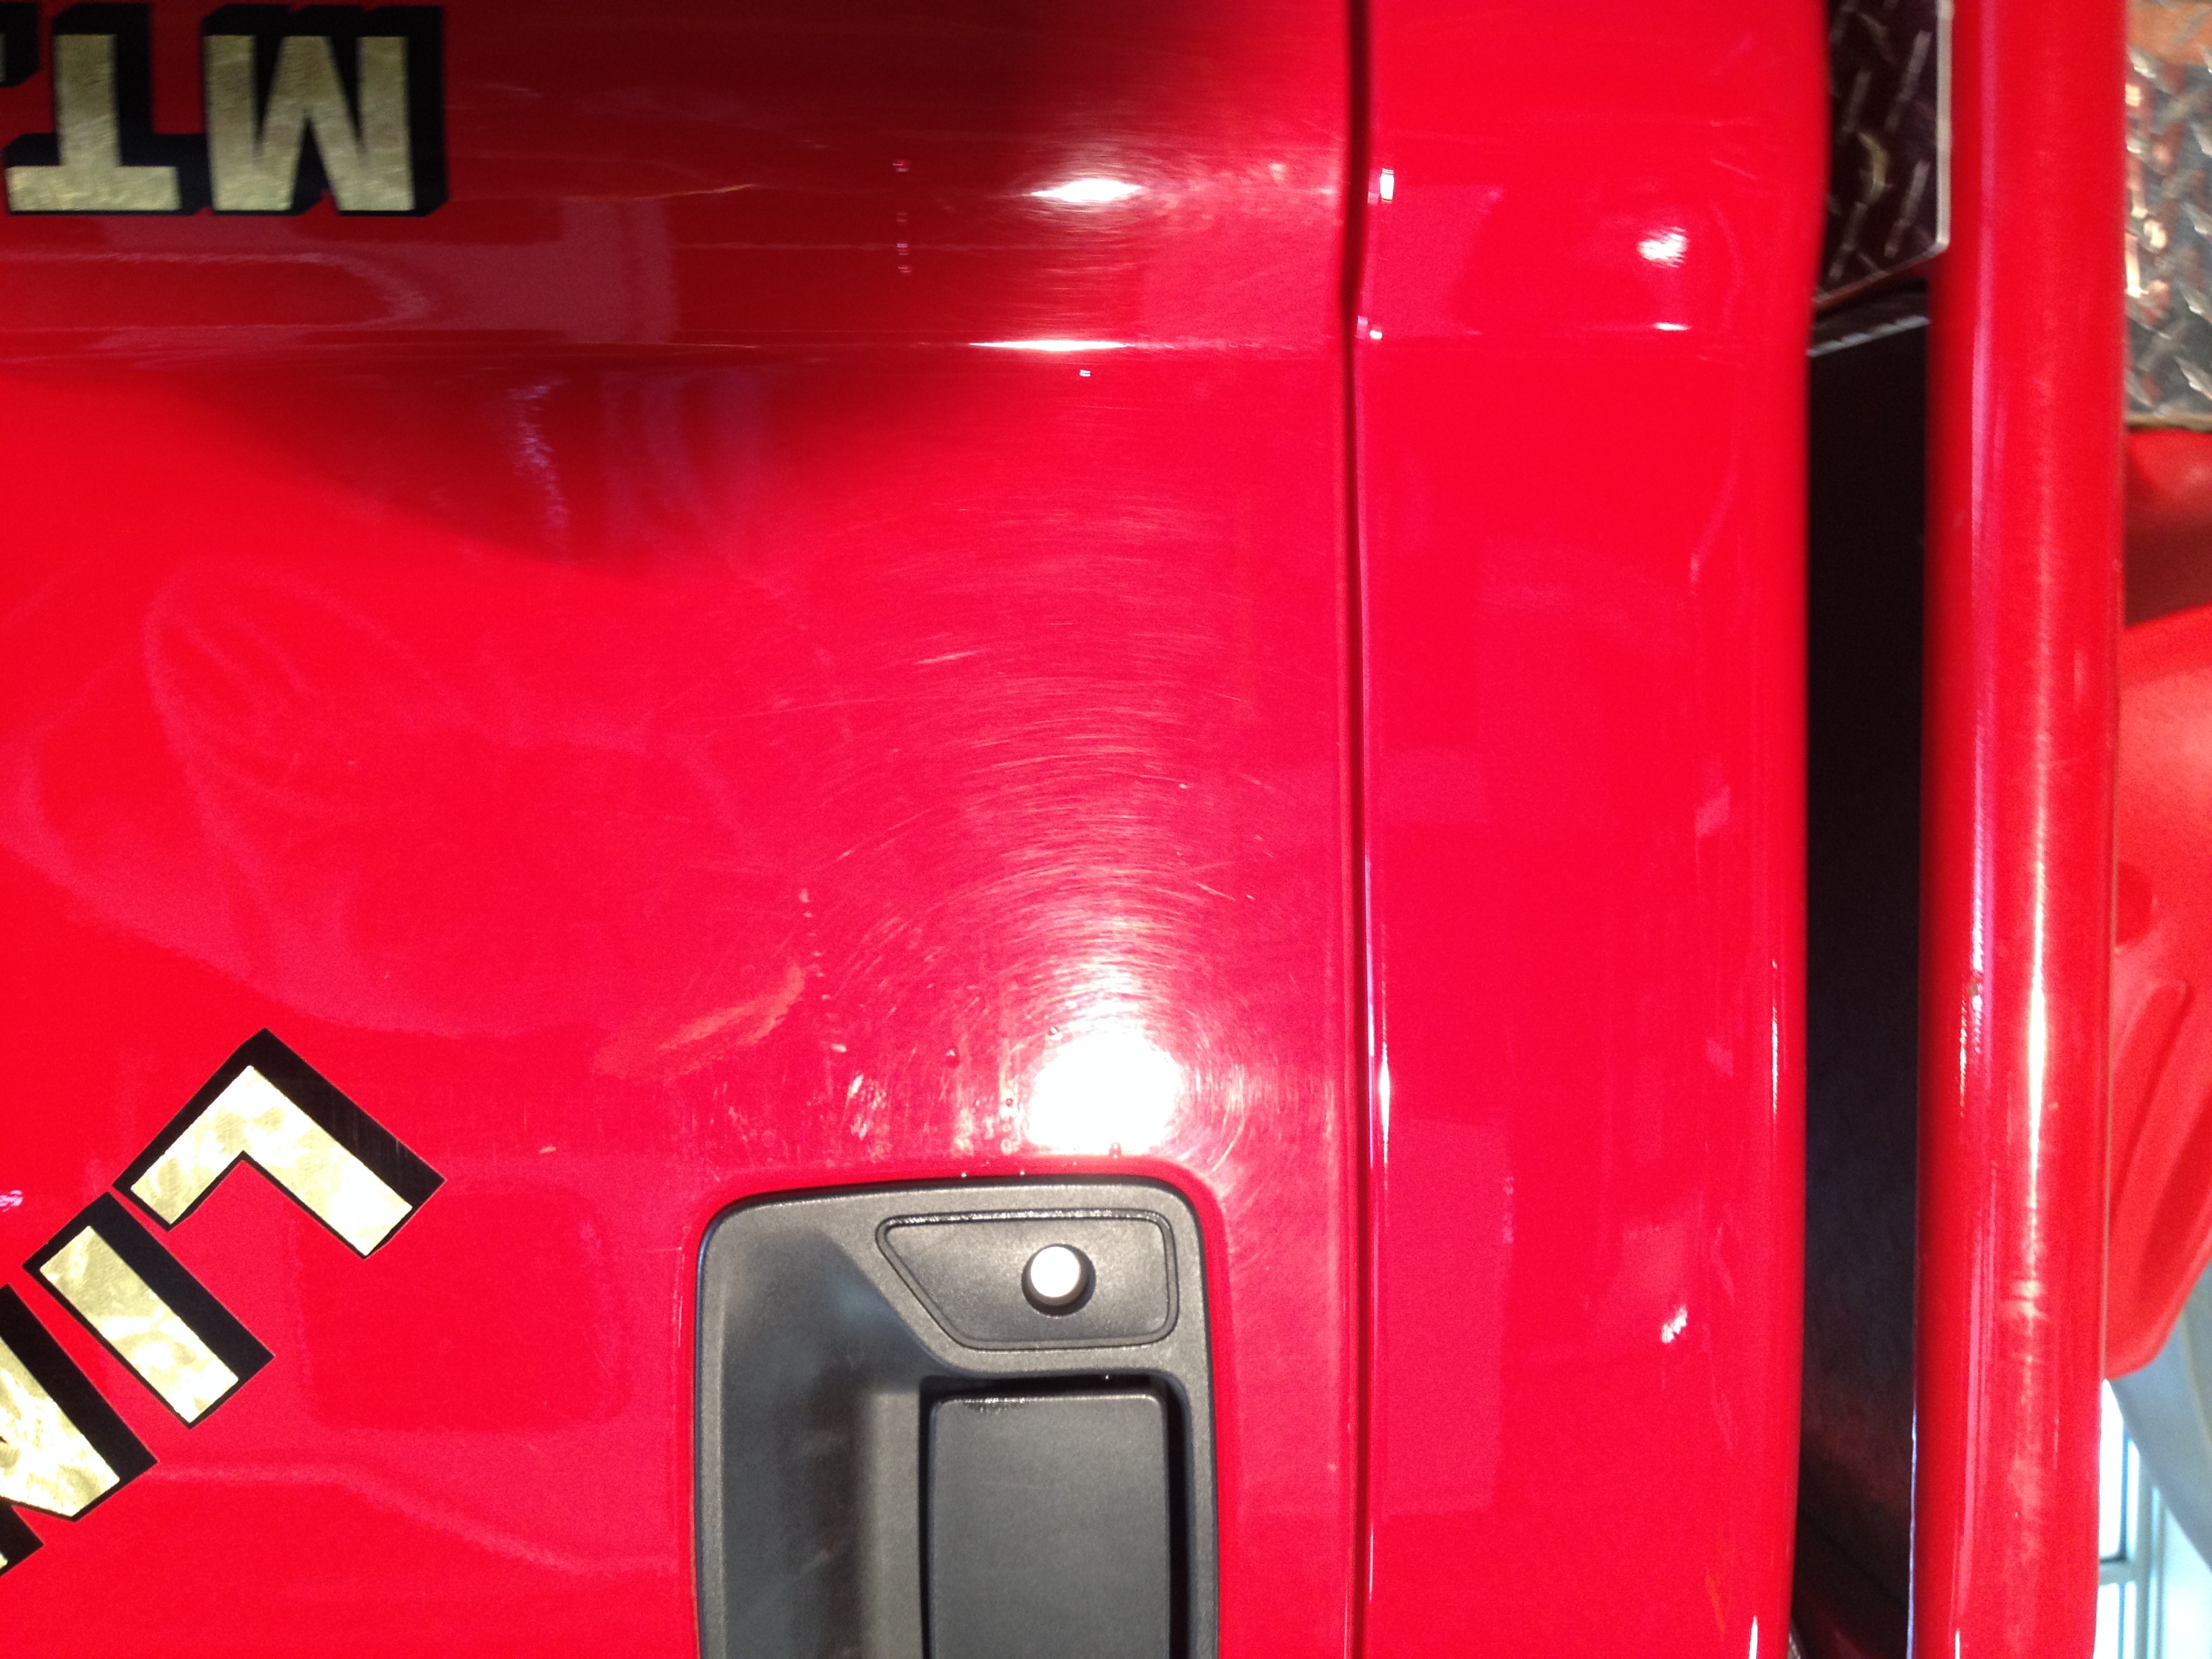
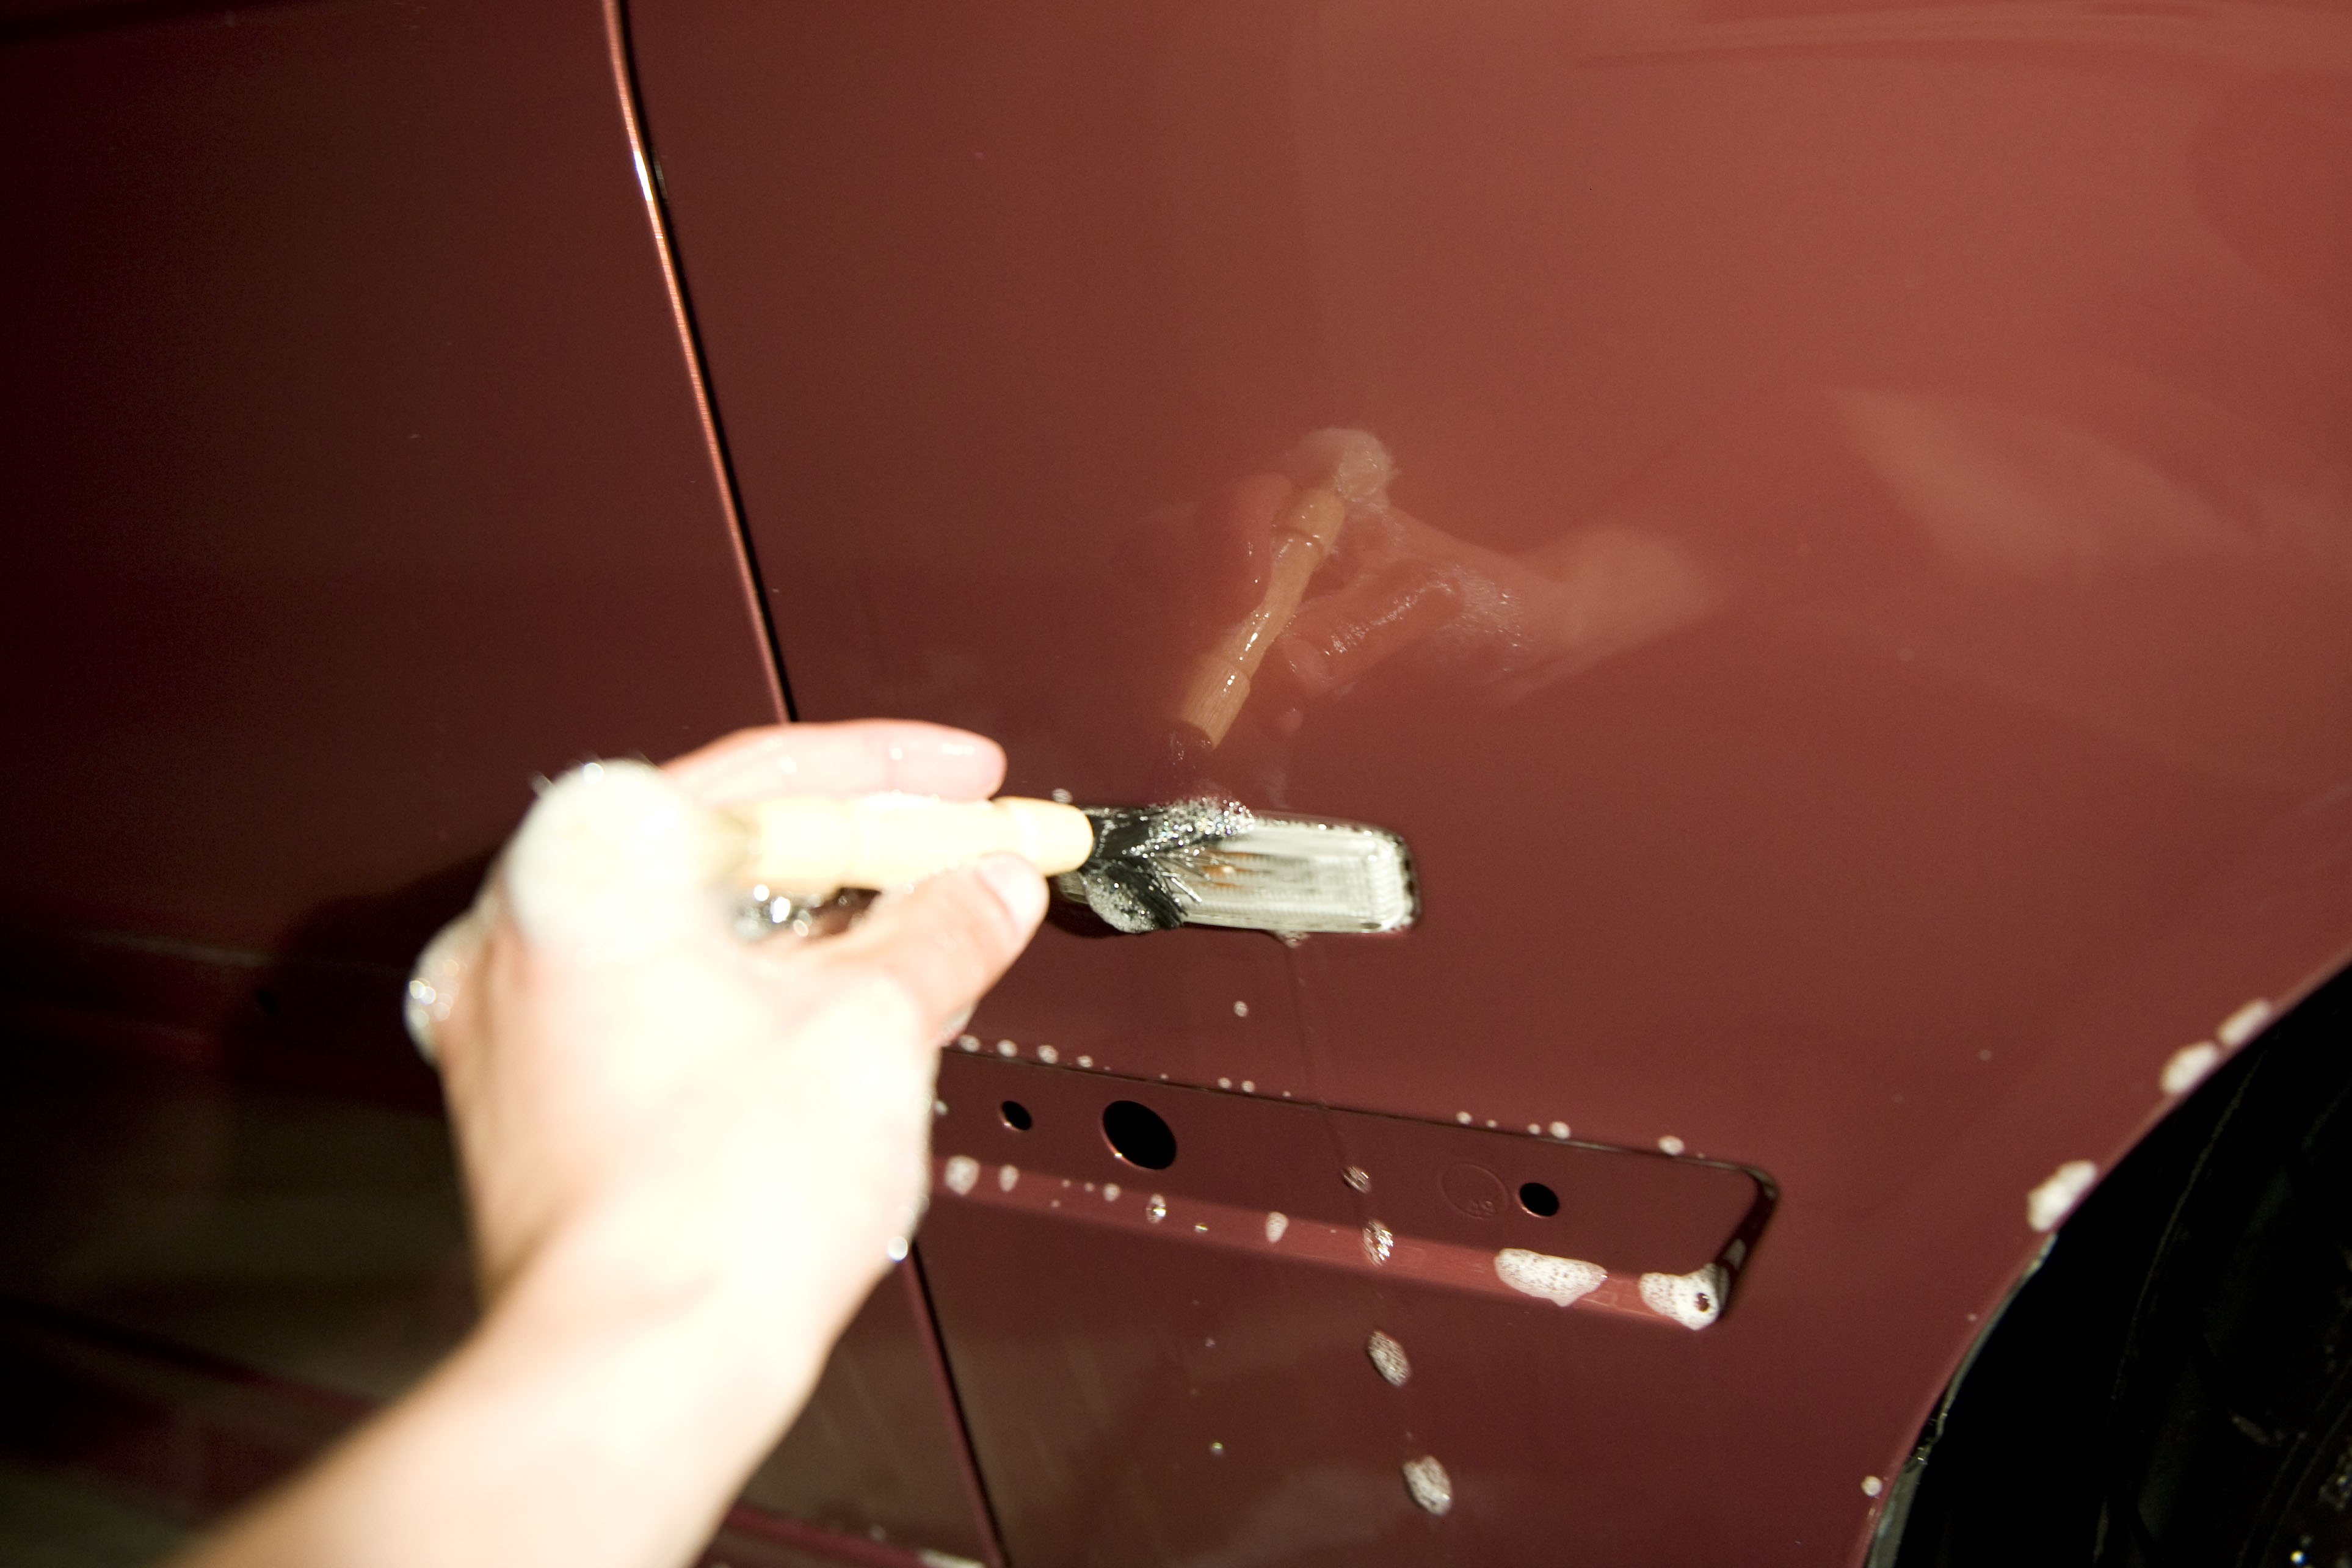
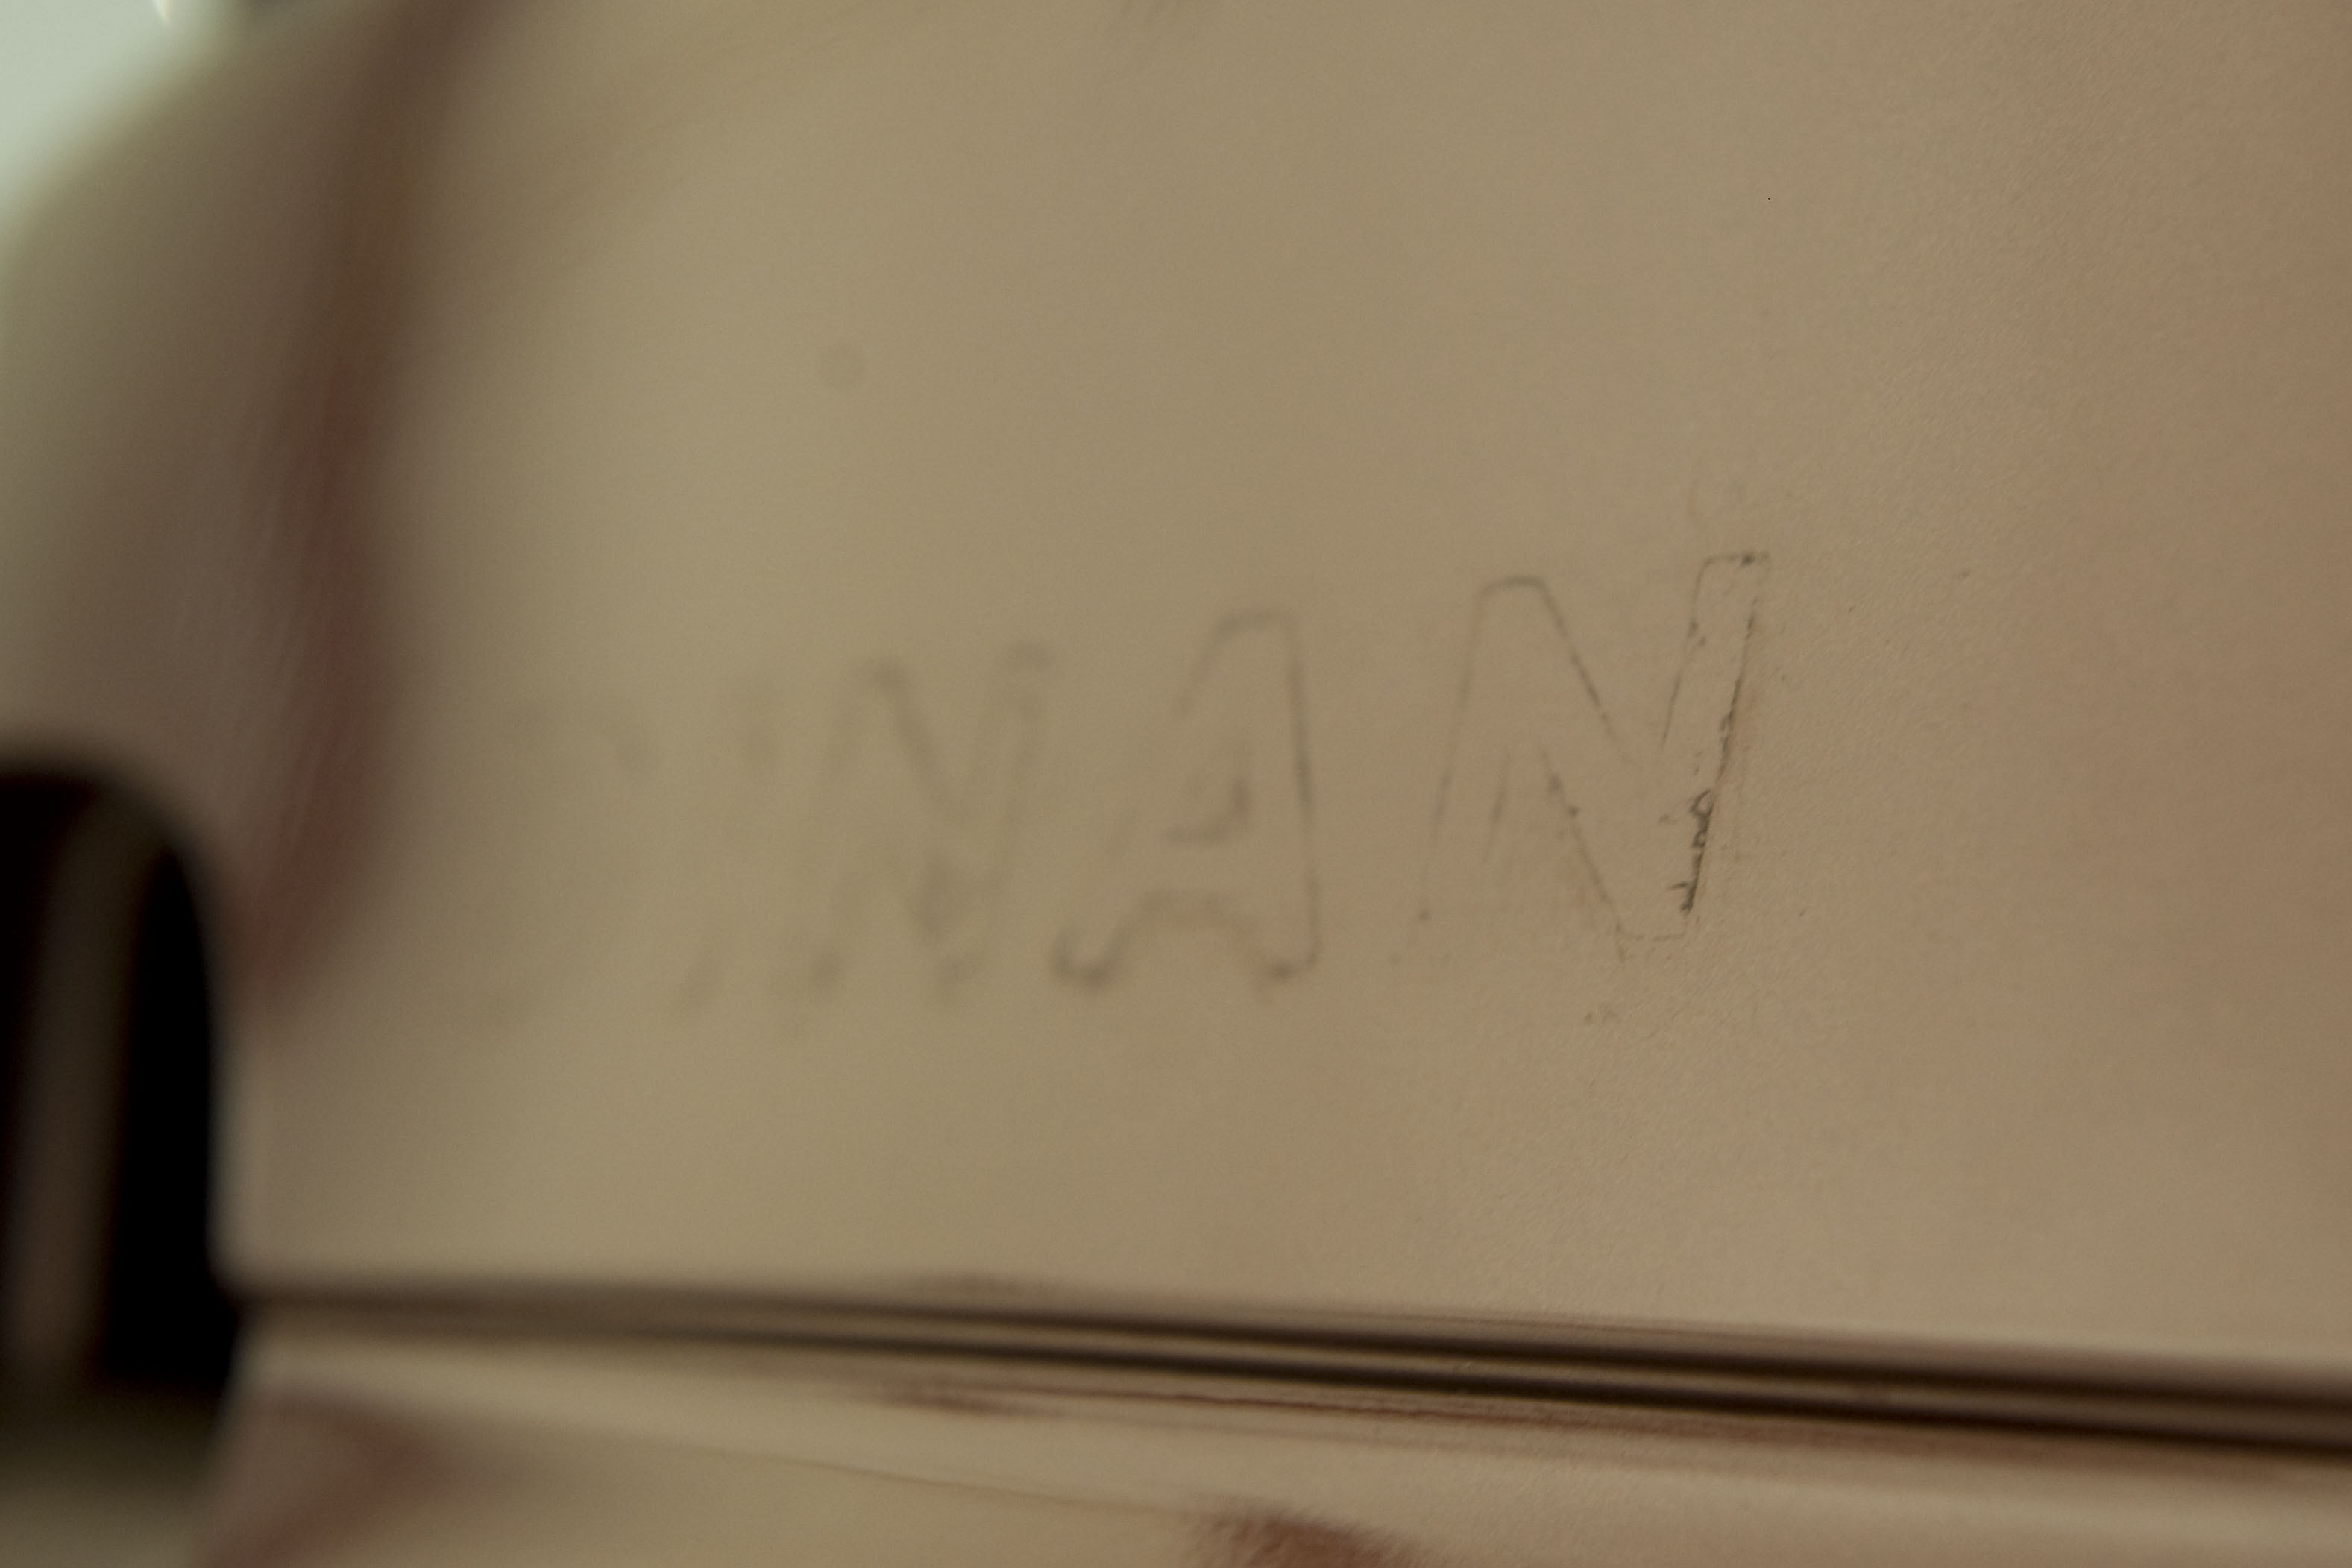
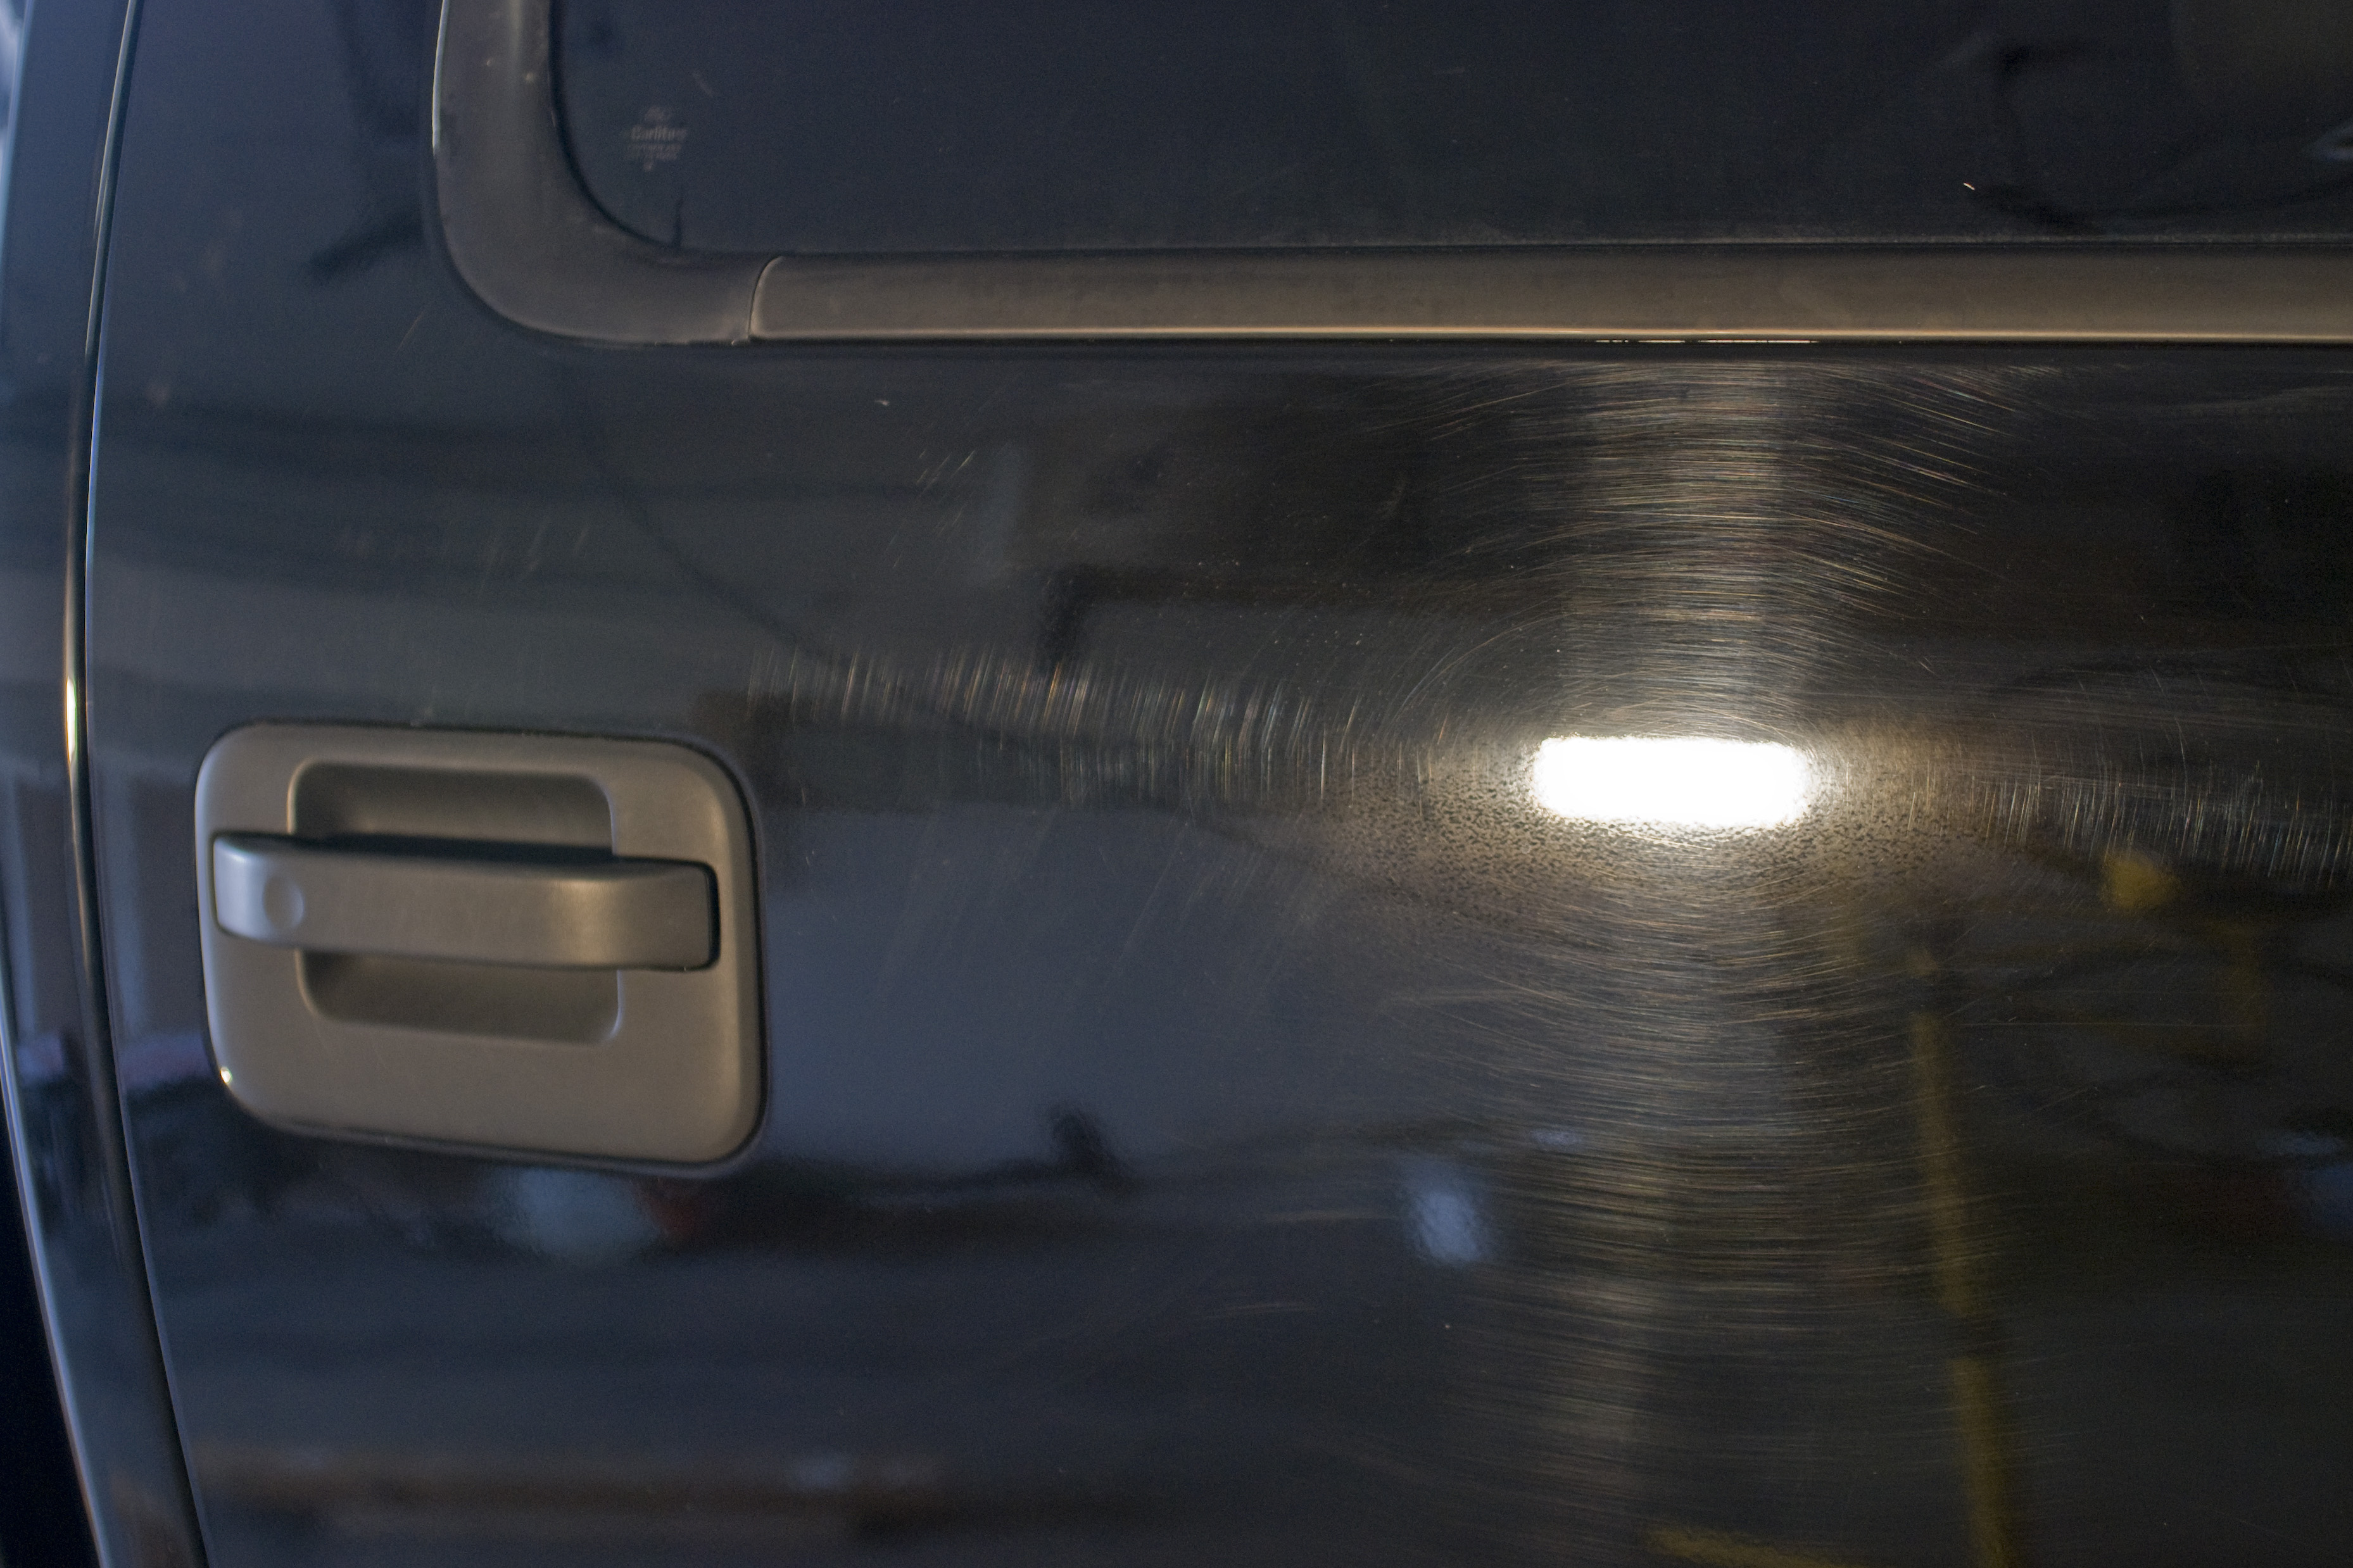
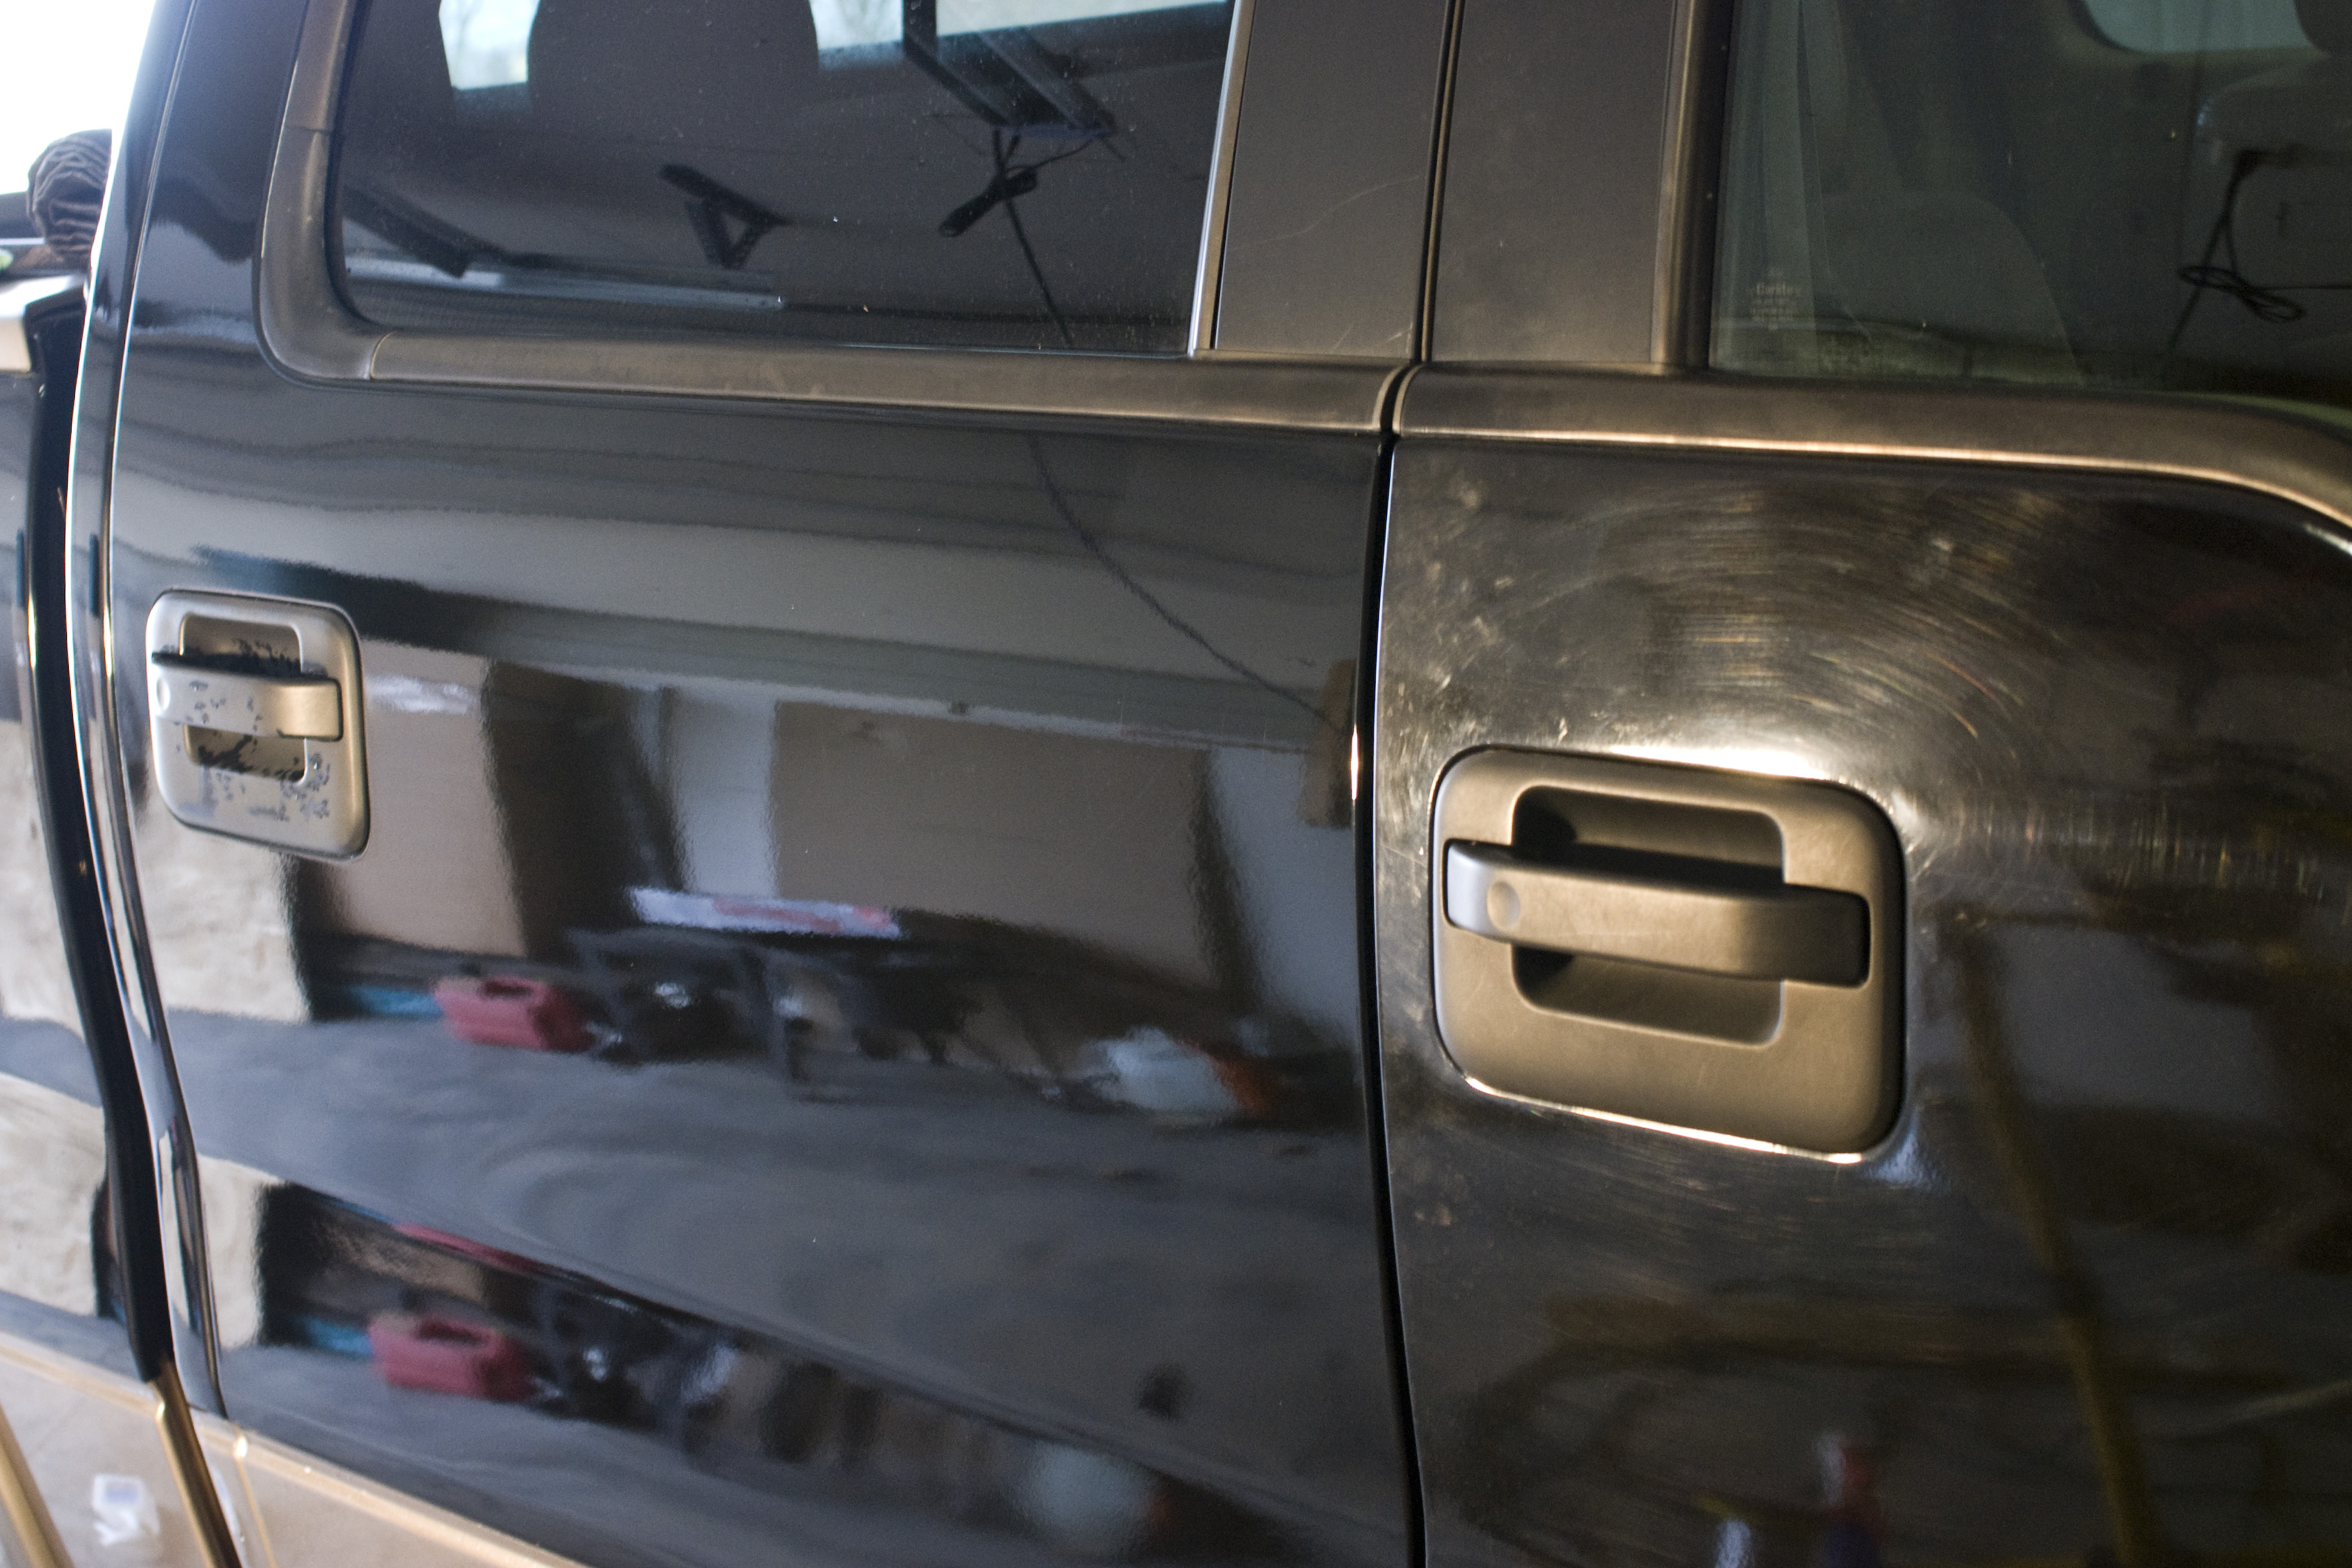
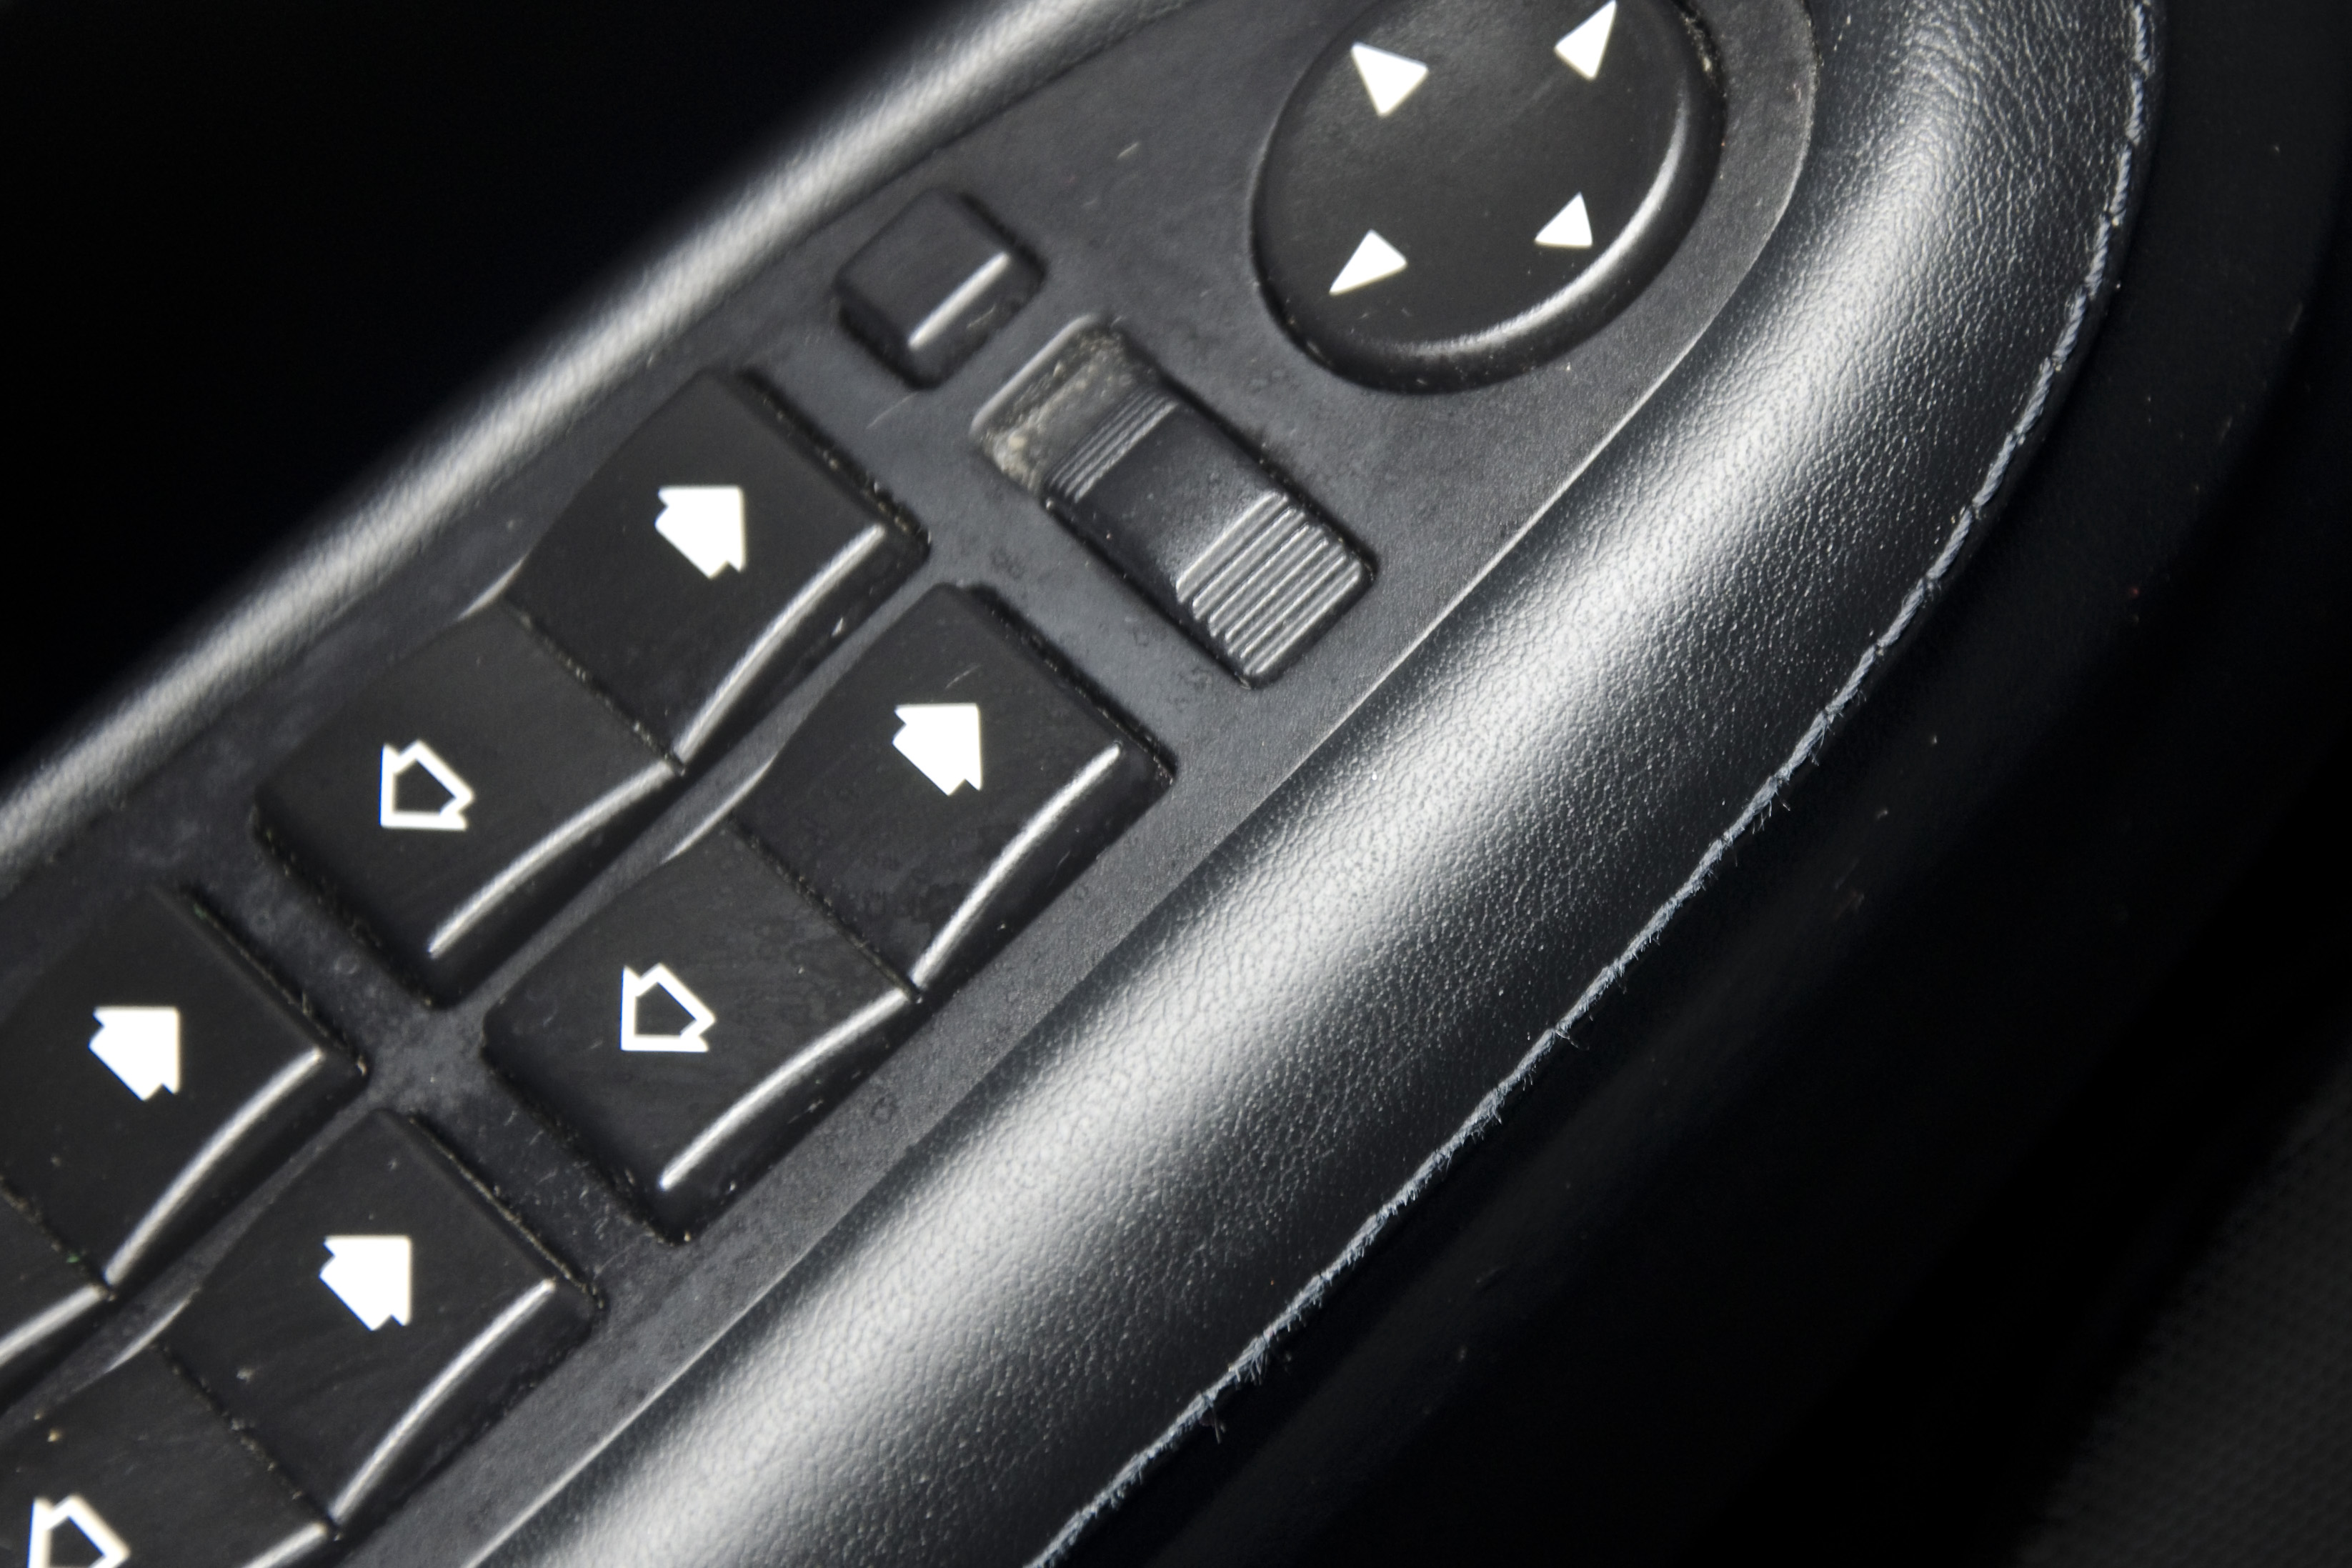
Lets start with some interior leather cleaning. Initially it looked like the leather had abraded on the door handle.

FL Detail080dsc_3619

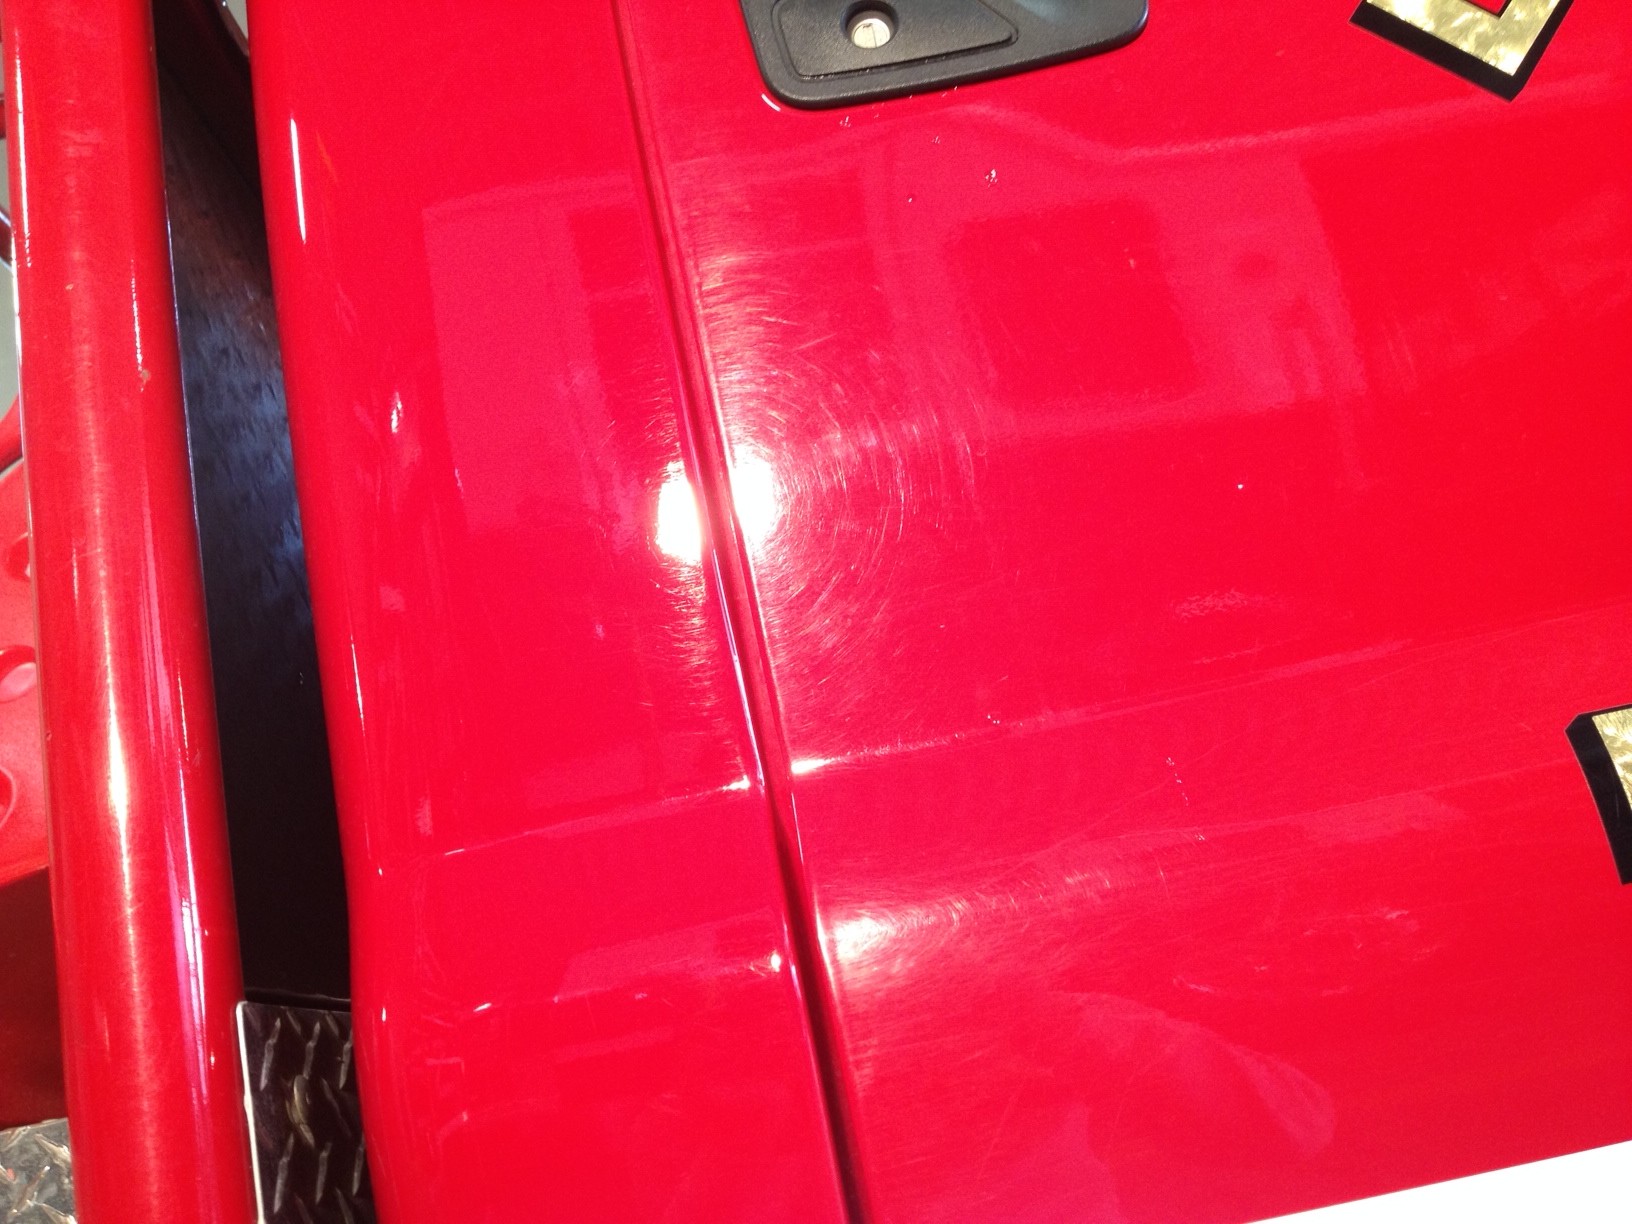
But after gently cleaning away years of use, the leather appeared as good as new!

FL Detail081dsc_3620

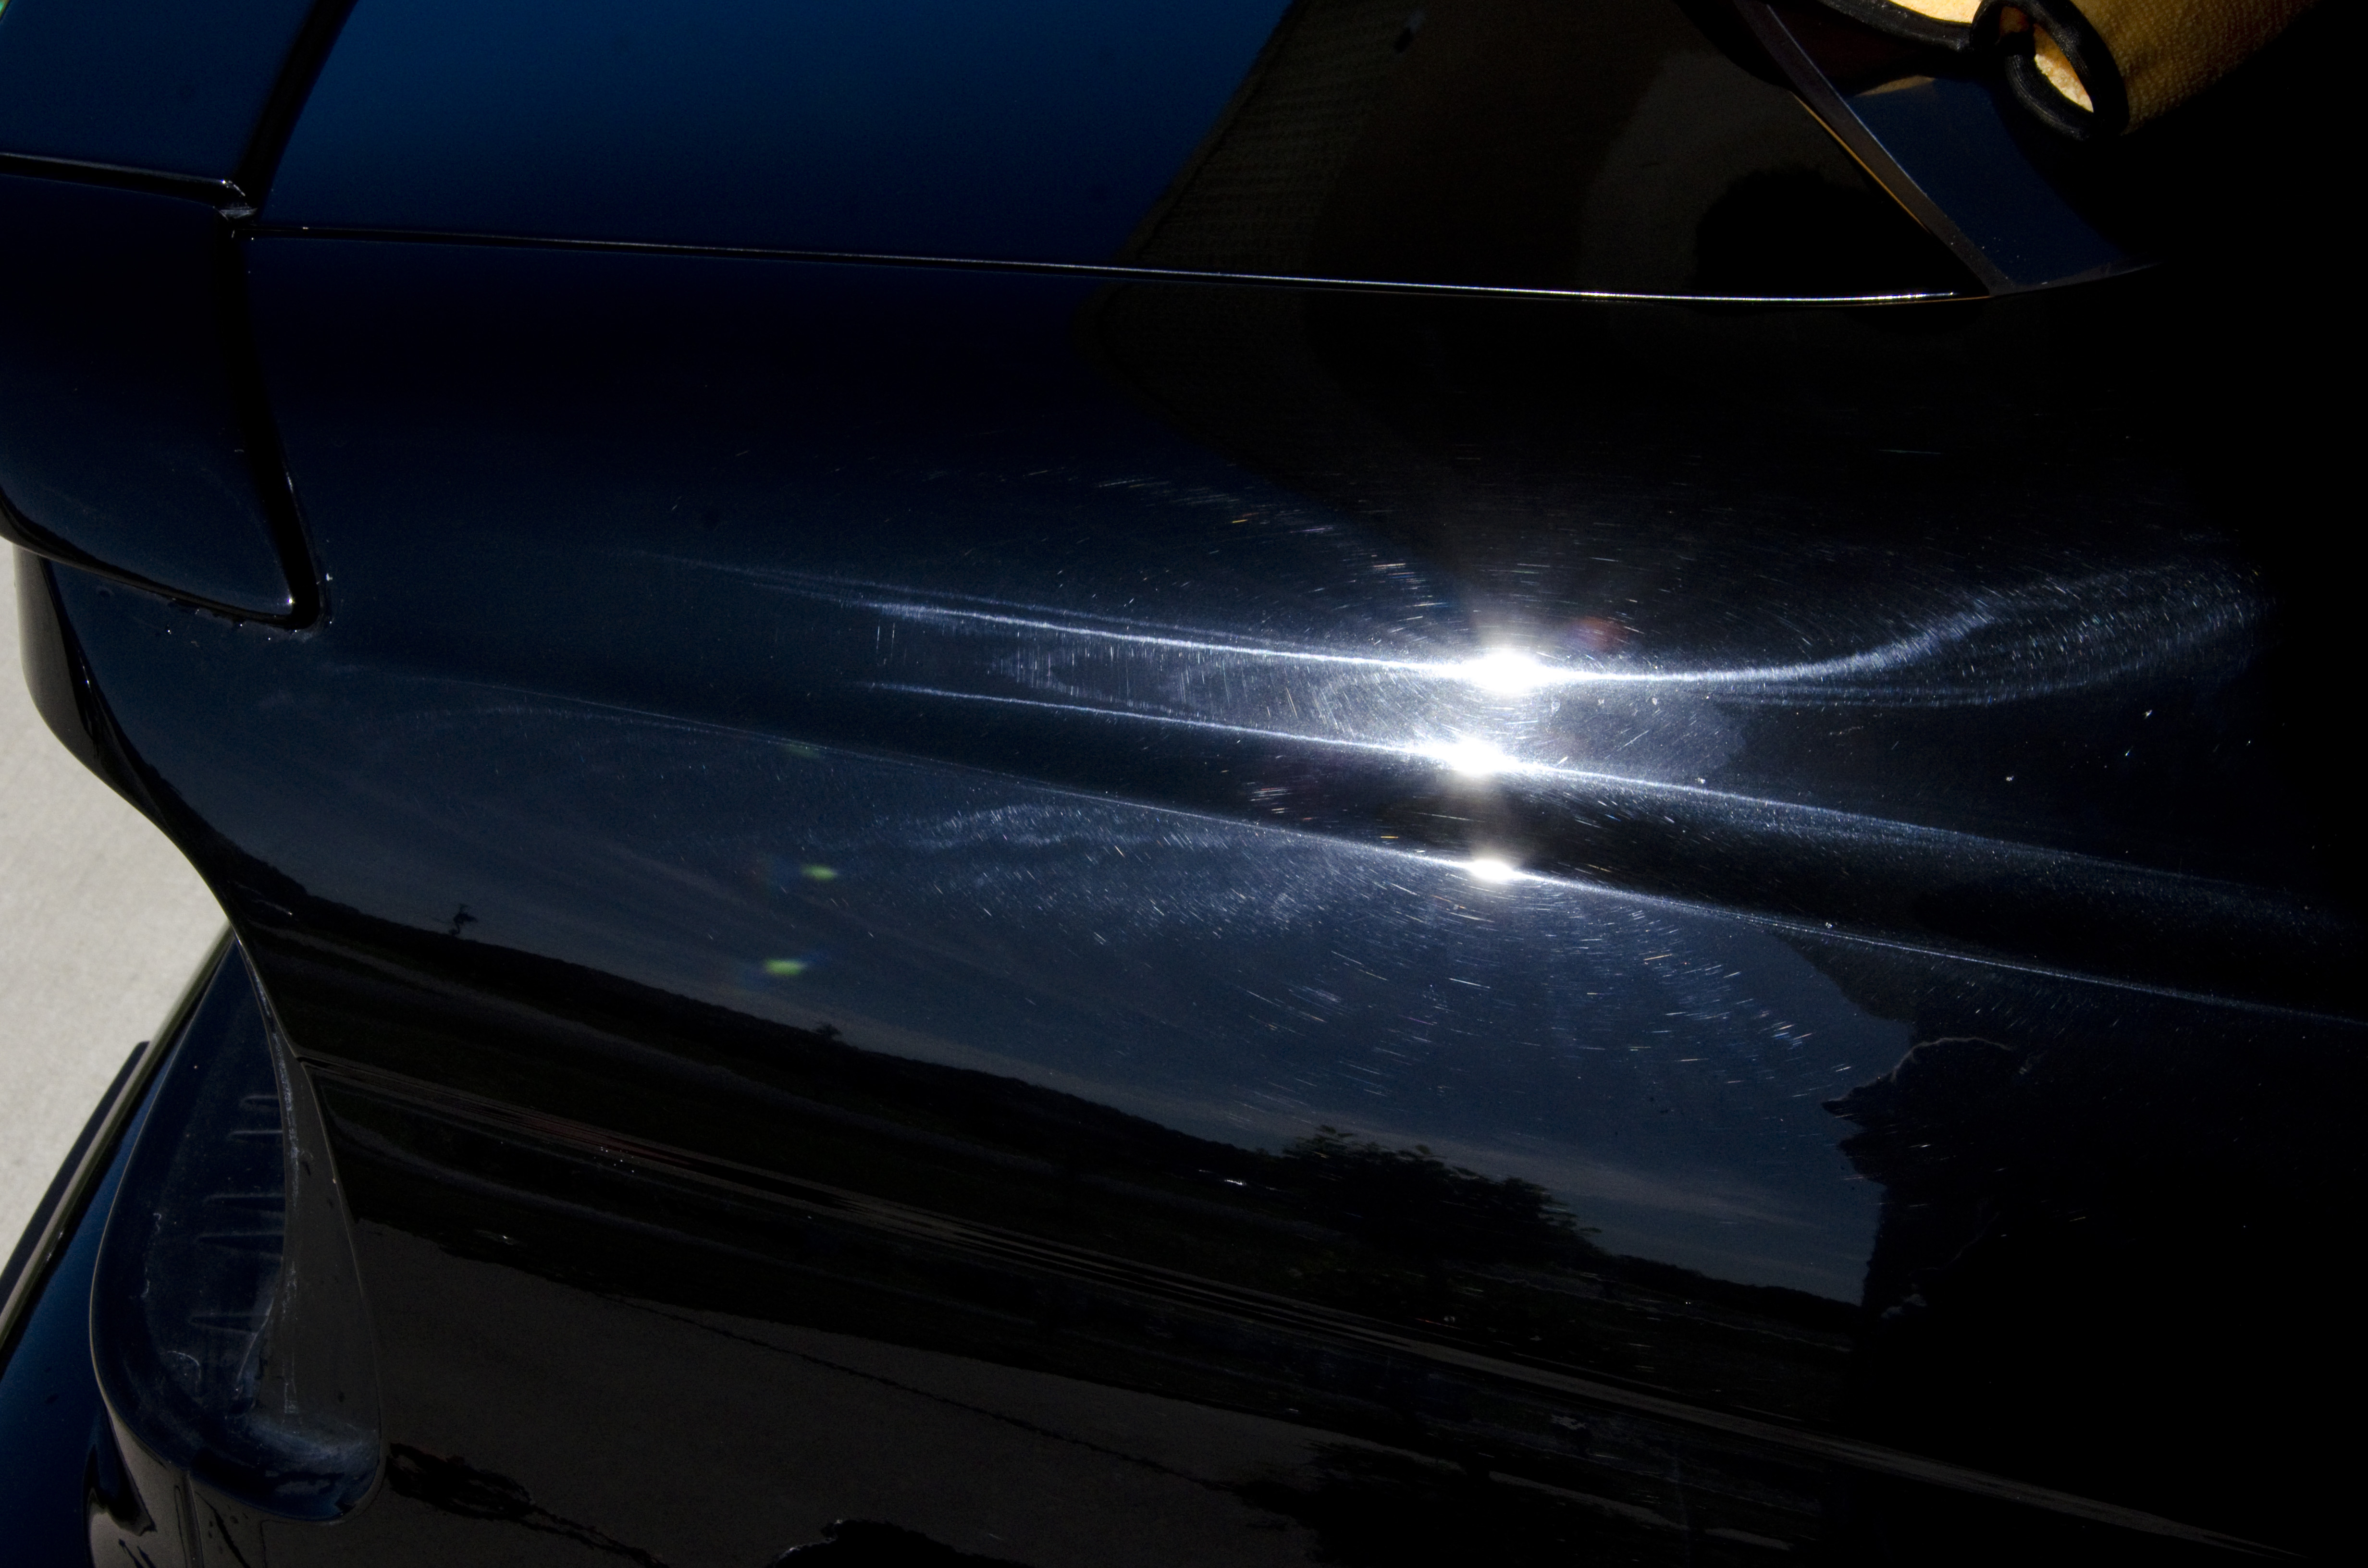
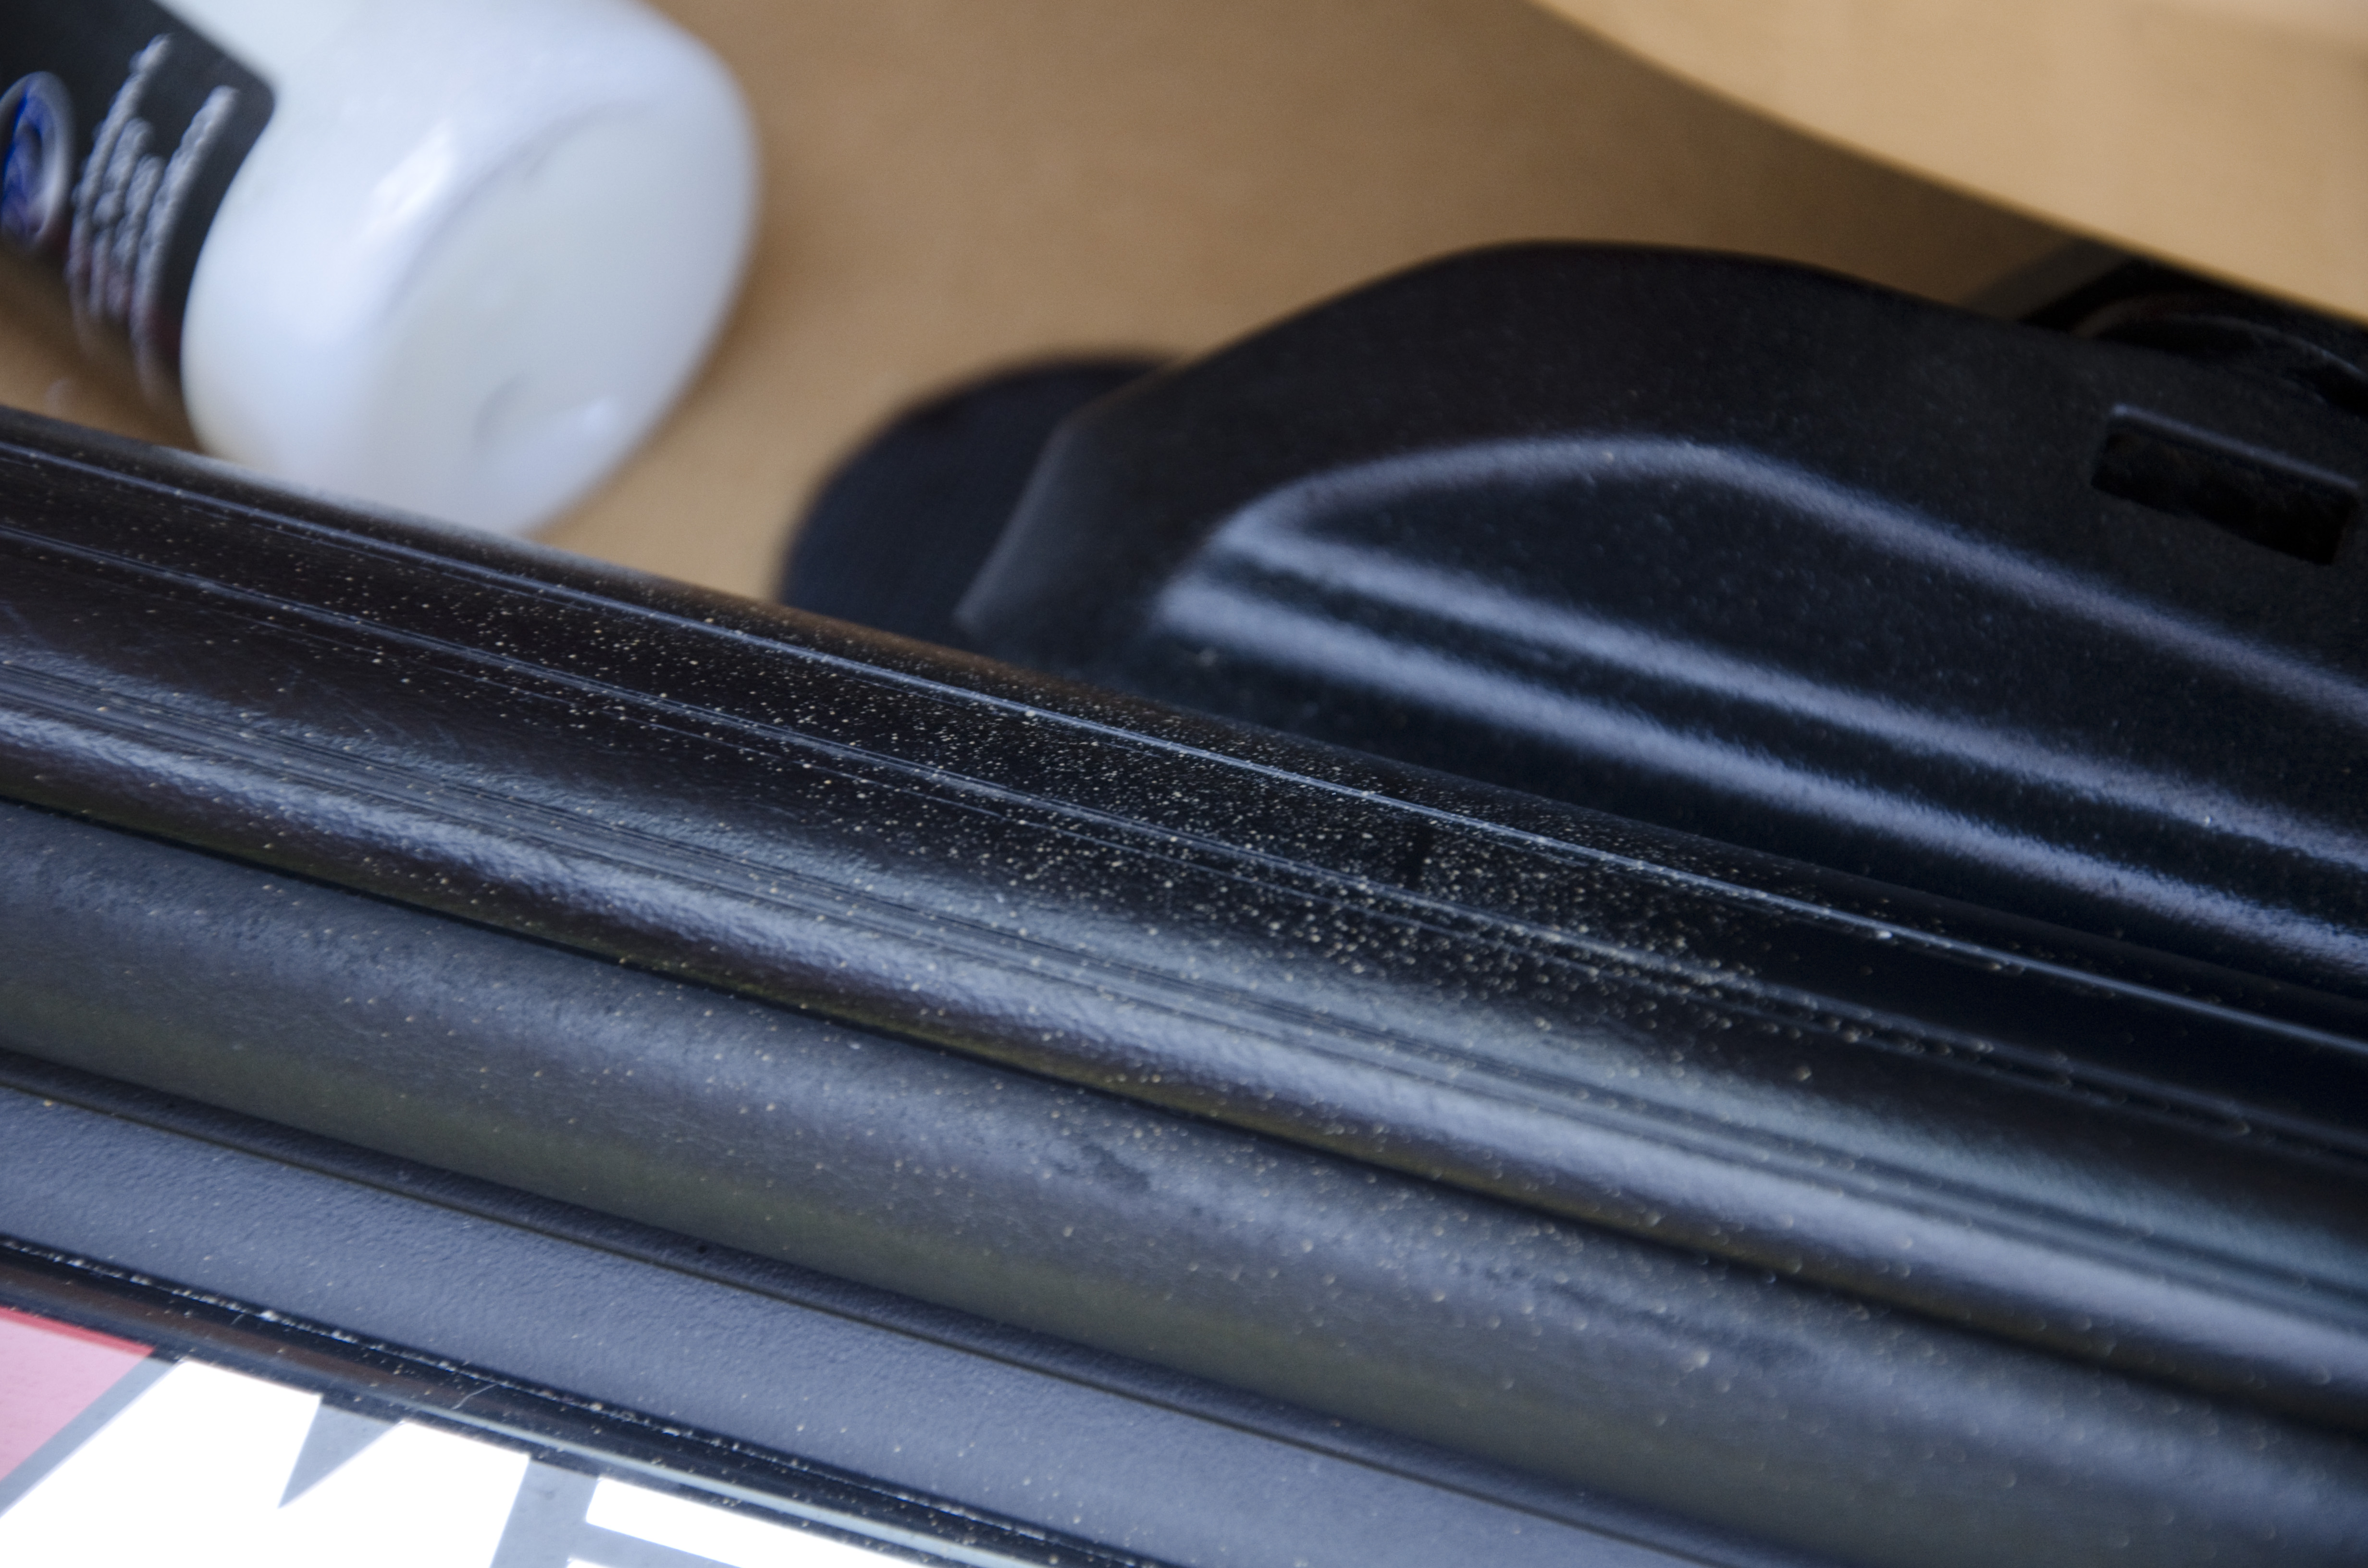
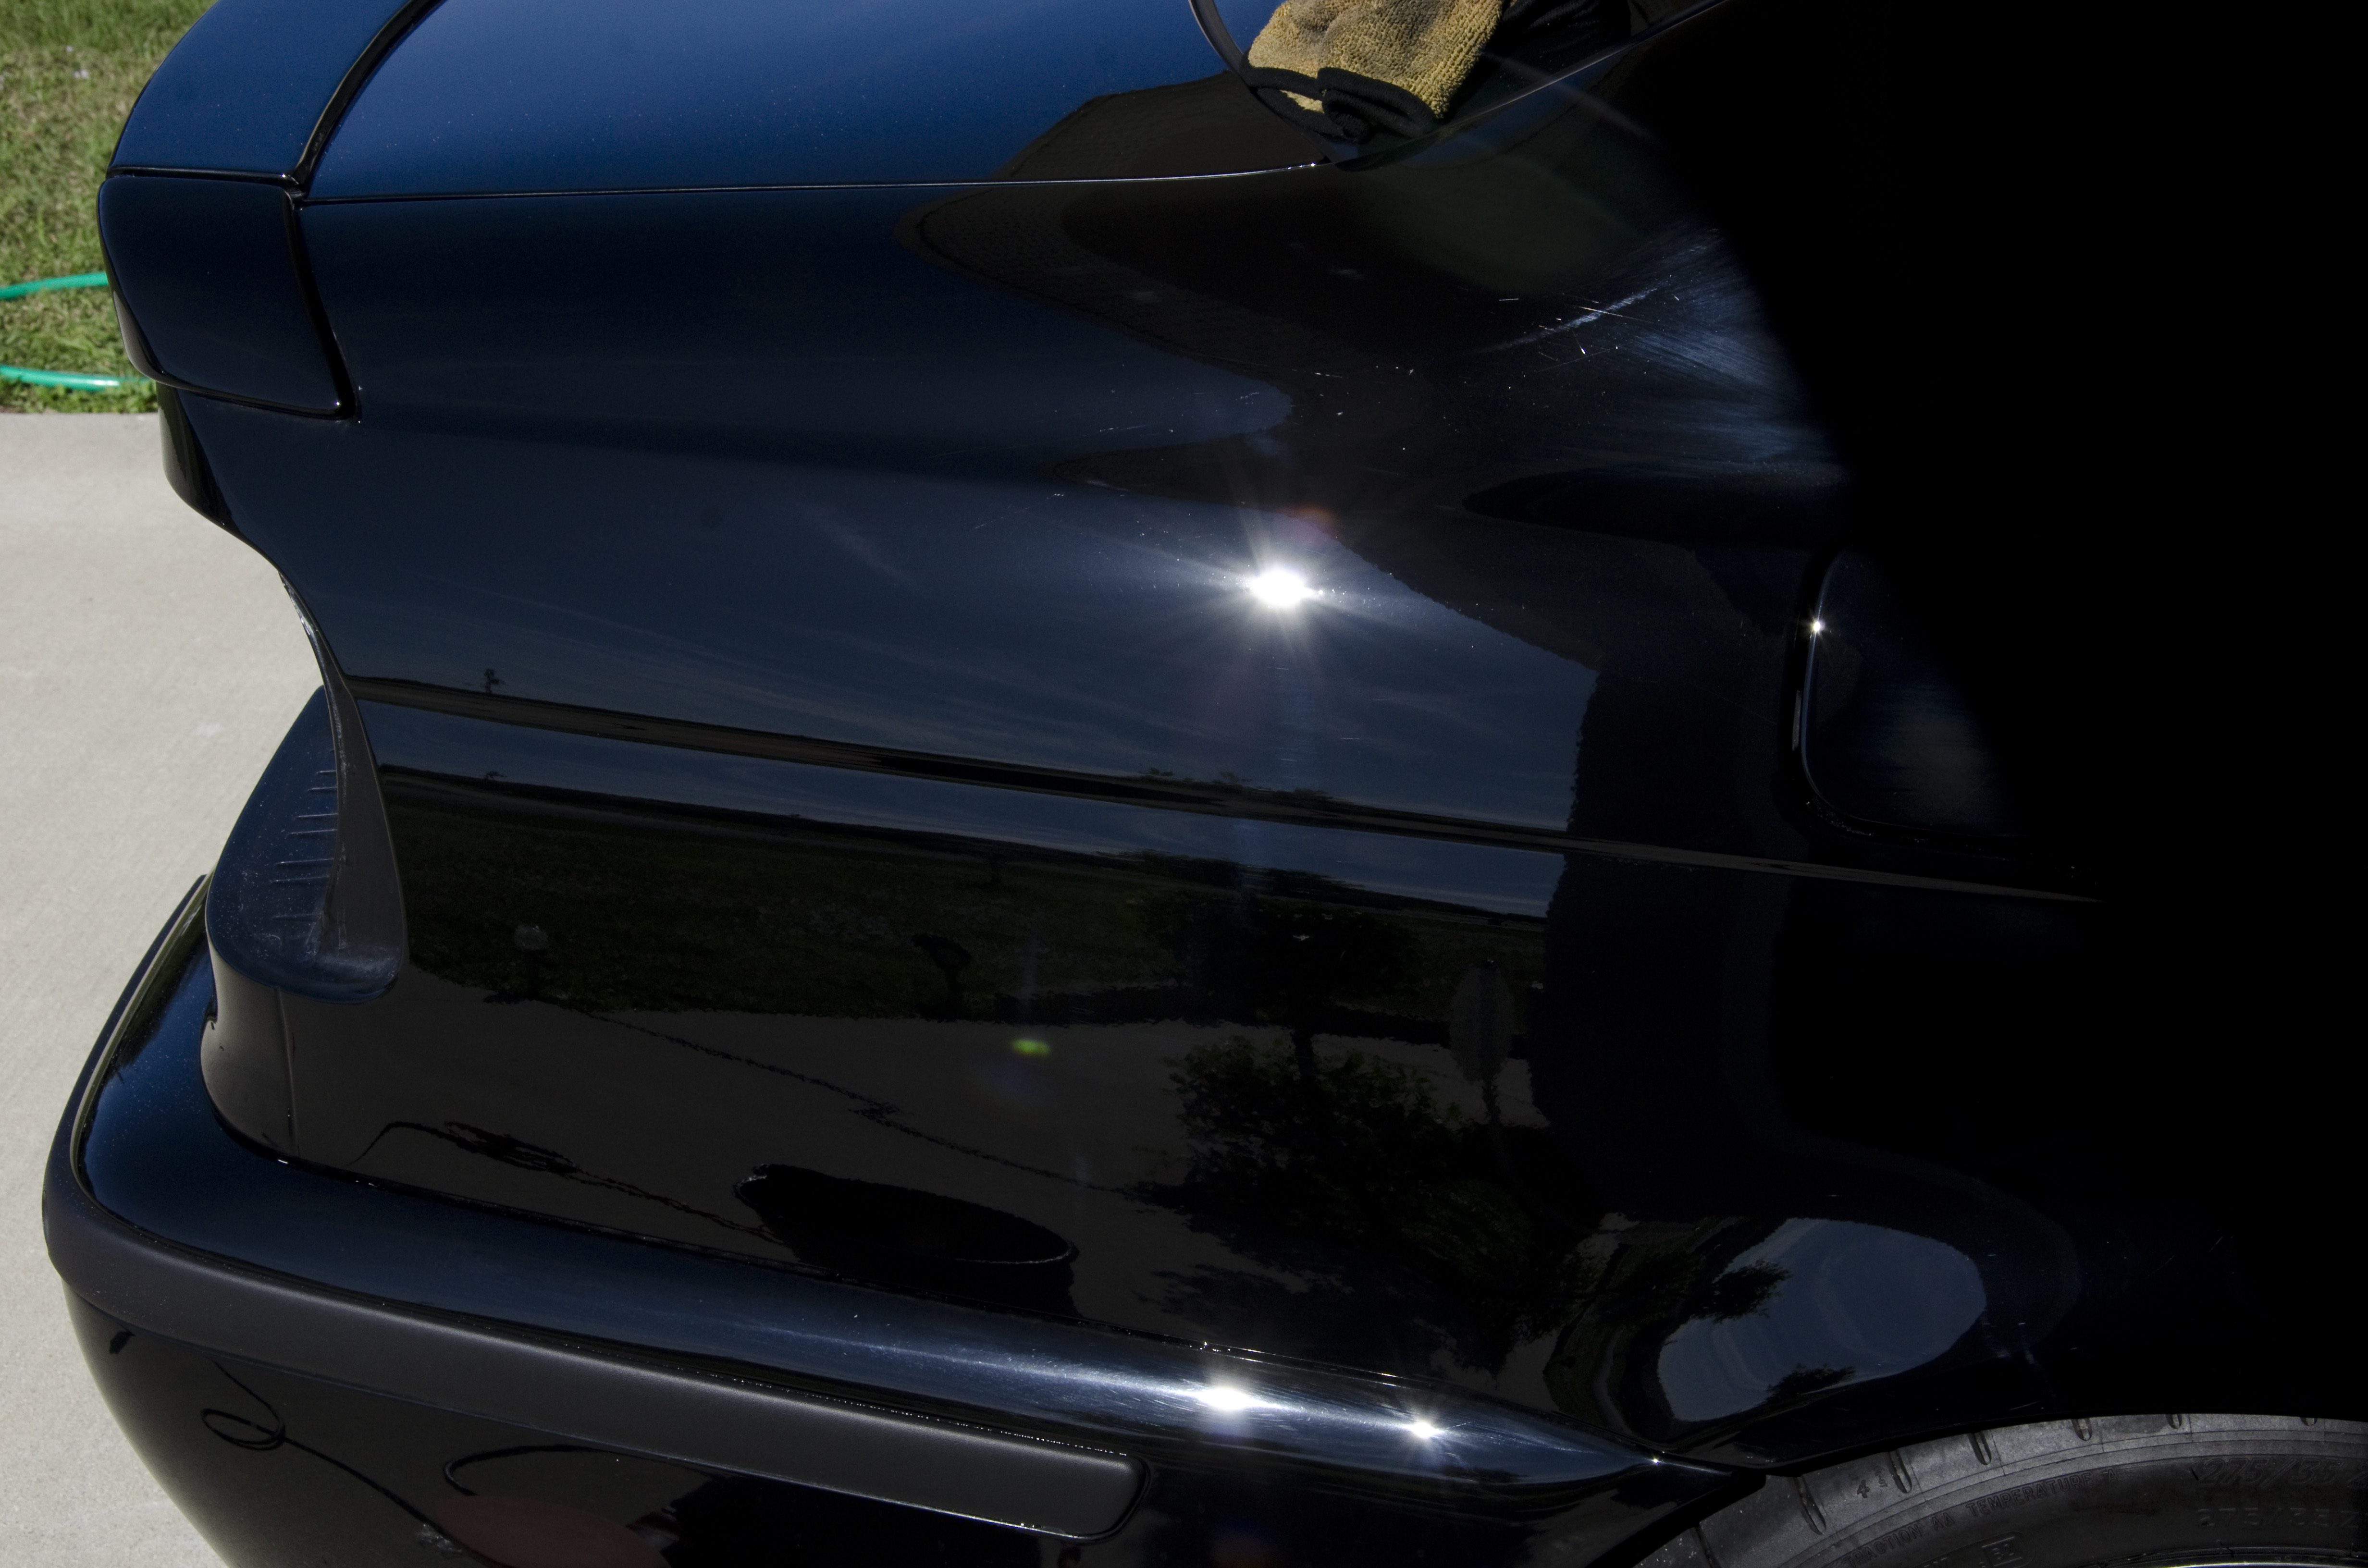
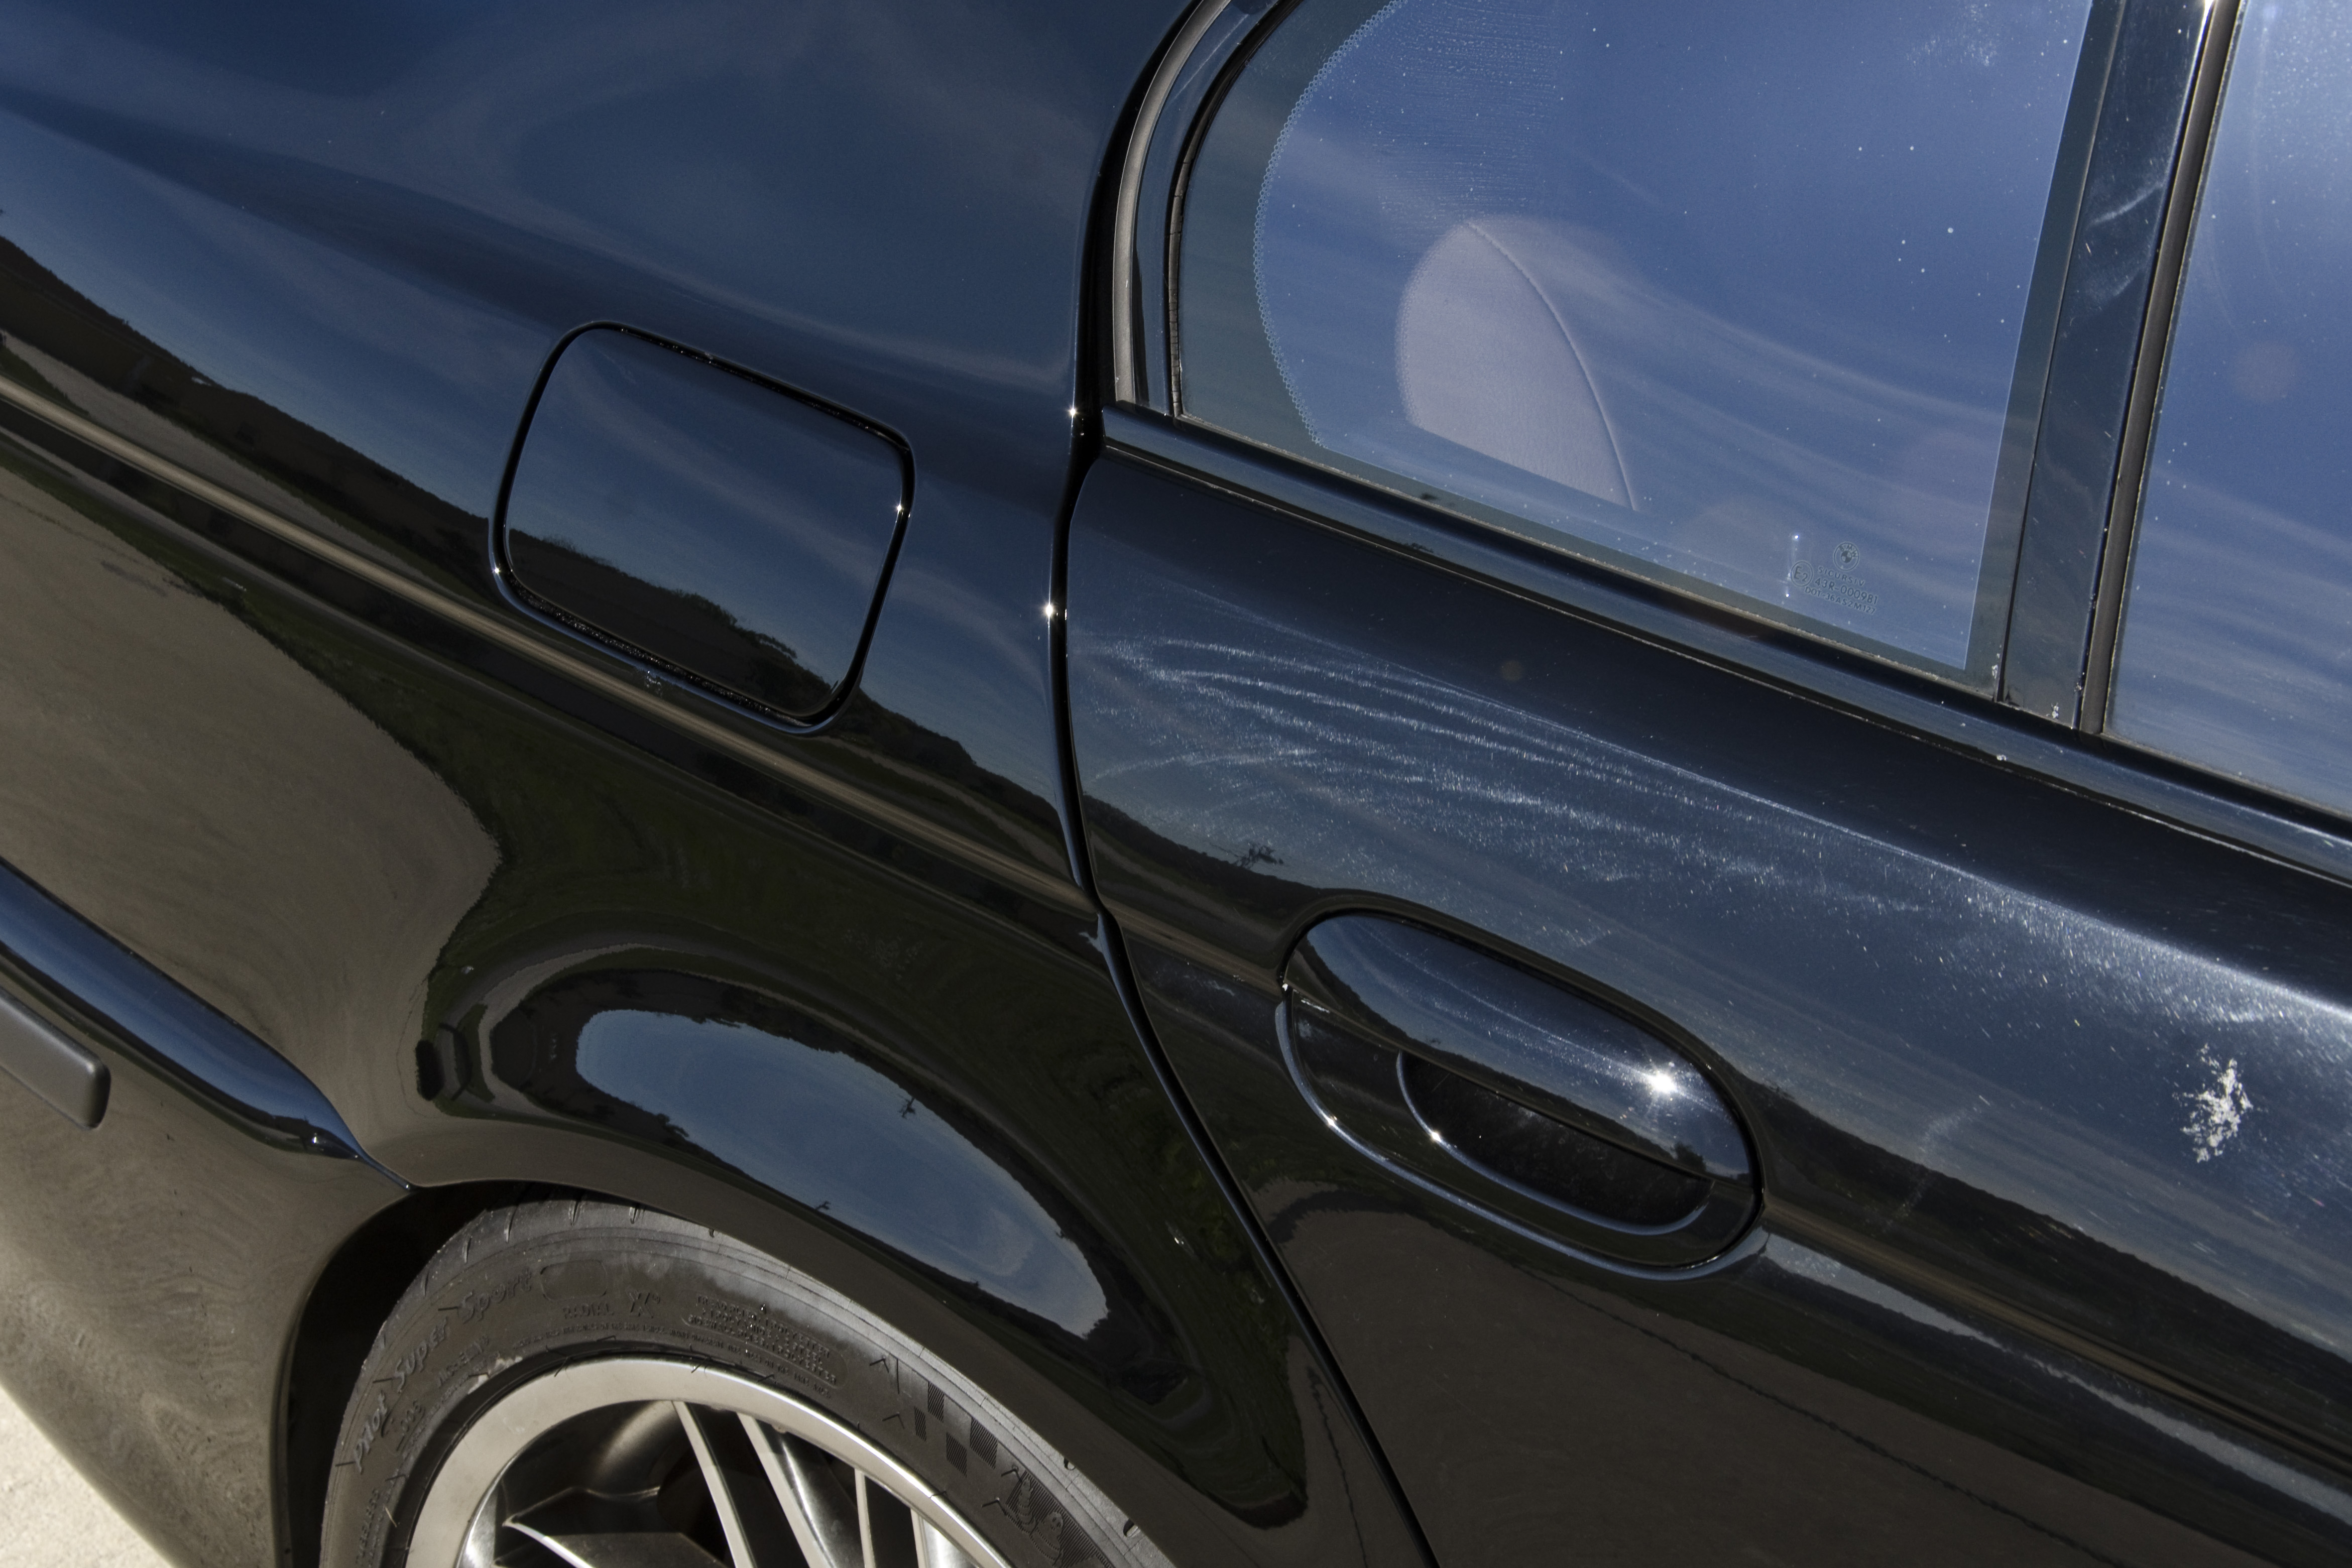
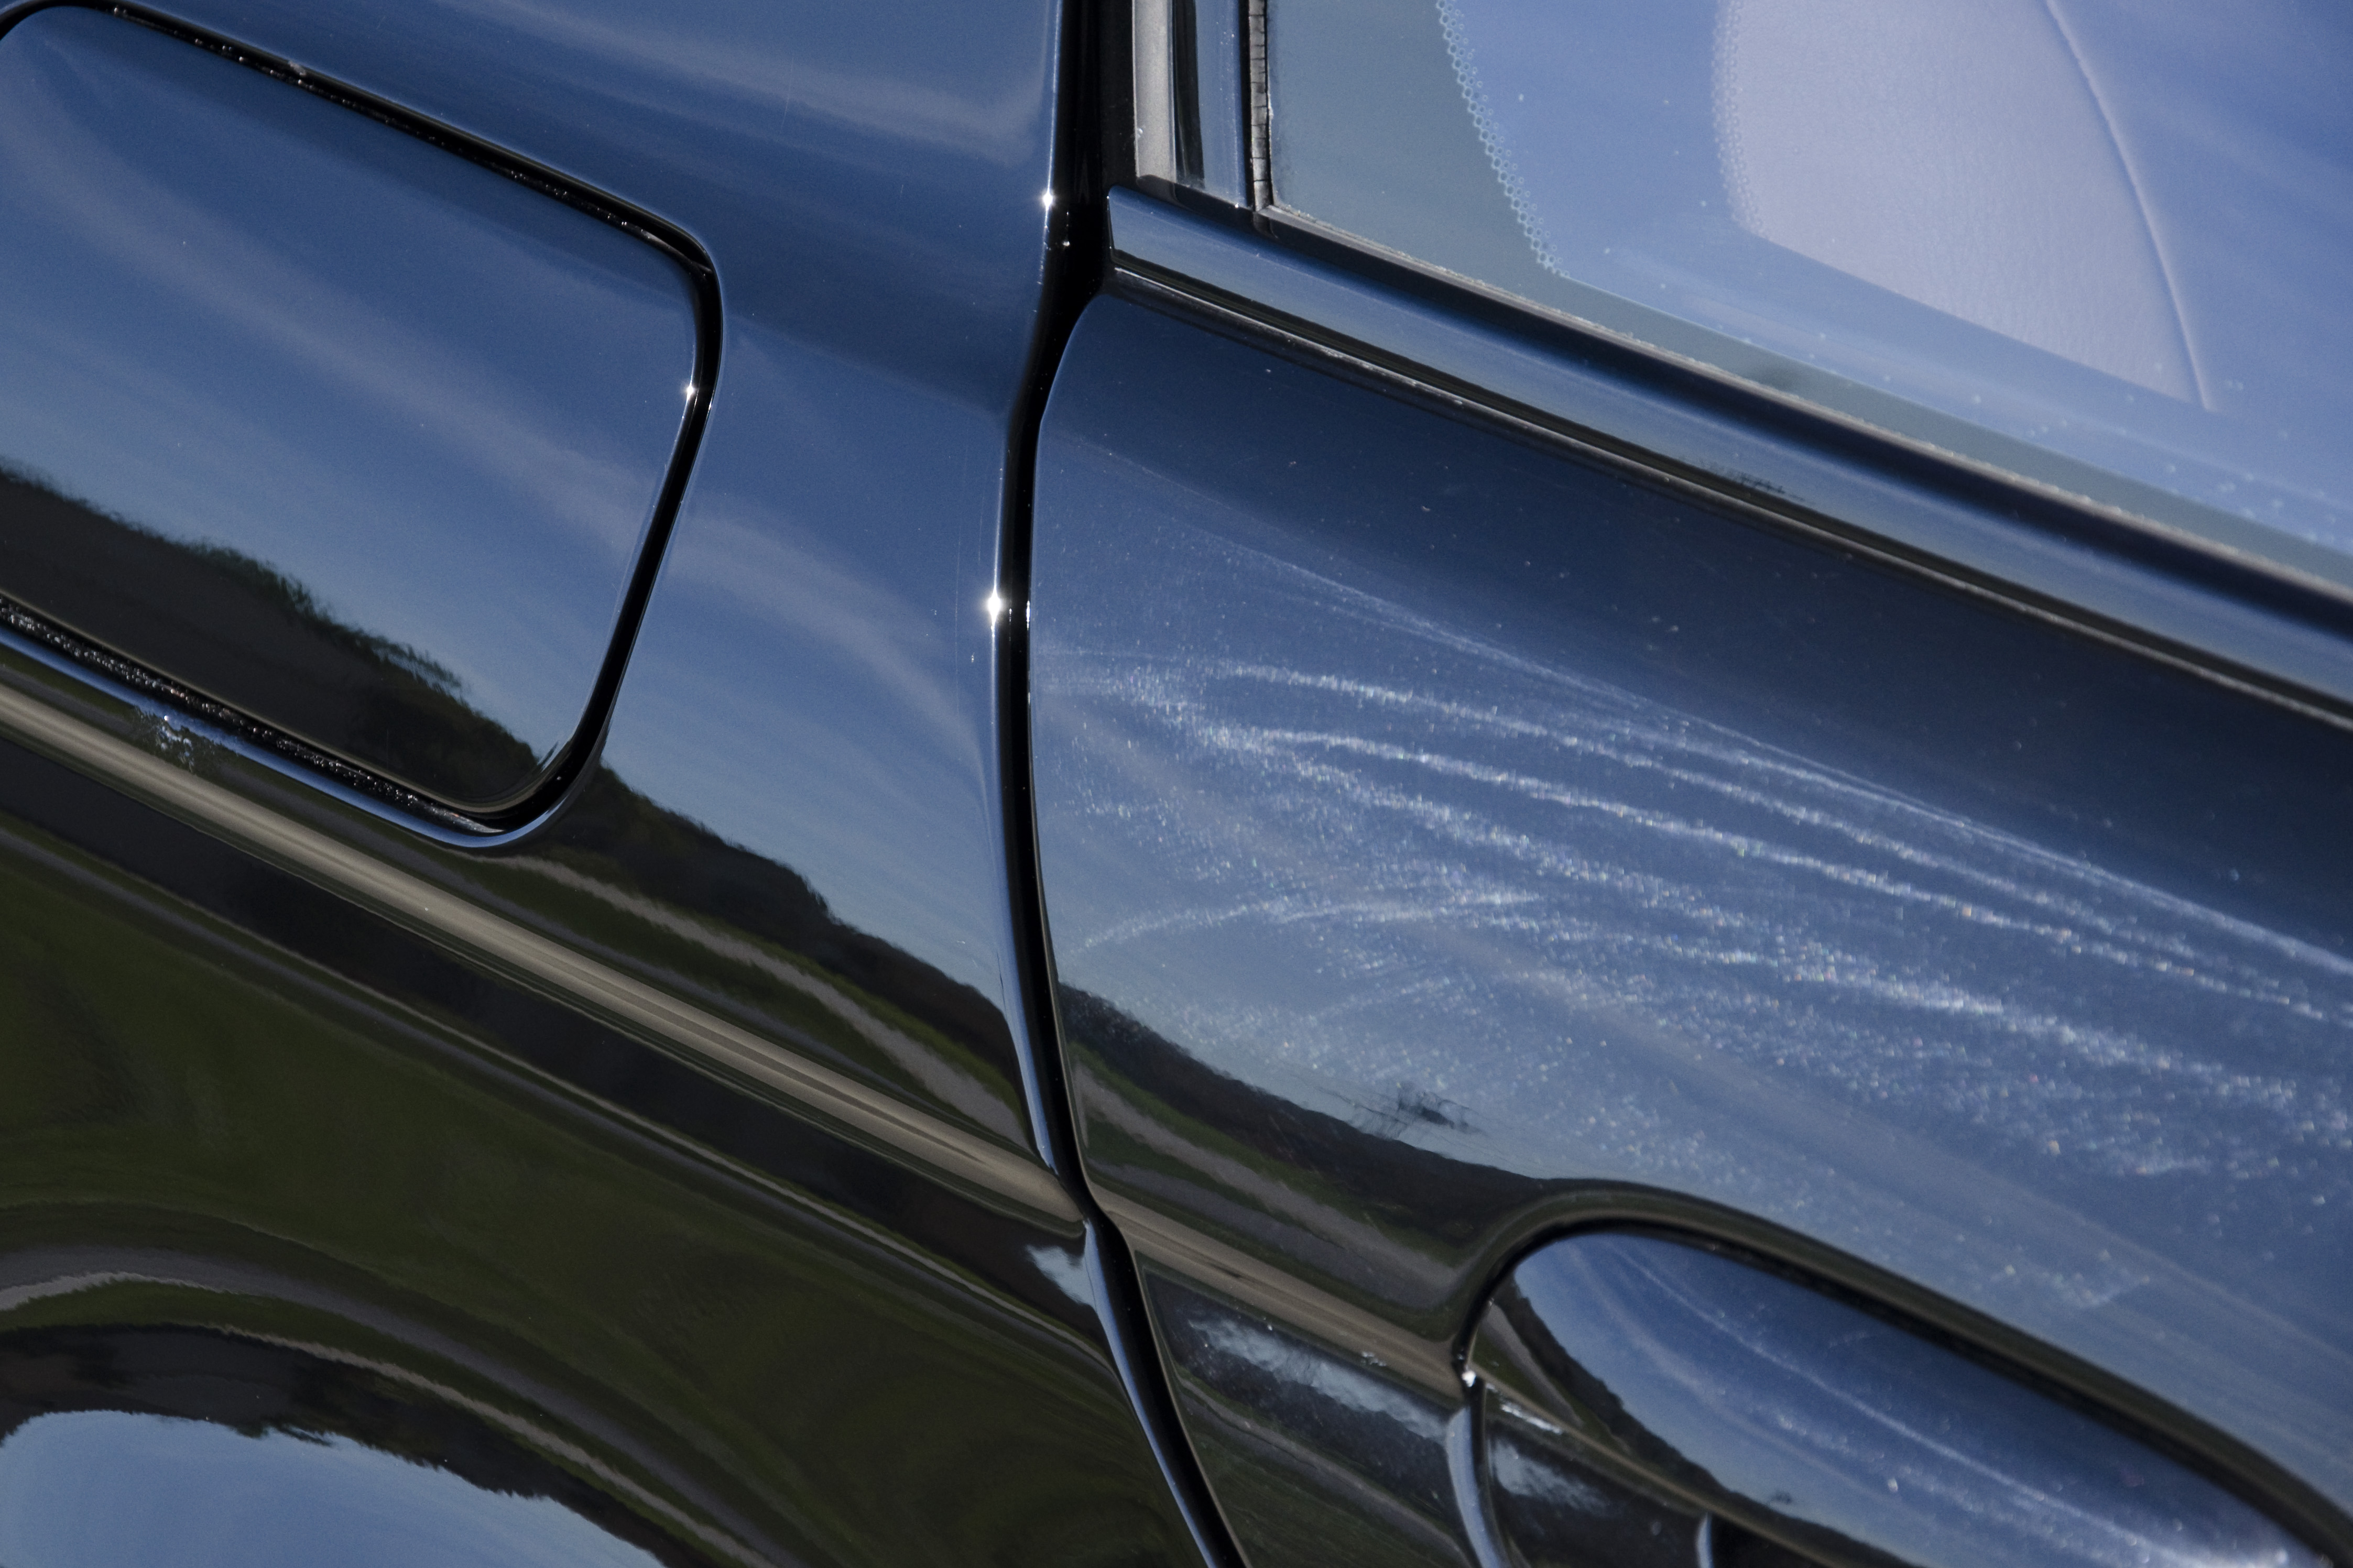
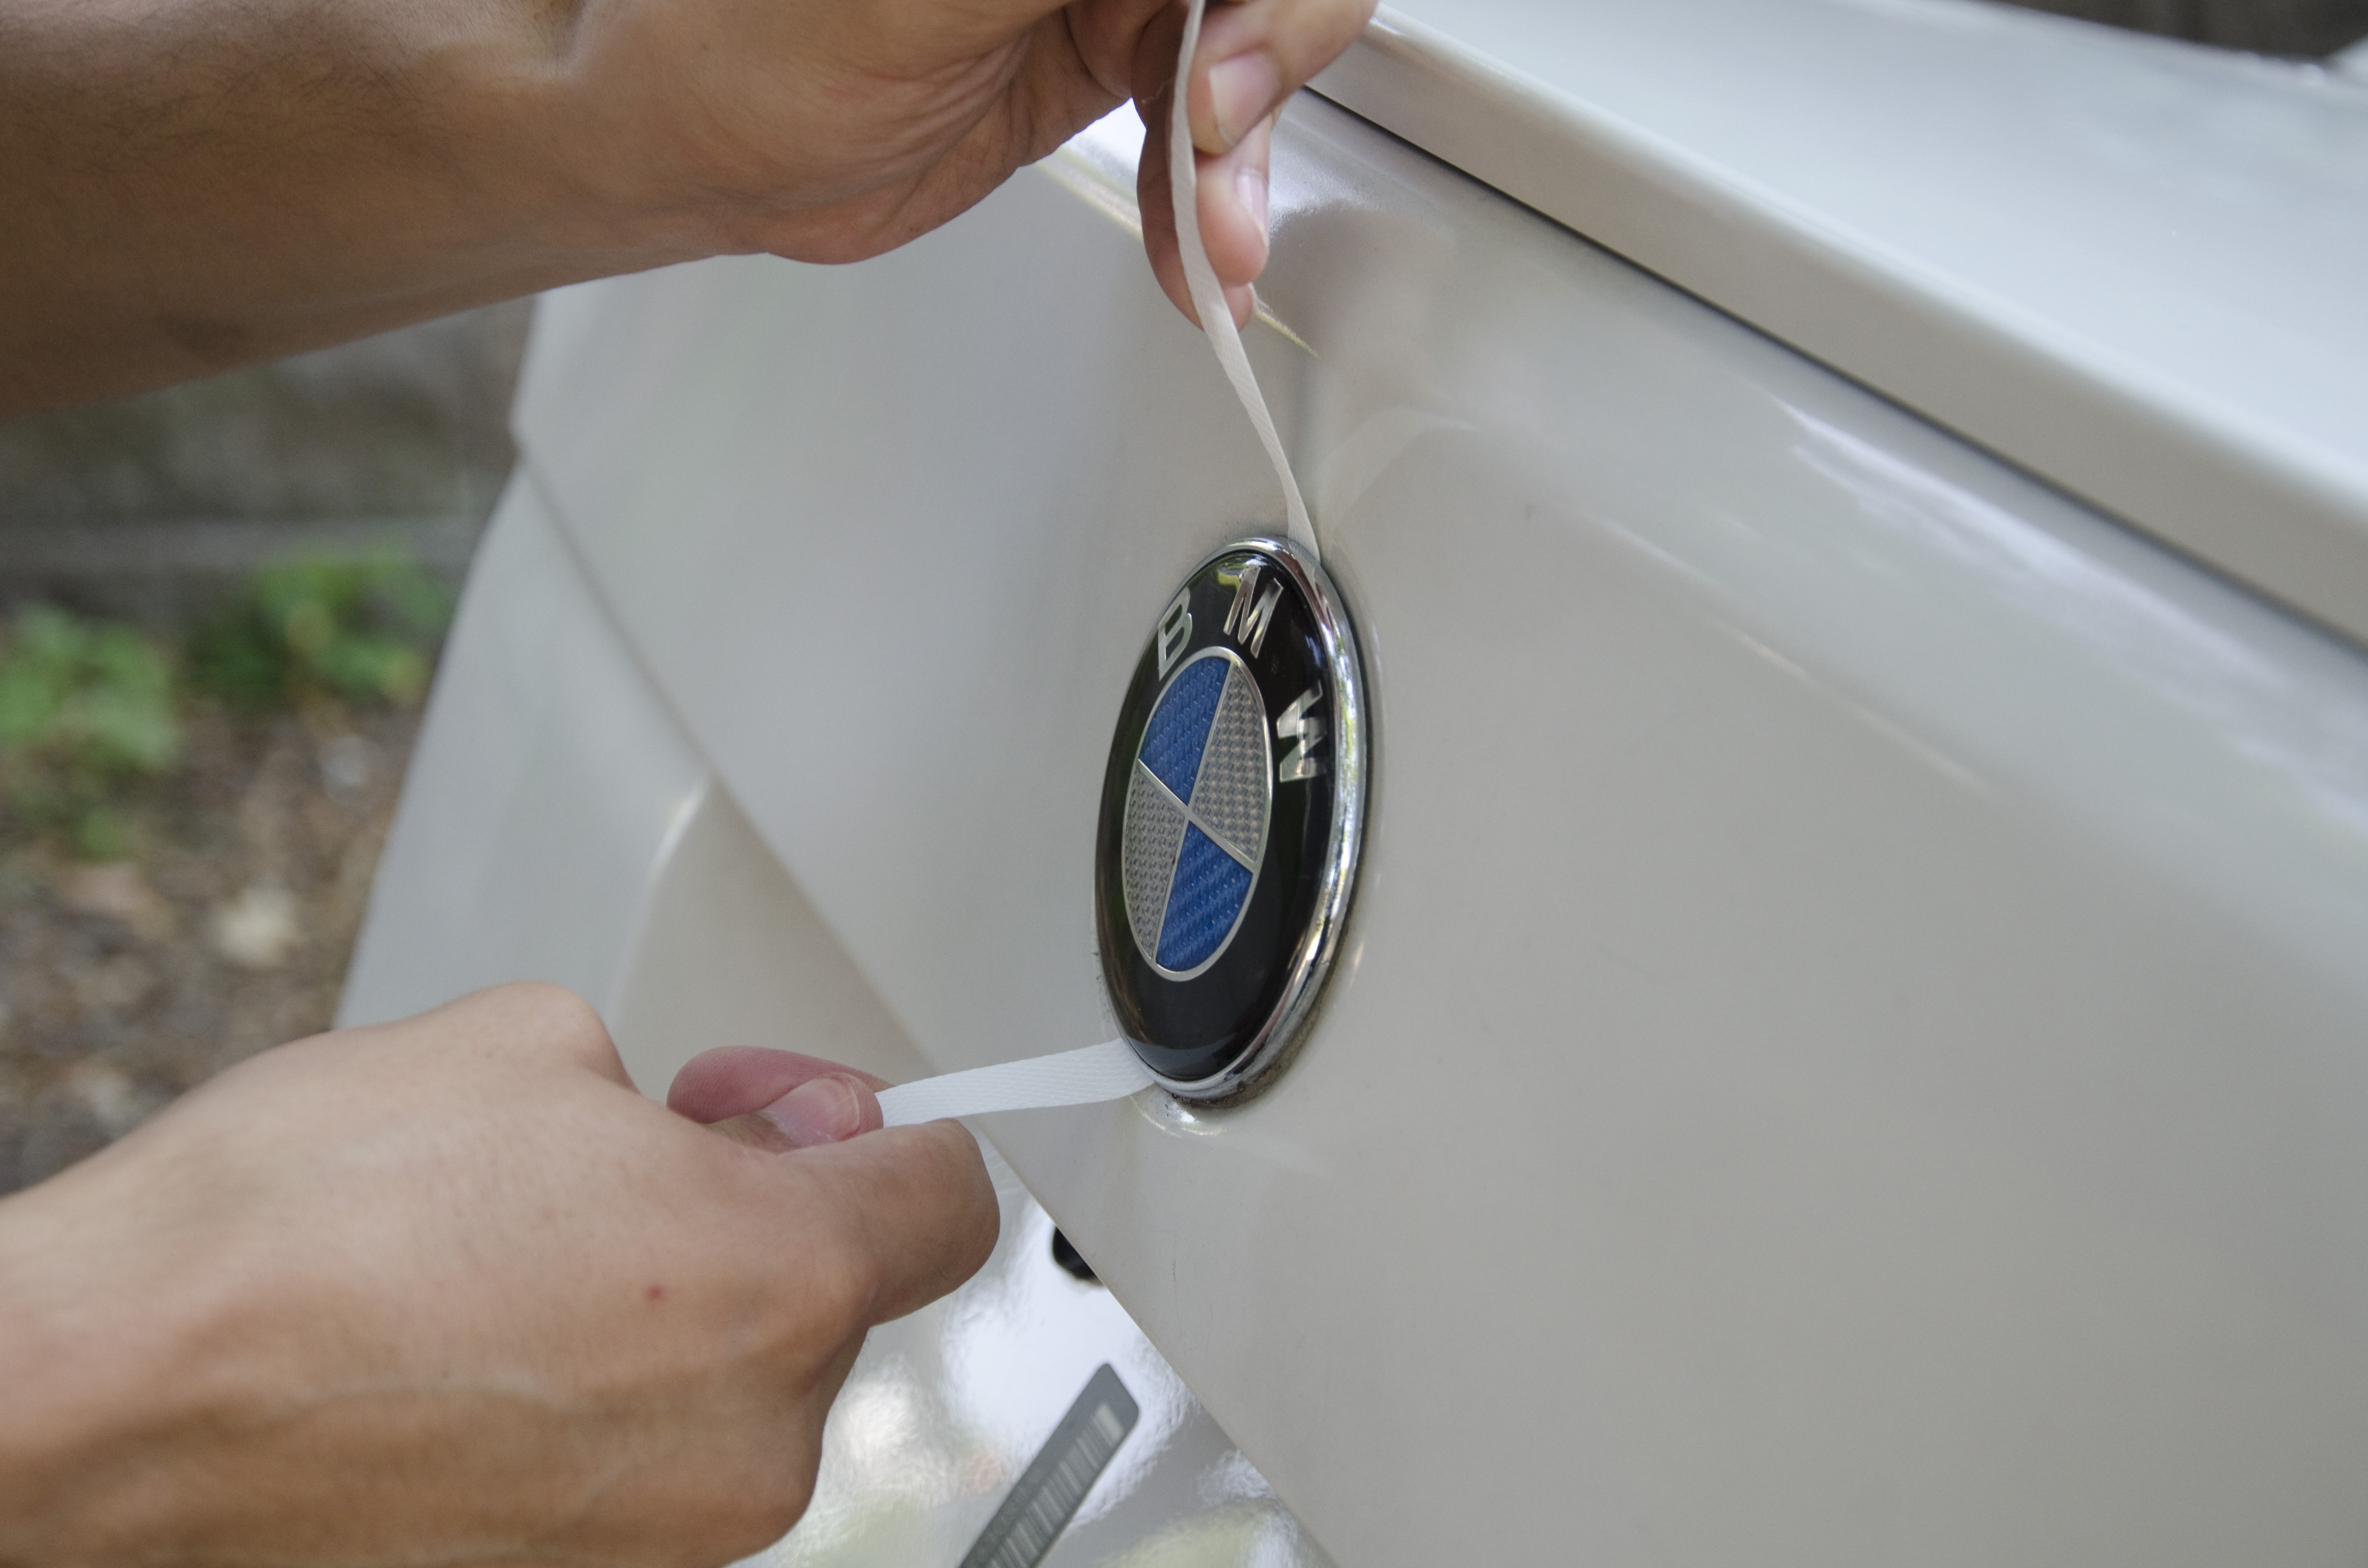
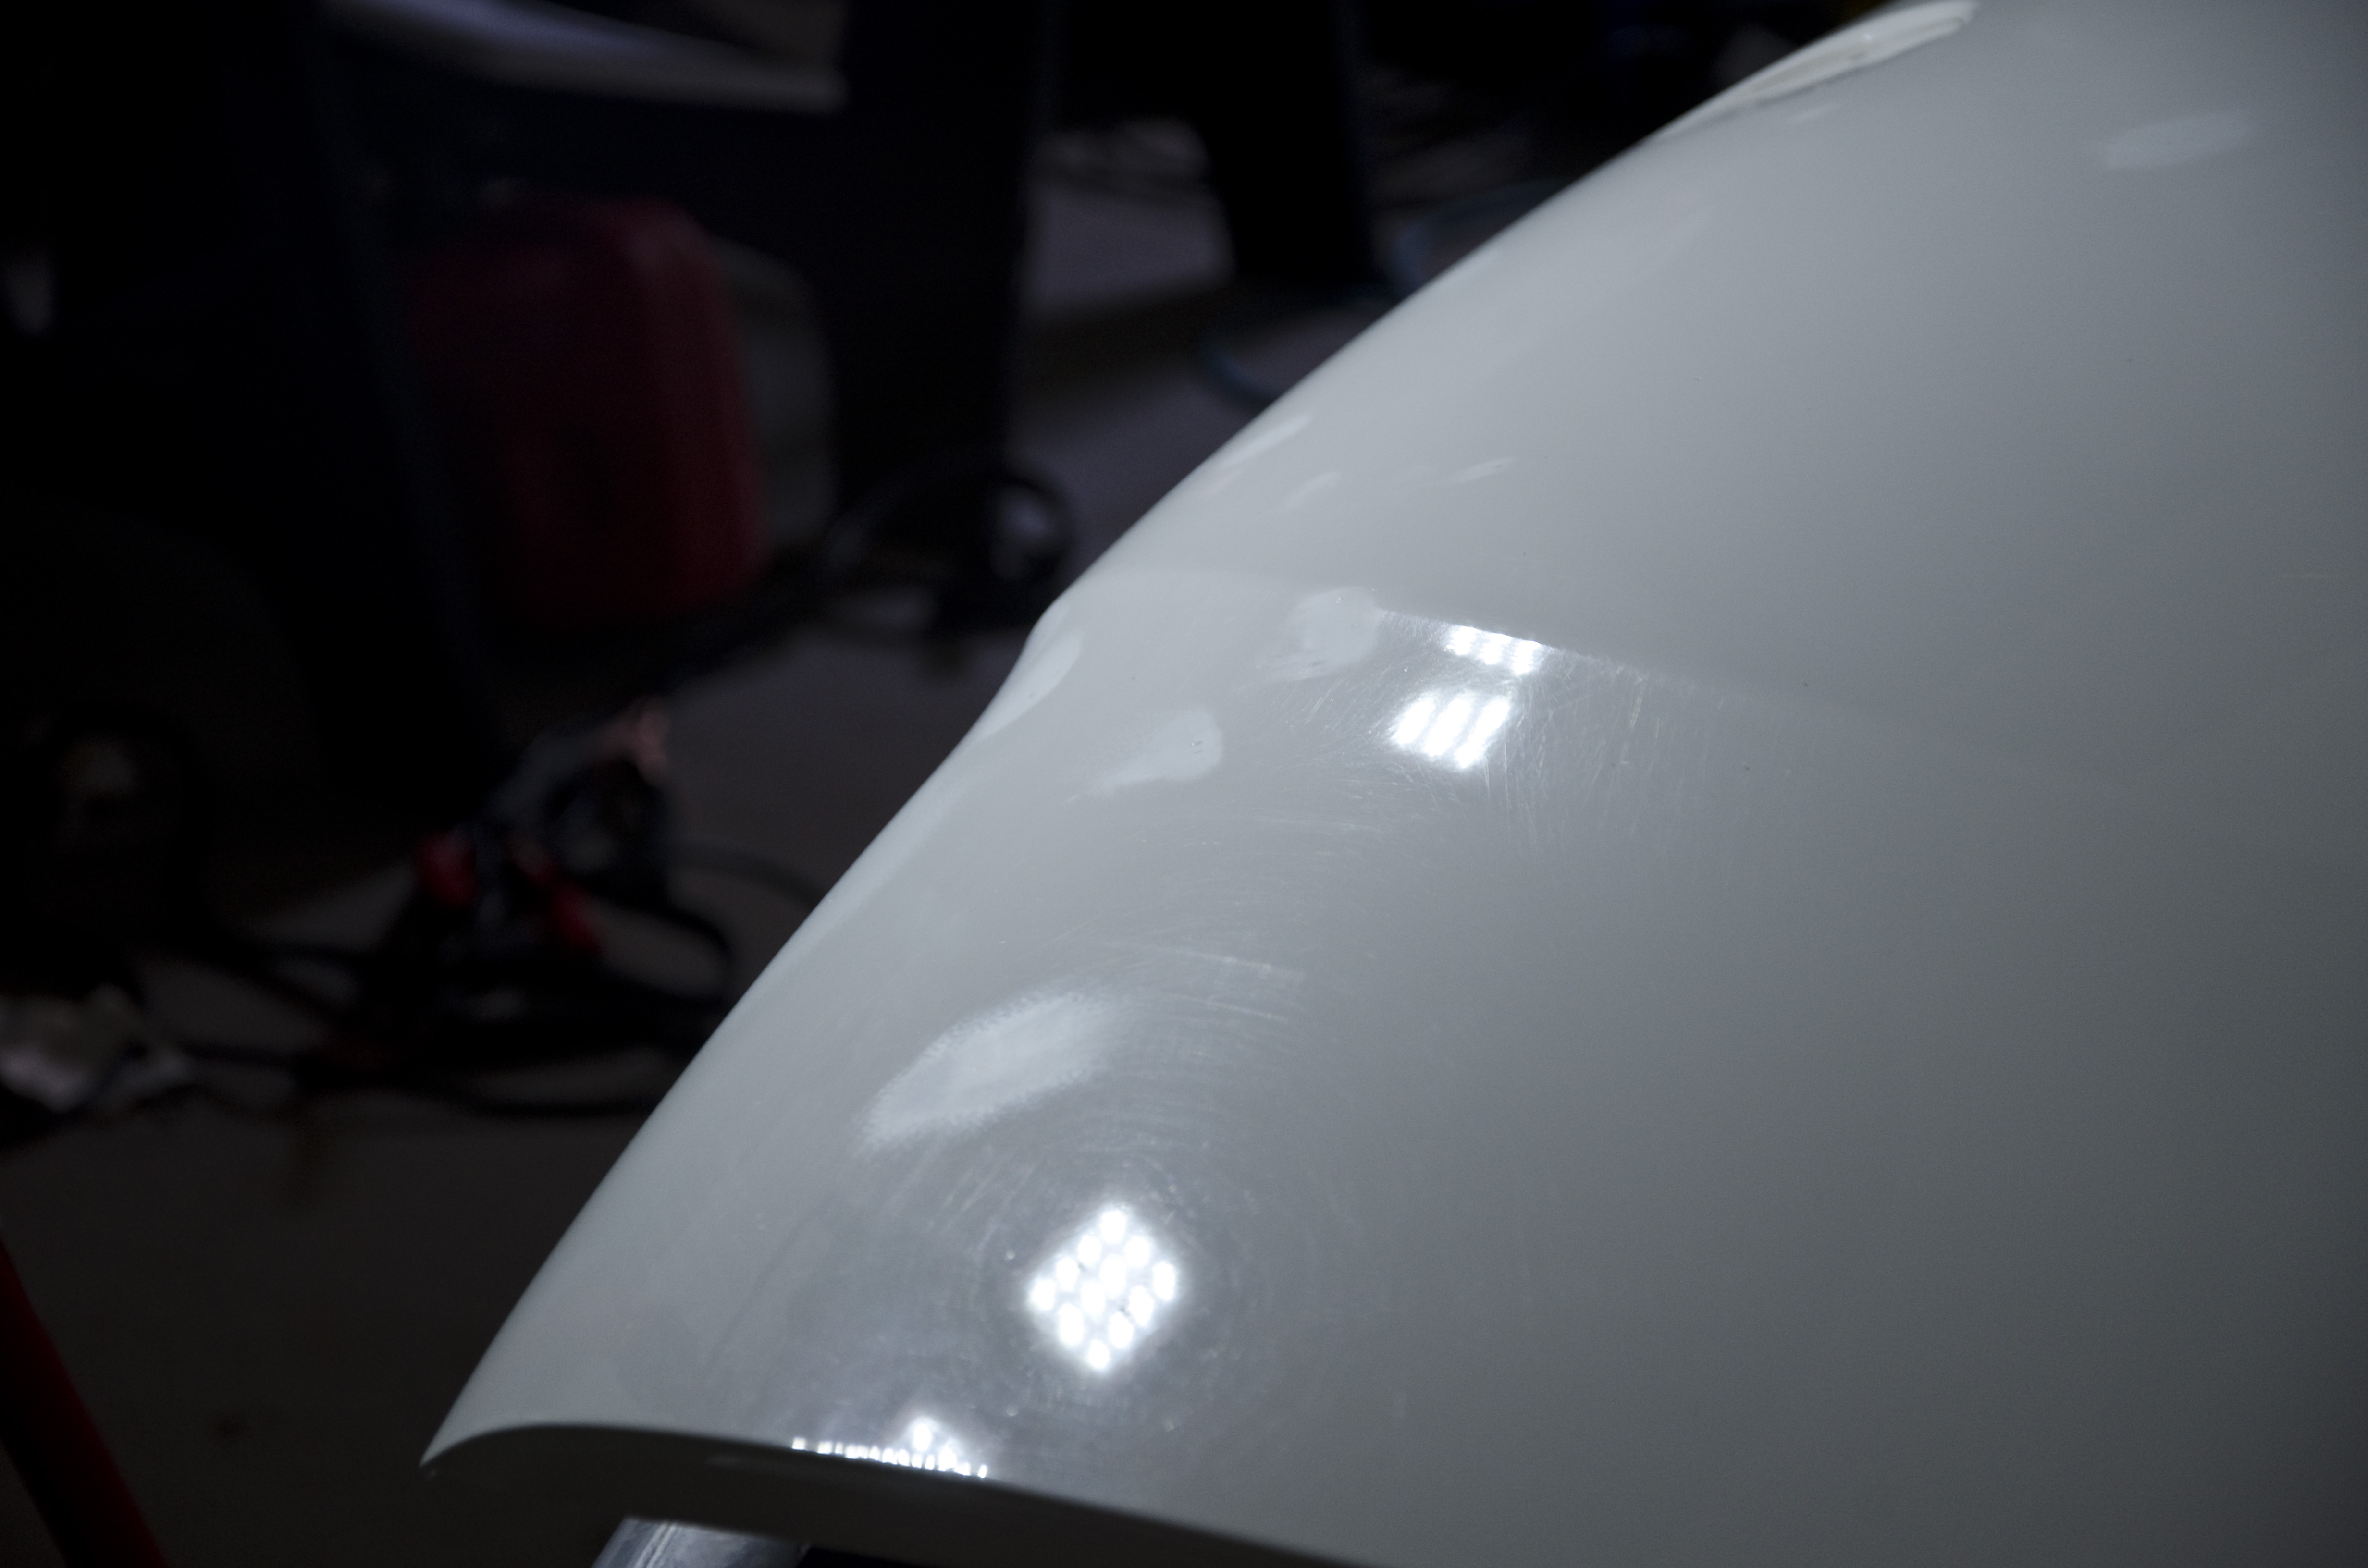
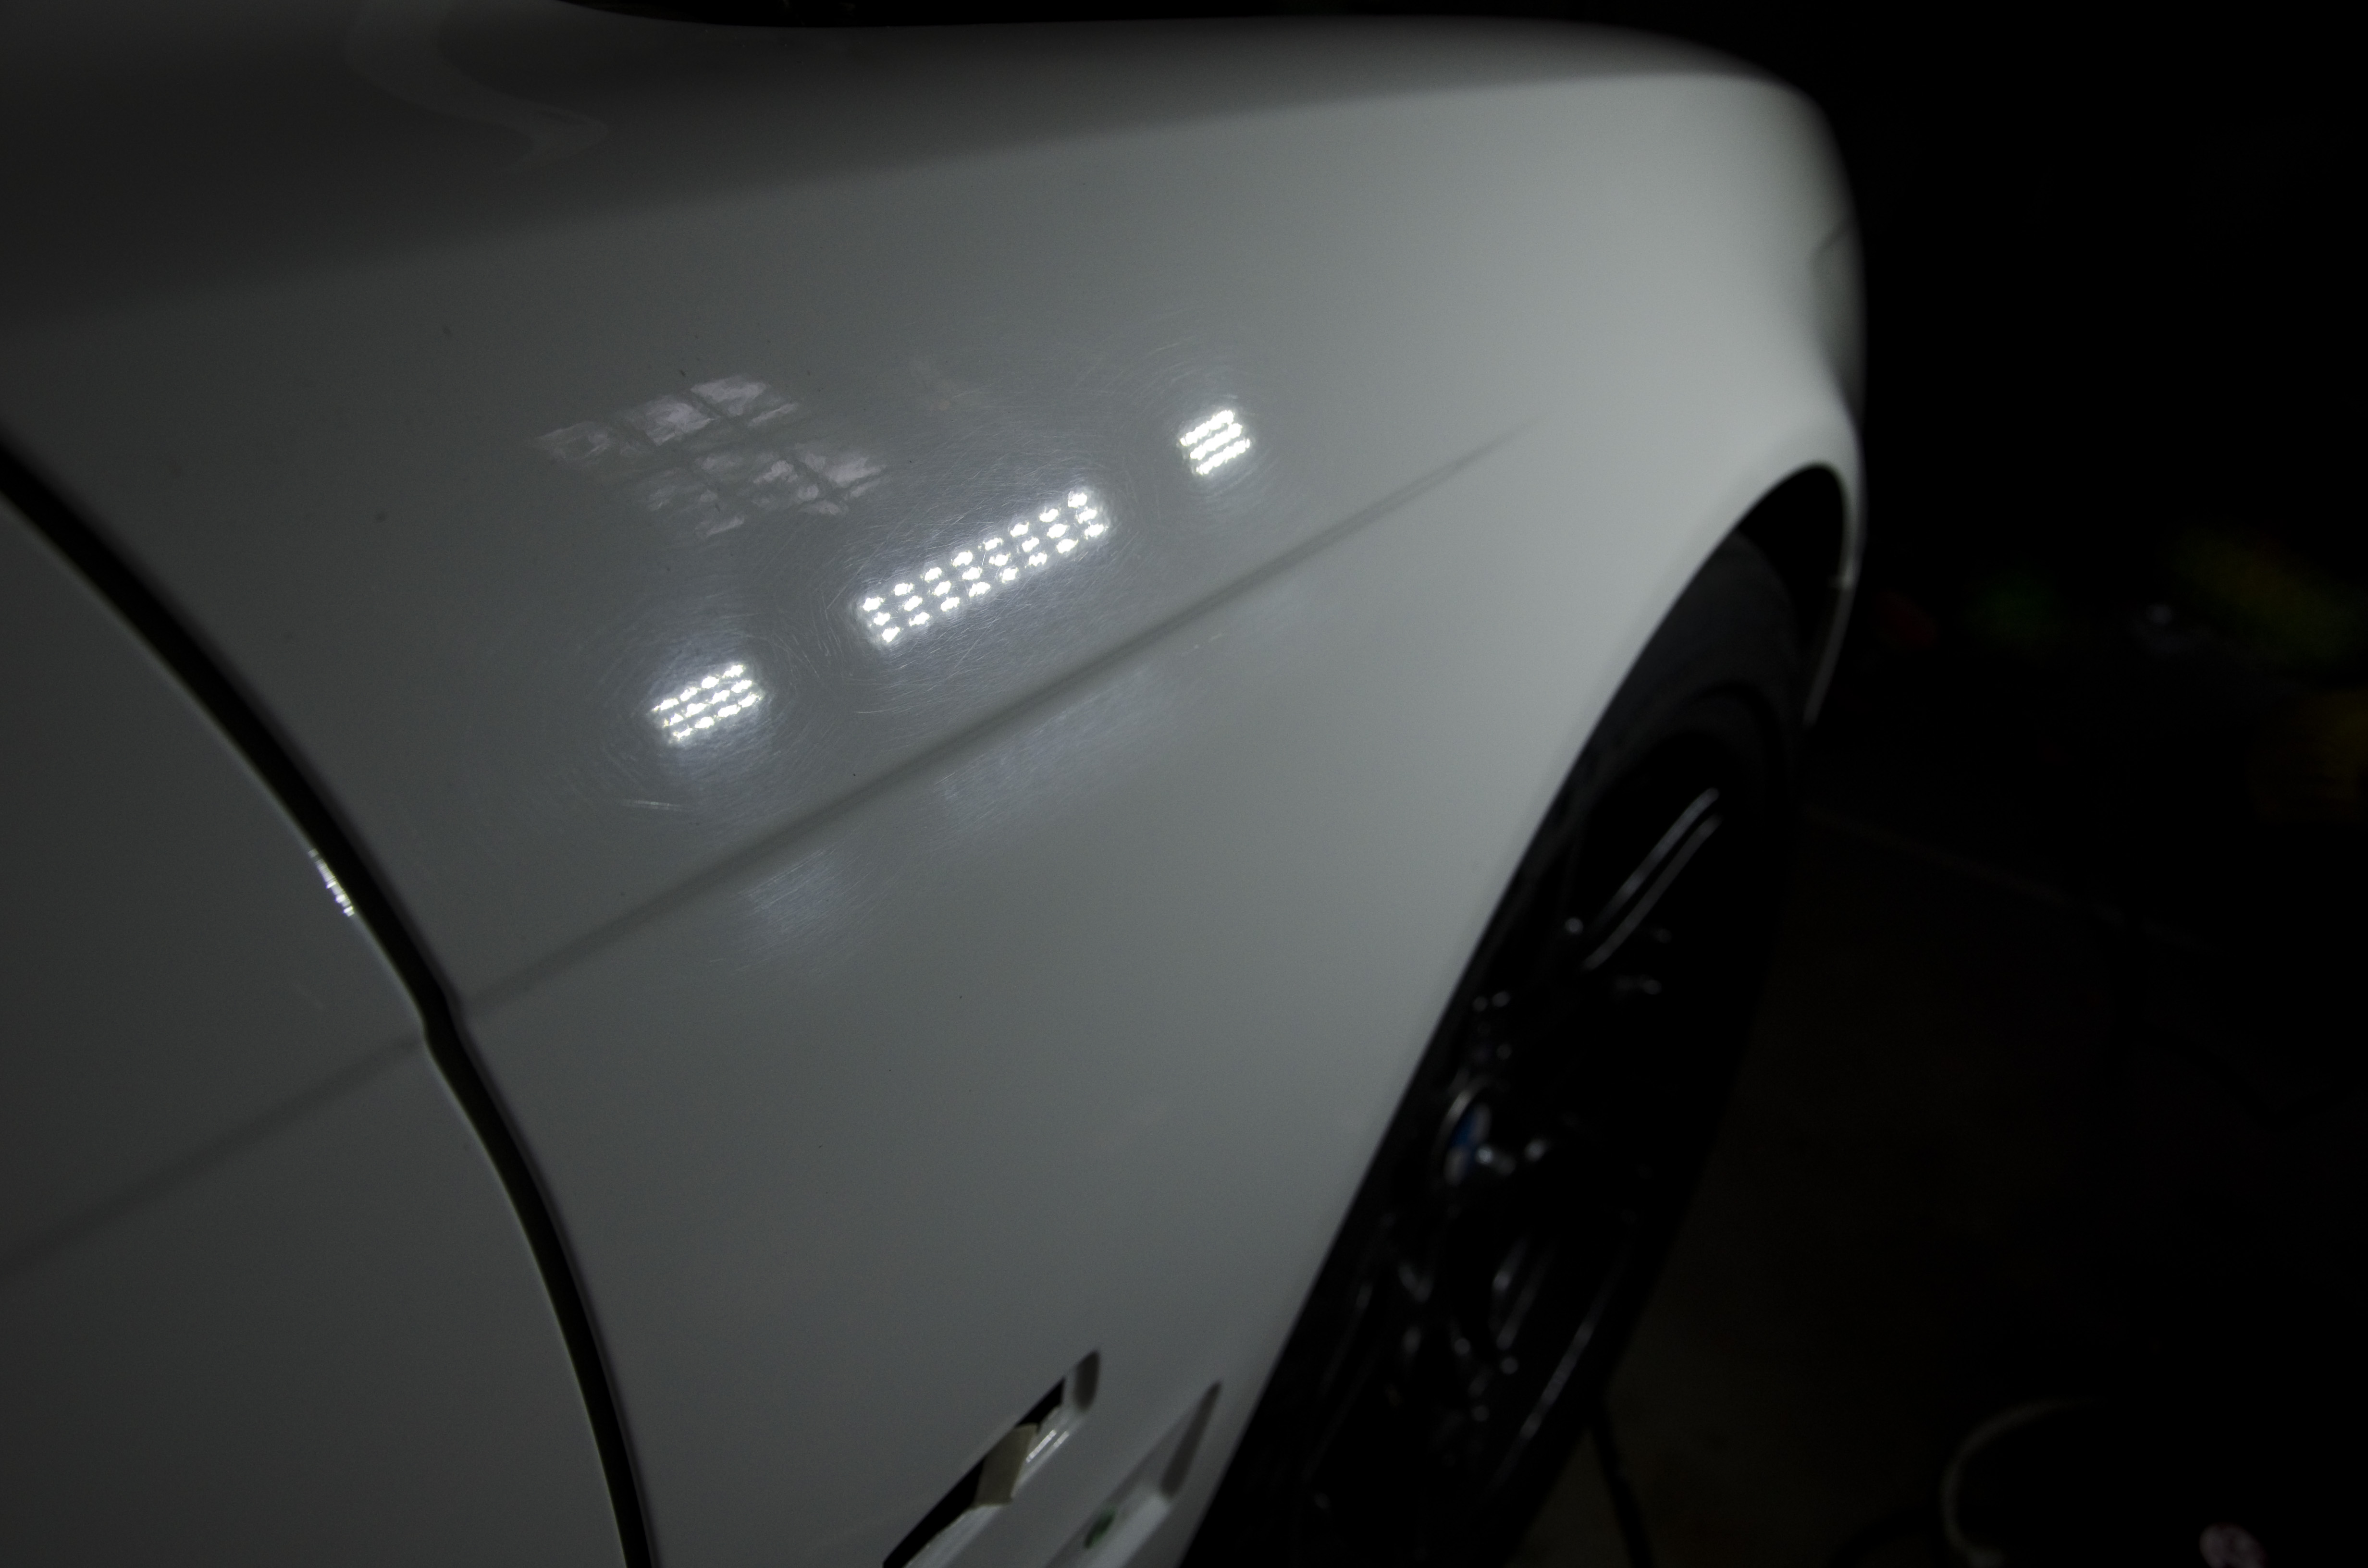
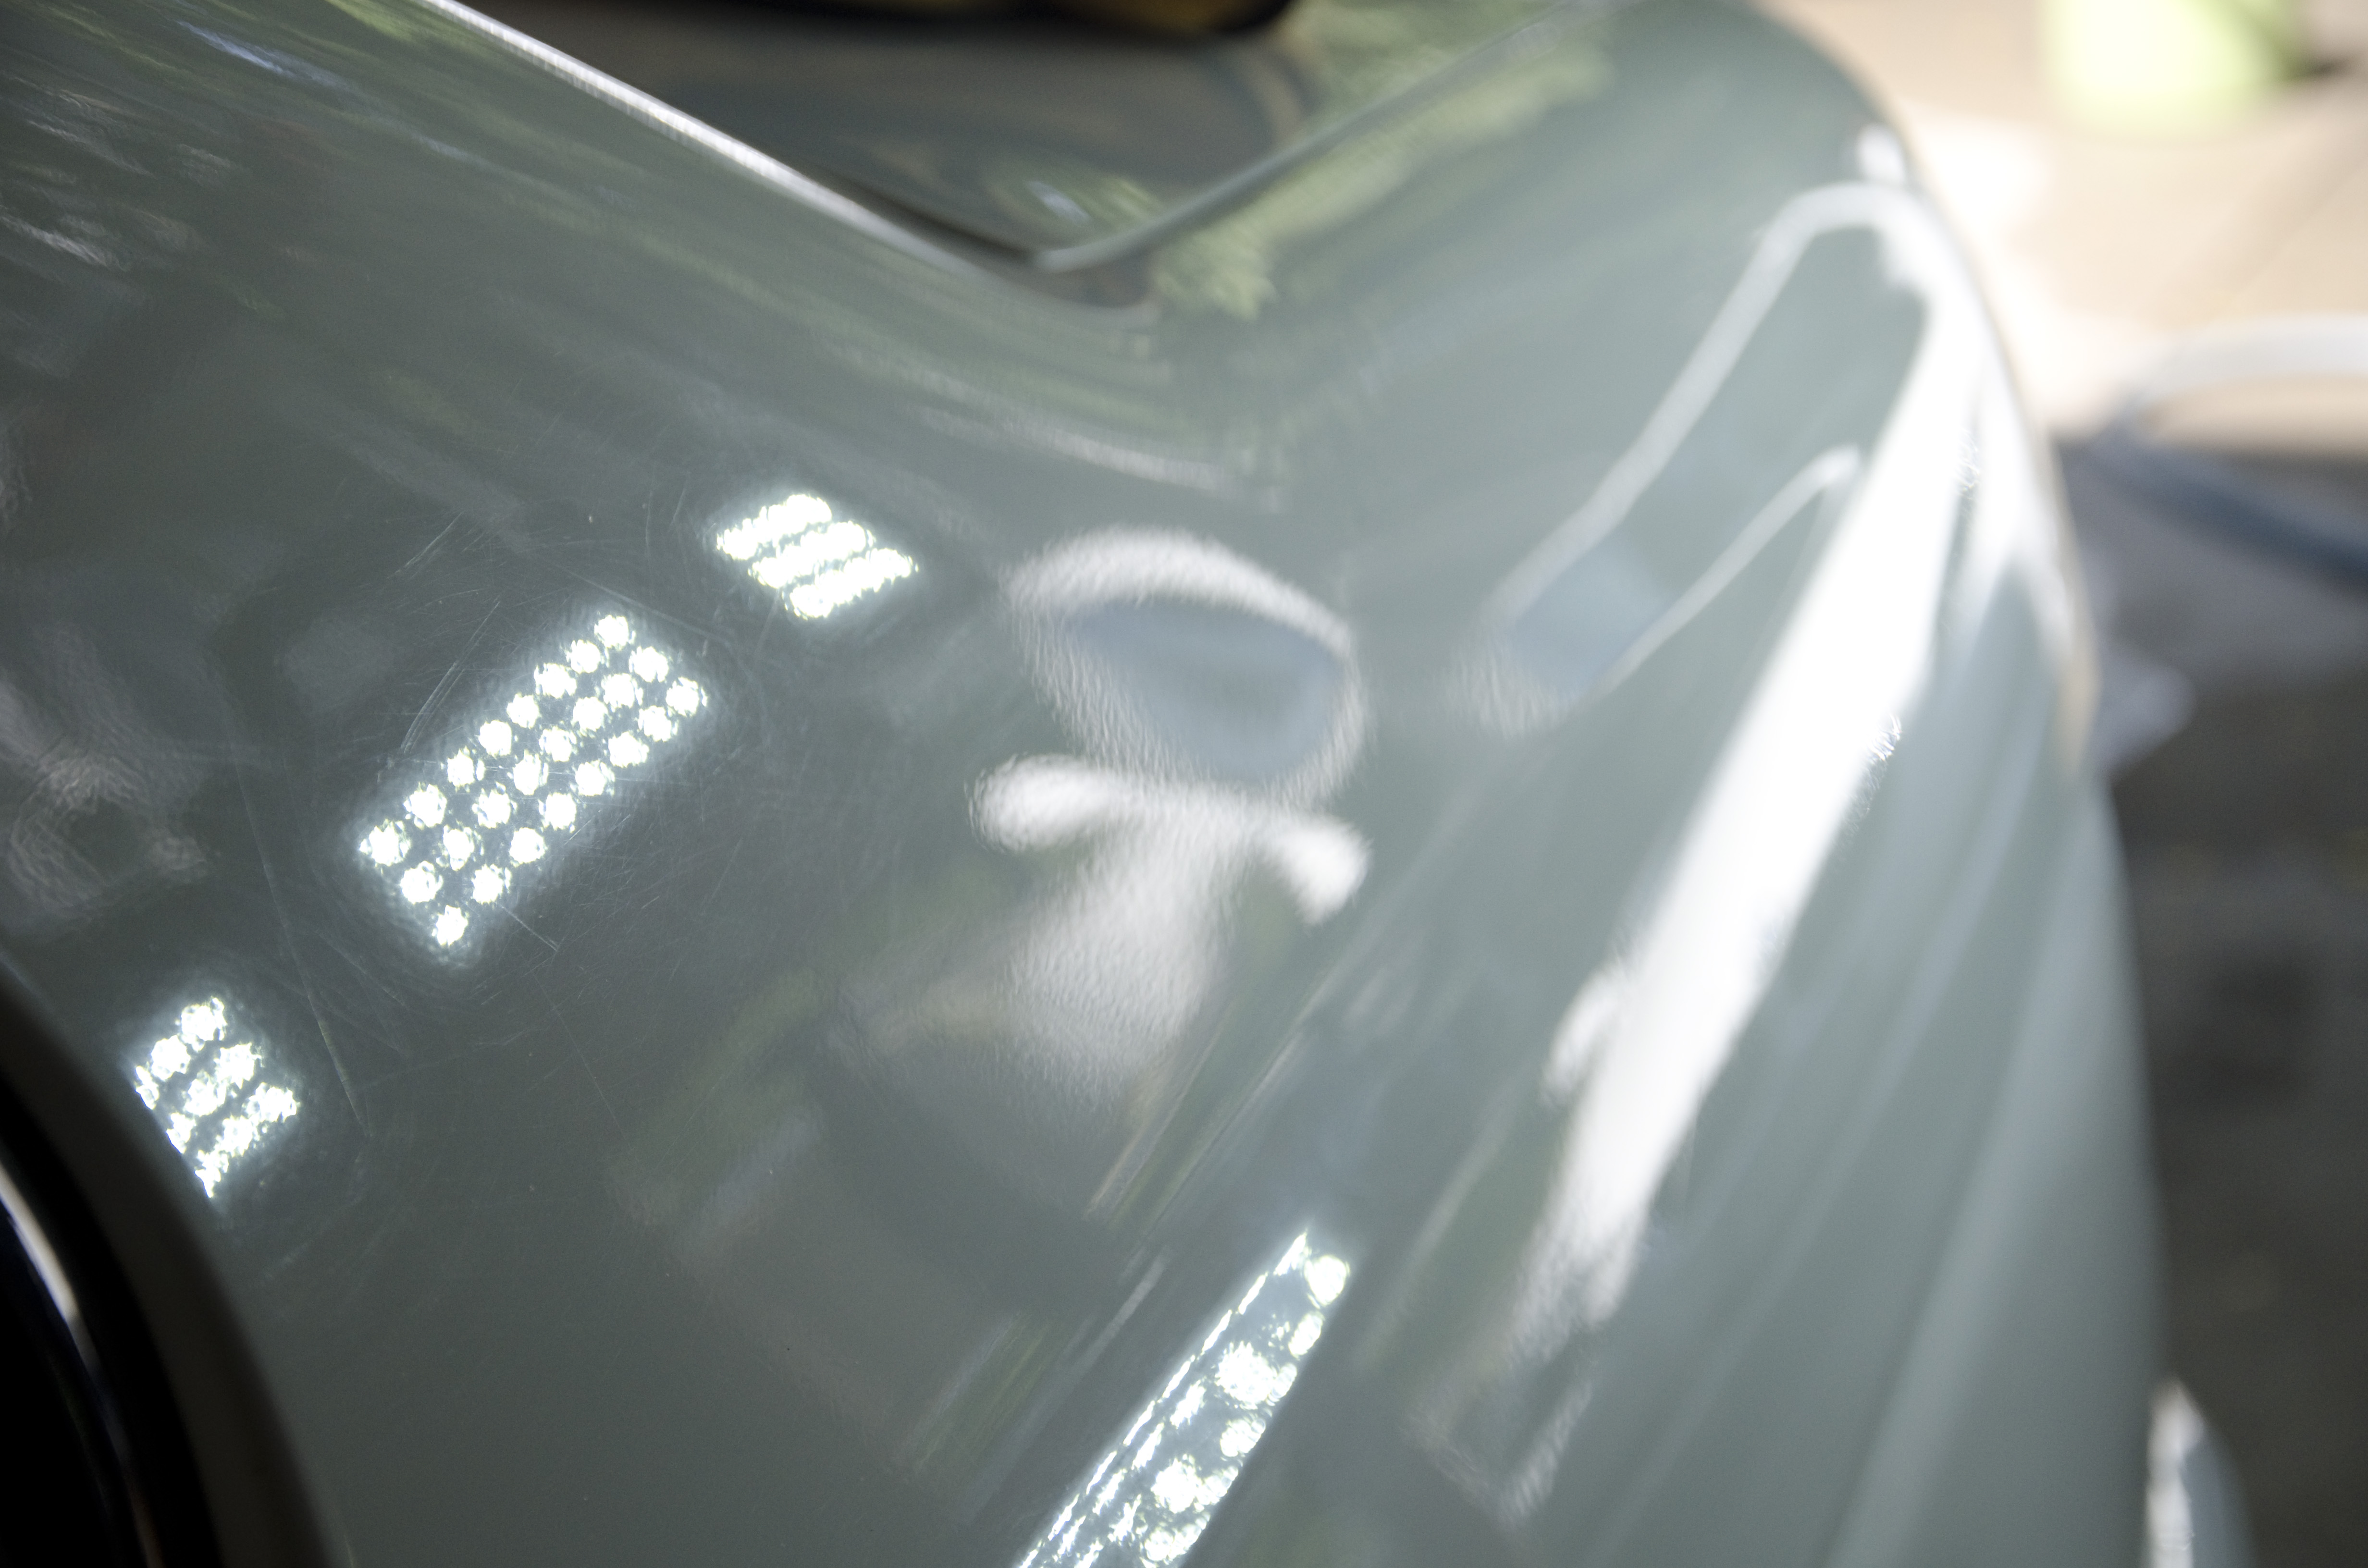
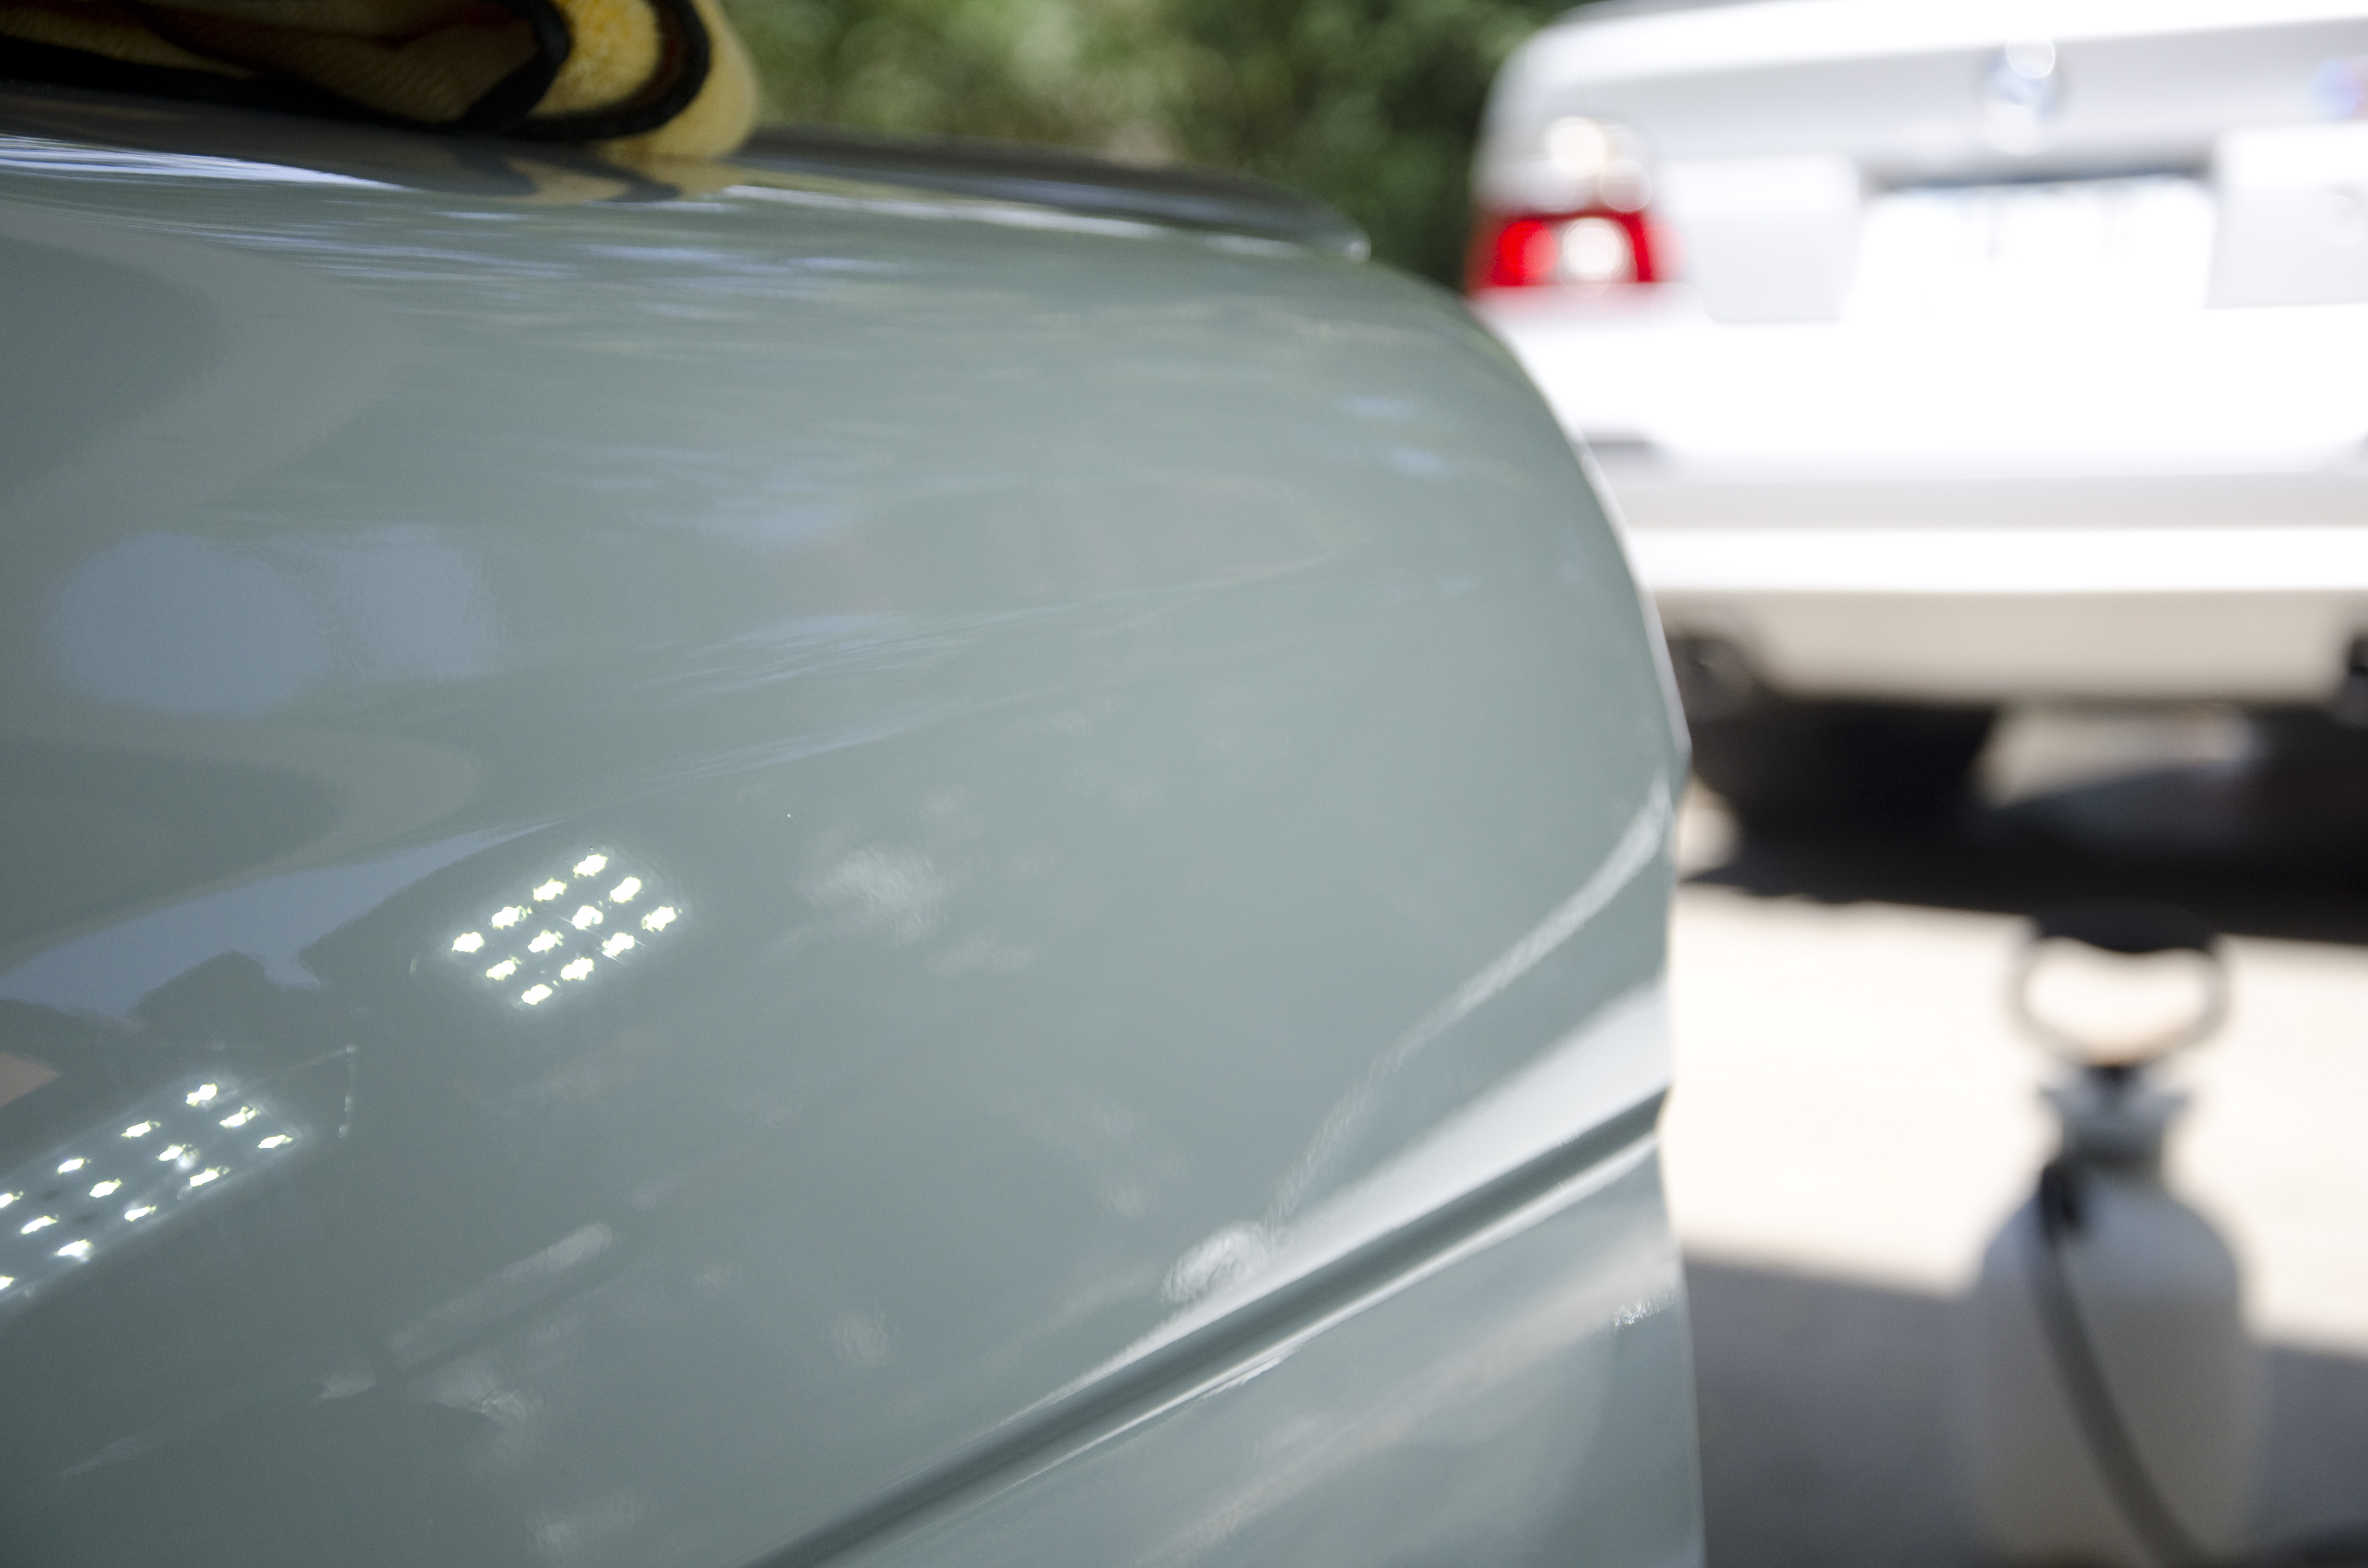
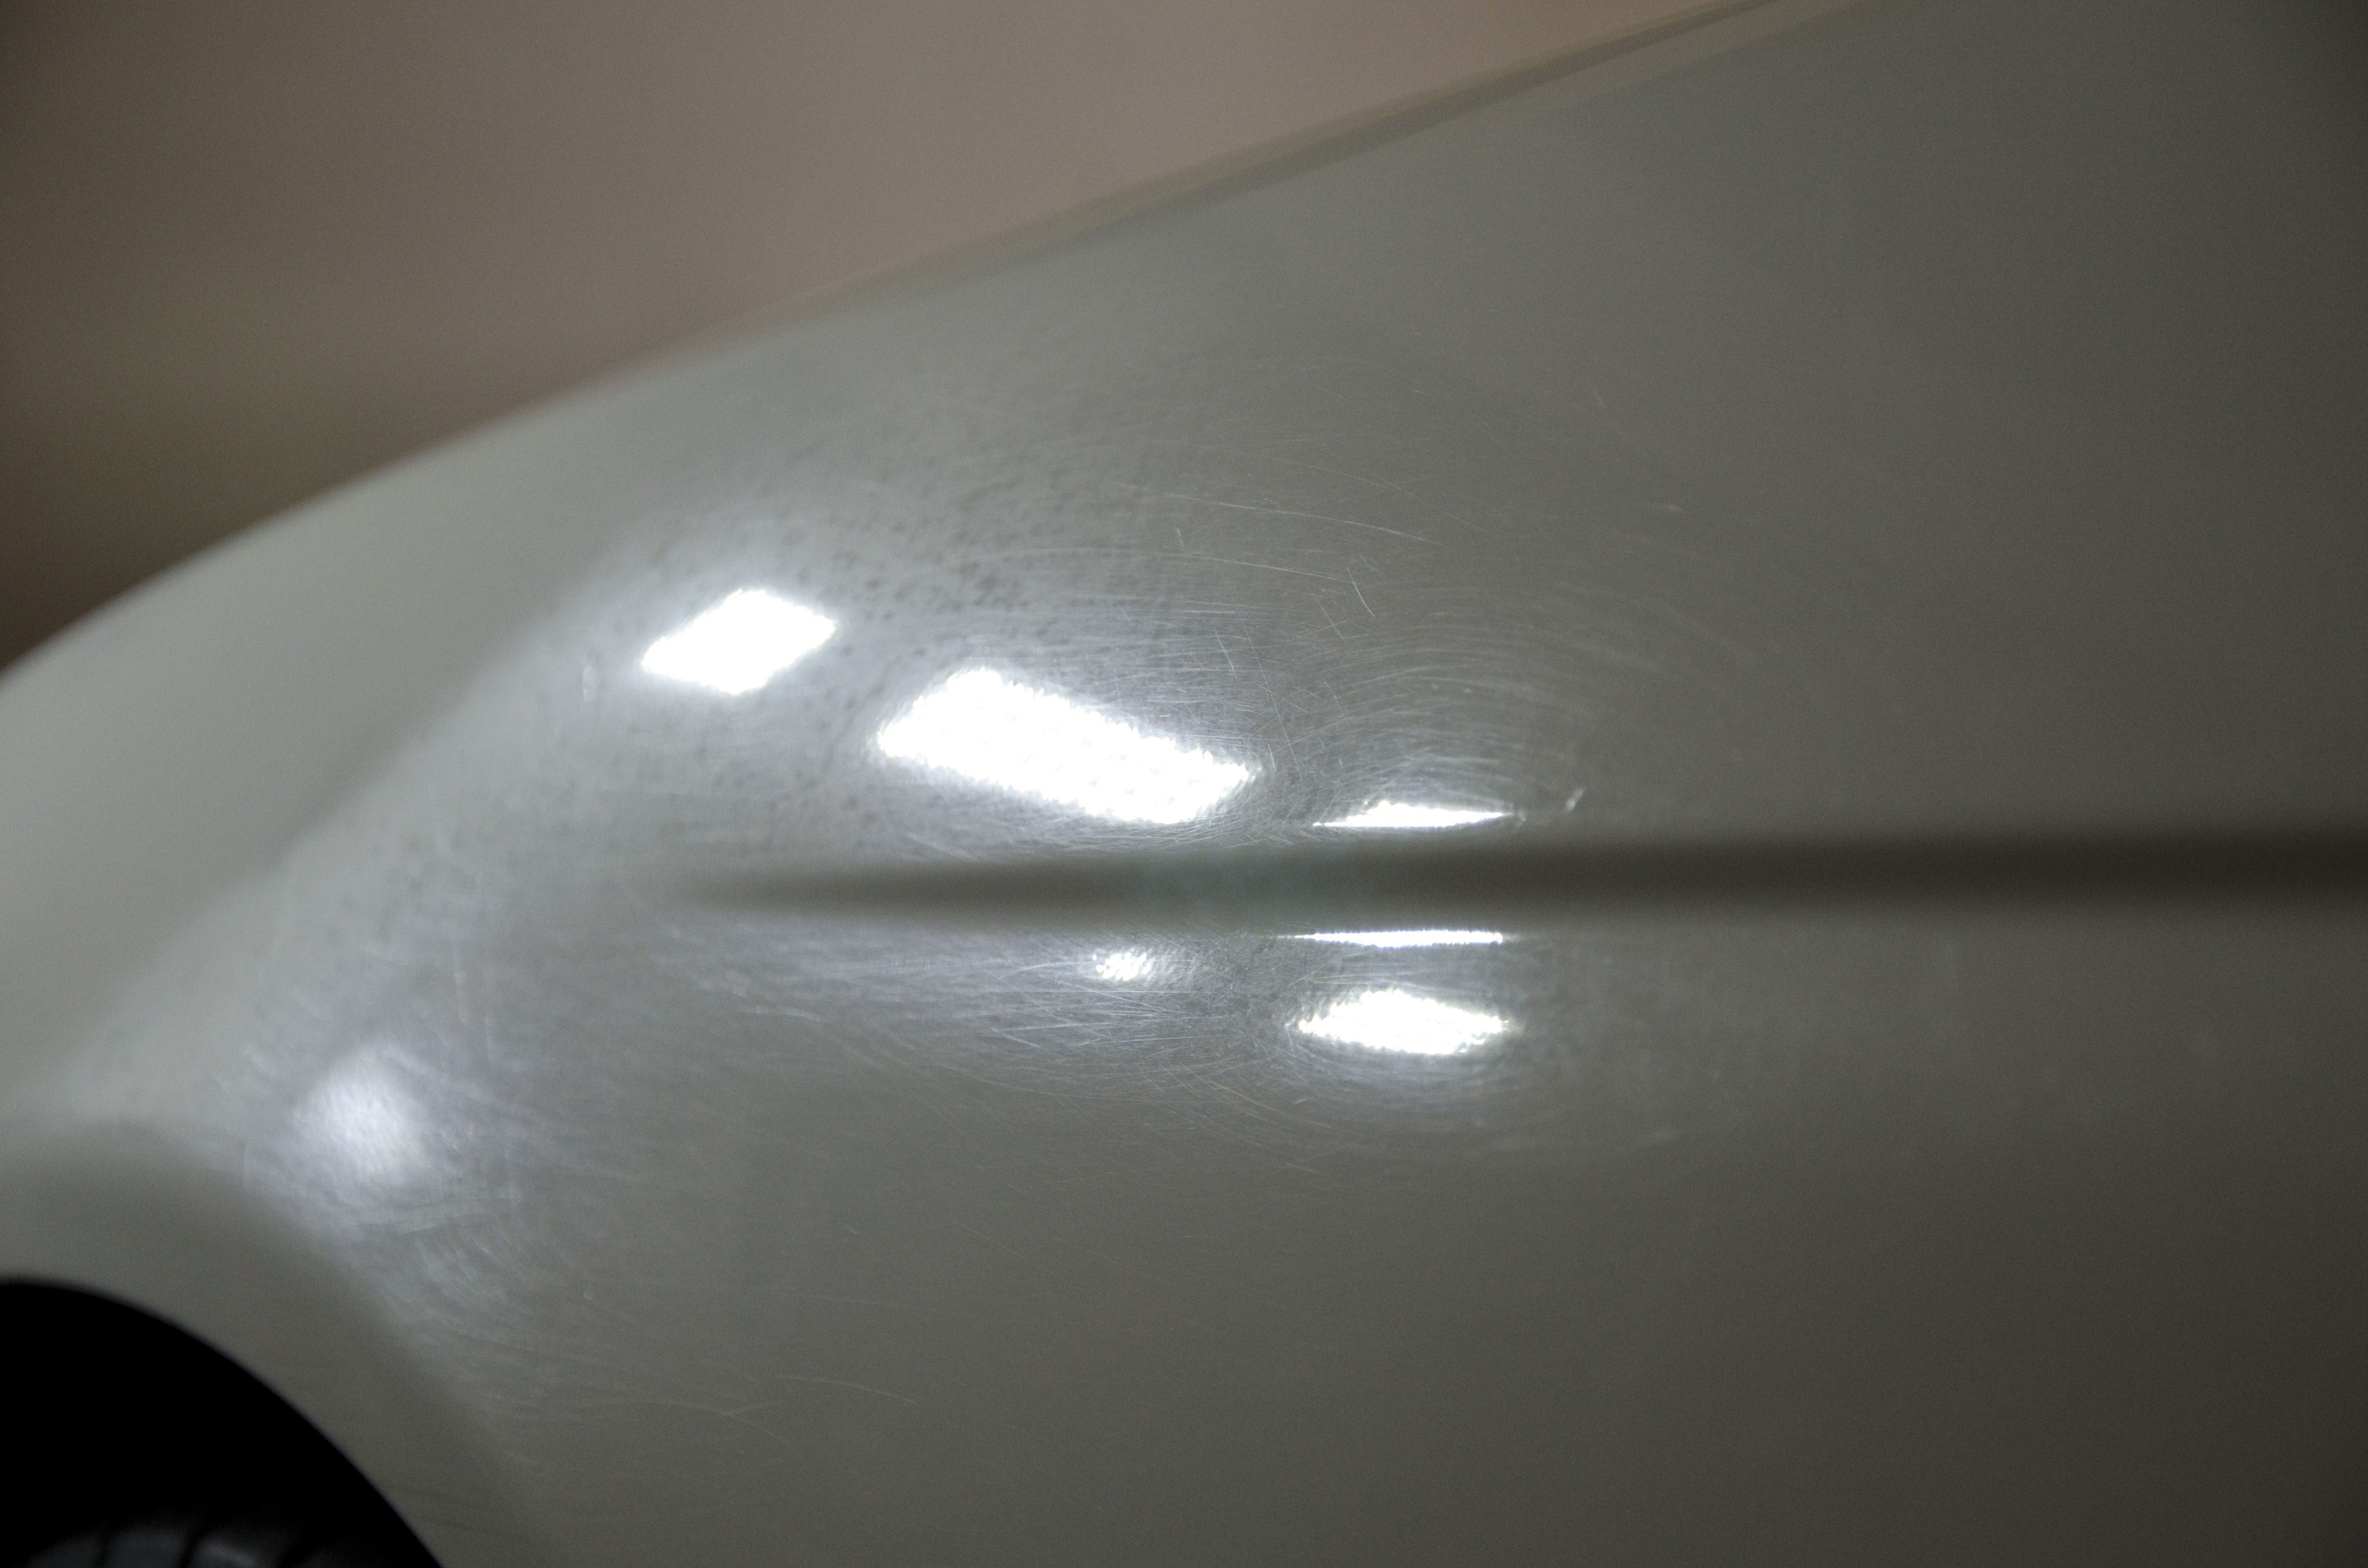
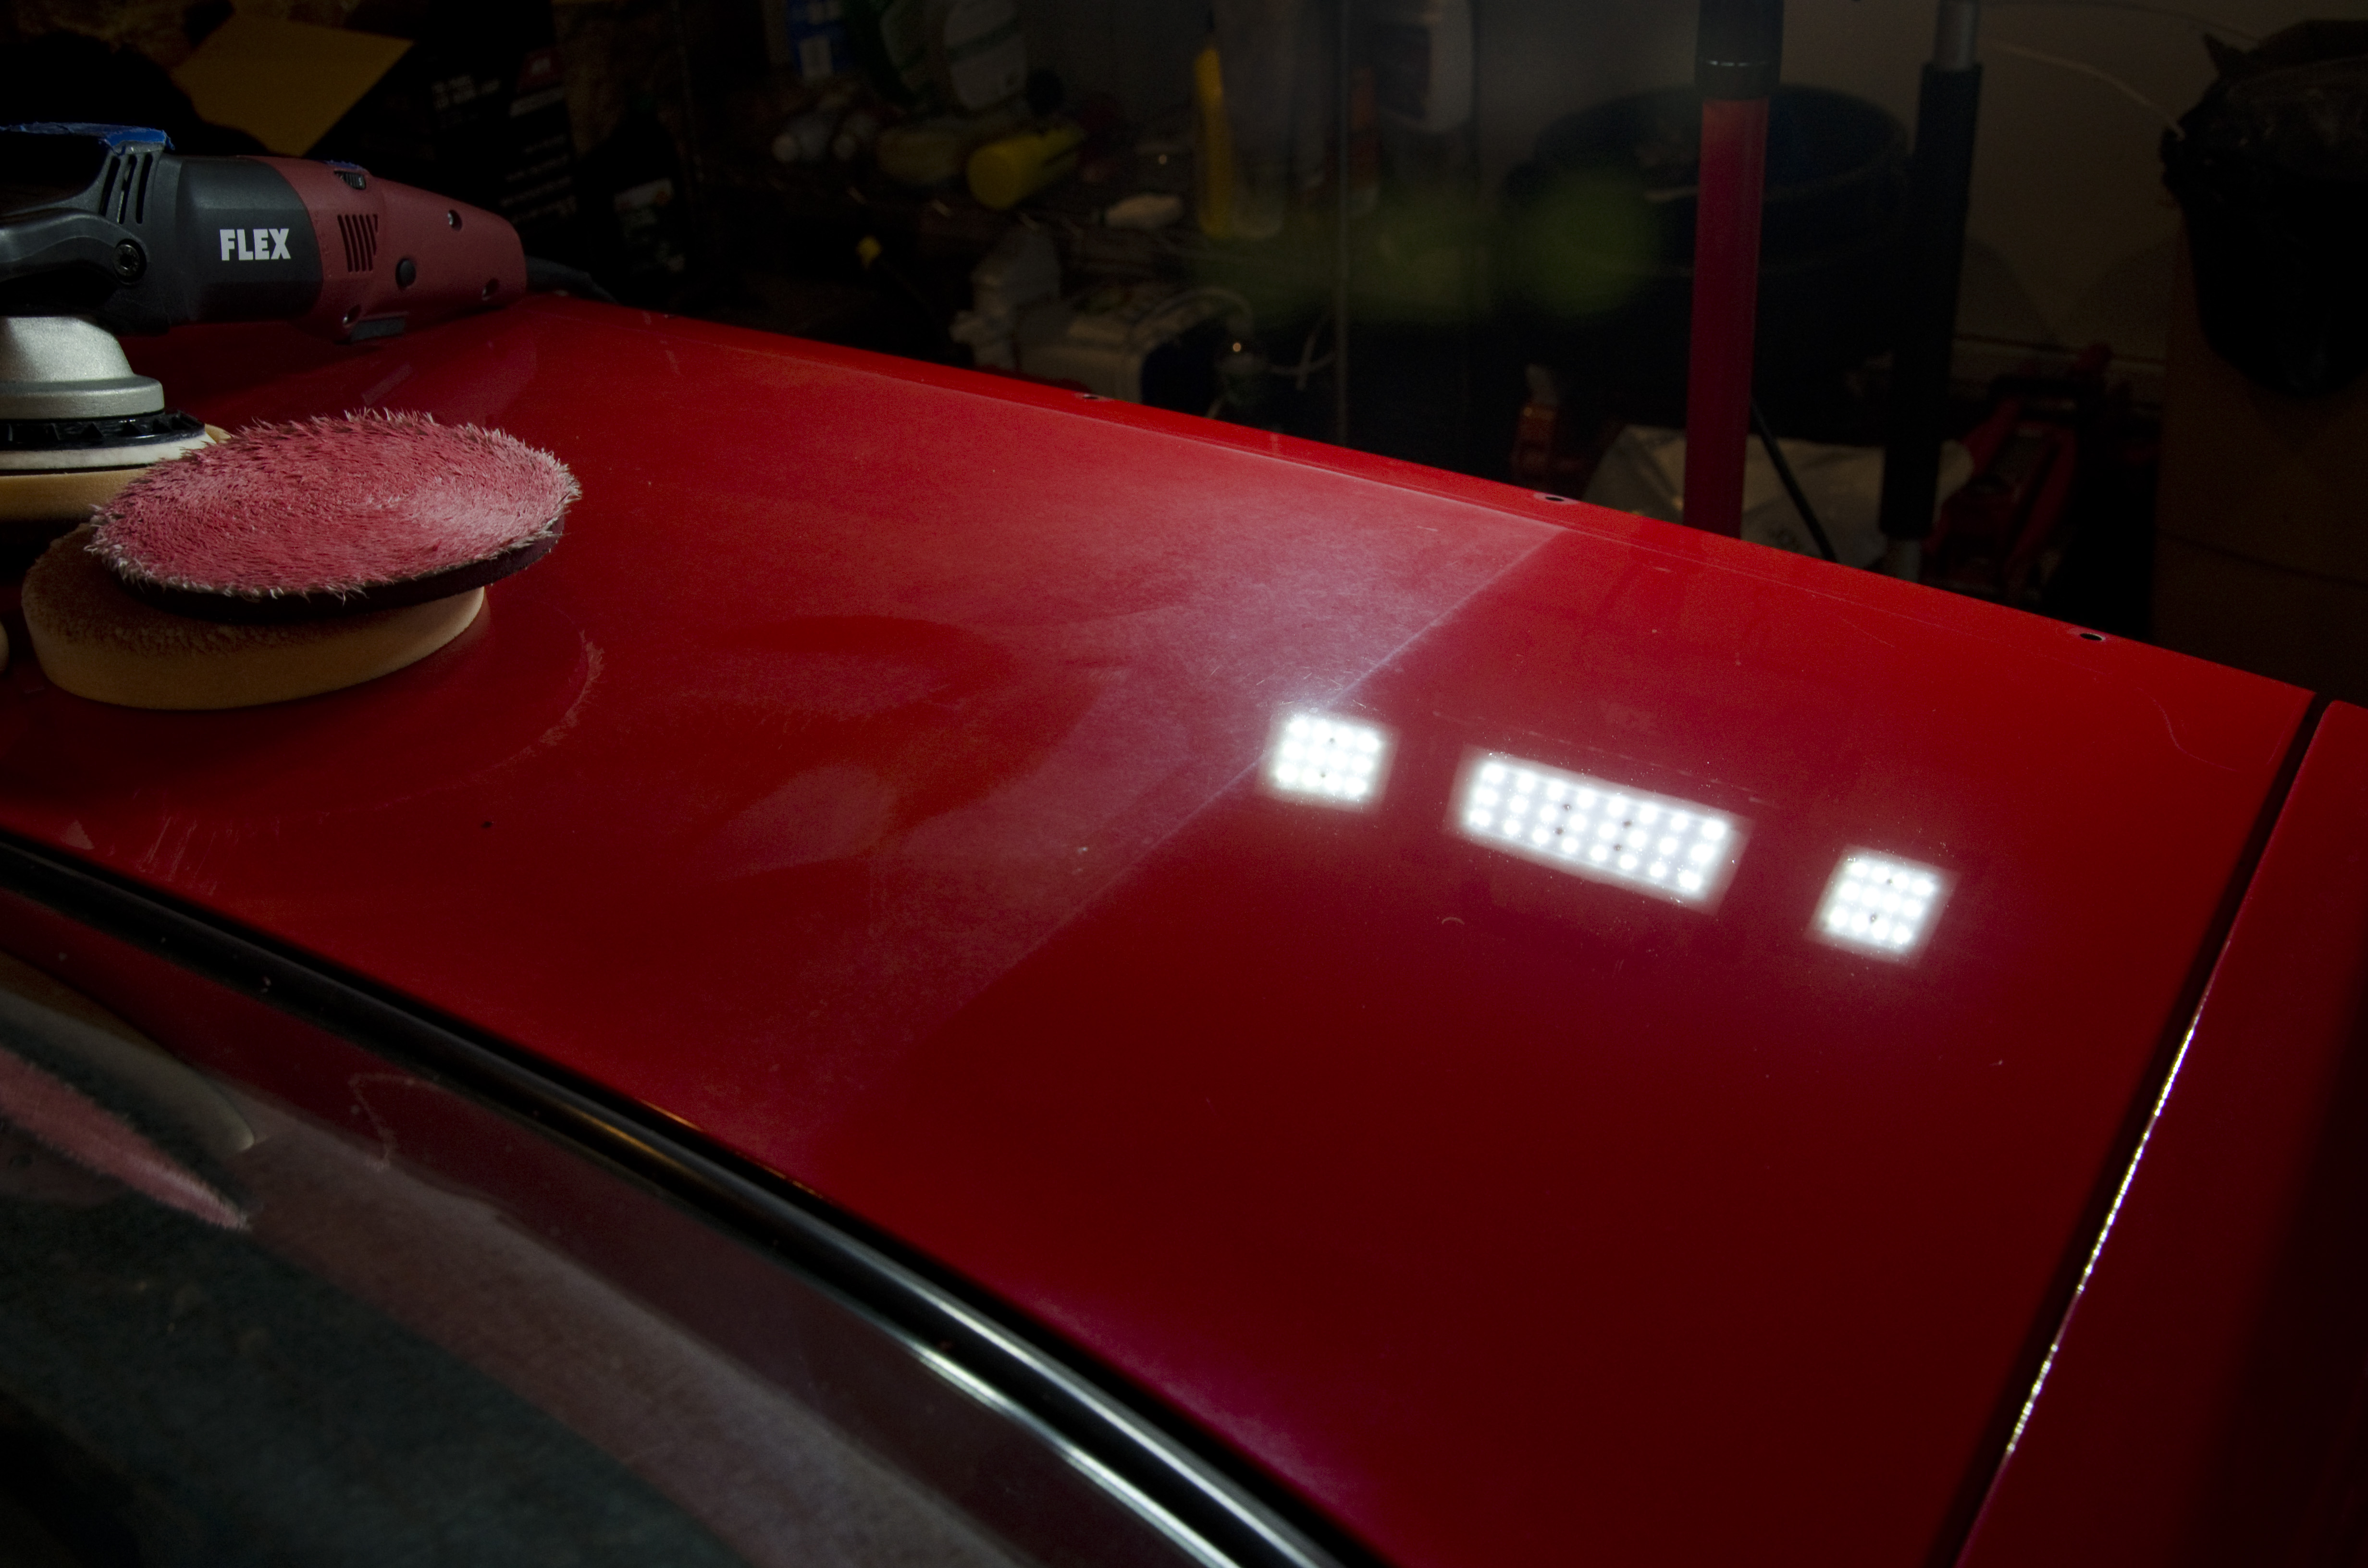
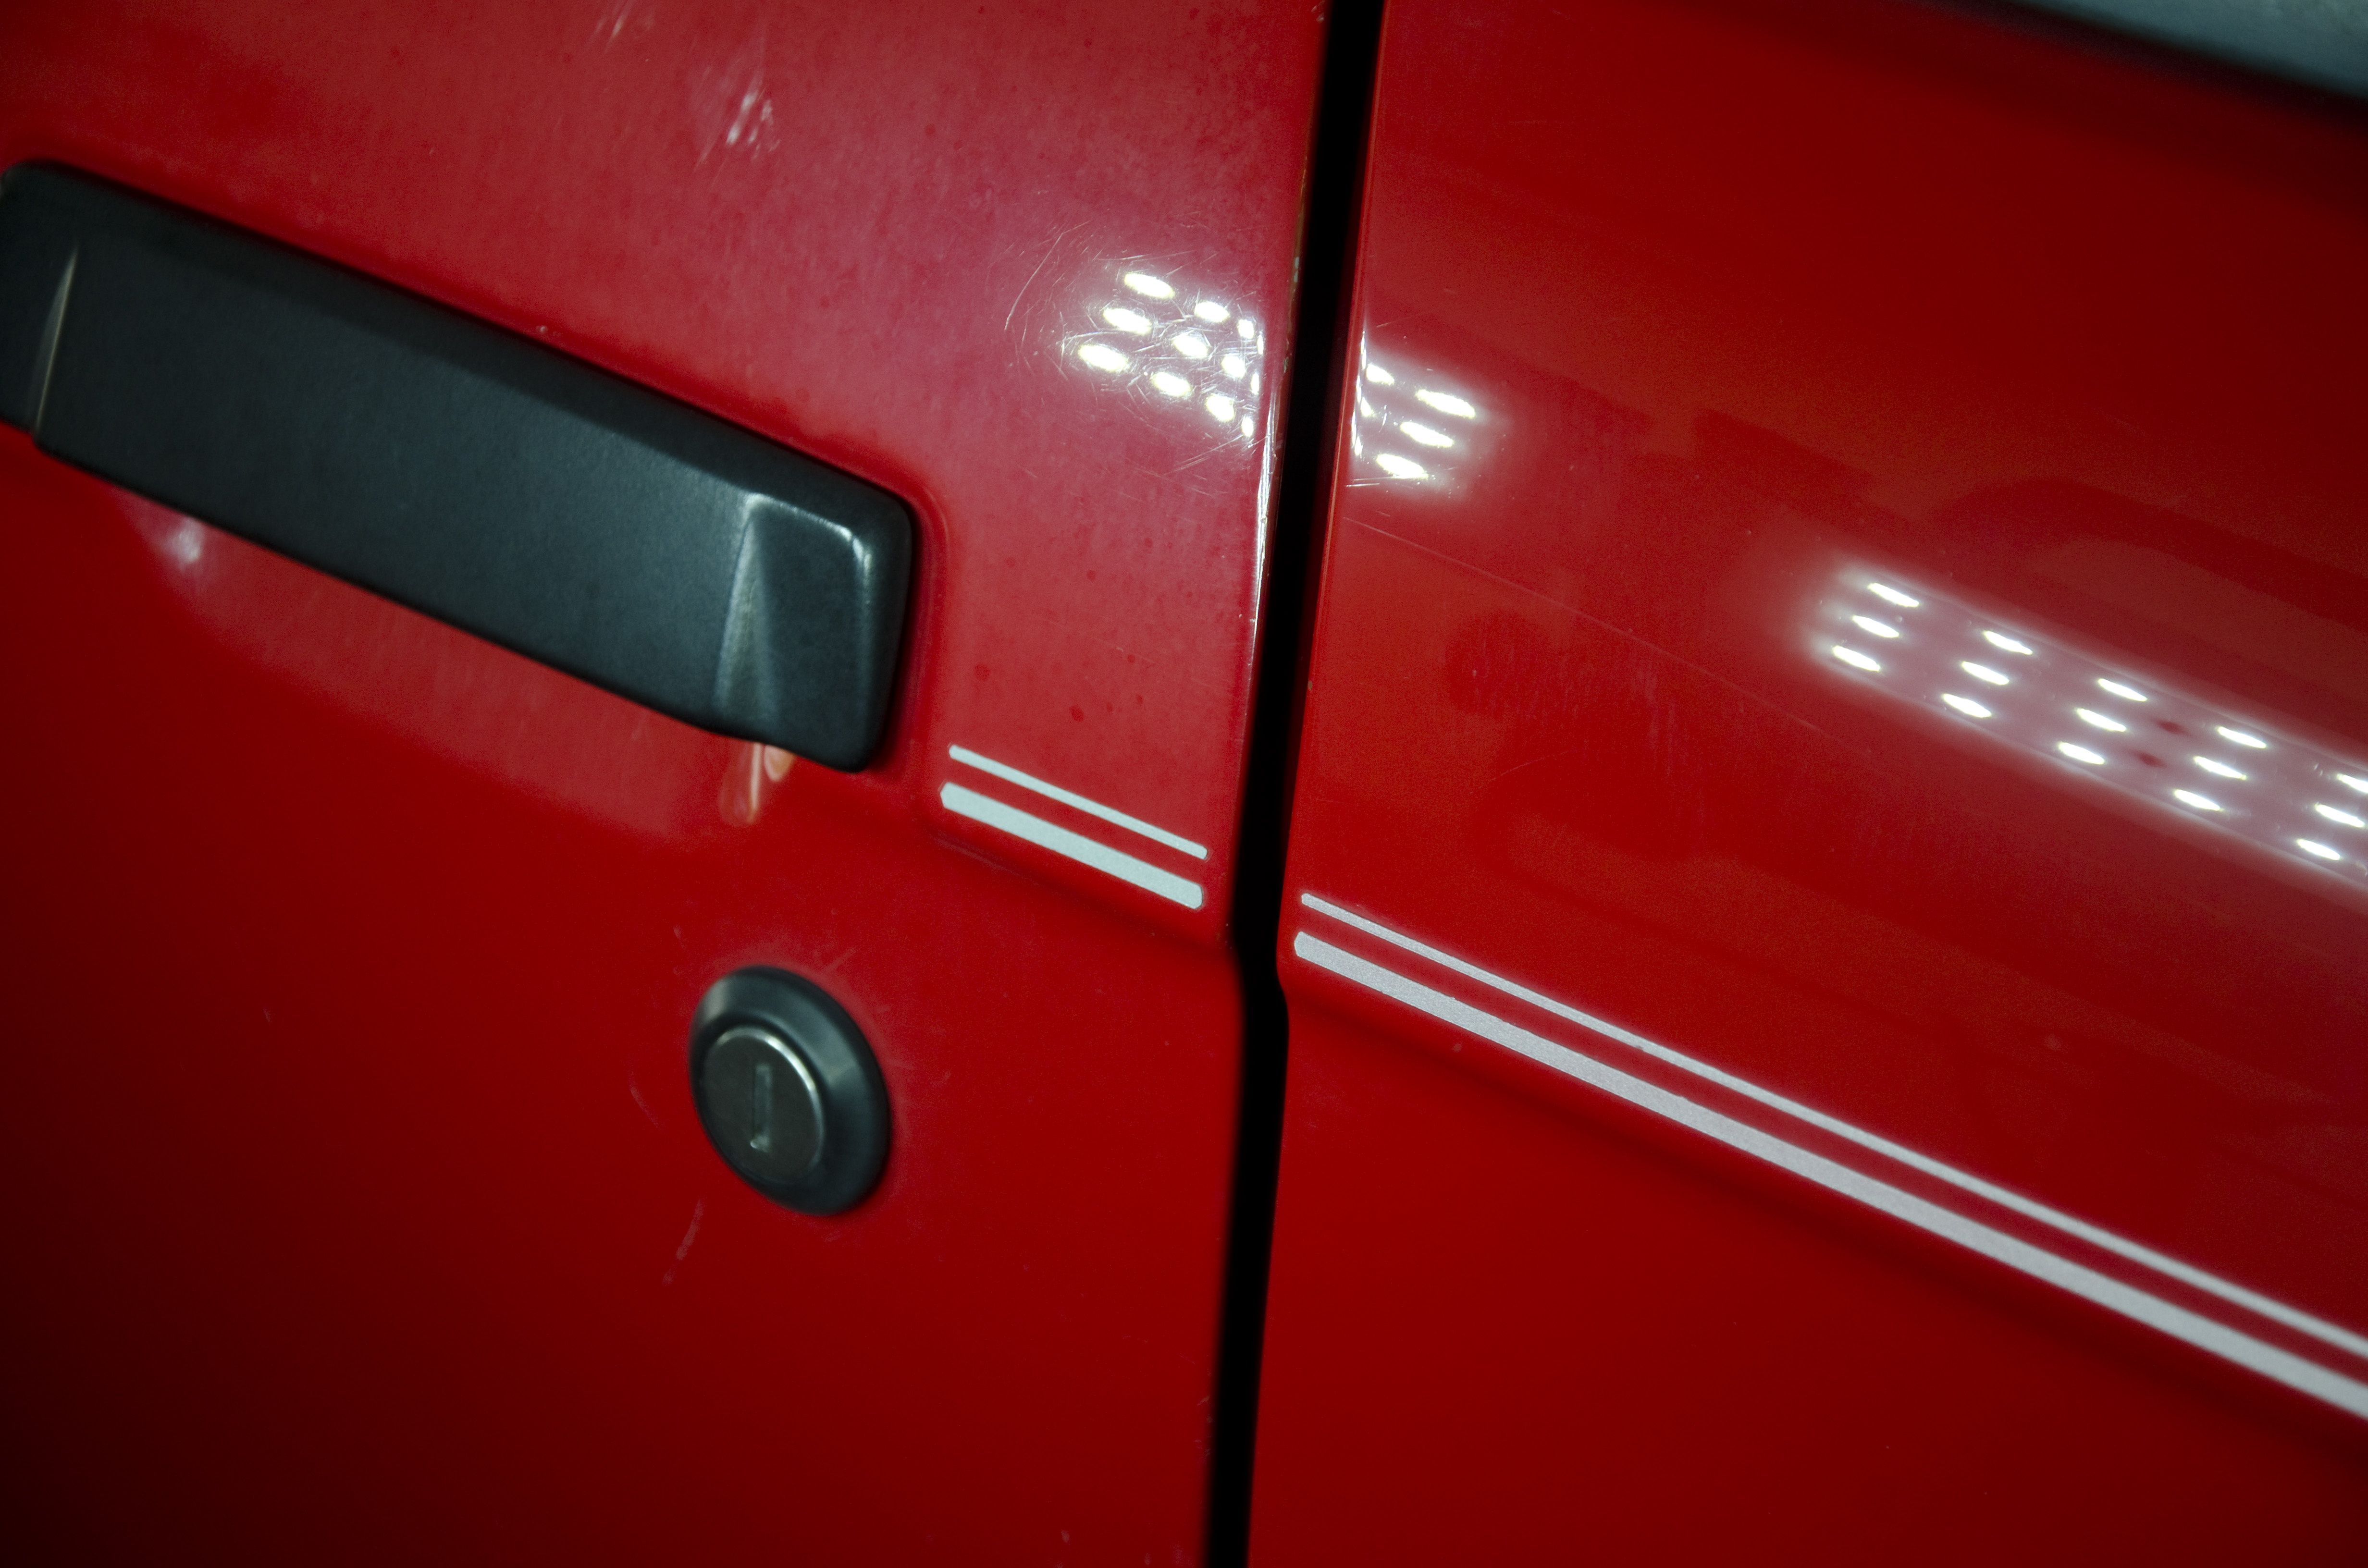
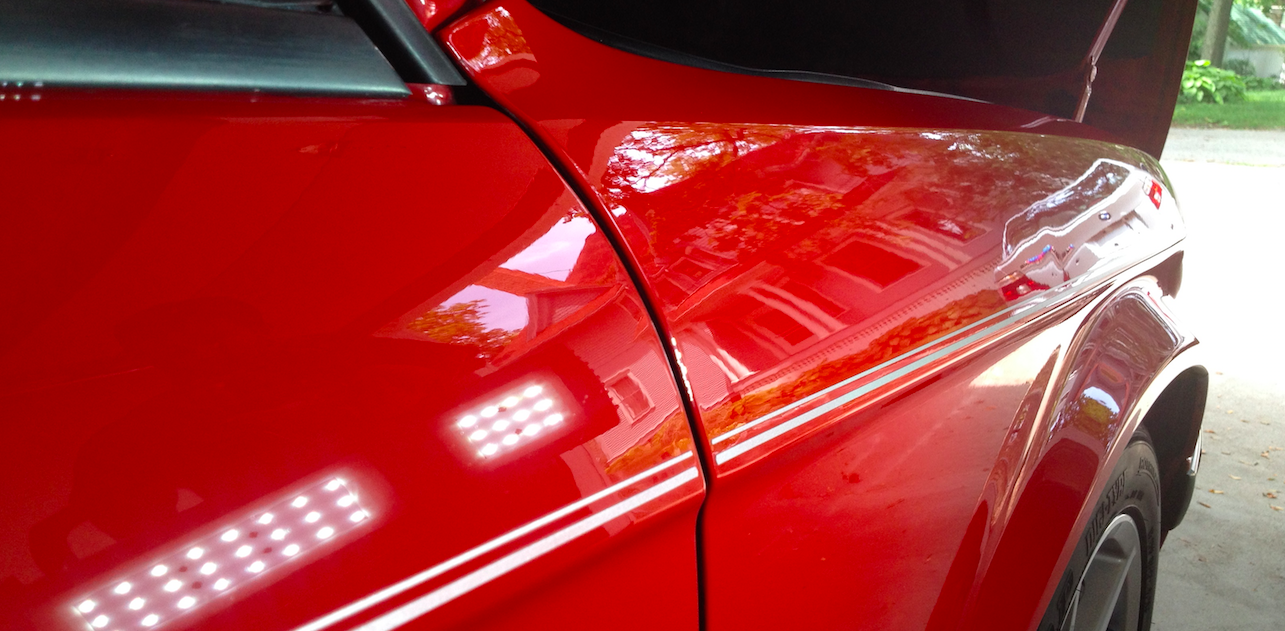
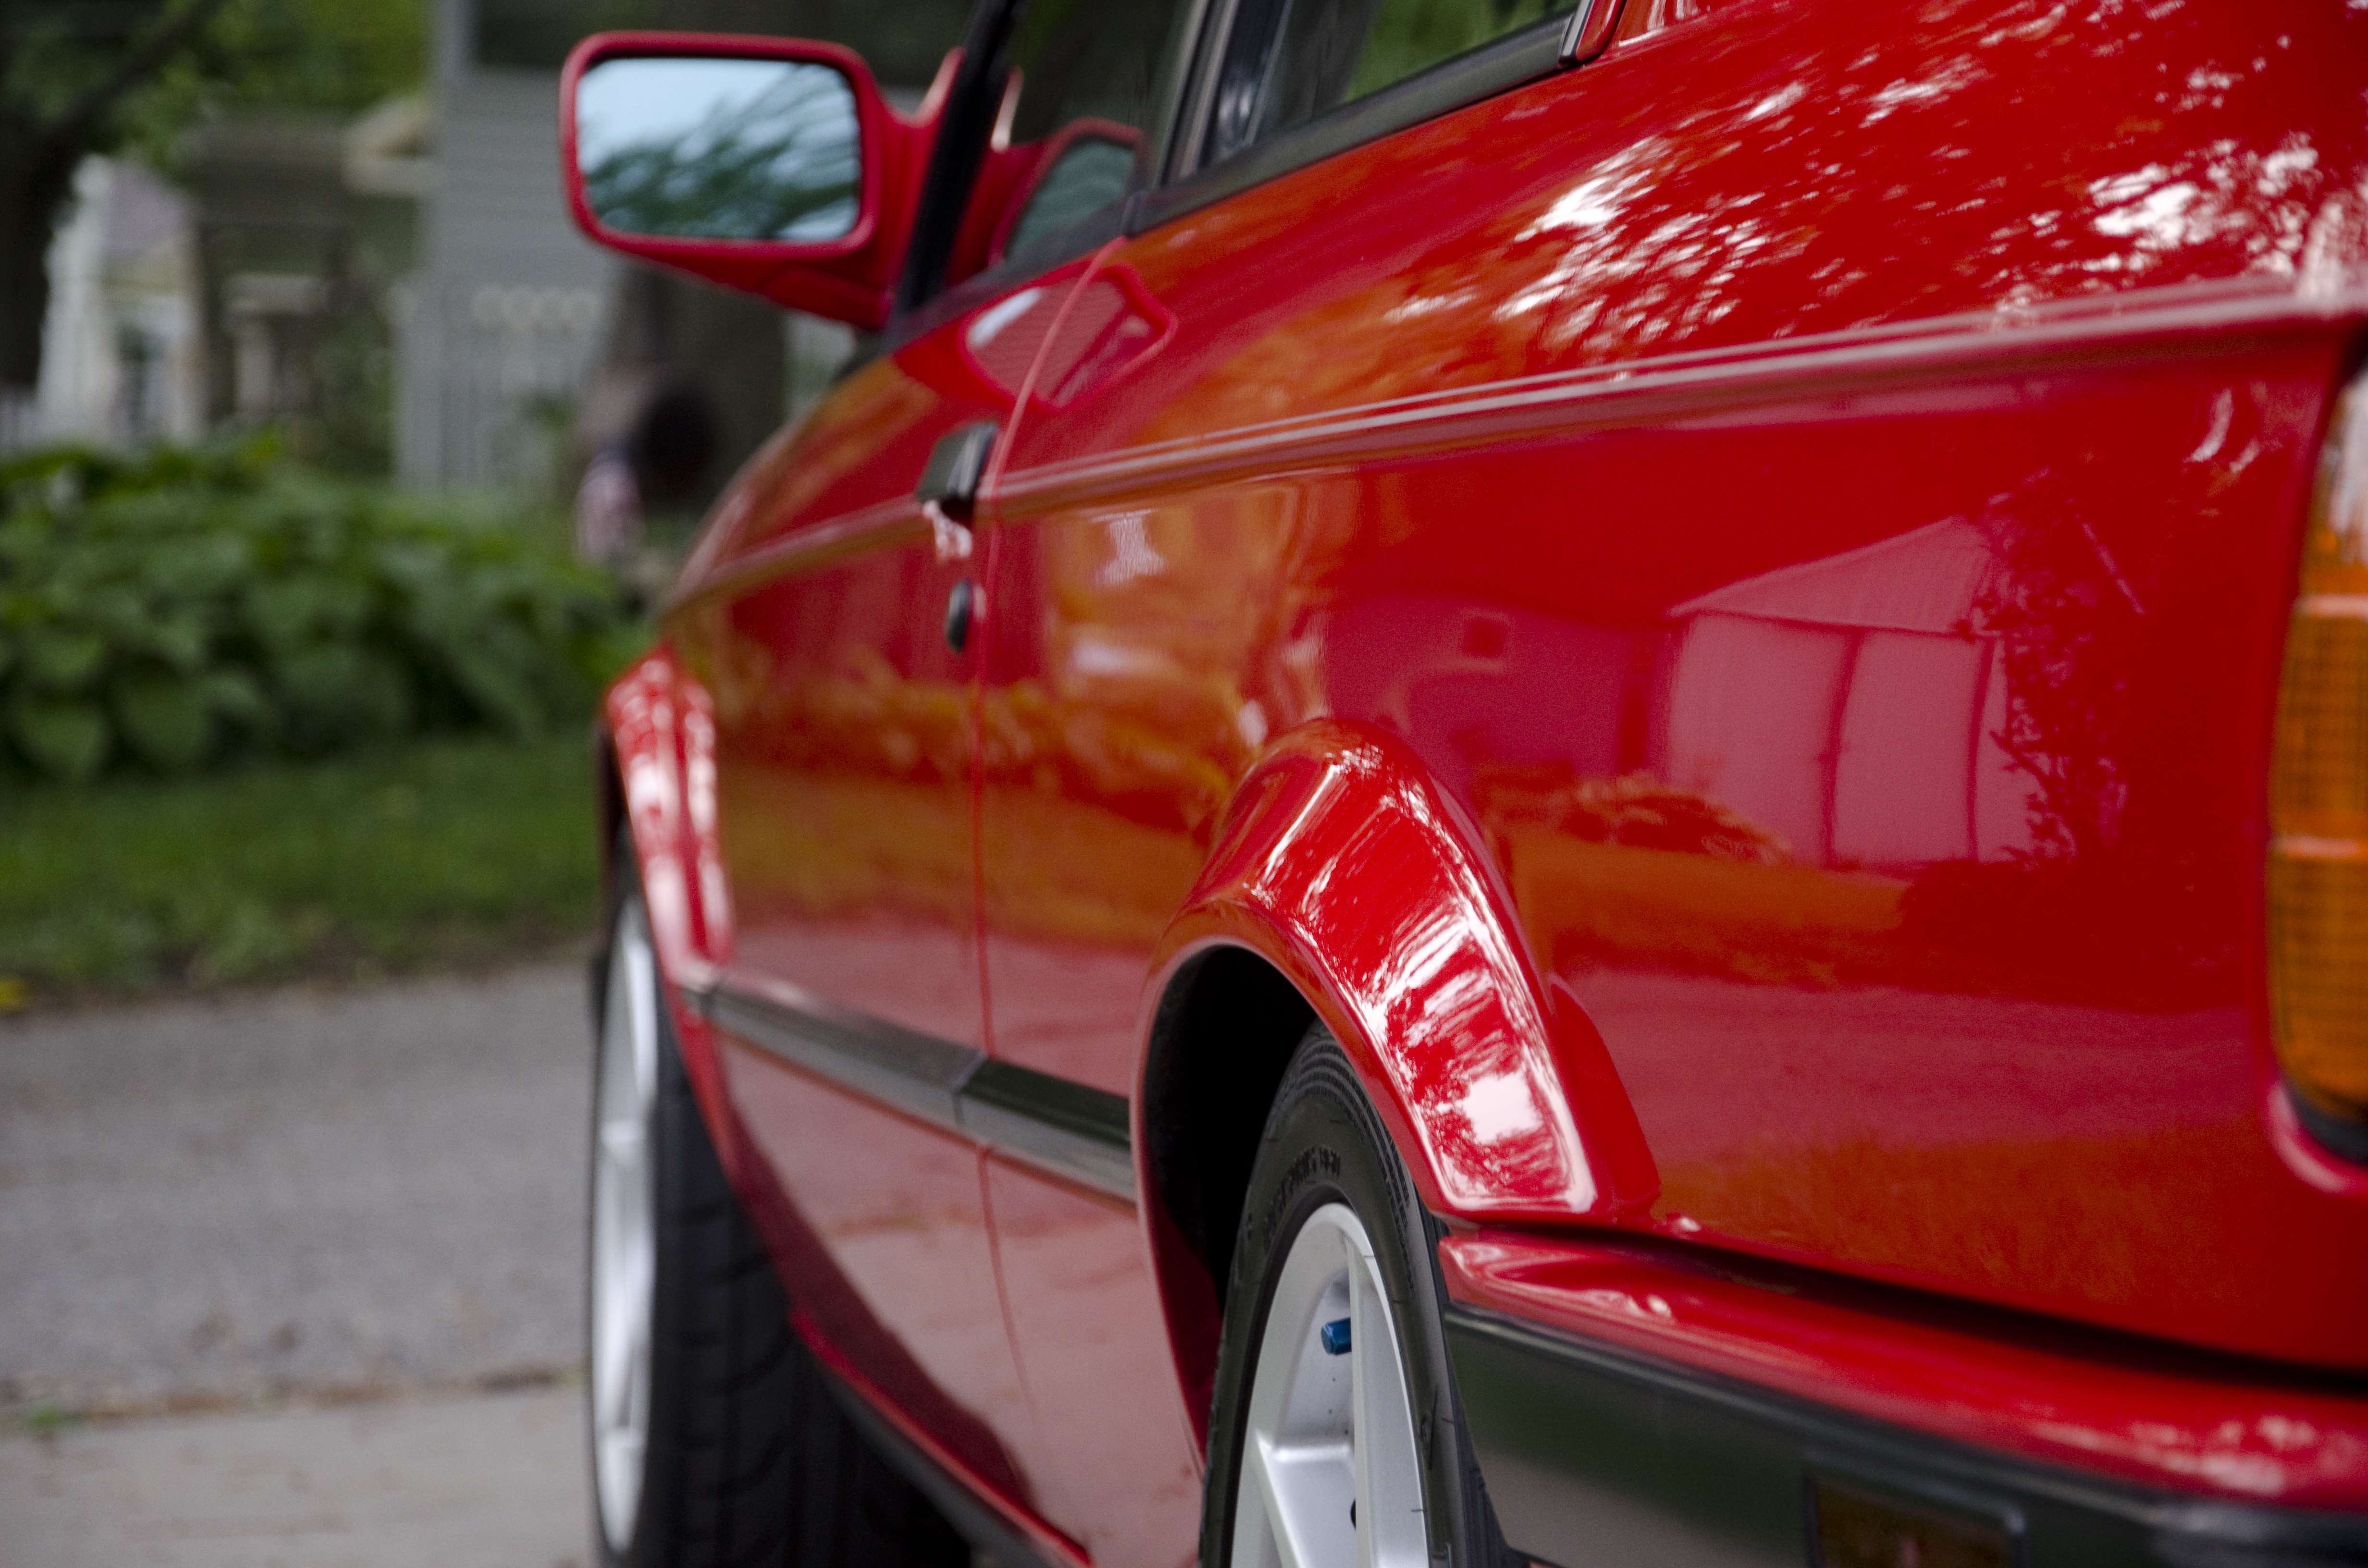
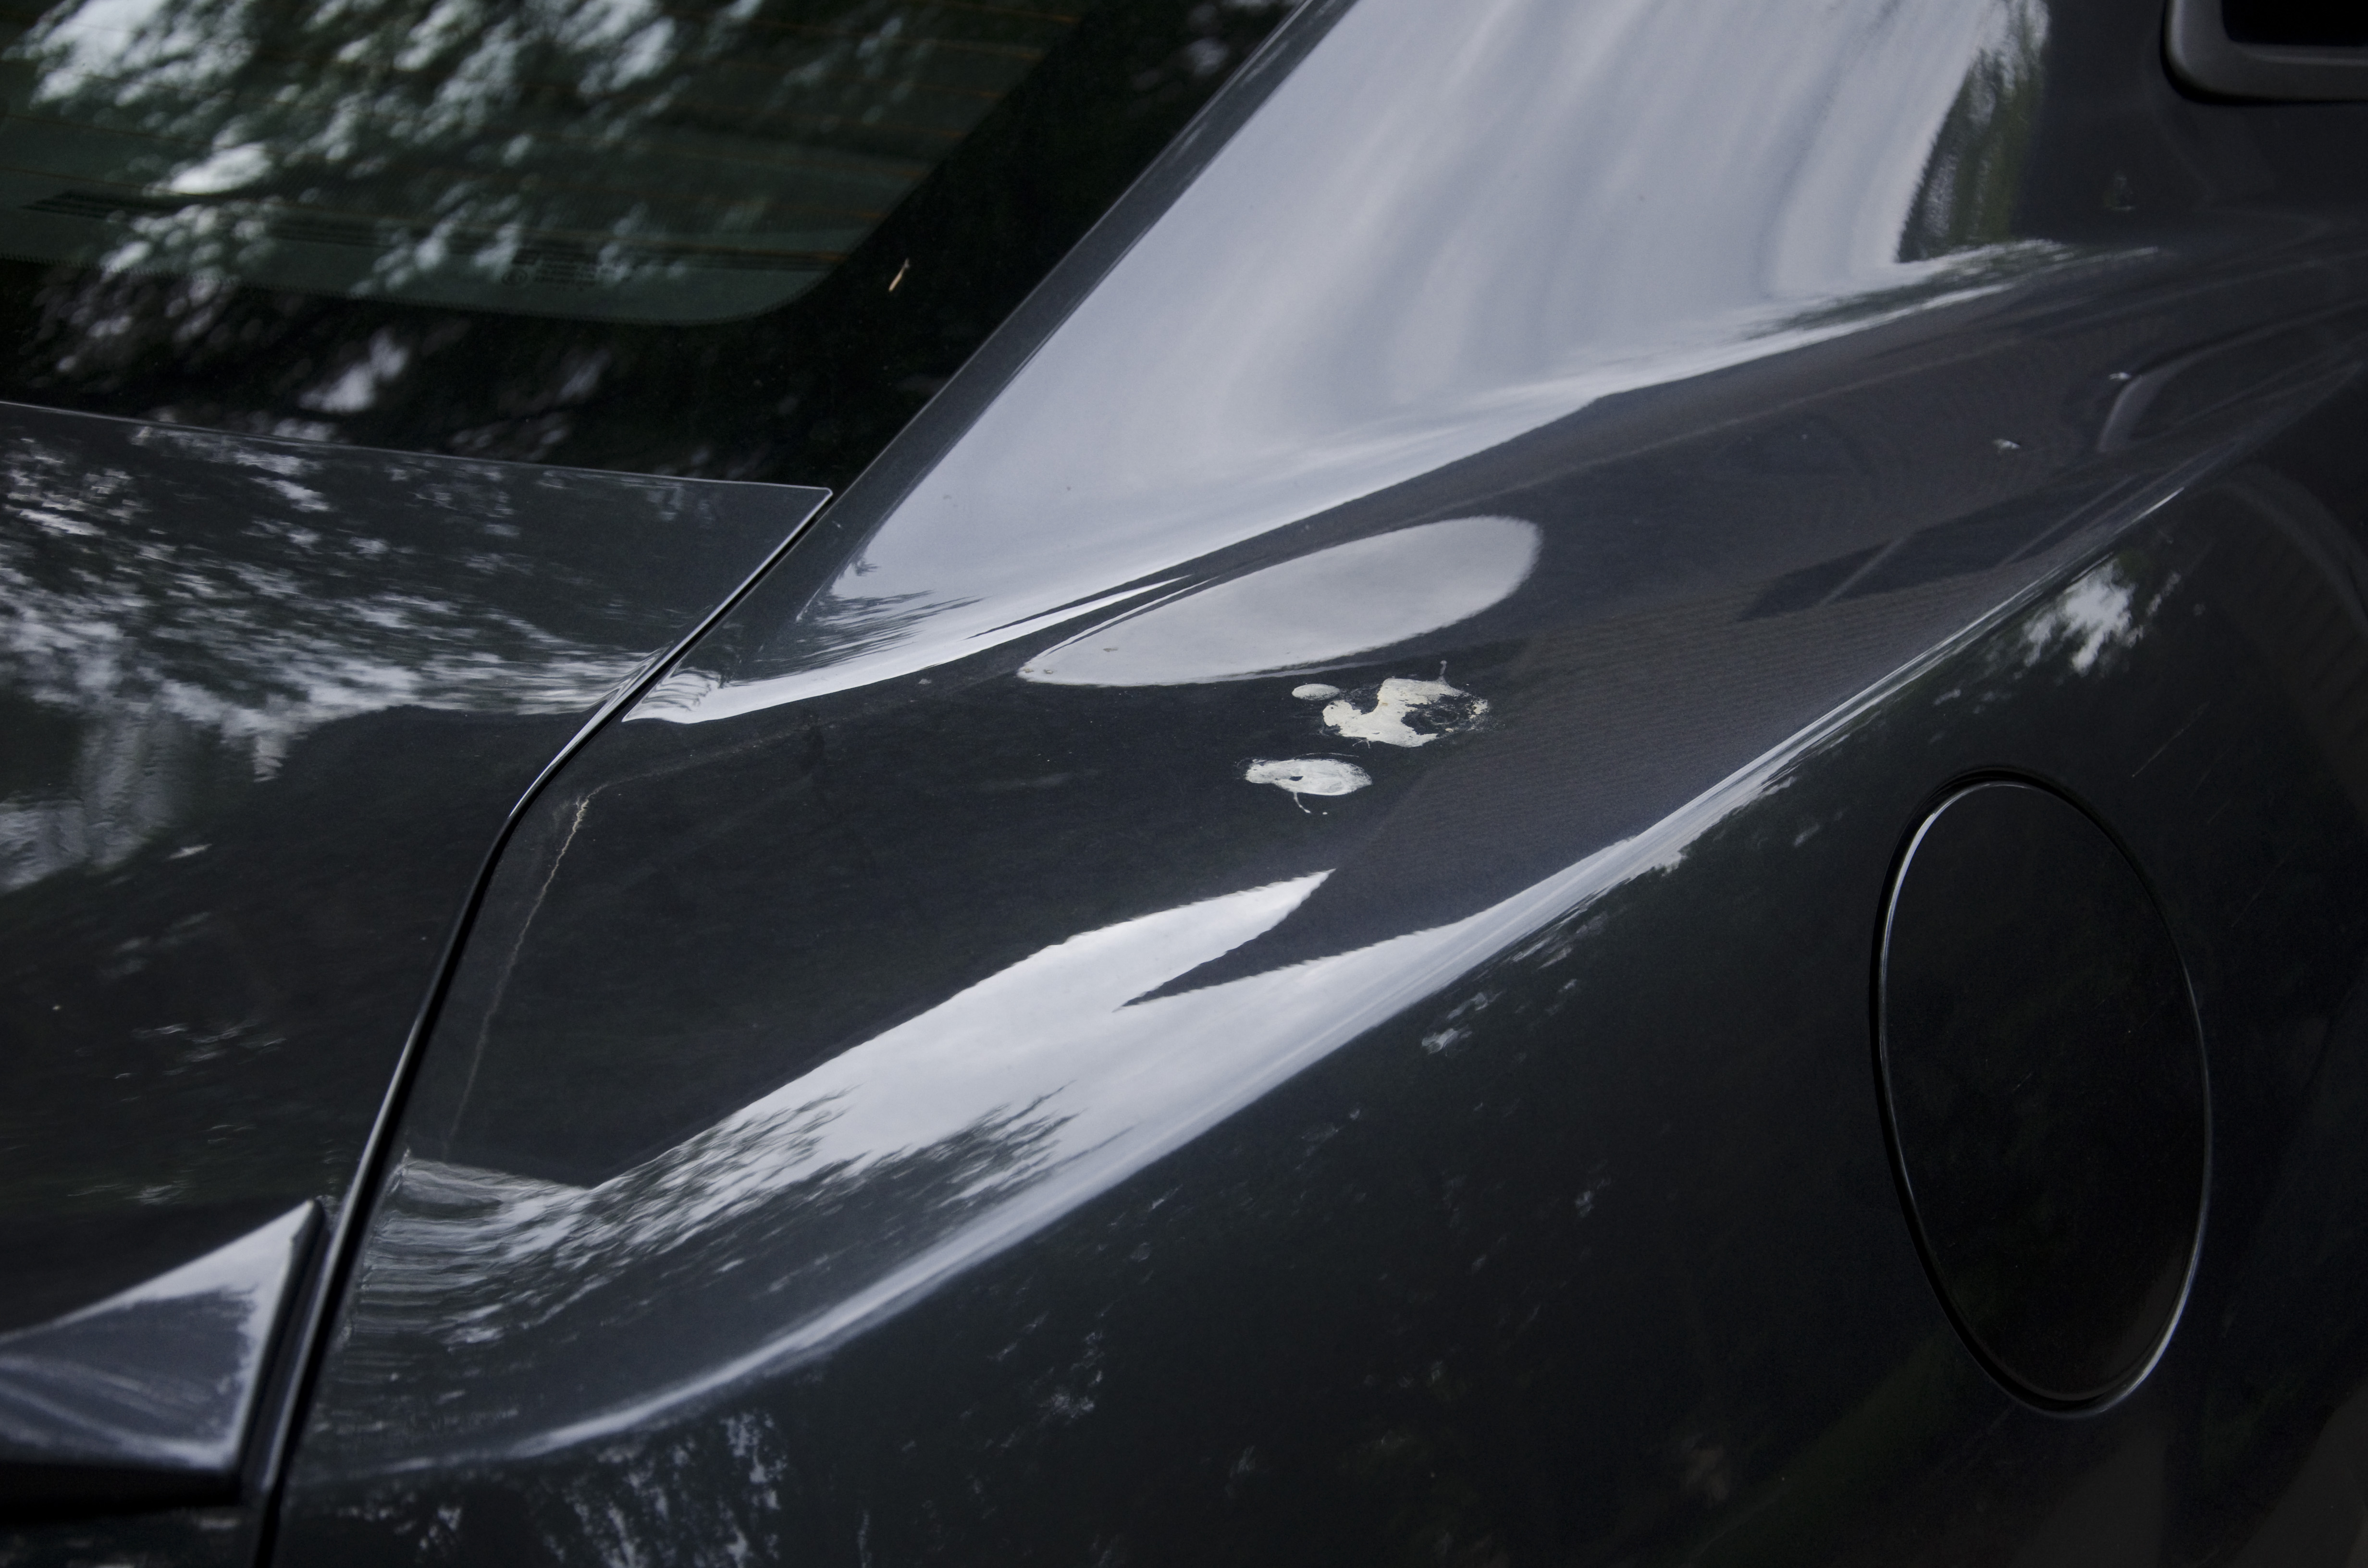
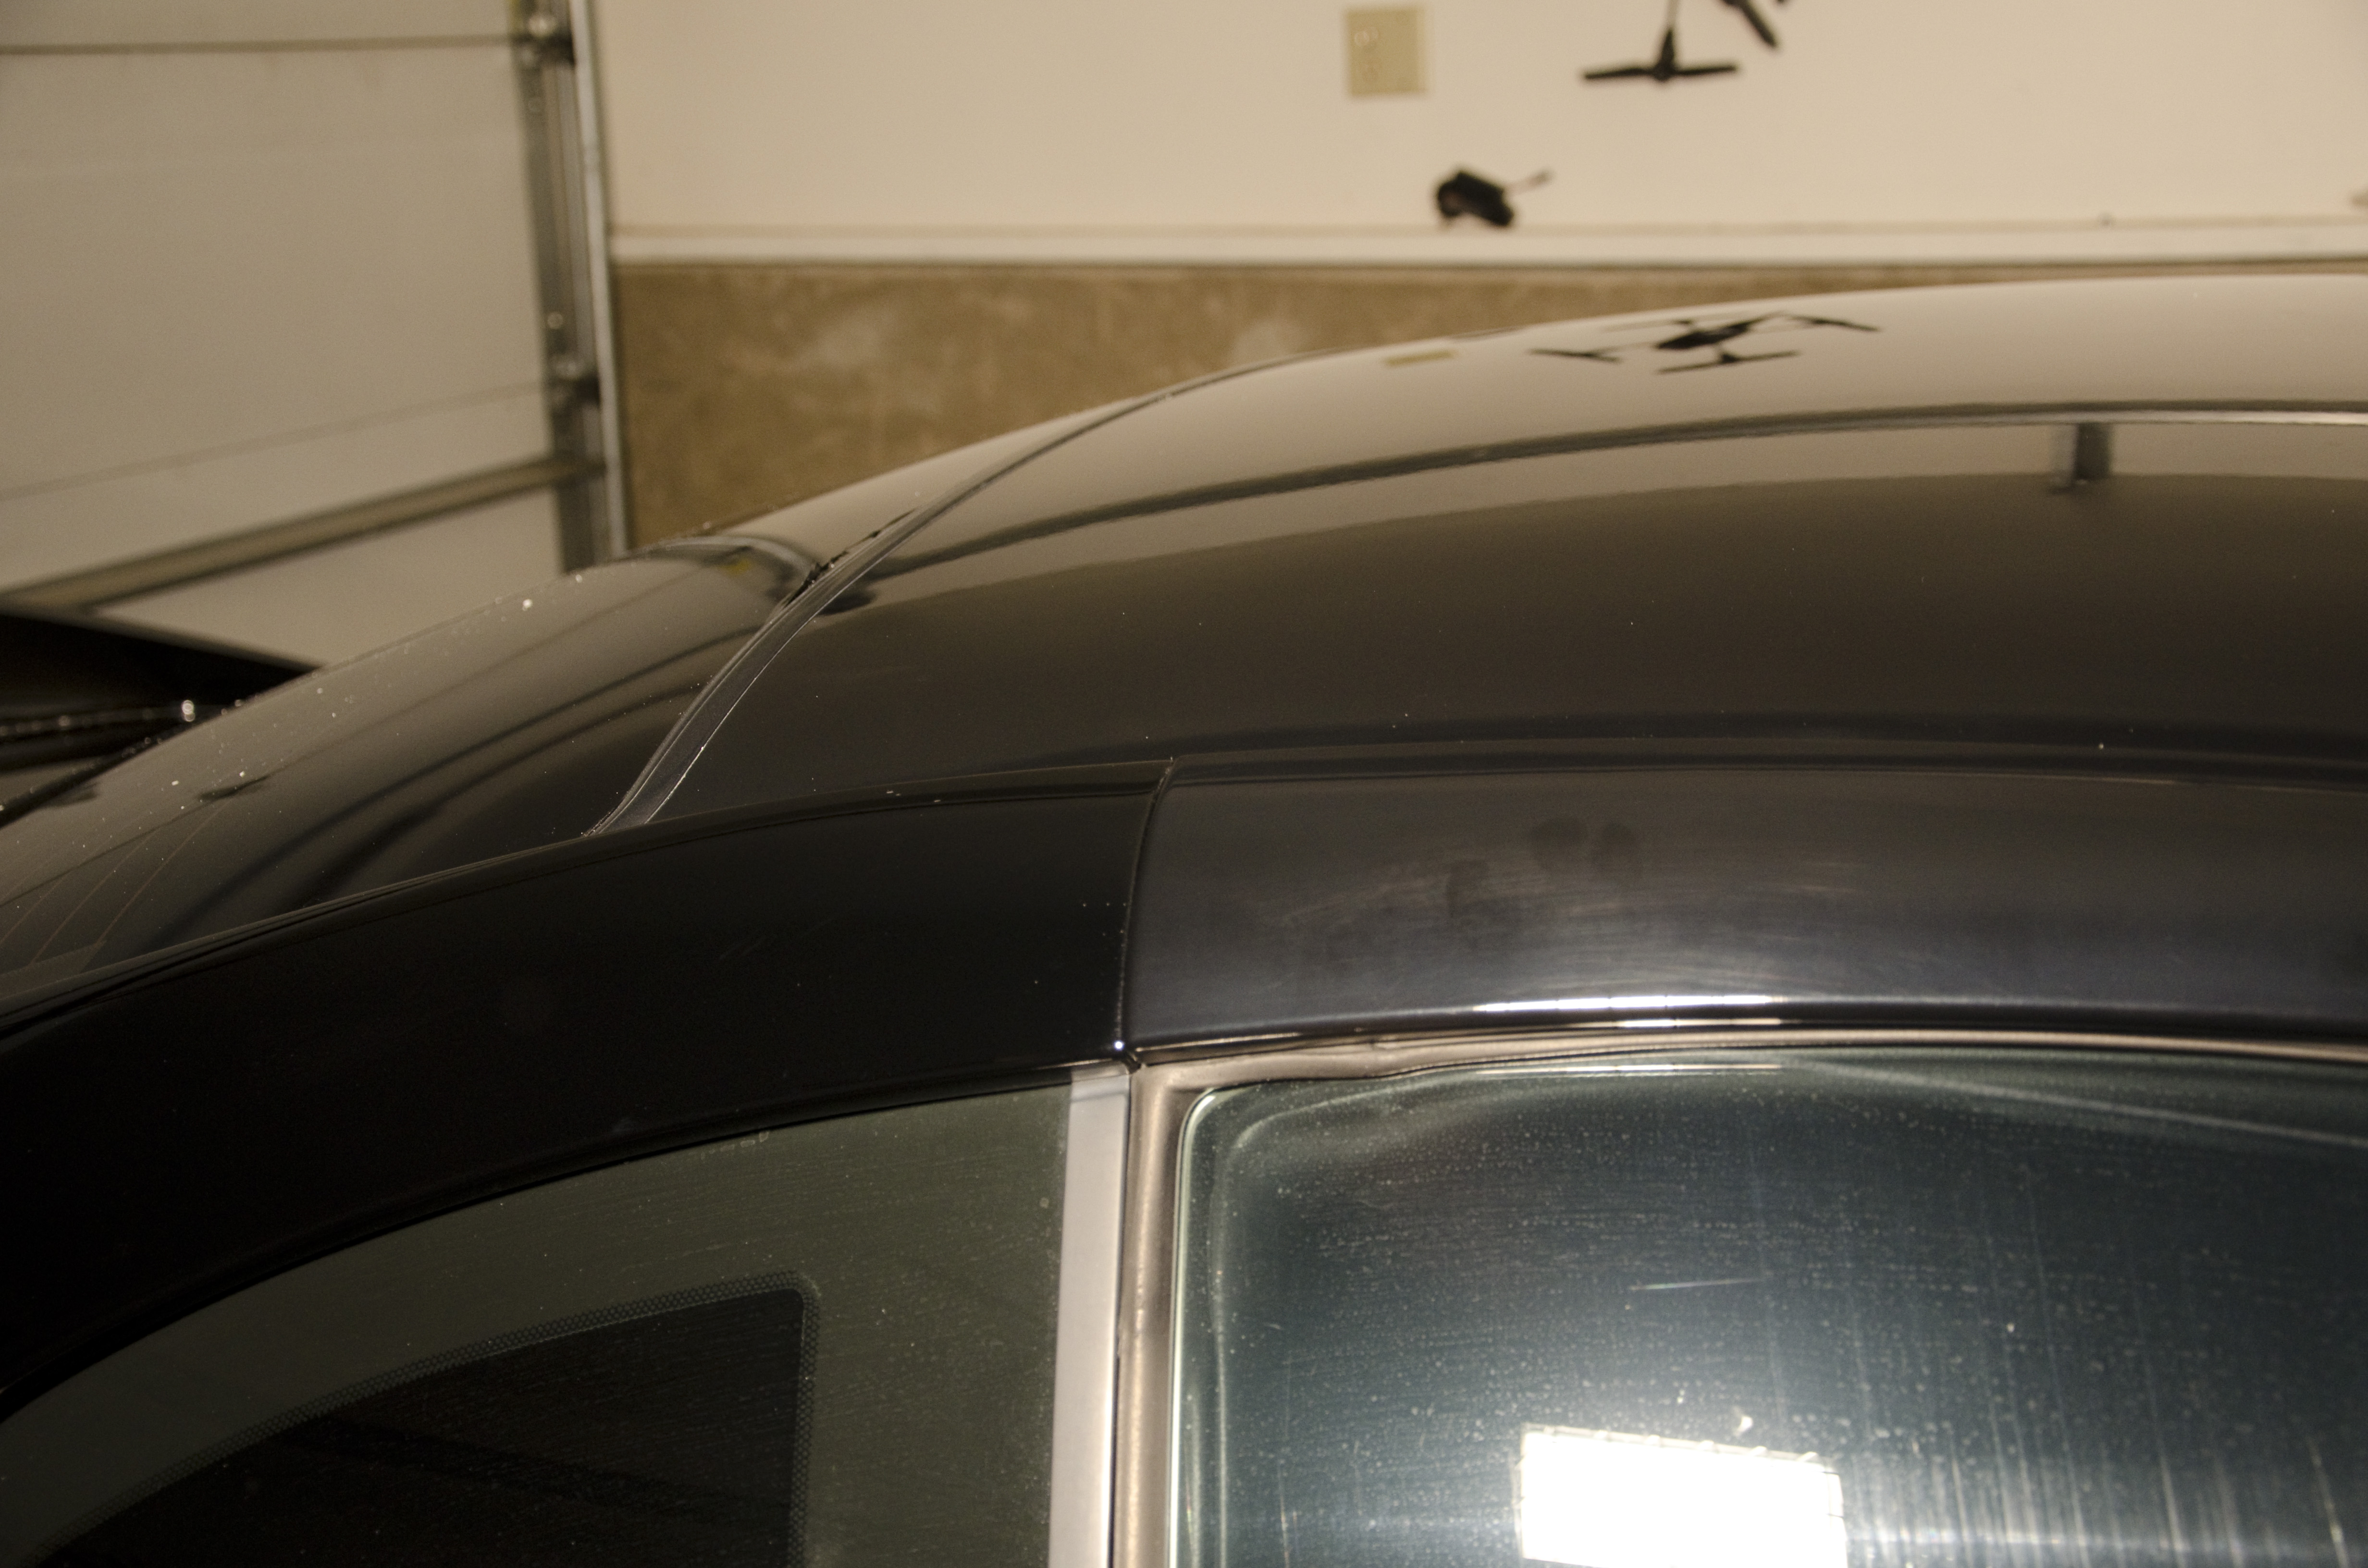
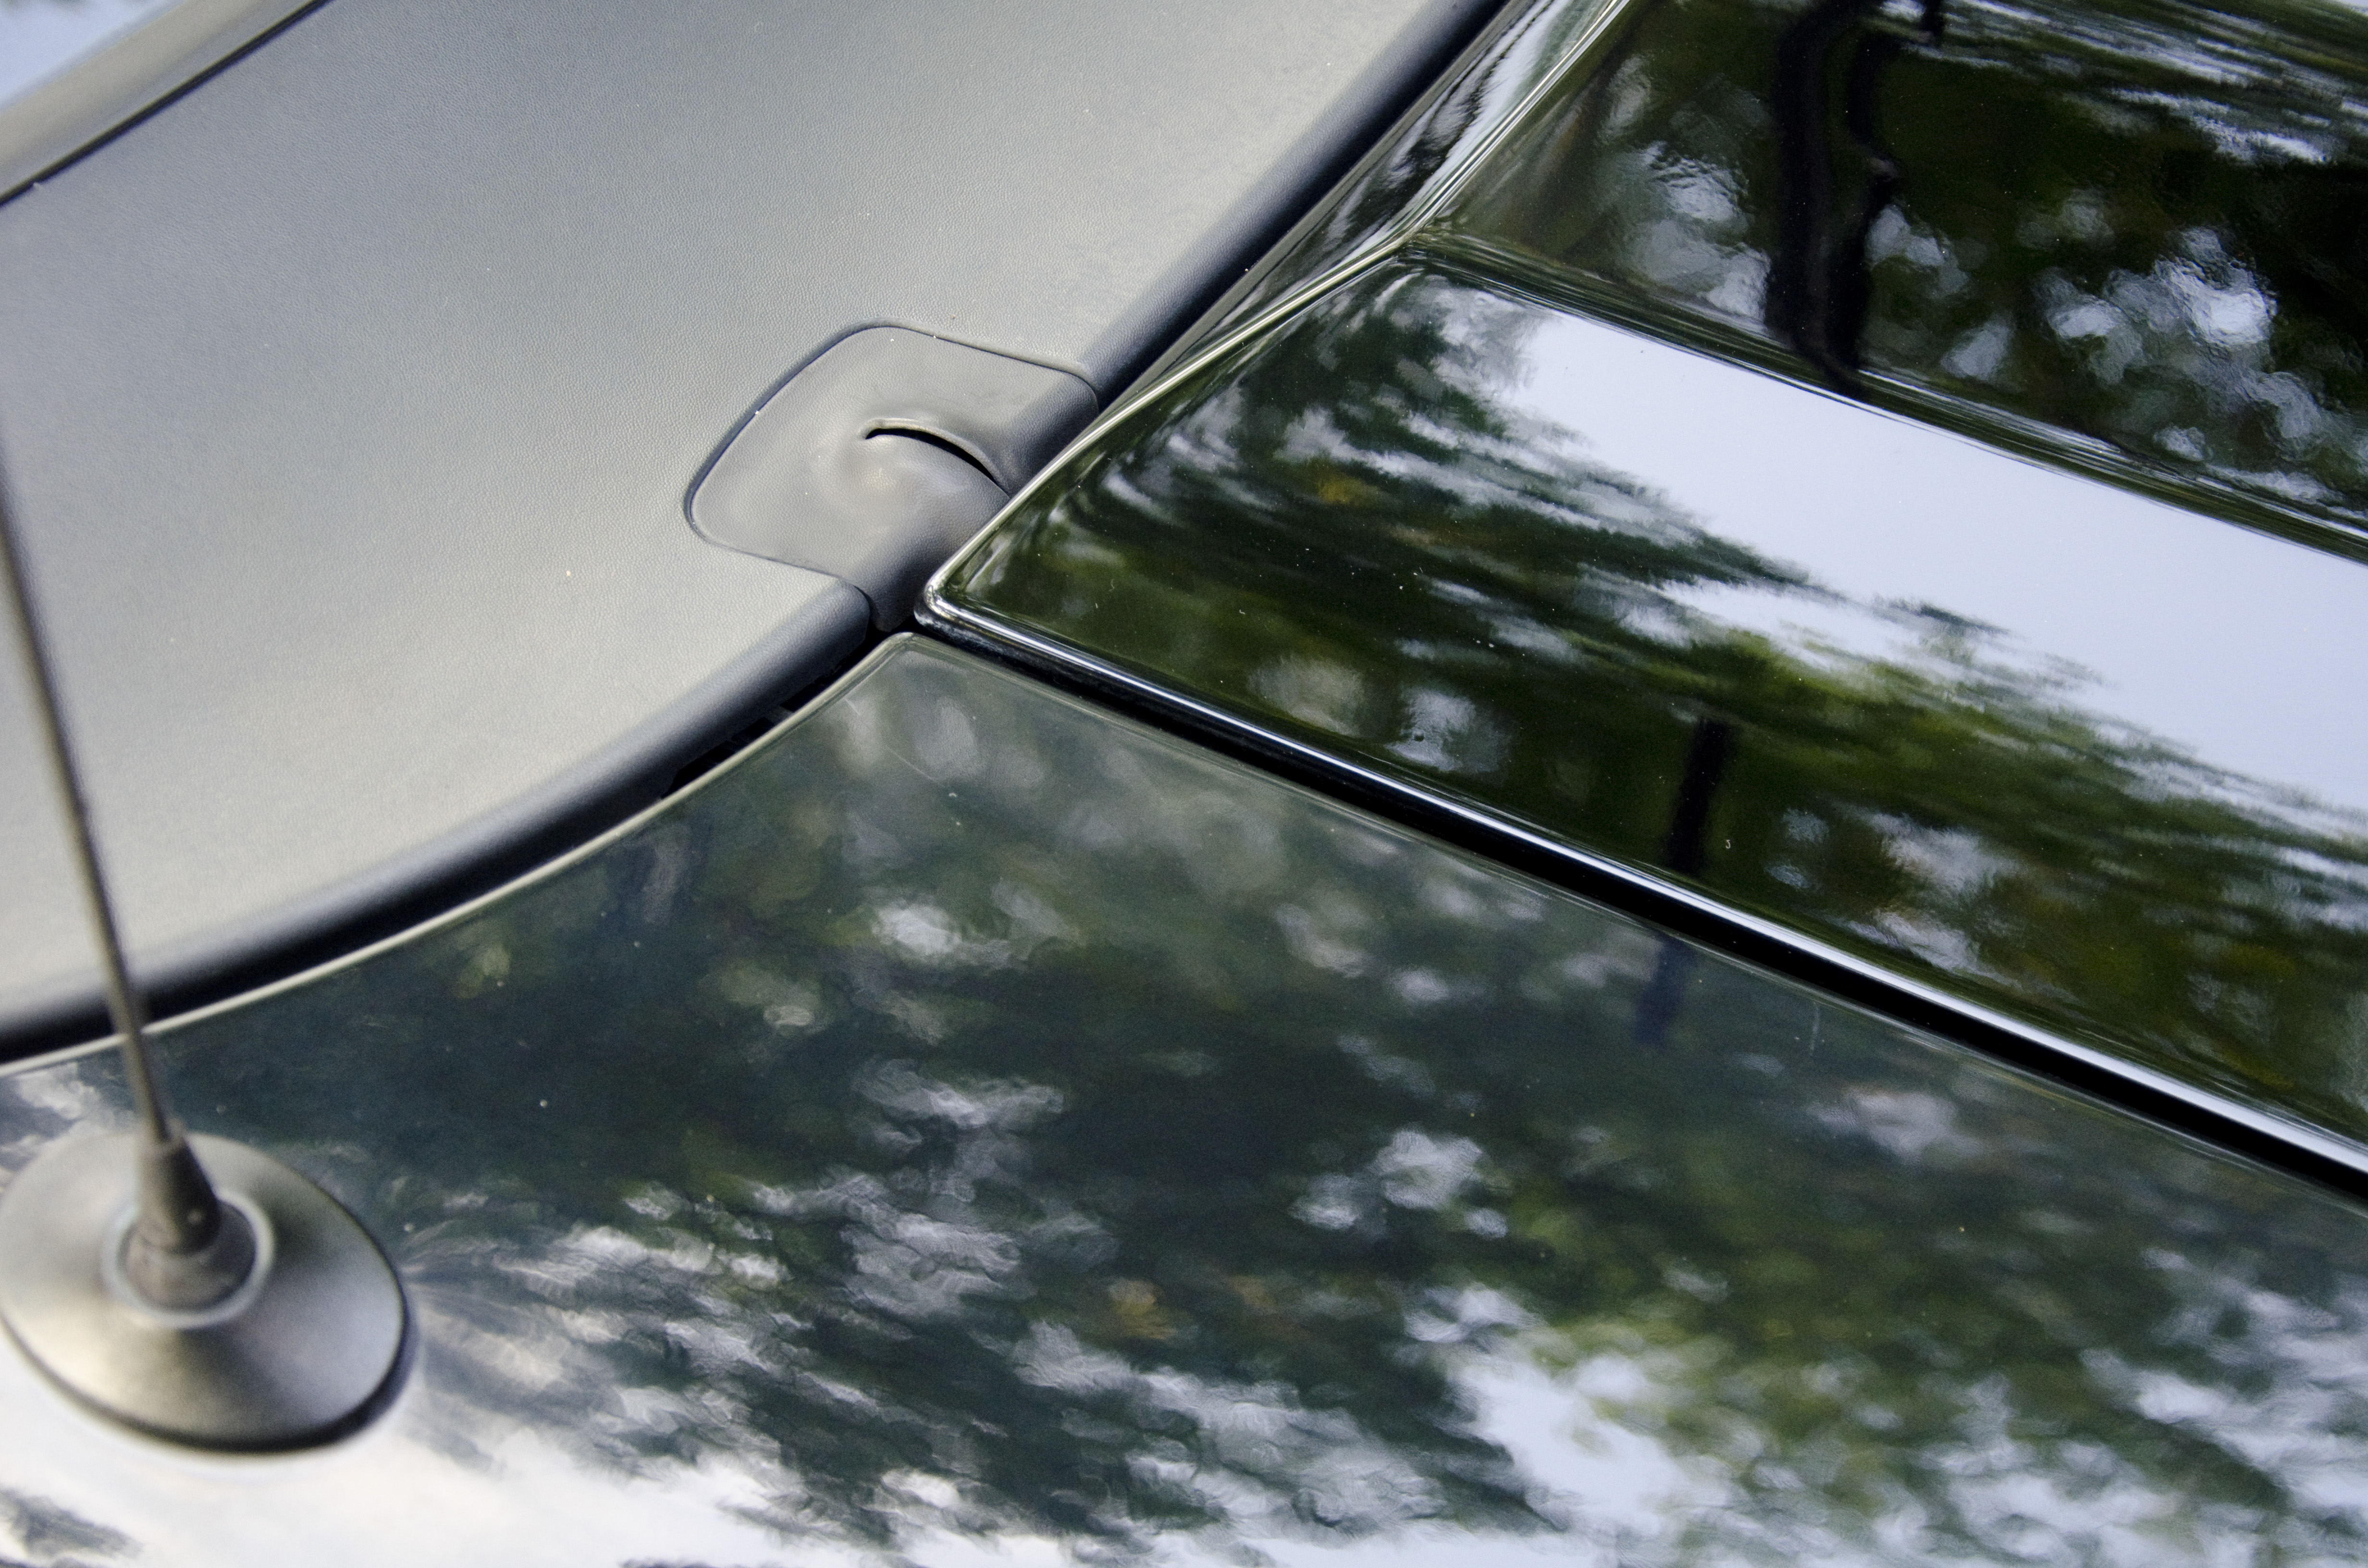
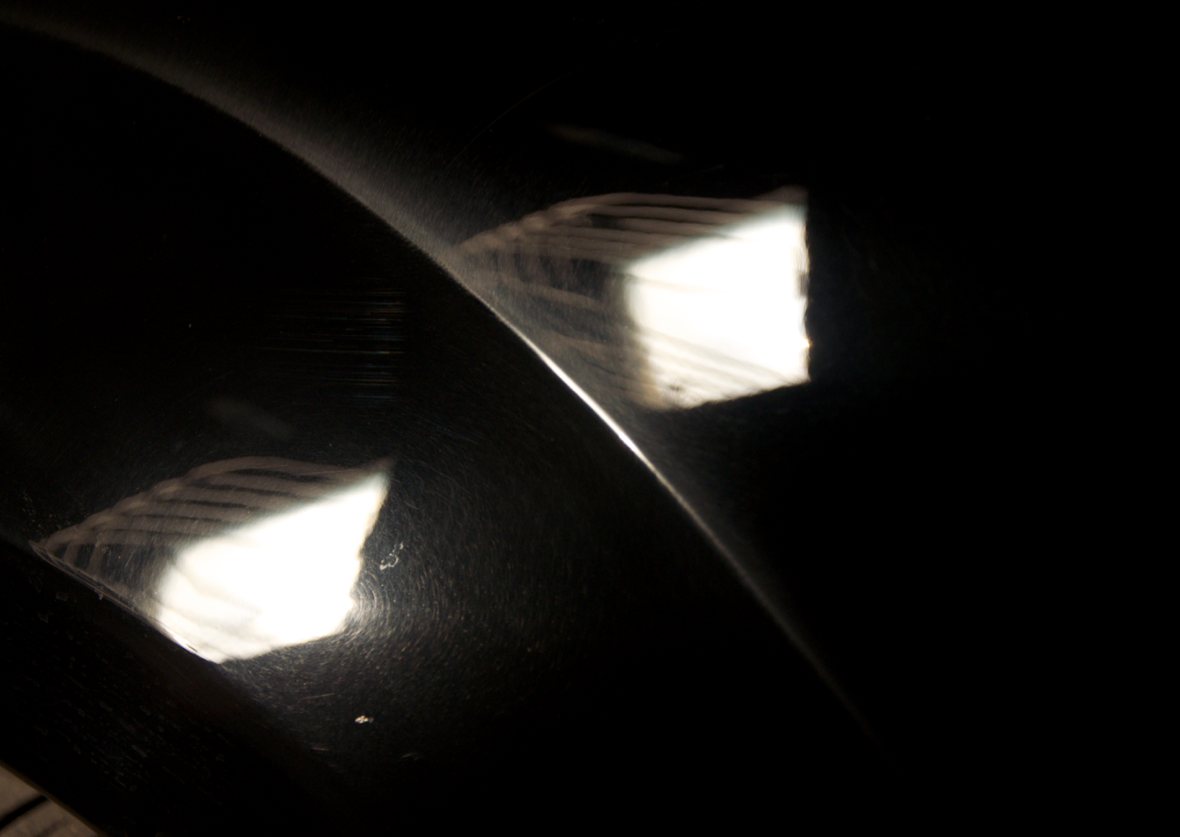
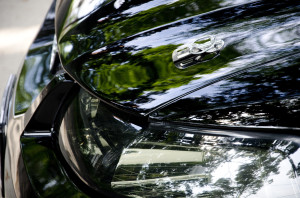
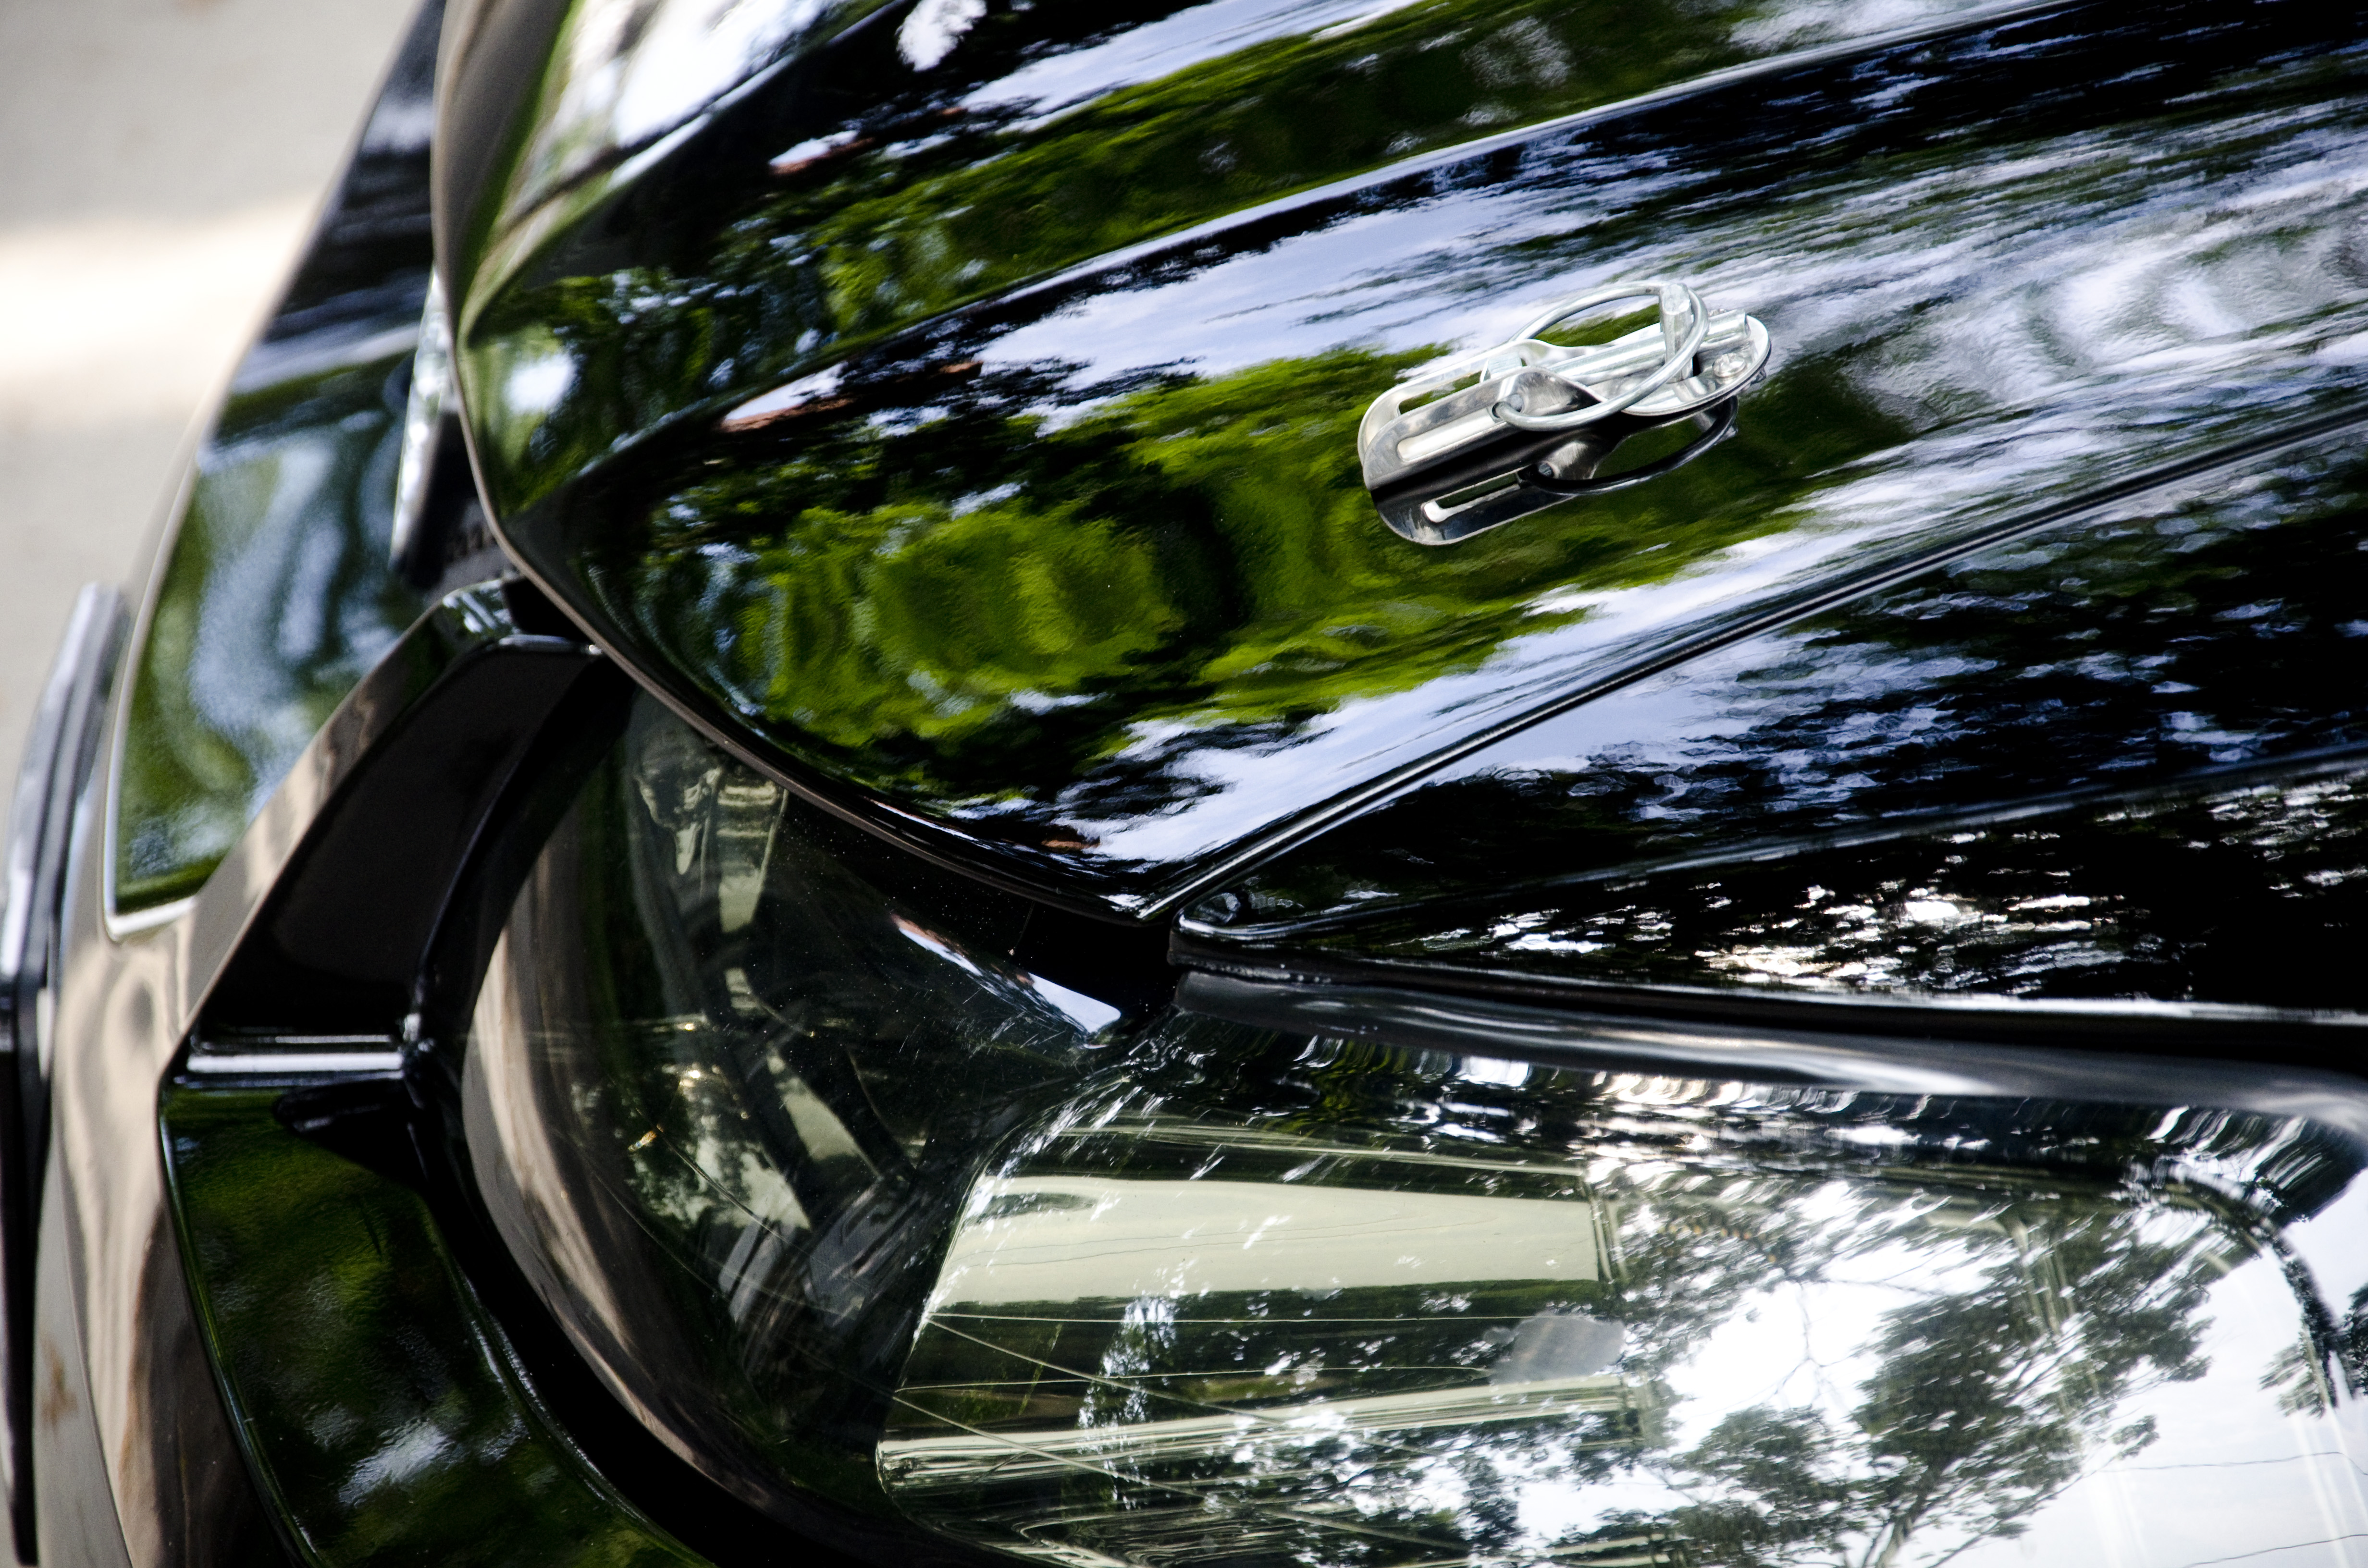
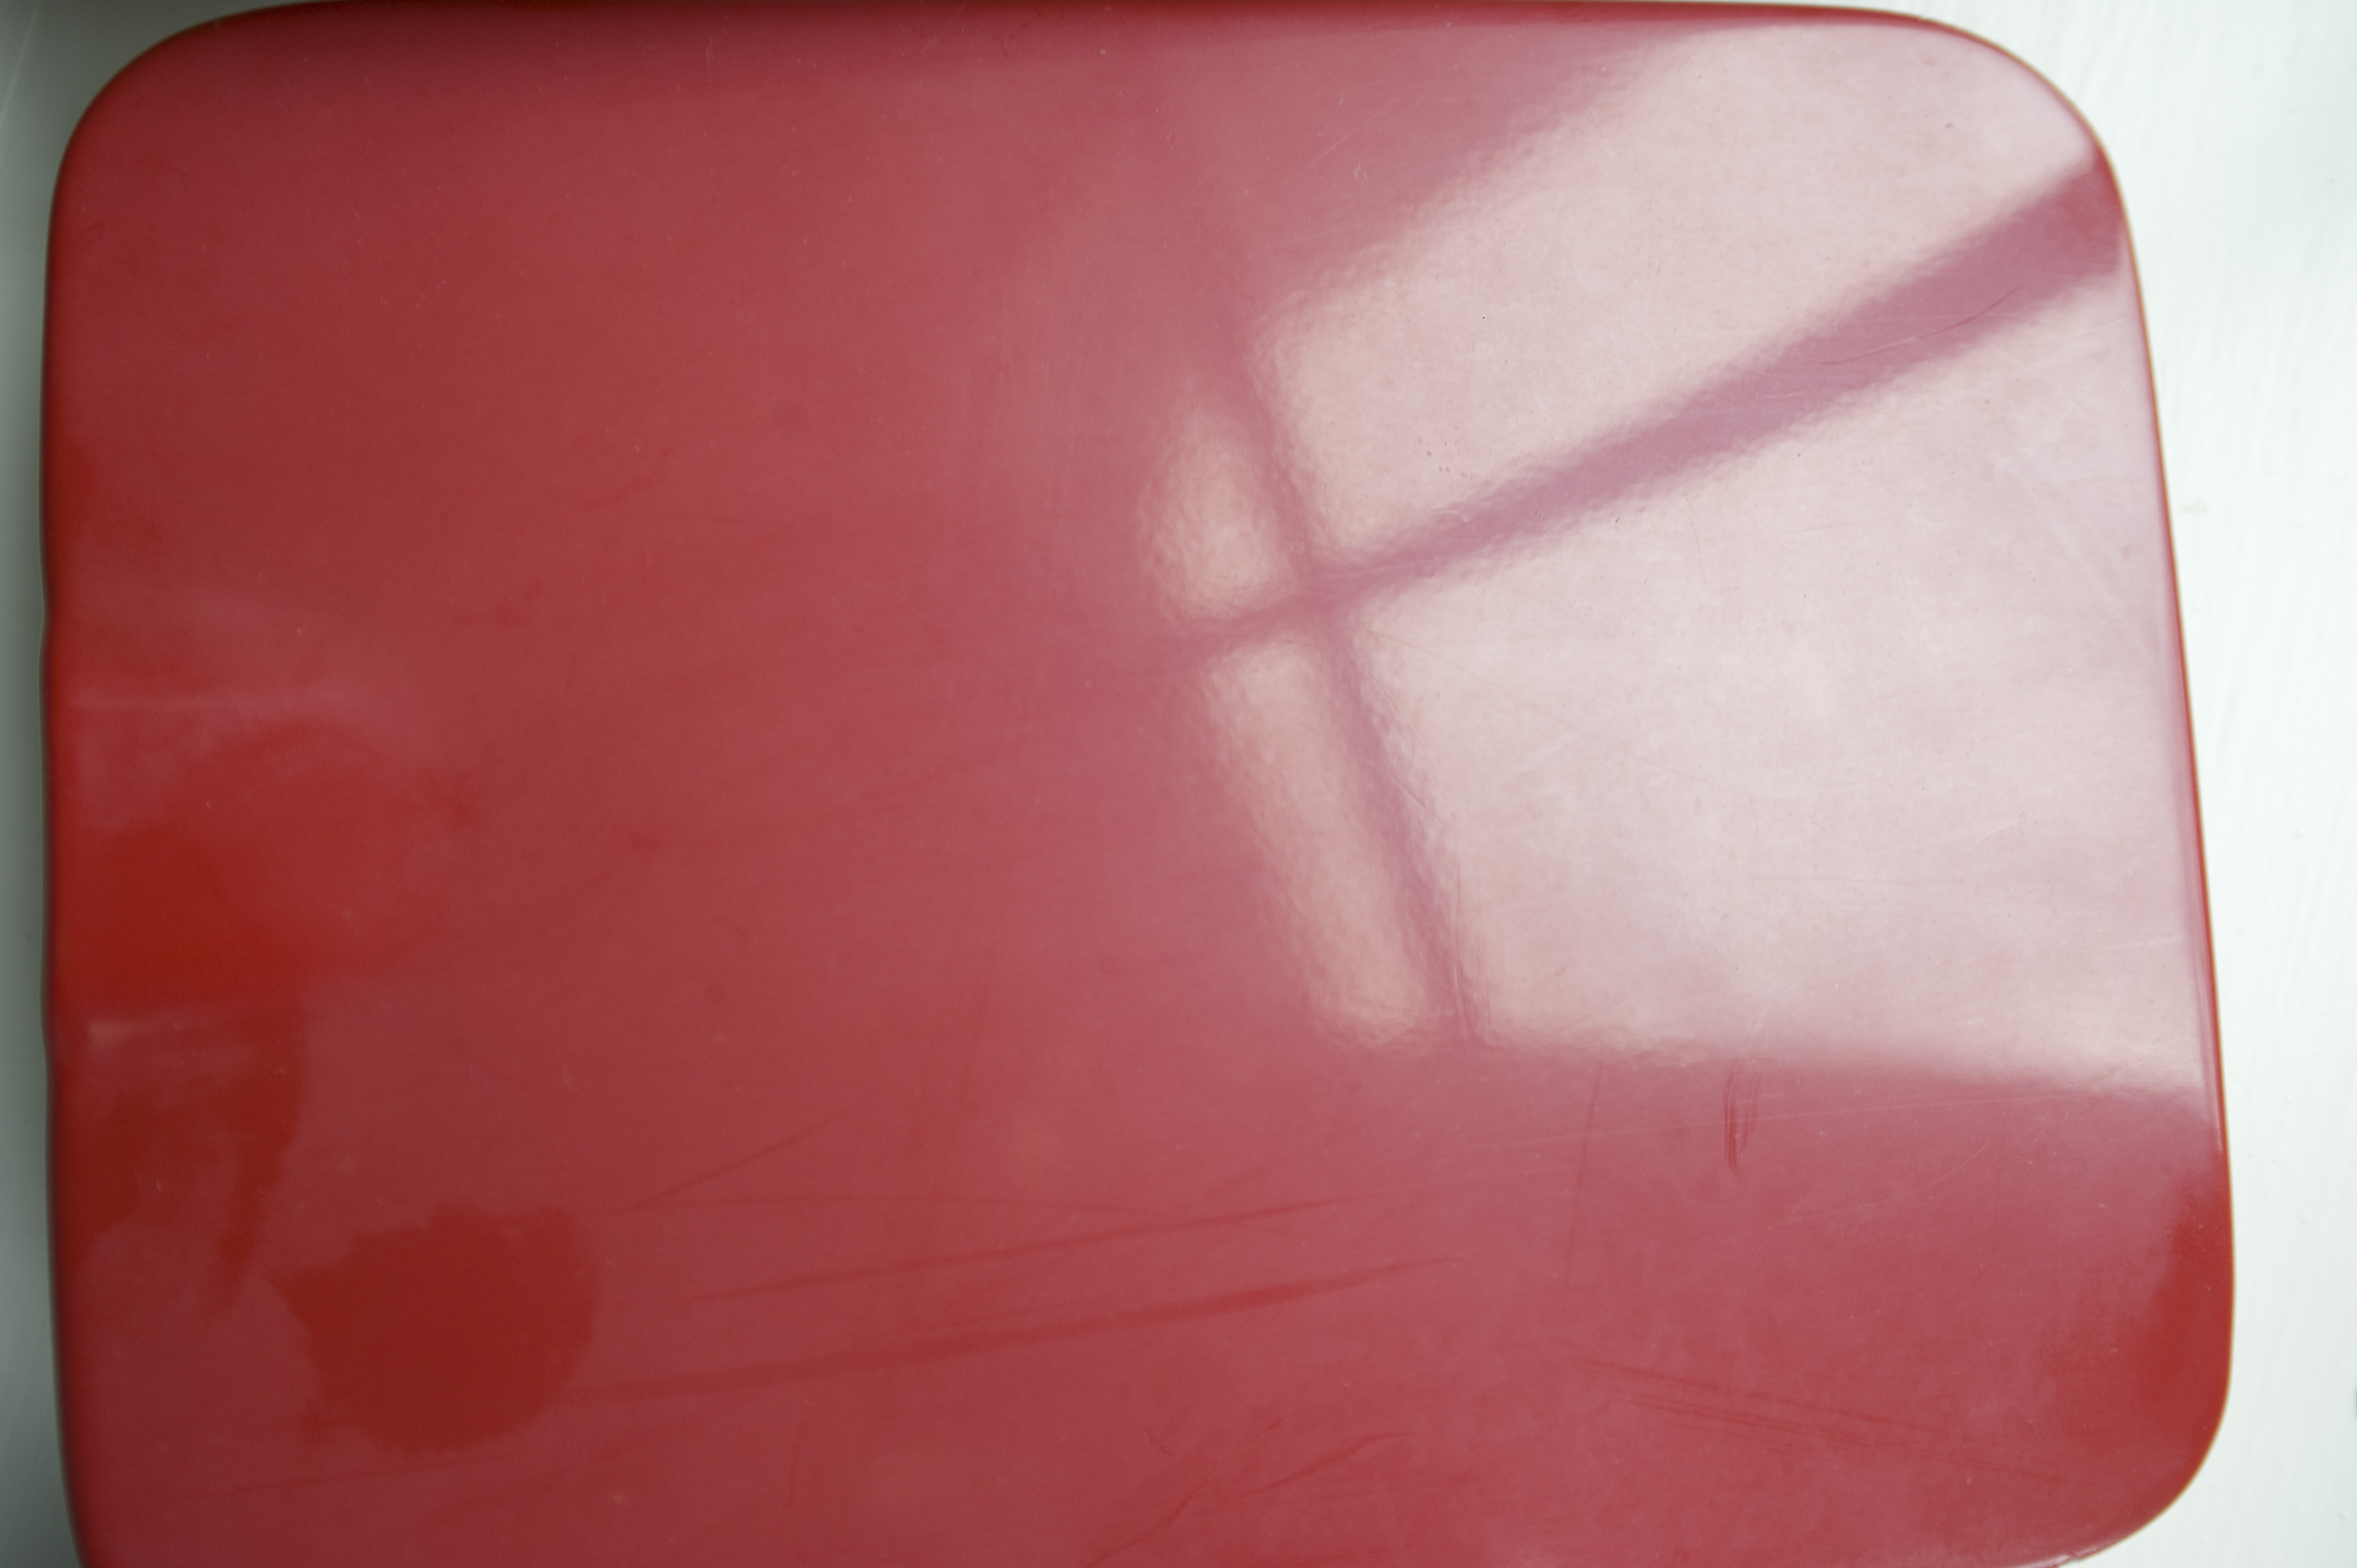
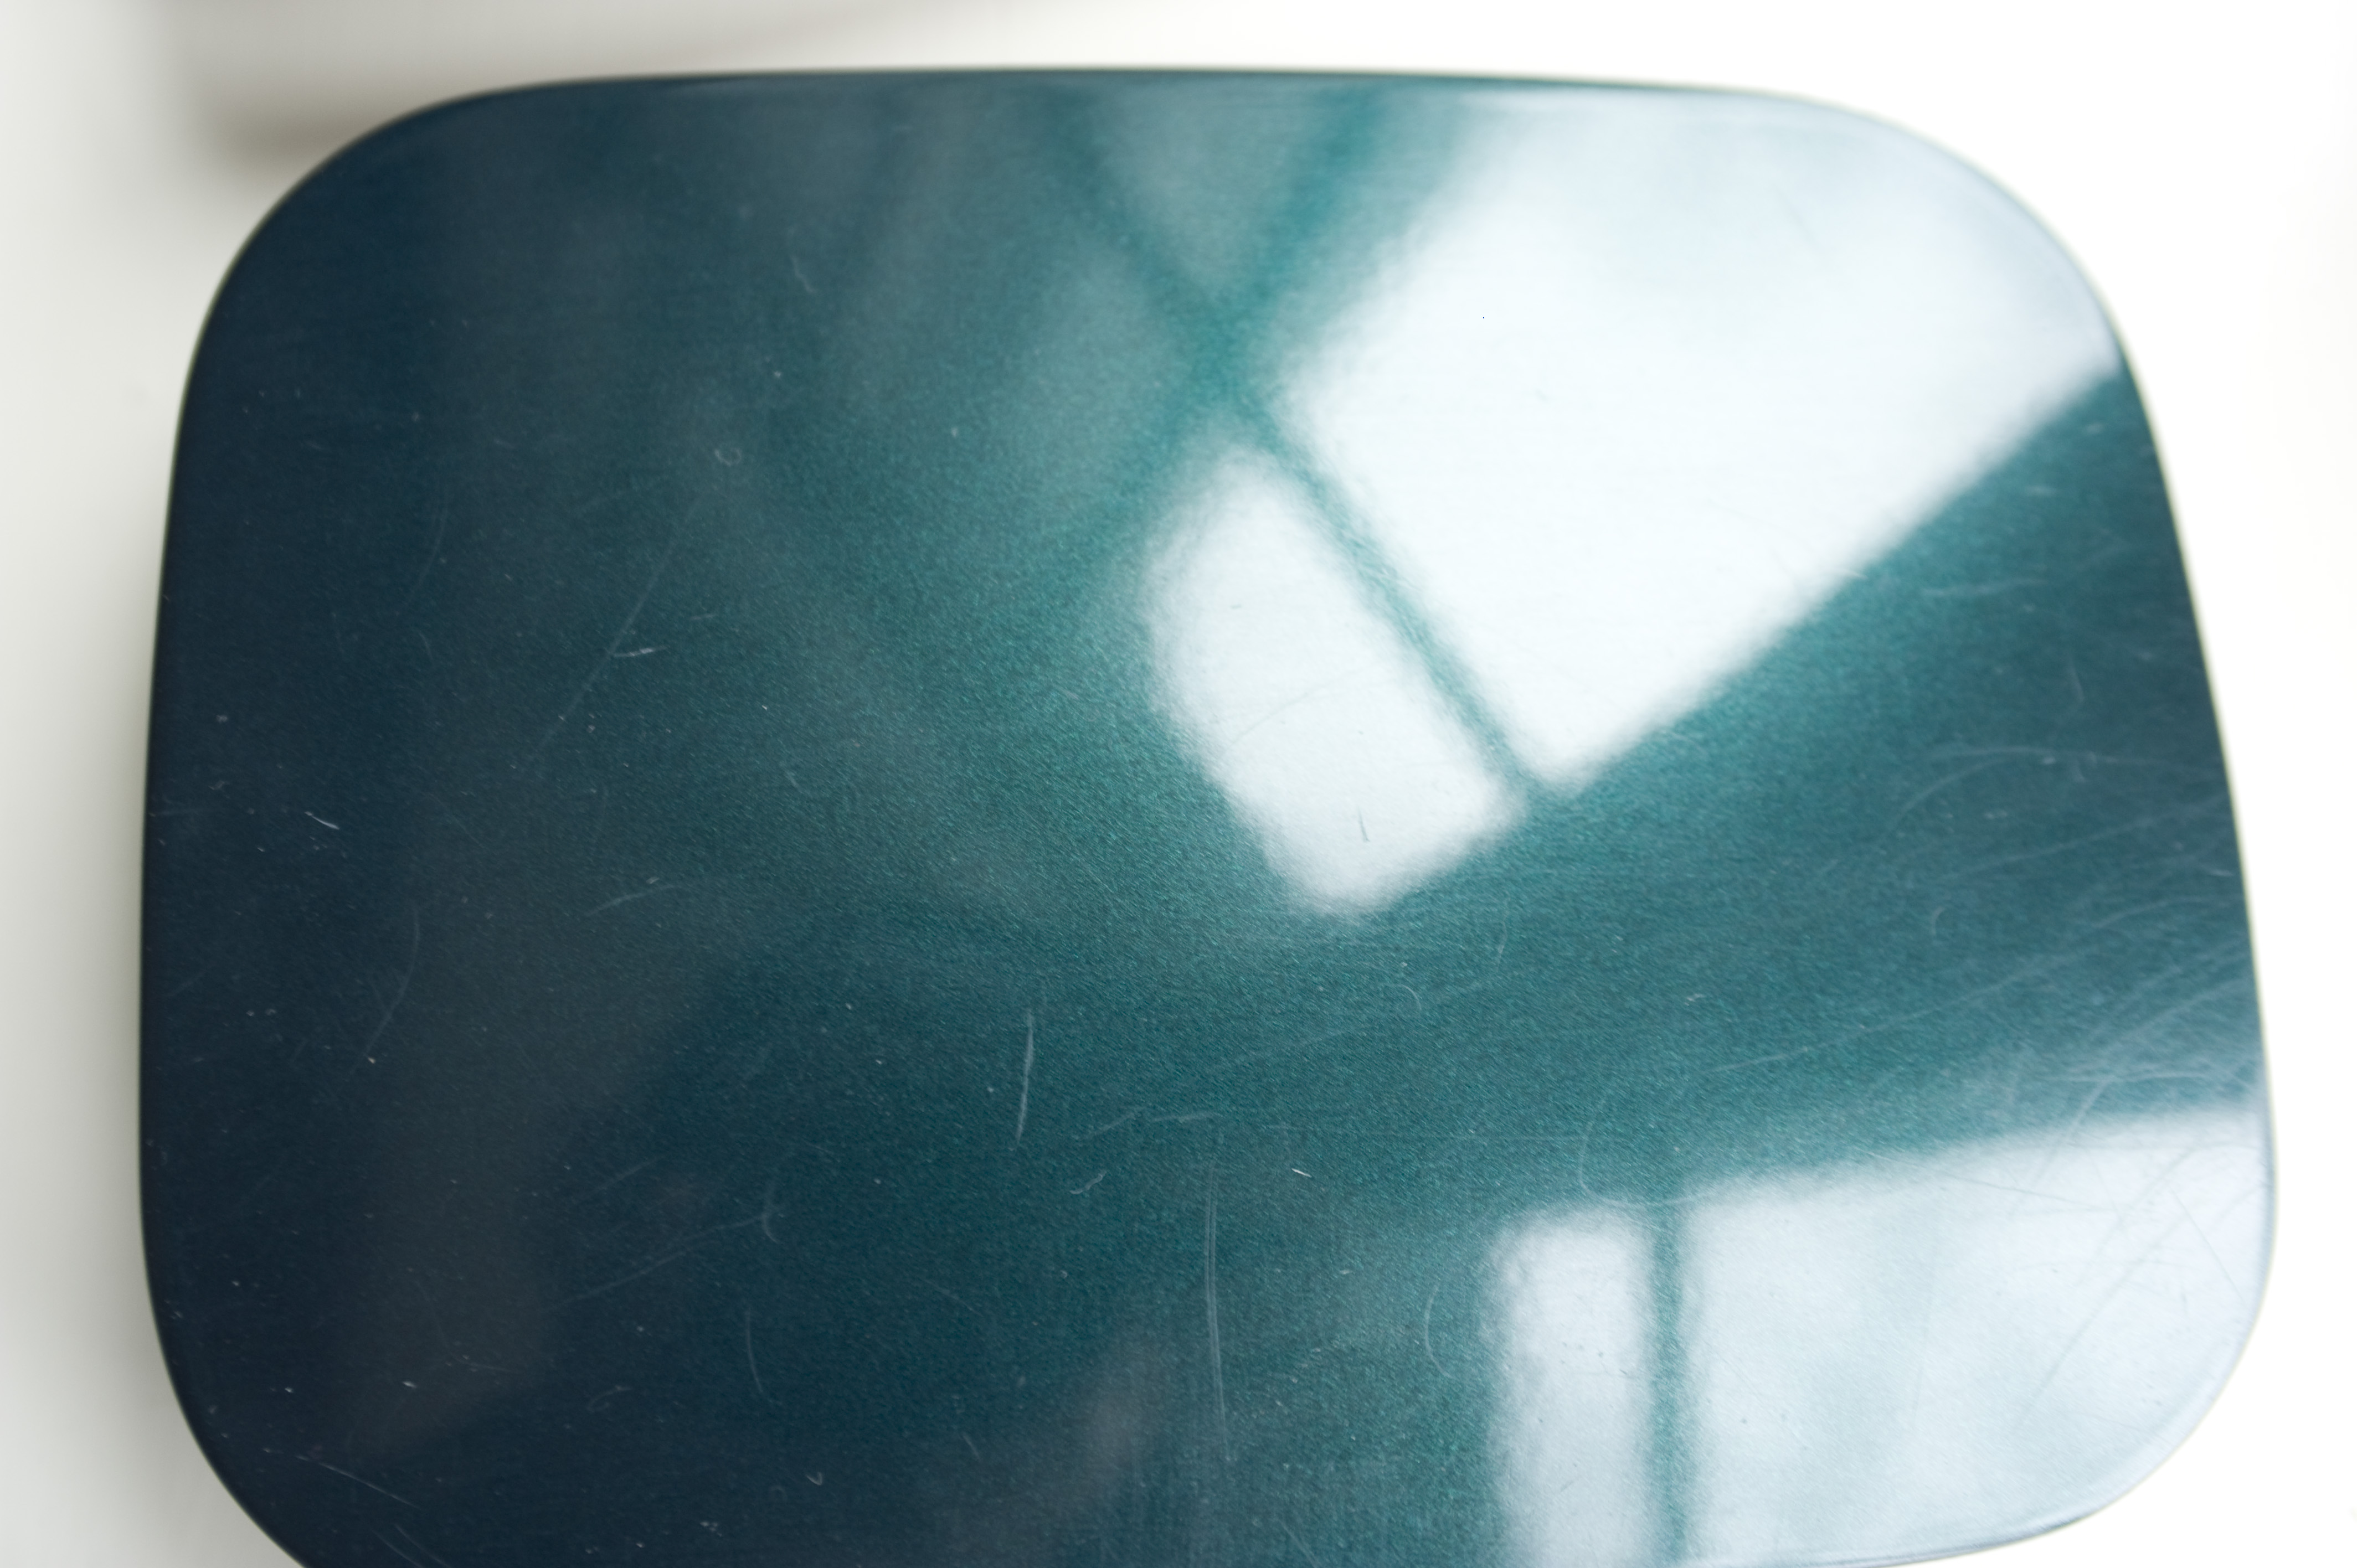
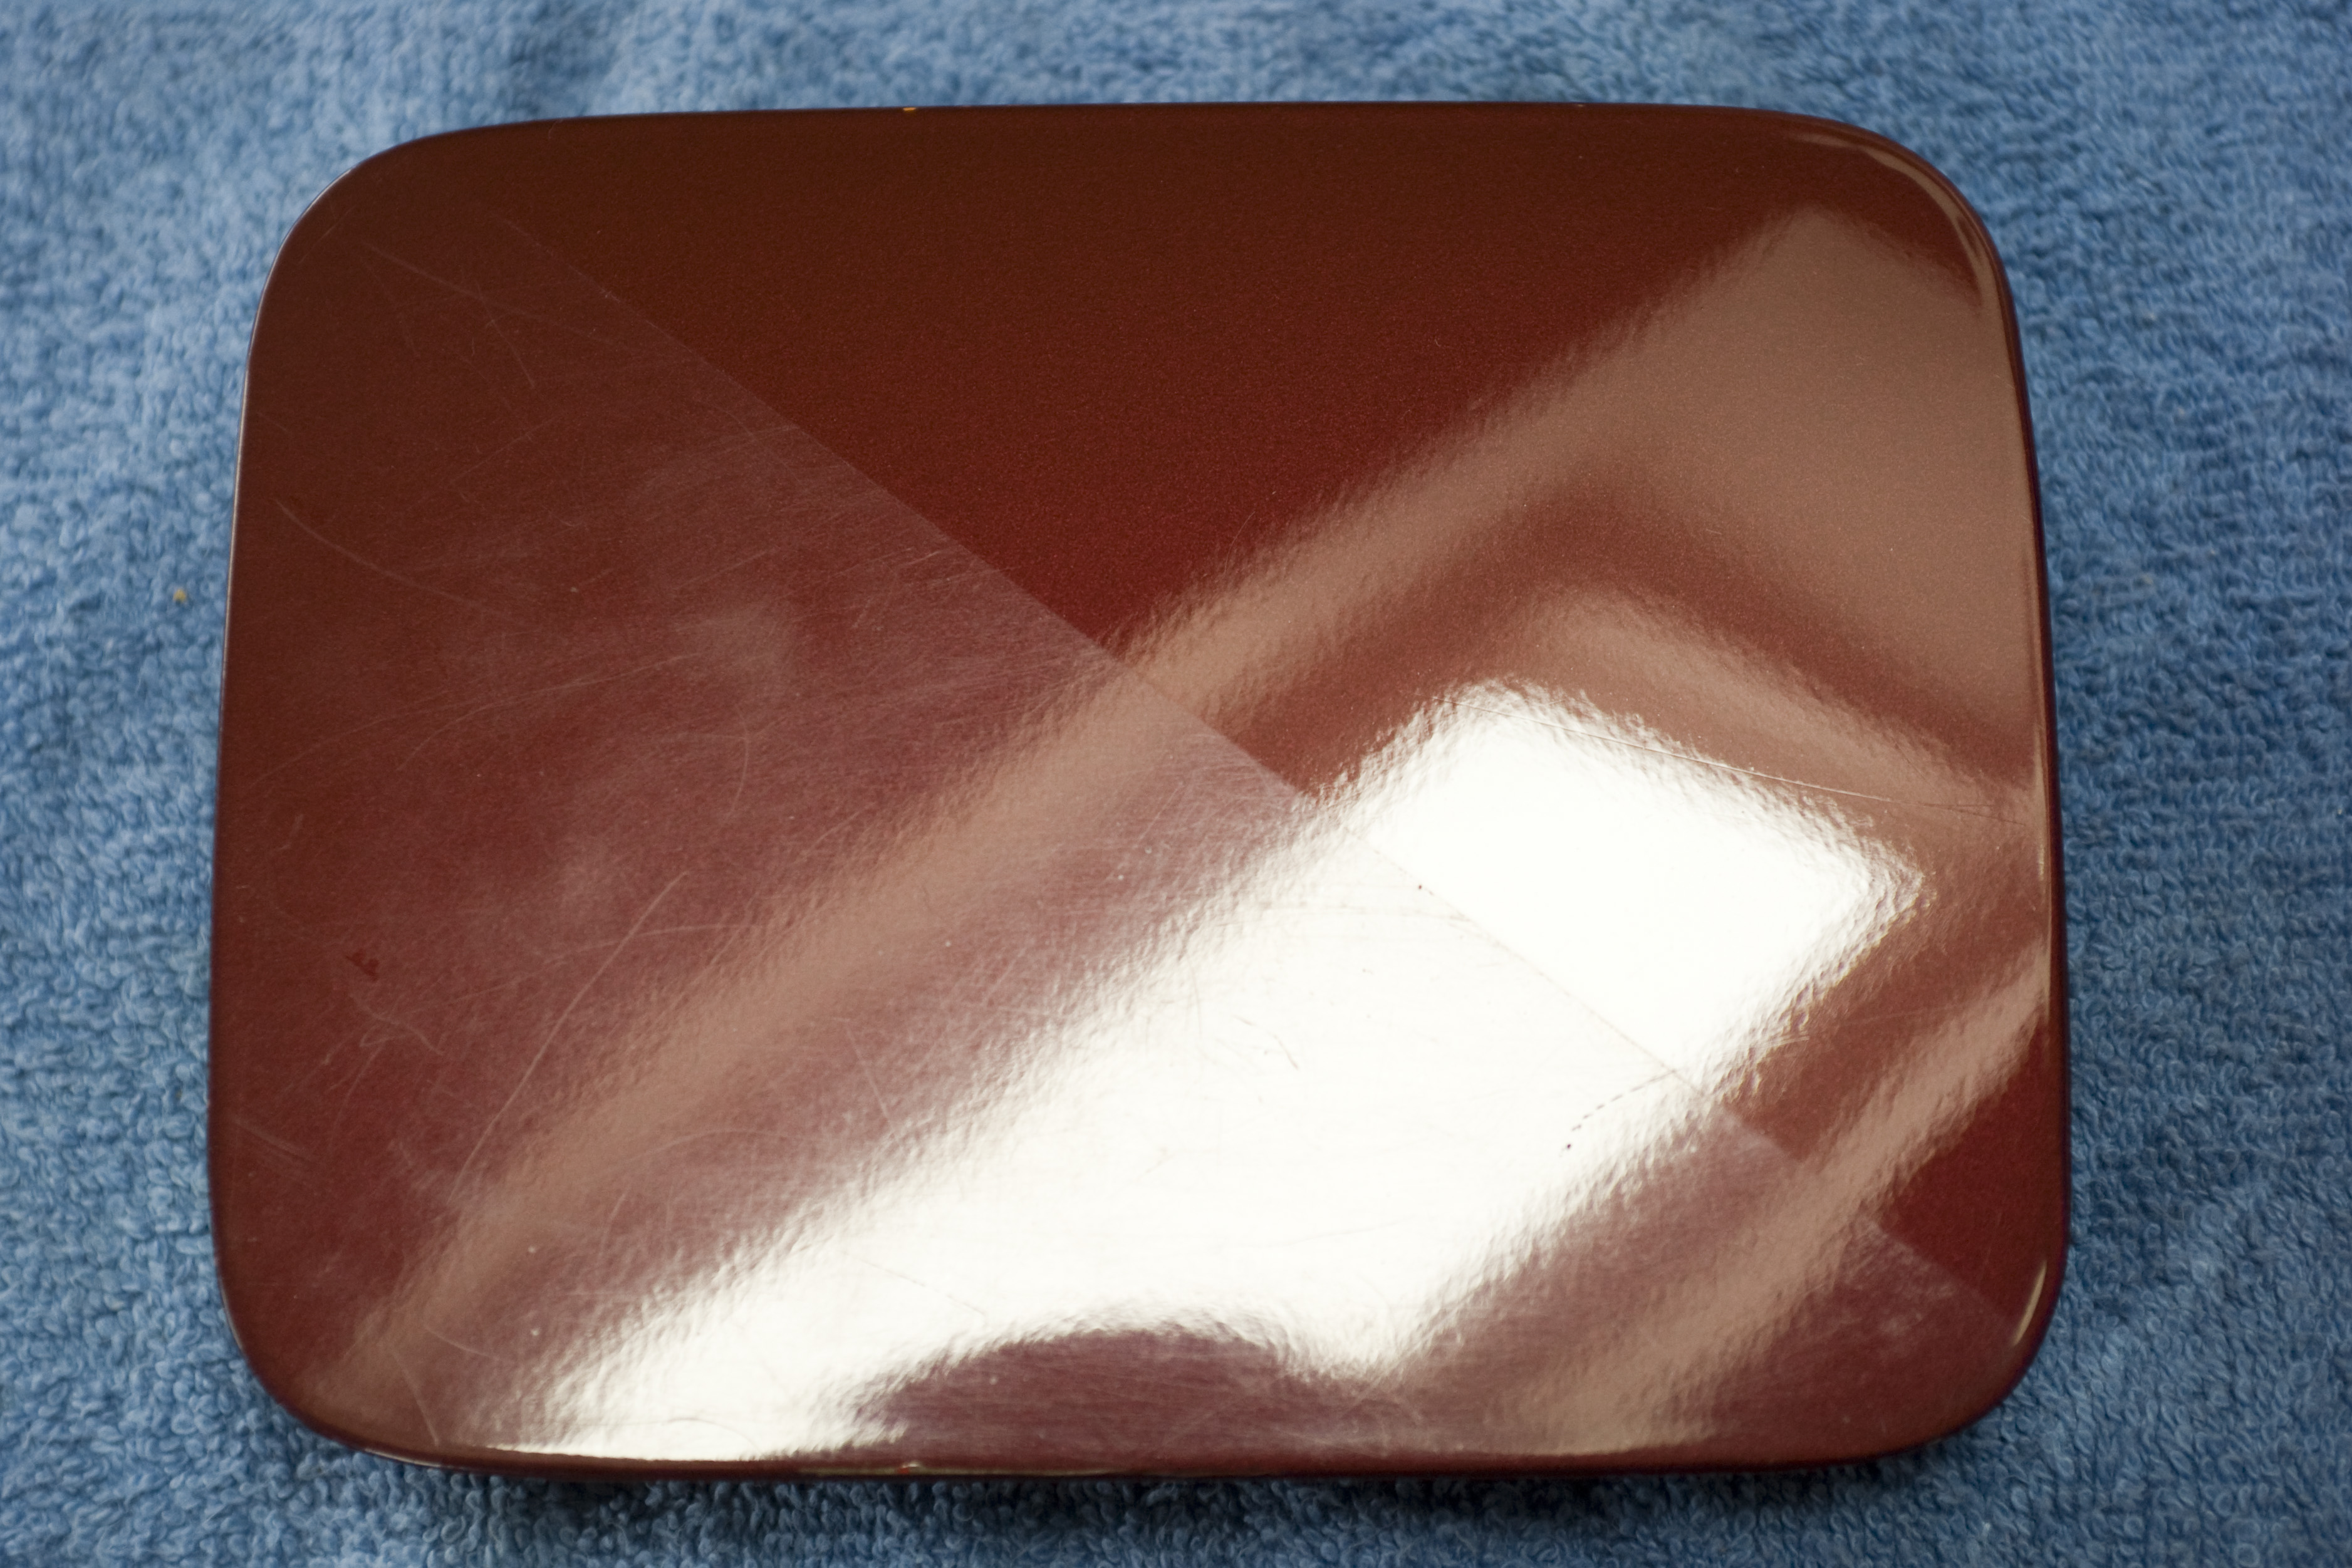
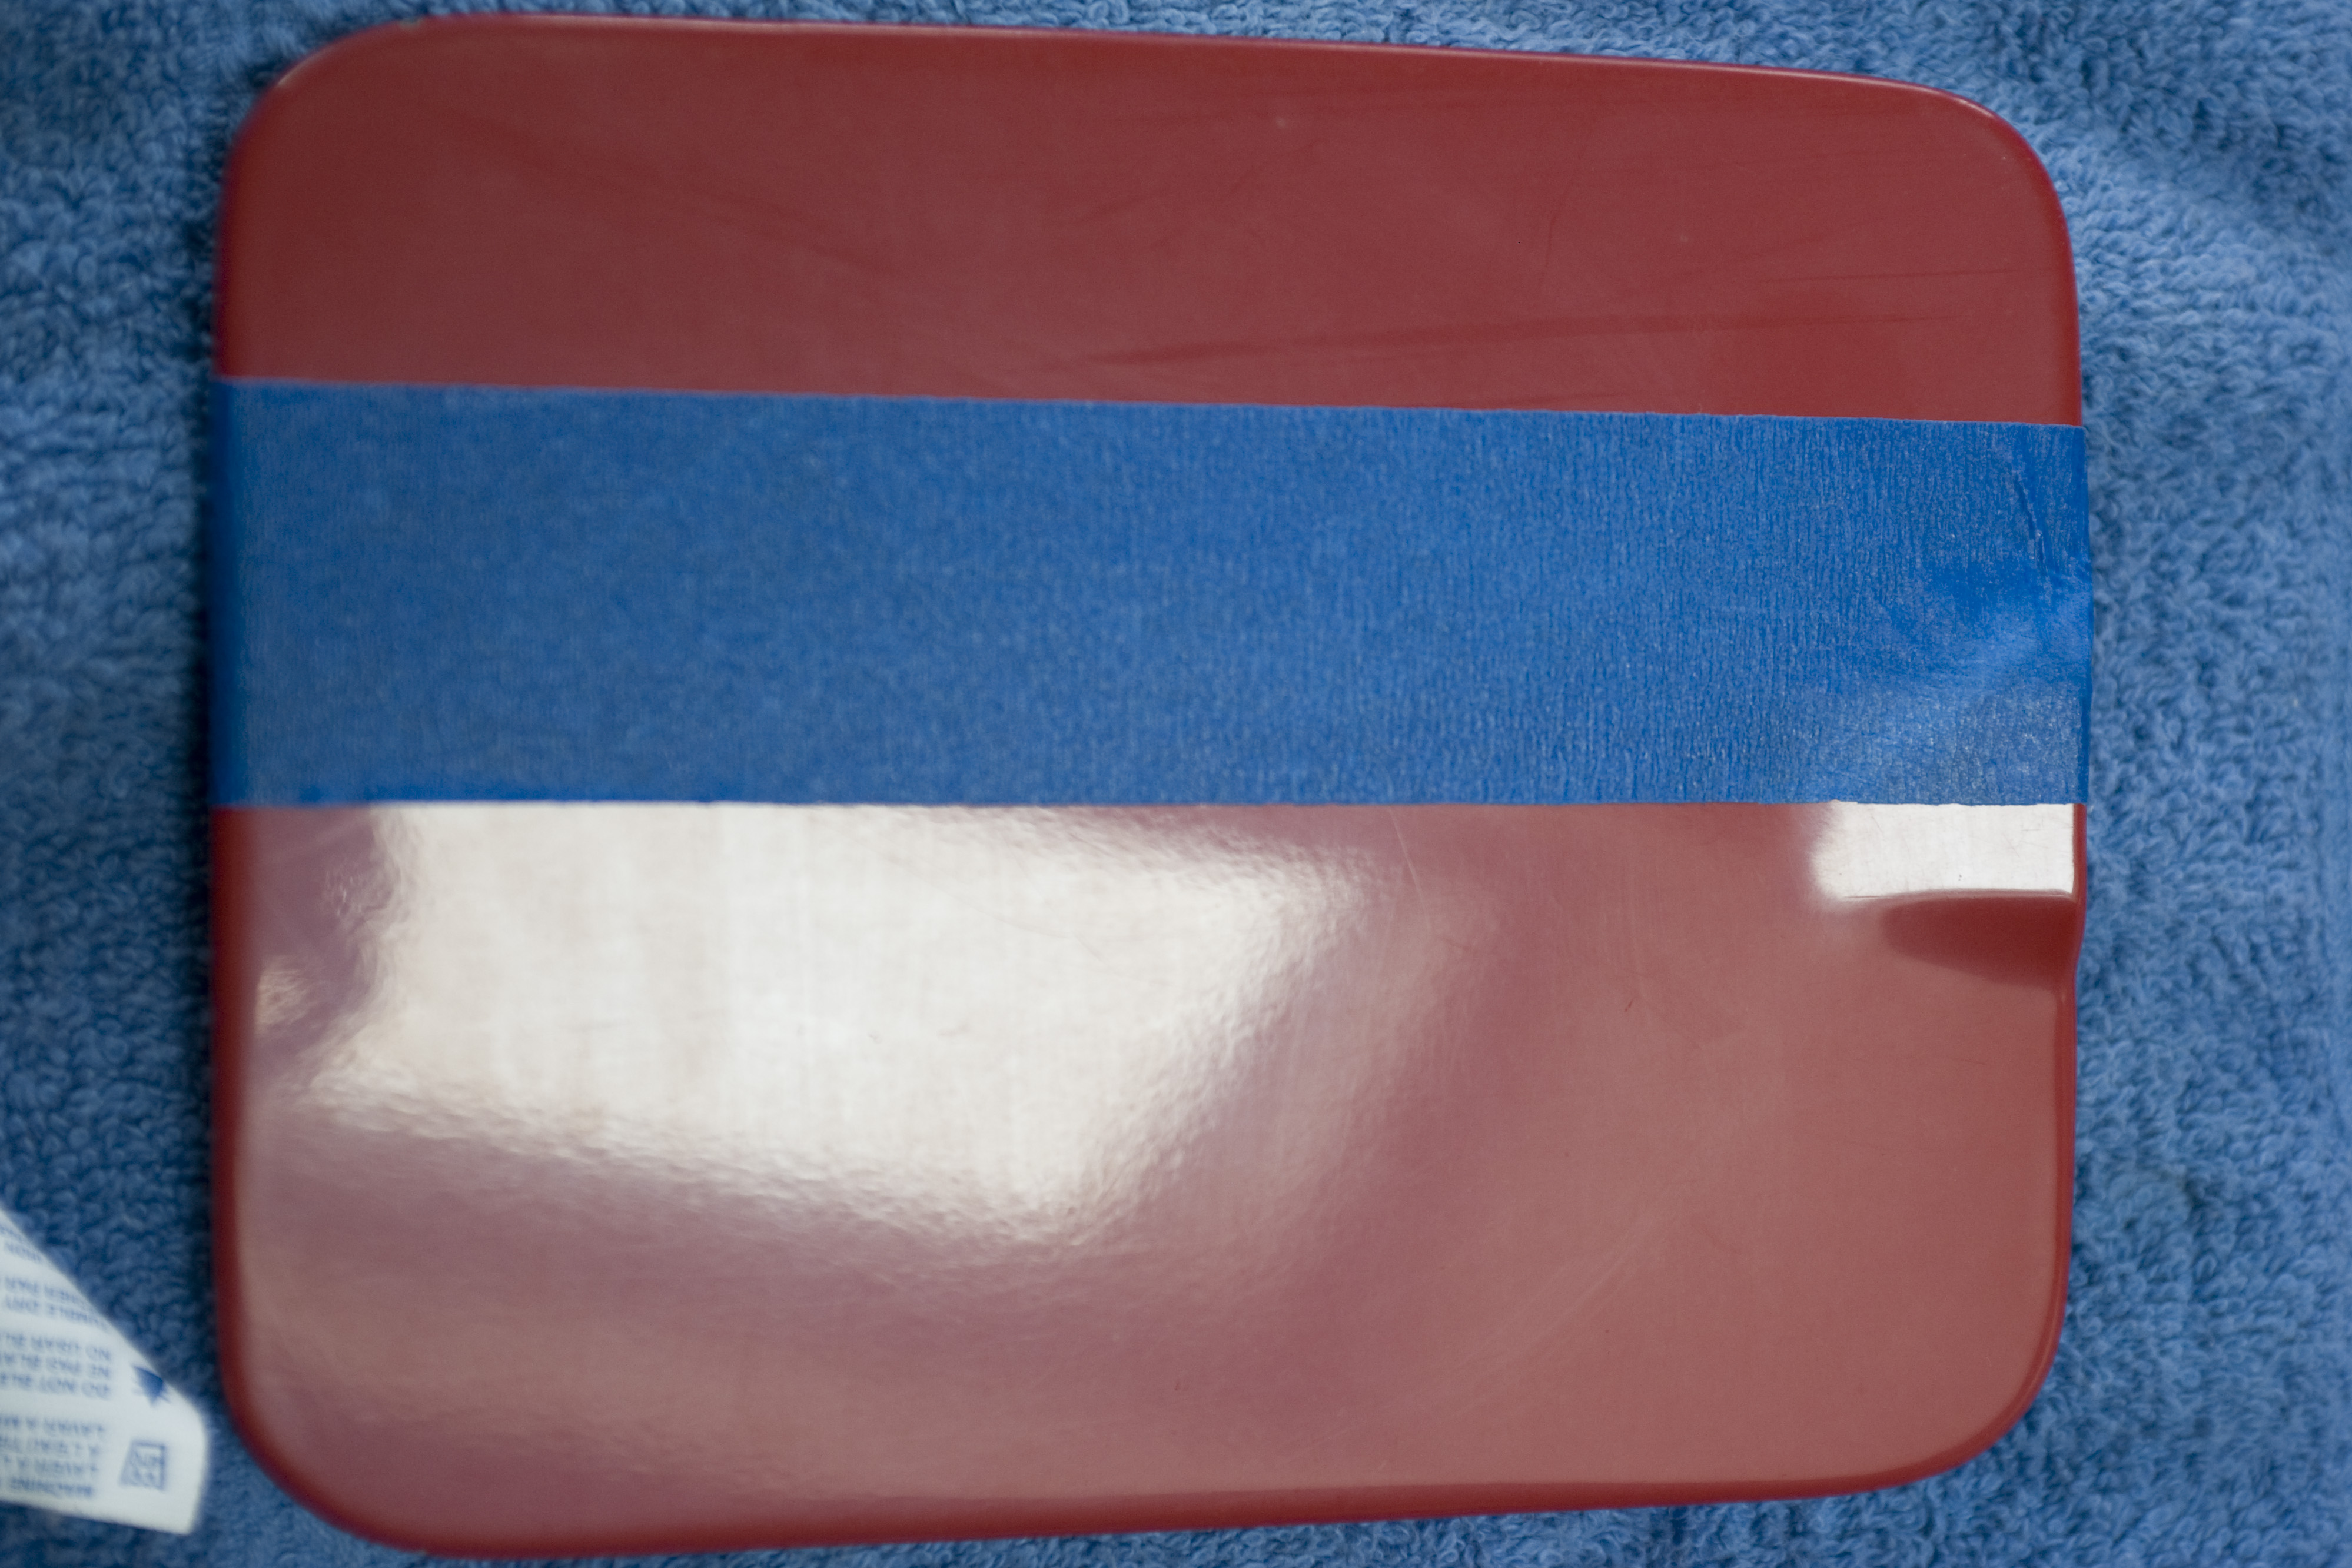
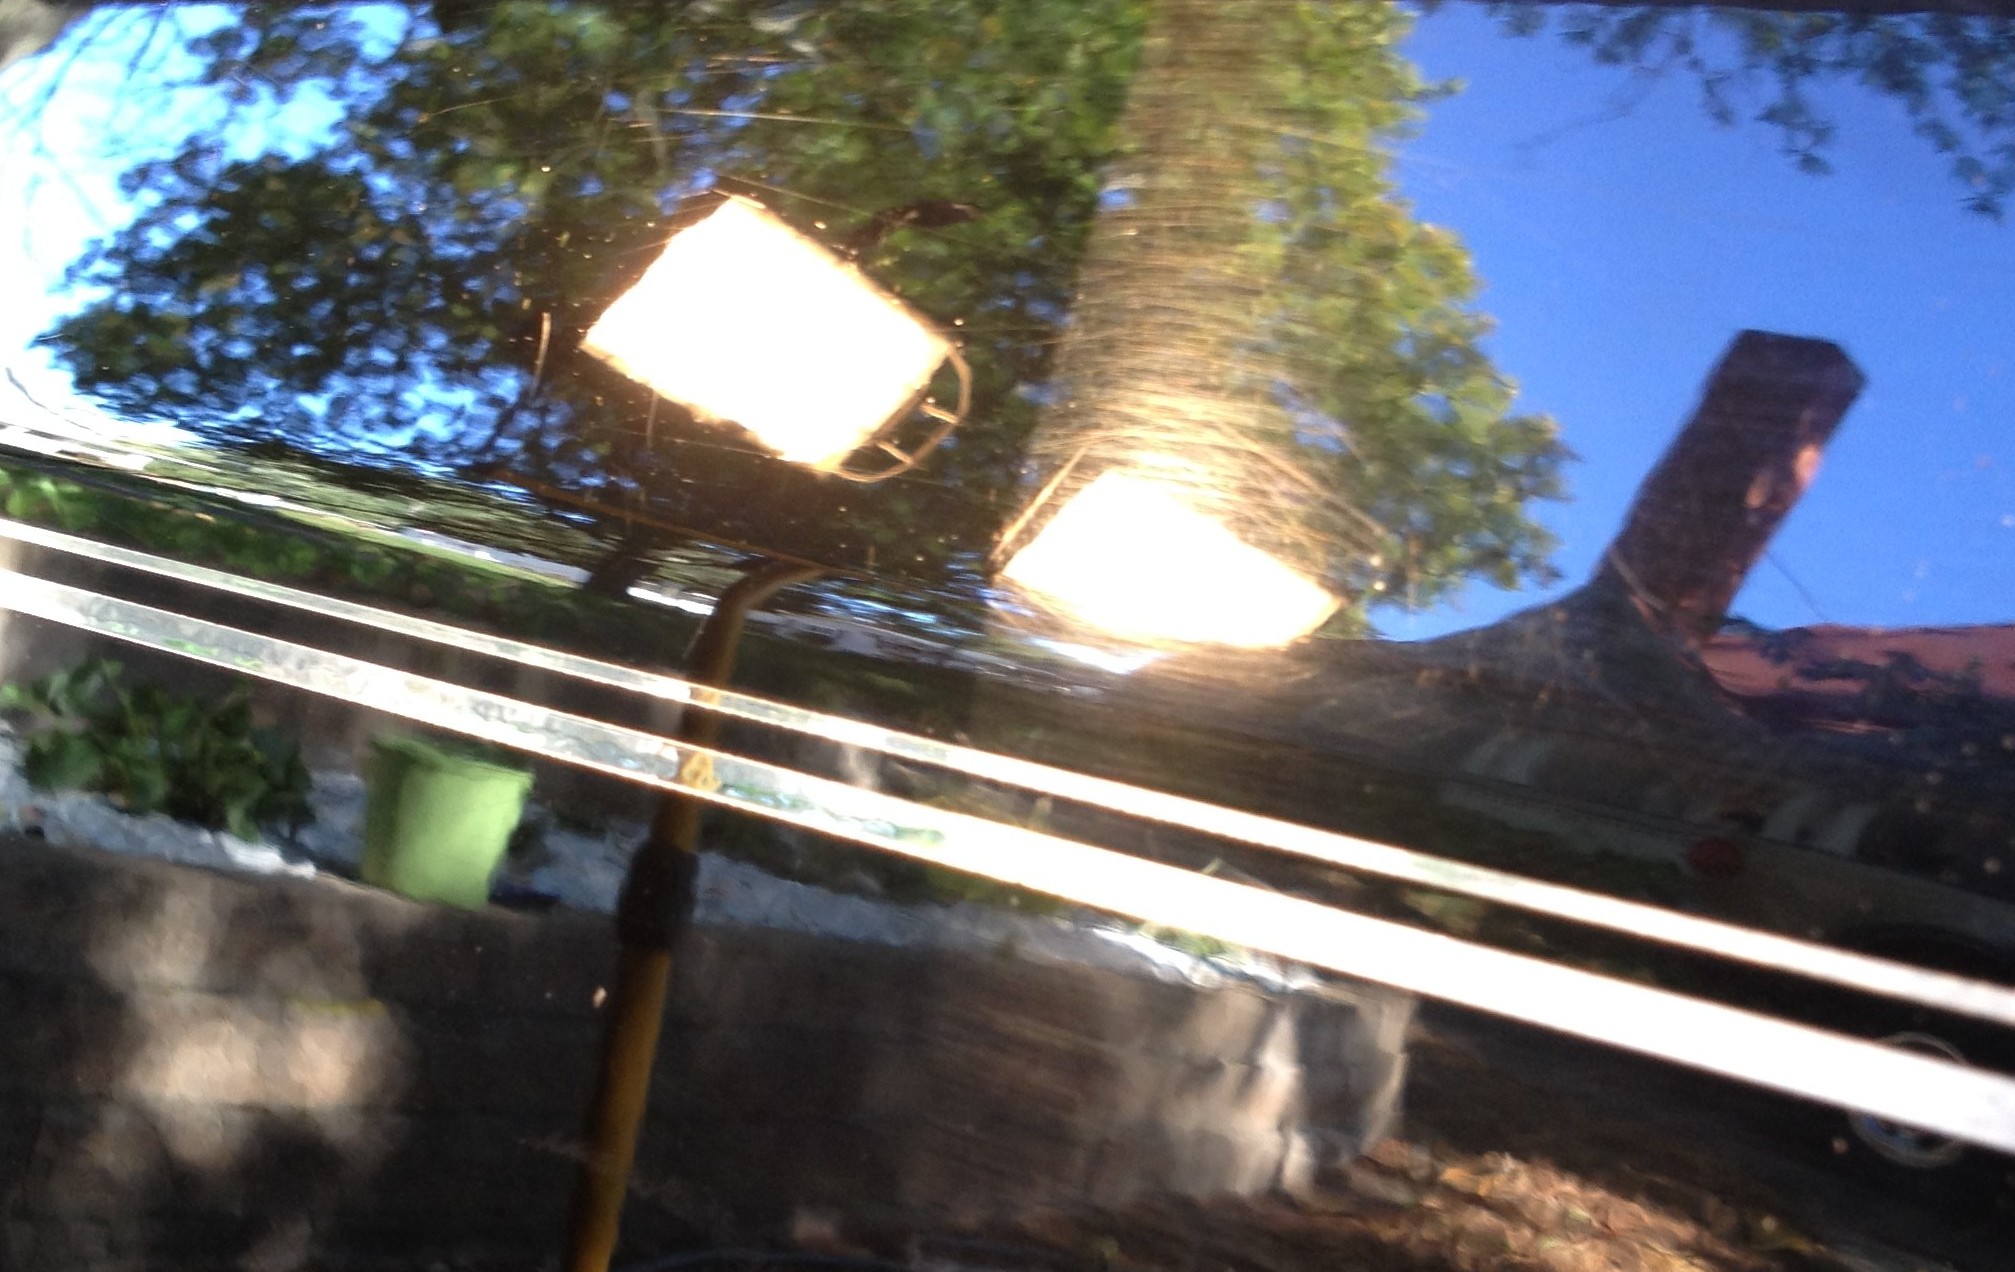
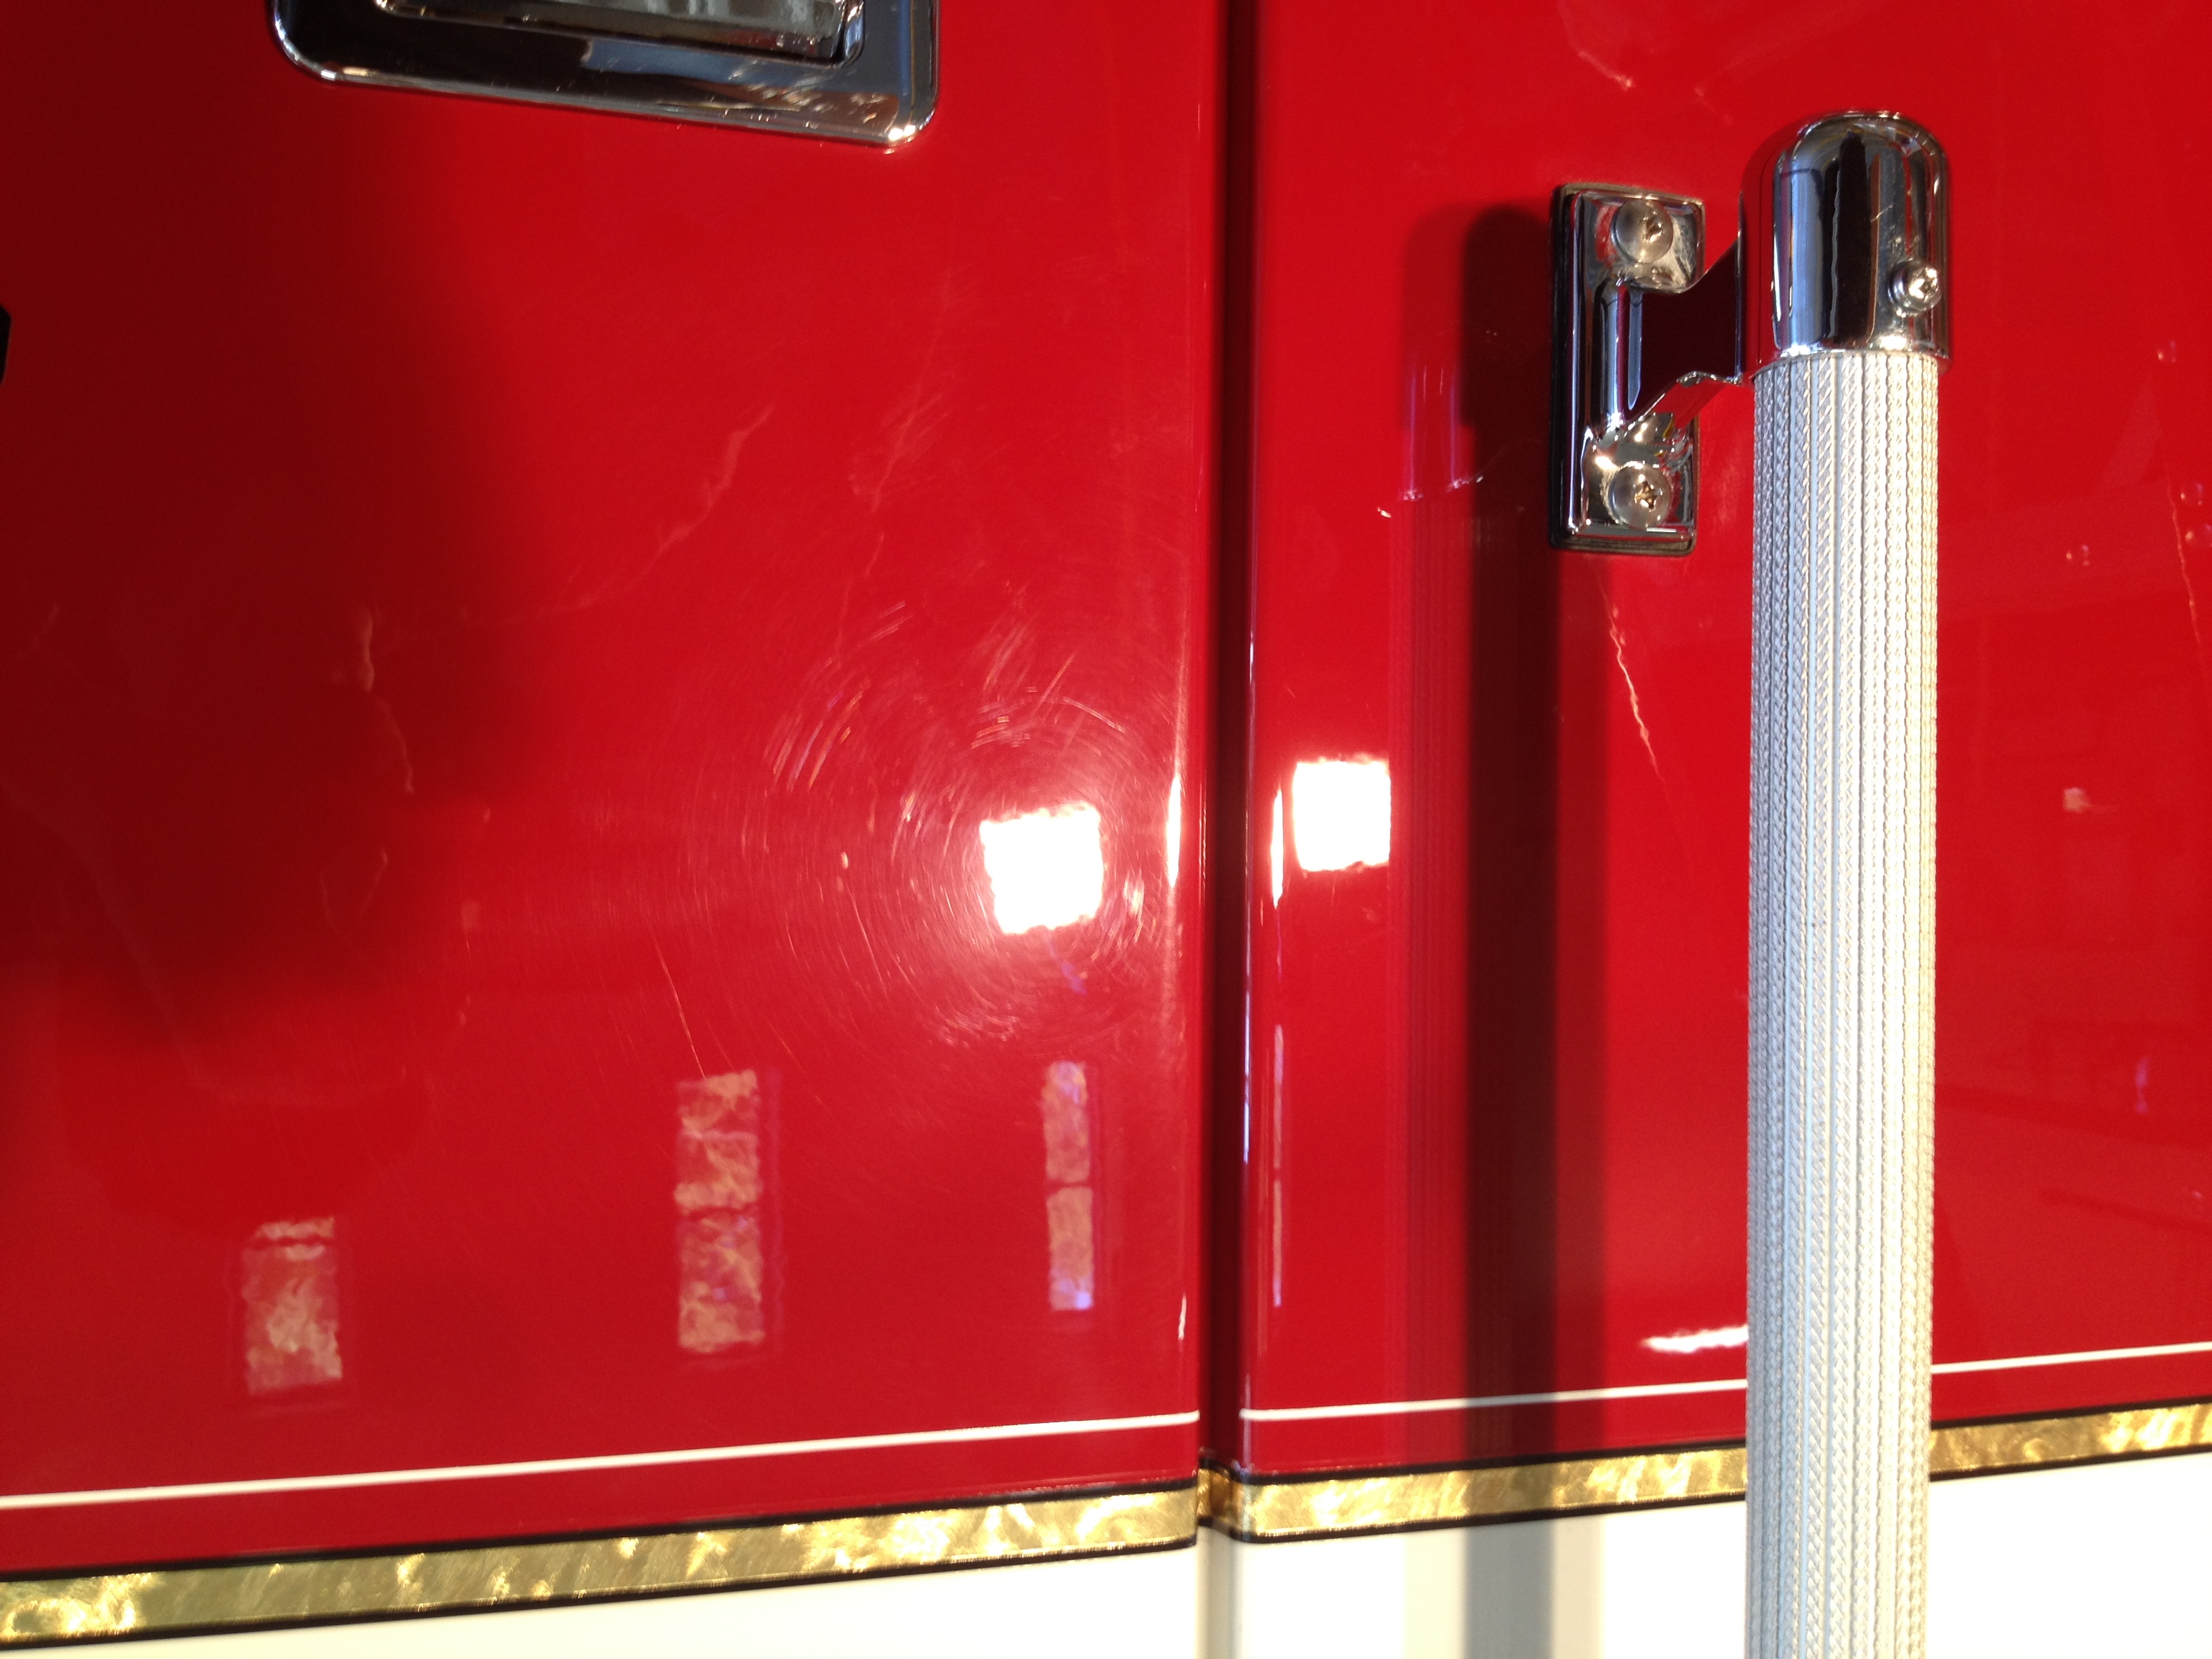
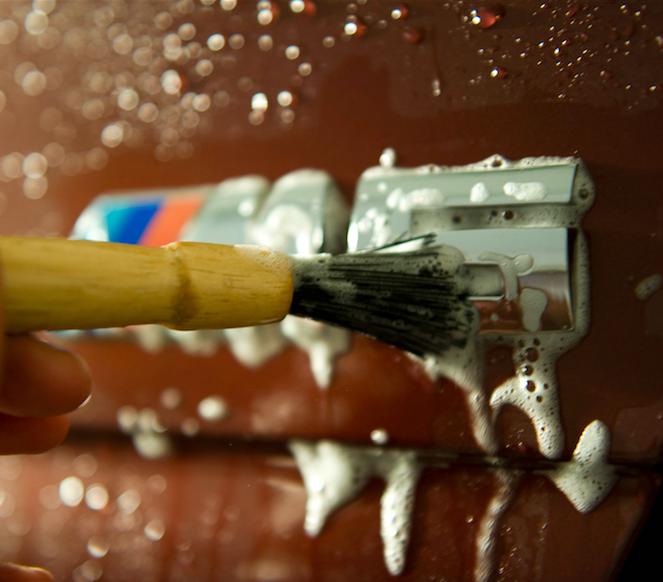
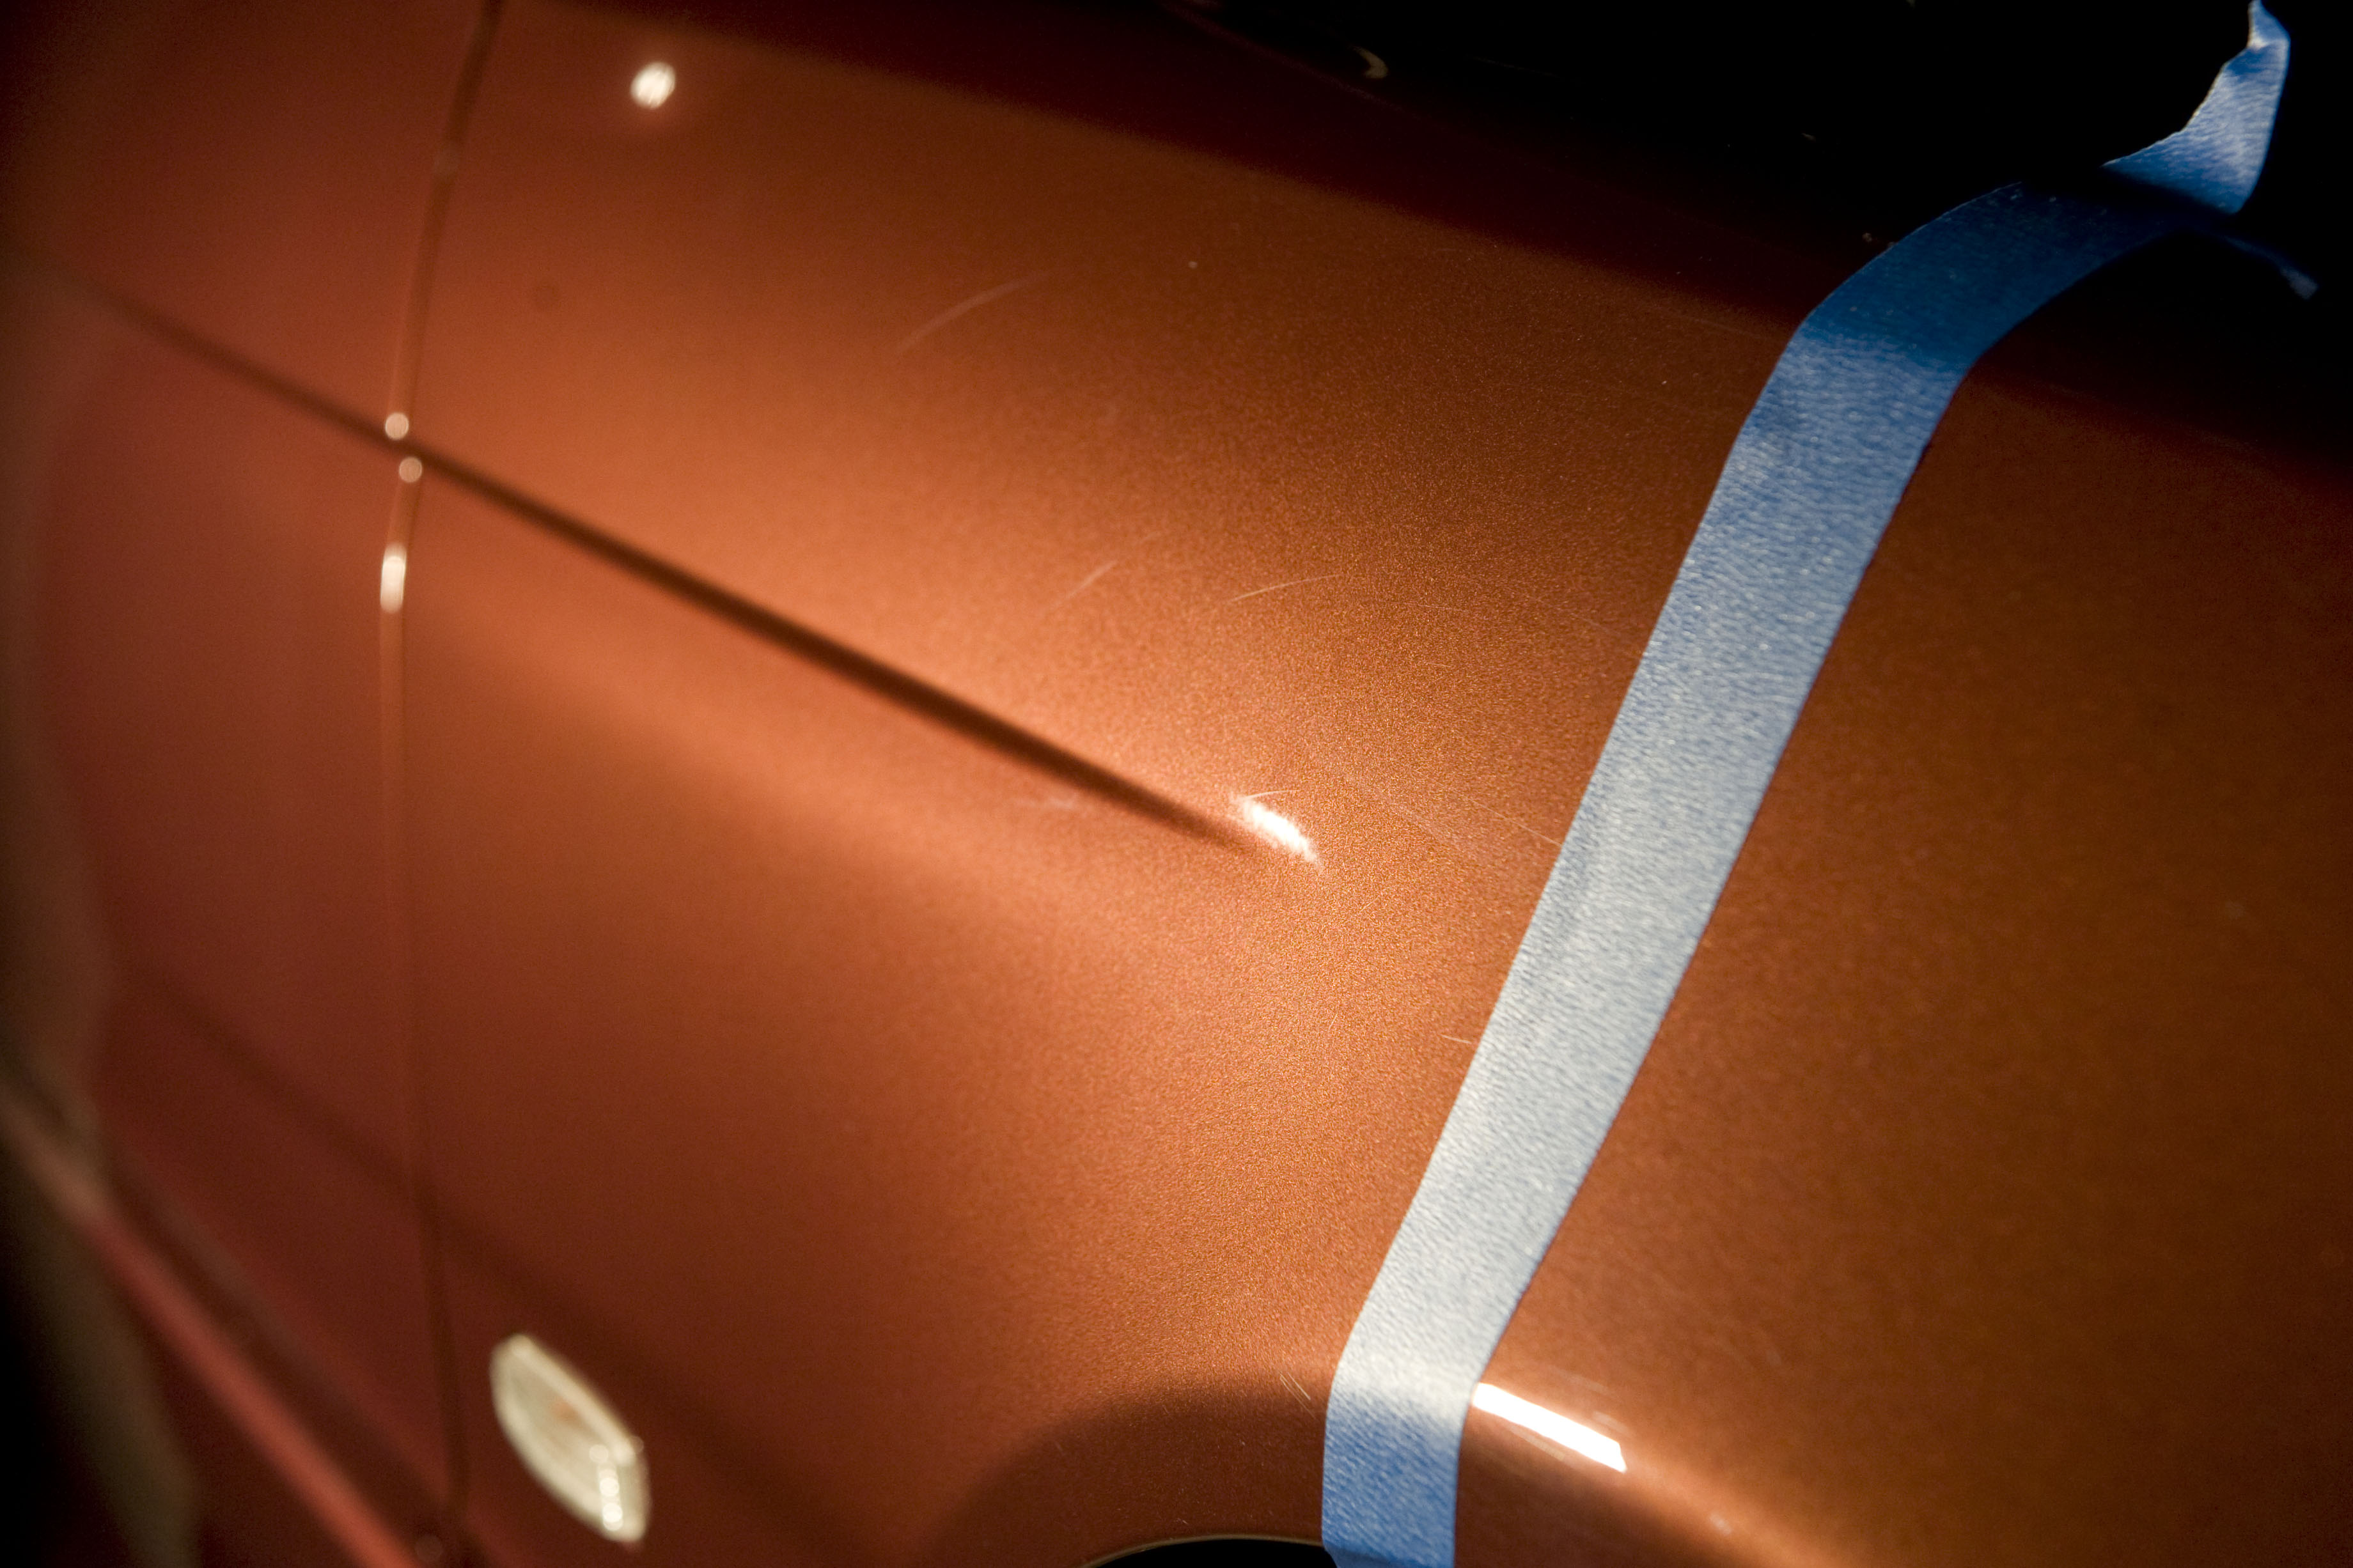
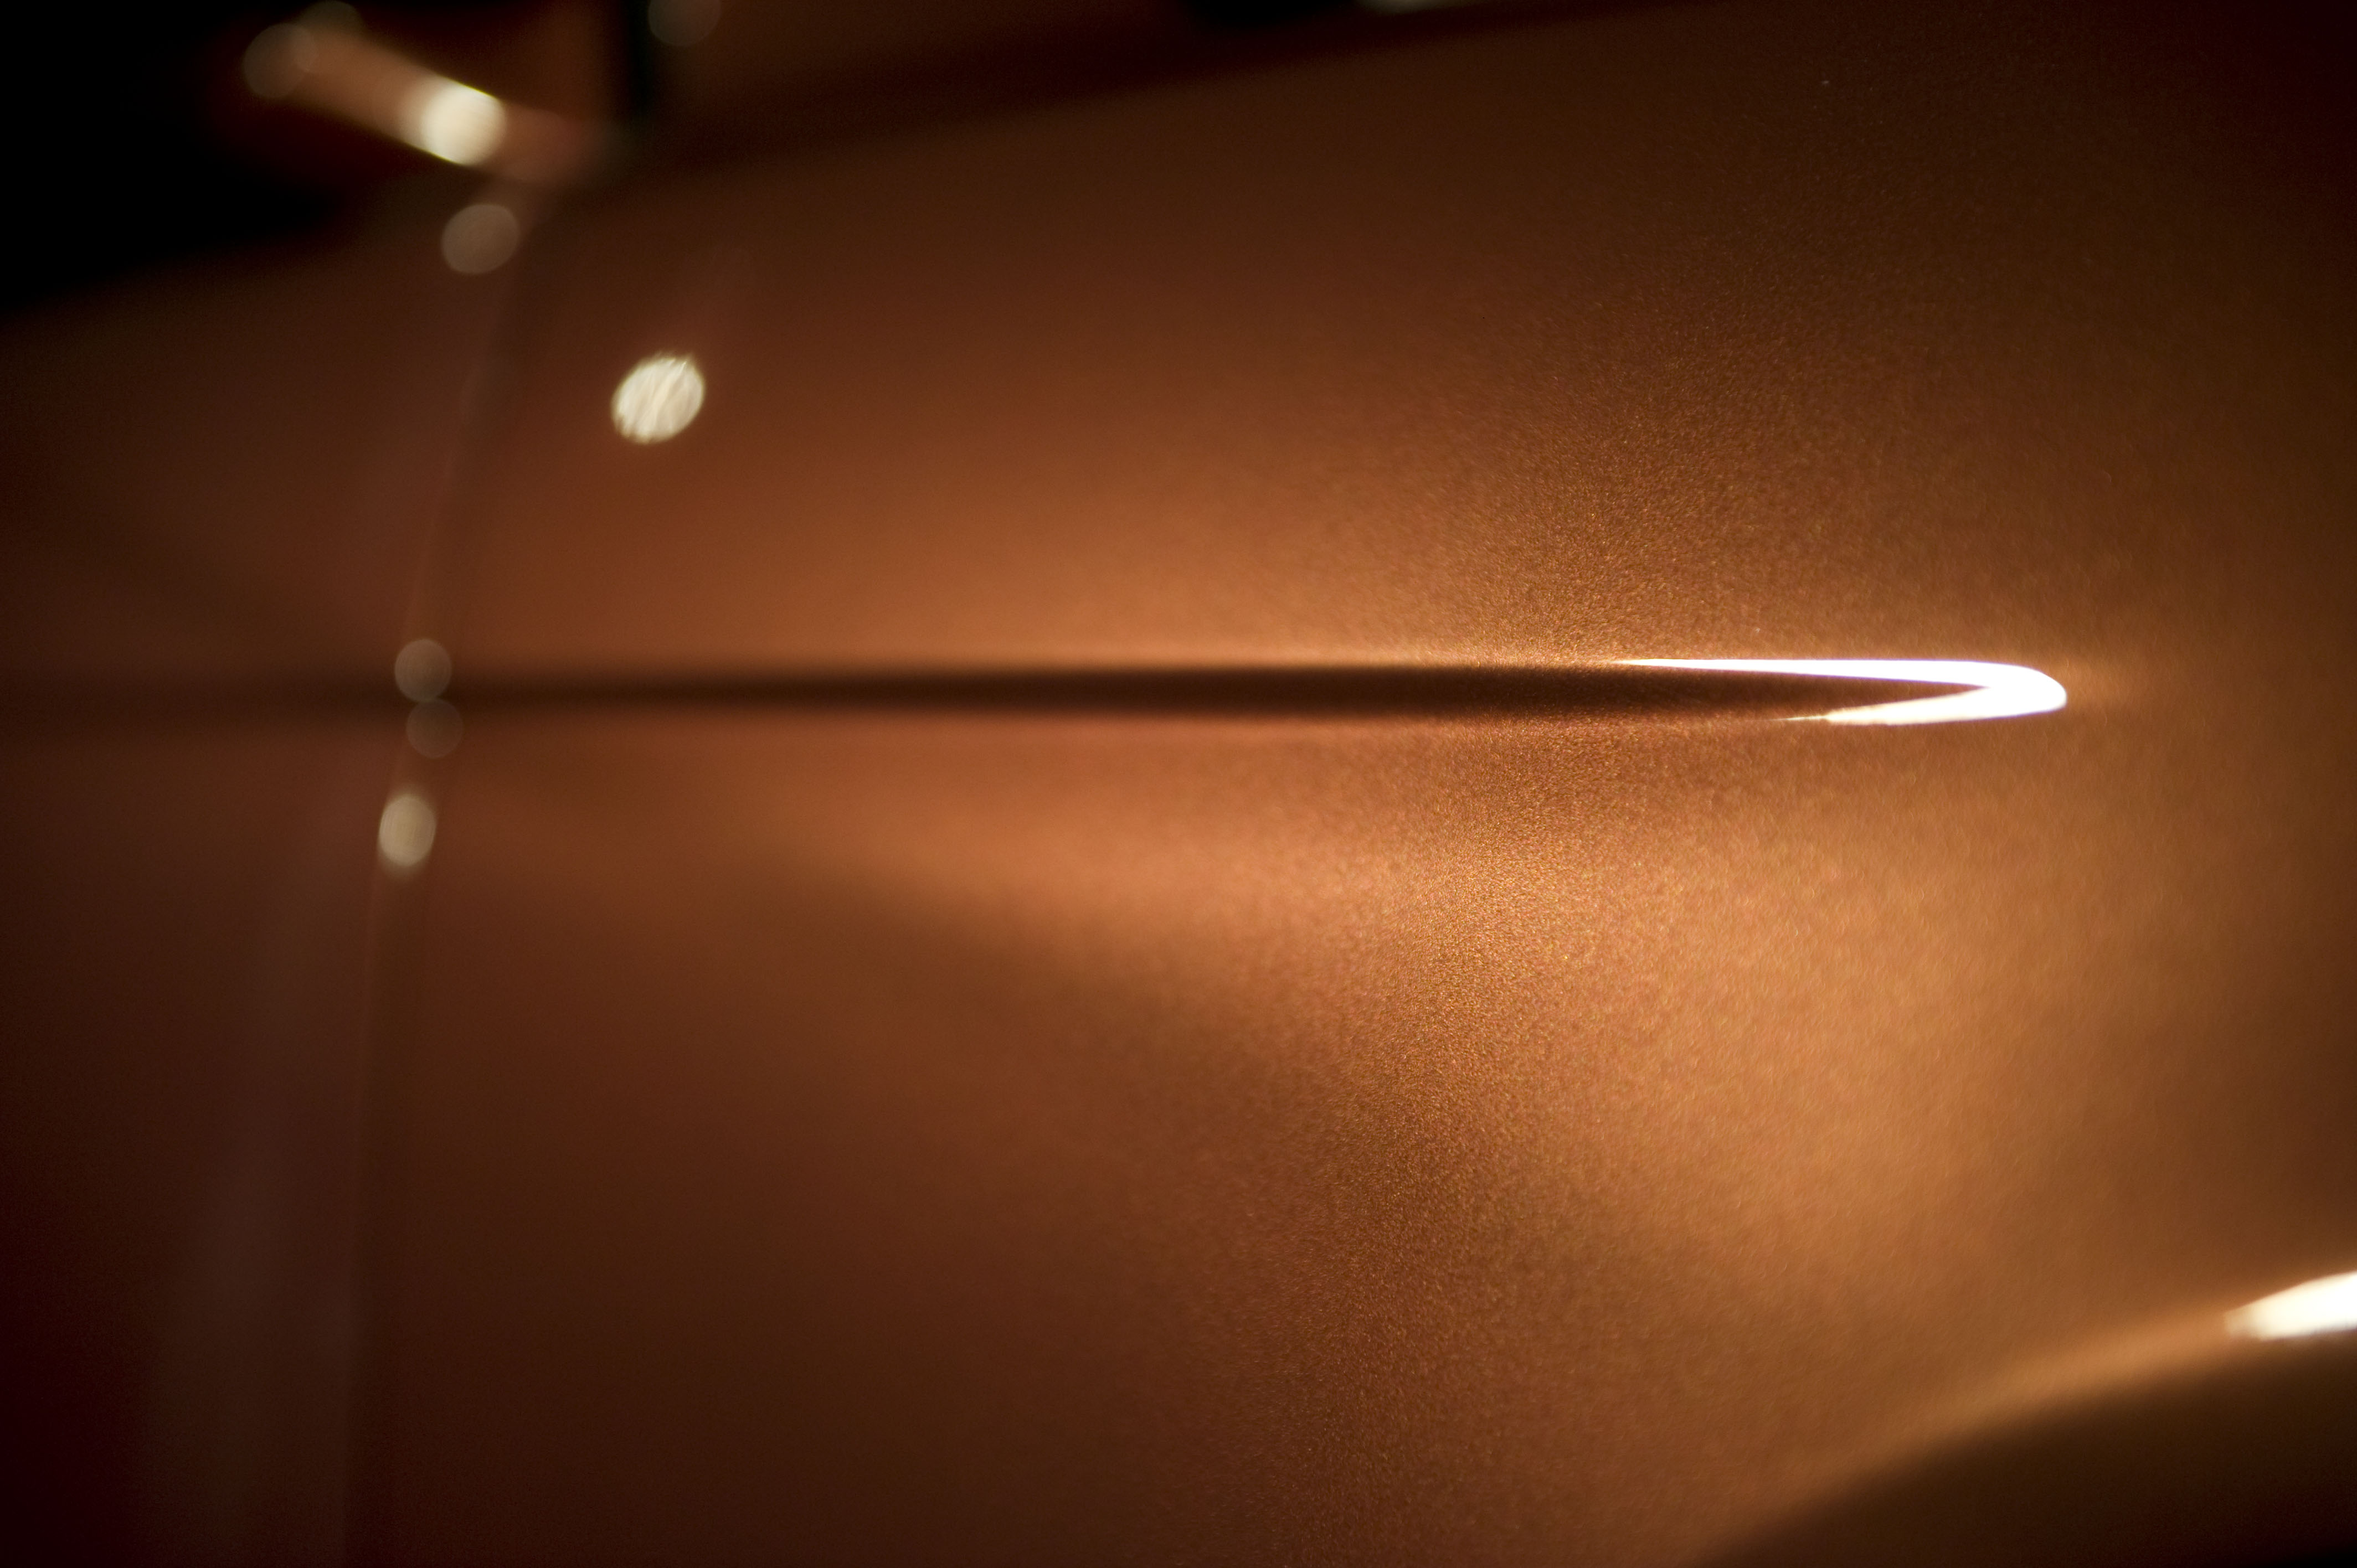
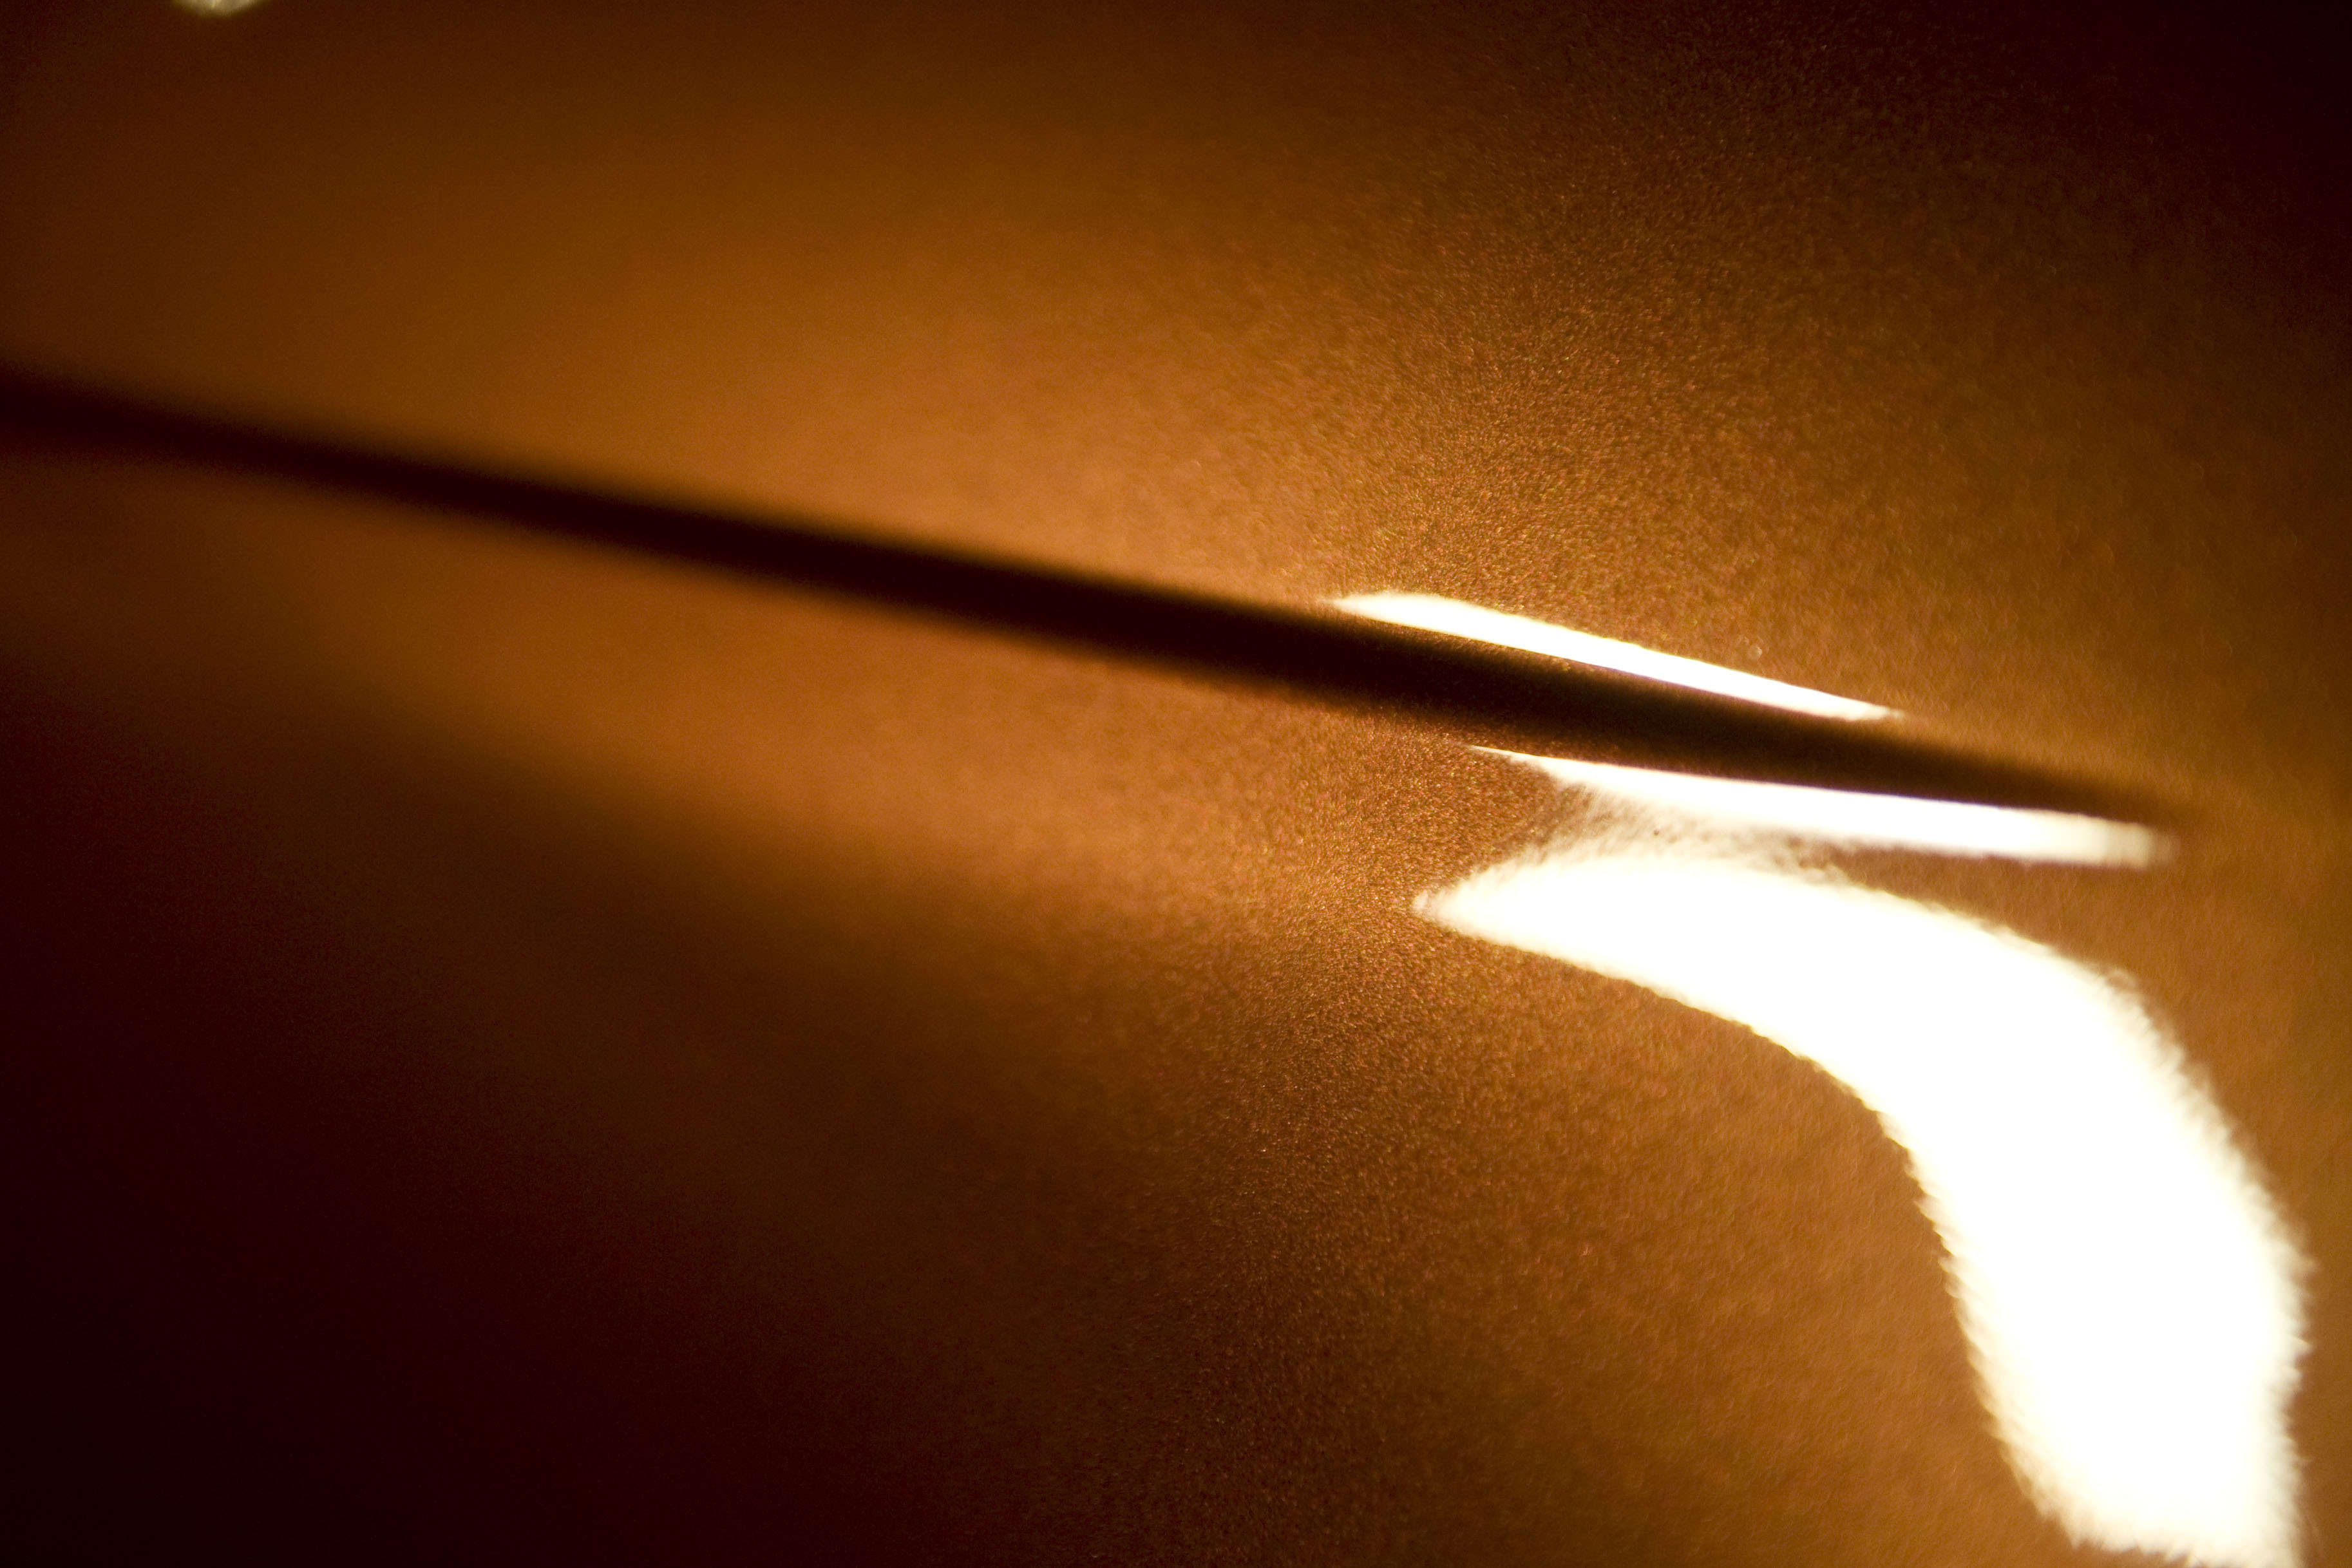
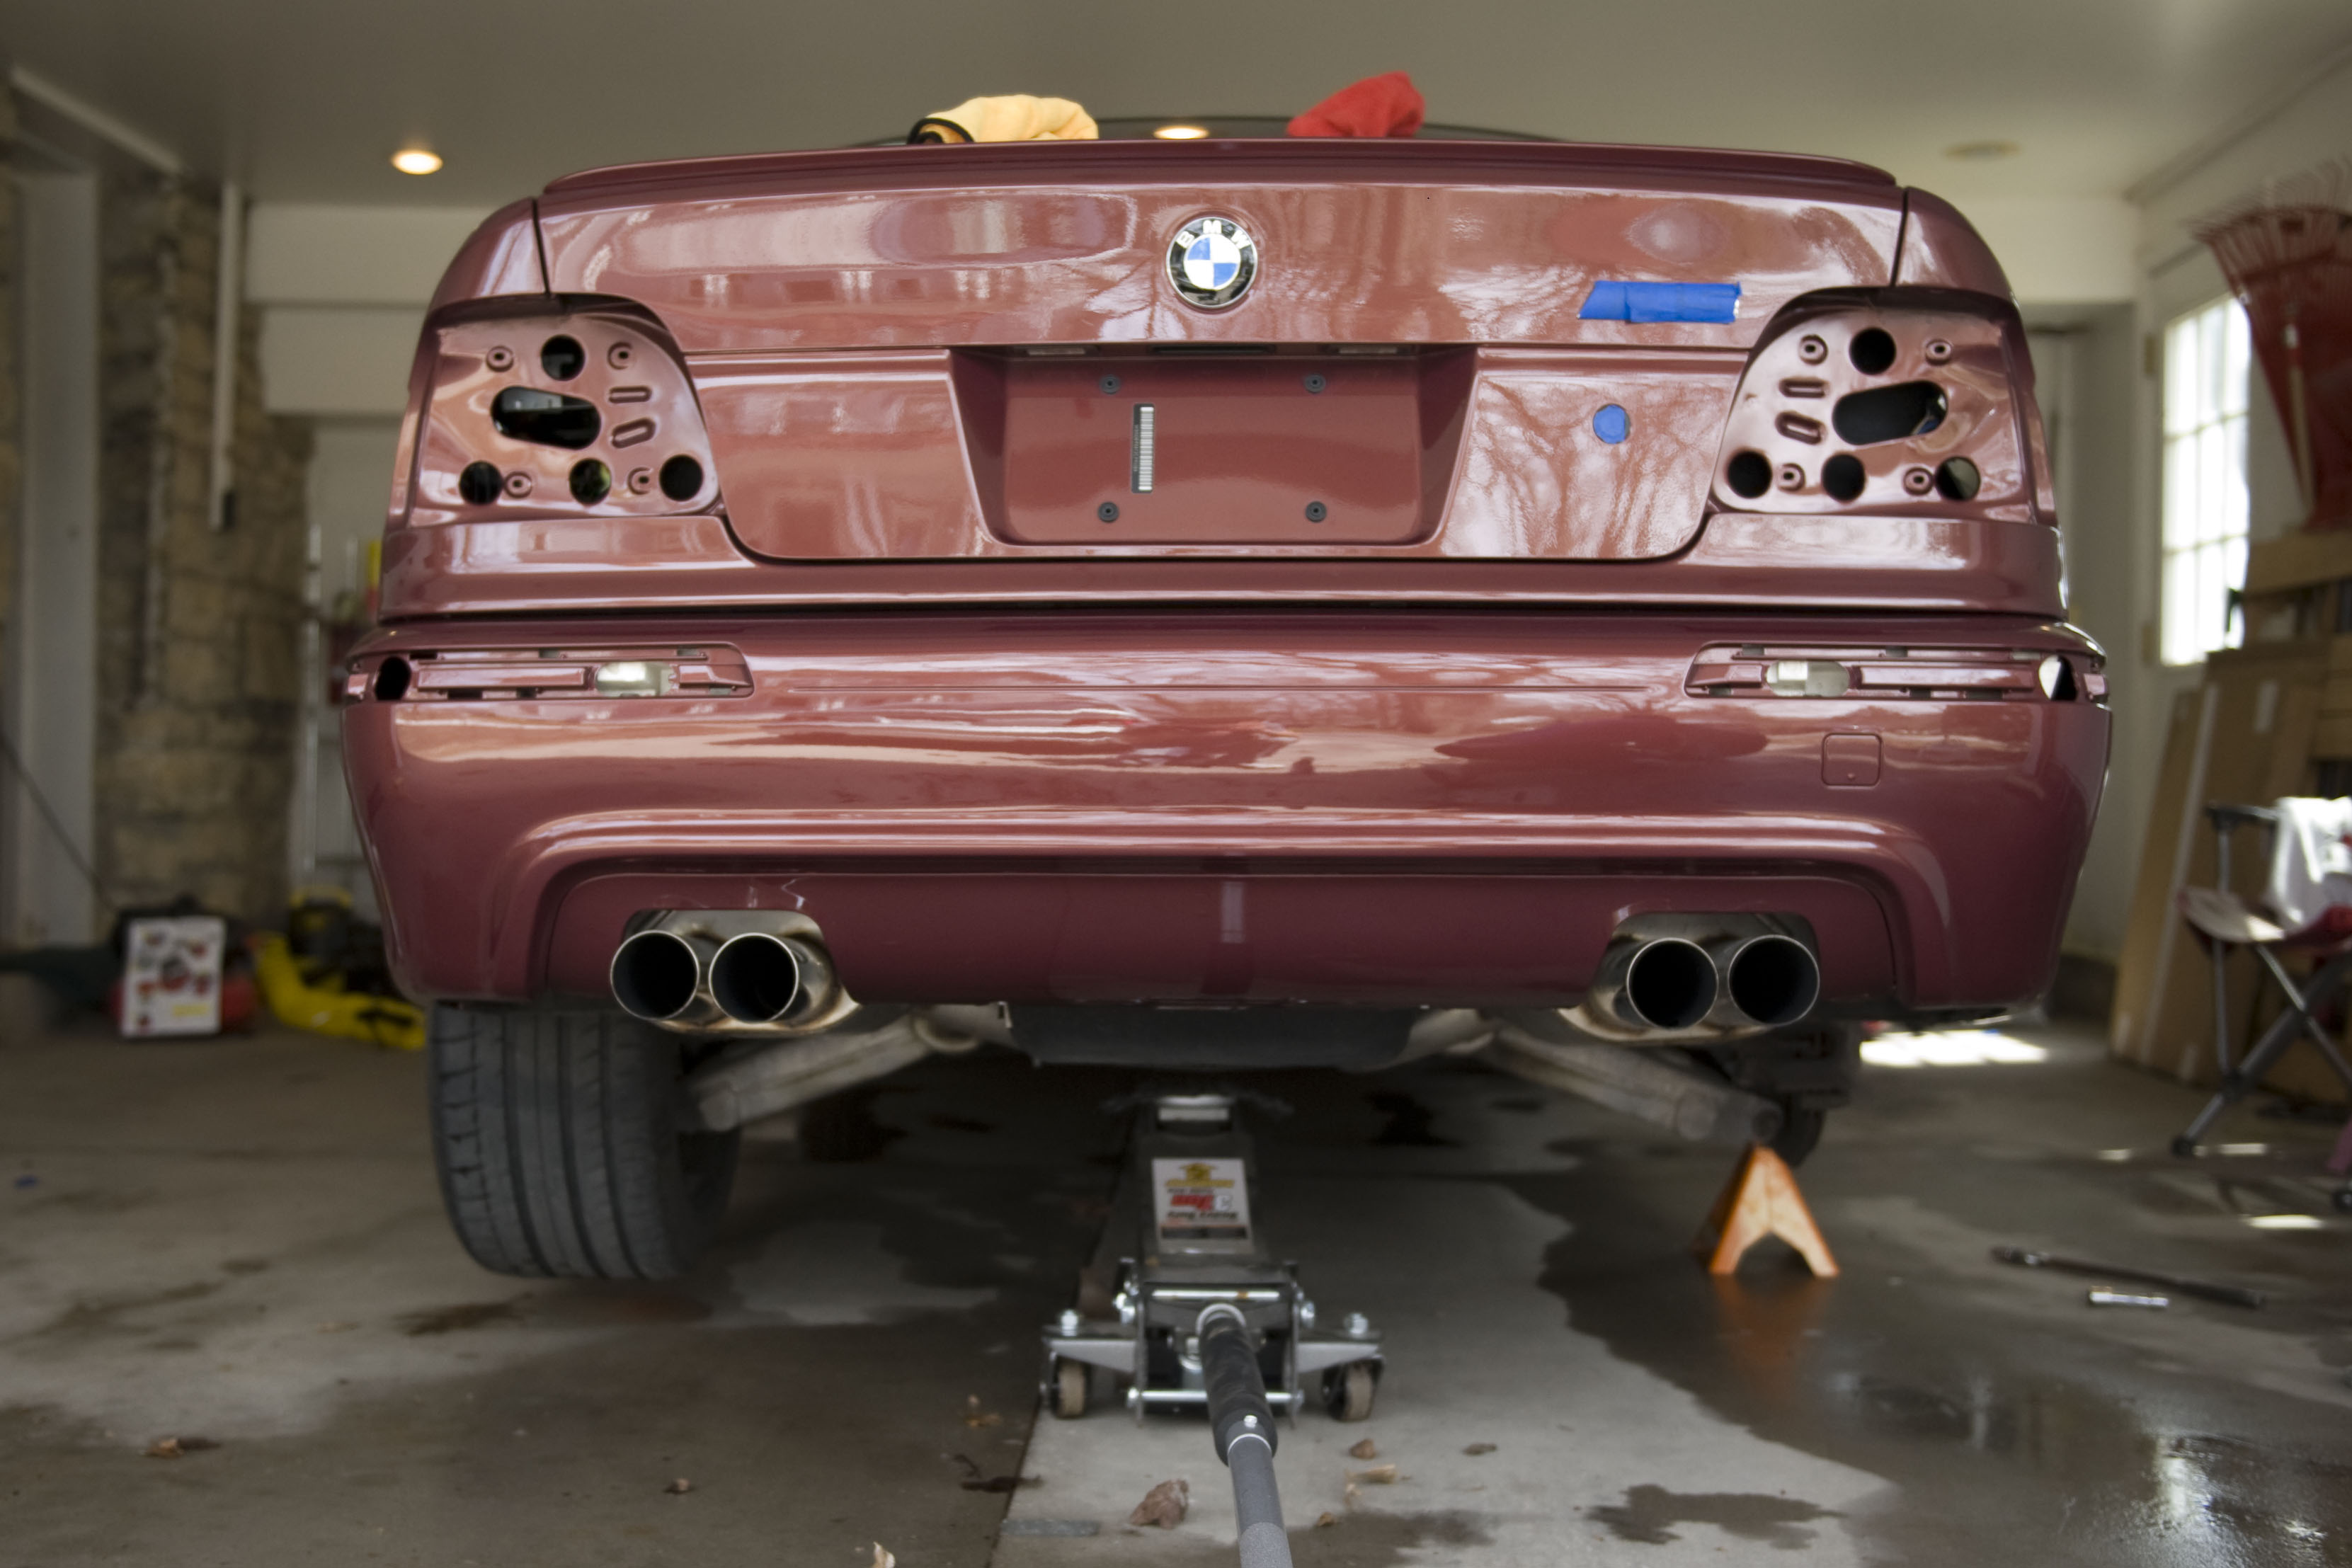
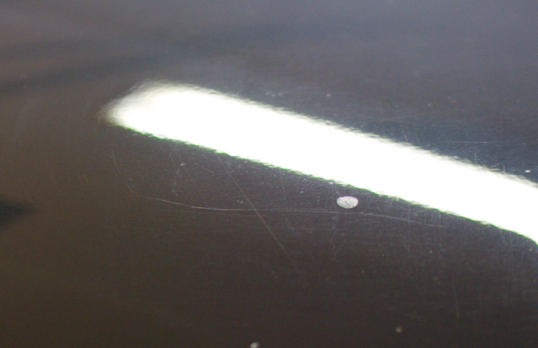
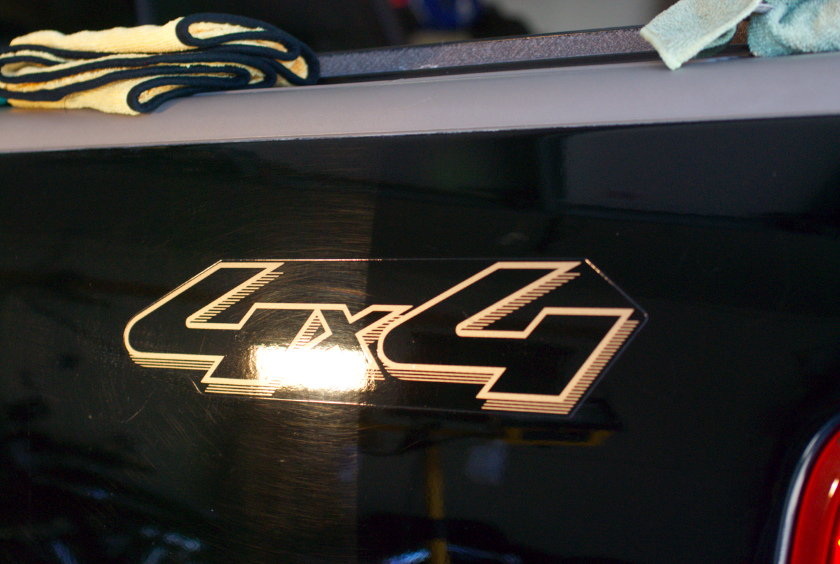
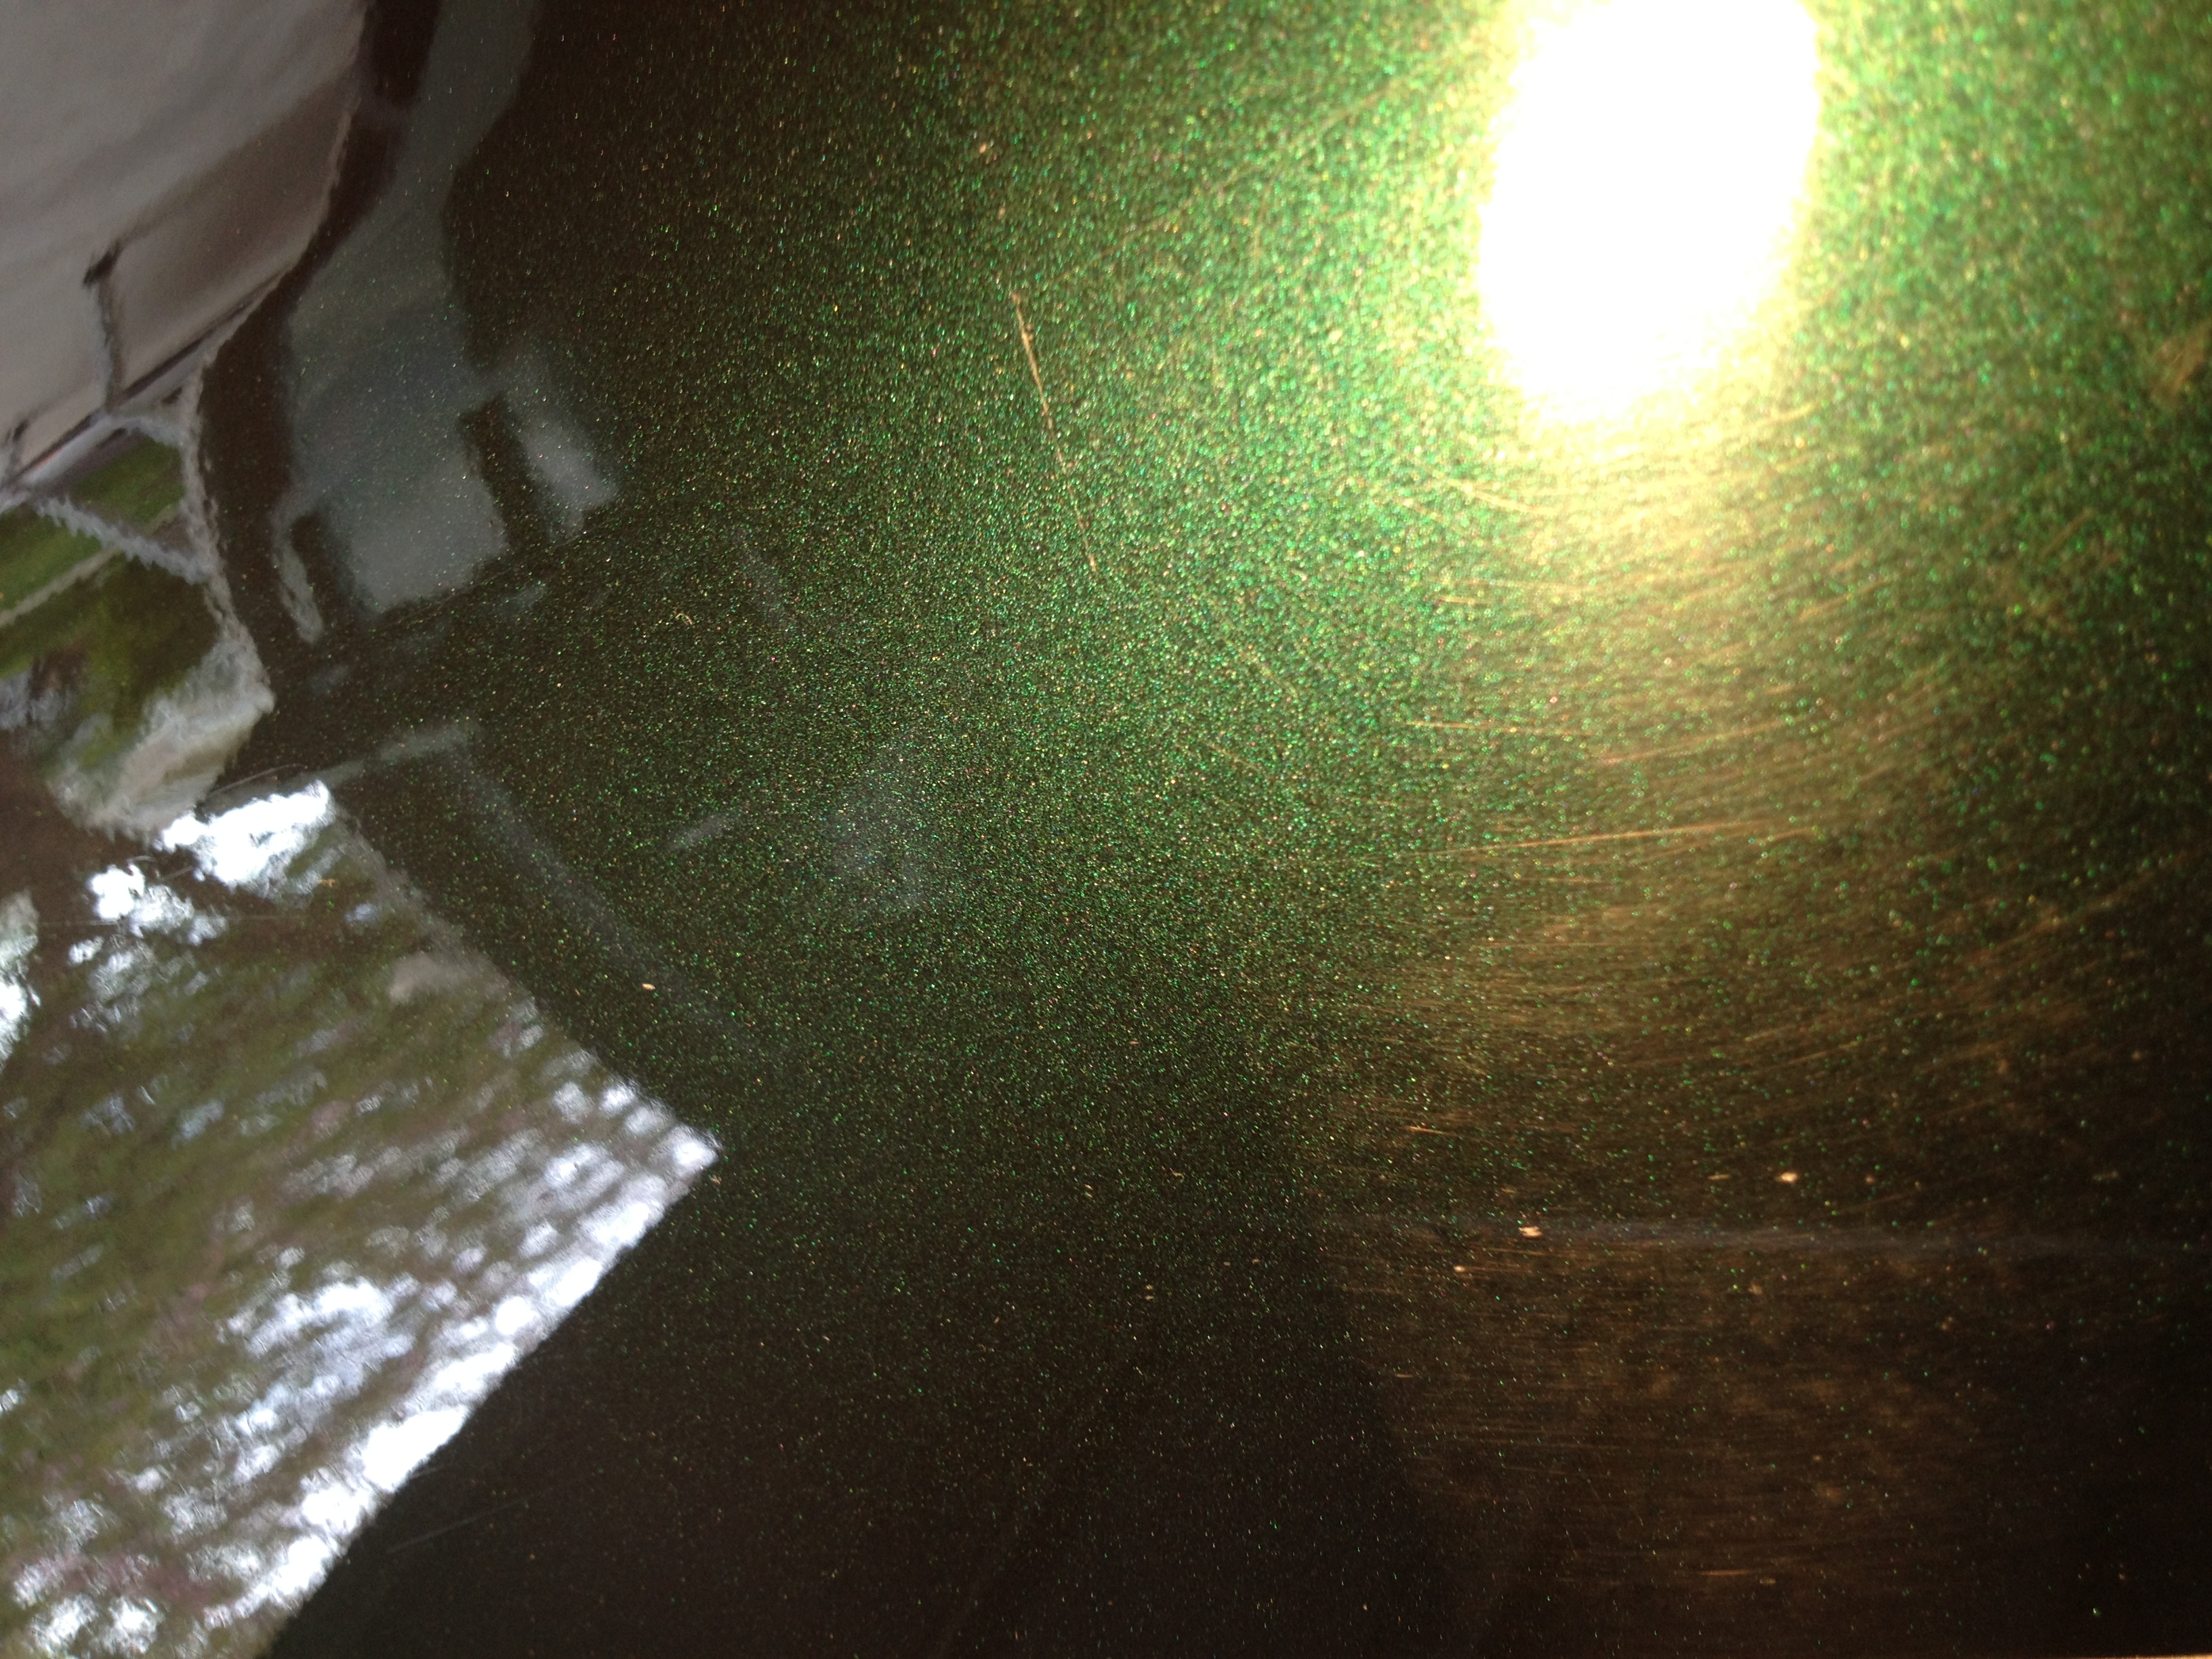
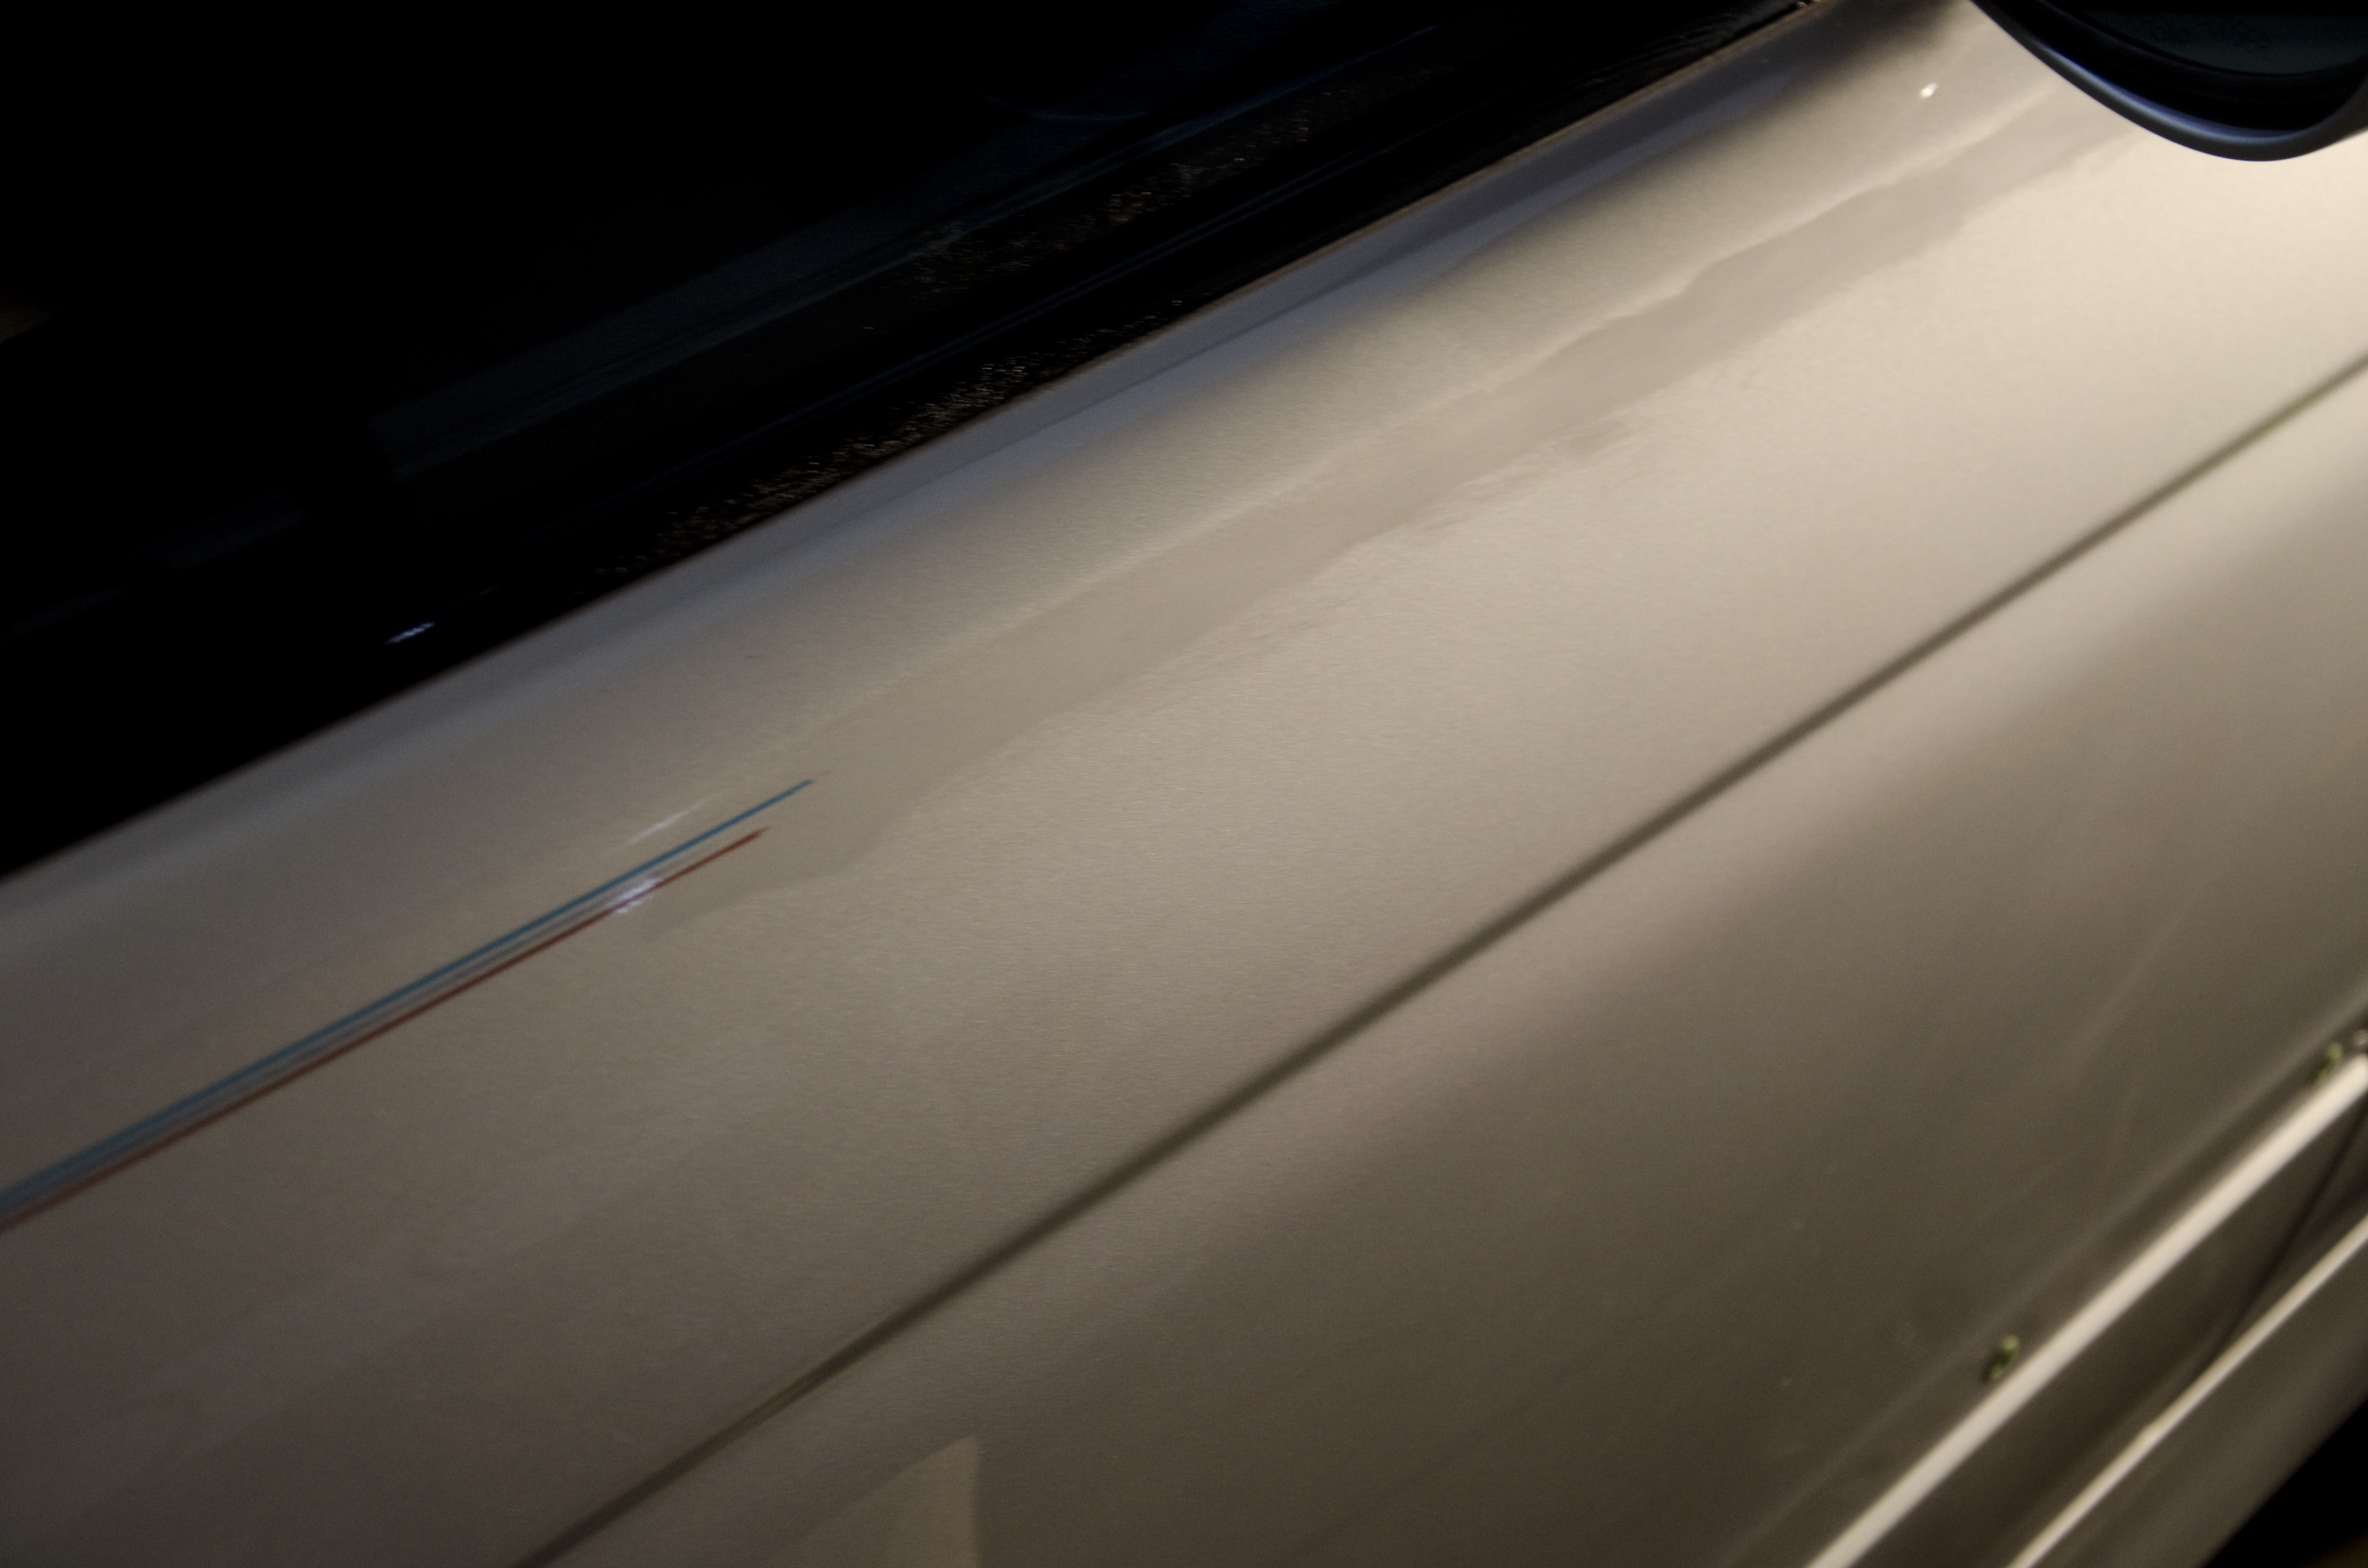
Here is what most of the time was spent on: A dealer installed pinstripe in the M colors. The stripes had faded and the owner had no interest in keeping them around, let alone locking them in under the ceramic coating to be applied (Opti Coat Pro). The stripes were gently sanded away with a 2000 grit wet sandpaper.

FL Detail036dsc_3464

FL Detail035dsc_3463
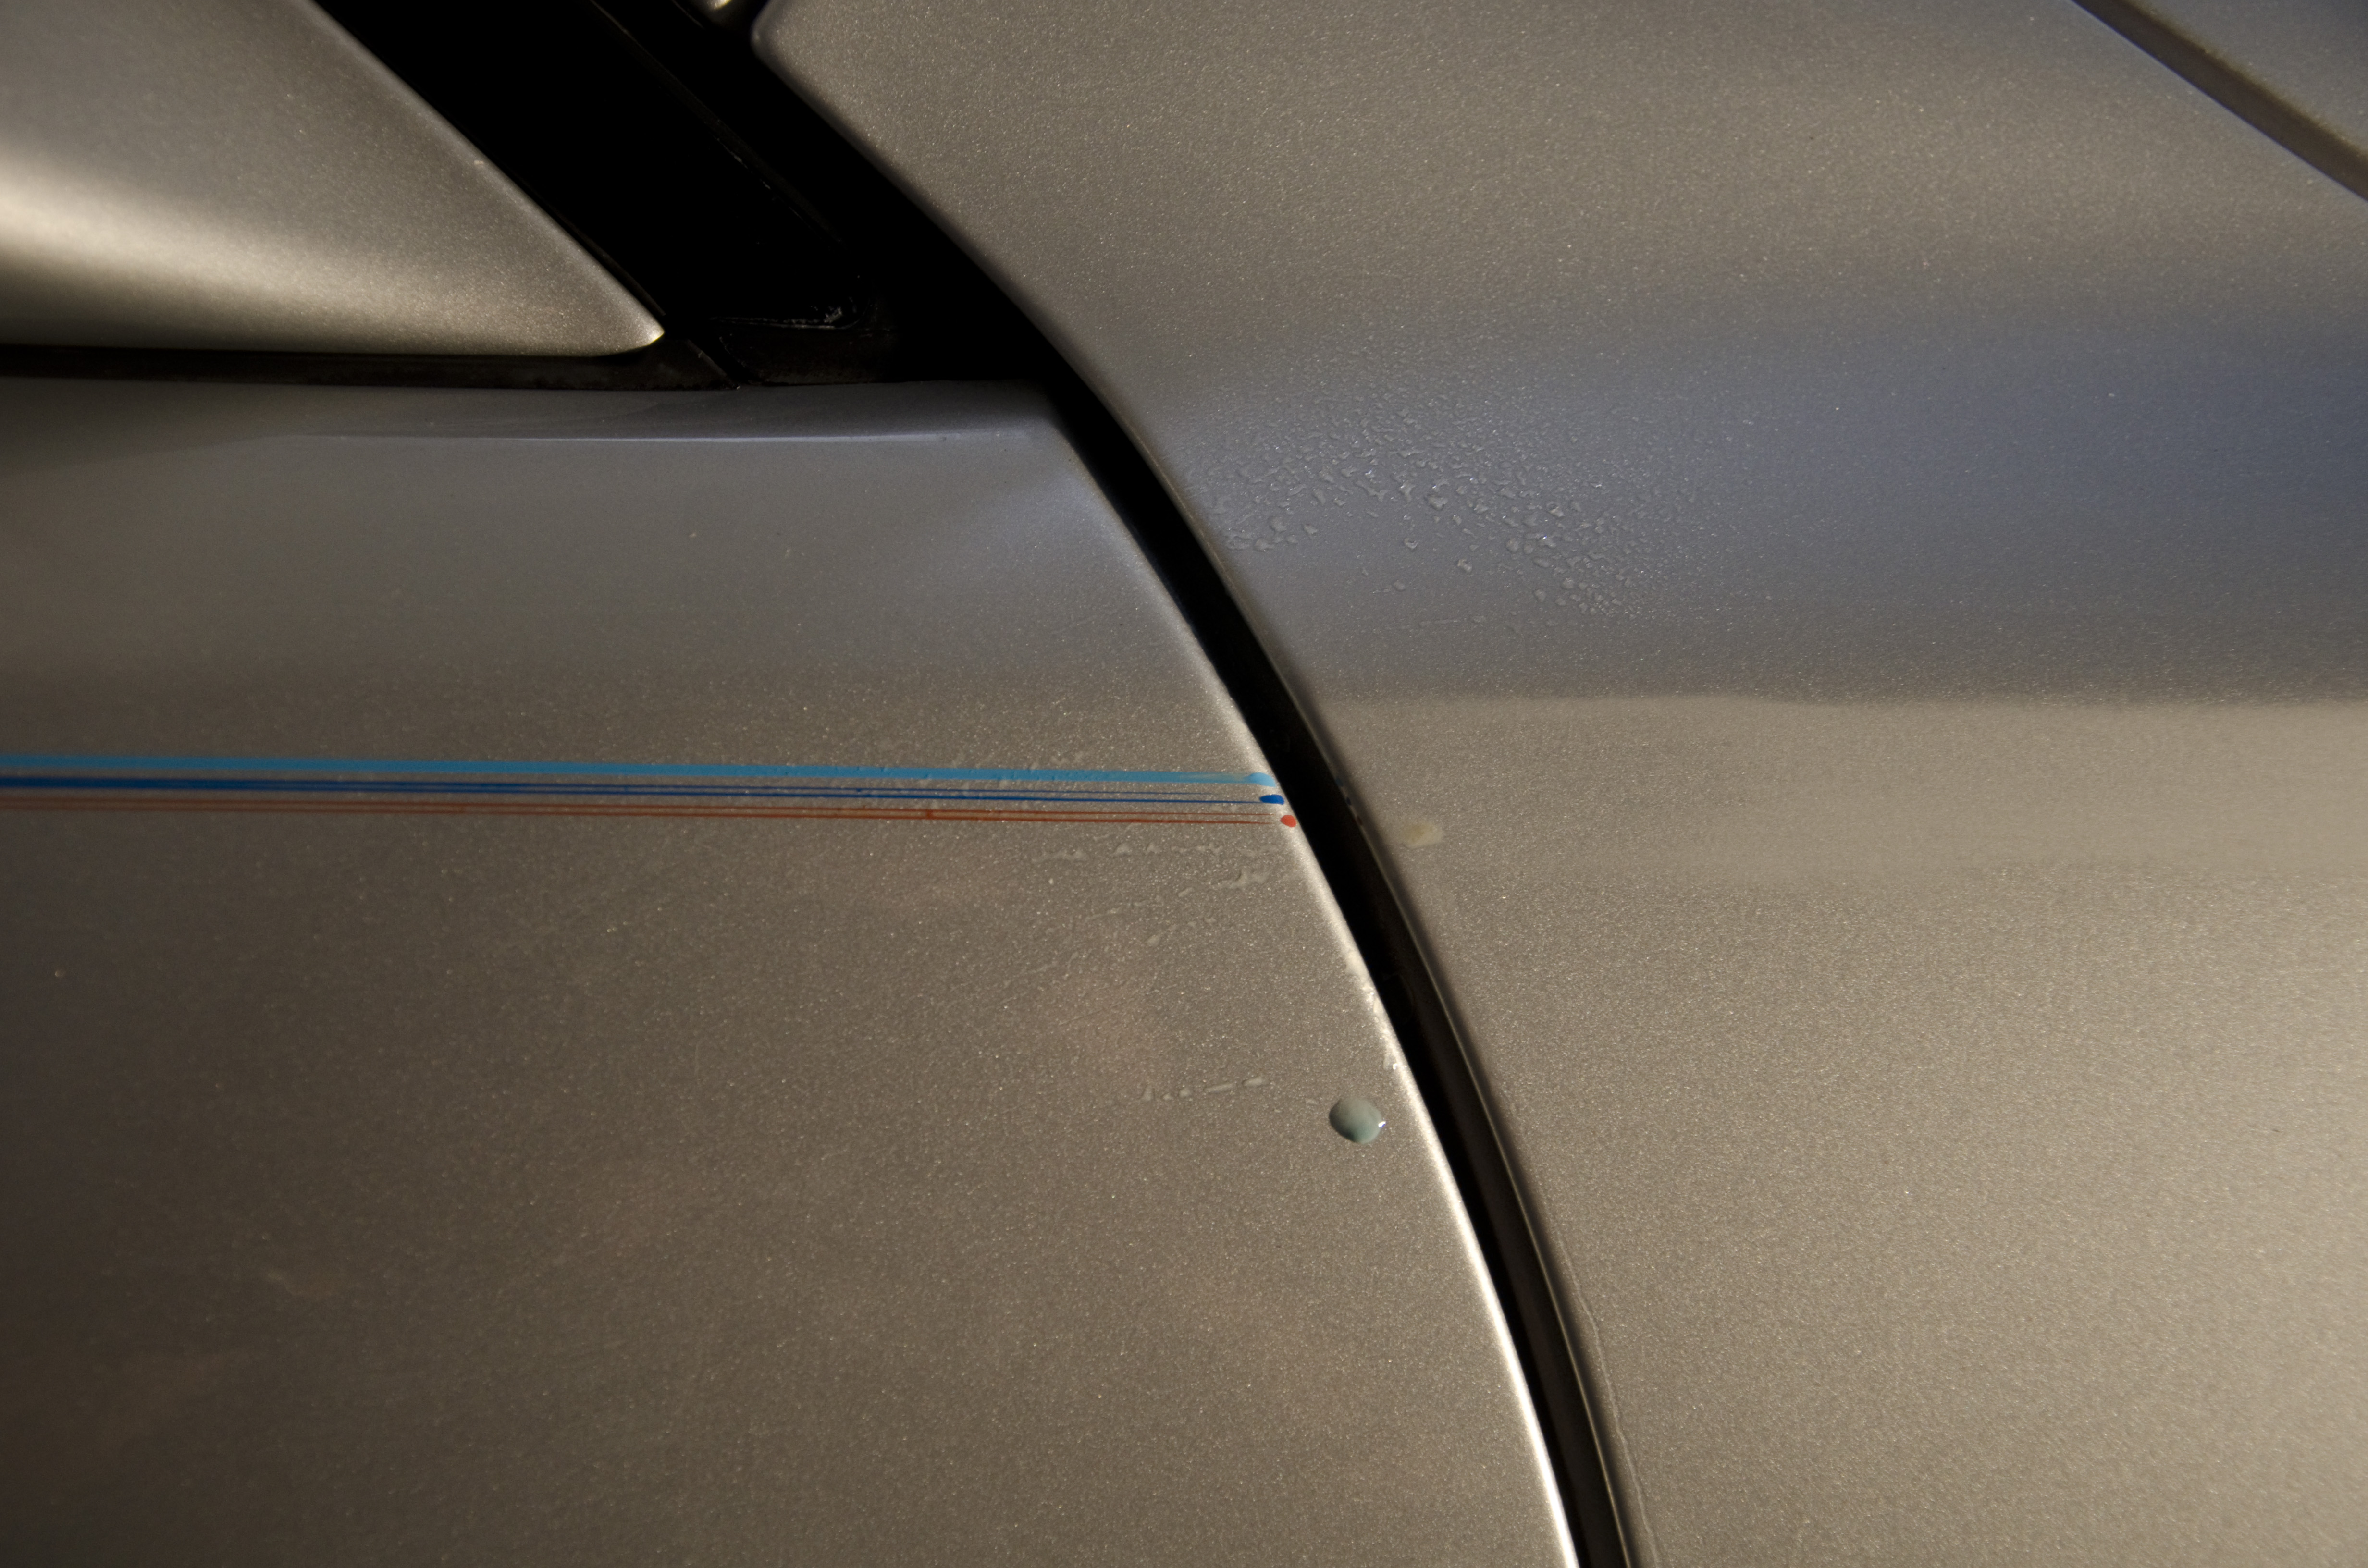
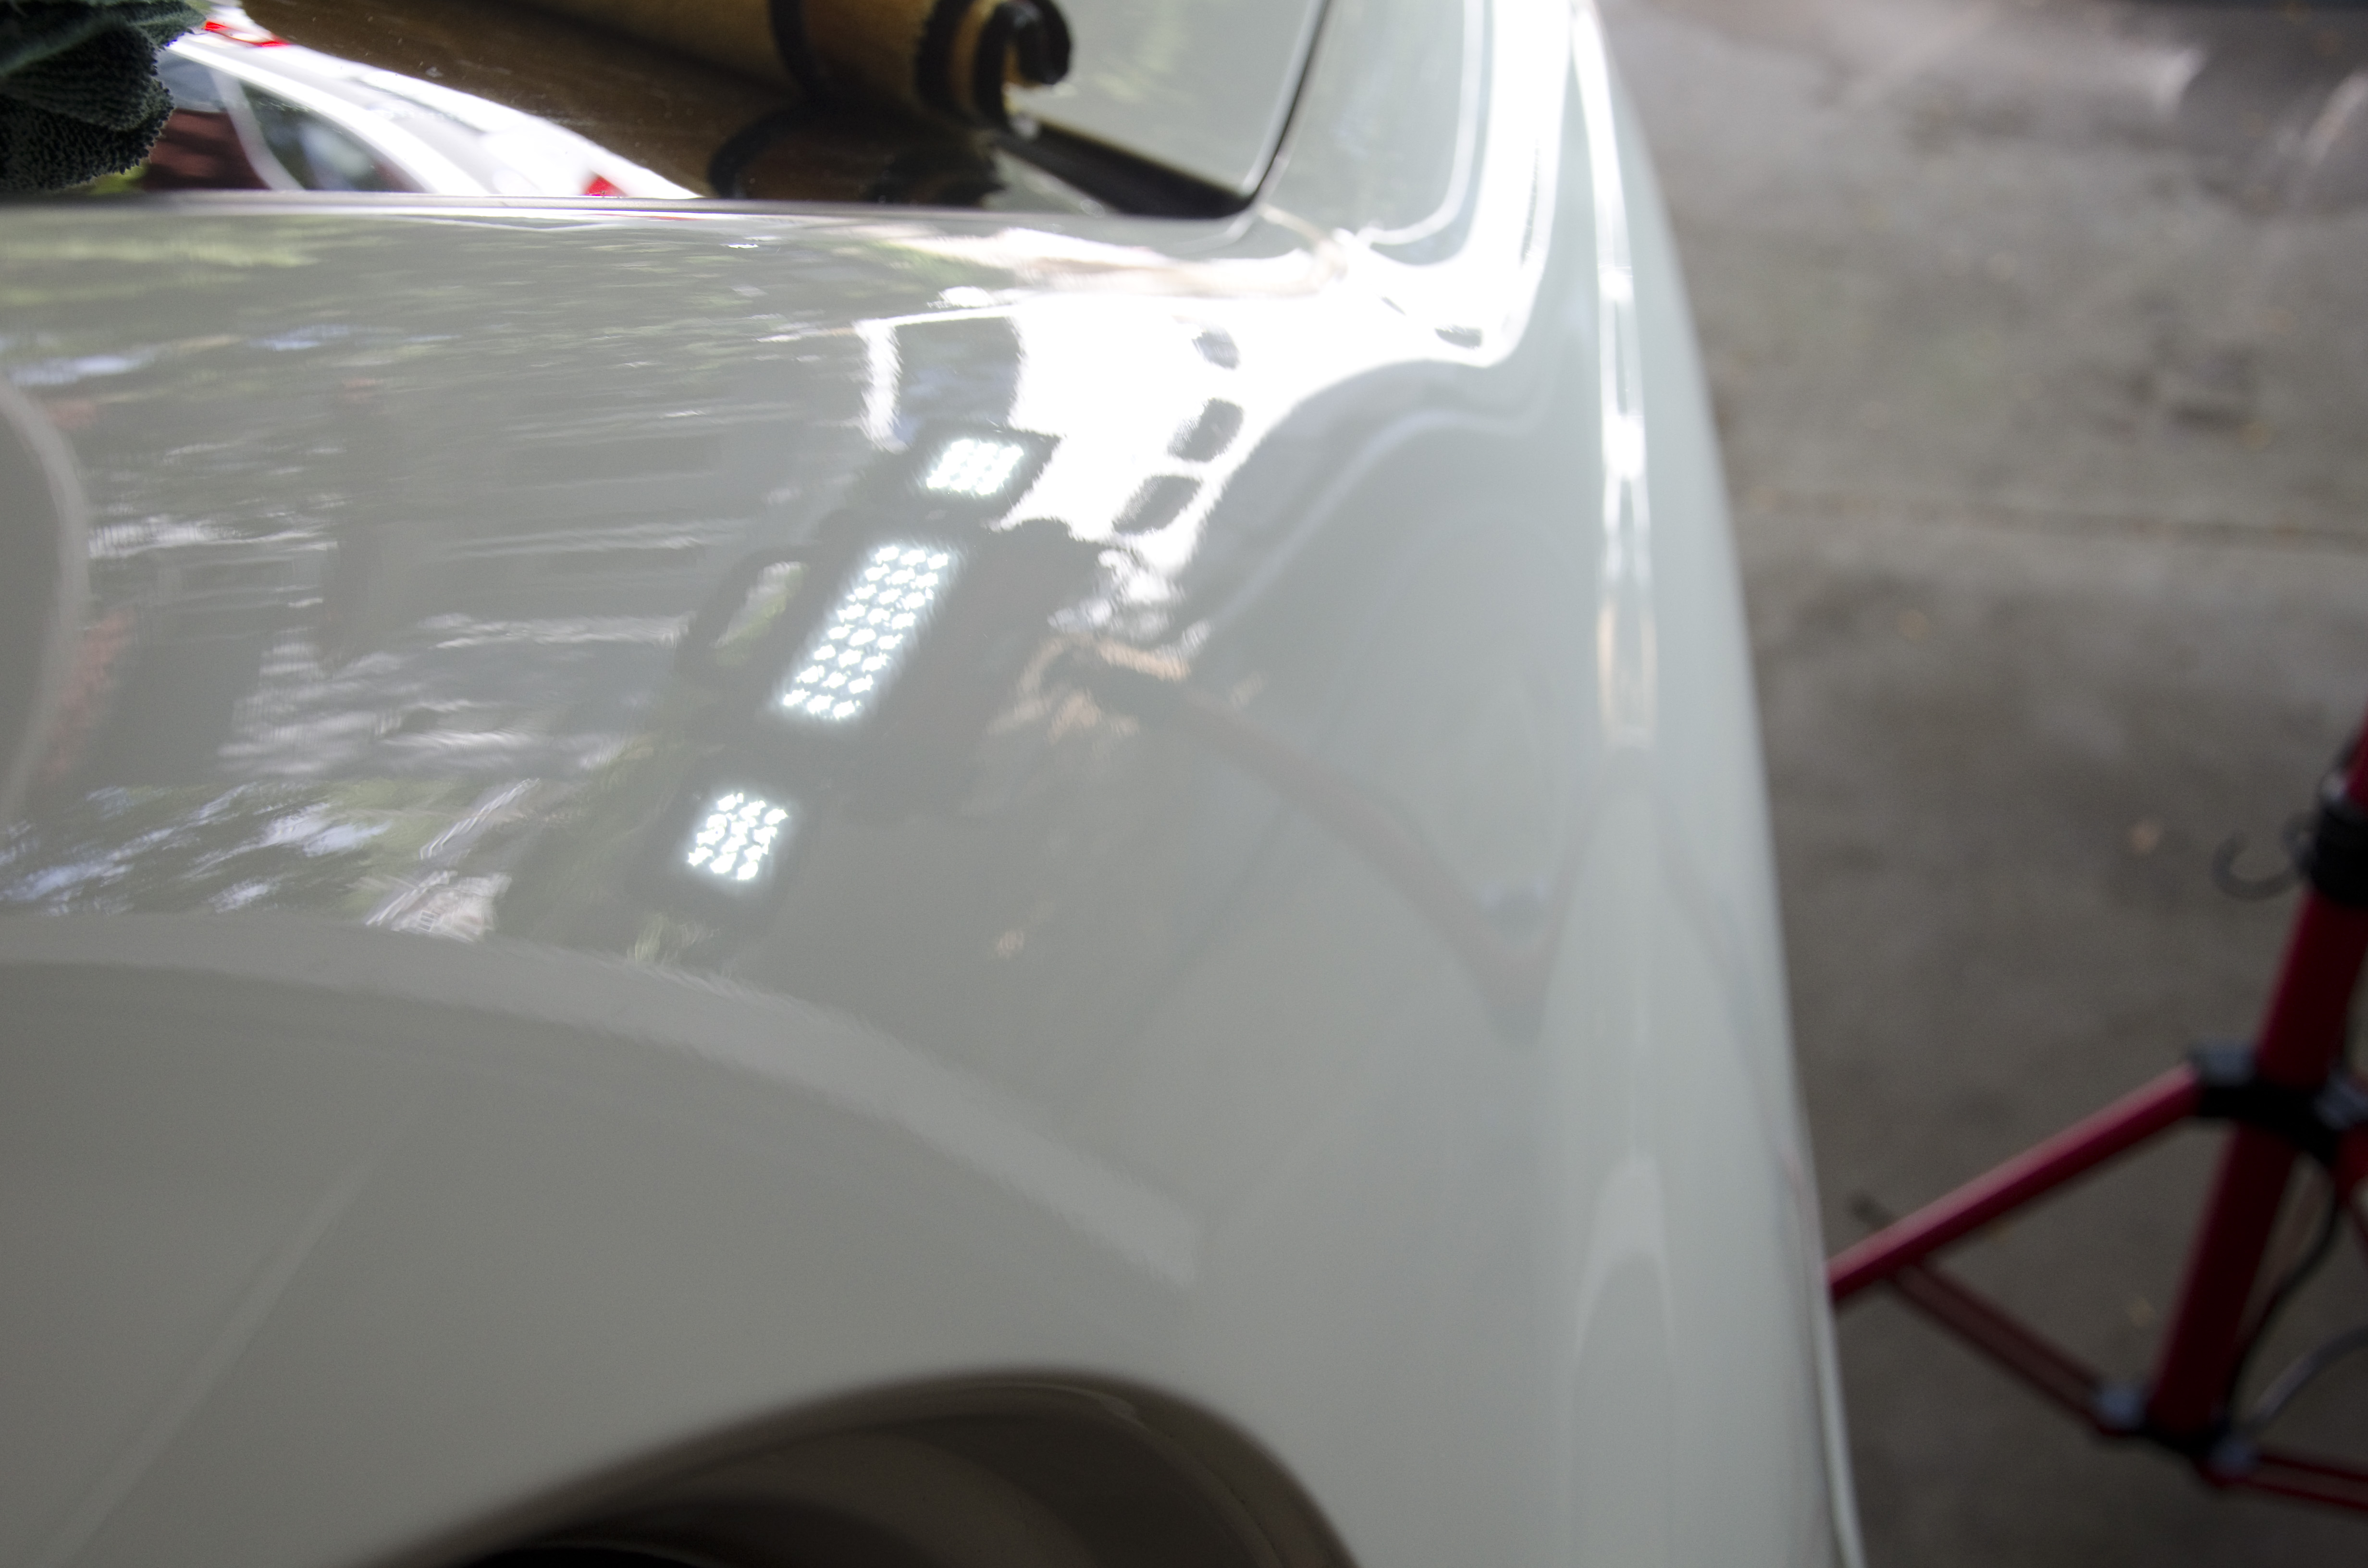
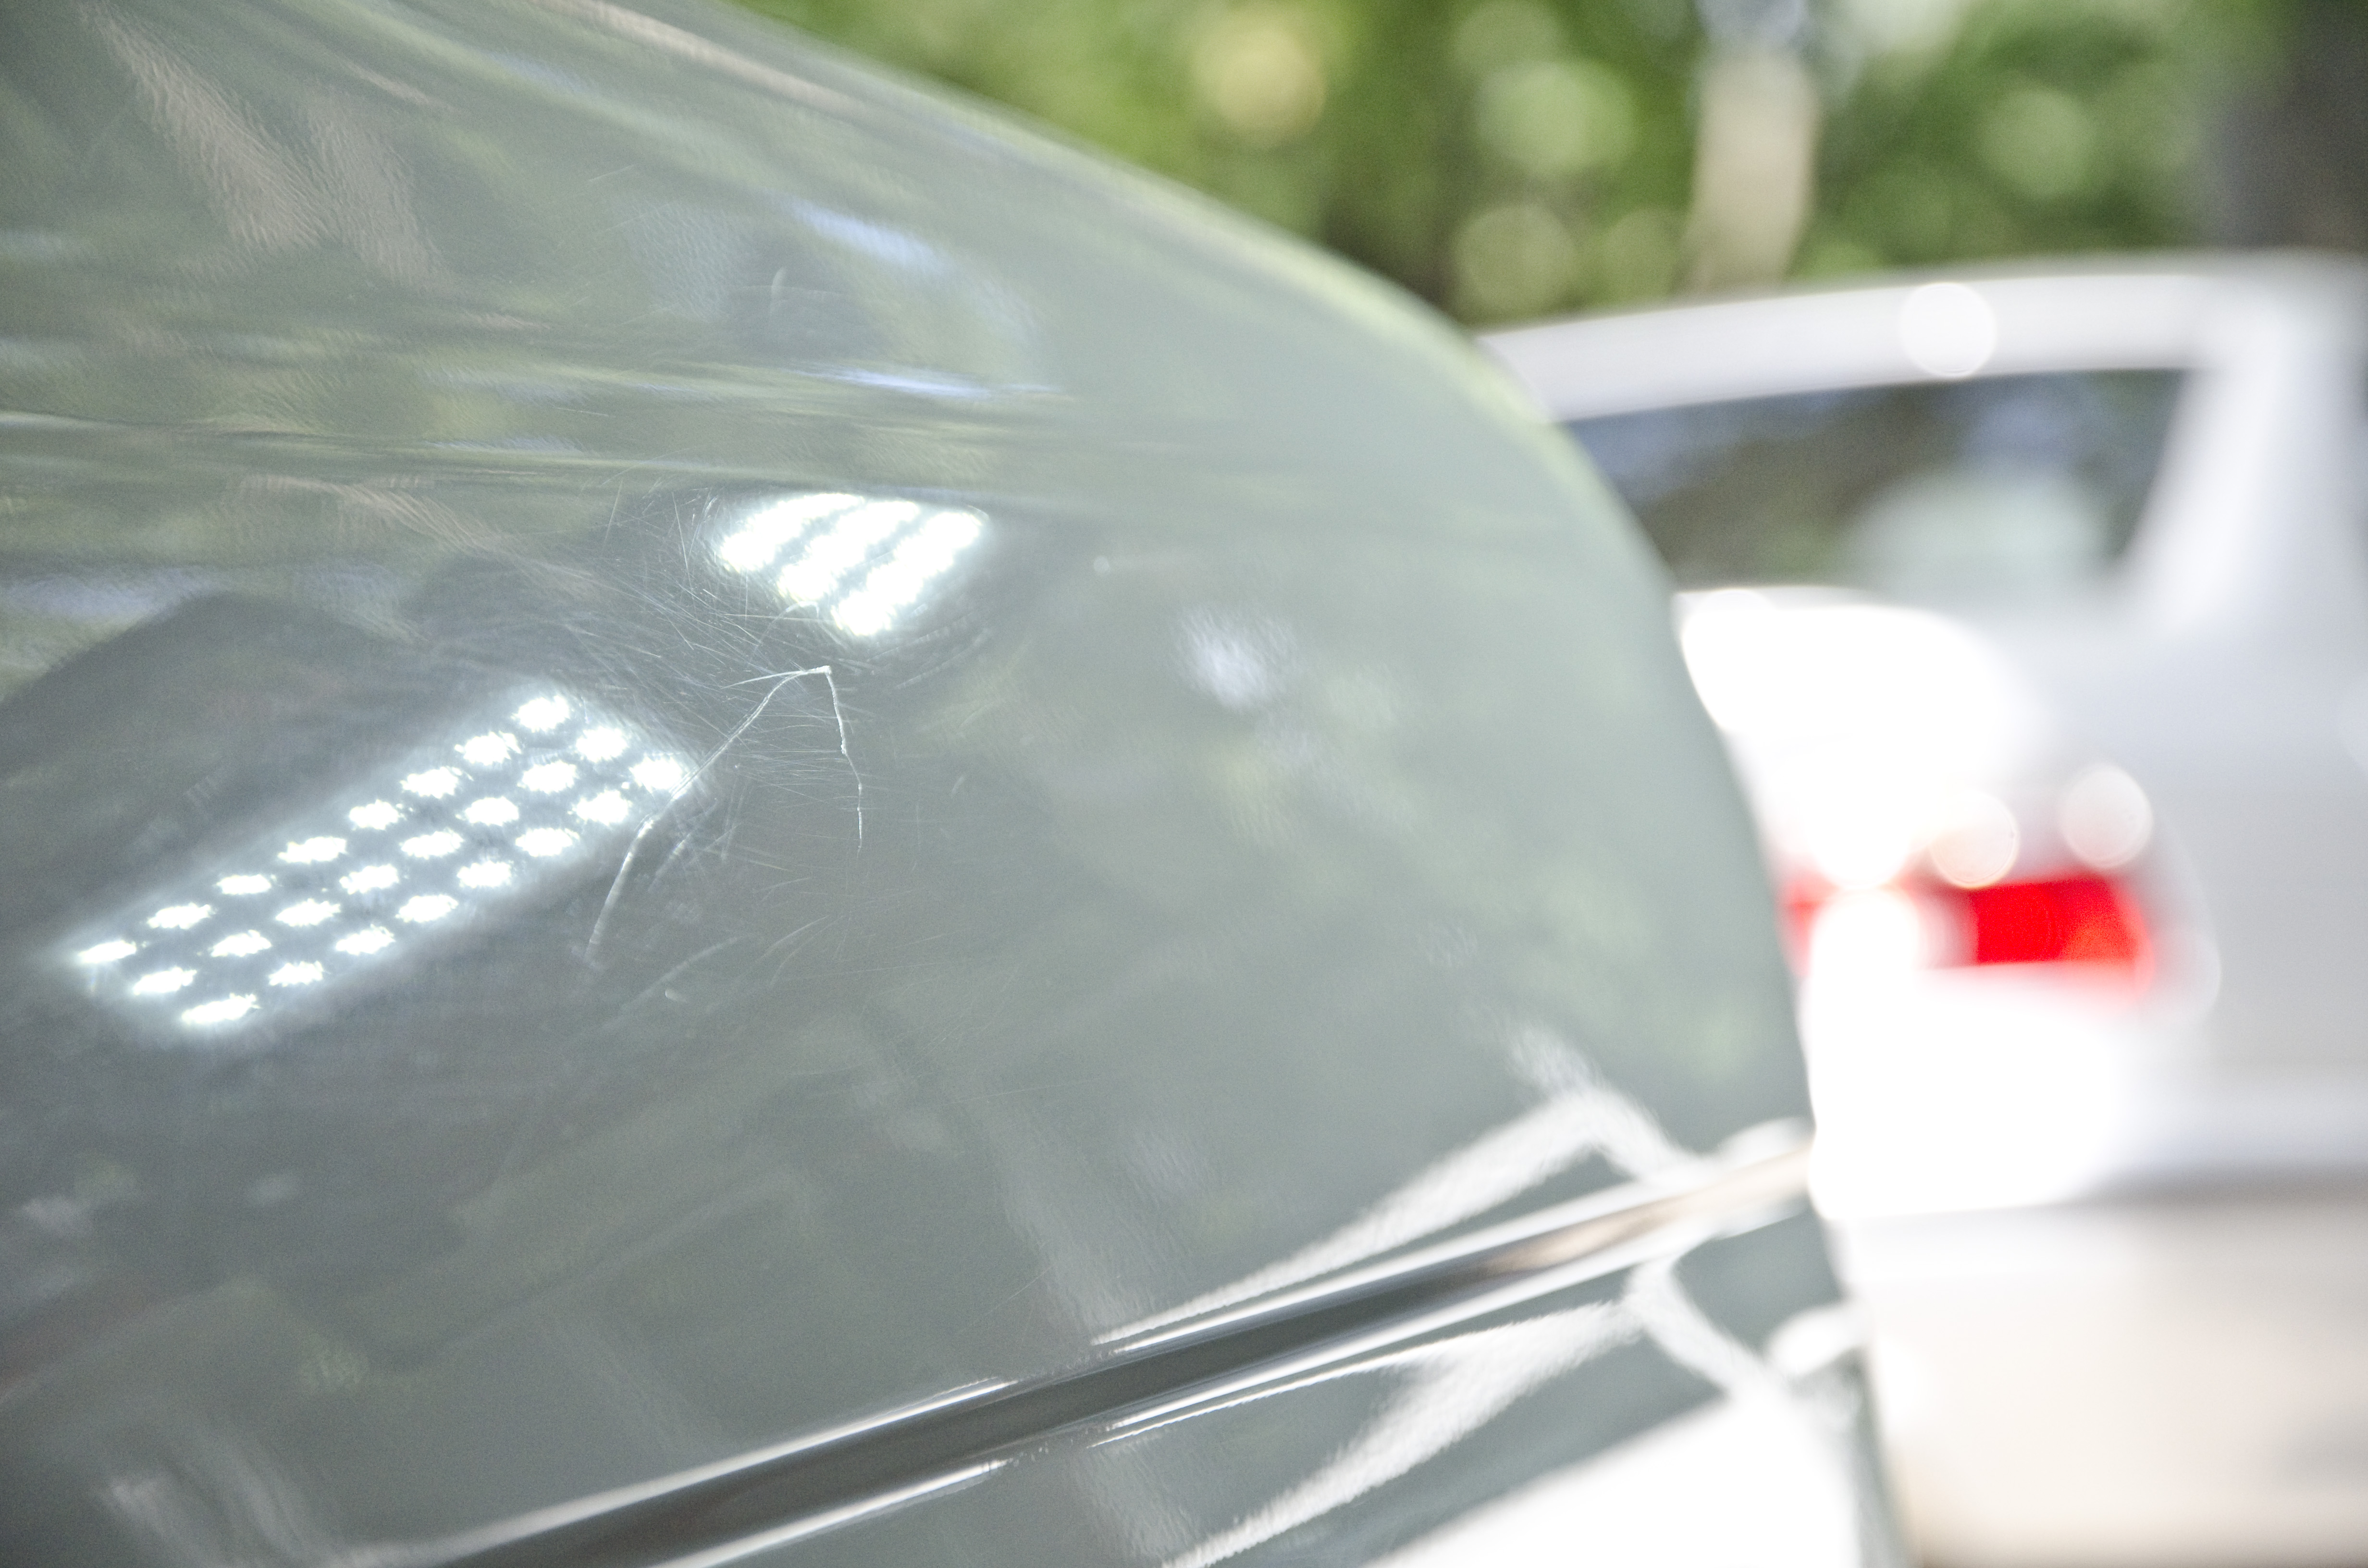
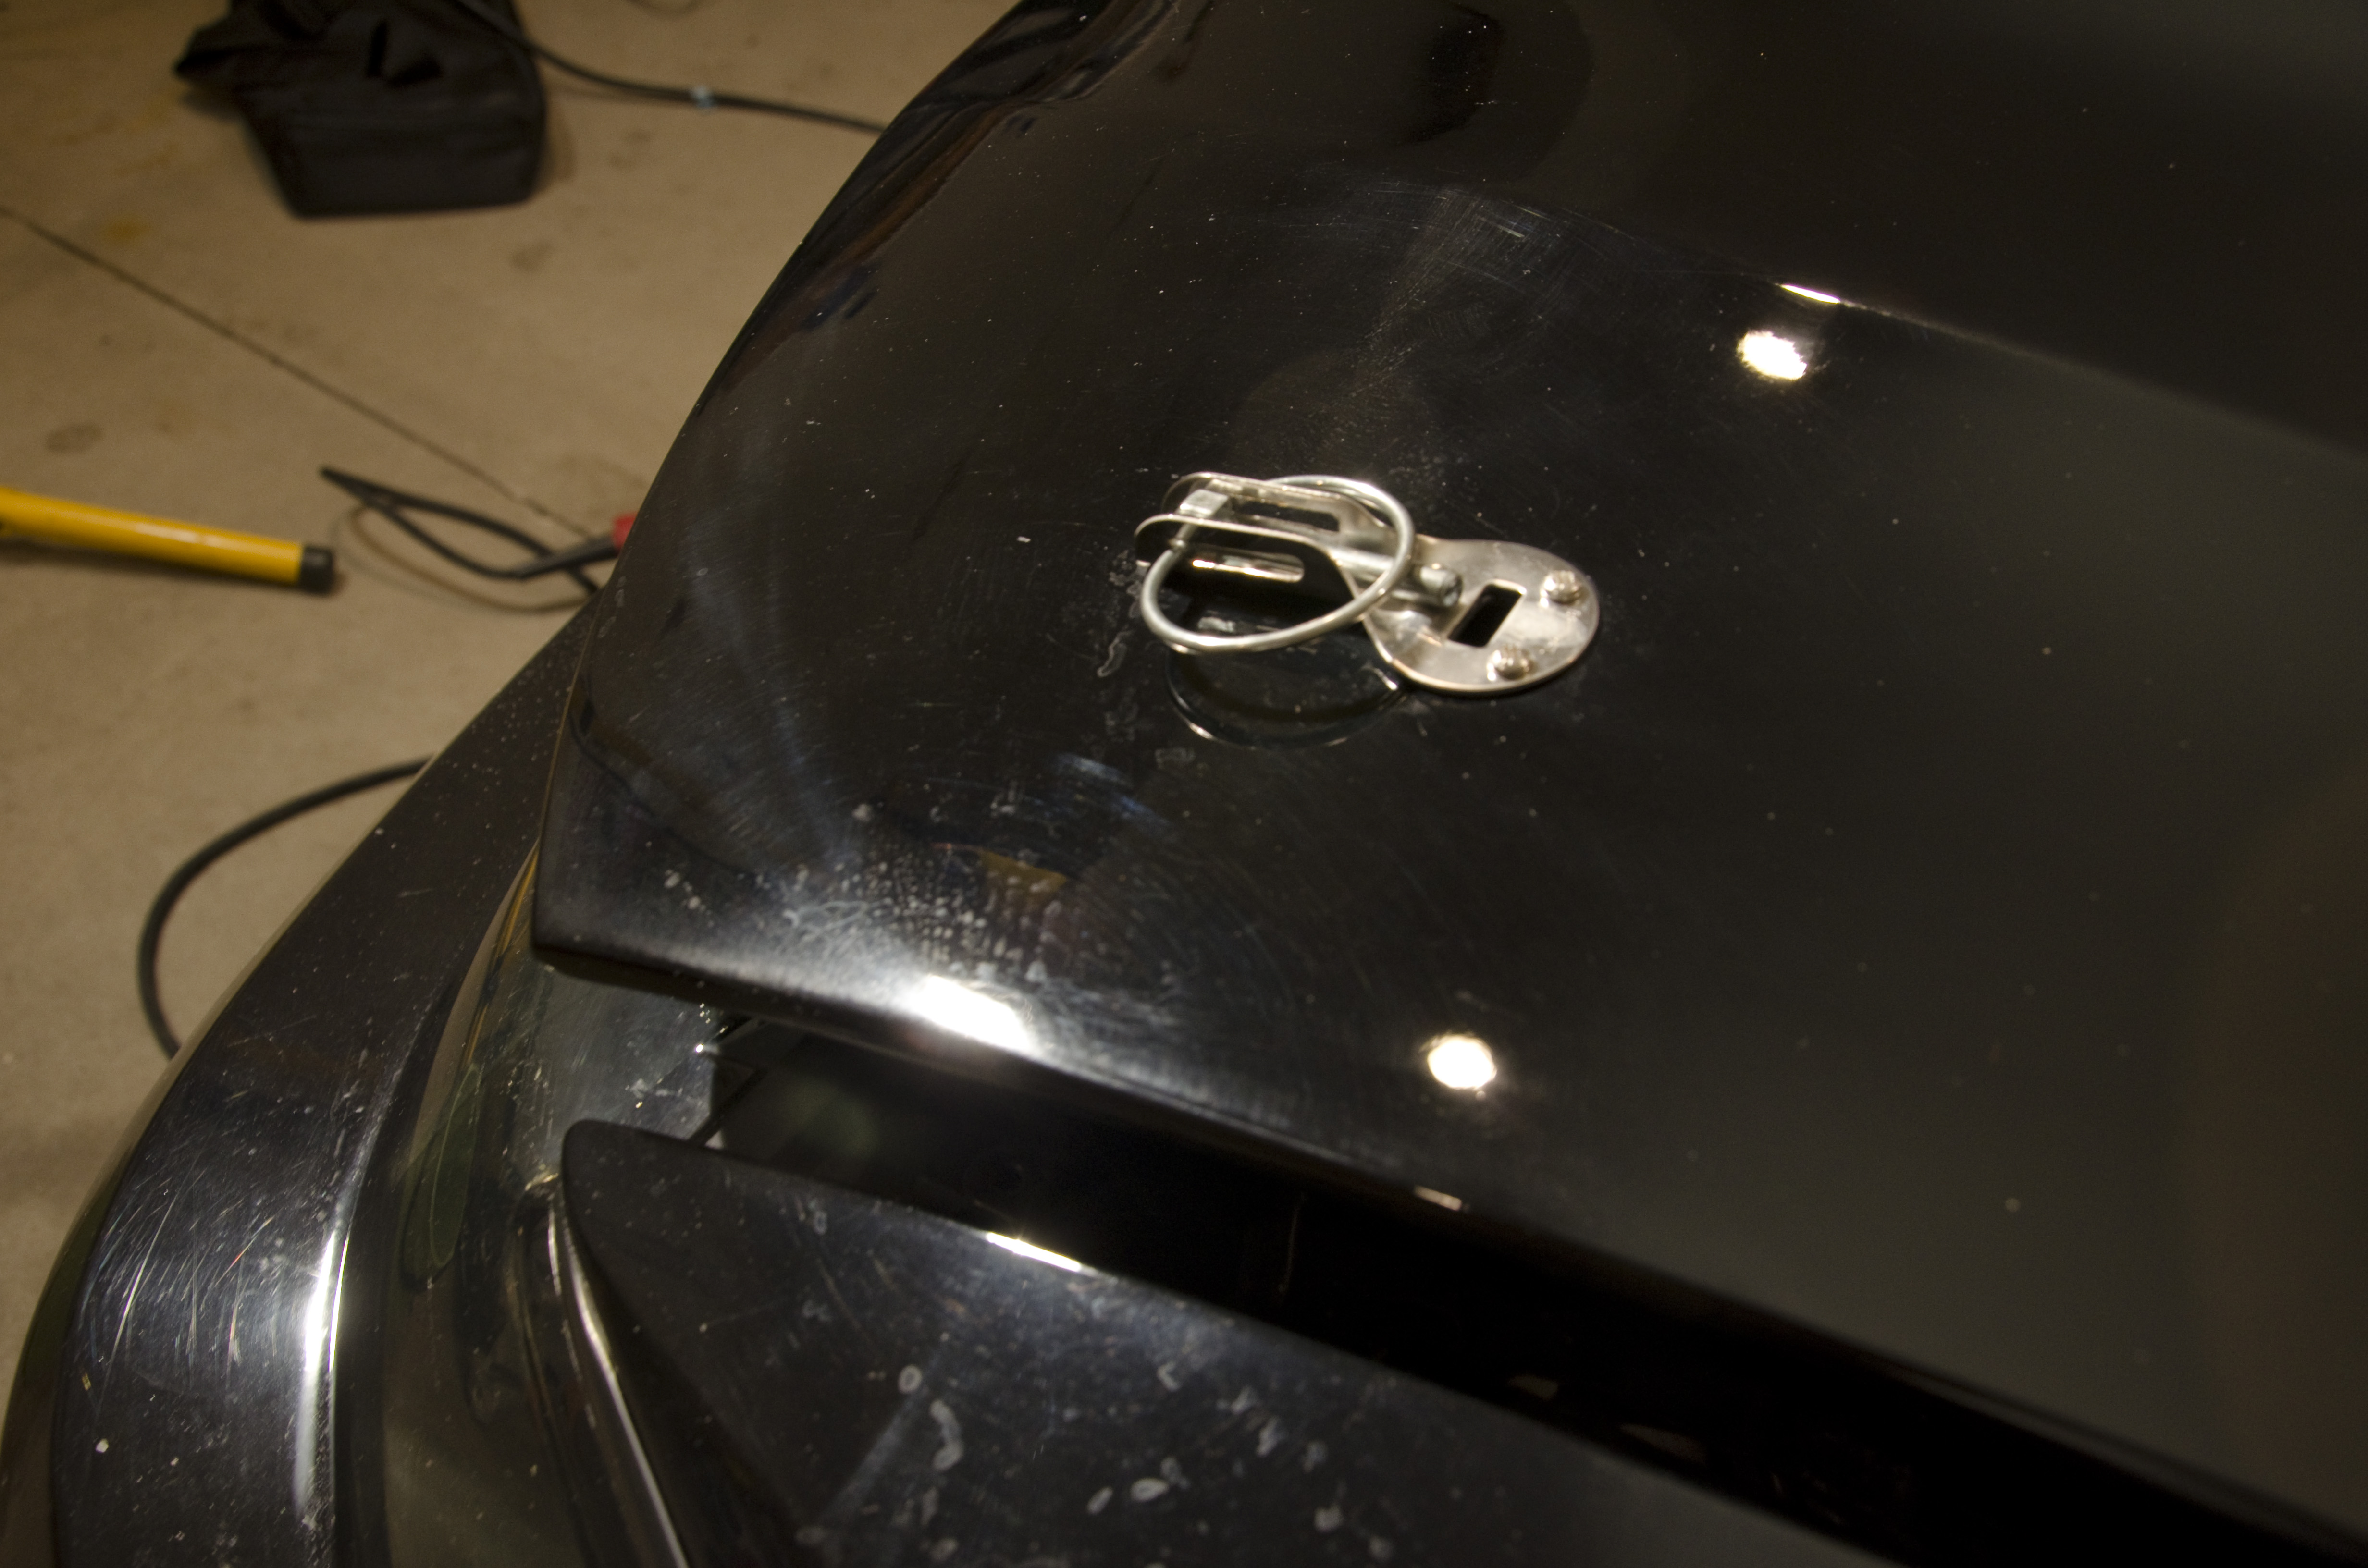
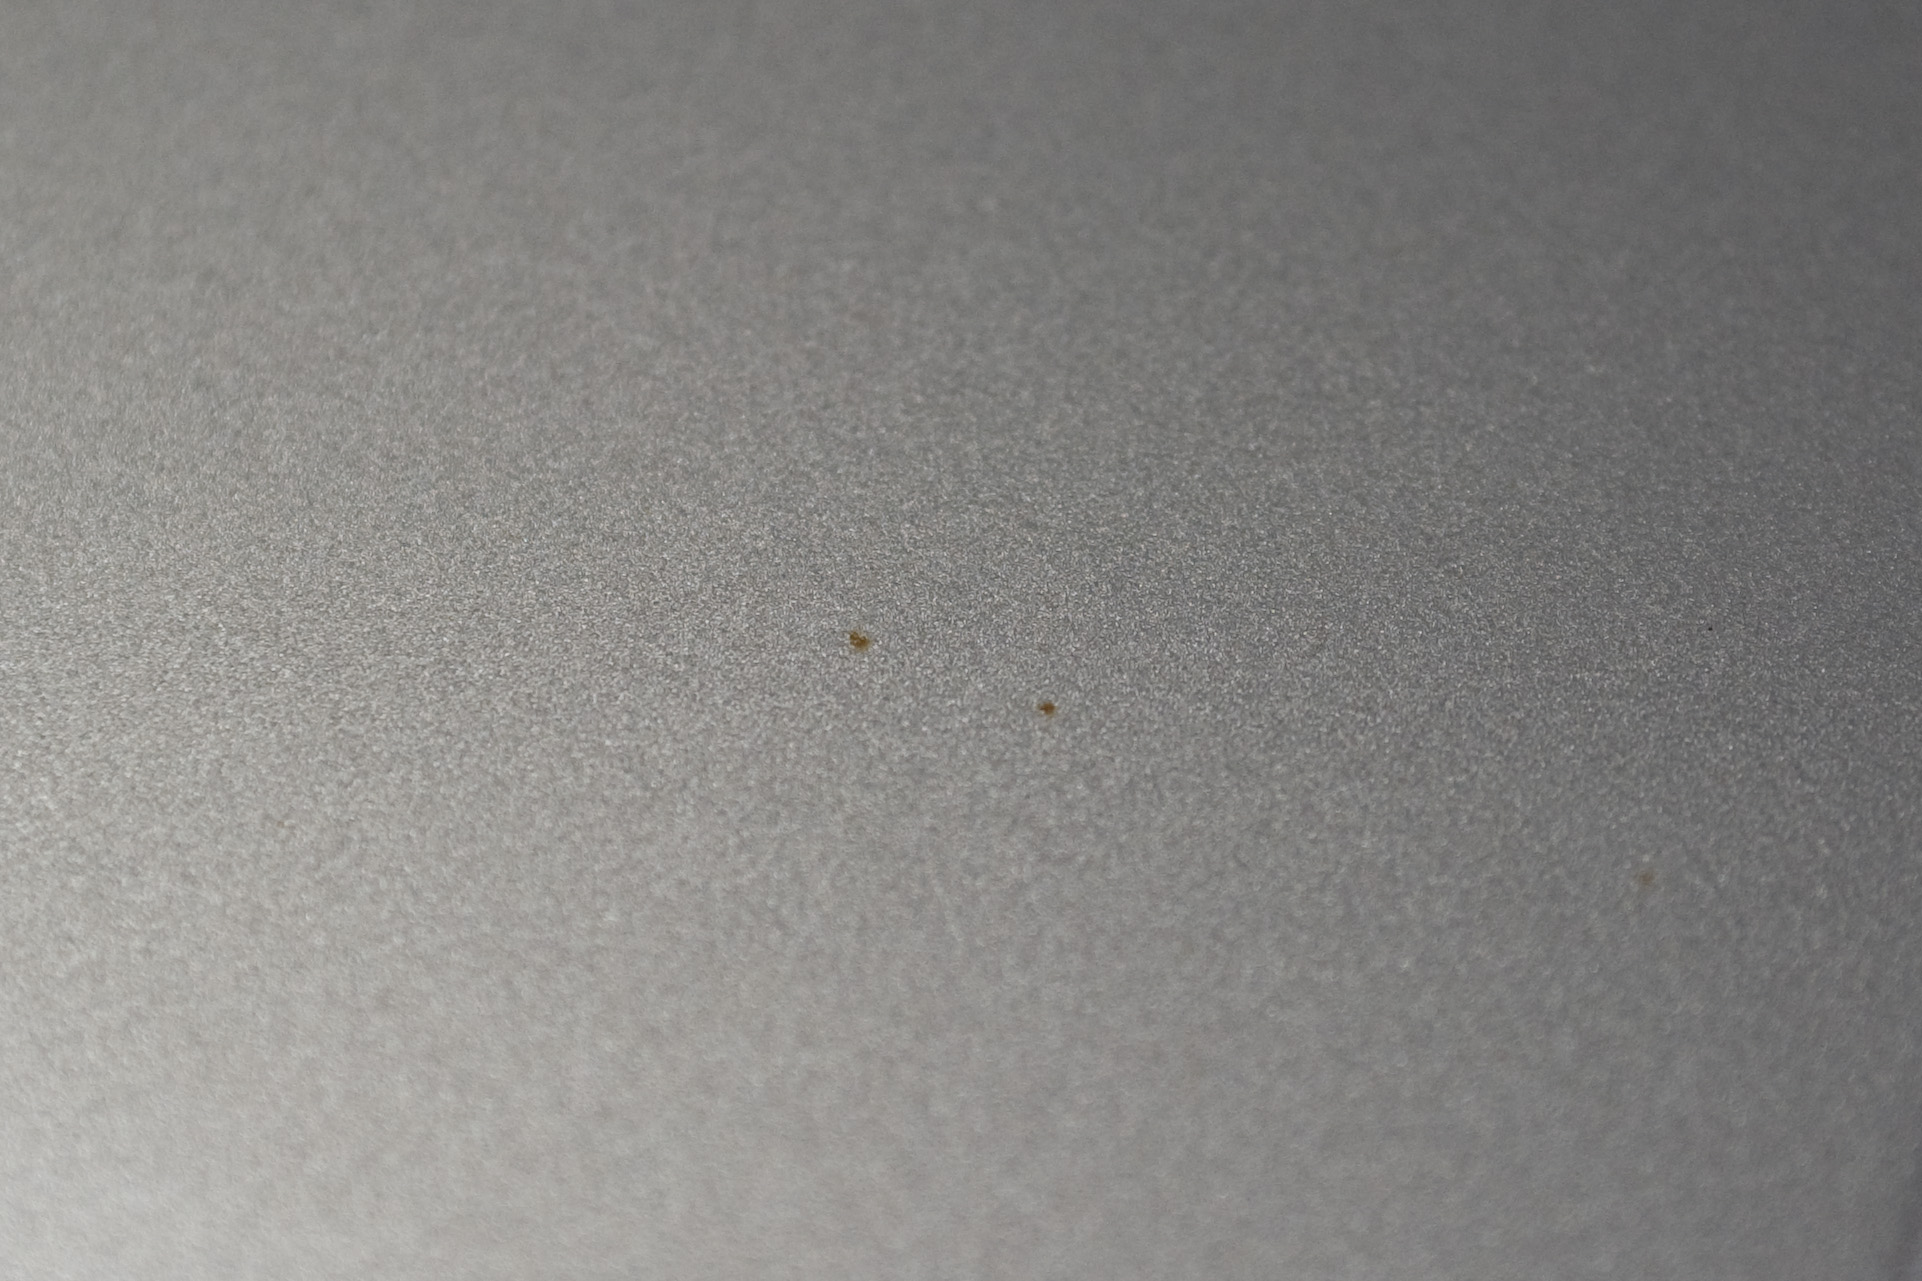
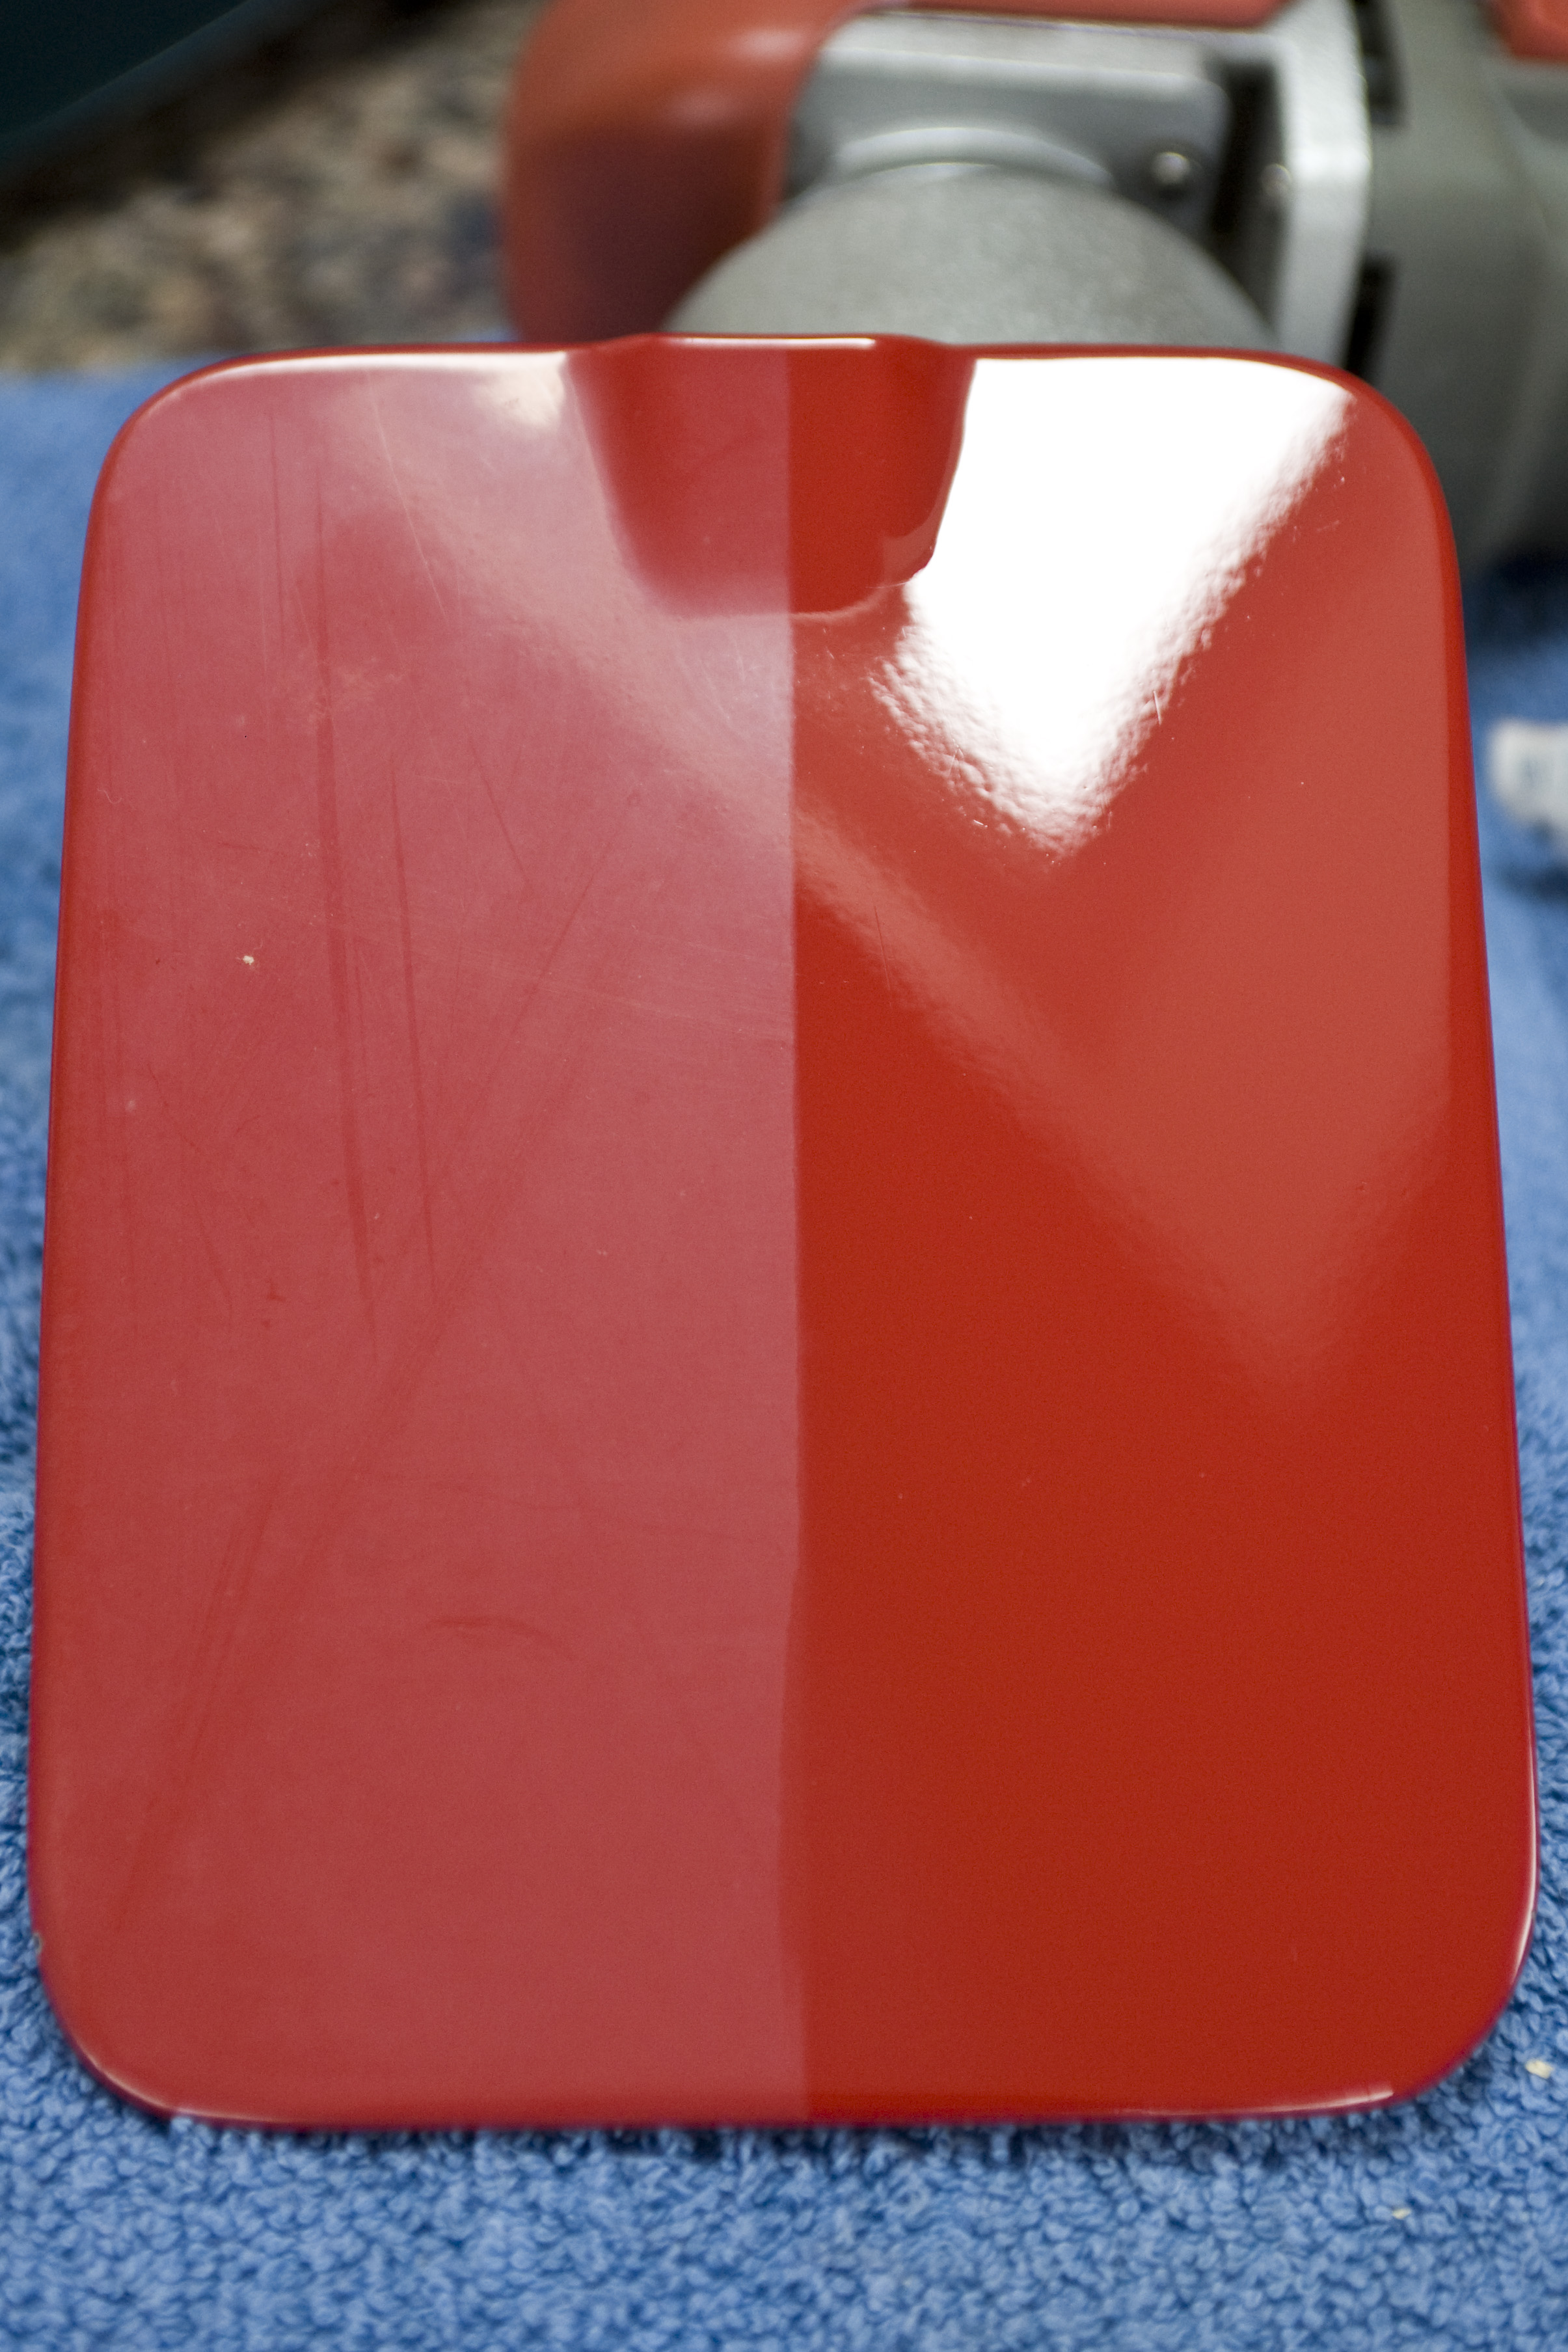
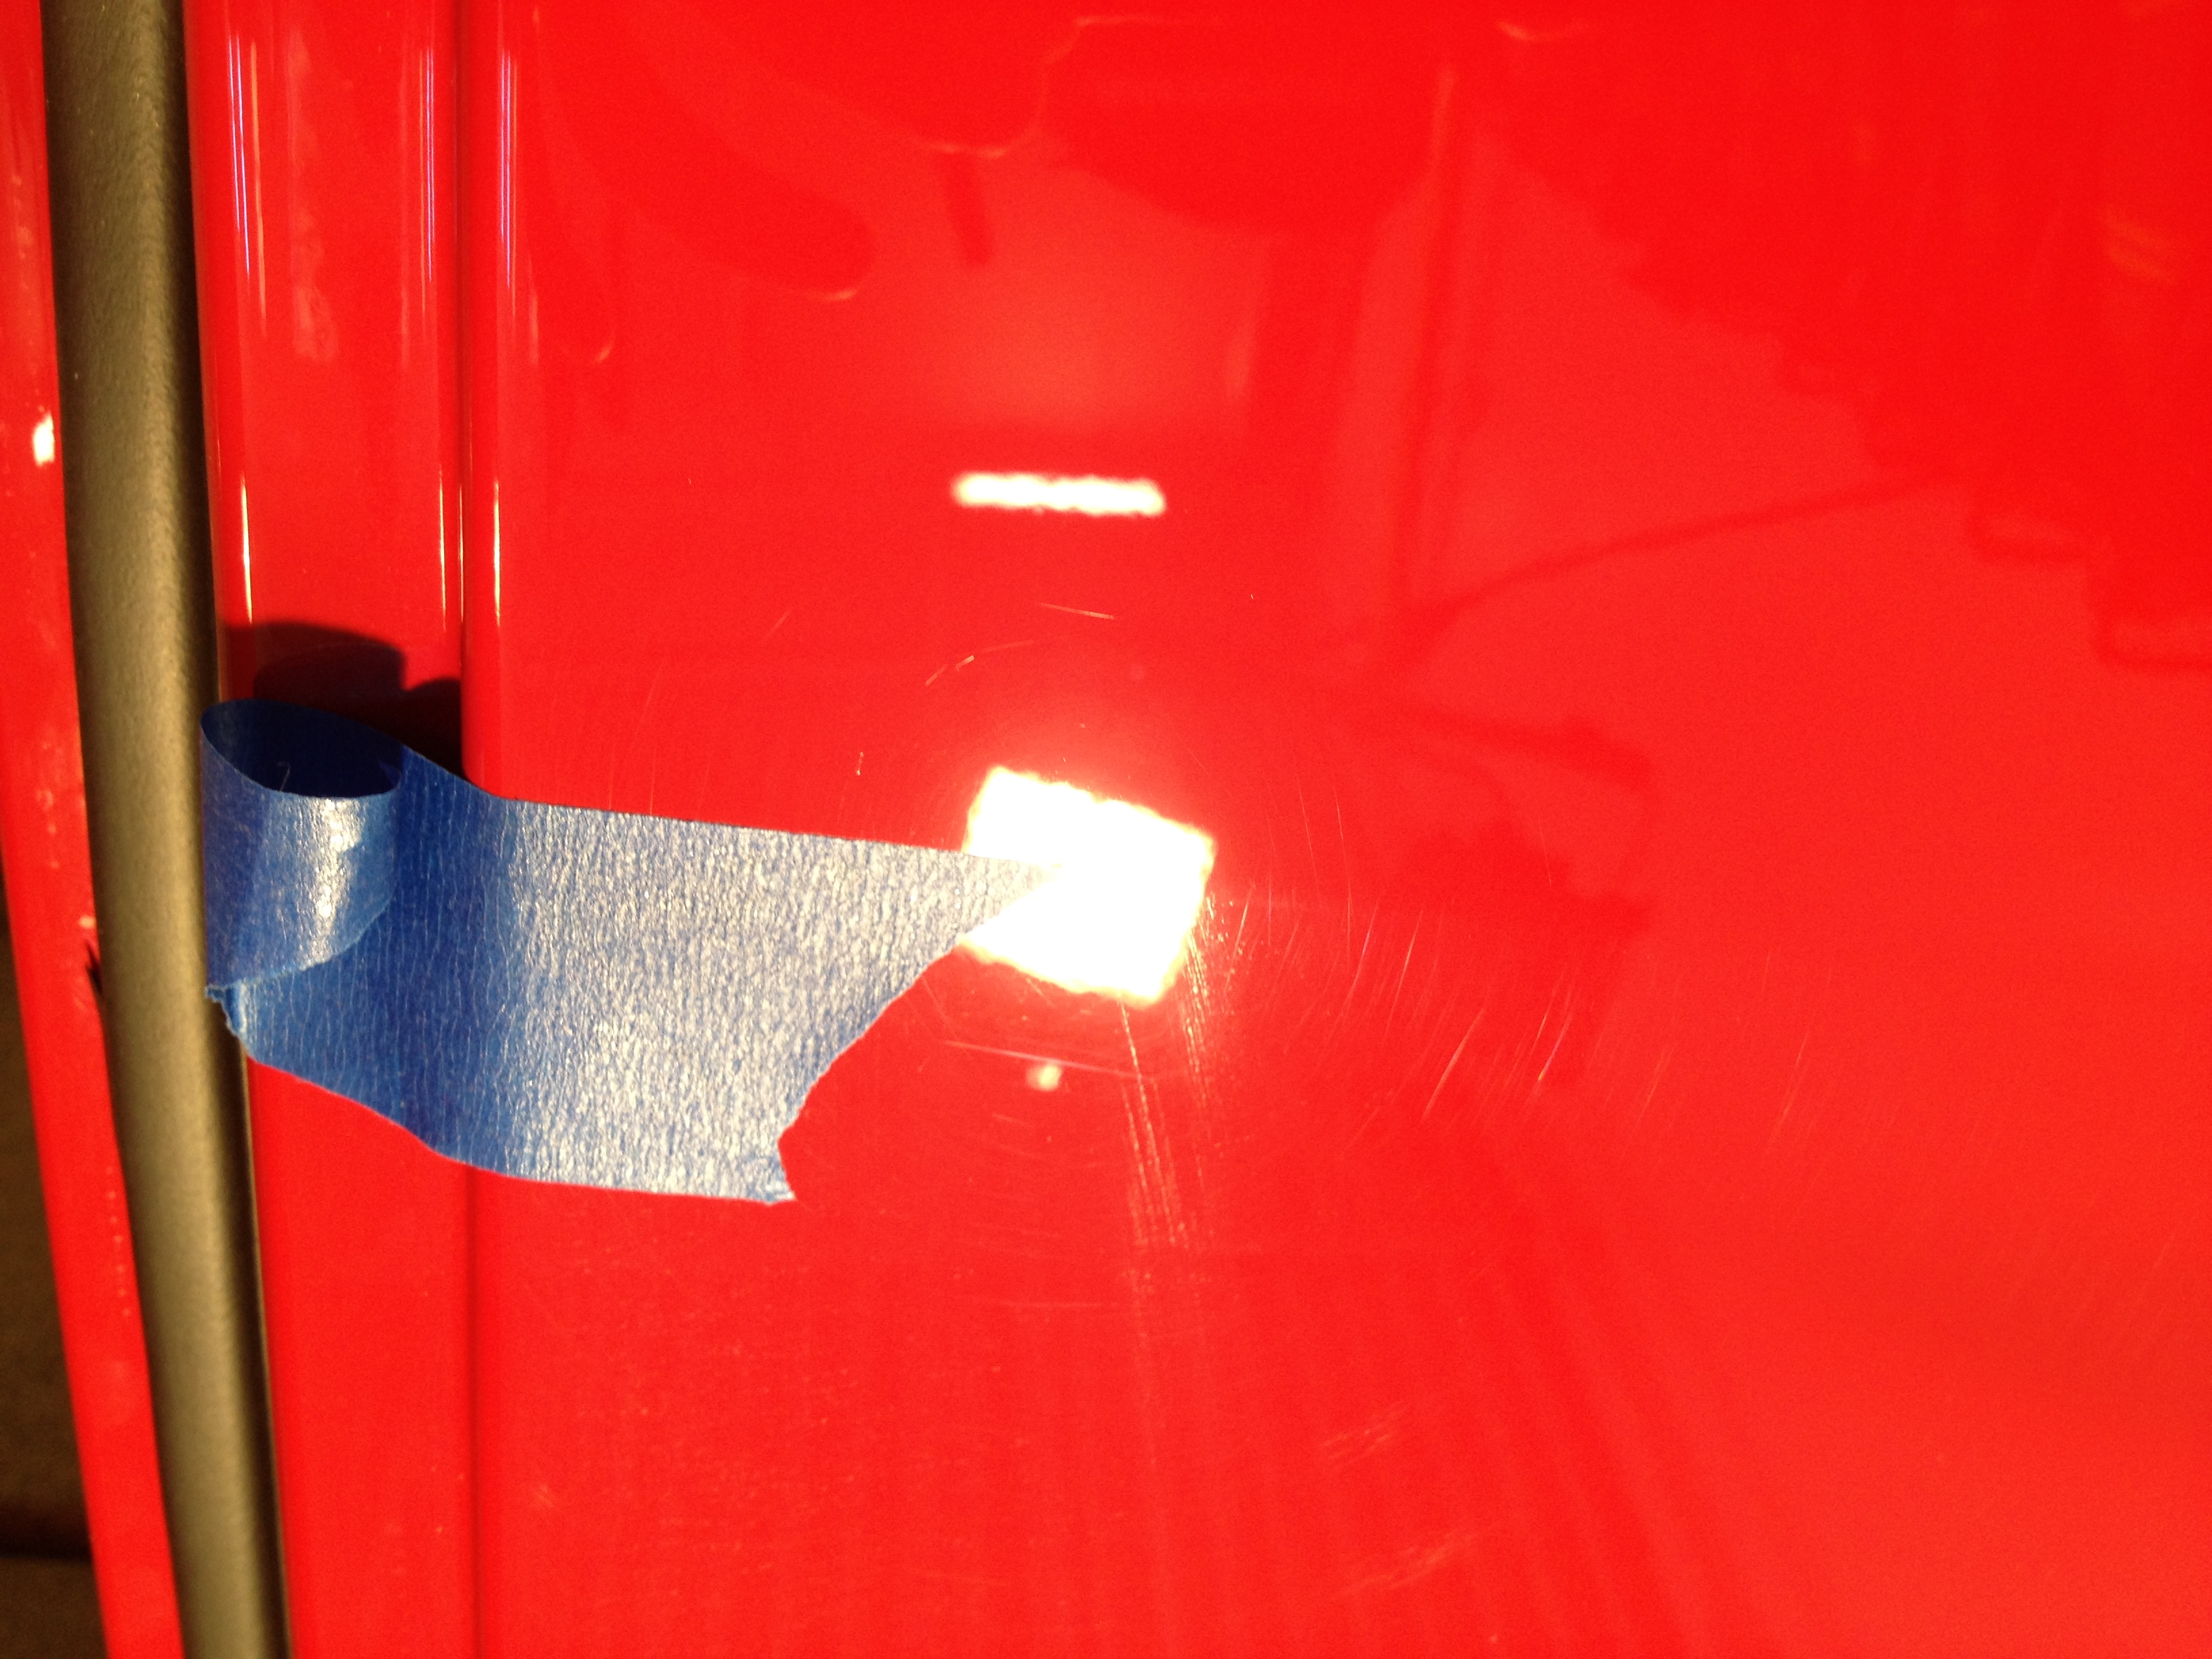
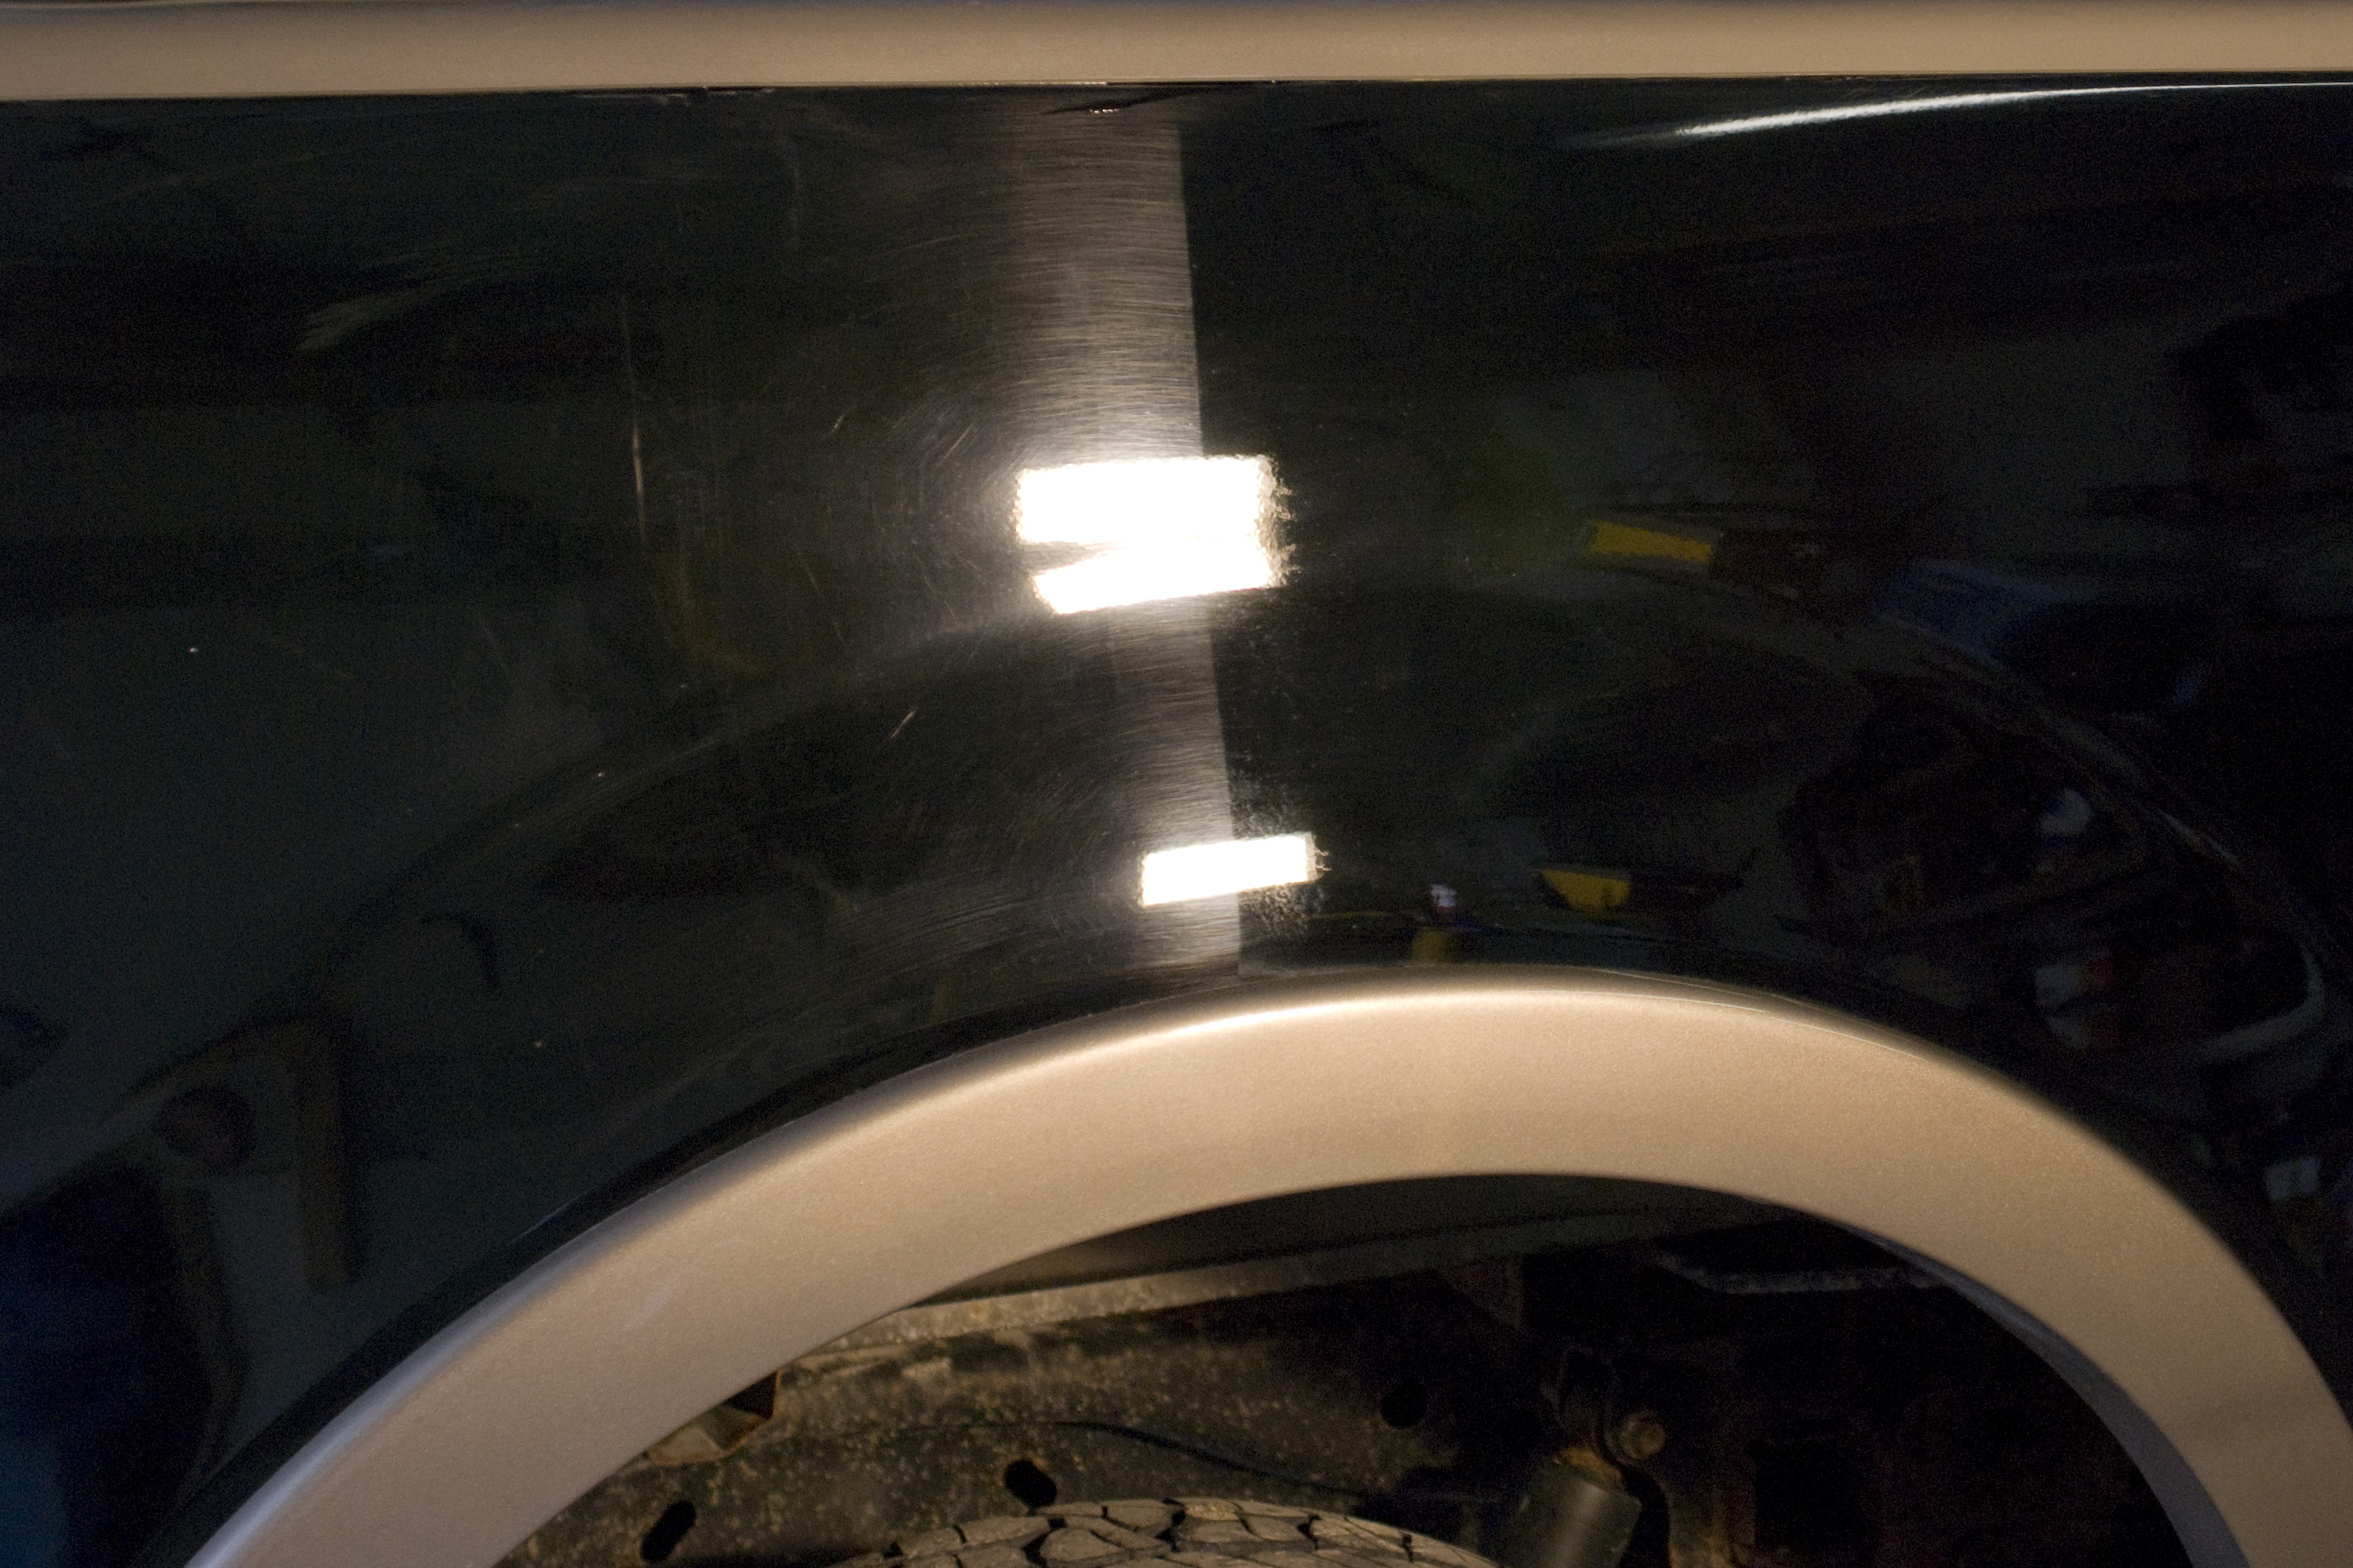
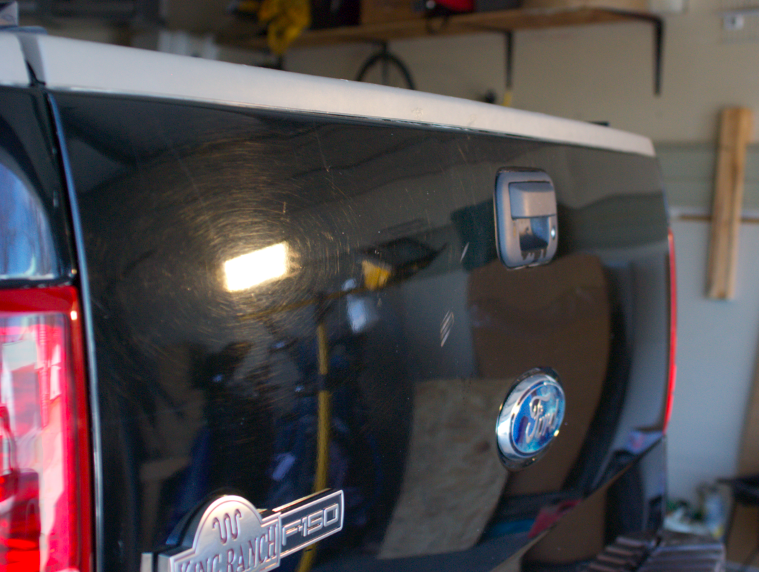
This went all fine and well until we got the the passenger rear quarter panel. It was determined that at some point when they repainted the trunk lid, they had blended clear coat over the pinstripe! This meant that we now had to carefully sand through the additional clear coat which measured between 40 and 50 microns, just to reach the pinstripe. Not willing to step up to a more coarse sandpaper, careful sanding and constant paint thickness measurement ensued. After much sanding, finally that last bit of pinstripe was gone as well. Continue reading “2003 Titanium Silver E39 M5 – Paint Correction + Opti Coat Pro + Gloss Coat”

Jet Black E39 M5 Paint Correction Opti Coat Pro & Gloss Coat

eM Detailing was in Florida to work on M5board member GSFent’s car. This 570hp supercharged M5 came in Jet Black, a very soft and difficult color to work with. Over the course of the car’s life the soft black paint had acquired many swirls and light scratches. At some point a “detailer” with a rotary polisher left some unsightly holograms in the paint as well. There was also a film buildup of hard water and a little bit of etching from bugs (click any picture to enlarge).

FL Detail001dsc_3366 BMW M5 Detailing

Jet Black BMW Detailing FL Detail004dsc_3375

E39 M5 Detailing

As usual, we started with decontaminating the exterior with a thorough wash and iron removal step, as well as clay bar where needed. Before starting on the paint correction, the interior got a thorough wipe down and vacuum and we focused on cleaning the leather and stitching on the M-Sport steering wheel. All leather was then conditioned and various stains were removed from the carpet.

FL Detail014dsc_3388FL Detail015dsc_3390

Some overspray from a leather dye job.

FL Detail016dsc_3389 FL Detail017dsc_3391

Did you know there can be as many as 700 different germs per square inch of steering wheel? That is 9 times more than a public toilet! As we cleaned the steering wheel and the M-Sport Stitching the wheel was restored to its original matte lustre.

FL Detail006dsc_3382 FL Detail007dsc_3383

FL Detail010dsc_3384 FL Detail011dsc_3385

FL Detail012dsc_3386 FL Detail013dsc_3387


FL Detail022dsc_3396 FL Detail023dsc_3397

Few coffee spots here and there, no match!

FL Detail020dsc_3394 FL Detail021dsc_3395

FL Detail018dsc_3392 FL Detail019dsc_3393

FL Detail034dsc_3462

Unfortunately there was a lot to be done, and not a lot of pictures were taken. Here are just a few shots showing the difference.

Jet Black BMW Detailing FL Detail026dsc_3407

Contrast between door (unpolished) and quarter panel.

FL Detail027dsc_3409 FL Detail028dsc_3411

After paint correction the entire car was coated in Opti-Coat Pro, which was then topped in Gloss Coat for even more shine and slickness. The wheels were cleaned and Opti-Coated as well.

Opti Coat Pro is a ceramic coating applied after paint correction that provides wax like properties of water beading and UV protection, permanently. Opti Coat Pro does not strip off and cannot be removed other than through heavy compounding. We topped the Opti Coat Pro with Gloss Coat, which provides even more shine and slickness for up to two years. No need to wax again, ever! Below is a video of this car repelling water with Opti Coat Pro alone, once we added gloss coat, repellency went up, like this silver M5’s video(scroll down).

FL Detail033dsc_3458 FL Detail032dsc_3452 FL Detail031dsc_3448 FL Detail030dsc_3446 FL Detail029dsc_3440


2003 Alpine White E39 M5

Like the Chiaretto Red, This 2003 Alpine White M5 came to us all the way from Chicago for a paint correction and ceramic coating. The owner was already familiar with the benefits of Opti-Coat from his other car, and wanted his new M5 to have the same quality protection.

Finisheddsc_8376

We started with a deep cleaning, pulling off trim, tail lights, and aftermarket badges. The drive from Chicago had taken a few insects out of the gene pool, a generous dosing of power clean melted them right off the leading edges of the M5

Finisheddsc_9618

We removed the carbon fiber knockoff emblems, not even the gorilla glue utilized was a match for the proprietary BMW roundel removal tool (click to enlarge pics):

Finisheddsc_9631Finisheddsc_9633Finisheddsc_9635

In fact, we made a video of the process featuring the specialty tool:

We know BMW’s, especially E39’s, and all their dirt accumulation areas. Trim and lights were removed and soon the car looked like it had entered a chop shop.

Finisheddsc_9623 Finisheddsc_9622Finisheddsc_9621 Finisheddsc_9684

Another concern the owner had was the poor touch up job done on the front of the car; although it looked like someone had used whiteout to touch up paint chips, in reality we suspect this is due to the huge paint brush that comes with BMW touch up paint. Ironically, all the excess paint remained, except on the actual paint chips.

Finisheddsc_9645 Finisheddsc_9644_1

We wet sanded away the excess paint, and reapplied (with a fine point brush) new touchup paint where appropriate. Sanding marks were later polished away with compound (making sanding marks disappear is still one of life’s miracles).

Finisheddsc_9648 Finisheddsc_9687

And on to the polishing, click to enlarge.

Finisheddsc_9691 Finisheddsc_9692

Finisheddsc_9665 Finisheddsc_9668Finisheddsc_9661 Finisheddsc_9662

Headlights were refreshed and window trim was polished to a high shine

Screen Shot 2014-08-12 at 1.45.55 AM Screen Shot 2014-08-12 at 1.45.39 AM

The trunk lid had been repainted, badly. The difference in paint texture had trapped pollutants and slowly changed the color of the trunk lid to an off-white/beige. This was mostly noticeable after we polished away the contaminate. The trunk, matched much more closely with the rest of the car now. There was a significant amount of overspray on the front fender as well. We got rid of all of it, though forgot to take a picture so you will have to take our word for it..

Finisheddsc_9700Finisheddsc_9678

All trim pieces were cleaned and treated with 303 Aerospace protectant. Finisheddsc_9704 Finisheddsc_9729 Finisheddsc_8358 Finisheddsc_8350

The style 65 wheels were removed, cleaned, and coated with Opti-Coat. The owner accused us of performing magic on the wheels as he did not recognize them anymore 🙂 Tires were dressed in 303 aerospace protectant, and exhaust tips were polished up as well, revealing the dual wall construction.

Finisheddsc_9715 Finisheddsc_9717

Following a final inspection, the car was prepped, and coated with Optimum Opti-Coat 2.0. We finished the day with a photoshoot, my own Titanium Silver M5 made a cameo as well, sporting its fresh coat of Gtechniq EXO.

Finisheddsc_8345 Finisheddsc_8348 Finisheddsc_8350 Finisheddsc_8356 Finisheddsc_8358 Finisheddsc_8361 Finisheddsc_8365 Finisheddsc_8372 Finisheddsc_8376 Finisheddsc_8378 Finisheddsc_8385 Finisheddsc_8389 Finisheddsc_8392 Finisheddsc_8394 copy Finisheddsc_8399 Finisheddsc_8403


BMW E30 325is Transformation!

This very clean 1990 BMW E30 came to us in a variety of red shades. Originally, this BMW was painted in a single stage paint, meaning the paint was not topped with a clear coat like most modern cars. In addition to adding depth to the paint, clear coat serves to protect the pigment from UV rays. Without this coat, paint can oxidize and lose its luster.

Finisheddsc_9552

The beauty of single stage paint however is that by polishing away the top layer of oxidized paint, you reveal a fresh new coat, while eliminating scratches, swirls and etch marks, restoring its original condition. However, without UV protection, the paint will oxidize again, so in addition to a paint correction, we topped this car with Gtechniq’s EXO; a remarkable product providing UV protection, while leaving a deep gloss and incredible repelling properties for 2 years!

Finisheddsc_9567

We started with a solid cleaning and measured the paint thickness around to car to ensure we have enough paint to safely polish. Other than the C-pillars, we had a comfortable working margin, so we were able to get as aggressive as we needed to be to get the job done. That said, we still did a fairly gentle correction to get the stunning results.

10457673_306374112868982_2196858023279631529_o

Progress was slow as we constantly were cleaning our pads to get rid of built up paint residue. But encouraged with the great results and the E30’s small surface area, we finished the whole correction in a day. Here are some before/after split shots, click any picture to enlarge.

Finisheddsc_9554

Finisheddsc_9551


The front right fender was resprayed and as a result had clear coat on it, prior to the correction, it did not match the passenger side door, which was more on the pink side.

Finisheddsc_9557


After correction, a remarkable match considering the age difference in paints.

Screen Shot 2014-08-11 at 11.10.10 PM

Following the correction, we topped this car with Gtechniq EXO, a quartz based long lasting sealant. EXO adds remarkable shine and slickness, while offering UV protection and repelling water for ~ 2yrs.

Here is a video the owner made, showing the car and its hatred for water:

Here are some pictures we took after all was set and done:

Finisheddsc_9606 Finisheddsc_9601 Finisheddsc_9575 Finisheddsc_9602


Chevy Camaro Scratches and Scuffs

This 2010 Camaro was among the first of the new body style cars to be delivered in Spring of 2009!

Camaro

Over the course of 5 years it has picked up some scuffs and scratches here and there. We performed a single stage correction to restore the paint to like new status, and diminish, if not remove some of the scratches. We also had a few areas of hardened tree resin / sap, and light etching of the clear coat from bird poo. (click any picture to enlarge)

19dsc_9363

20dsc_9364Wheels got cleaned with Sonax Full Effect, a finish safe cleaner that eliminates brake dust by chemically dissolving it – turning red as it does.

21dsc_9367
Other than the scratched areas, the paint was in rather good condition, we decided on a single stage correction with Optimum Hyper Polish, on a Flex 3401 polisher.

35dsc_9436

Shine was quickly restored to the Cyber Gray Camaro, as minor scratches and swirls fell victim to the Flex 3401’s unrelenting appetite for defects! Then we focused on this scuff on the wheel arch, courtesy of a garage.

You can tell in the light where the car scraped along some framing. For dramatic effect, we taped half of it off, and attacked the other half with a compound and polish combo. Only a trained eye can spot the defect now if they knew where to look for it.

29dsc_9403 32dsc_9407


Then there was the cement post..

22dsc_9369


Although many of these scratches extended through the clearcoat, I was confident we could make a difference in appearance and make it less noticeable. For experiment’s sake we started by taping off a little area on the bumper, wet sanding it, and then compound and polishing it. The gray vertical line is where we sanded, to the right of it we polished out the sanding marks – you can tell right away a reduction in scratch intensity.

24dsc_9376


Encouraged by what we saw we did the whole thing. Wet sand first..

25dsc_9381


Then compound and polish.

26dsc_9386


Due to the depth of scratched,  a complete restoration would require bodywork and a respray. We were able to markedly reduce the appearance of the damage, such that it’s no longer the first thing you notice!

34dsc_9420


To wrap things up we topped the Camaro with Opti-Seal for long lasting shine and protection. Here are some more after pictures:

39dsc_9445


1999 Ford Mustang GT

Over 15 years of washing, drying, along with some previous body shop (or poor detailing) work had left a fair number of swirls, and sanding marks. In addition, many of the original horizontal surfaces seemed to be suffering from UV haziness, turning the once rich black, cloudy and hazy. The contrast between original paint and repainted surfaces was evident through several different tones of black. (click any picture to enlarge)

09dsc_9321 06dsc_9311


Although we were initially planning on restoring the Mustang’s black paint with a single stage correction and protecting it with opti-coat, it quickly became evident that a single stage correction would not yield results worthy of being topped with opti-coat. Since we had enough thickness to play with, a more aggressive two stage paint correction was decided on.

01dsc_9266 04dsc_9284


We started with a thorough wash and assessed and documented the Mustang’s trouble areas.

03dsc_9274 02dsc_9267


As mentioned, we came across a lot of sanding marks remaining in the repainted areas. In addition, the non-factory paint was very soft, requiring a lot of care to not reinstall new swirl marks.

Screen Shot 2014-07-28 at 2.36.02 PM

The oxidized areas corrected out nicely, and we got rid of all the previous sanding marks.

Screen Shot 2014-07-28 at 3.02.43 PM

All the plastic trim was treated with 303 aerospace protectant, to keep further UV fading at bay. The paint was prepped and Opti-Coated. Car was left to cure overnight.

16dsc_9349 17dsc_9350 18dsc_9352

The results speak for themselves, the Mustang’s aggressive styling was nicely highlighted with the unrelenting shine and mirror like finish.

18dsc_9352 13dsc_9345 17dsc_9350

We got rid of the door ding and scratch on the door without using a single drop of paint! A great case study on the recovery power of a solid paint correction!  If you have a vehicle you would like us to look at, drop us a line and follow us on Facebook!


50/50’s

What does a stage 1 correction look like?

I tend to have a hard time explaining exactly the type of results one can expect with an eM Detailing paint correction. They say a picture is worth a thousand words, I figured a real life sample must be worth more..

On a whim I visited a junkyard in the M5, on a rainy day, wearing dress shoes. Tromping through the mud I purchased and removed with the onboard tools, 5 gas cap filler doors of various cars (a floor mat cleaning is now in order..again)

Following a brief cleaning here are the gas filler doors:

gasdoor001DSC_2709 gasdoor002DSC_2710 gasdoor003DSC_2711 gasdoor004DSC_2712gasdoor005DSC_2713


 From left to right: Hyundai – Volvo – Audi – Audi – Audi (click to enlarge). All had some serious surface scuffing and swirling. The red Volvo panel, being a single stage paint (without clear coat) had oxidized and faded to a whitish pink.

After taping off about half of the surface, I went to work on them with a 3″ griots orange polishing pad on a dual action polisher with Optimum Hyper Polish. This combination is fairly gentle in terms of removing material. As per eM Detailing philosophy, it doesn’t make sense to us to remove too much protection (clear coat) chasing the few deep scratches – to add protection (Opti-Coat).

Scuffy Hyuandia Elantra

Heavy swirling with some deep clear coat scratches present. The soft clear coat corrected very nicely with very little effort.
gasdoor006DSC_2714gasdoor007DSC_2718


(click to enlarge) Altough some of the deeper scratches are still visible, overall, a lot of gloss and depth has been restored by getting rid of the many surface scratches. (To eliminate the deeper scratches we would either sand or polish down to the depth of the scratch)

The Audis / Audï

A lot of gloss and depth again can be attributed to getting rid of the most superficial of scratches. The beige Audi did not like to photograph its progress very well, but we did get a shot of some iron contamination on the surface, this was removed with a clay bar (for a after picture of that, just imagine it gone). Clay bar surface decon is included with our 2.0 wash. (click to enlarge)

gasdoor009DSC_2735 gasdoor008DSC_2725gasdoor014DSC_2759


Volvo Single Stage Paint

I saved the volvo for last, not because I was expecting the most dramatic difference, but because the single stage paint (no clear coat on the pigment) was going to make a red mess of my polishing pad (with polished off paint). Still, this gentle setup was adequate to remove the oxidation revealing a fresh and rich red underneath.

gasdoor011DSC_2742gasdoor013DSC_2753gasdoor012DSC_2743


Paint Correction

I hope this gave you a better idea of the type of improvement possible on your car. Even though these samples came from a junkyard, this surface condition is not uncommon on normal cars. In fact, vehicles come with swirls and scuffs from the factory!

All but the Volvo were from the mid to early 2000’s, really not that old. This type of swirling is the results of improper washing techniques, and once corrected, can be prevented with the application of hard wearing top coats (such as Opti-Coat) and a proper washing and drying routine.

If you are interested in getting a quote for restoring your vehicles to its showroom days, contact us for a free consultation.


Our Detailing Story

Detailing Passion backed by Science

As a teenager, I would not even think twice about washing my car constantly, and waxing at least once a week! My time and energy was endless, and I tell you, I had one of the shiniest 20 year old SAABs around! I learned detailing at my first job. It, however, was mostly a wash, vacuum, and wax operation. Like most detailing operations, there was no time to get any real paint correction done.

Protect your dream car, or your daily warrior!

Fast forward through college, where time and washing opportunities were limited, I needed to be more discerning with how and when I kept up my then 10+ year old BMW e34. I learned to wash in dorm parking lots with no rinse washing techniques, originally developed for water restricted places, and picked through waxes and sealants to find long lasting protection.

When life finally afforded me the opportunity to buy my dream car, the e39 M5, I knew I had to find a way to keep it protected and looking its best with the little free time I had.

eM Detailing | Paint Correction

Paint Correction Honda Ridgeline
Single stage paint correction getting rid of years of swirls and marring

eM Detailing’s methods meet two simple requirements: They must be effective and durable. To be effective, we start with the paint, or the clear coat rather: The process of car ownership scuffs and swirls the clear coat. These swirls, although barely noticeable under normal light, look like a nest of spider webs under high output lights. These fine scratches get in the way of a deep gloss, regardless of how much wax you put on top of it. We spend the time to polish these out, carefully! This is the paint  correction step, and what takes the most work. It is also the step that pays huge dividends.

Paint Protection

To protect the freshly polished clear coat, we top it with a tough ceramic clear coat, that will permanently add water and dirt repelling qualities! This protection does not wash off, does not need to be repeated, and will make future car washing quicker! Although you do not need to wax any longer for protection, some still choose to, as it gives them something to on a Sunday afternoon!

For long term protection, we stay away from waxes for a few reasons. Mostly, it is temporary. Application and reapplication involves rubbing the wax on, and rubbing it back off. All this friction increases the chances of scratching the polished surface again! Wax only adds a minute layer on top of the paint. This offers no real protection against the outside world. The ceramic clear coat we apply adds real thickness between your paint and the elements. Thickness, if worse come to worst, we can use to polish out scratches, and start with a new finish, without having to sacrifice your car’s original clear coat.


The Firetrucks

The fire department I serve on as a volunteer just invested in a brand new engine from Pierce Mfg. I was able to visit the Pierce factory in Appleton, WI and see how these remarkable pieces of equipment are built from scratch to each individual customer’s exacting specifications. Naturally, with anything new and shiny, we want to protect it and keep it looking its best, so eM Detailing donated a polish and coating to keep this truck looking its best, while testing our methods on a large scale!

Photo Sep 05, 10 47 14 AMPierce Firetruck being built

Photo Sep 05, 10 42 56 AM


Paint Condition

Depending on the composition of the paint/clearcoat, some coats are rather hard and resistant to scuffing, this truck’s paint unfortunately was quite soft. Despite Pierce’s best efforts in protecting the paint at the factory, the soft fire engine red paint scuffed with remarkable ease. Factor in the nearly 300 mile drive back, and this truck was not the pristine shape desired prior to coating.

Thankfully, this truck, wasn’t quite ready to enter active fire service yet, so I had time to give a good once over with the polisher. Here are a few panels with polished and untouched sections. (click to enlarge)

Photo Oct 14, 12 03 16 PM

fire truck swirl removal

Photo Oct 13, 2 22 39 PM


After polishing about a zip code worth of firetruck paint. The truck got its surface prep, and was Opti-Coated. The truck cured and we will follow up with this after we get the truck good and dirty.

The Grass Truck

Grass Fire Truck

Despite all the surfaces covered, we still had some Opti-Coat left, so I took our Grass Fire Truck in for a swirl (removal) as well.  This truck’s job is to get into fields and chase fire up close. As a results there are many many deep scratches from driving through less than properly trimmed fields.  Before starting polish, a thorough cleaning was required to get rid of the many hard water spots. (Fire hydrant water isn’t exactly softened)

Here are some before pictures showing the extent of hard water spots and swirls:

Photo Nov 03, 2 38 25 PM Photo Nov 03, 2 35 14 PM

Photo Nov 03, 3 18 57 PM


Not wanting to remove too much clear coat, we only did a polishing step to get rid of most the lighter scratches prior to Opti-Coat.  Here are some after shots and 50/50 comparisons. You can tell some of the deeper scratches are still present, but overall there is a greater lustre and dept to the paint.


photo Photo Nov 21, 6 55 06 PM

Photo Nov 21, 6 39 55 PM


We will follow up with this truck as well once we get to grass and field fire season this spring.


Chiaretto Red e39 M5

Full Paint Correction and Opti-Coat on 2002 BMW e39 M5

This 2002 BMW M5 came to us all the way from Illinois for a paint correction and Opti-Coat application.  This e39 M5 arrived Friday evening – to be picked up again Sunday noon. Since there was rain forecast for Sunday (rain that never did come) I set out to have the car fully coated by Saturday night, to allow for the most cure time before it had to get out in the rain.

e39 M5043

Strip Down

As soon as the car went through the intake process, all trim pieces, license plates, and tail lights were removed. Since the car was beading quite well – indicative of wax – the M5 was washed with a dish soap detergent to remove as much wax as possible. (anytime you see my left hand cleaning something, rest assured that shot is staged – my camera operates right handed)

e39 M5003 e39 M5002


The grill got flossed, and any remaining wax residues were cleared out of the crevices

e39 M5009 e39 M5018


Paint Correction

This car was in fairly decent shape, indicative of the great care it has received. The number of visible swirls did not nearly interfere with the shine as much as the Ford from last week, but we still were able to restore a lot of depth and shine back to the paint by polishing away the most minute interferences in the paint. (click any picture to enlarge)

e39 M5012e39 M5015


The late night low light and schedule constraints of this detail, along with the color’s forgiving nature, did not produce the usual amount of dramatic 50/50 photography, but in person, it was easy to see that our hard work was going to be rewarded with a significant depth and clarity increase.

e39 M5005 e39 M5007


As we worked on under the scrutiny of hot halogen lights, we really got to appreciate the full dynamic color range of the Chiaretto Red paint.

e39 M5004 e39 M5006


The owner also specified the he would like us to remove the DINAN badge.

e39 M5023 e39 M5024


After heating the adhesive loose we were able to peel these off. A clay bar and much cleaning took care of the residue adhesive and wax, and the polishing step got rid of the marring that was left behind, leaving a smooth clean surface.

e39 M5030


After a late night/early morning on the first day, copious amount of a special grind were produced to aid in the clarity of the process..

e39 M5001e39 M5020


The headlights were polished – to further correct them would require a sanding step. The car was lifted up to gain better access to the diffuser and bumpers.

e39 M5017e39 M5016


Screen Shot 2014-04-23 at 6.10.21 PMe39 M5019


Wheels were removed, cleaned, and topped with a sealant. Pre-Cat O2 sensors were replaced as well.

e39 M5029 e39 M5028


The car got its final wipedown and inspection, then it was topped with a layer of Opti-Coat to protect our hard work. Following an overnight cure, we reinstalled all that we had removed and went out on the town to get some beauty shots.

If you are interested in shining and protecting your investment, drop us a line for a free consultation and sample area correction . To see all our finished pictures – visit http://studioem.zenfolio.com/red-e39-m5

e39 M5031 e39 M5036 e39 M5038 e39 M5041 e39 M5042 e39 M5044 e39 M5032

http://studioem.zenfolio.com/red-e39-m5

Ford F-150 King Ranch

Exterior Paint Correction Detail and Opti-Coat

King Ranch001

This Ford F-150 came to us with a large amount of exterior swirls and scratches in its black and tan paint scheme, following many miles on Iowa’s gravel roads.

After realizing the potential of this paint after a sample area detail, the owner opted for a single stage correction, protected with an application of a ceramic topcoat (opti-coat).

We started with a thorough cleaning to better assess the paint condition. We found many light swirls and actually very few deeper scratches. Two of the doors had been repainted at one point and there was some orange peel and sanding marks left from that process.

King Ranch005King Ranch016


In addition to the scratches, there was quite a bit of embedded contaminants needing to be removed with a clay bar. A few small round spots on the hood and roof had signs of early clear coat failure – likely due to bird droppings.

King Ranch008

Screen Shot 2014-04-23 at 12.51.25 PM


Here are a few 50/50 shots showing the dramatic difference a gentle polish can make. Most of the shine is robbed by the superficial scratches, getting rid of those pays huge dividends. (click on any picture to enlarge)

King Ranch012 King Ranch013


Even the 4×4 decal is seeing improvement.

Screen Shot 2014-04-23 at 1.02.09 PM King Ranch010


The tailgate especially had a lot of deeper scratches

Screen Shot 2014-04-23 at 1.11.44 PM Screen Shot 2014-04-23 at 1.11.54 PM


After going around the edges and tight spots with a 3″ polisher, it was time to wipe the car down again and prep for opti-coat.

Here it is – outside under the scrutiny of the sun – swirl free with a topping of permanent protection to keep the paint swirl free longer.

Contact us to see what you could expect on your vehicle with our paint correction service.

King Ranch024 King Ranch023

King Ranch026 King Ranch021 King Ranch025King Ranch027


eM Detailing | Paint Correction

Your car does not fit a package or special..
Contact us for your customized detailing plan

Otherwise you would just run your car through the automatic car wash. We are not in the business of quick wash and wax jobs, we are in the craft of paint correction. We will safely polish your vehicle’s clear coat, and protect it with Opti Coat Pro, so you don’t have to come back all the time.

Stingray Corvette

Clean

We start with a thorough cleaning of the exterior, we usually spend a lot of time getting rid of wax stains, railroad dust, brake pad residue, tar, and dried insect guts. Ever notice how you seem to have swirls that come up a few weeks after you get your car “detailed”? They simply masked the problem with wax containing fillers. Removing all wax and filler residue, the true condition of your paint can be assessed and documented.

Correct

We will choose a course of action that produces the best results, while leaving as much of your car’s original clear coat intact. Removing protection to add protection does not make sense to us either..

We will perform a single stage paint correction to get rid of gloss robbing swirls. Don’t think you have swirls? Under a 1000 watts of lighting you do. If you really do not have any, well you just saved some money on prep. Click on these pictures to see what a single stage paint correction will do for you. For more dramatic examples, check out these 50/50 panels we did for marketing.

accord swirl free Paint Correction Honda Ridgeline Tahoe swirl removal fire truck swirl removal

Protect

After putting all that time into restoring your paint, we need to protect it. We top our freshly polished vehicles with a hard wearing, filth repelling, shiny new ceramic clear coat. Unlike waxes, this will not wash off and it actually adds 2 microns of thickness on top of your vehicle’s original clear coat, leaving a valuable buffer between the paint and the elements.

Look how used motor oil wipes right off this BMW M5 protected with Opti-Coat (ps, the sprayer contains our no-rinse washing solution)

Shine

Although your new coating adds some depth and gloss, its main purpose is in providing protection. We can add more shine with a fully synthetic polymer sealant, for a deep gloss and slickness that makes it look like your car is encased in glass. This product is wipe on walk away, meaning no excessive wipe on wipe off routines that increase the potential for scratching. In addition, it dries clear, keeping your freshly cleaned trim devoid of white wax residue.

Maintain

You will find your slick new ride keeping cleaner longer, thanks to the new repellent coating. But there will be a time when you will need to wash it. As you take delivery, we will recommend some best practices to keep your car from getting swirled up again, using fast, safe, and low water solutions. Though we would be happy  to wash it for you and top with some sealant to show off a bit. Good washing habits are key to keeping your car swirl free for the long run.

Whatever you do, stay away from those brushes at the carwash. Contact us to get a free estimate, and develop a detailing plan