

What does a stage 1 correction look like?
I tend to have a hard time explaining exactly the type of results one can expect with an eM Detailing paint correction. They say a picture is worth a thousand words, I figured a real life sample must be worth more..
On a whim I visited a junkyard in the M5, on a rainy day, wearing dress shoes. Tromping through the mud I purchased and removed with the onboard tools, 5 gas cap filler doors of various cars (a floor mat cleaning is now in order..again)
Following a brief cleaning here are the gas filler doors:


From left to right: Hyundai – Volvo – Audi – Audi – Audi (click to enlarge). All had some serious surface scuffing and swirling. The red Volvo panel, being a single stage paint (without clear coat) had oxidized and faded to a whitish pink.
After taping off about half of the surface, I went to work on them with a 3″ griots orange polishing pad on a dual action polisher with Optimum Hyper Polish. This combination is fairly gentle in terms of removing material. As per eM Detailing philosophy, it doesn’t make sense to us to remove too much protection (clear coat) chasing the few deep scratches – to add protection (Opti-Coat).
Scuffy Hyuandia Elantra
Heavy swirling with some deep clear coat scratches present. The soft clear coat corrected very nicely with very little effort.

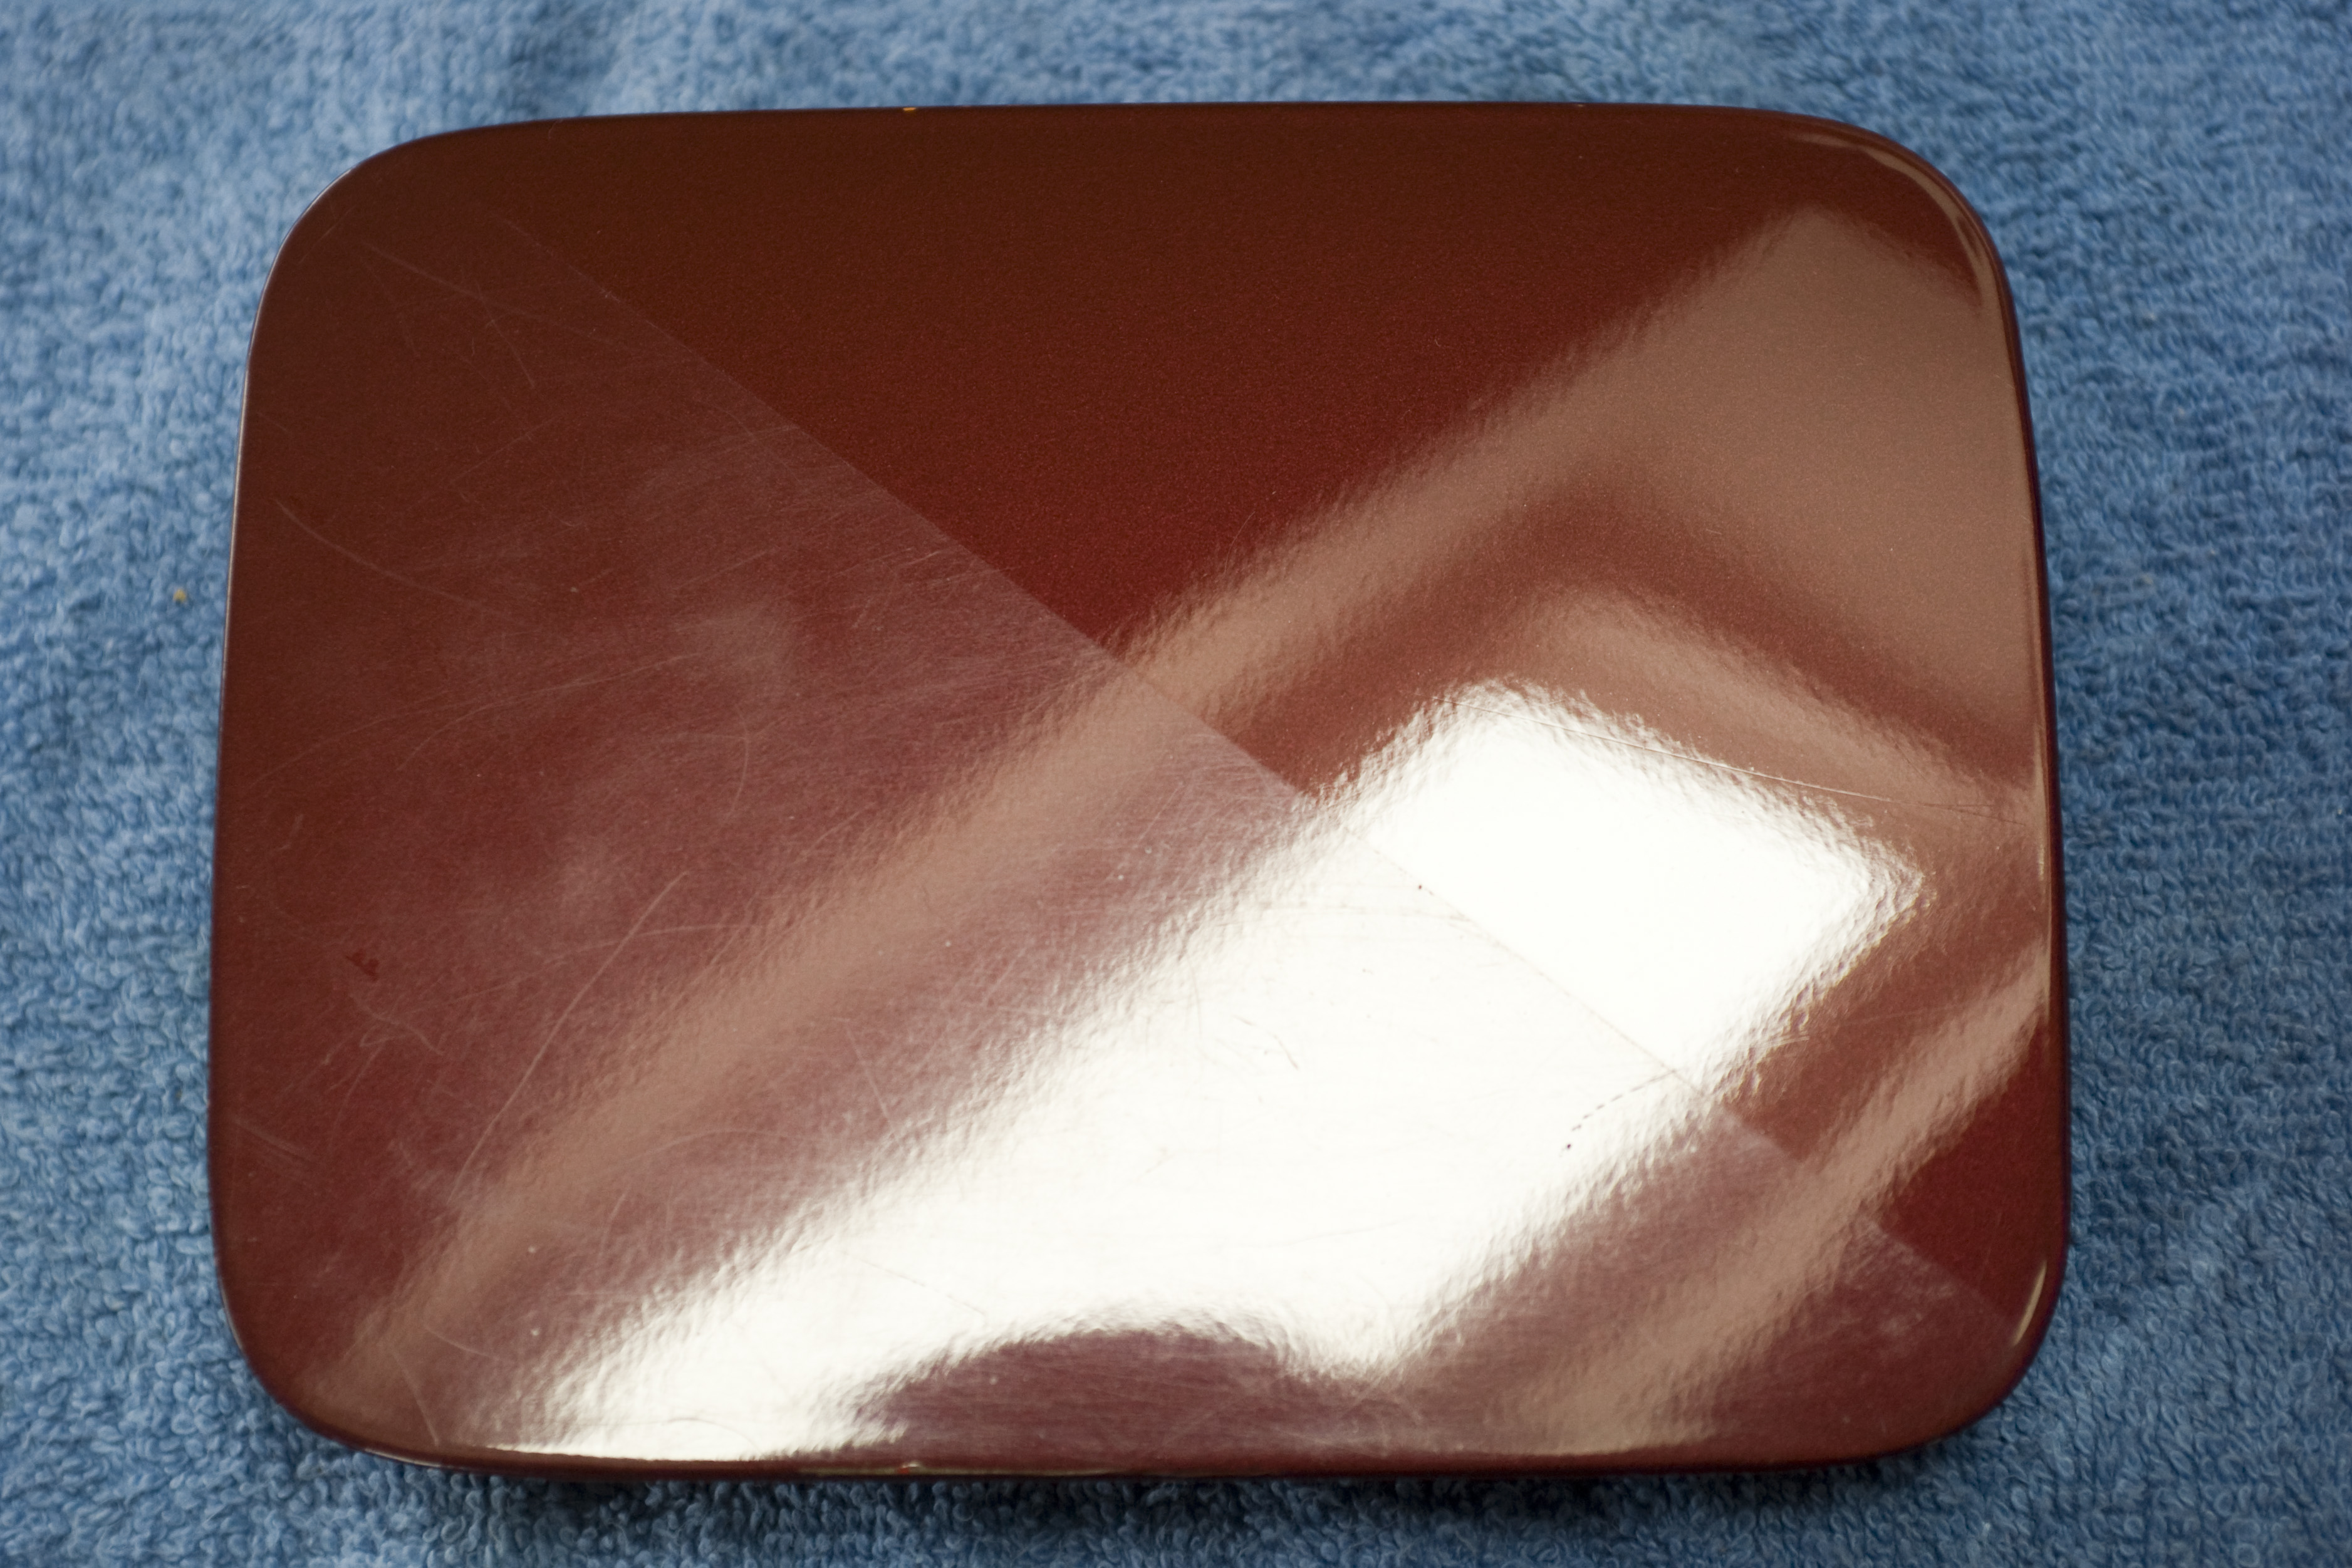
(click to enlarge) Altough some of the deeper scratches are still visible, overall, a lot of gloss and depth has been restored by getting rid of the many surface scratches. (To eliminate the deeper scratches we would either sand or polish down to the depth of the scratch)
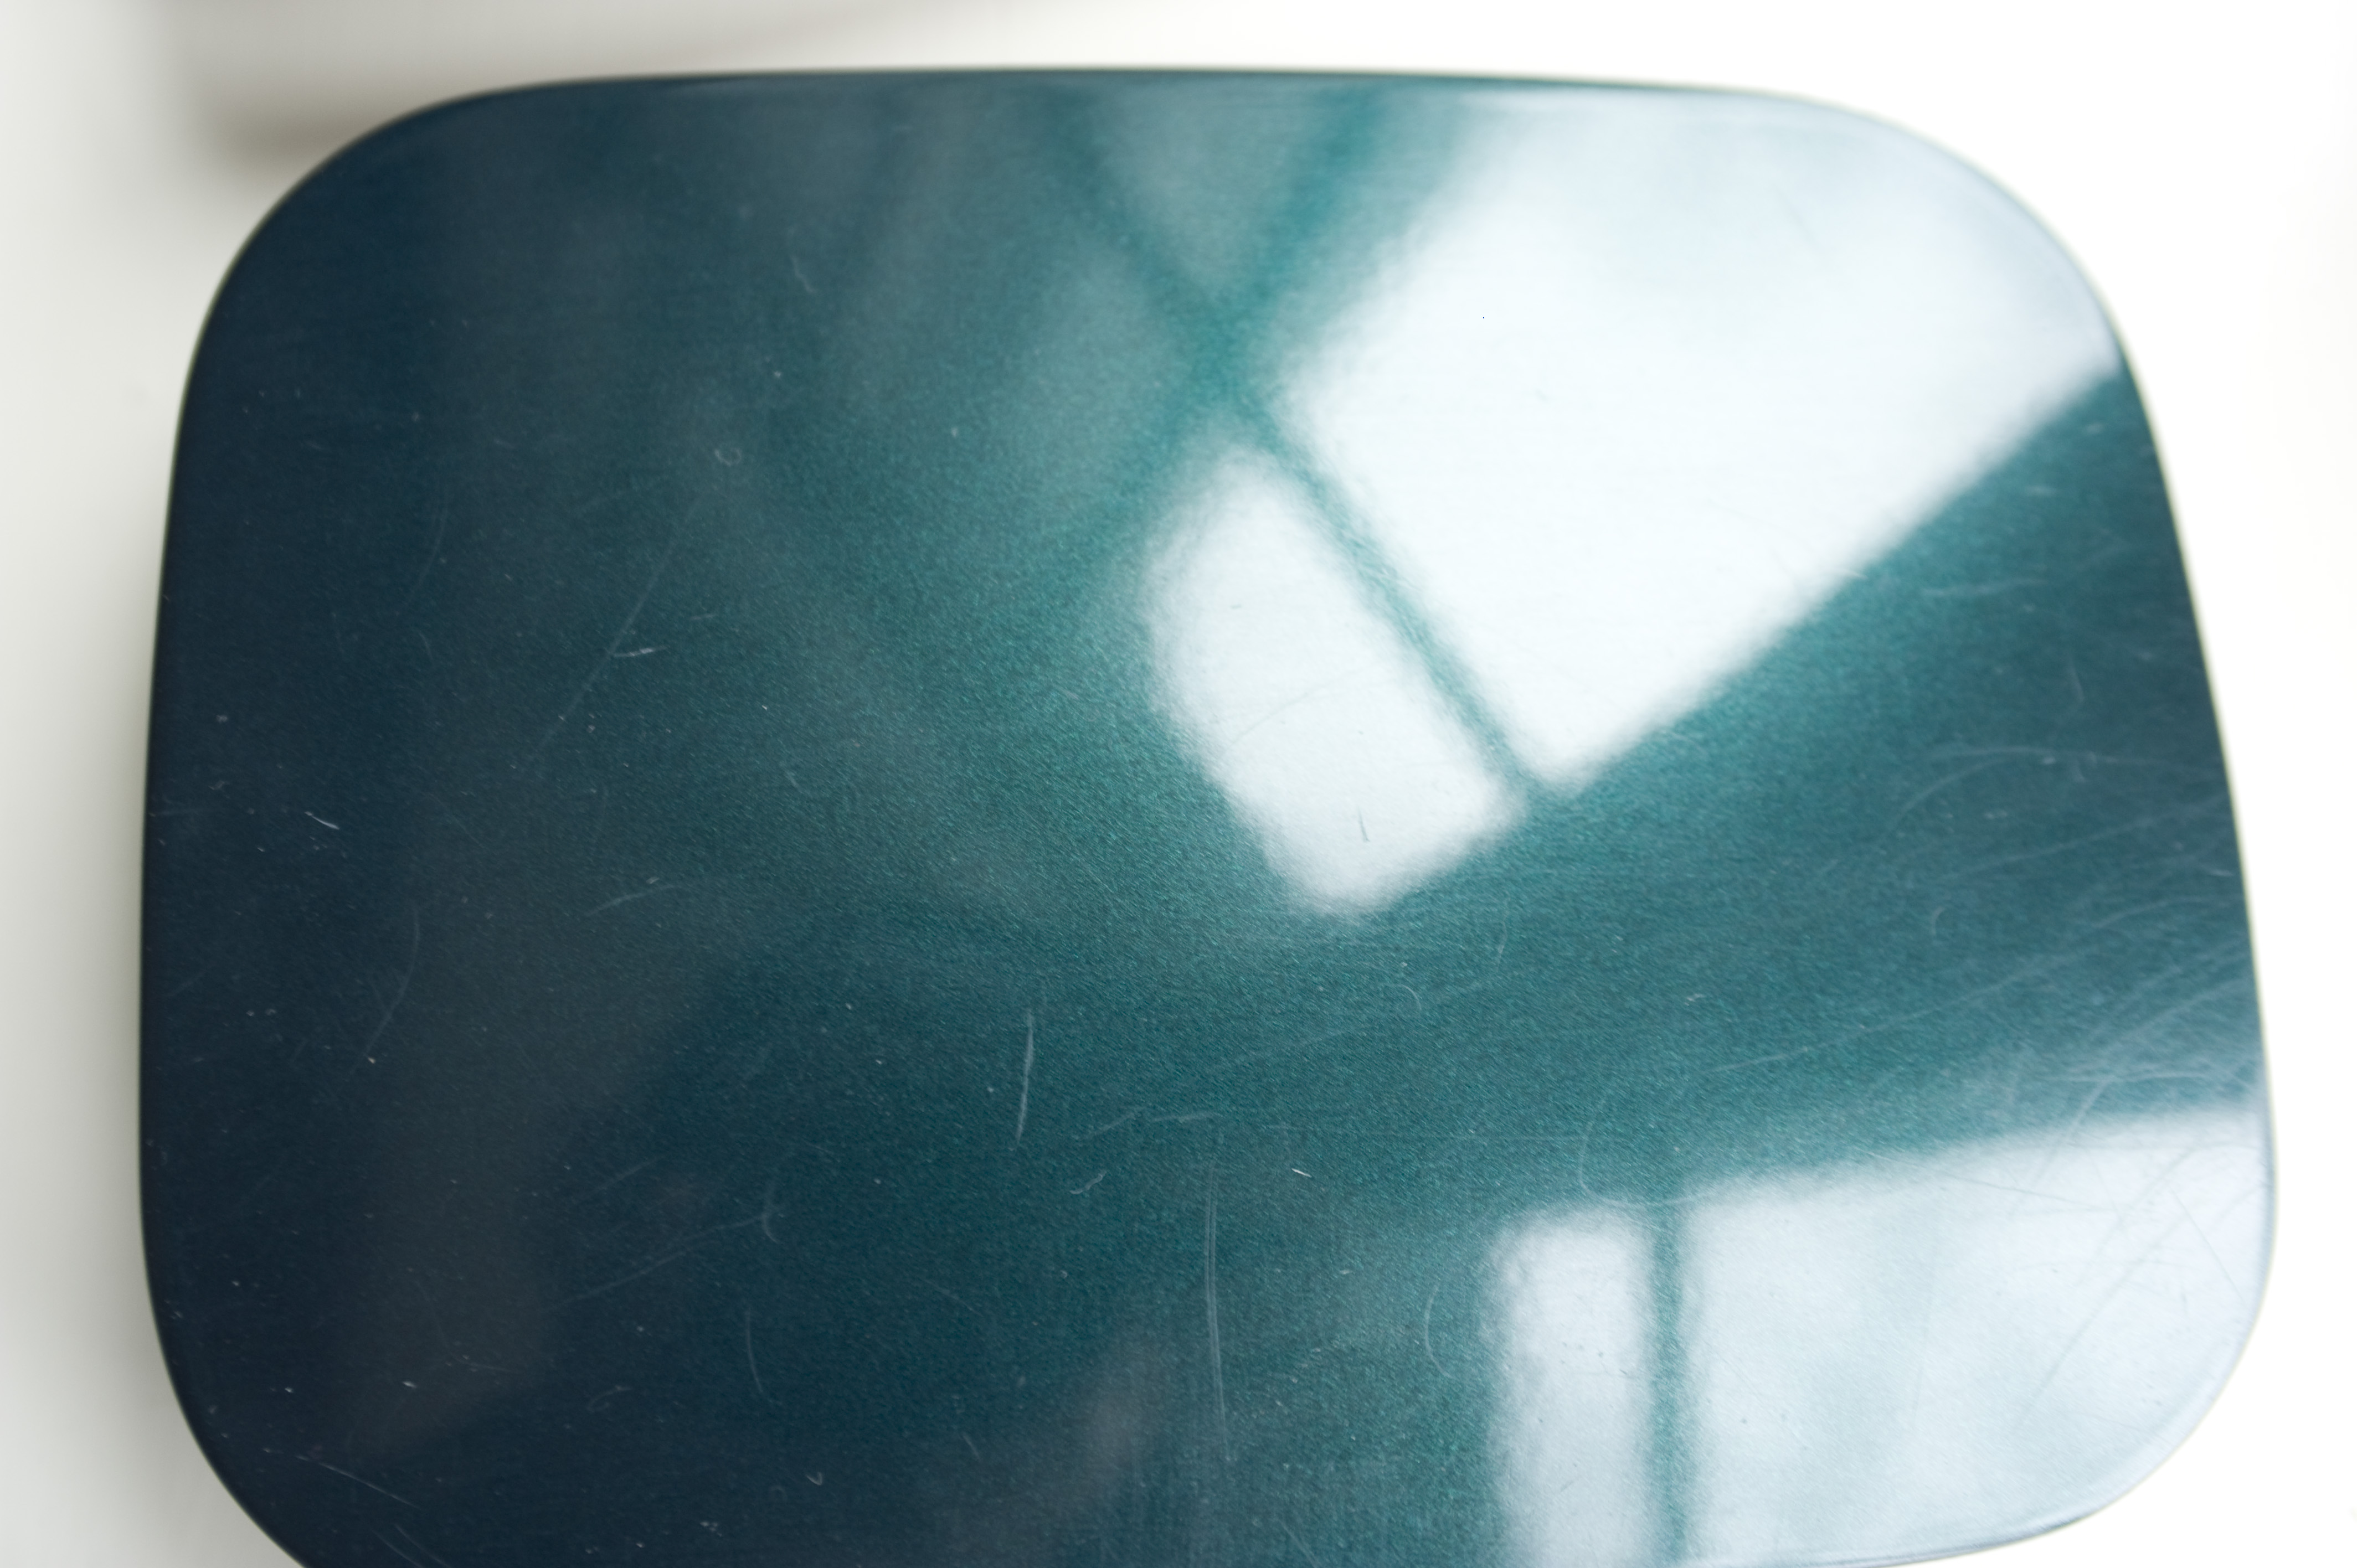
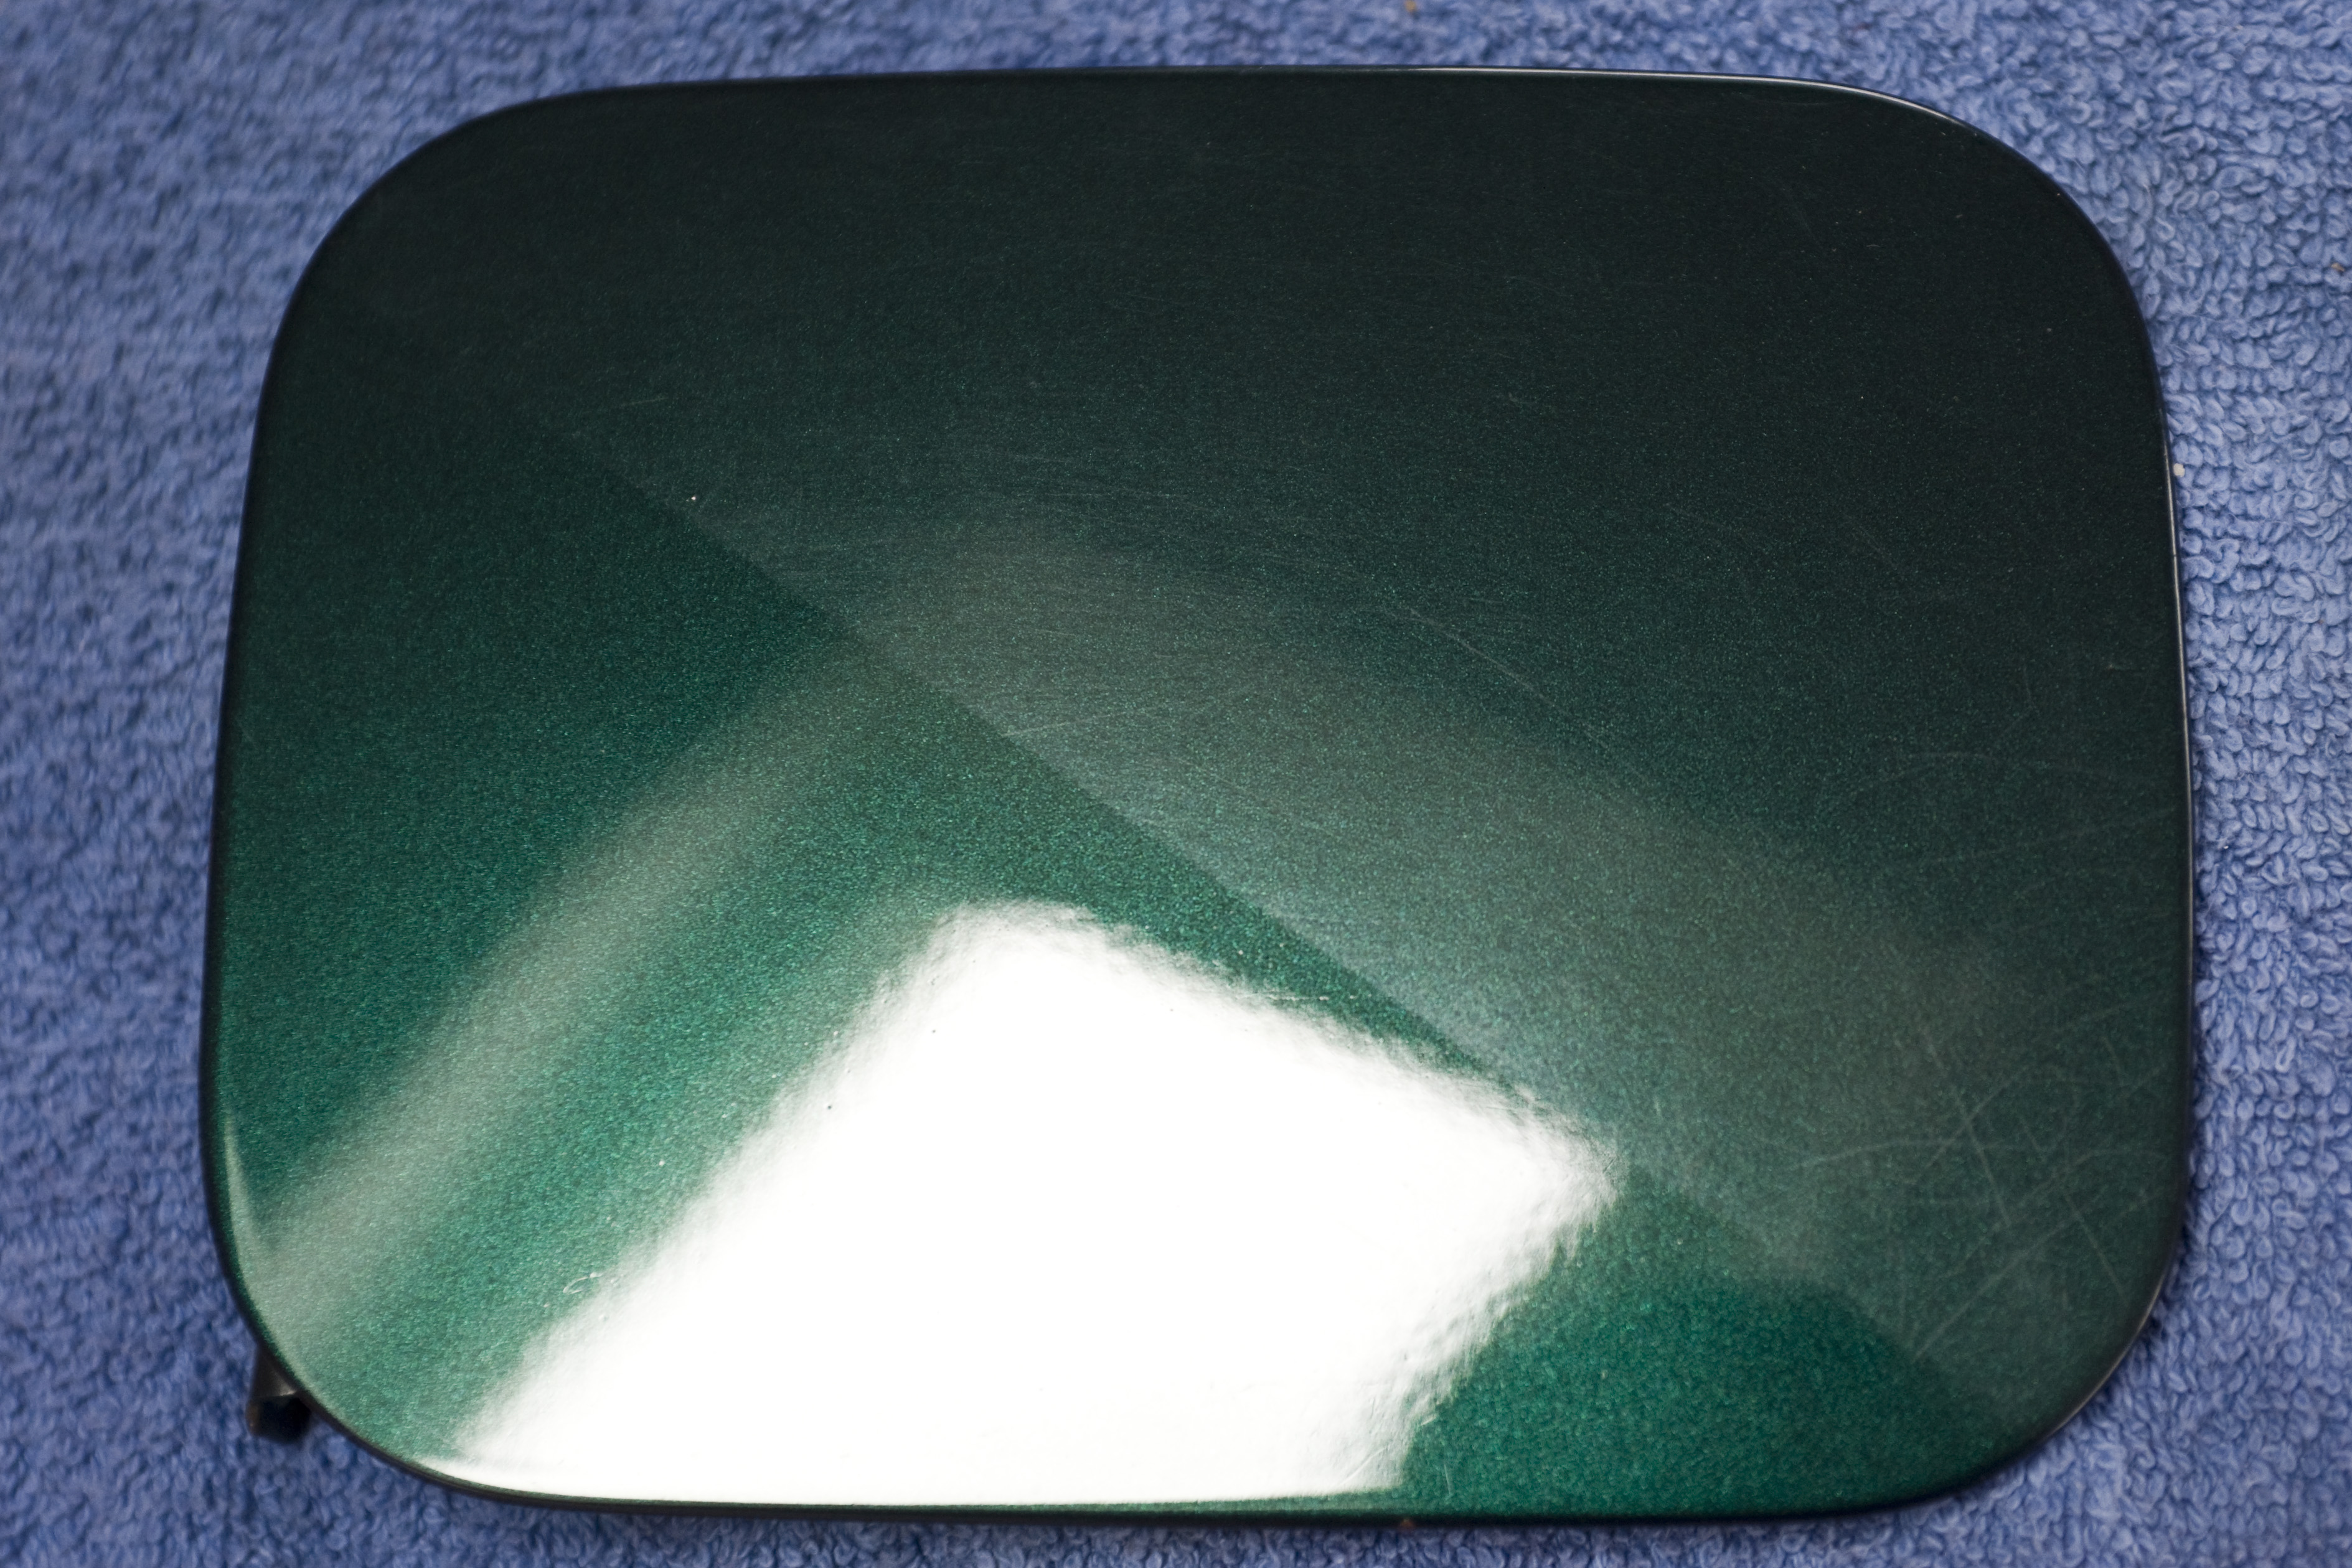
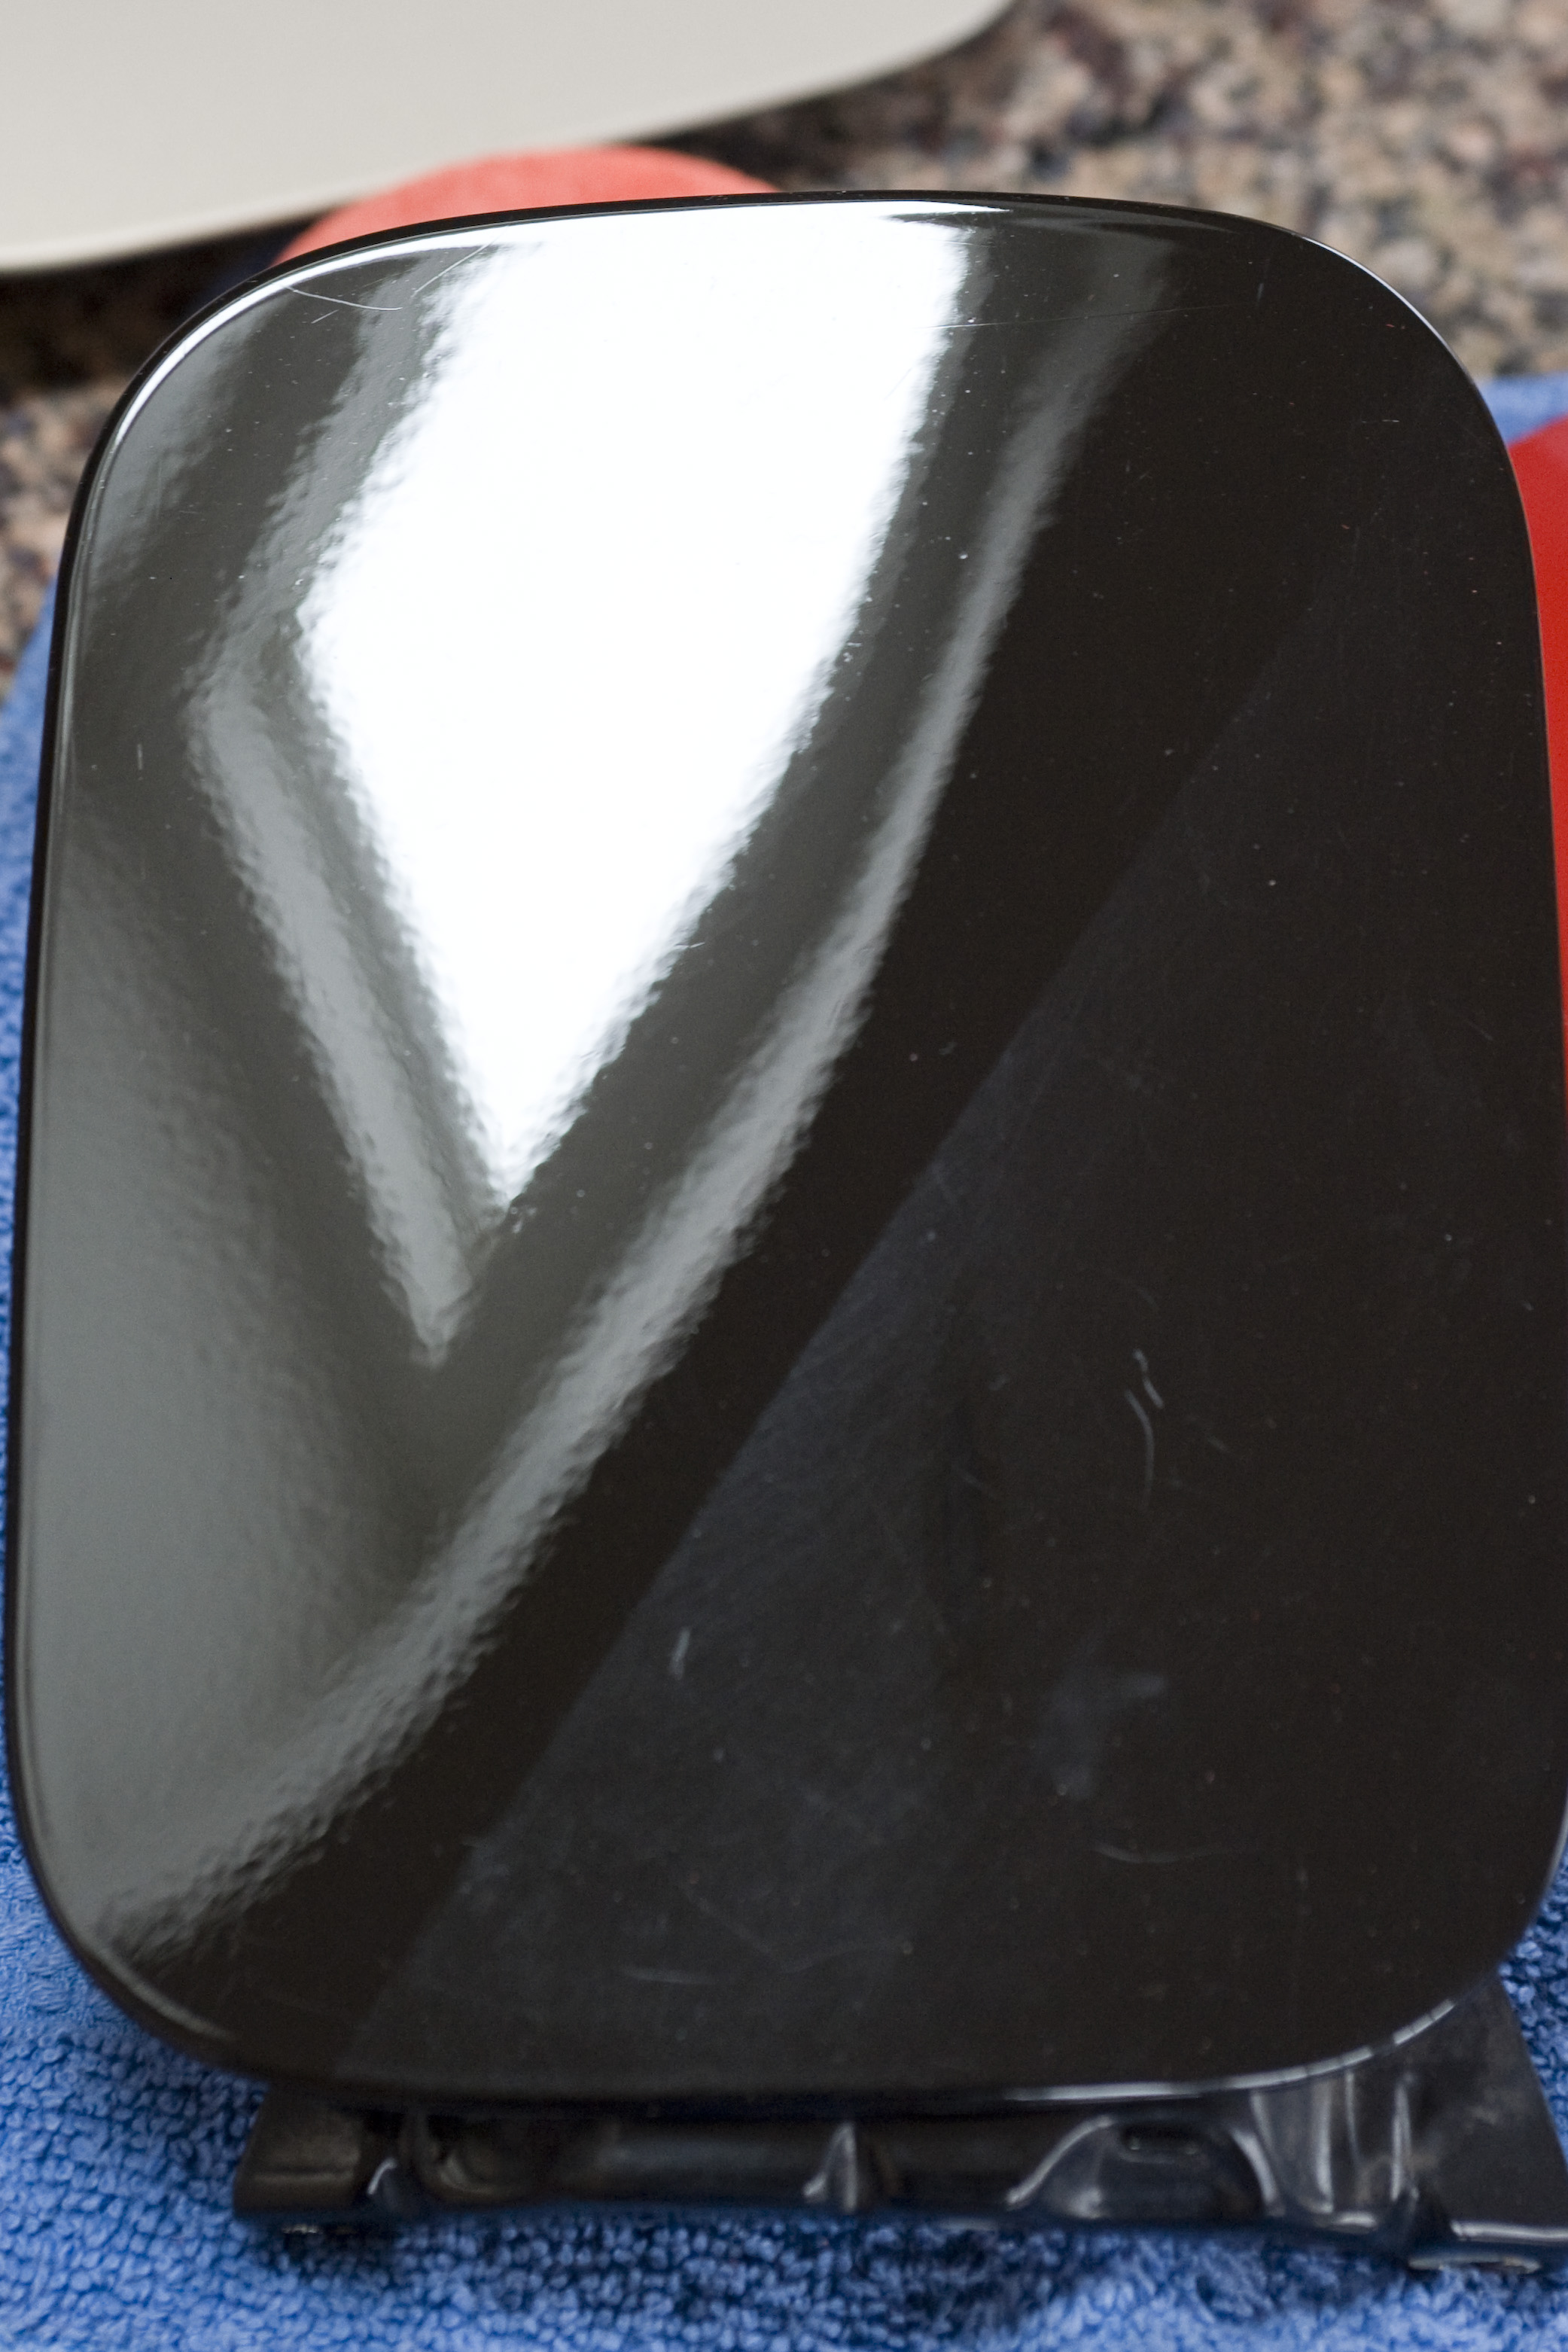
The Audis / Audï
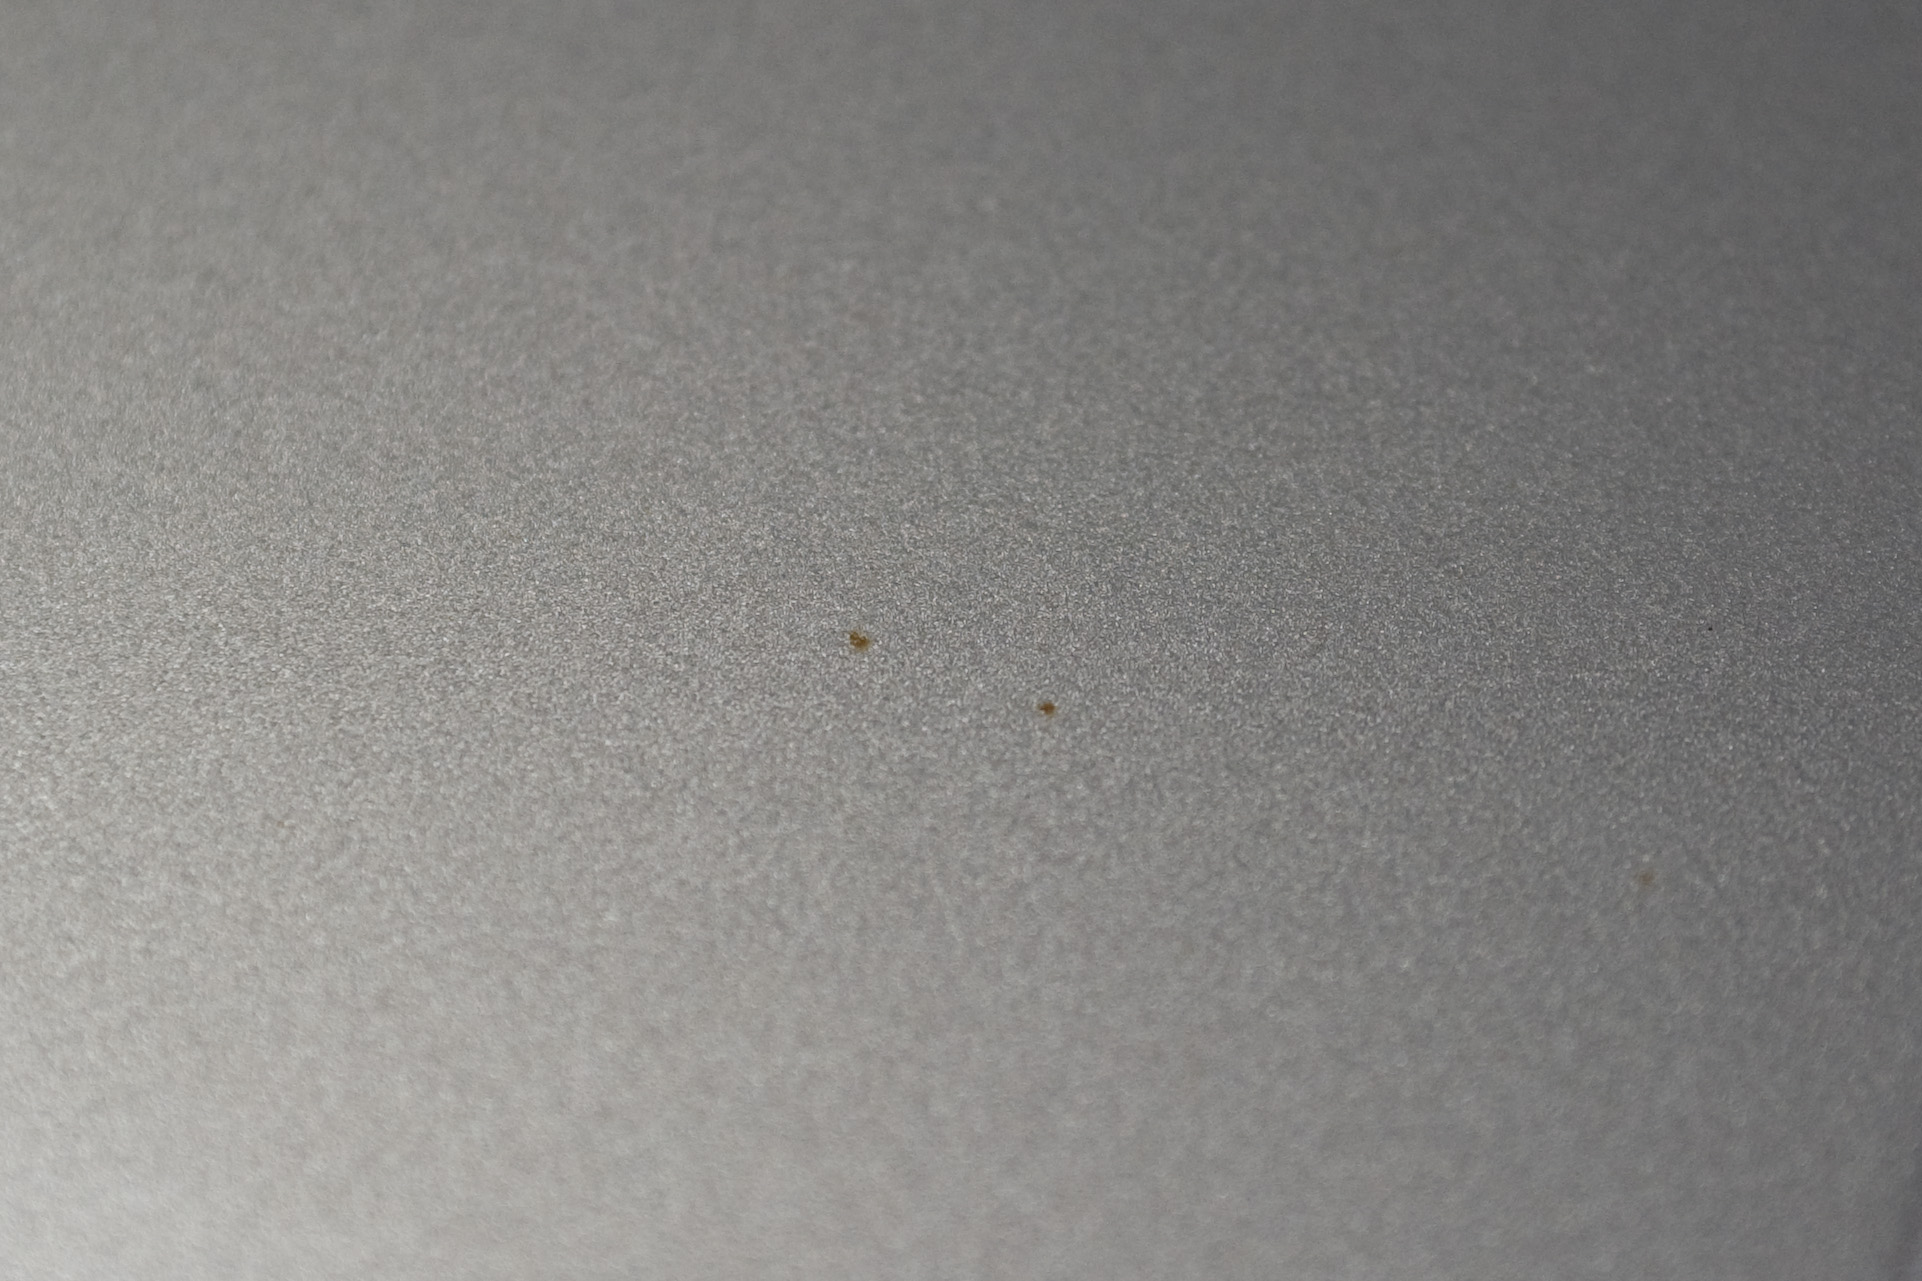
A lot of gloss and depth again can be attributed to getting rid of the most superficial of scratches. The beige Audi did not like to photograph its progress very well, but we did get a shot of some iron contamination on the surface, this was removed with a clay bar (for a after picture of that, just imagine it gone). Clay bar surface decon is included with our 2.0 wash. (click to enlarge)
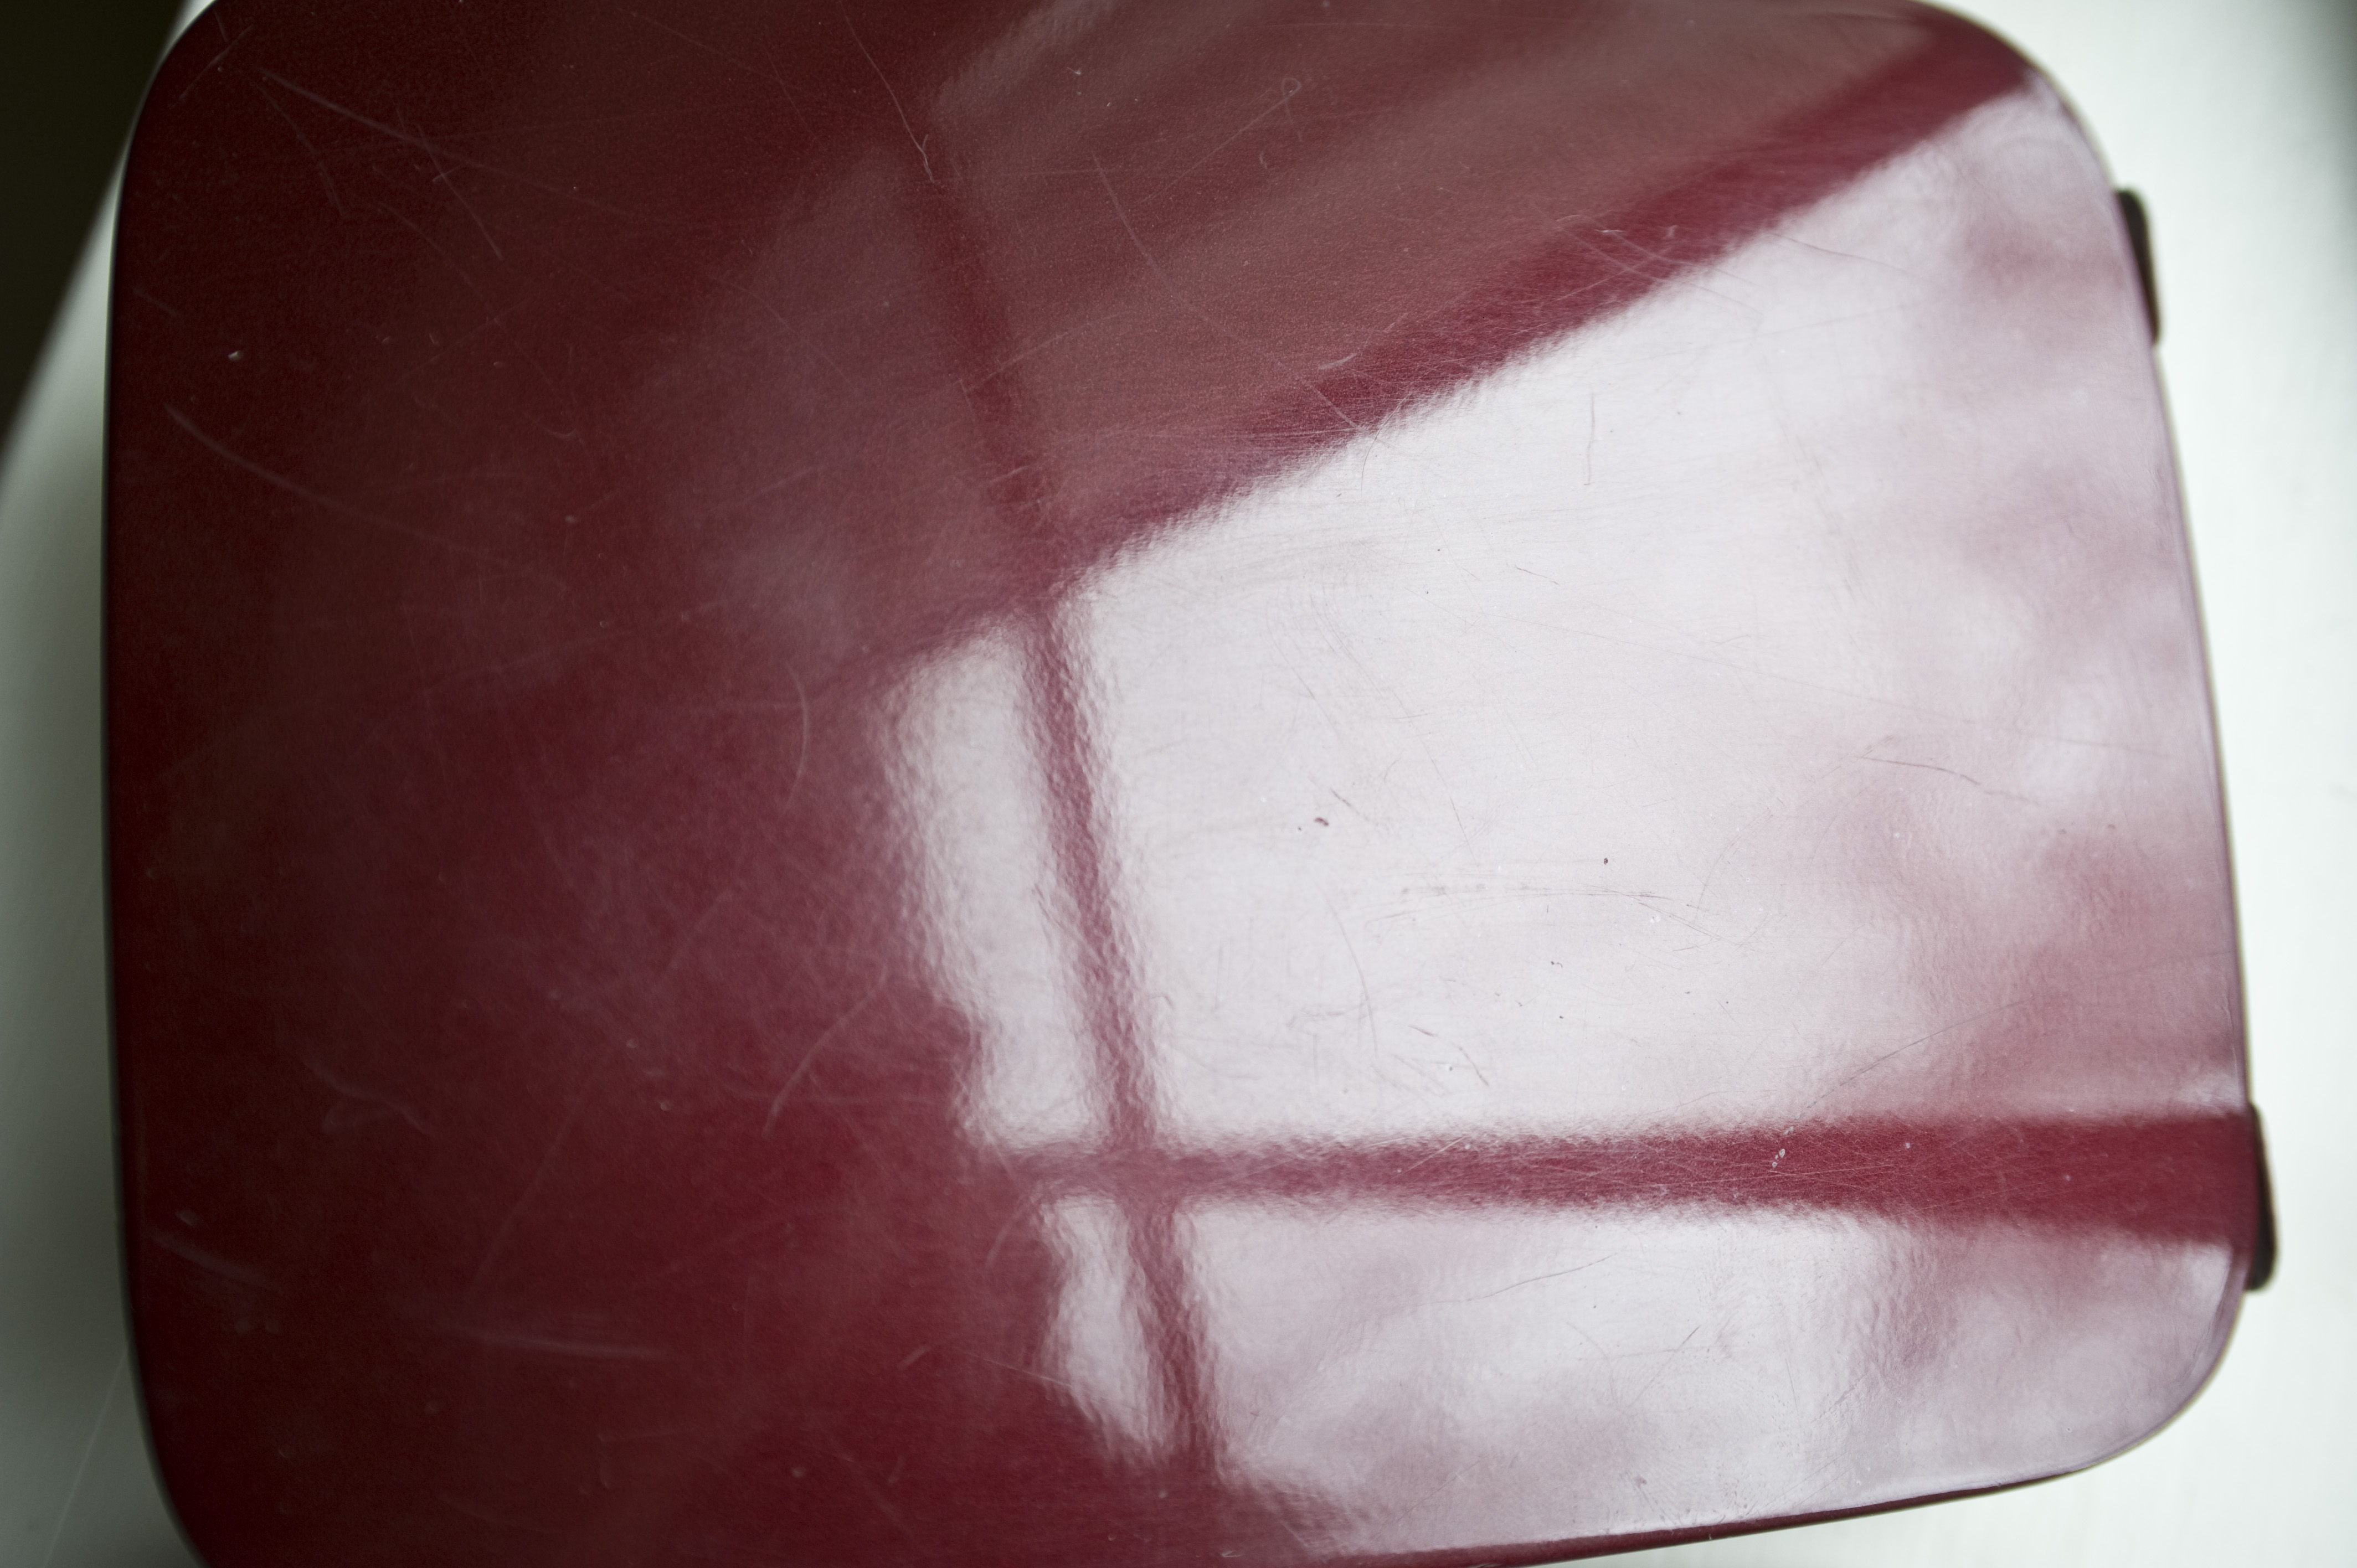
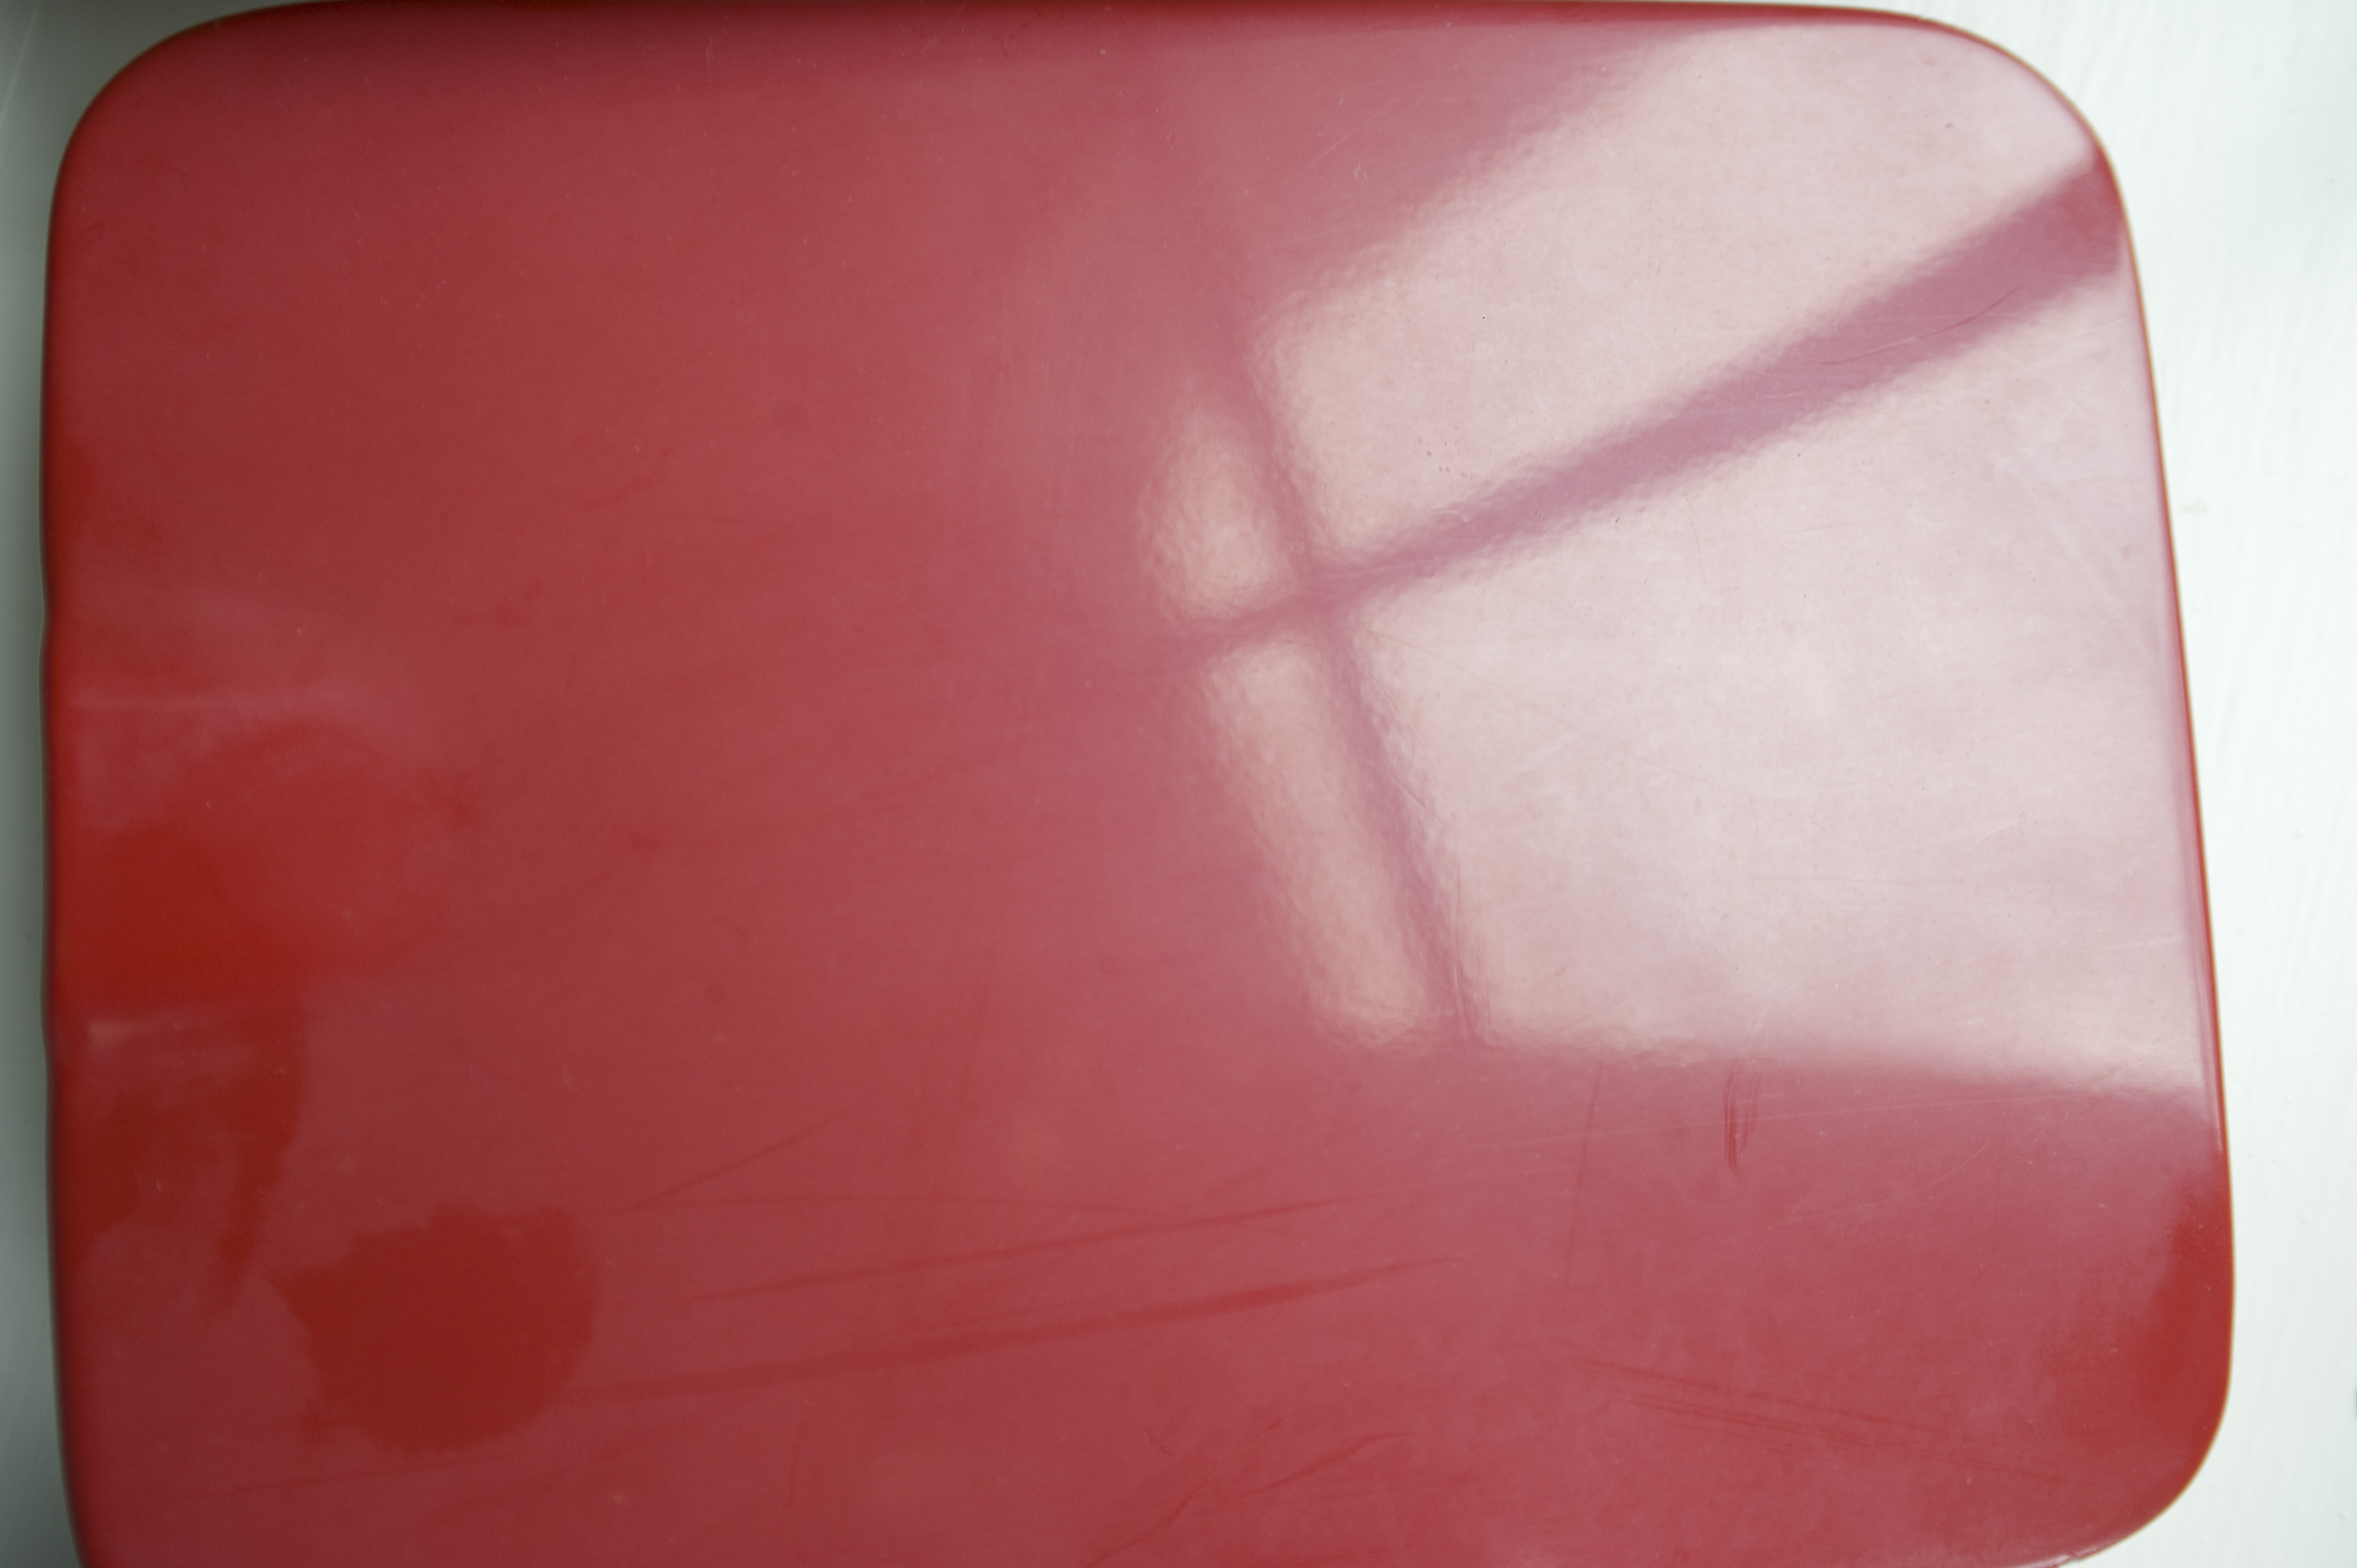
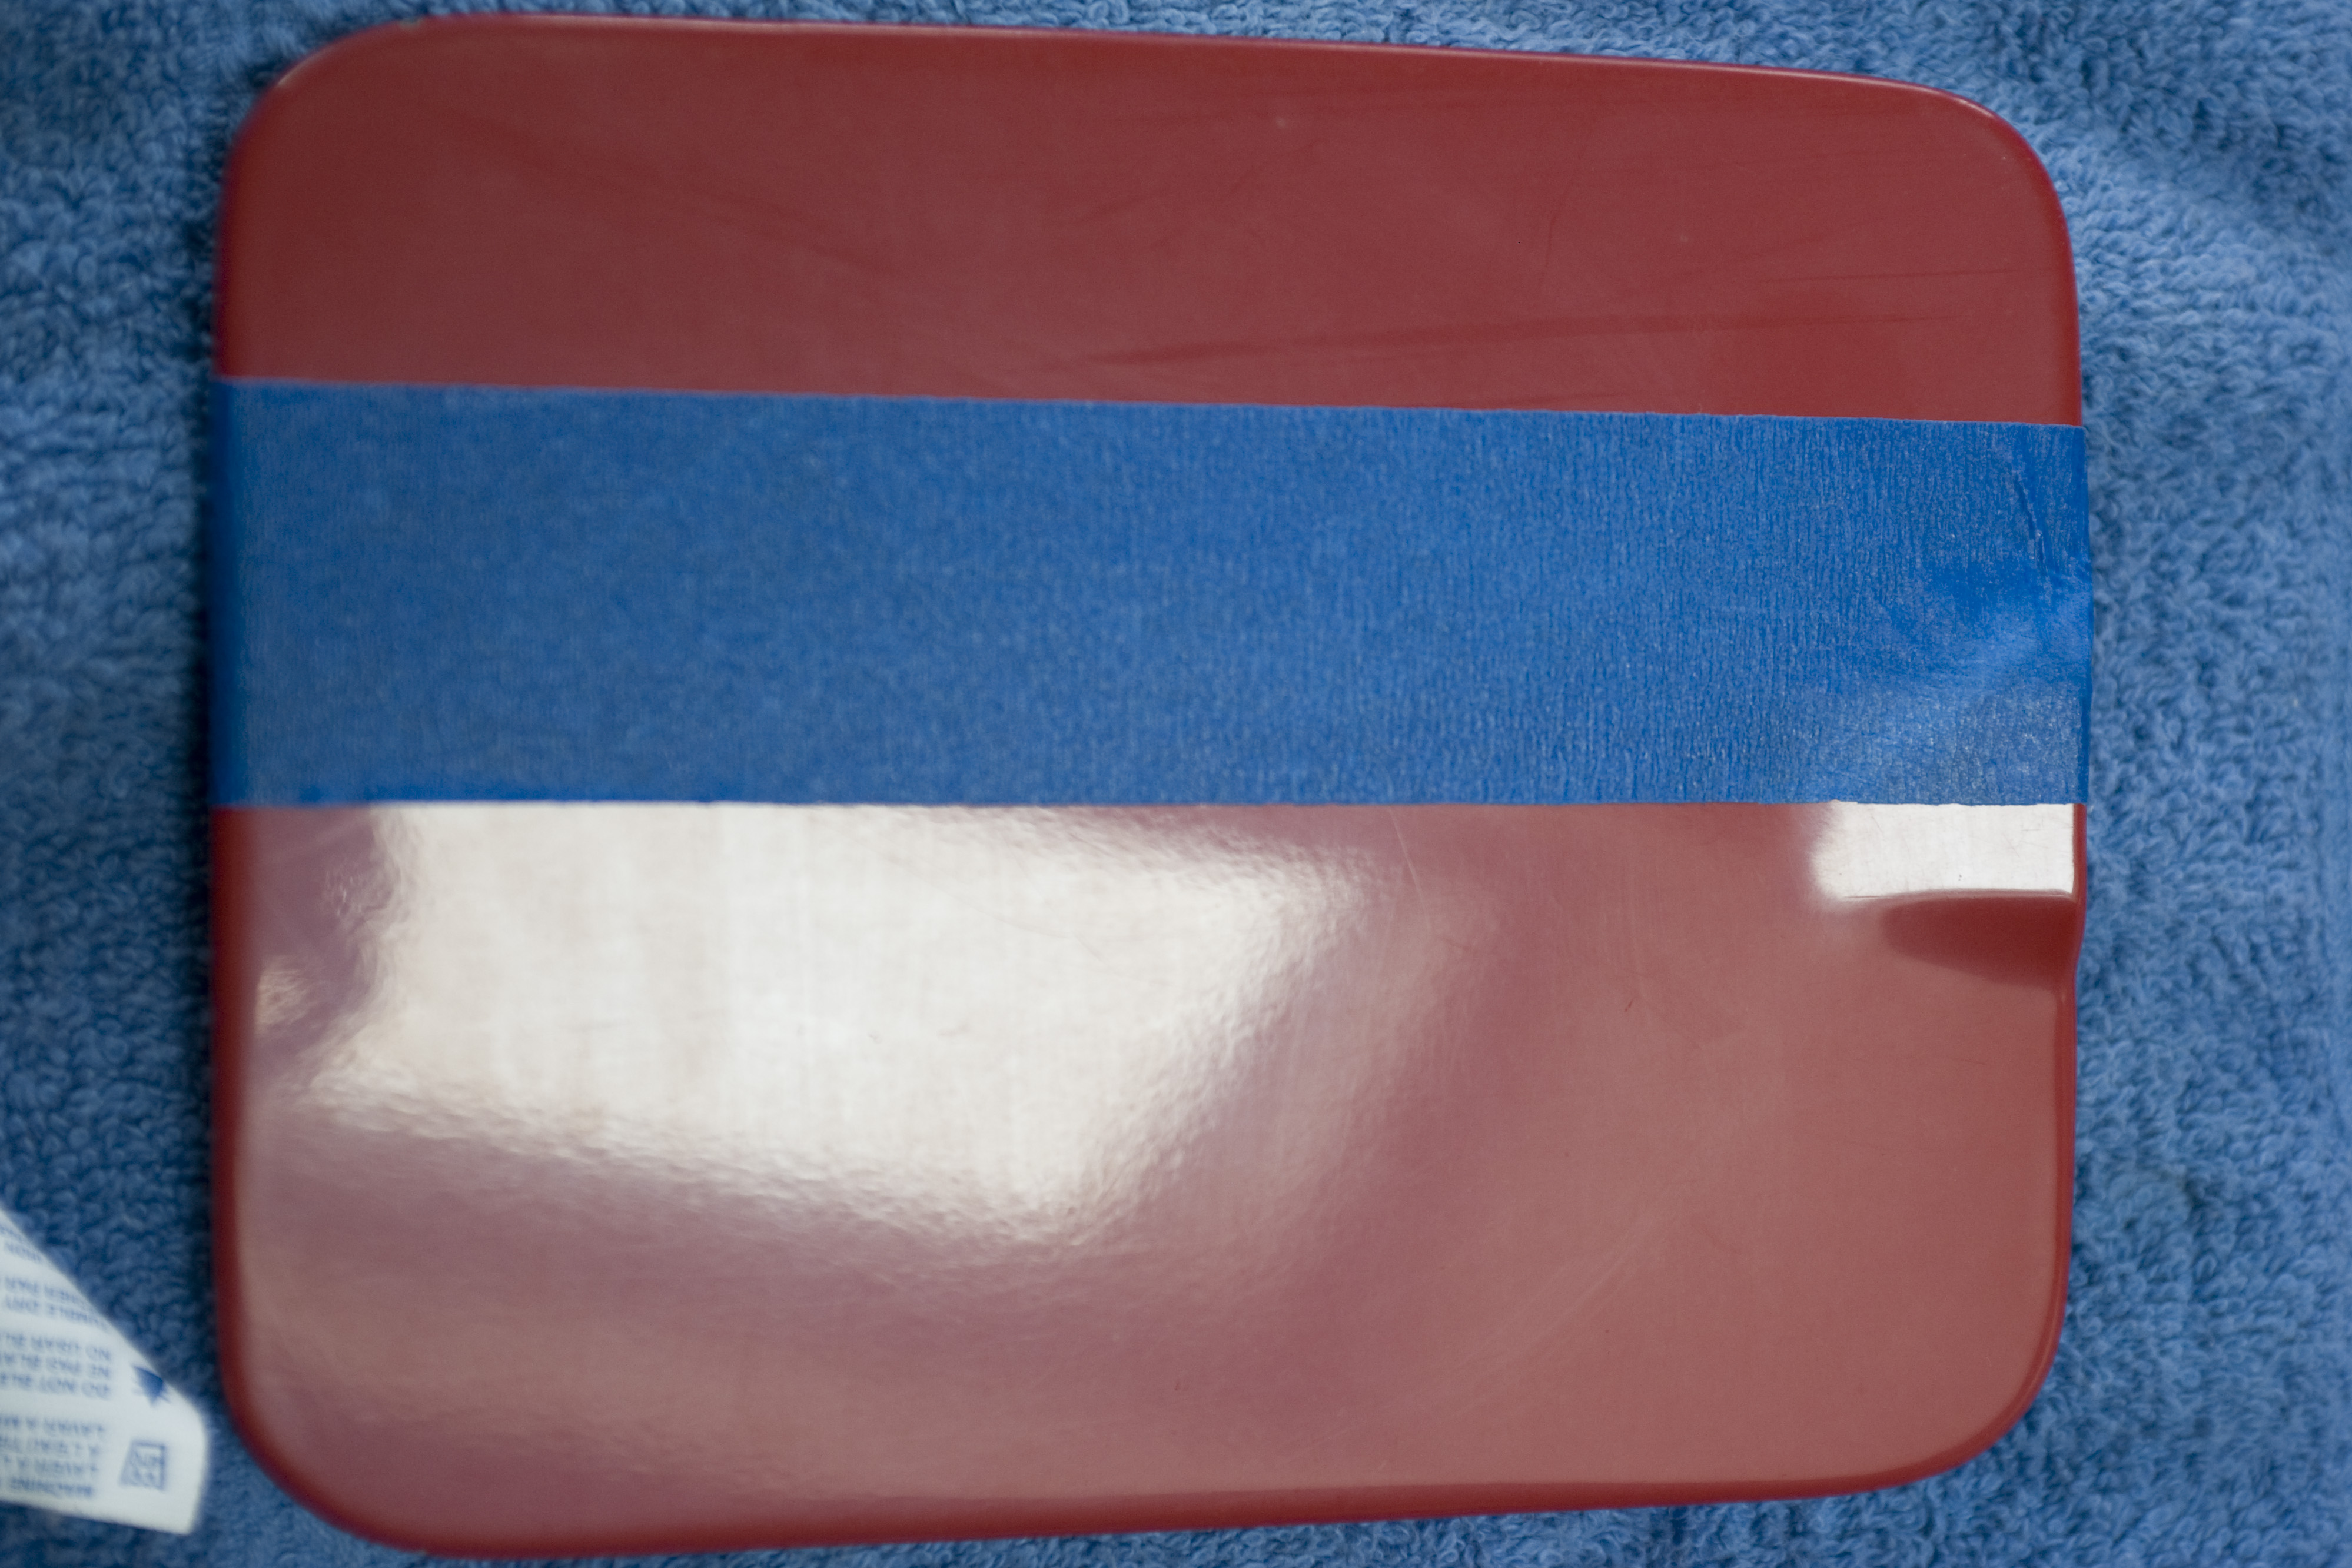
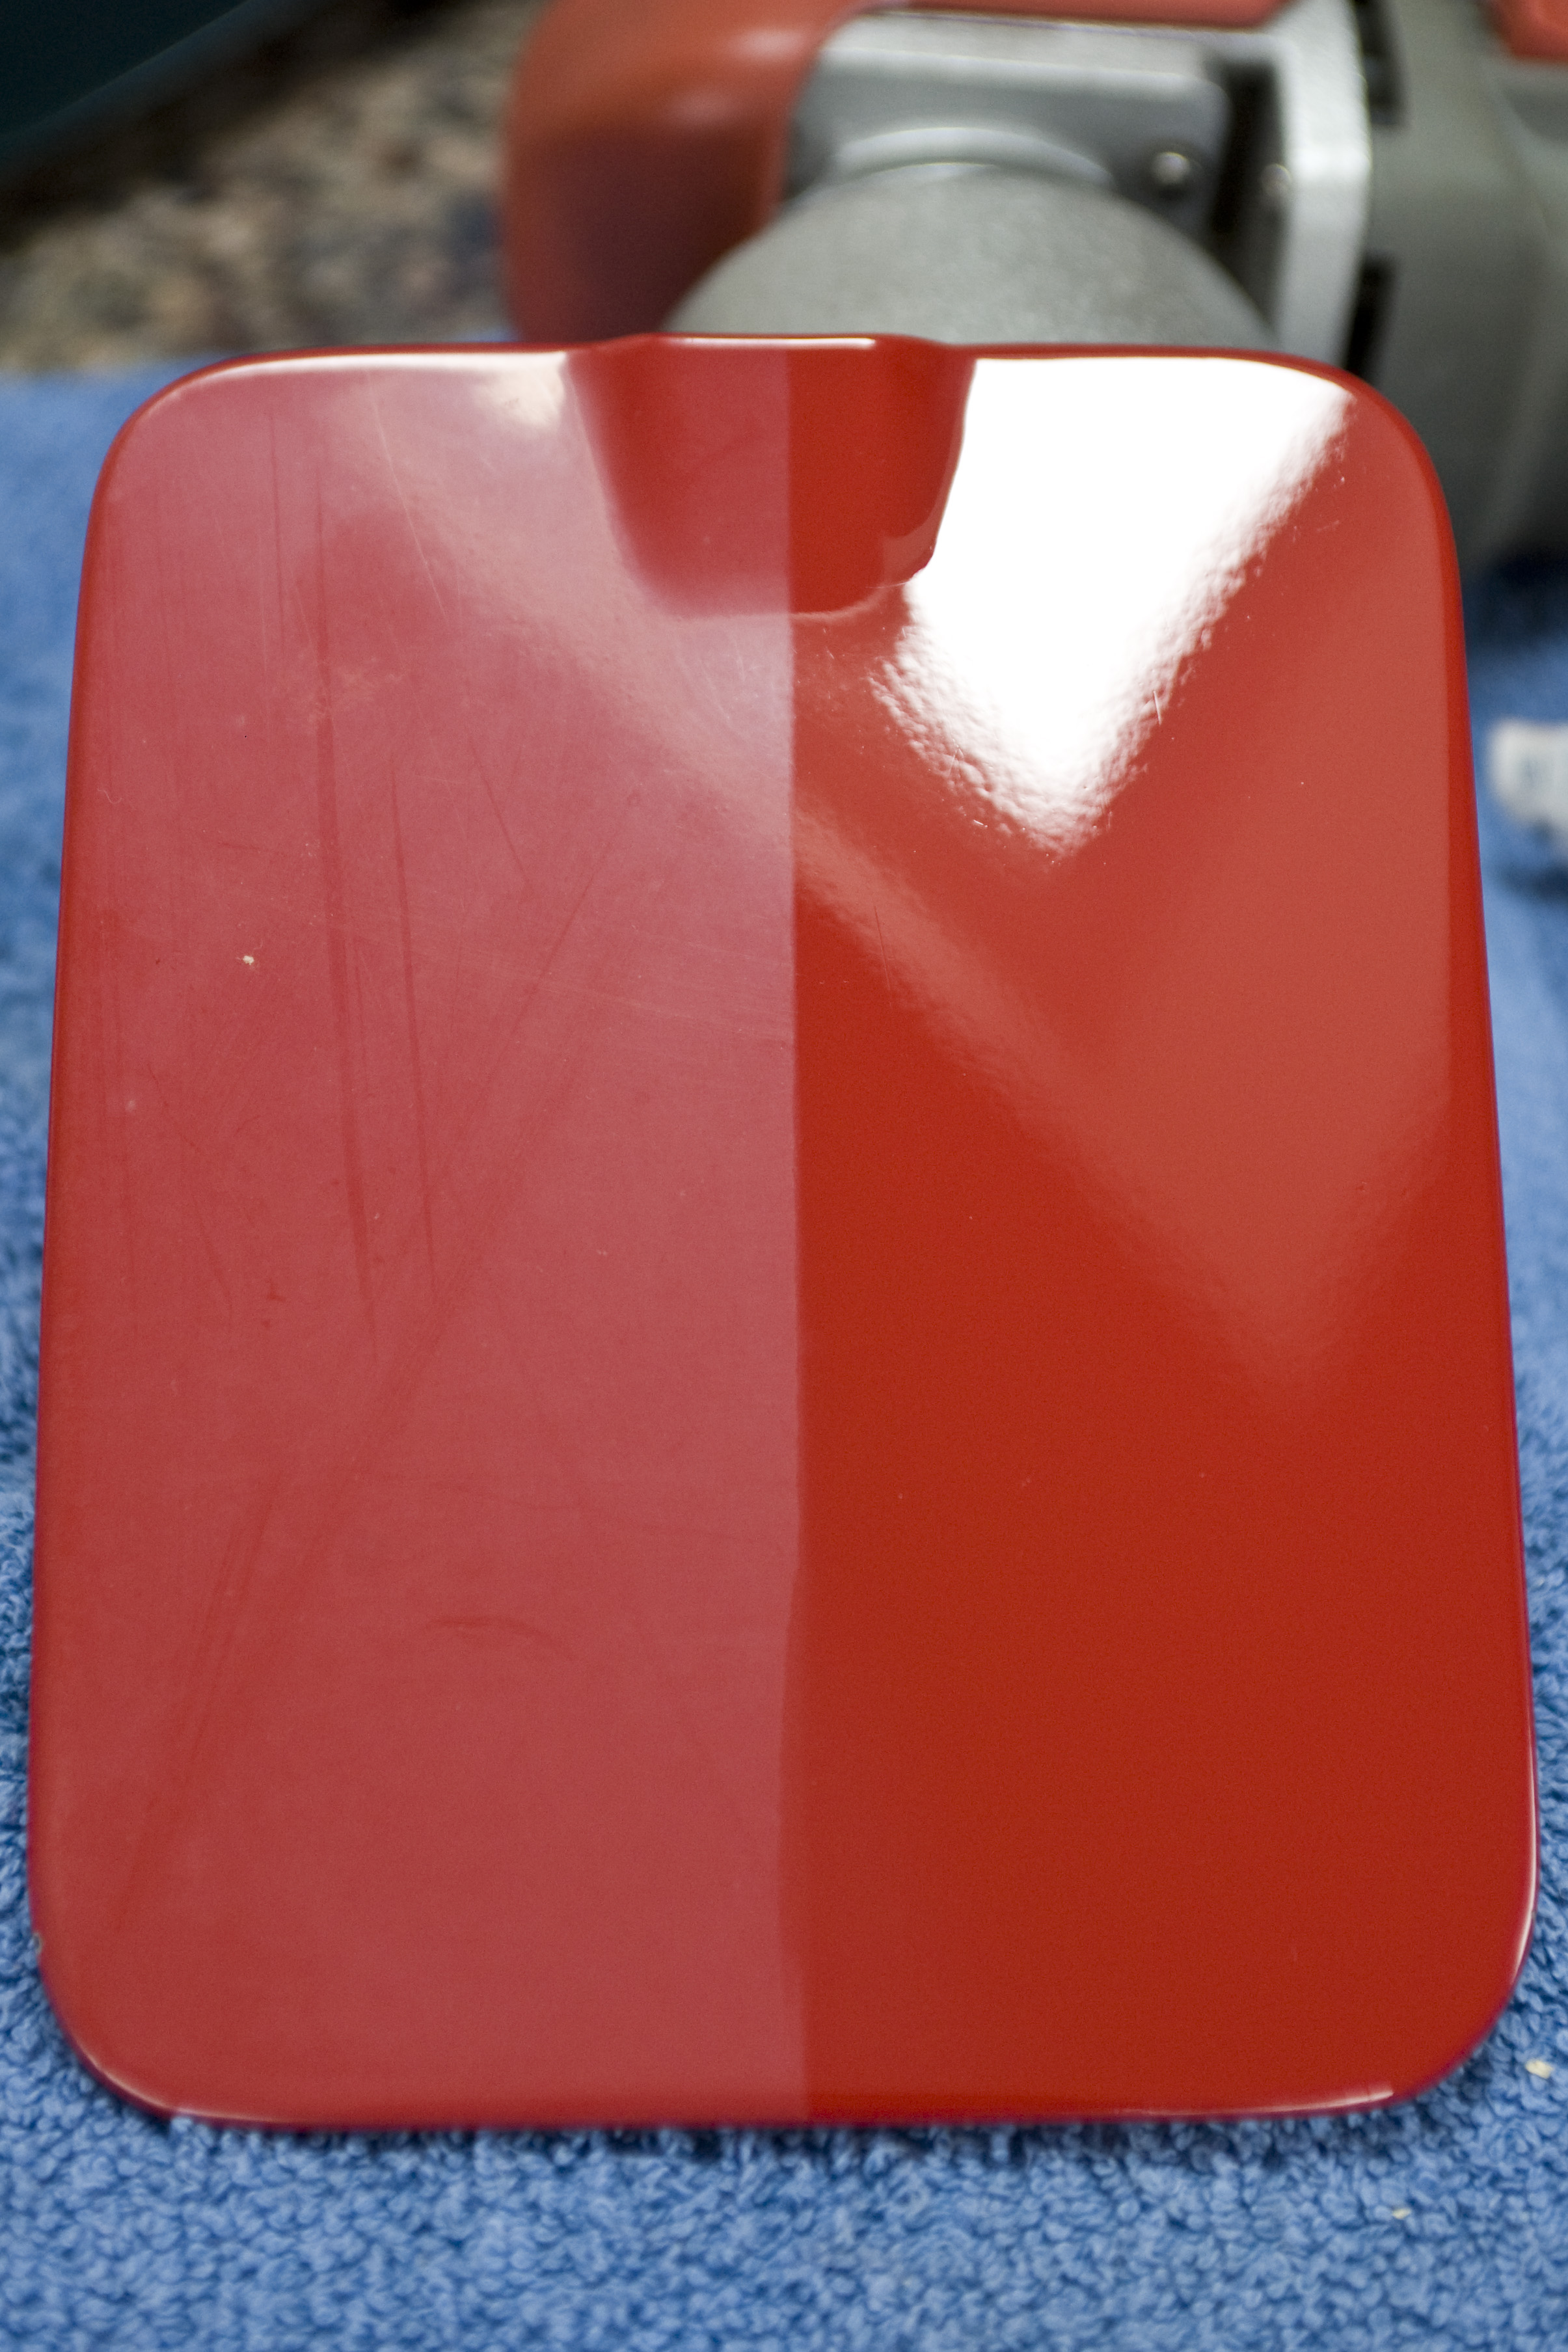
Volvo Single Stage Paint
I saved the volvo for last, not because I was expecting the most dramatic difference, but because the single stage paint (no clear coat on the pigment) was going to make a red mess of my polishing pad (with polished off paint). Still, this gentle setup was adequate to remove the oxidation revealing a fresh and rich red underneath.

Paint Correction
I hope this gave you a better idea of the type of improvement possible on your car. Even though these samples came from a junkyard, this surface condition is not uncommon on normal cars. In fact, vehicles come with swirls and scuffs from the factory!
All but the Volvo were from the mid to early 2000’s, really not that old. This type of swirling is the results of improper washing techniques, and once corrected, can be prevented with the application of hard wearing top coats (such as Opti-Coat) and a proper washing and drying routine.