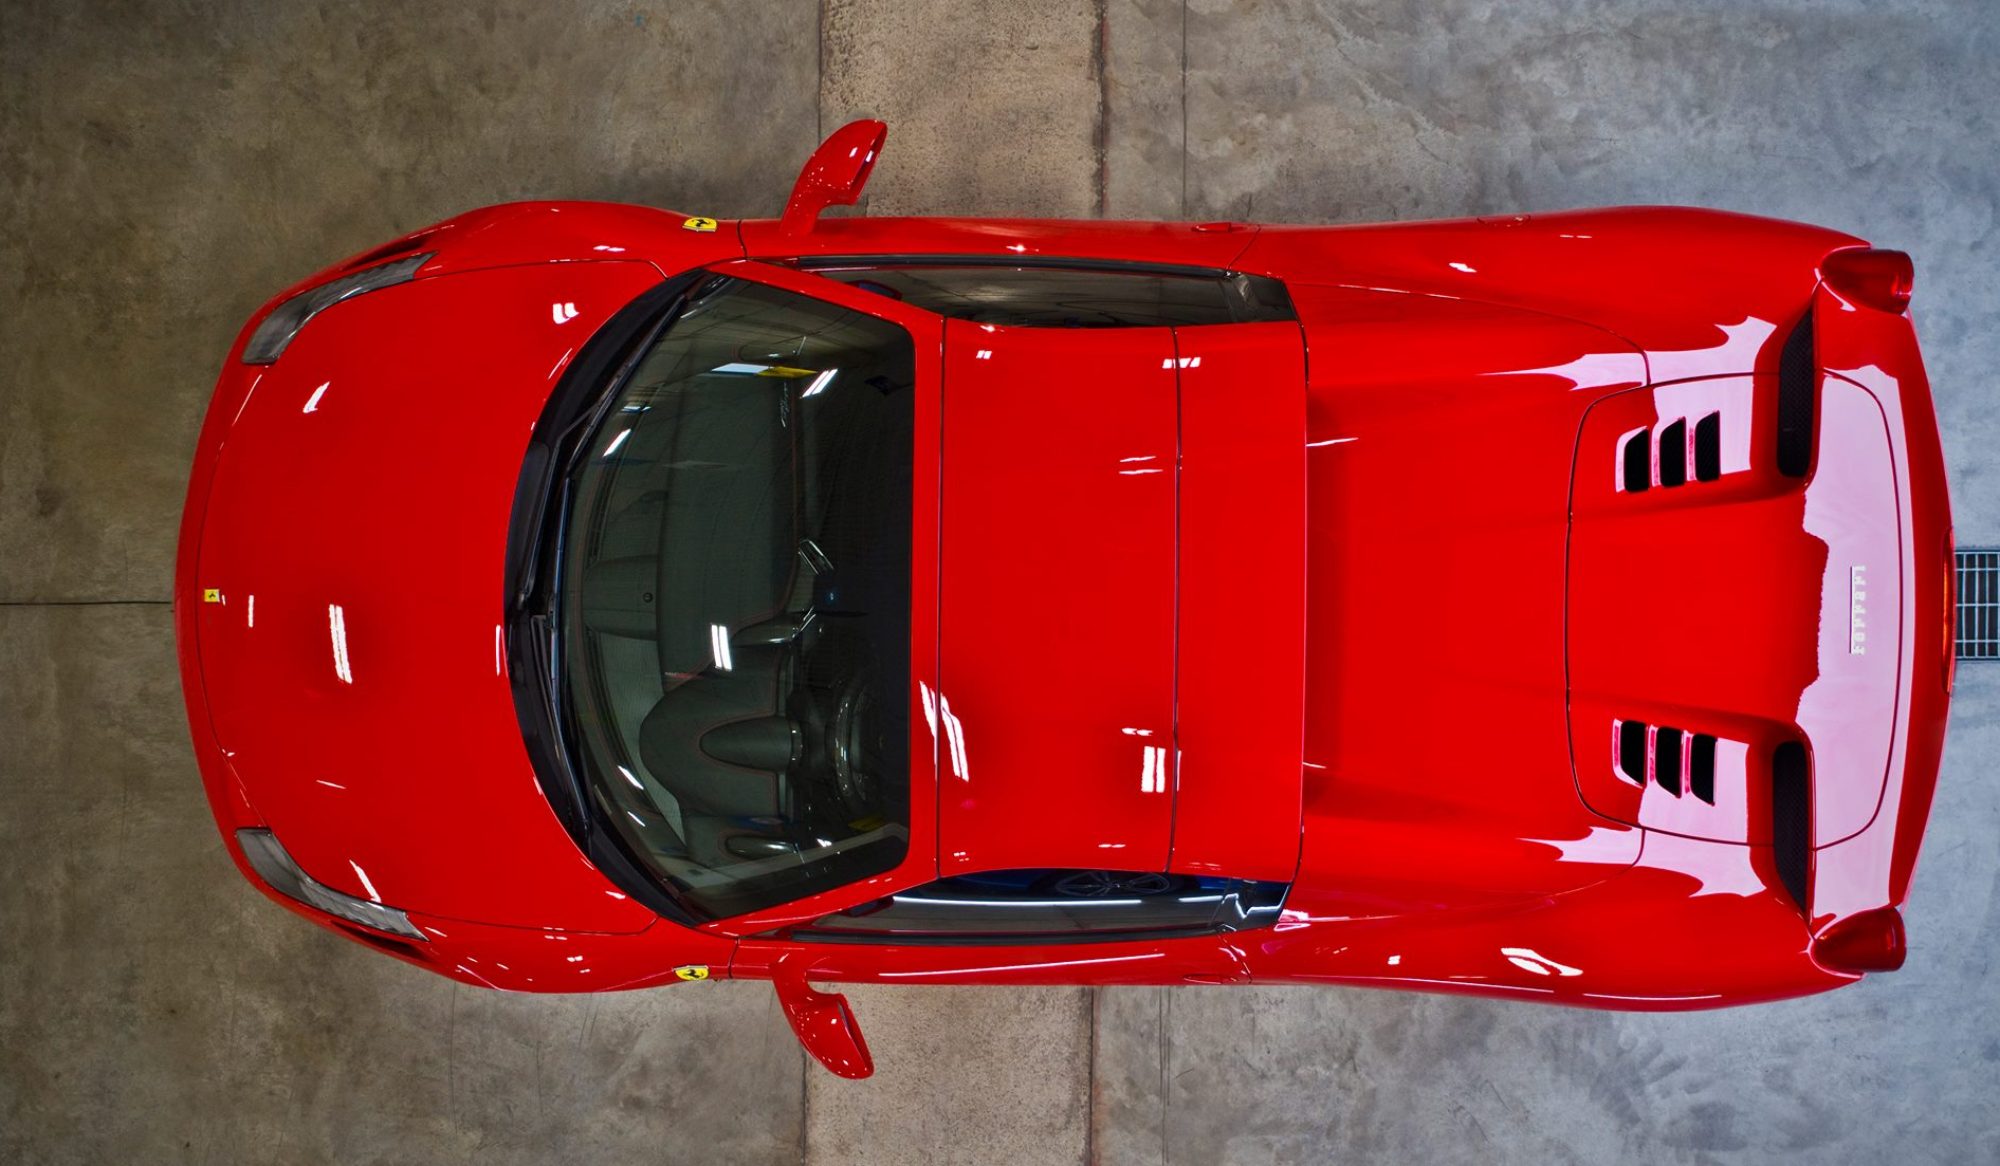
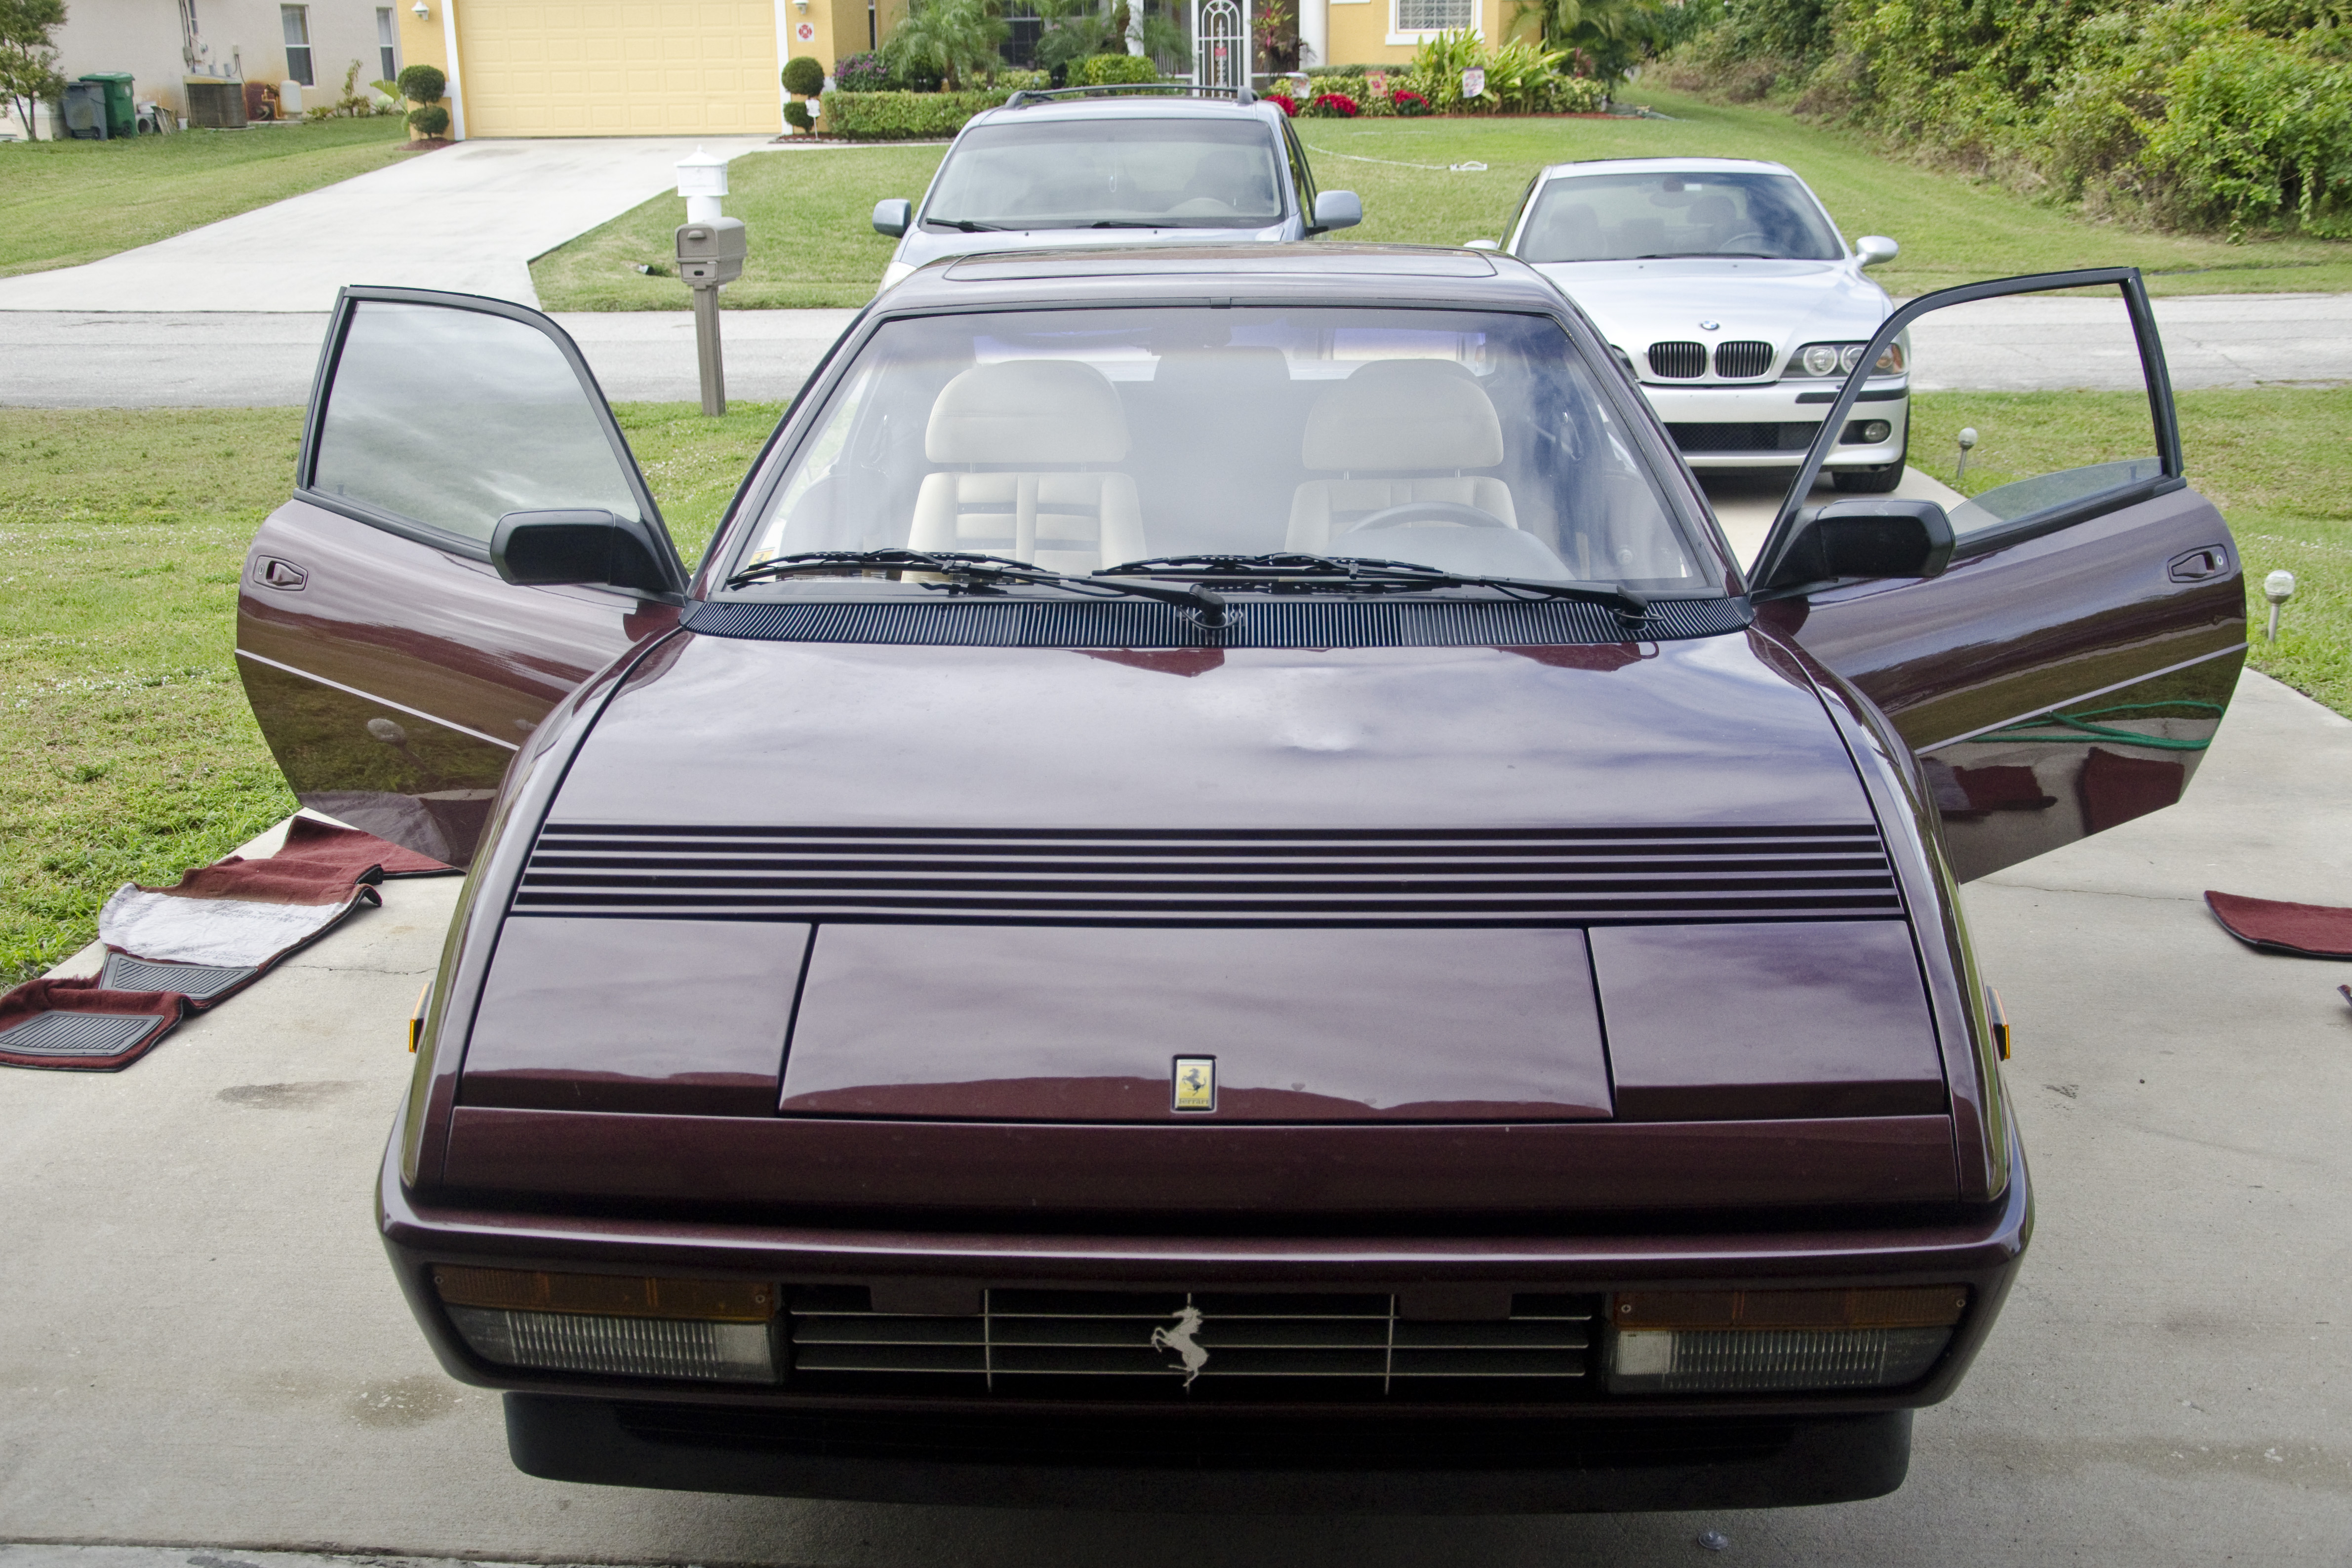
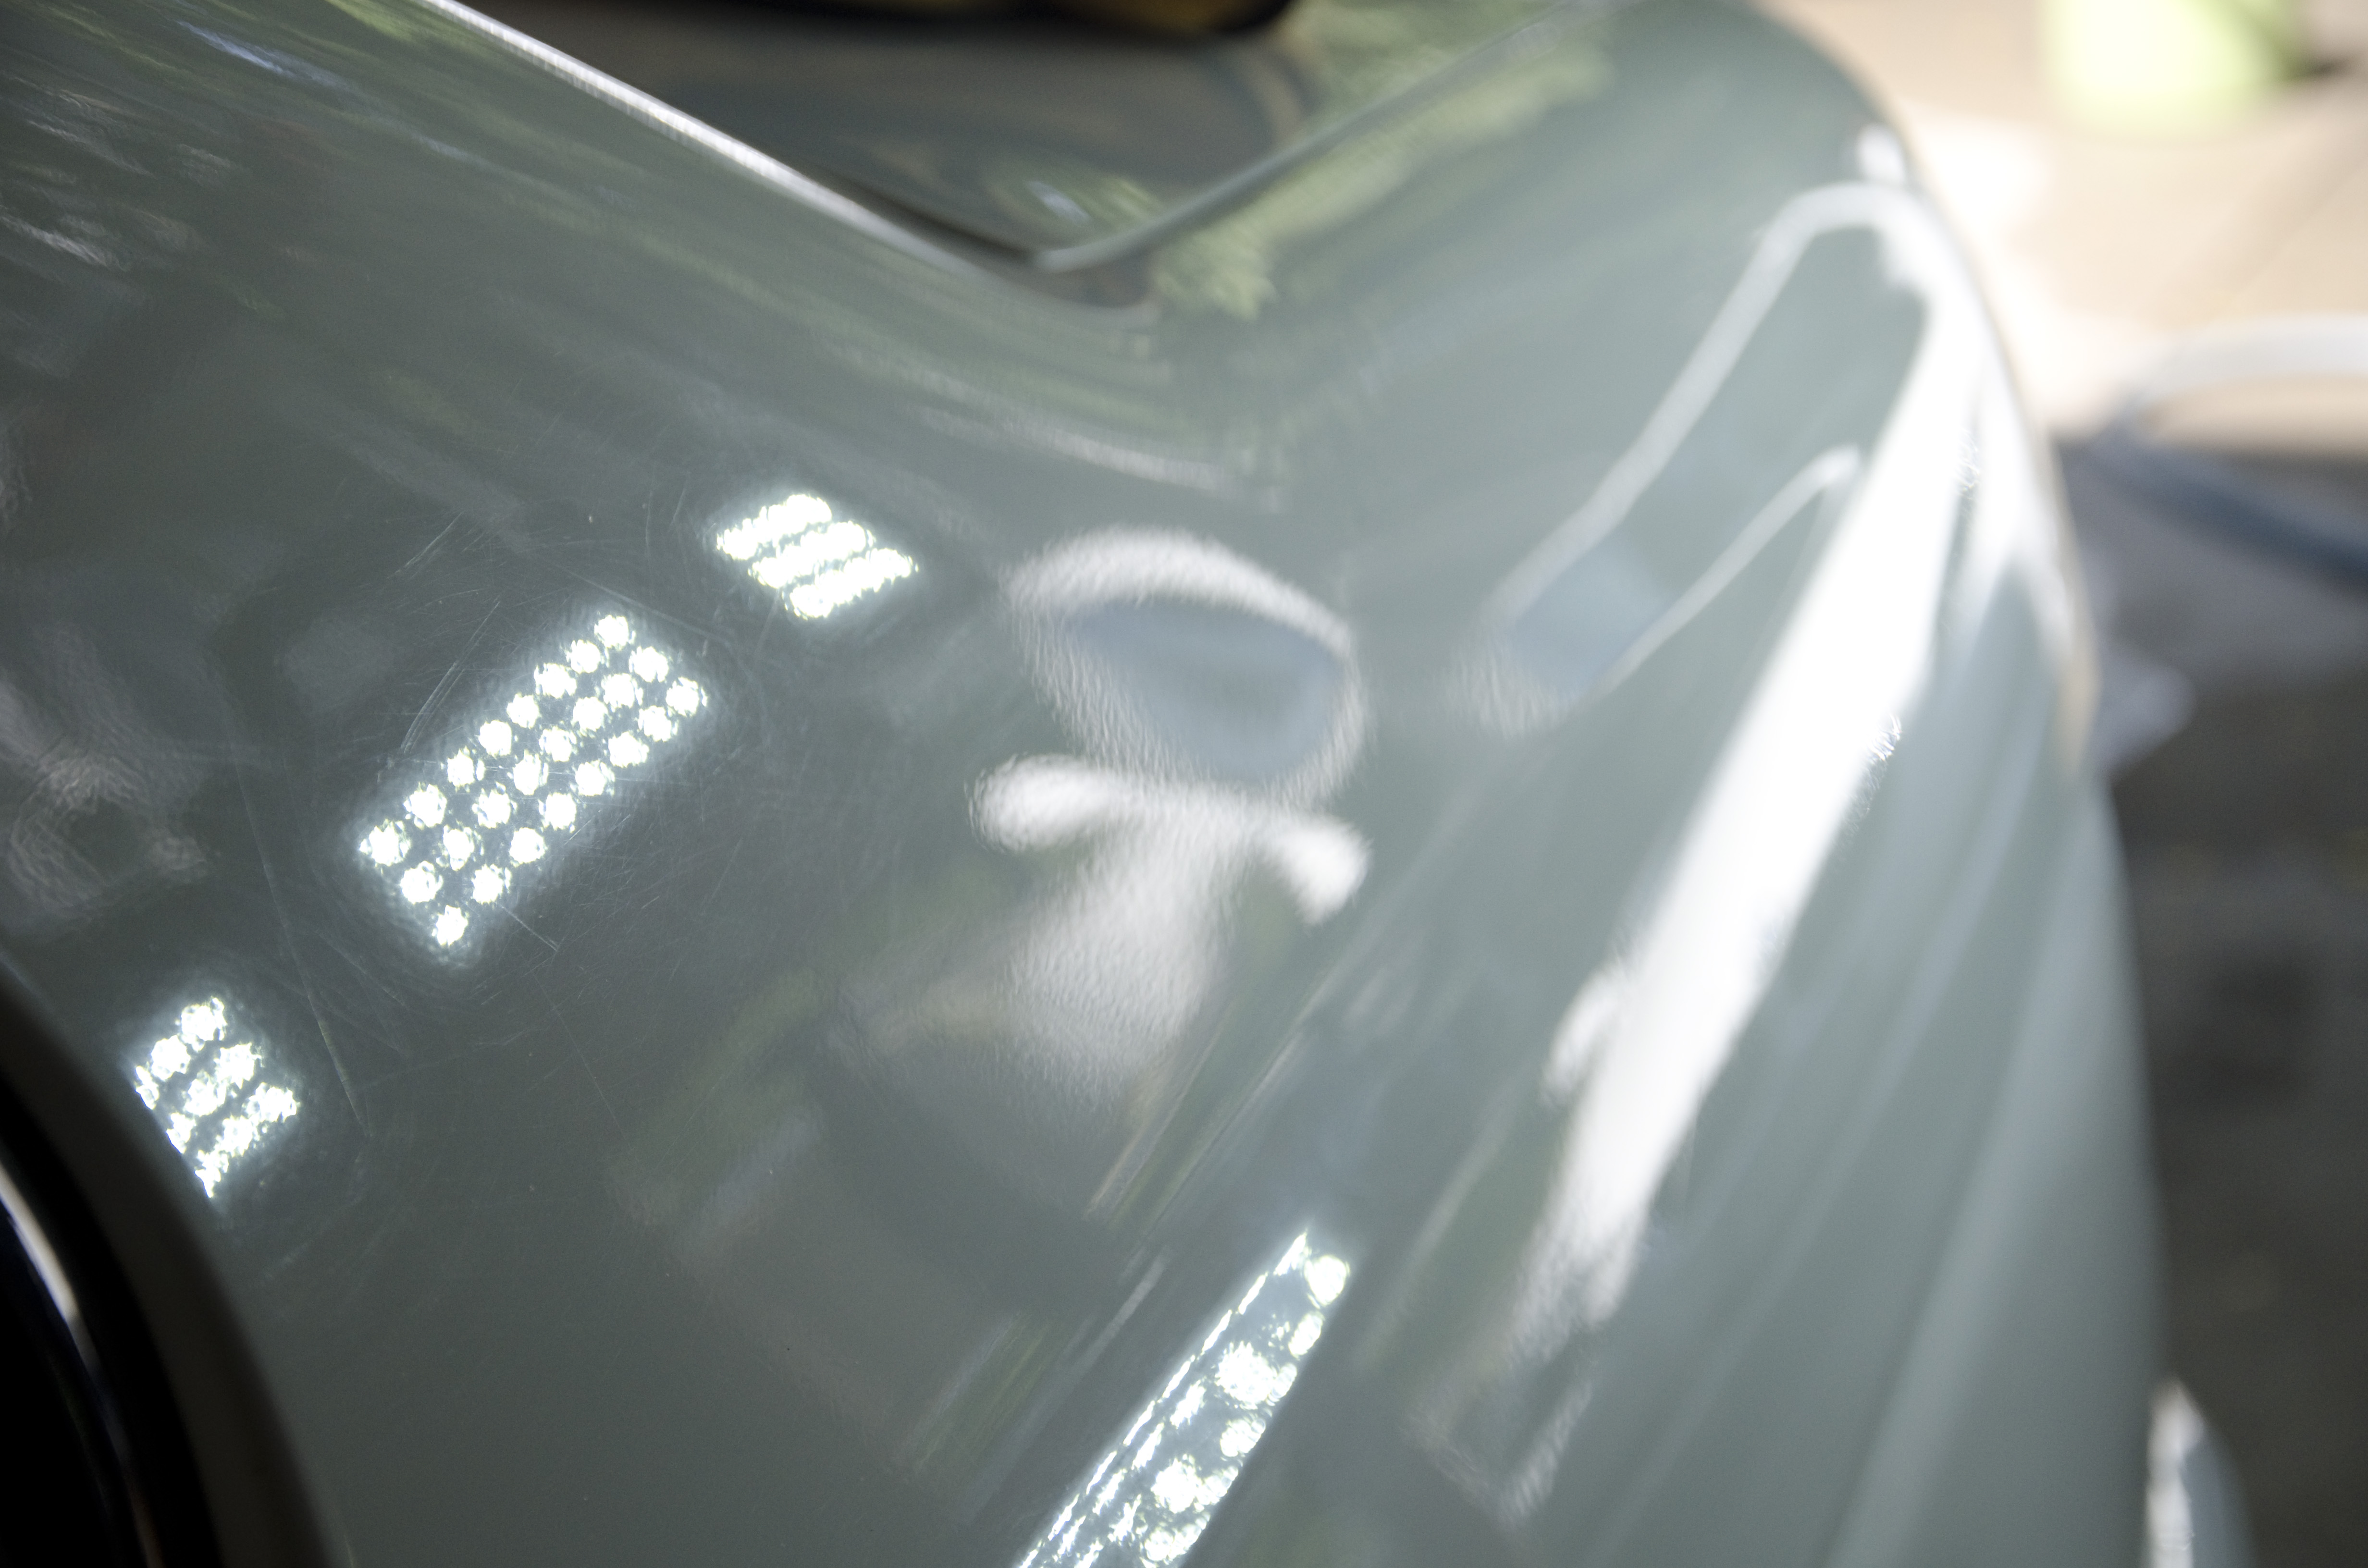
Car number three for eM Detailing’s Florida excursion was this 1989 Ferrari Mondial Coupe. The owner was most interested in getting the interior leather a thorough clean and condition. Since we weren’t sure on the condition of the exterior paint ( and there were some very thin spots) we settled on a single stage correction and Opti Coat Pro for exterior shine and protection.
More from Florida Detail Fest, another E39 M5. This Titanium Silver M5 was in for a pin stripe removal, dual stage paint correction, Opti Coat Pro topped with Gloss Coat, Glass Coat Pro, Wheel and Caliper Coating, and Interior Clean and Condition. Needless to say there was a lot of work and I hardly got any pictures of the process.
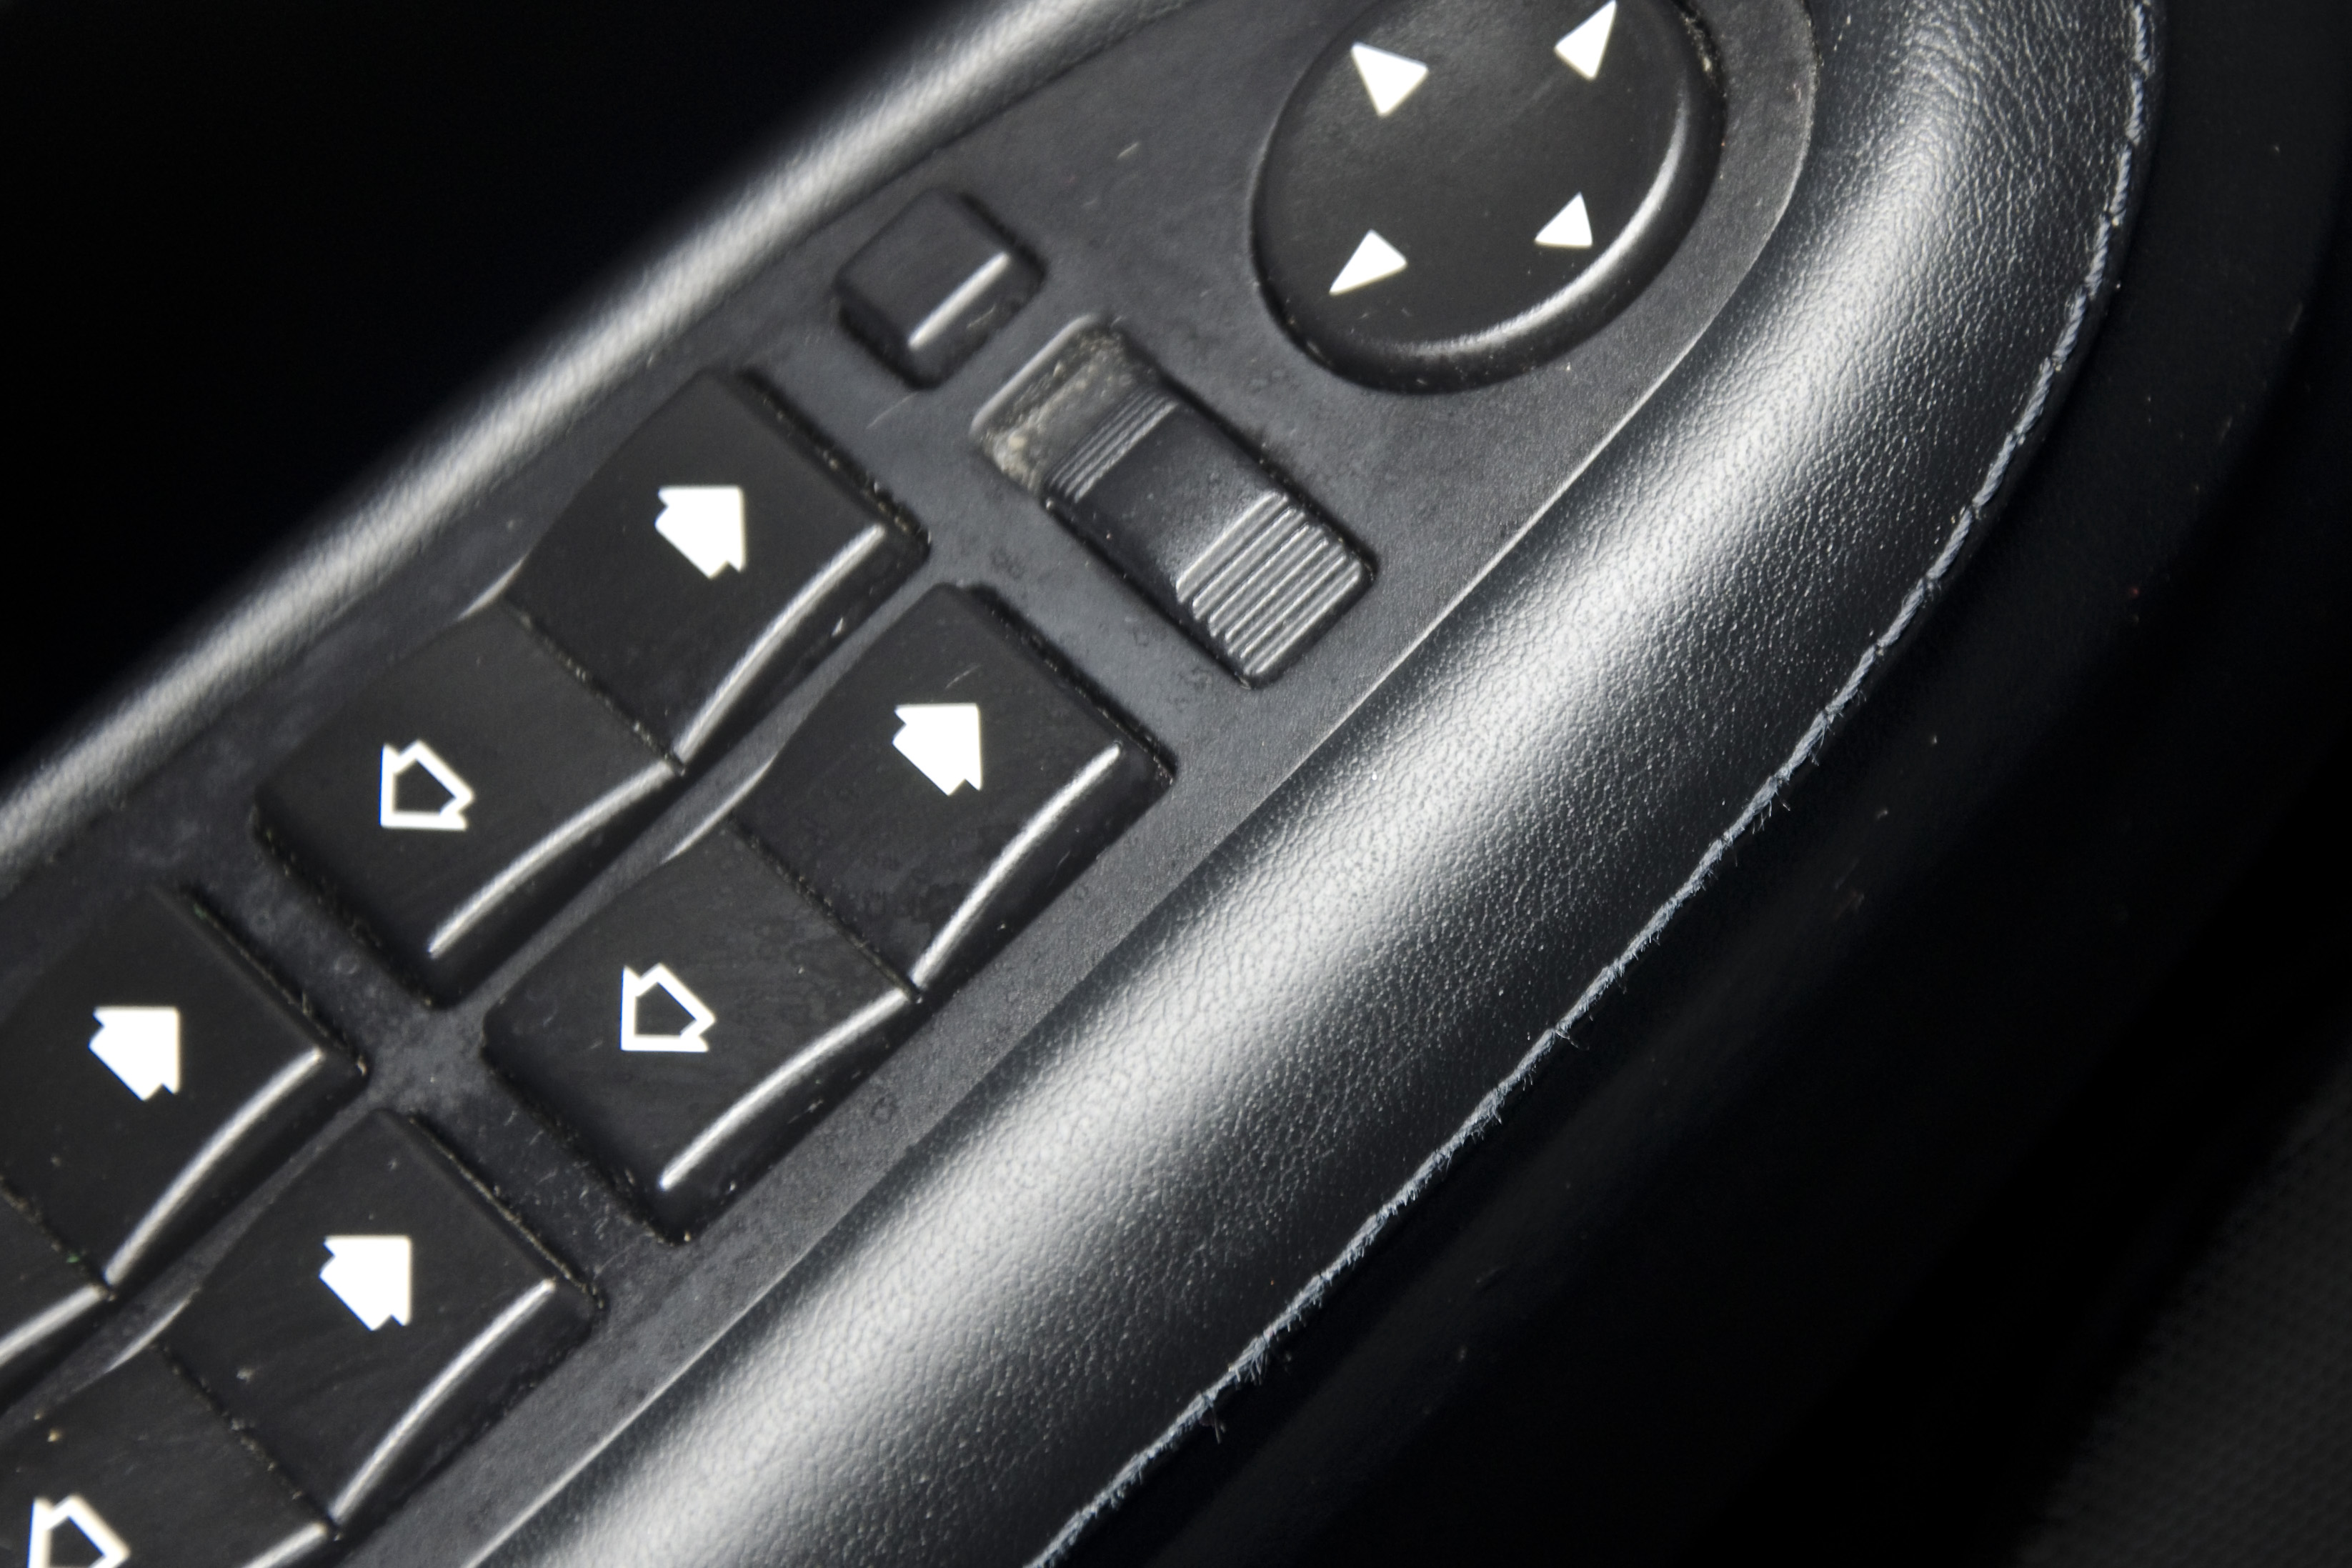
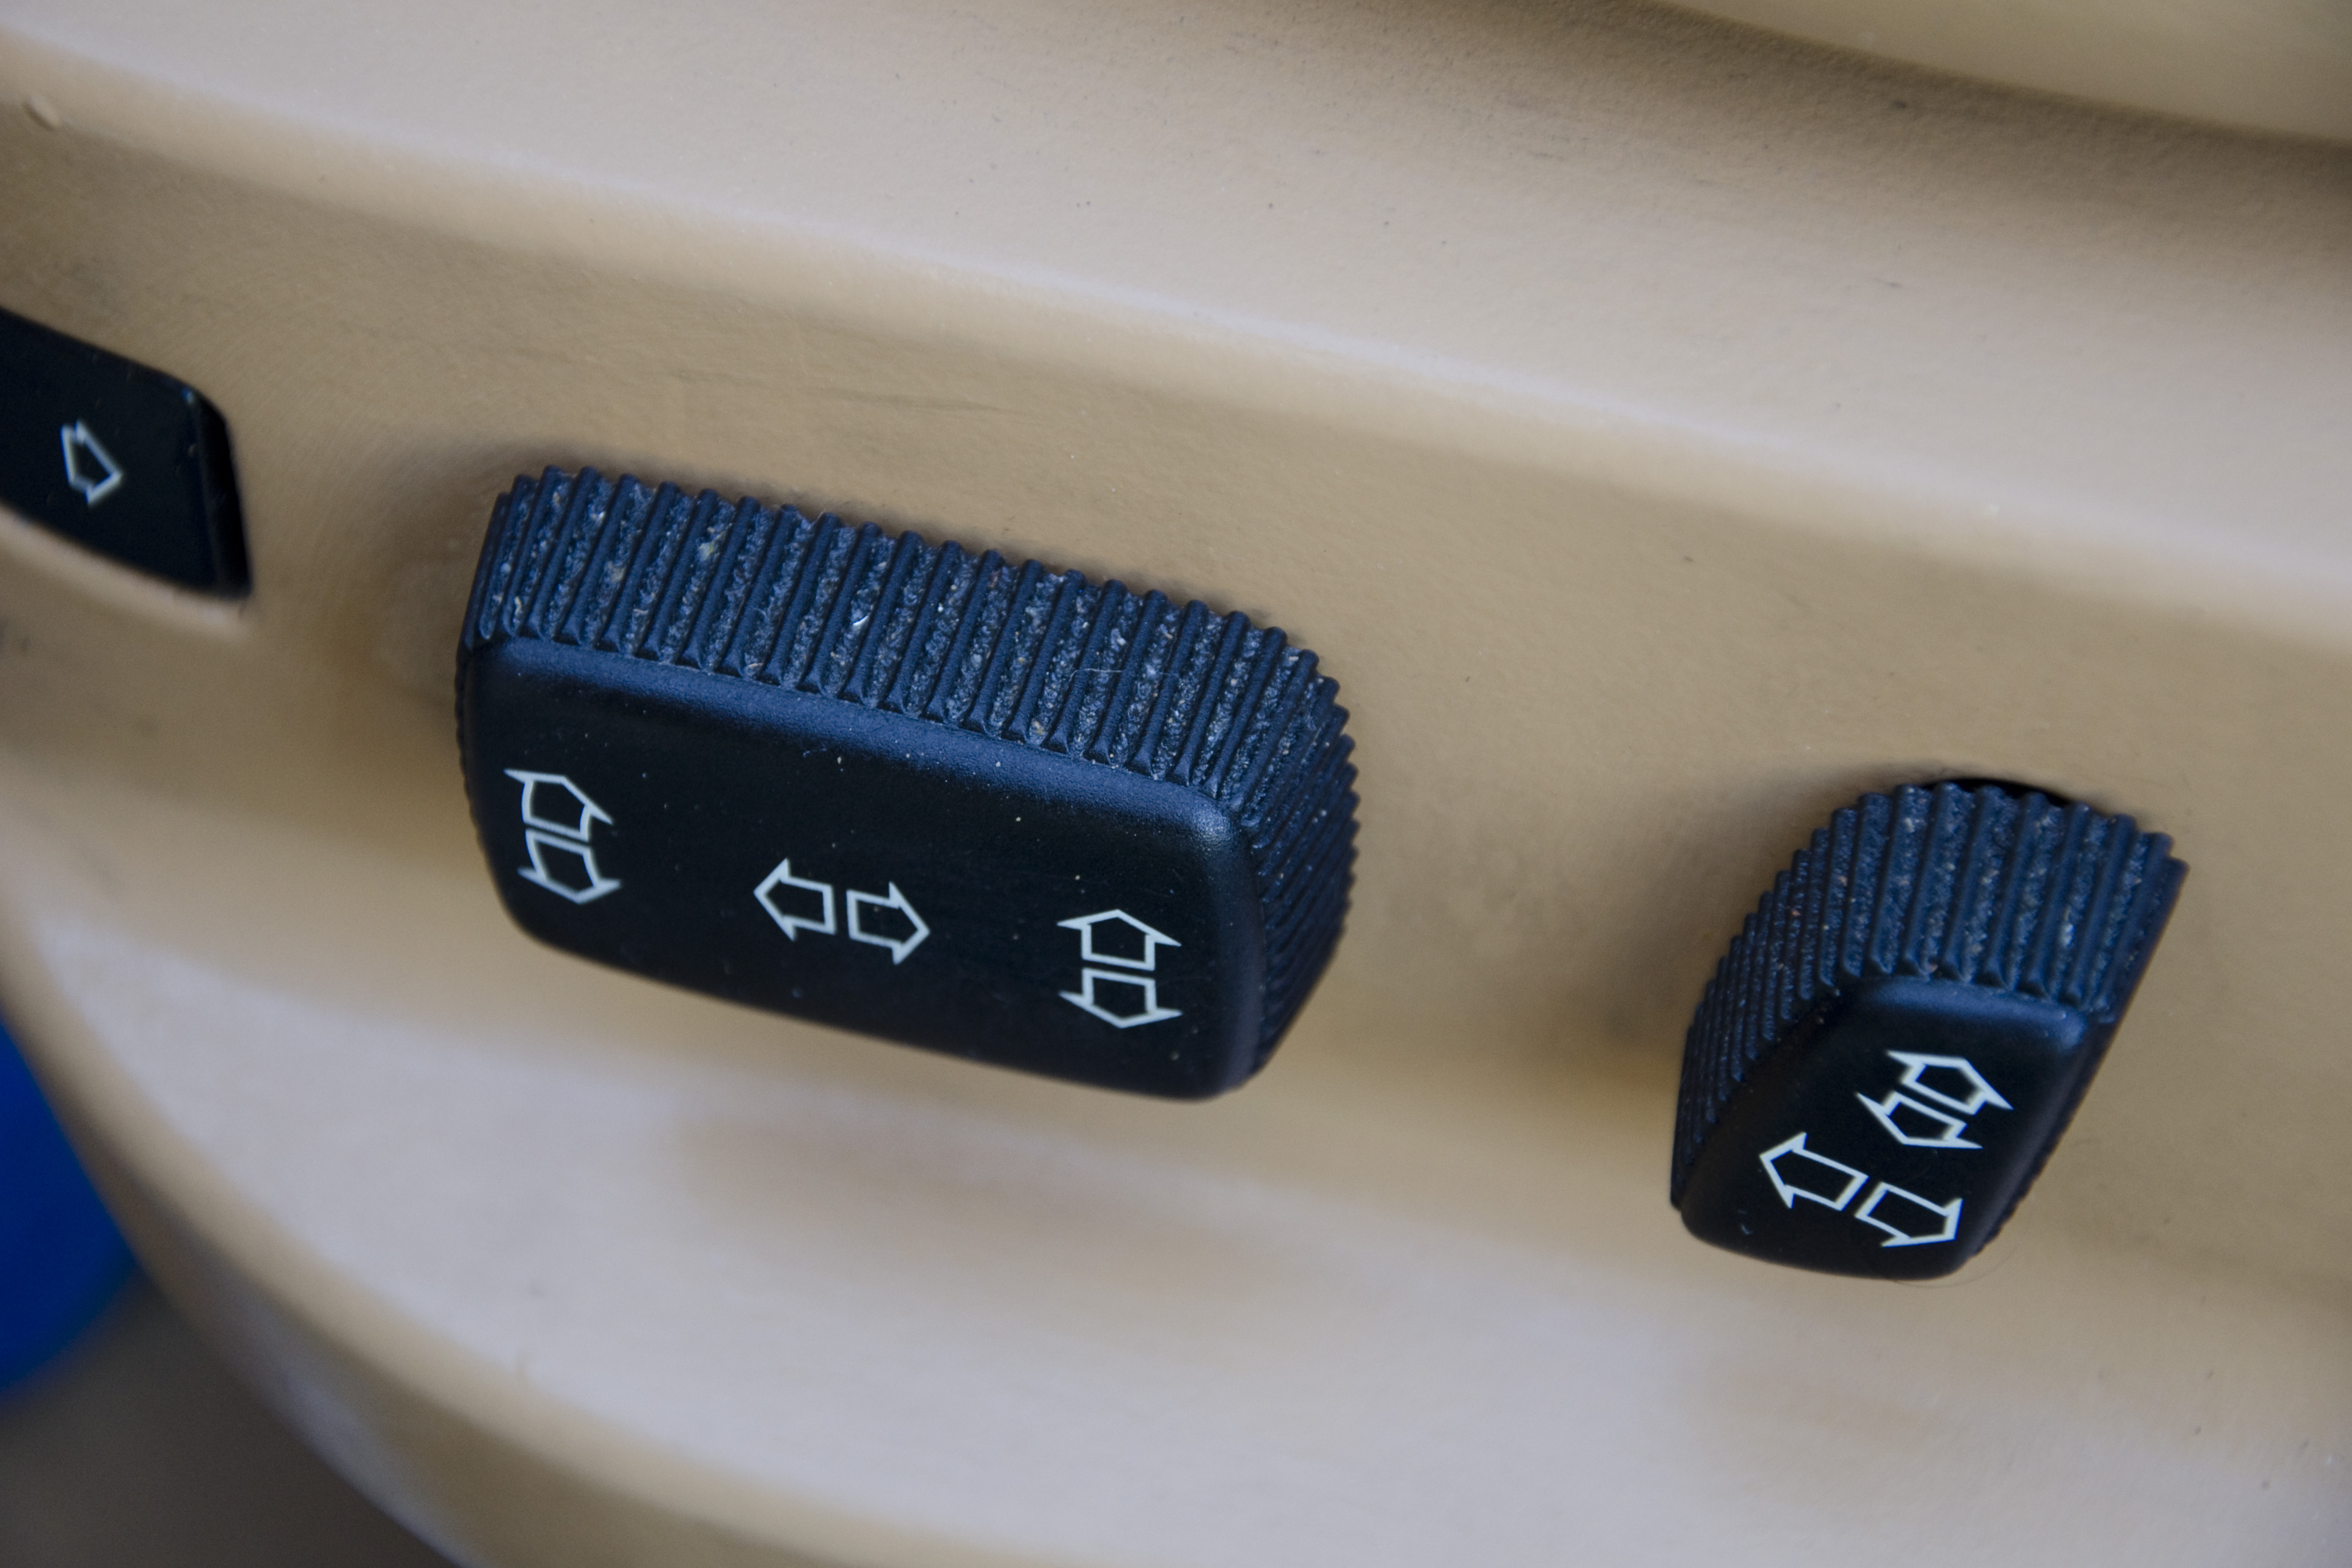
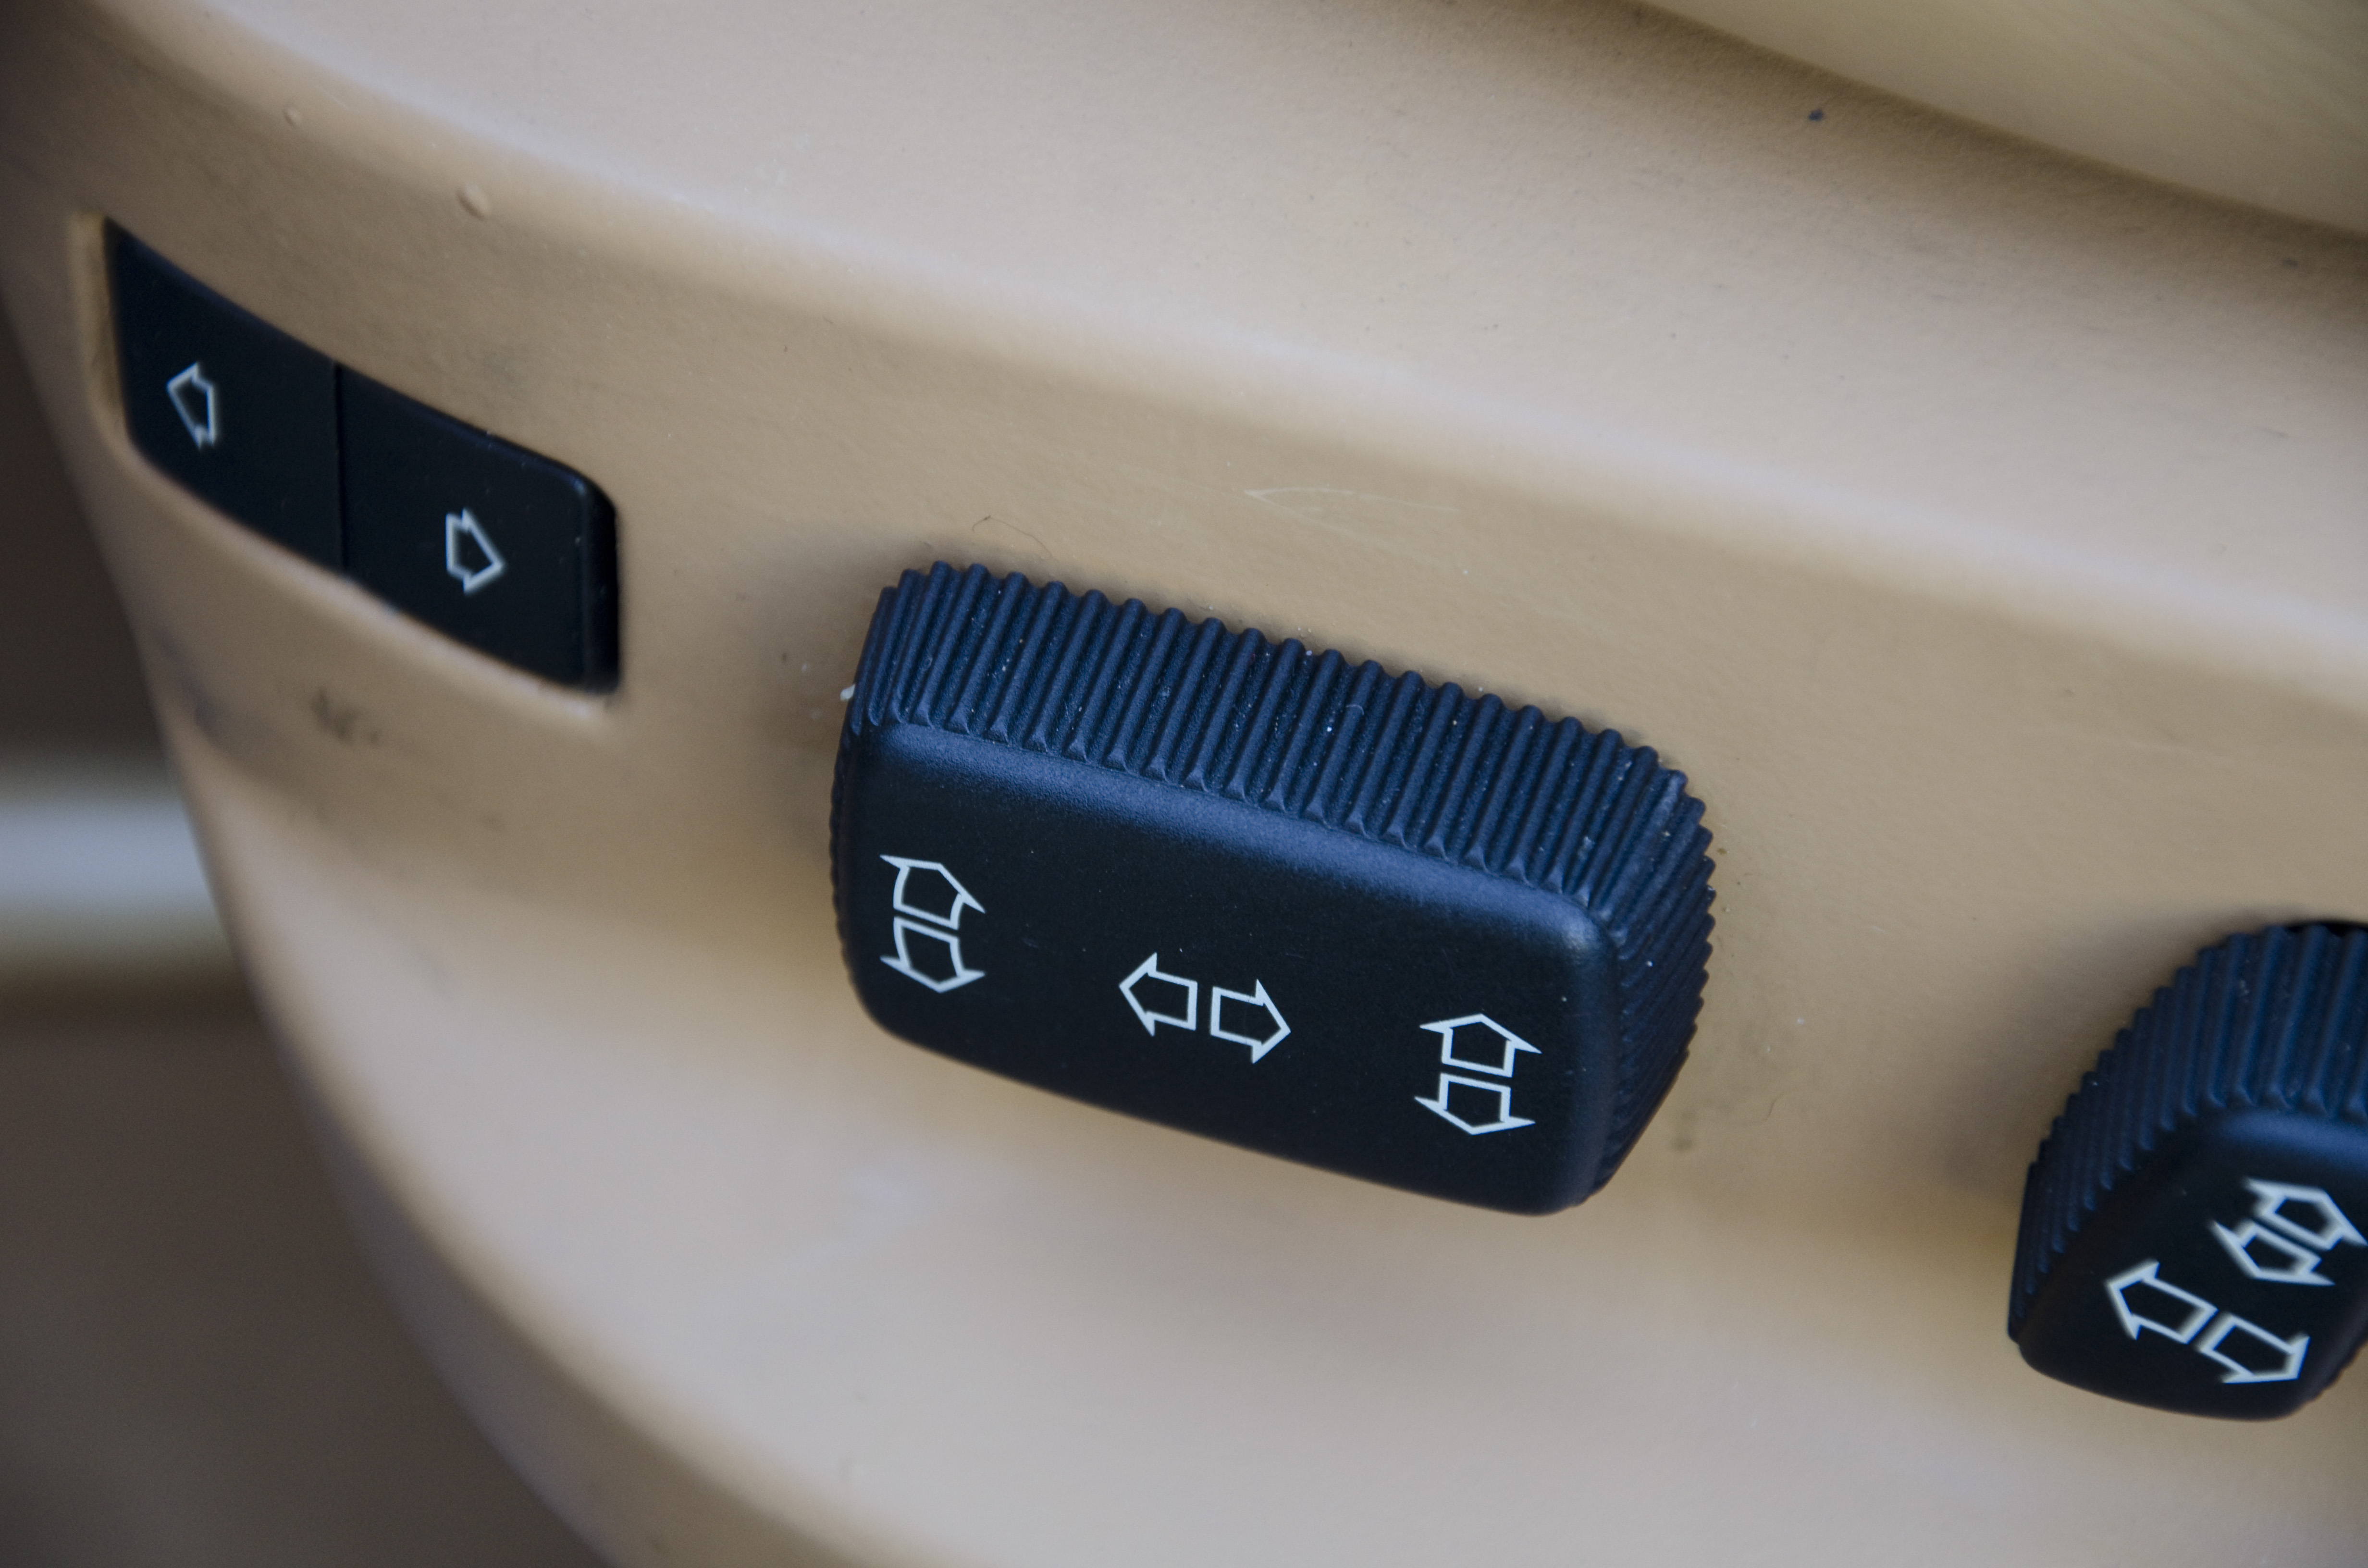
Lets start with some interior leather cleaning. Initially it looked like the leather had abraded on the door handle.
But after gently cleaning away years of use, the leather appeared as good as new!
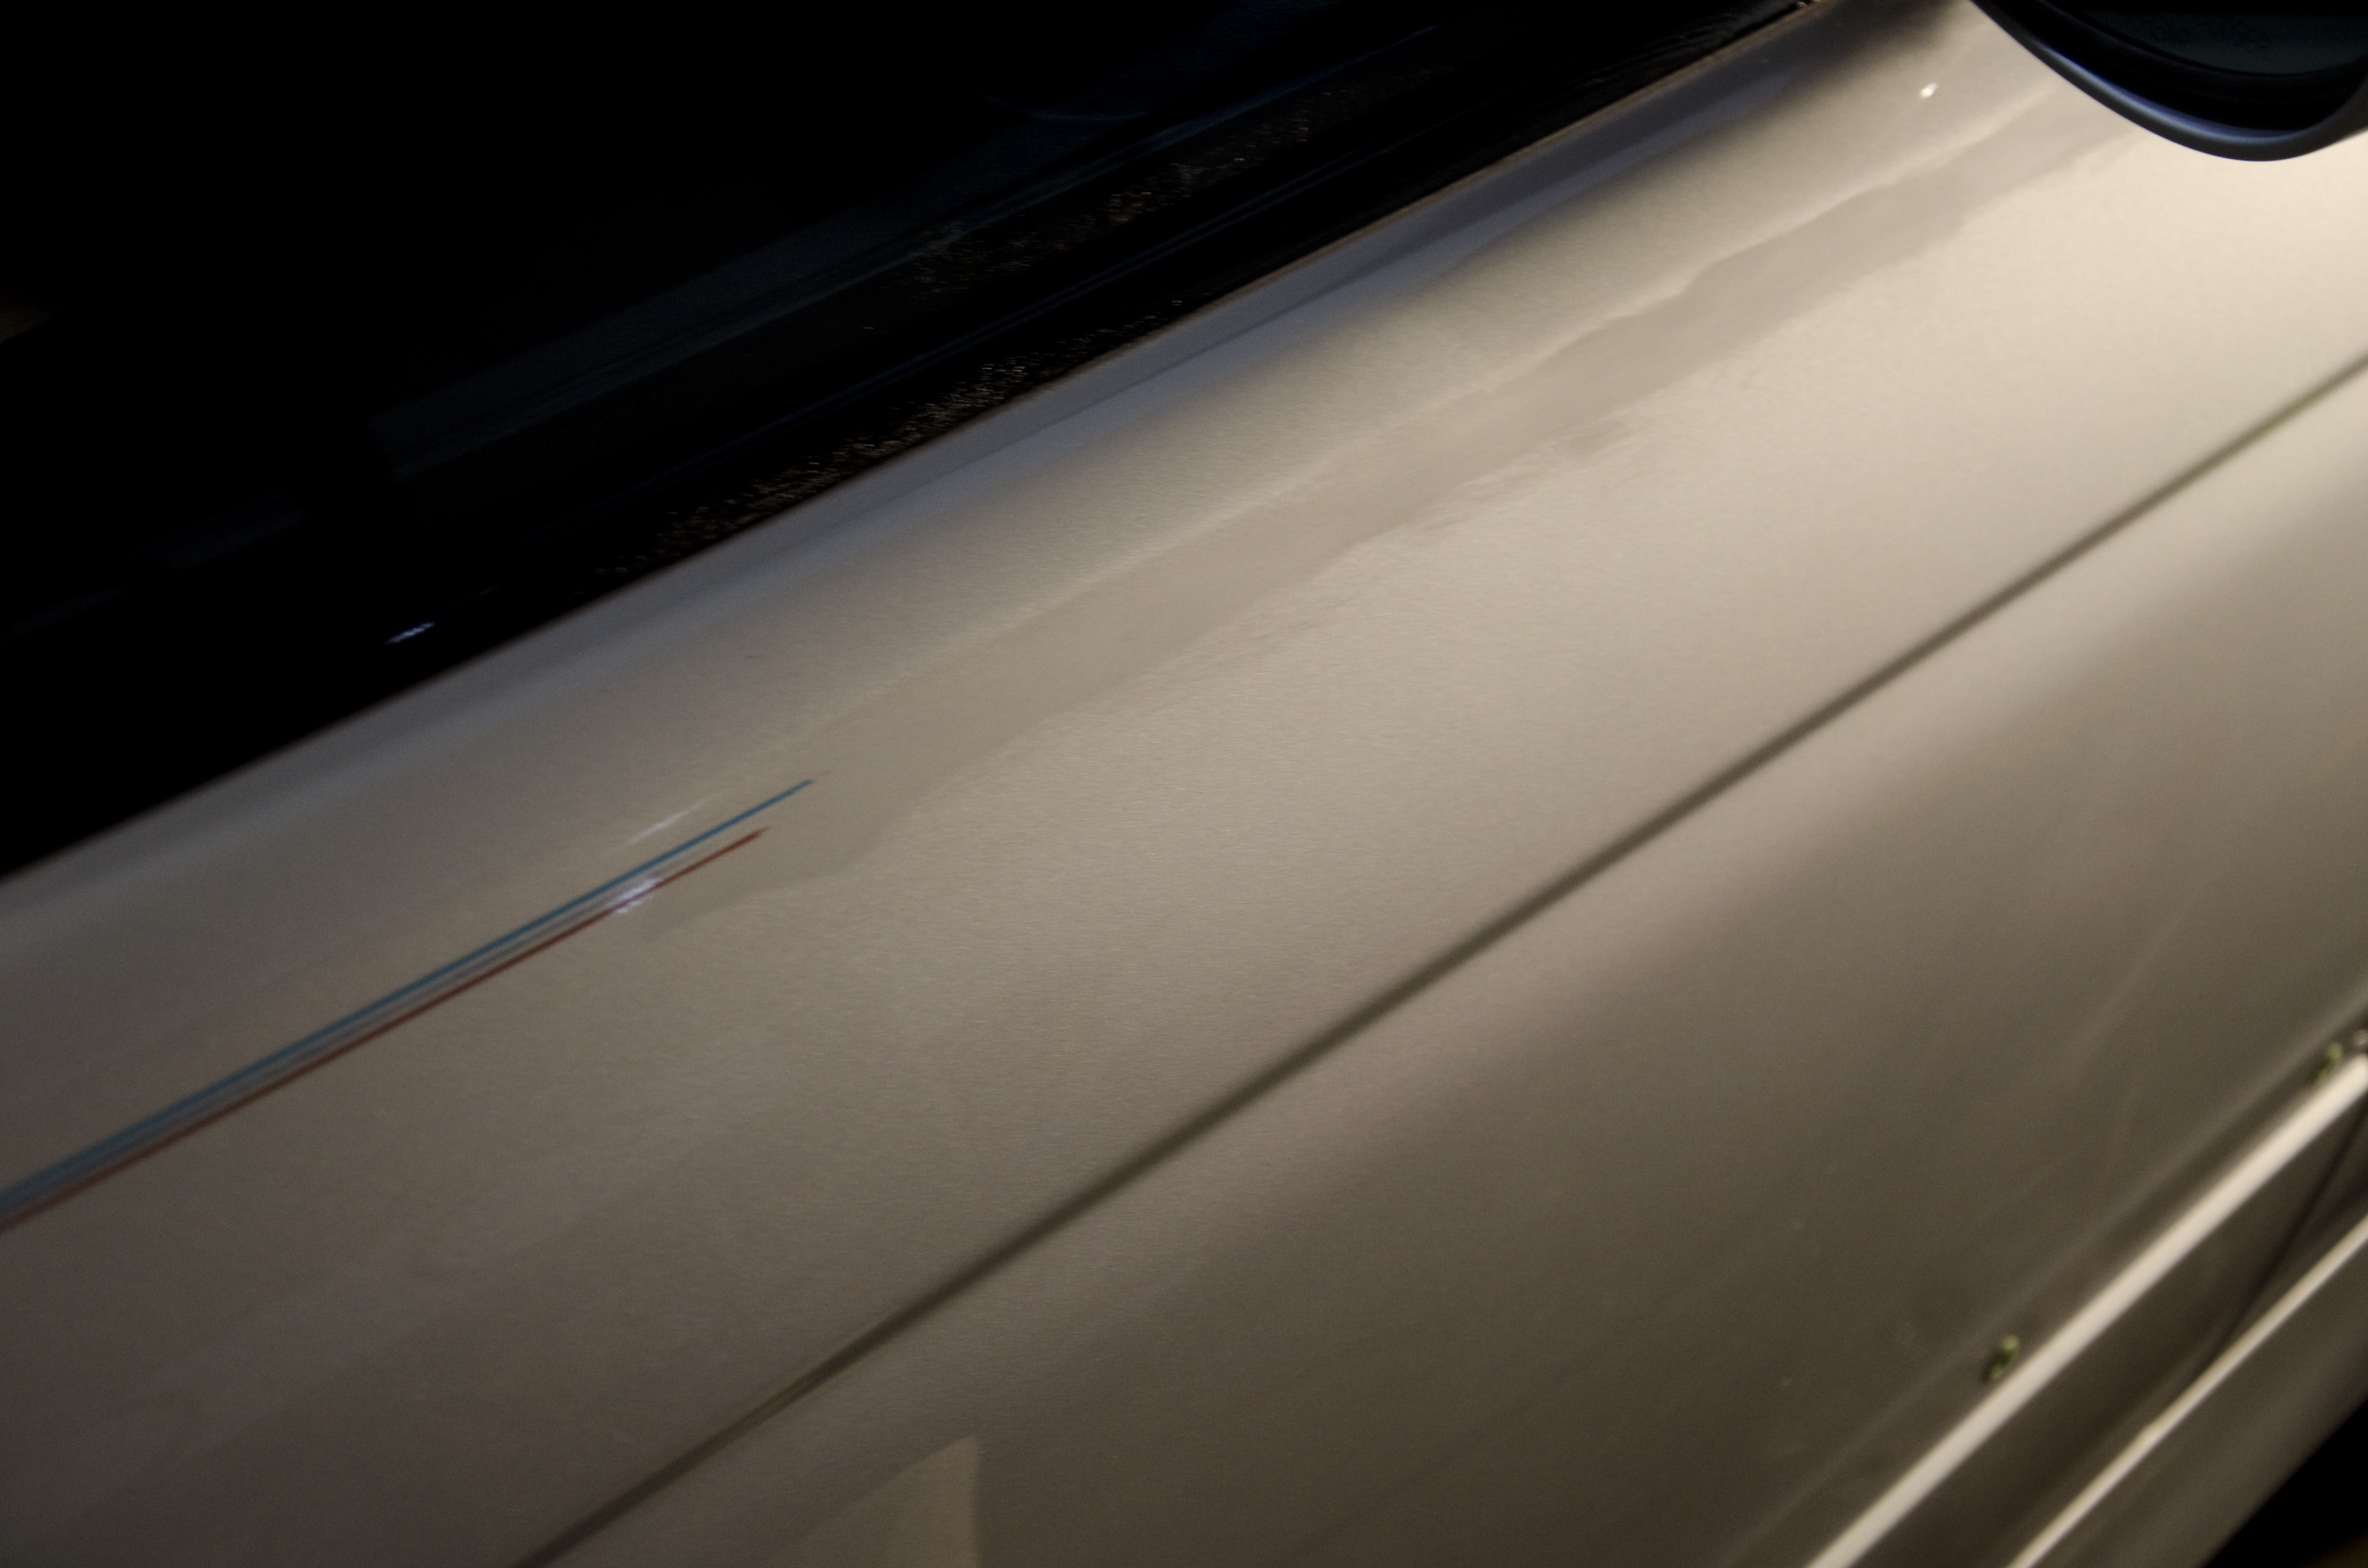
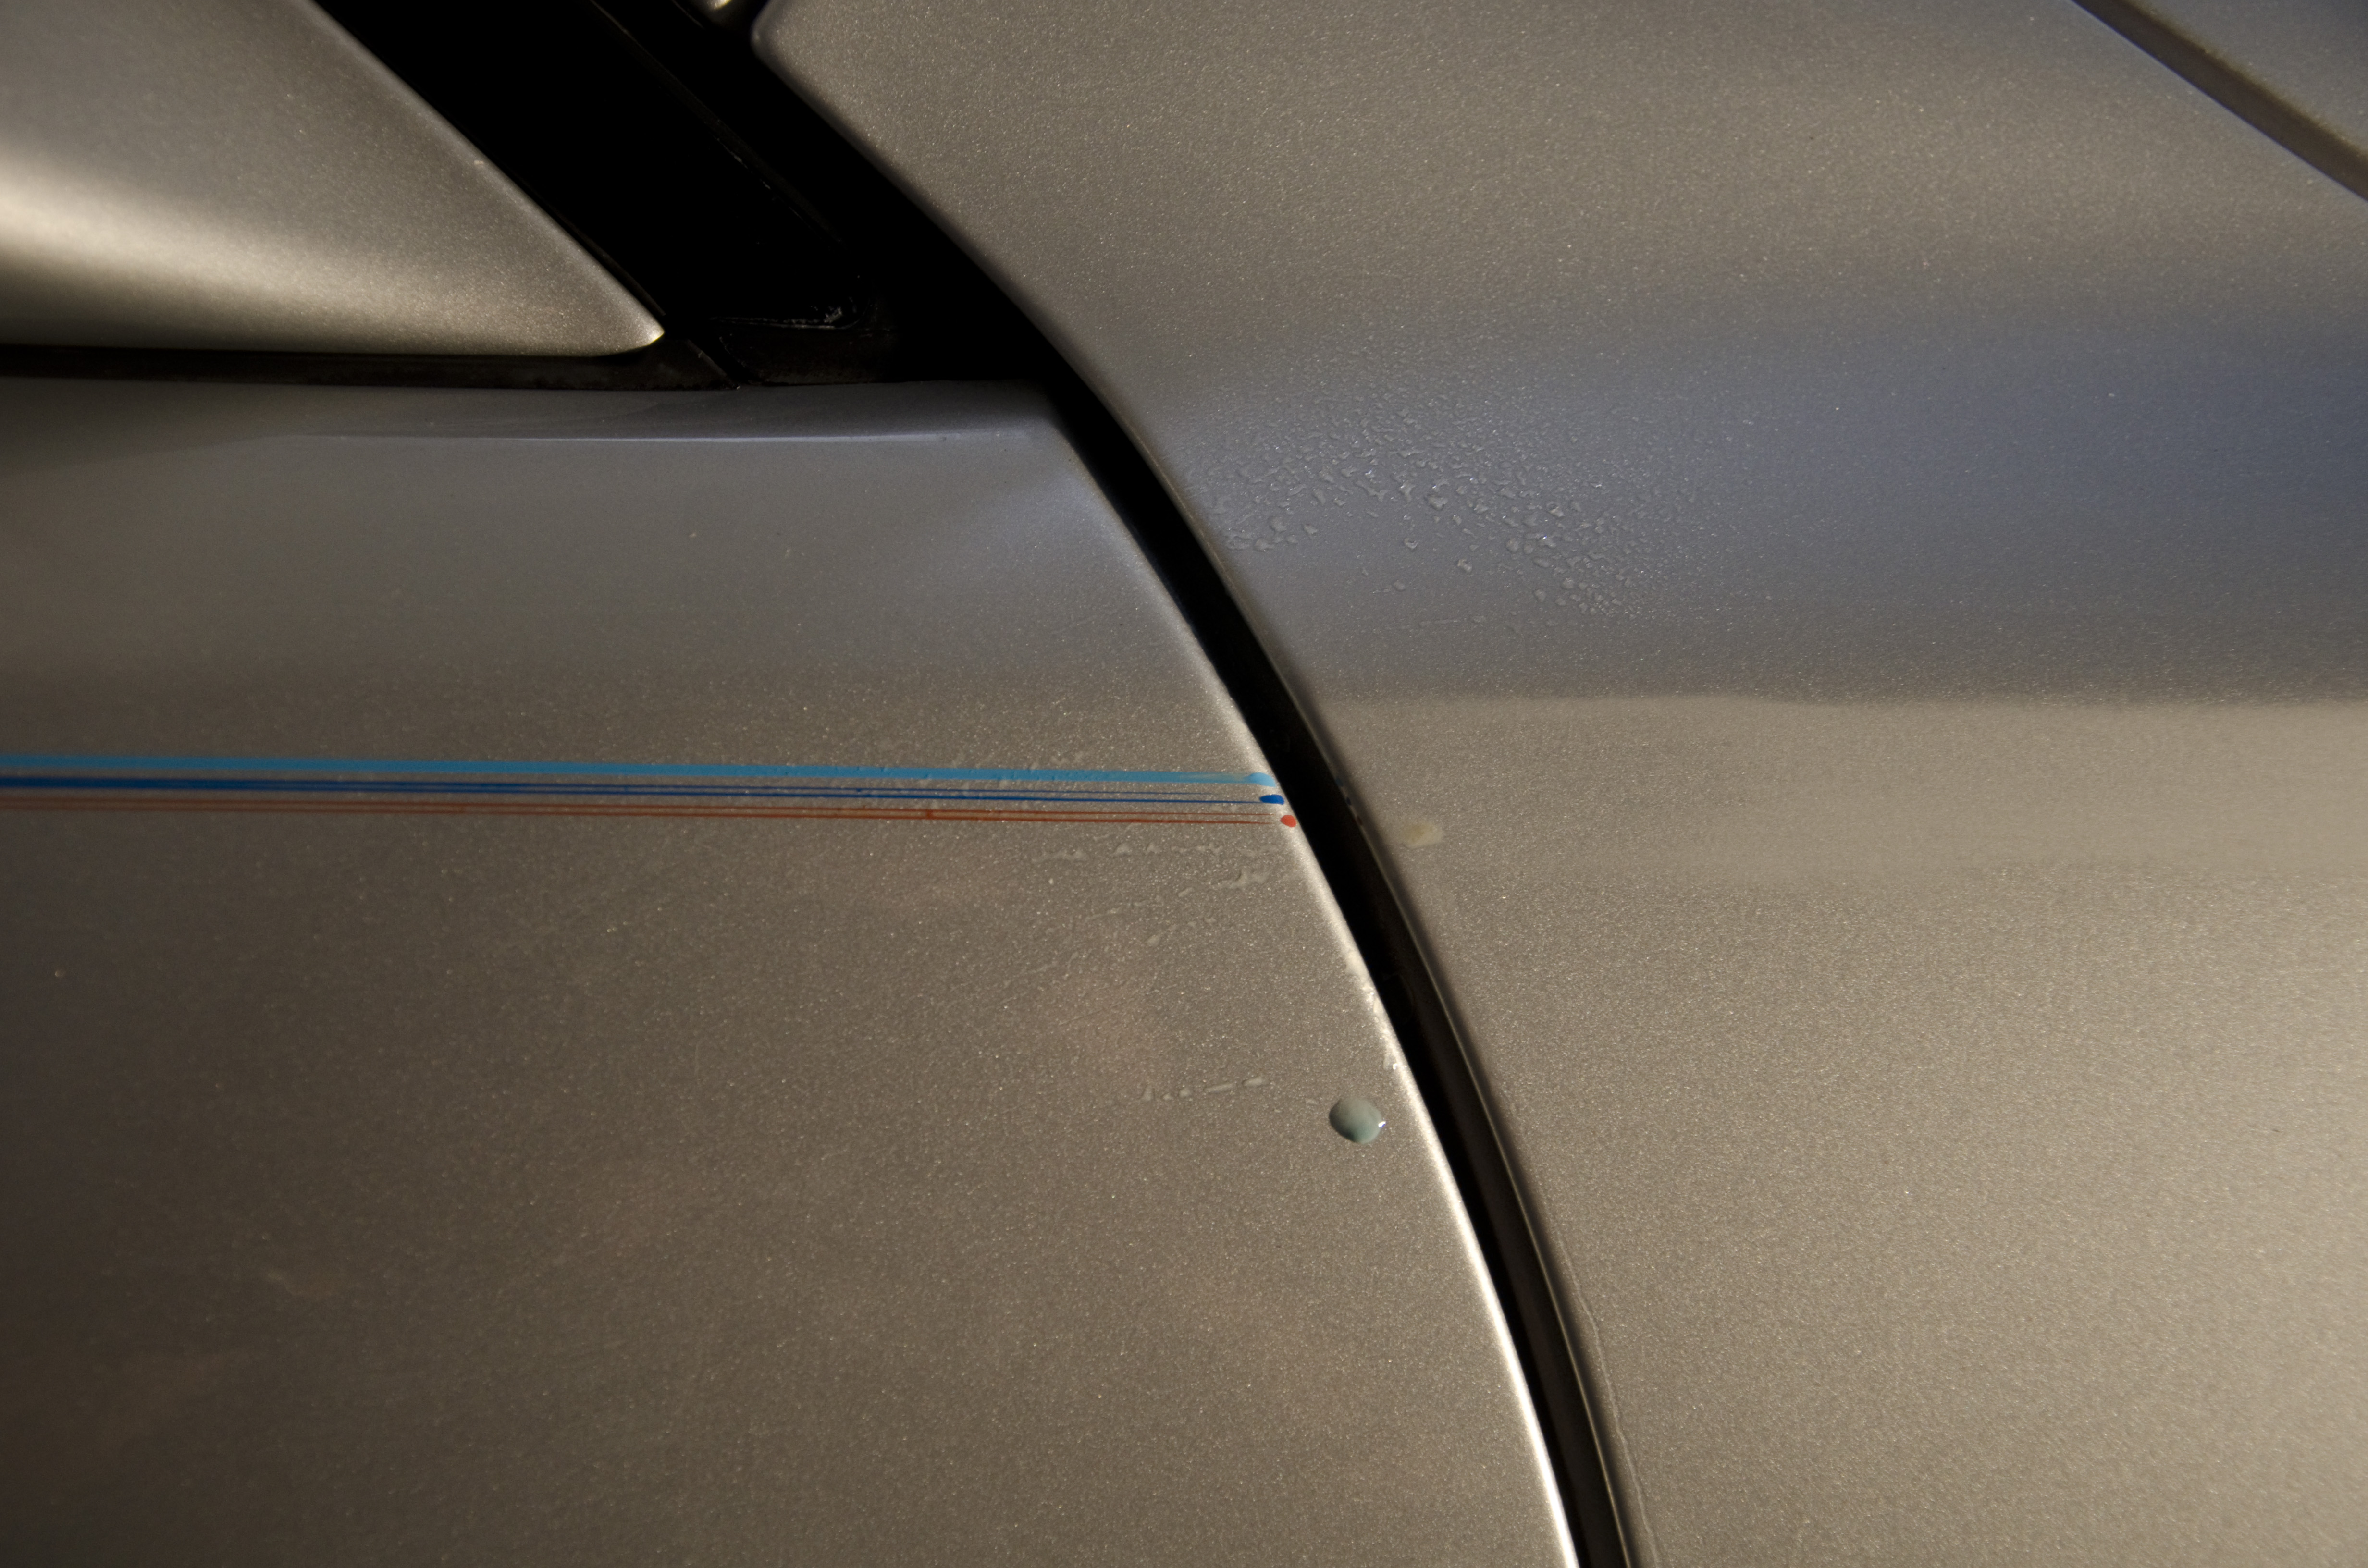
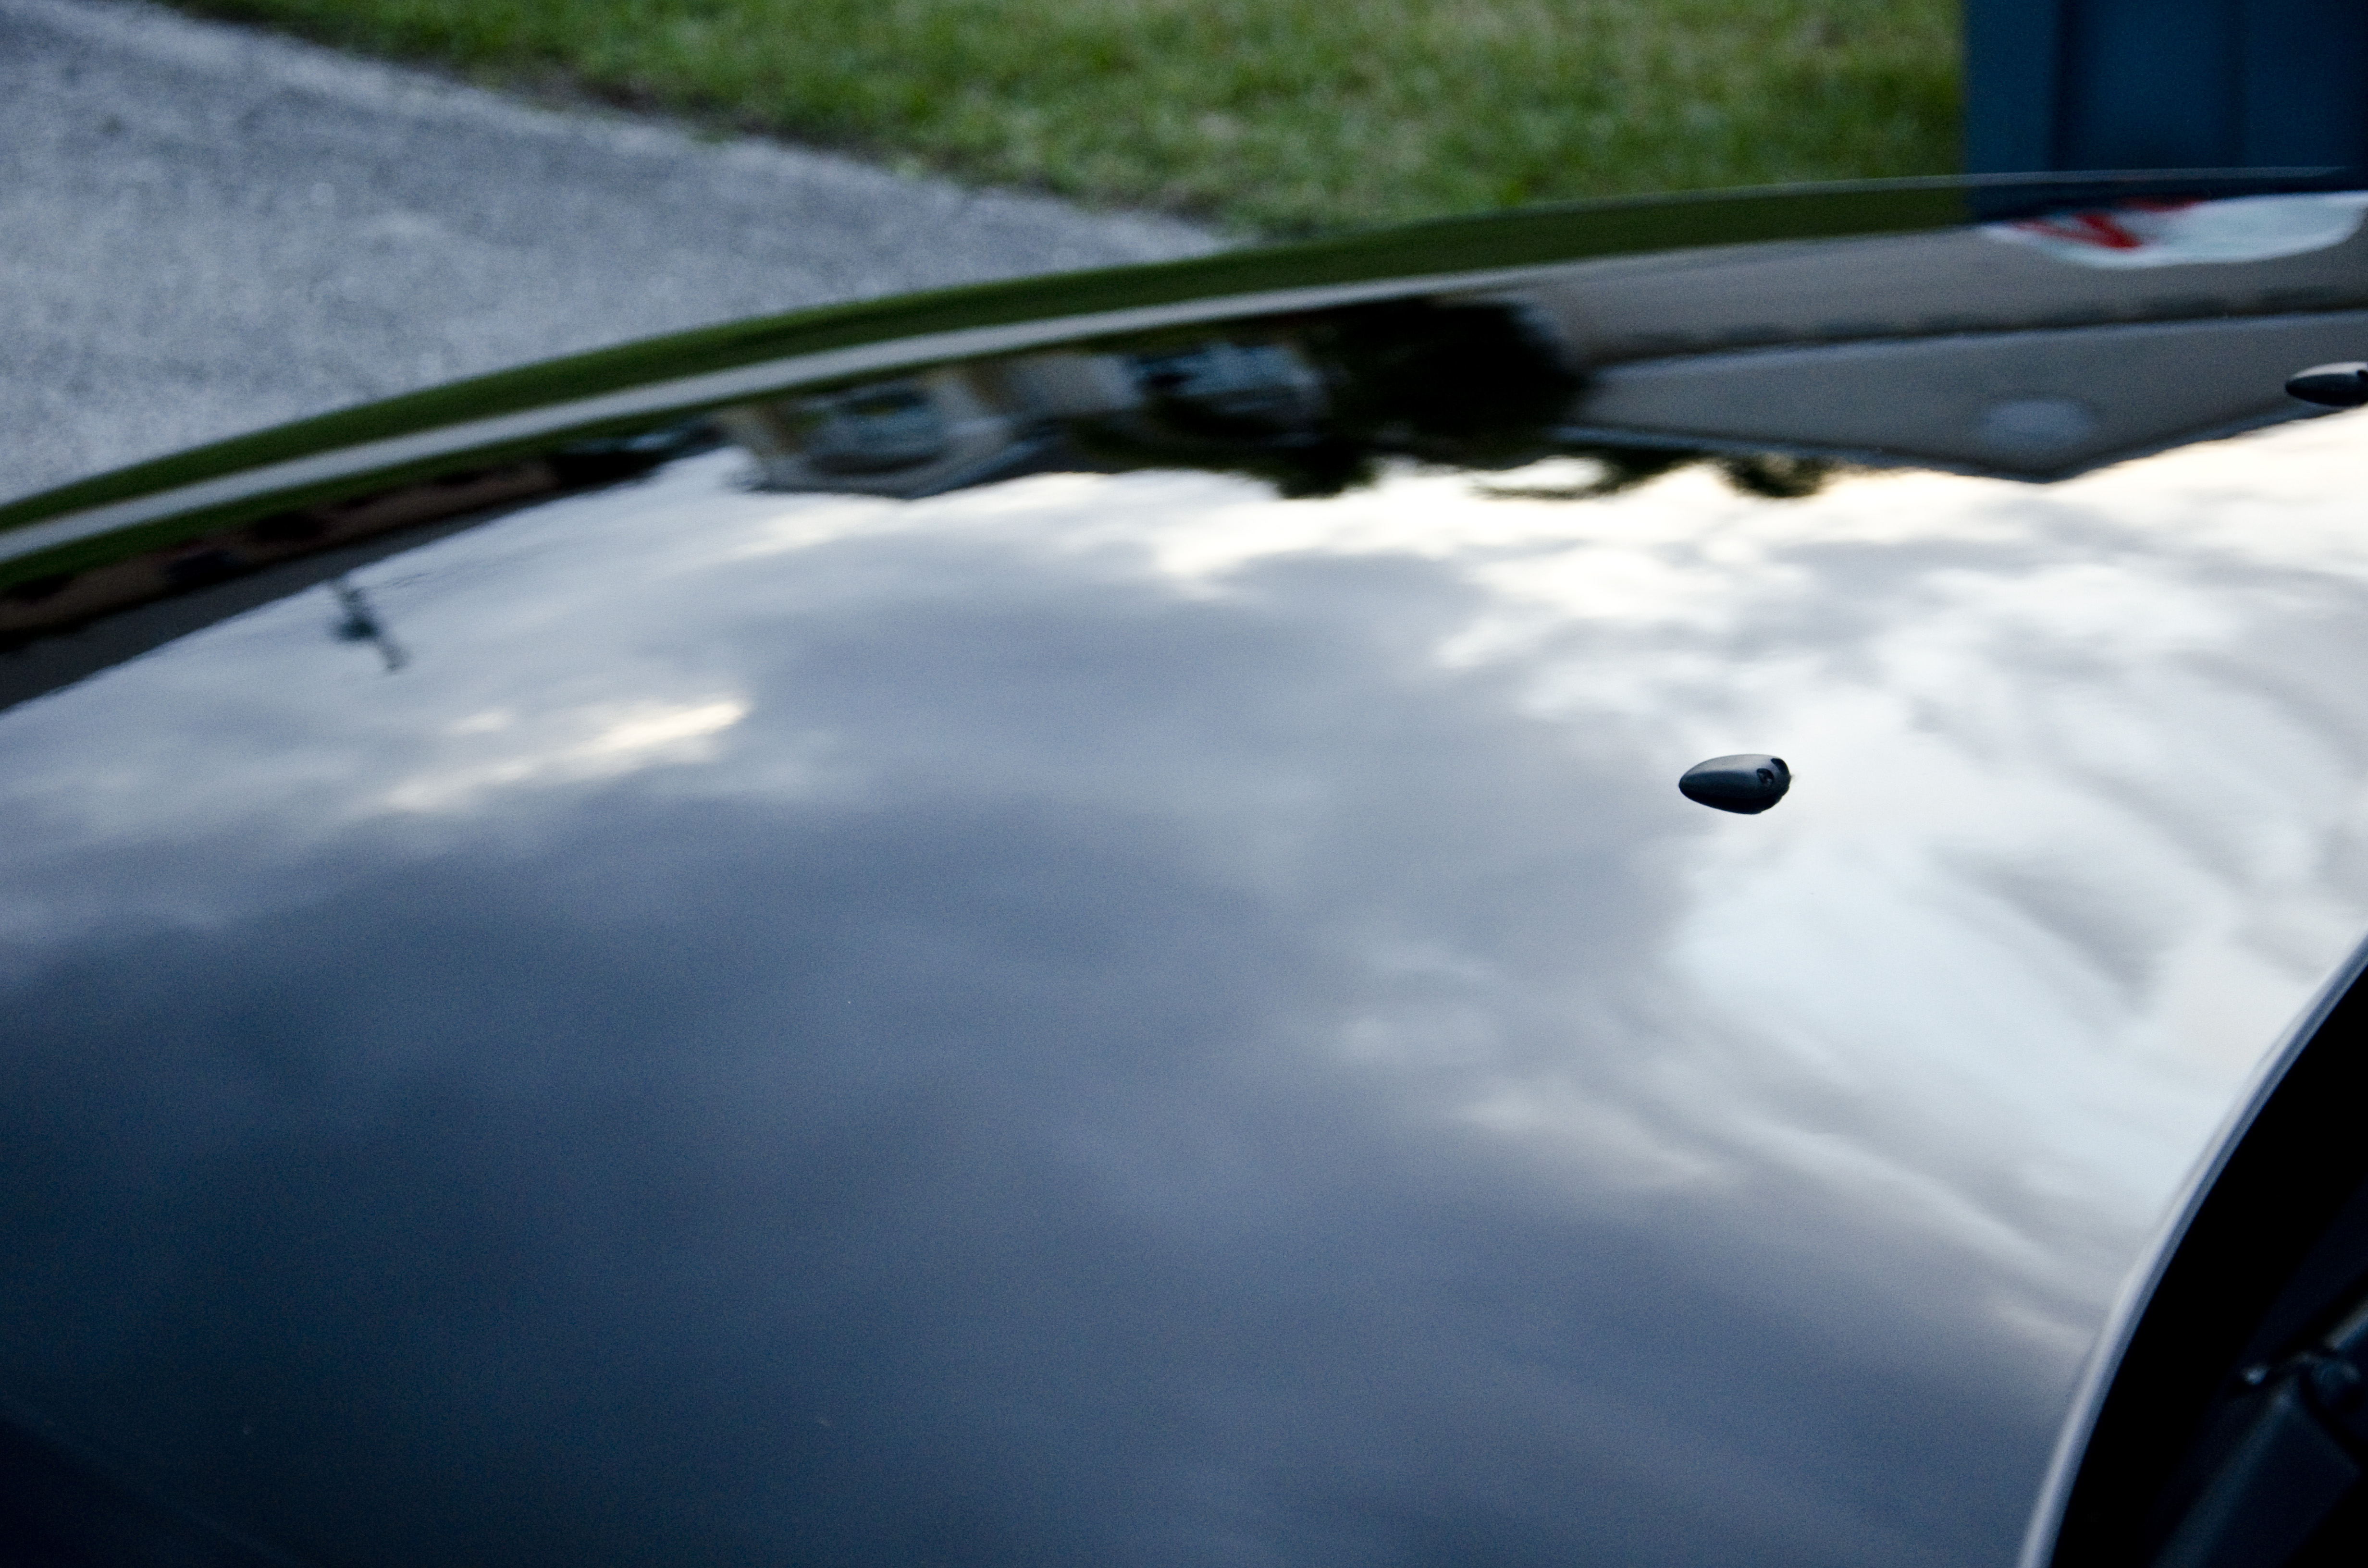
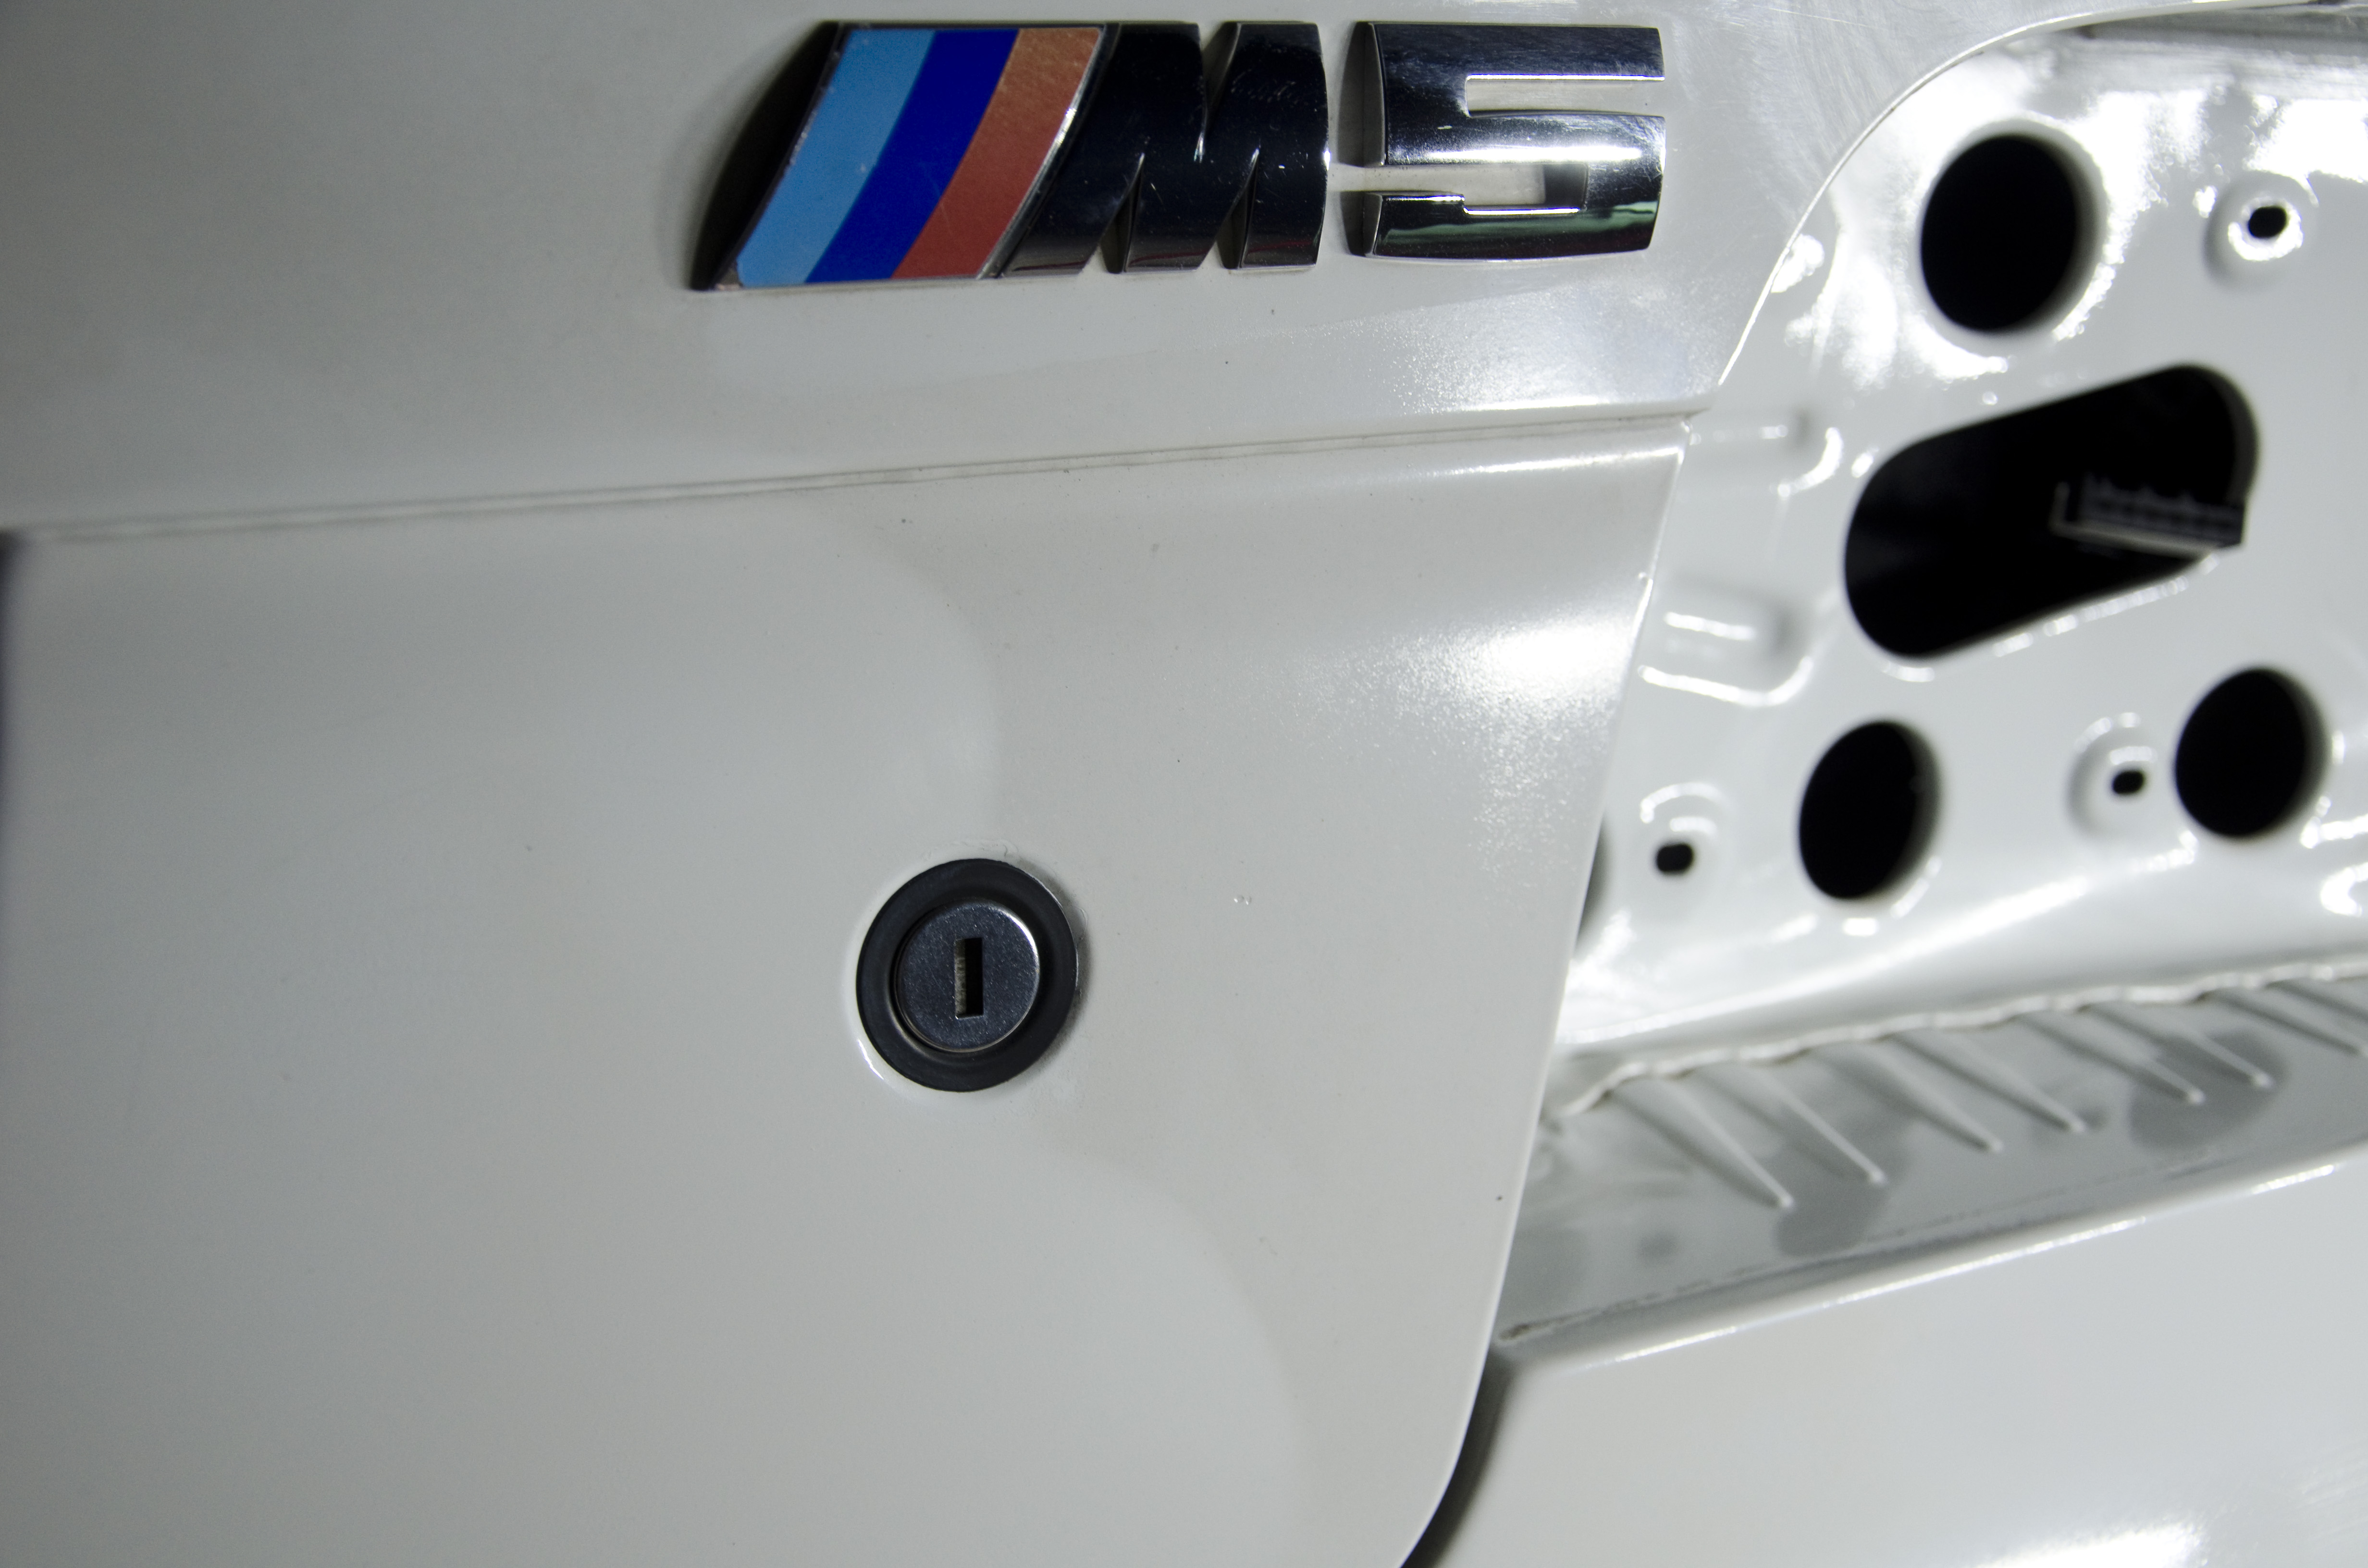
Here is what most of the time was spent on: A dealer installed pinstripe in the M colors. The stripes had faded and the owner had no interest in keeping them around, let alone locking them in under the ceramic coating to be applied (Opti Coat Pro). The stripes were gently sanded away with a 2000 grit wet sandpaper.
This went all fine and well until we got the the passenger rear quarter panel. It was determined that at some point when they repainted the trunk lid, they had blended clear coat over the pinstripe! This meant that we now had to carefully sand through the additional clear coat which measured between 40 and 50 microns, just to reach the pinstripe. Not willing to step up to a more coarse sandpaper, careful sanding and constant paint thickness measurement ensued. After much sanding, finally that last bit of pinstripe was gone as well. Continue reading “2003 Titanium Silver E39 M5 – Paint Correction + Opti Coat Pro + Gloss Coat”
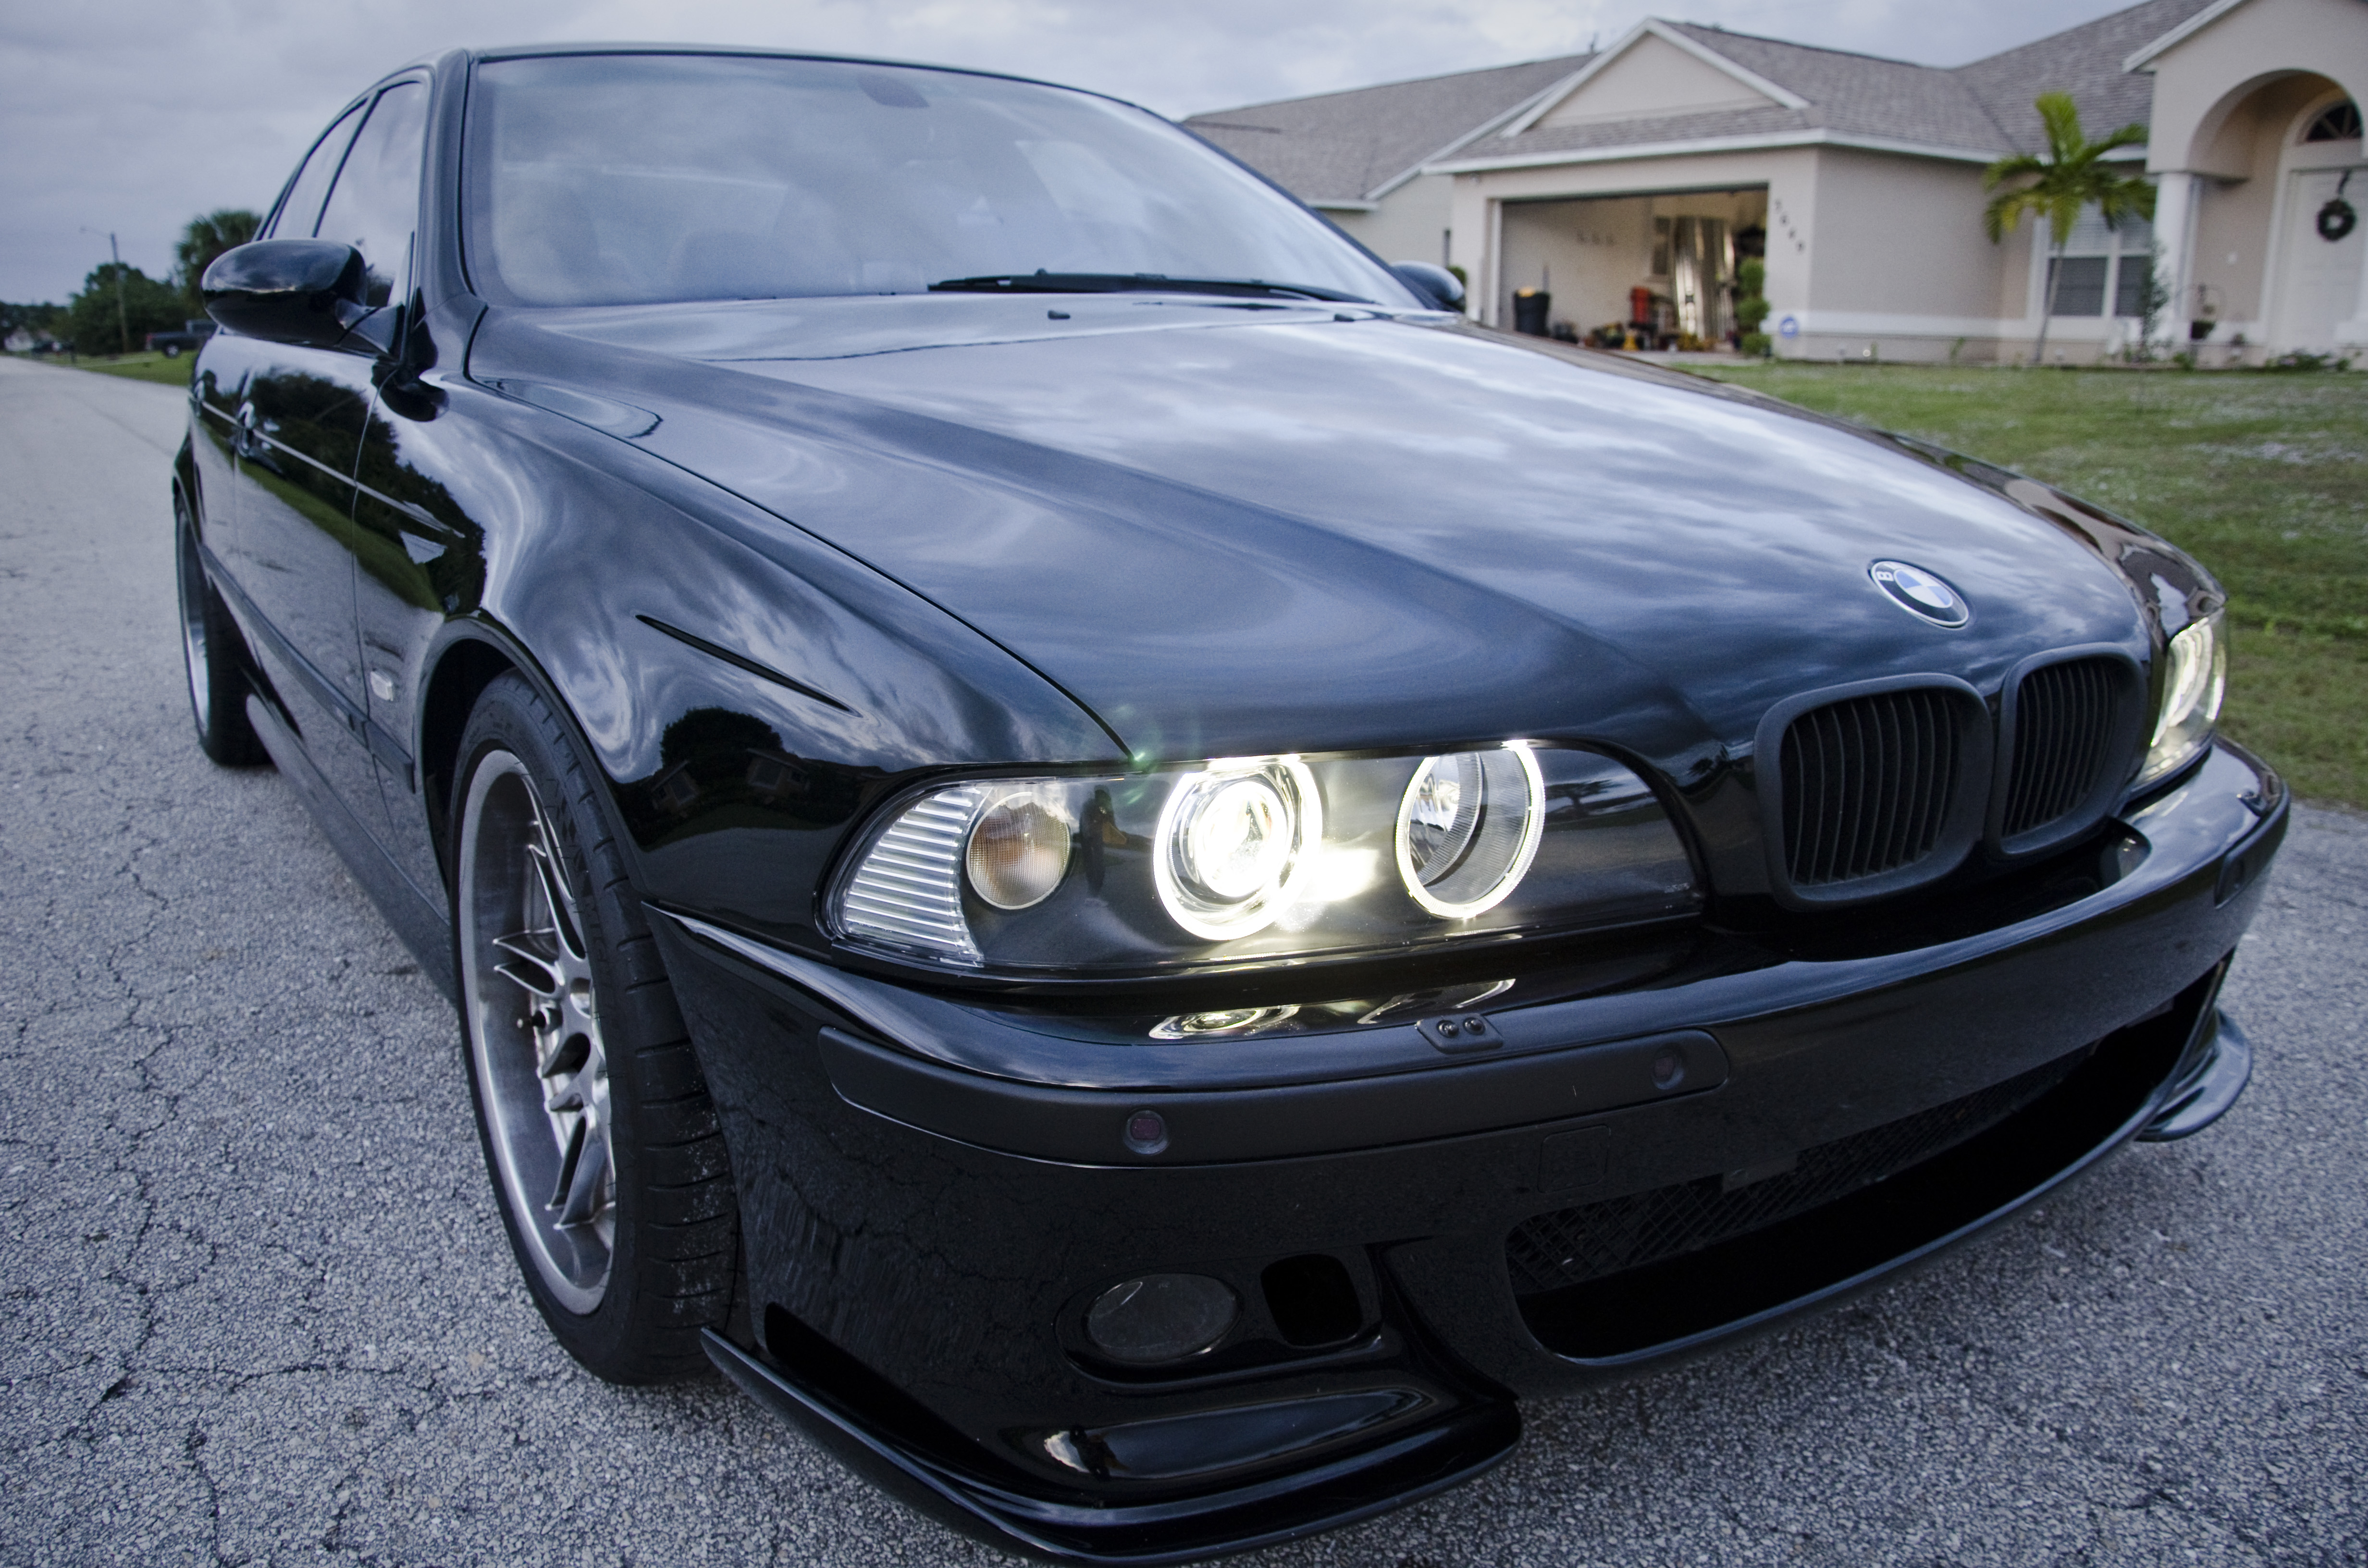
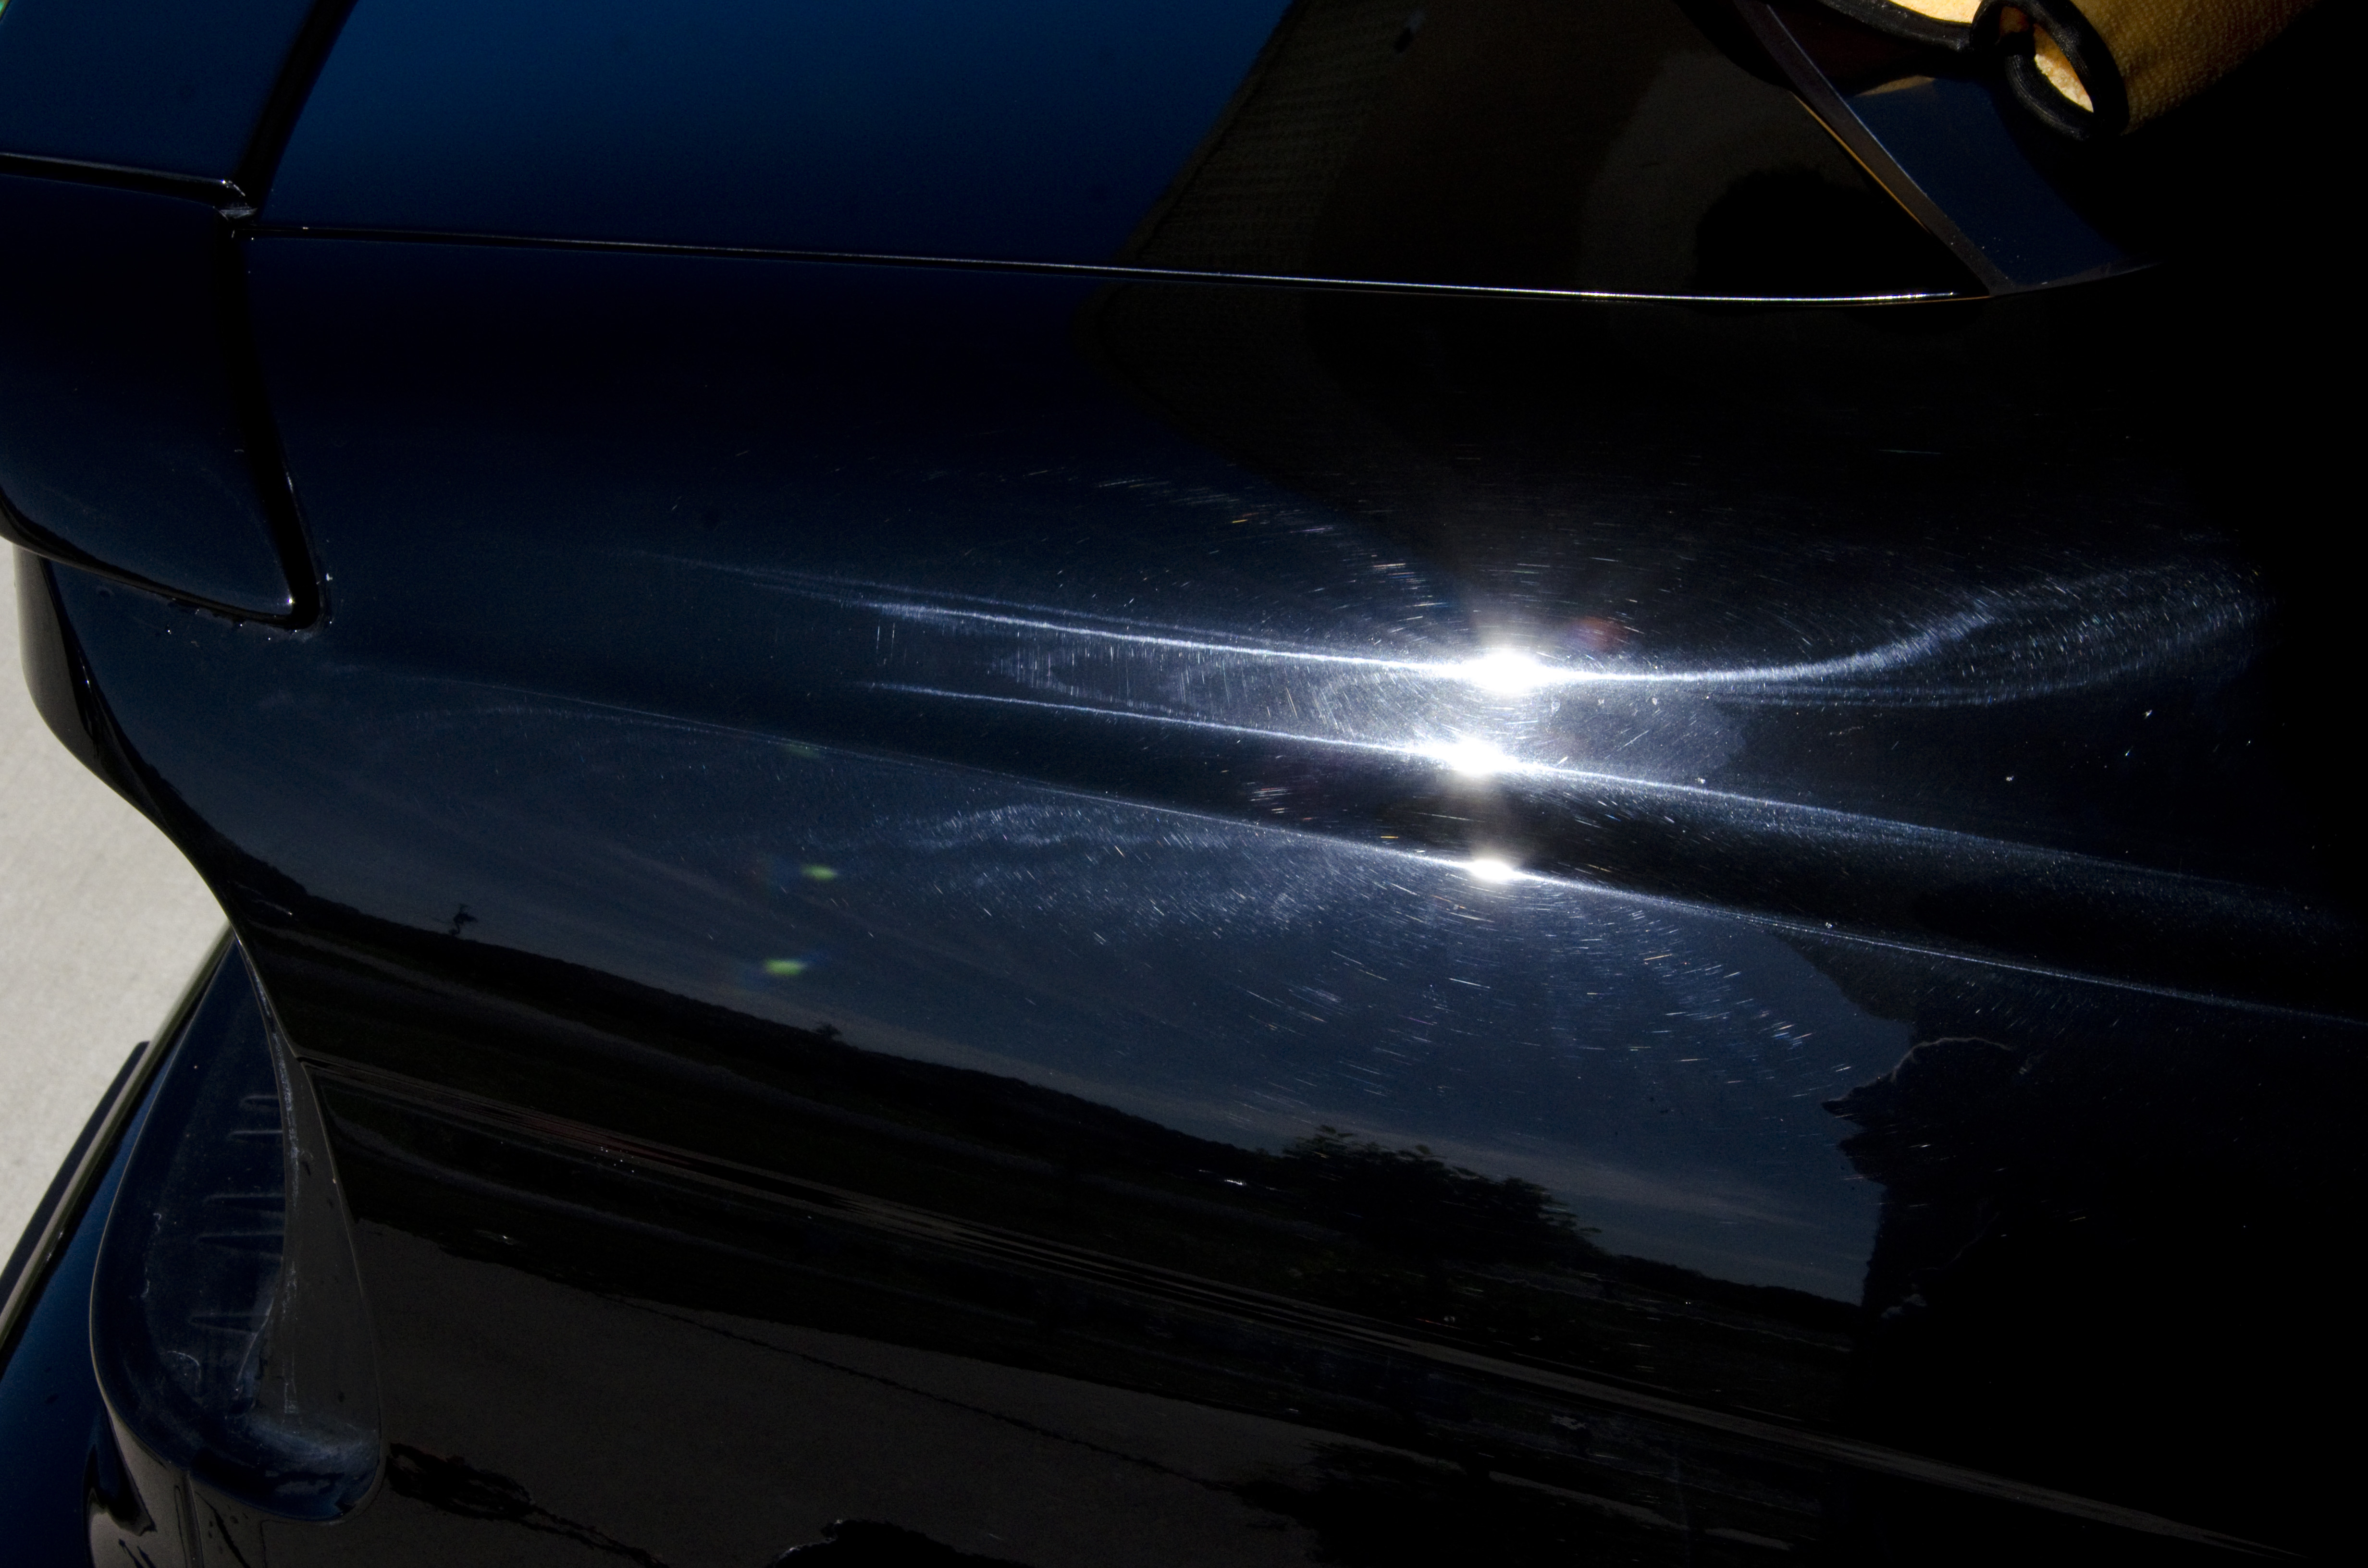
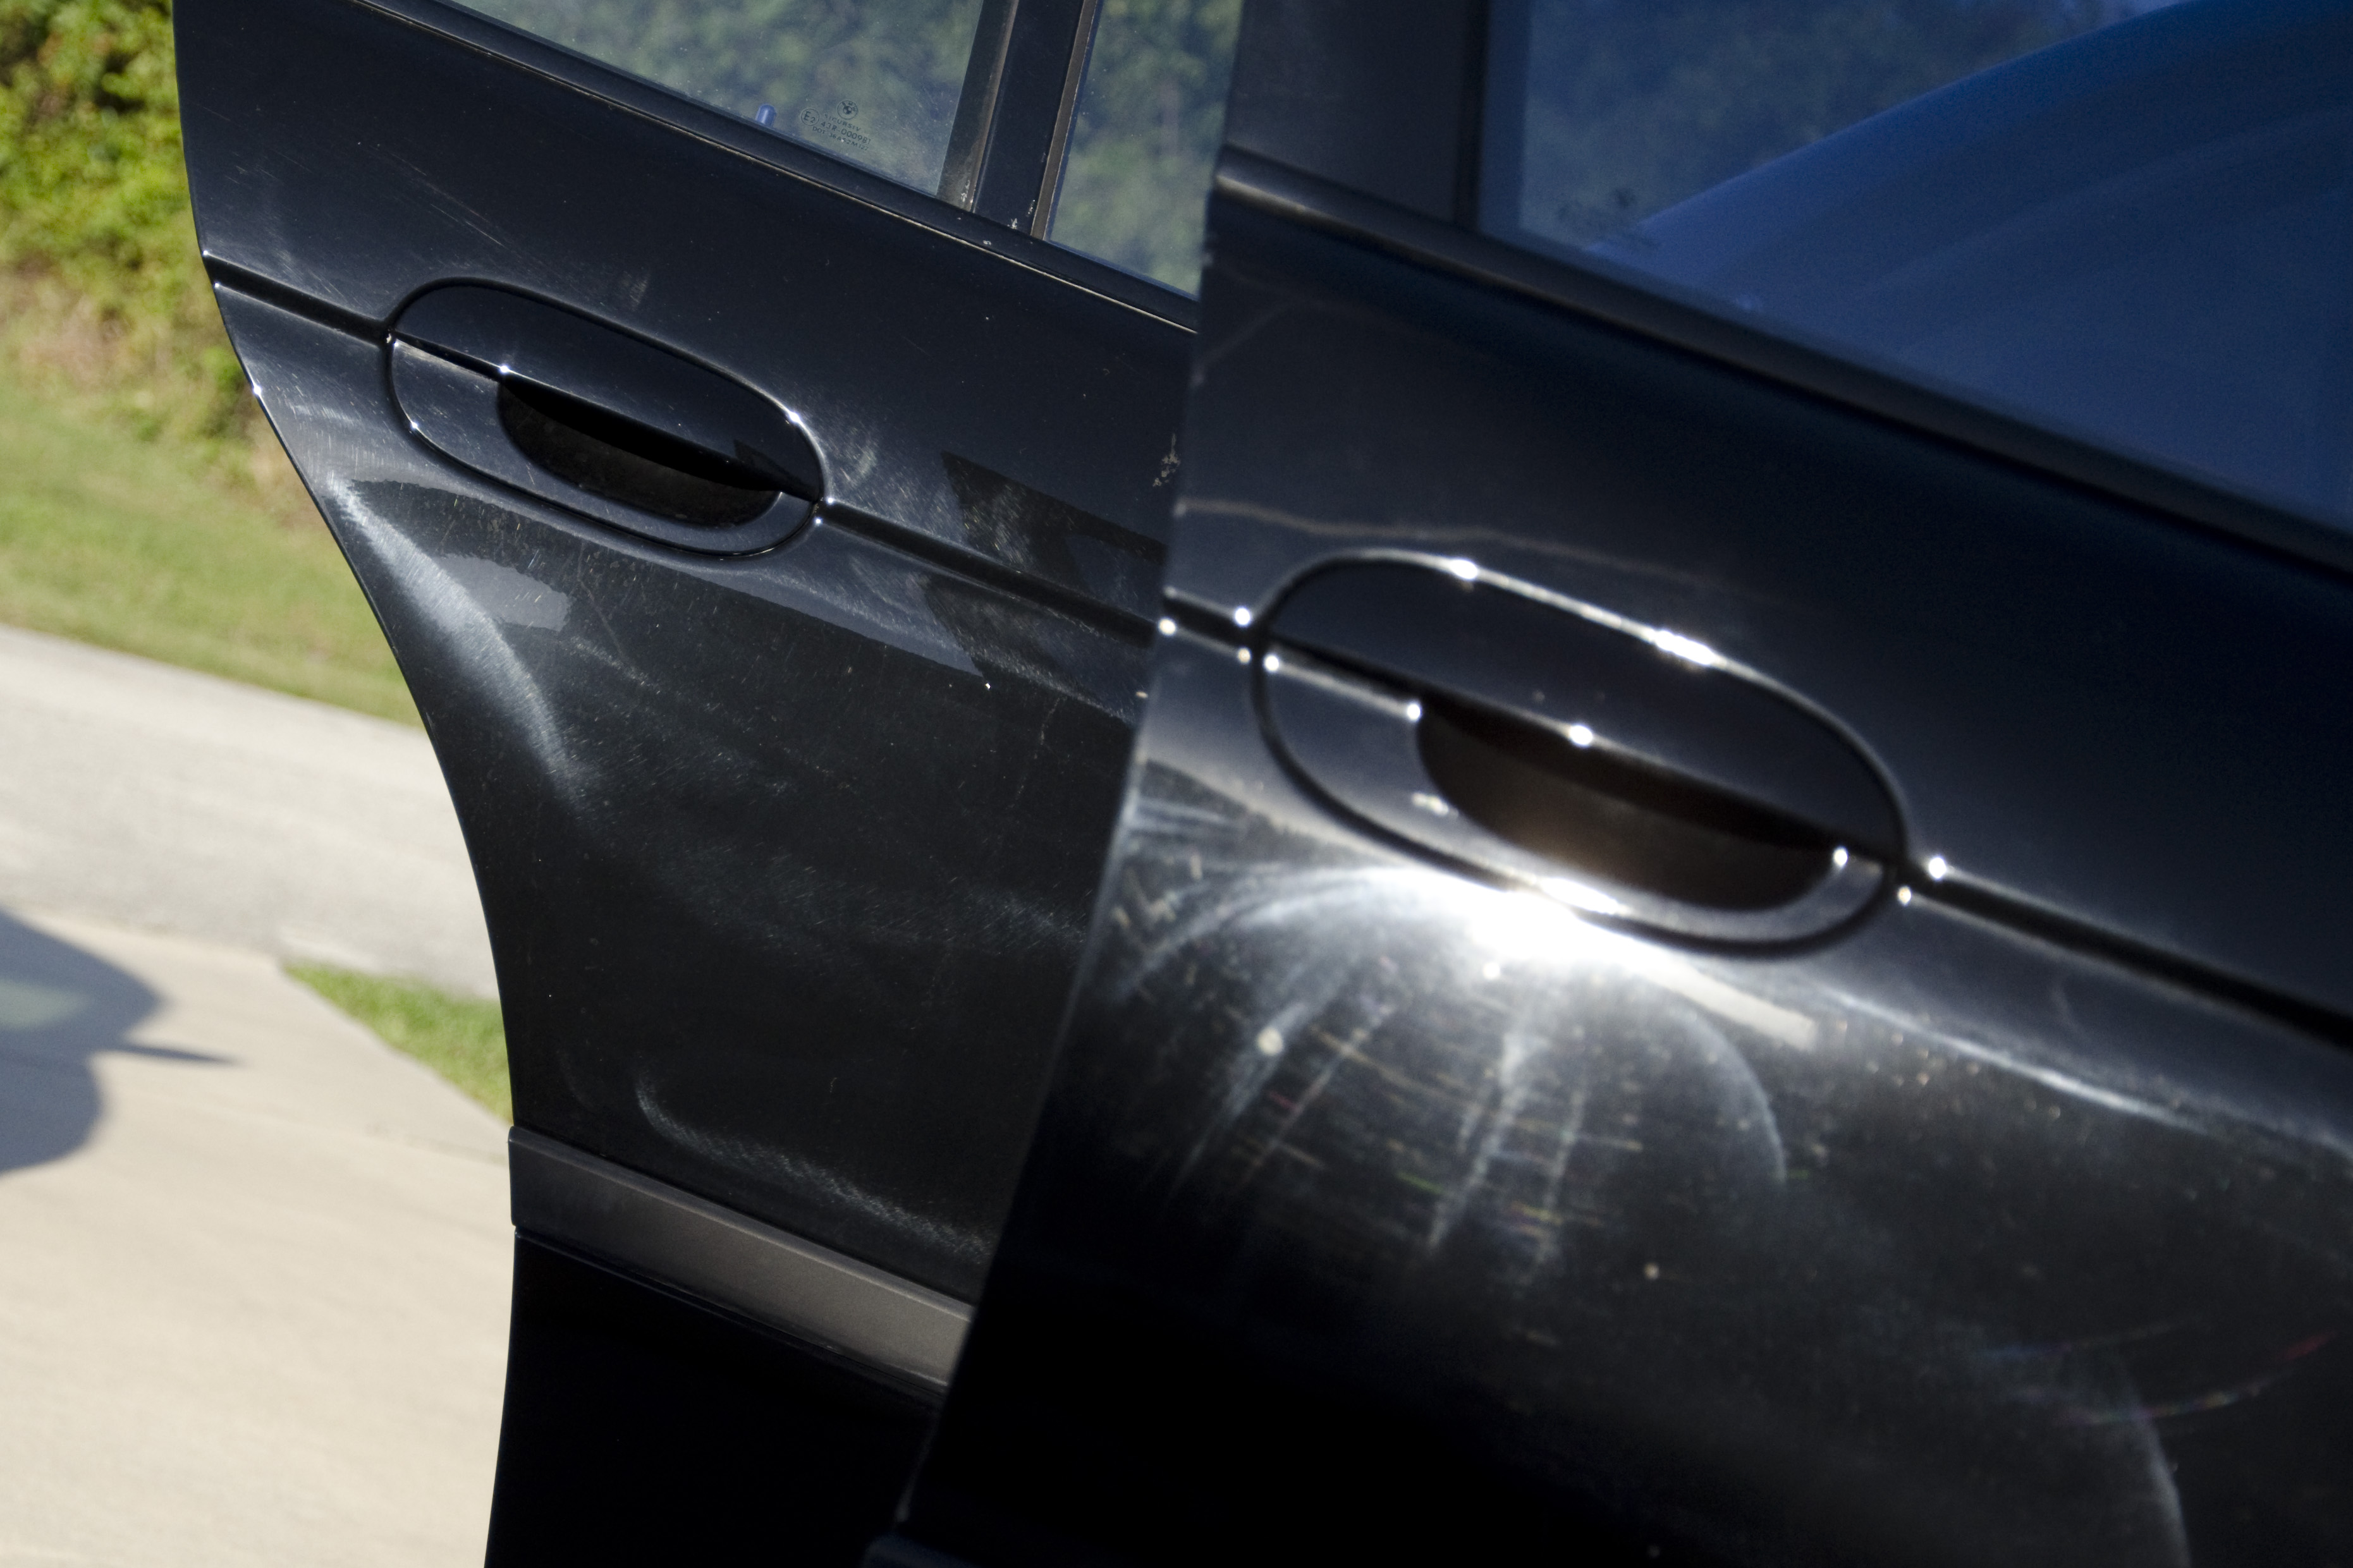
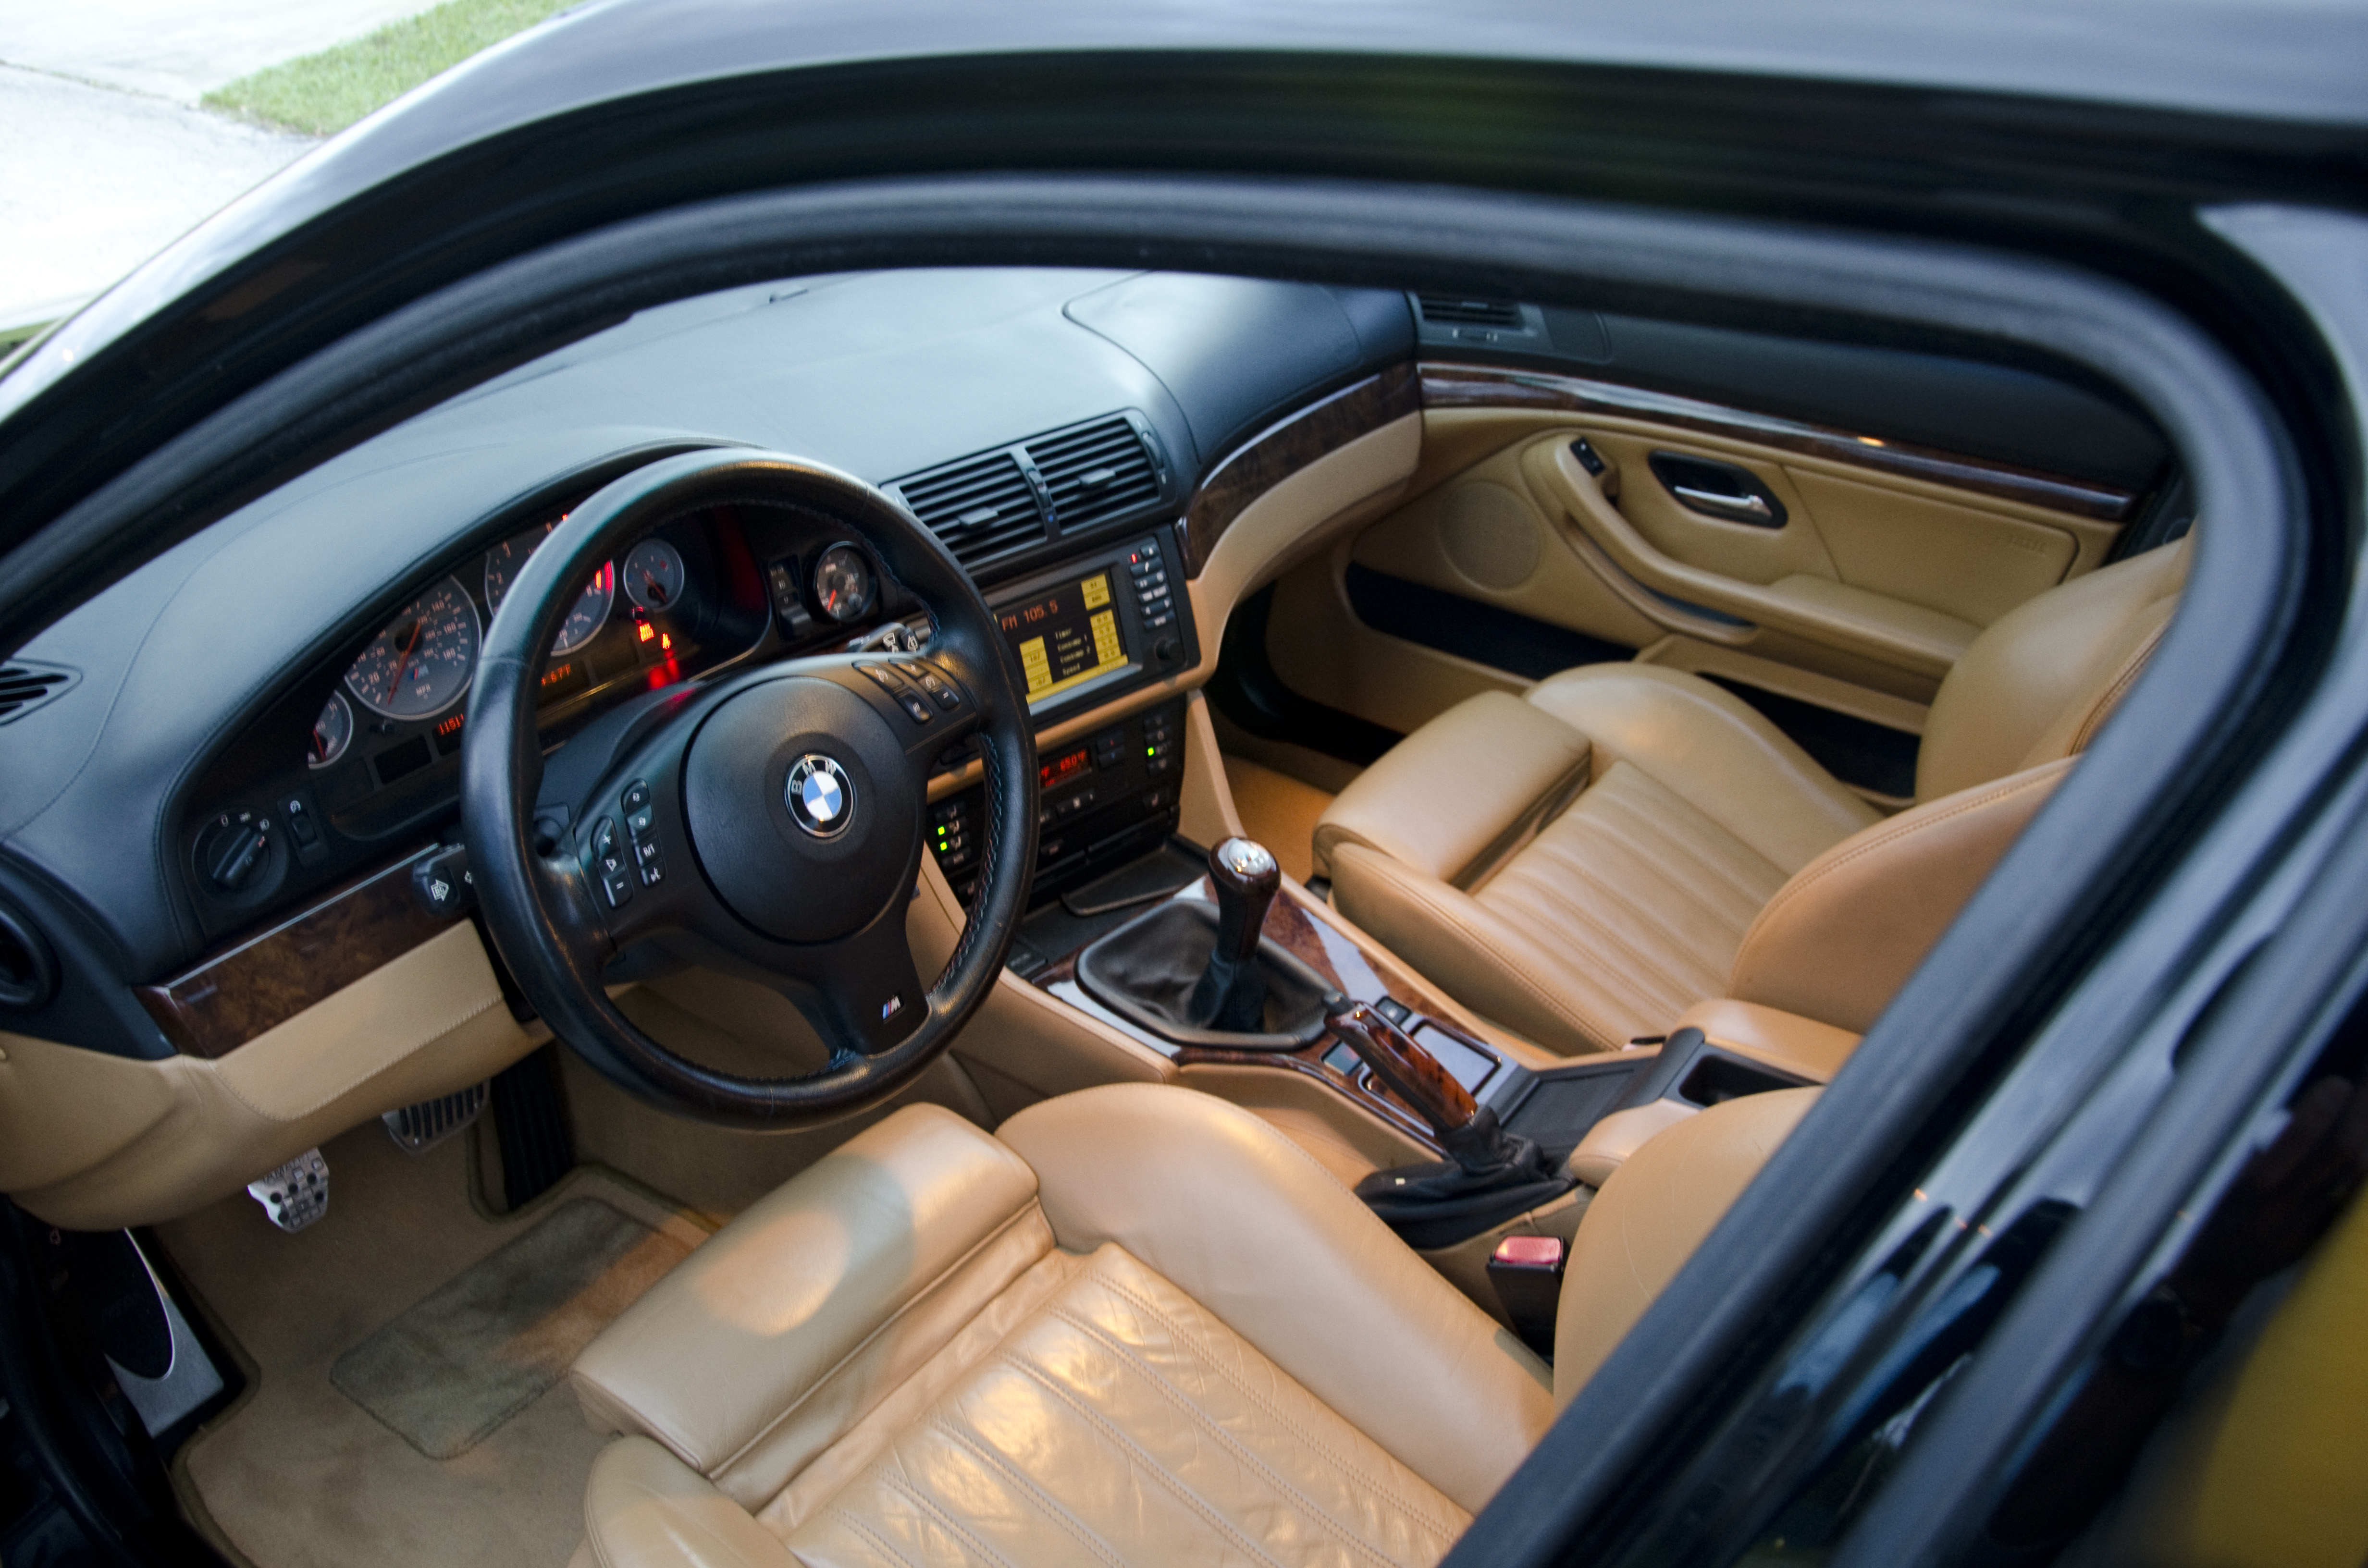
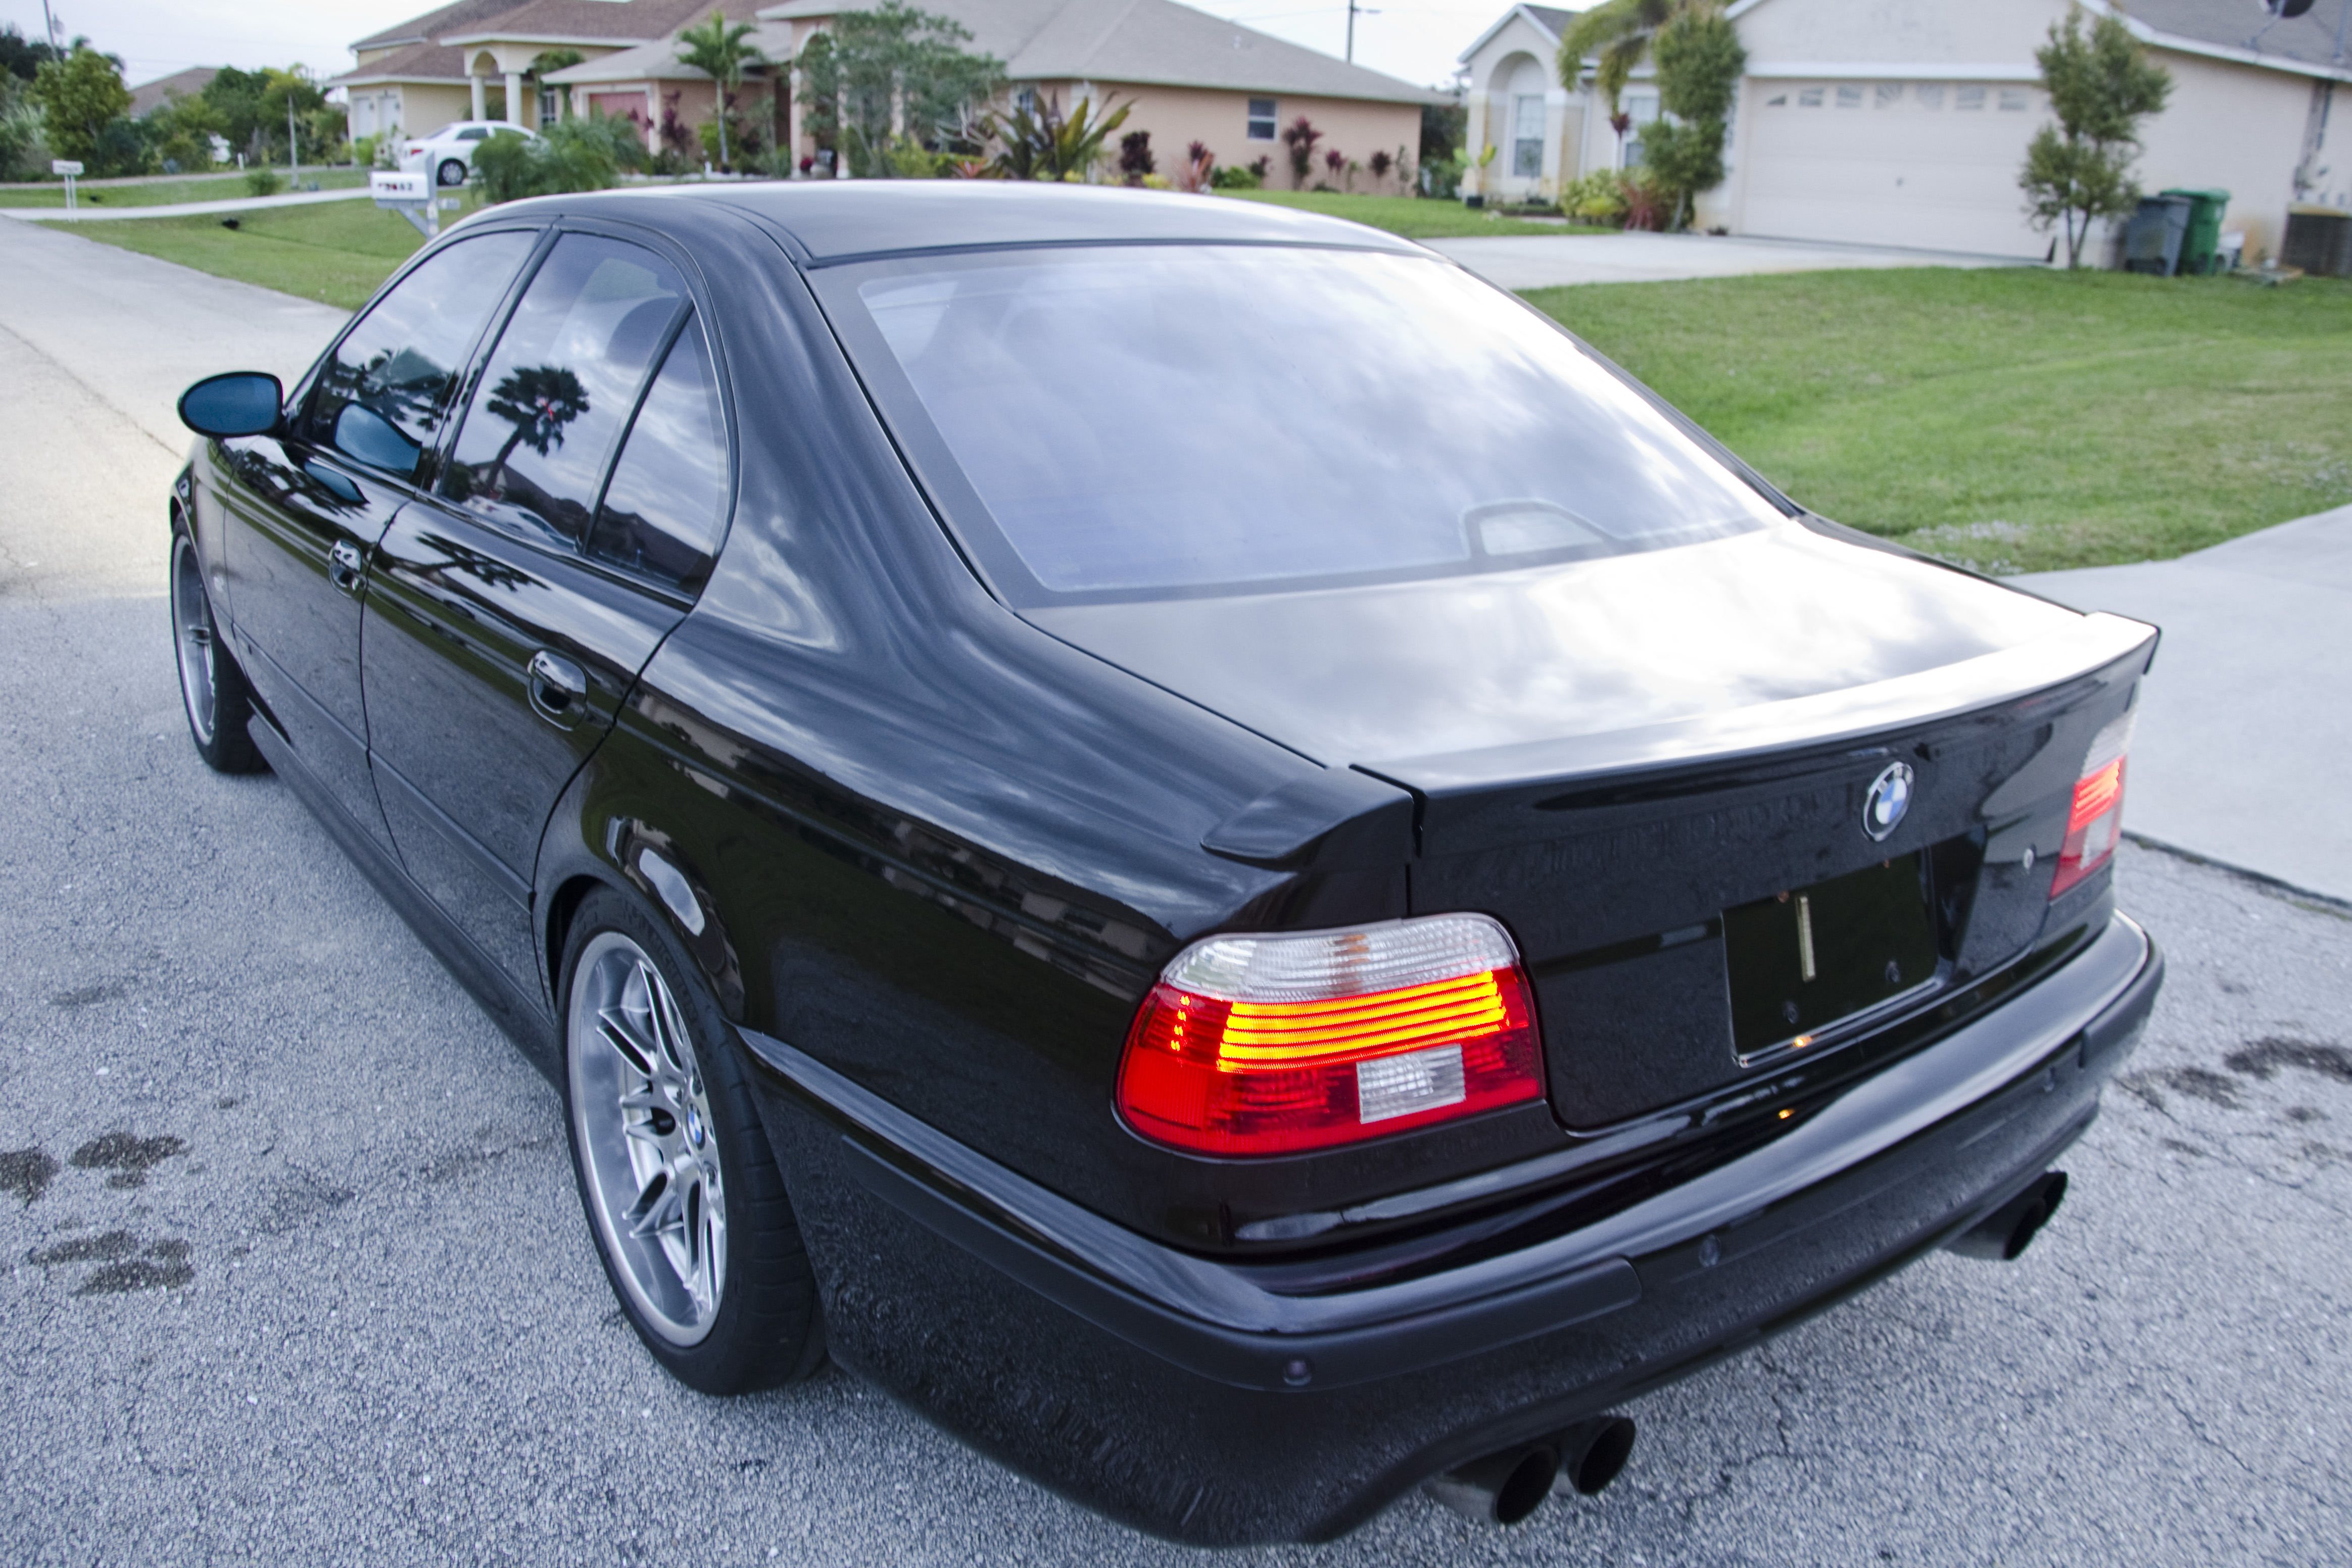
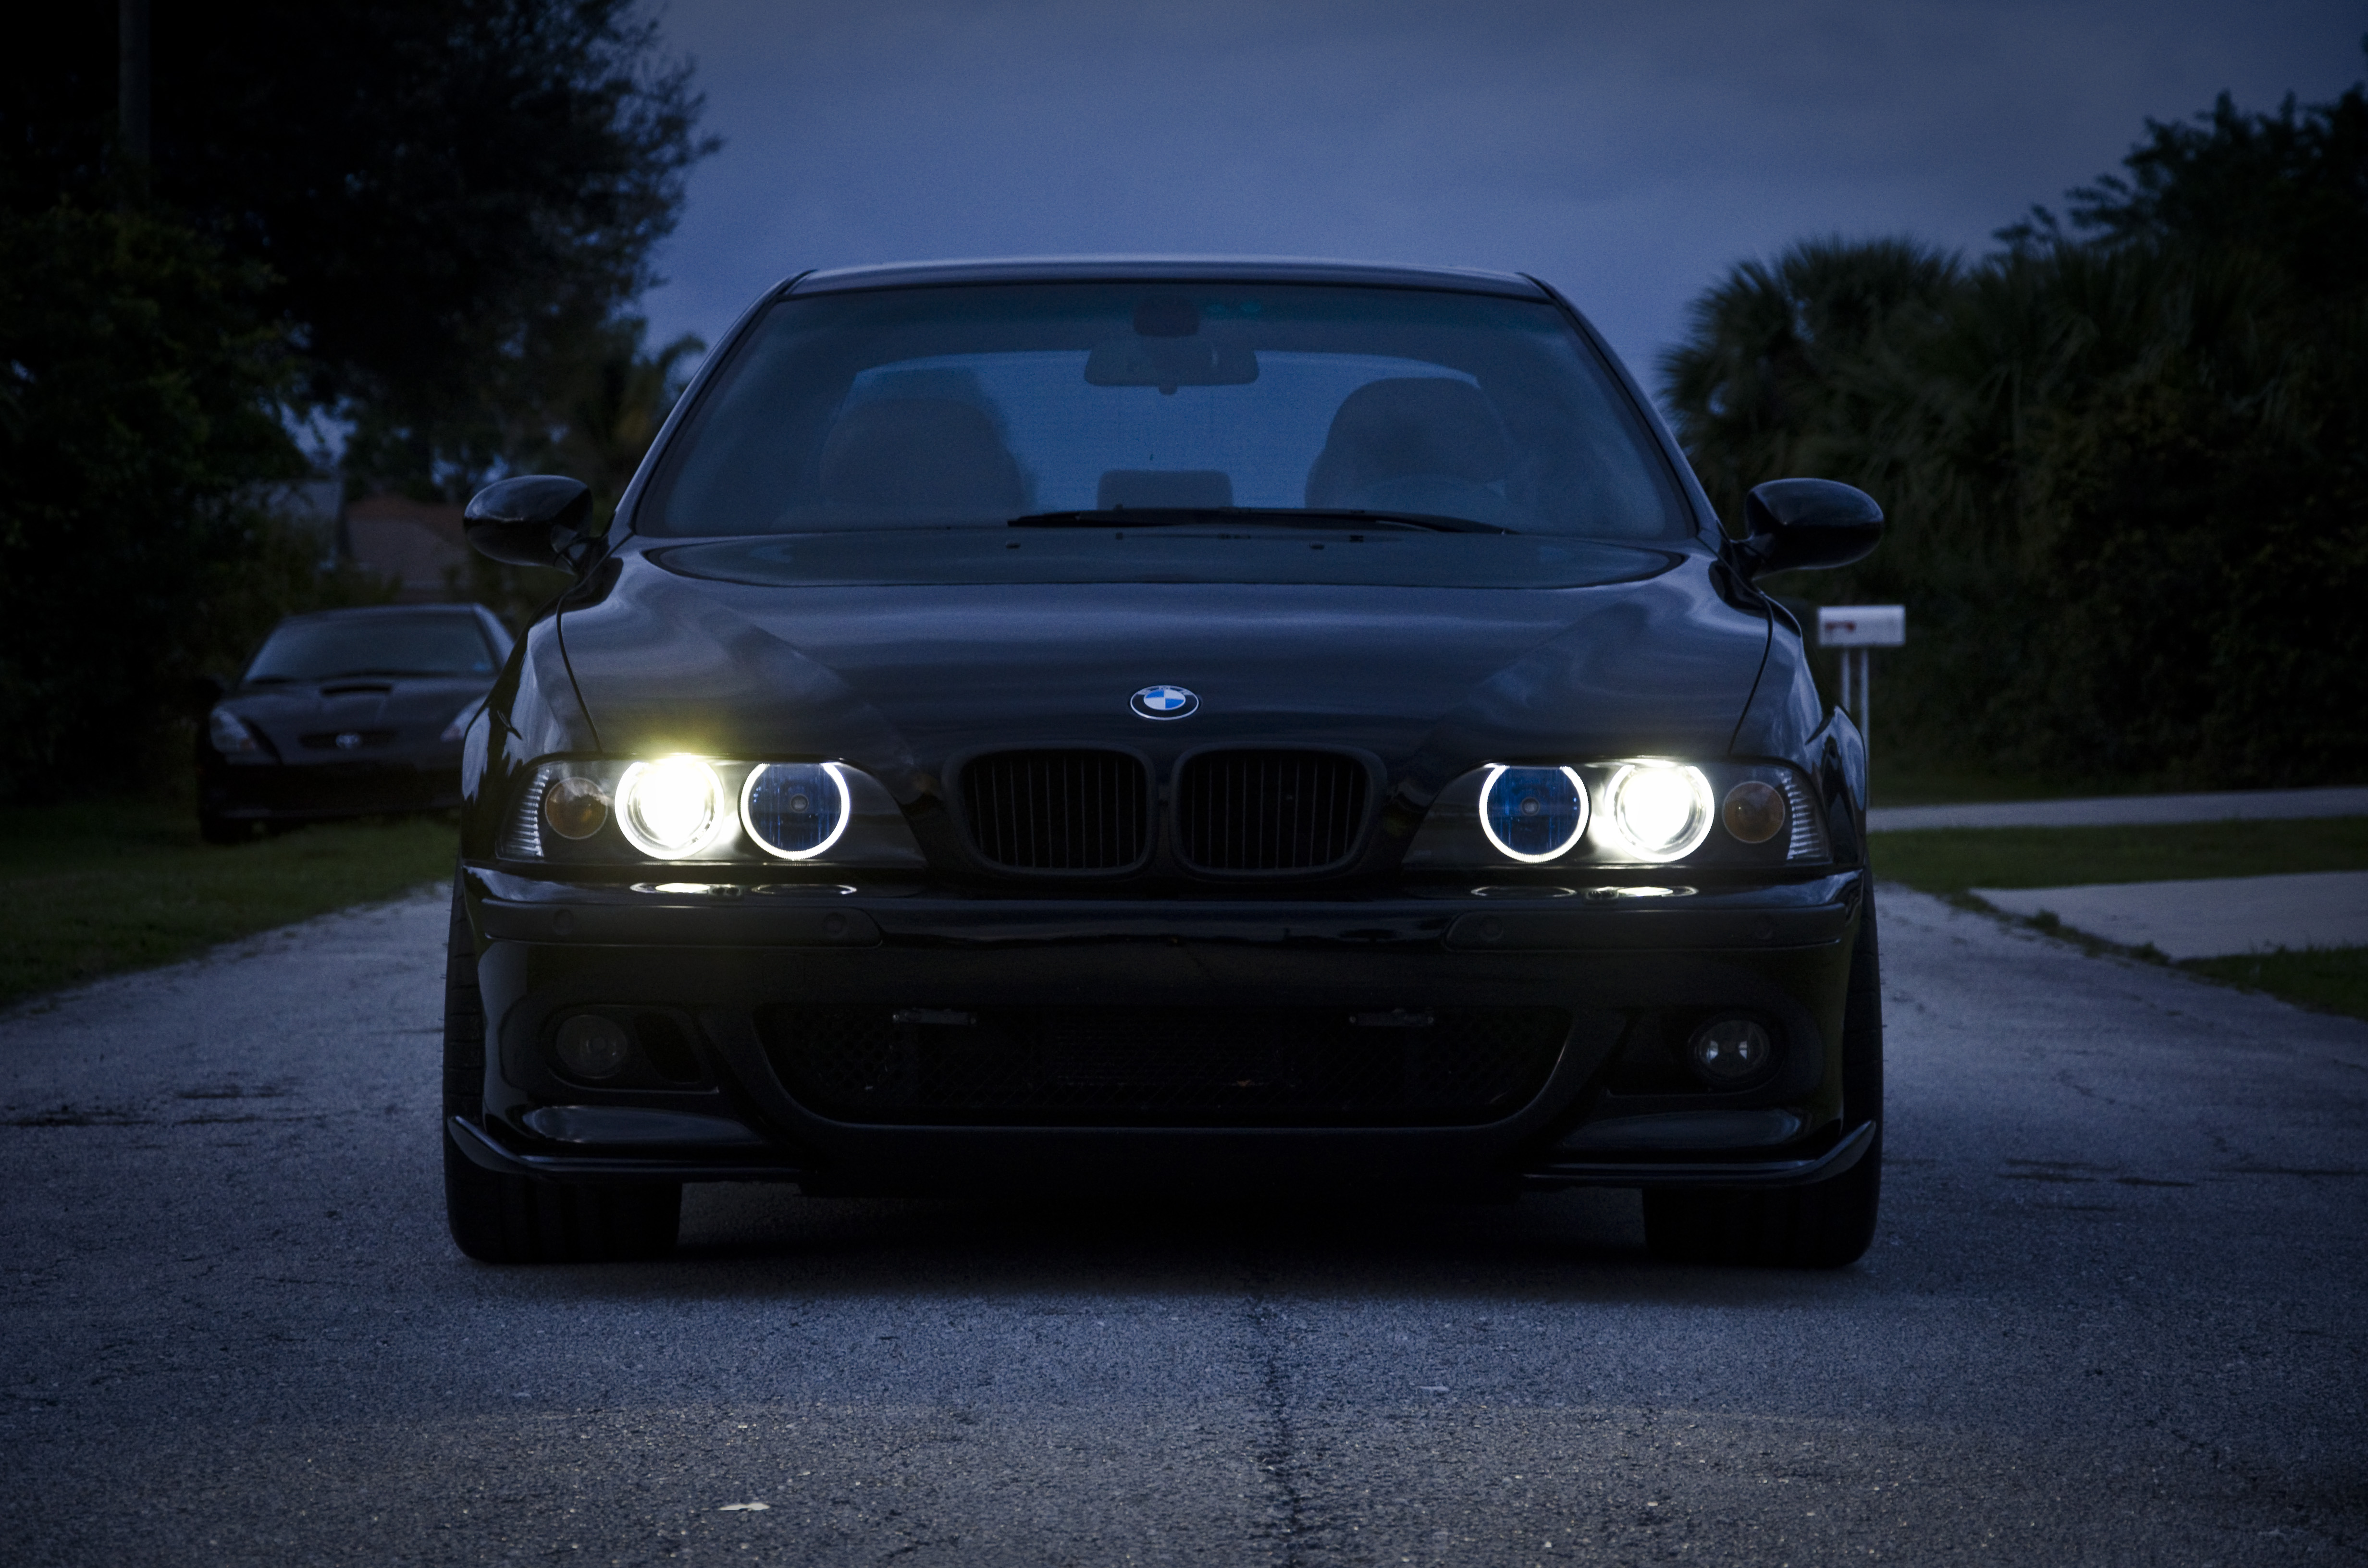
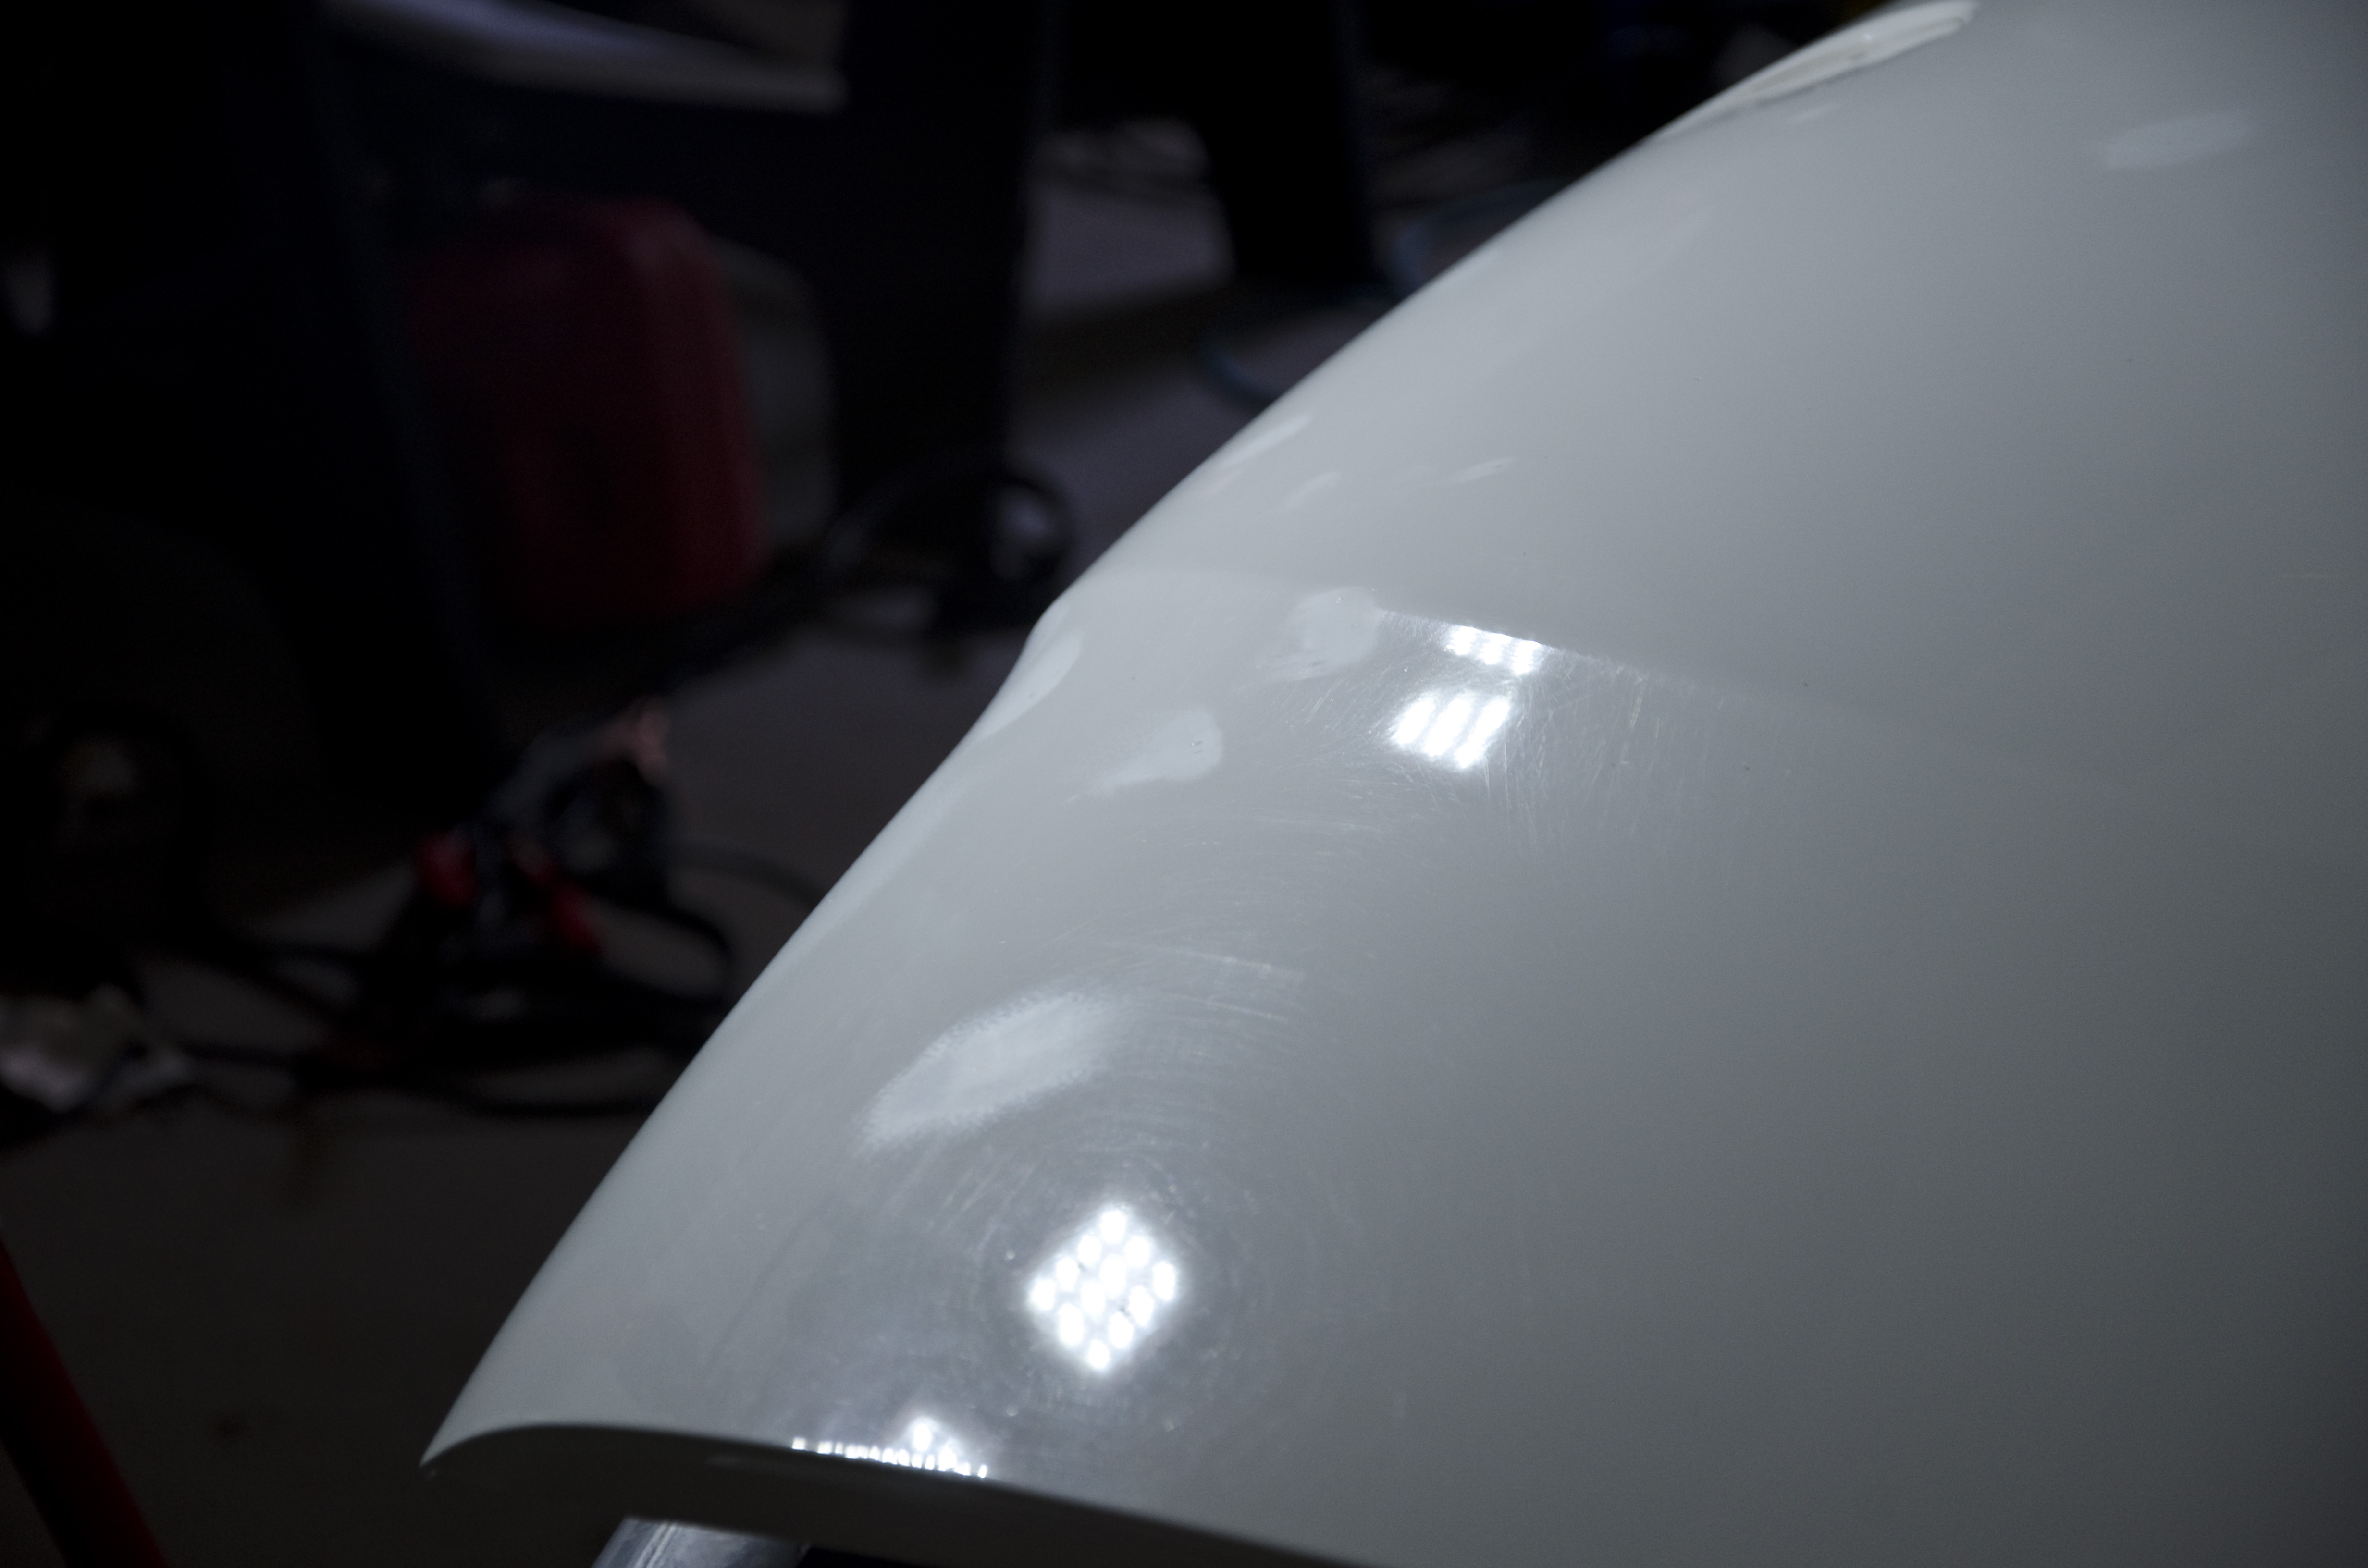
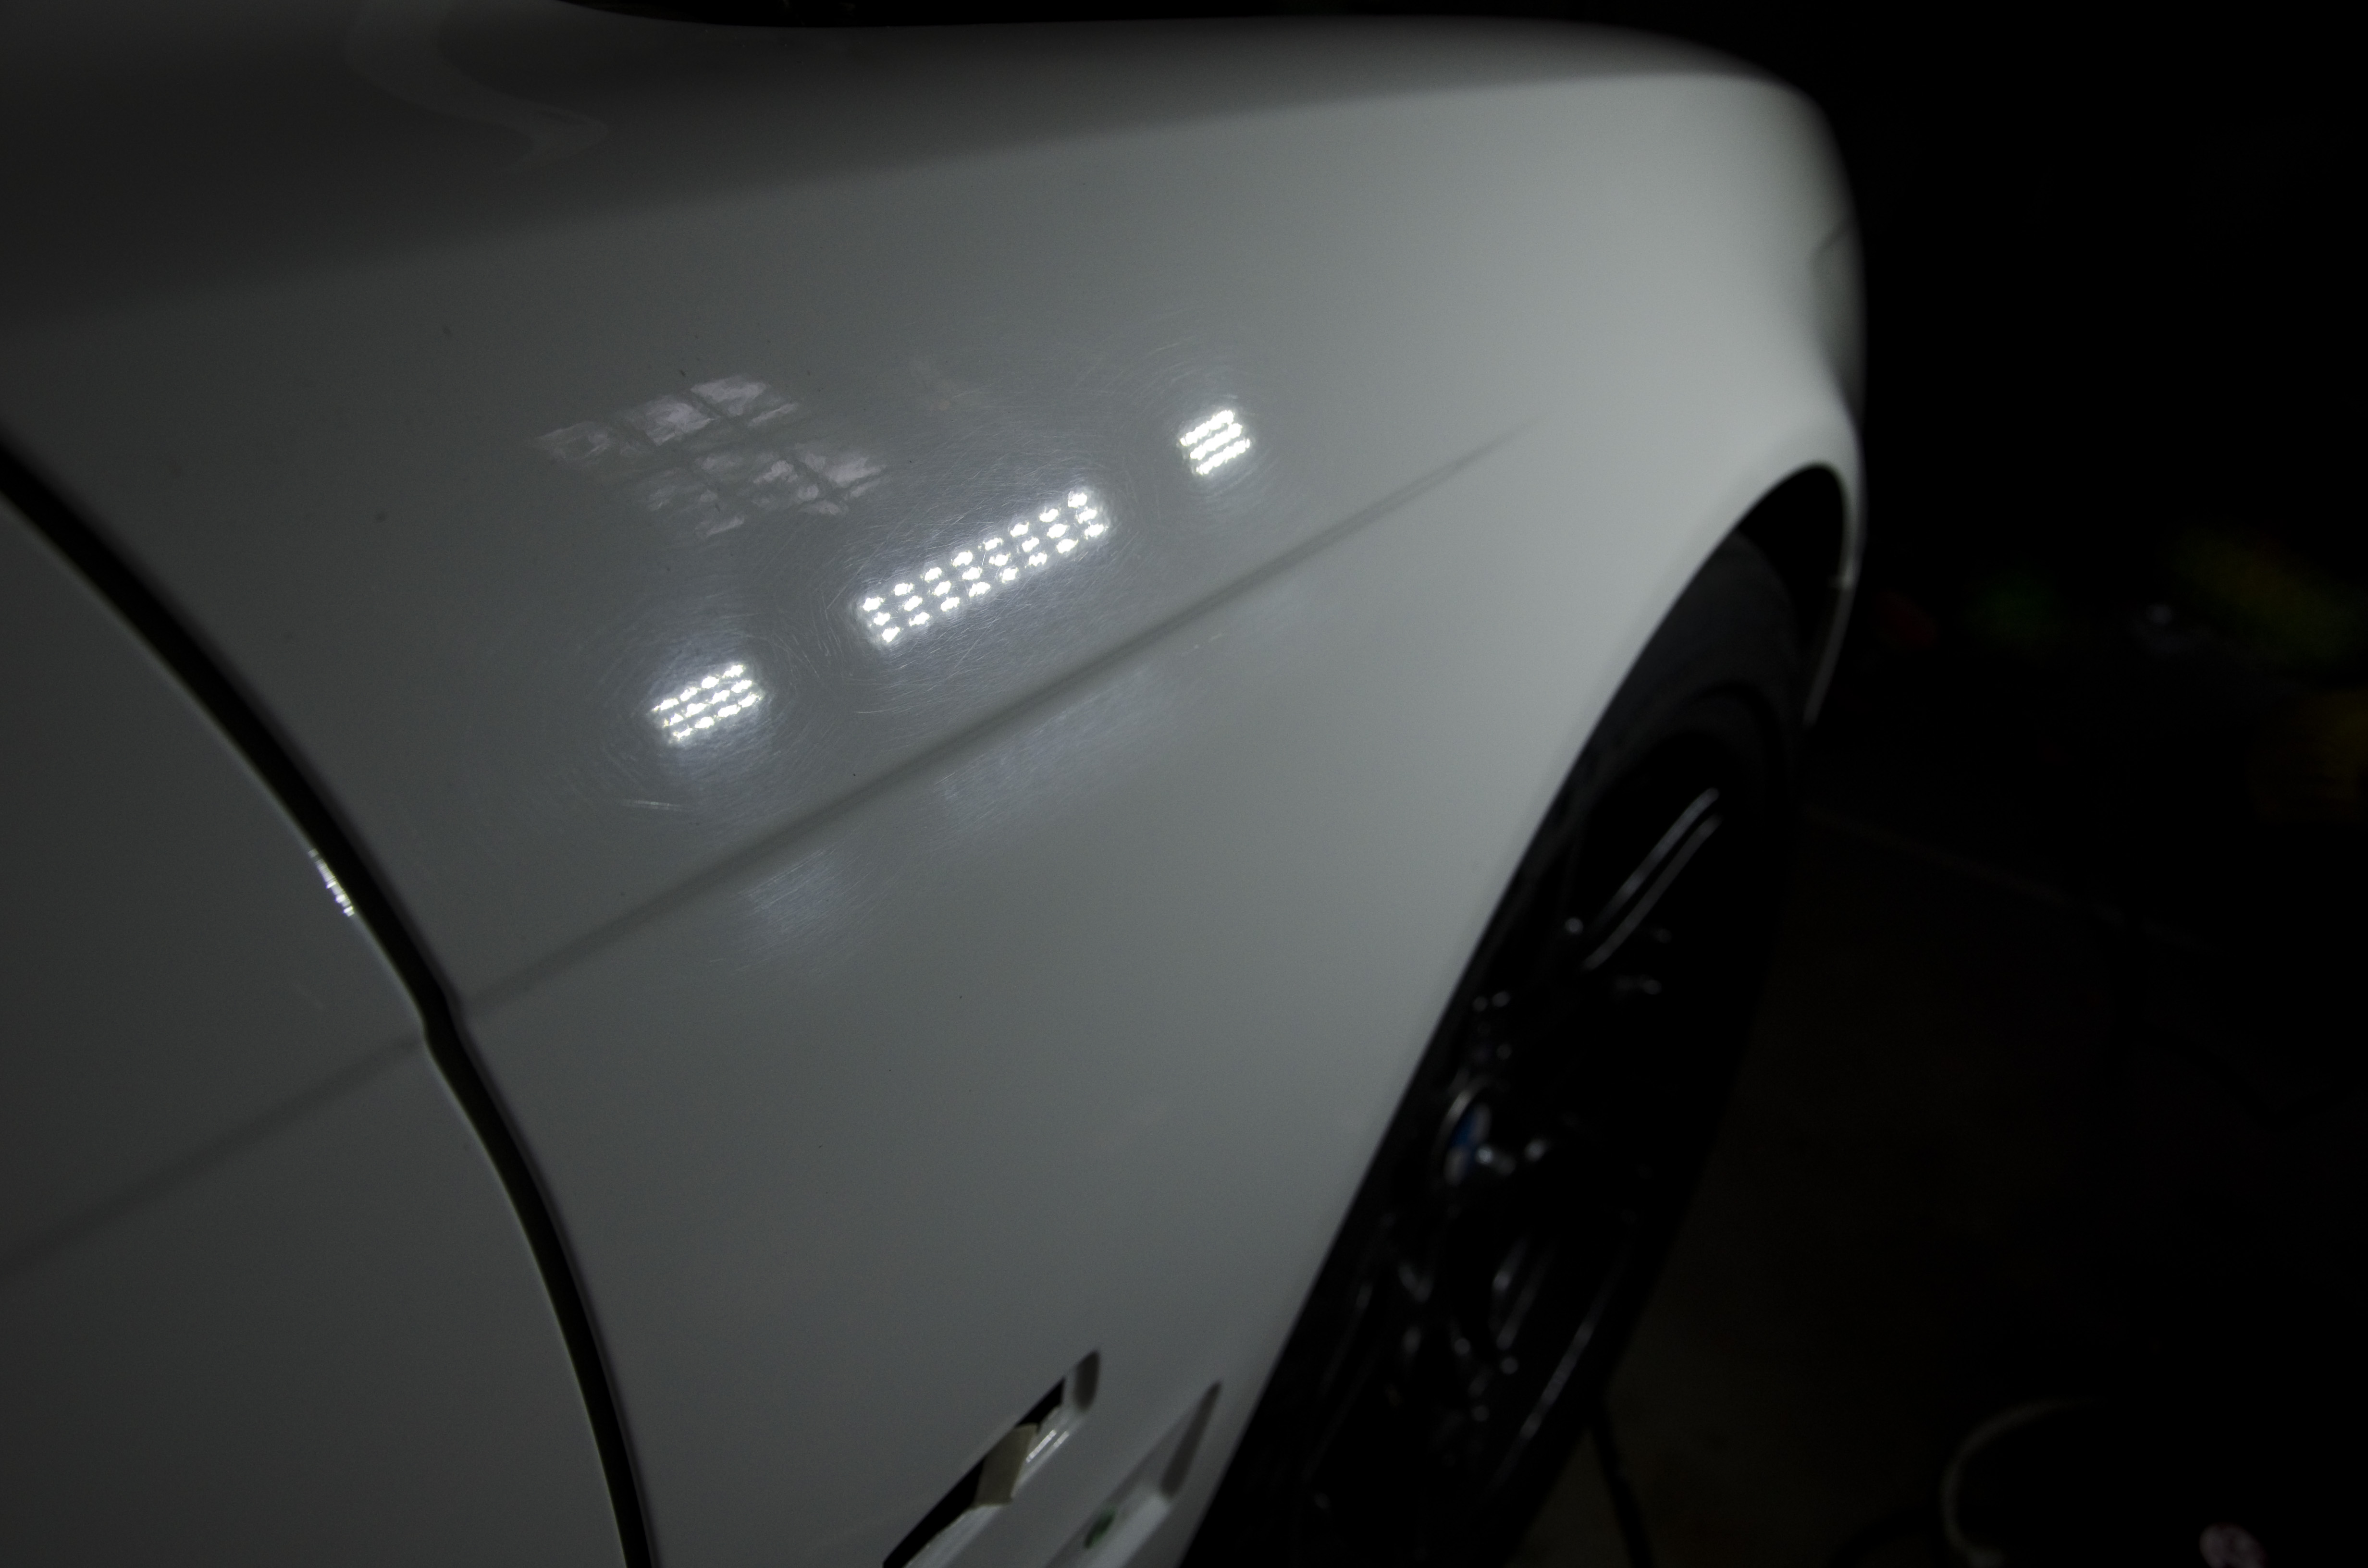
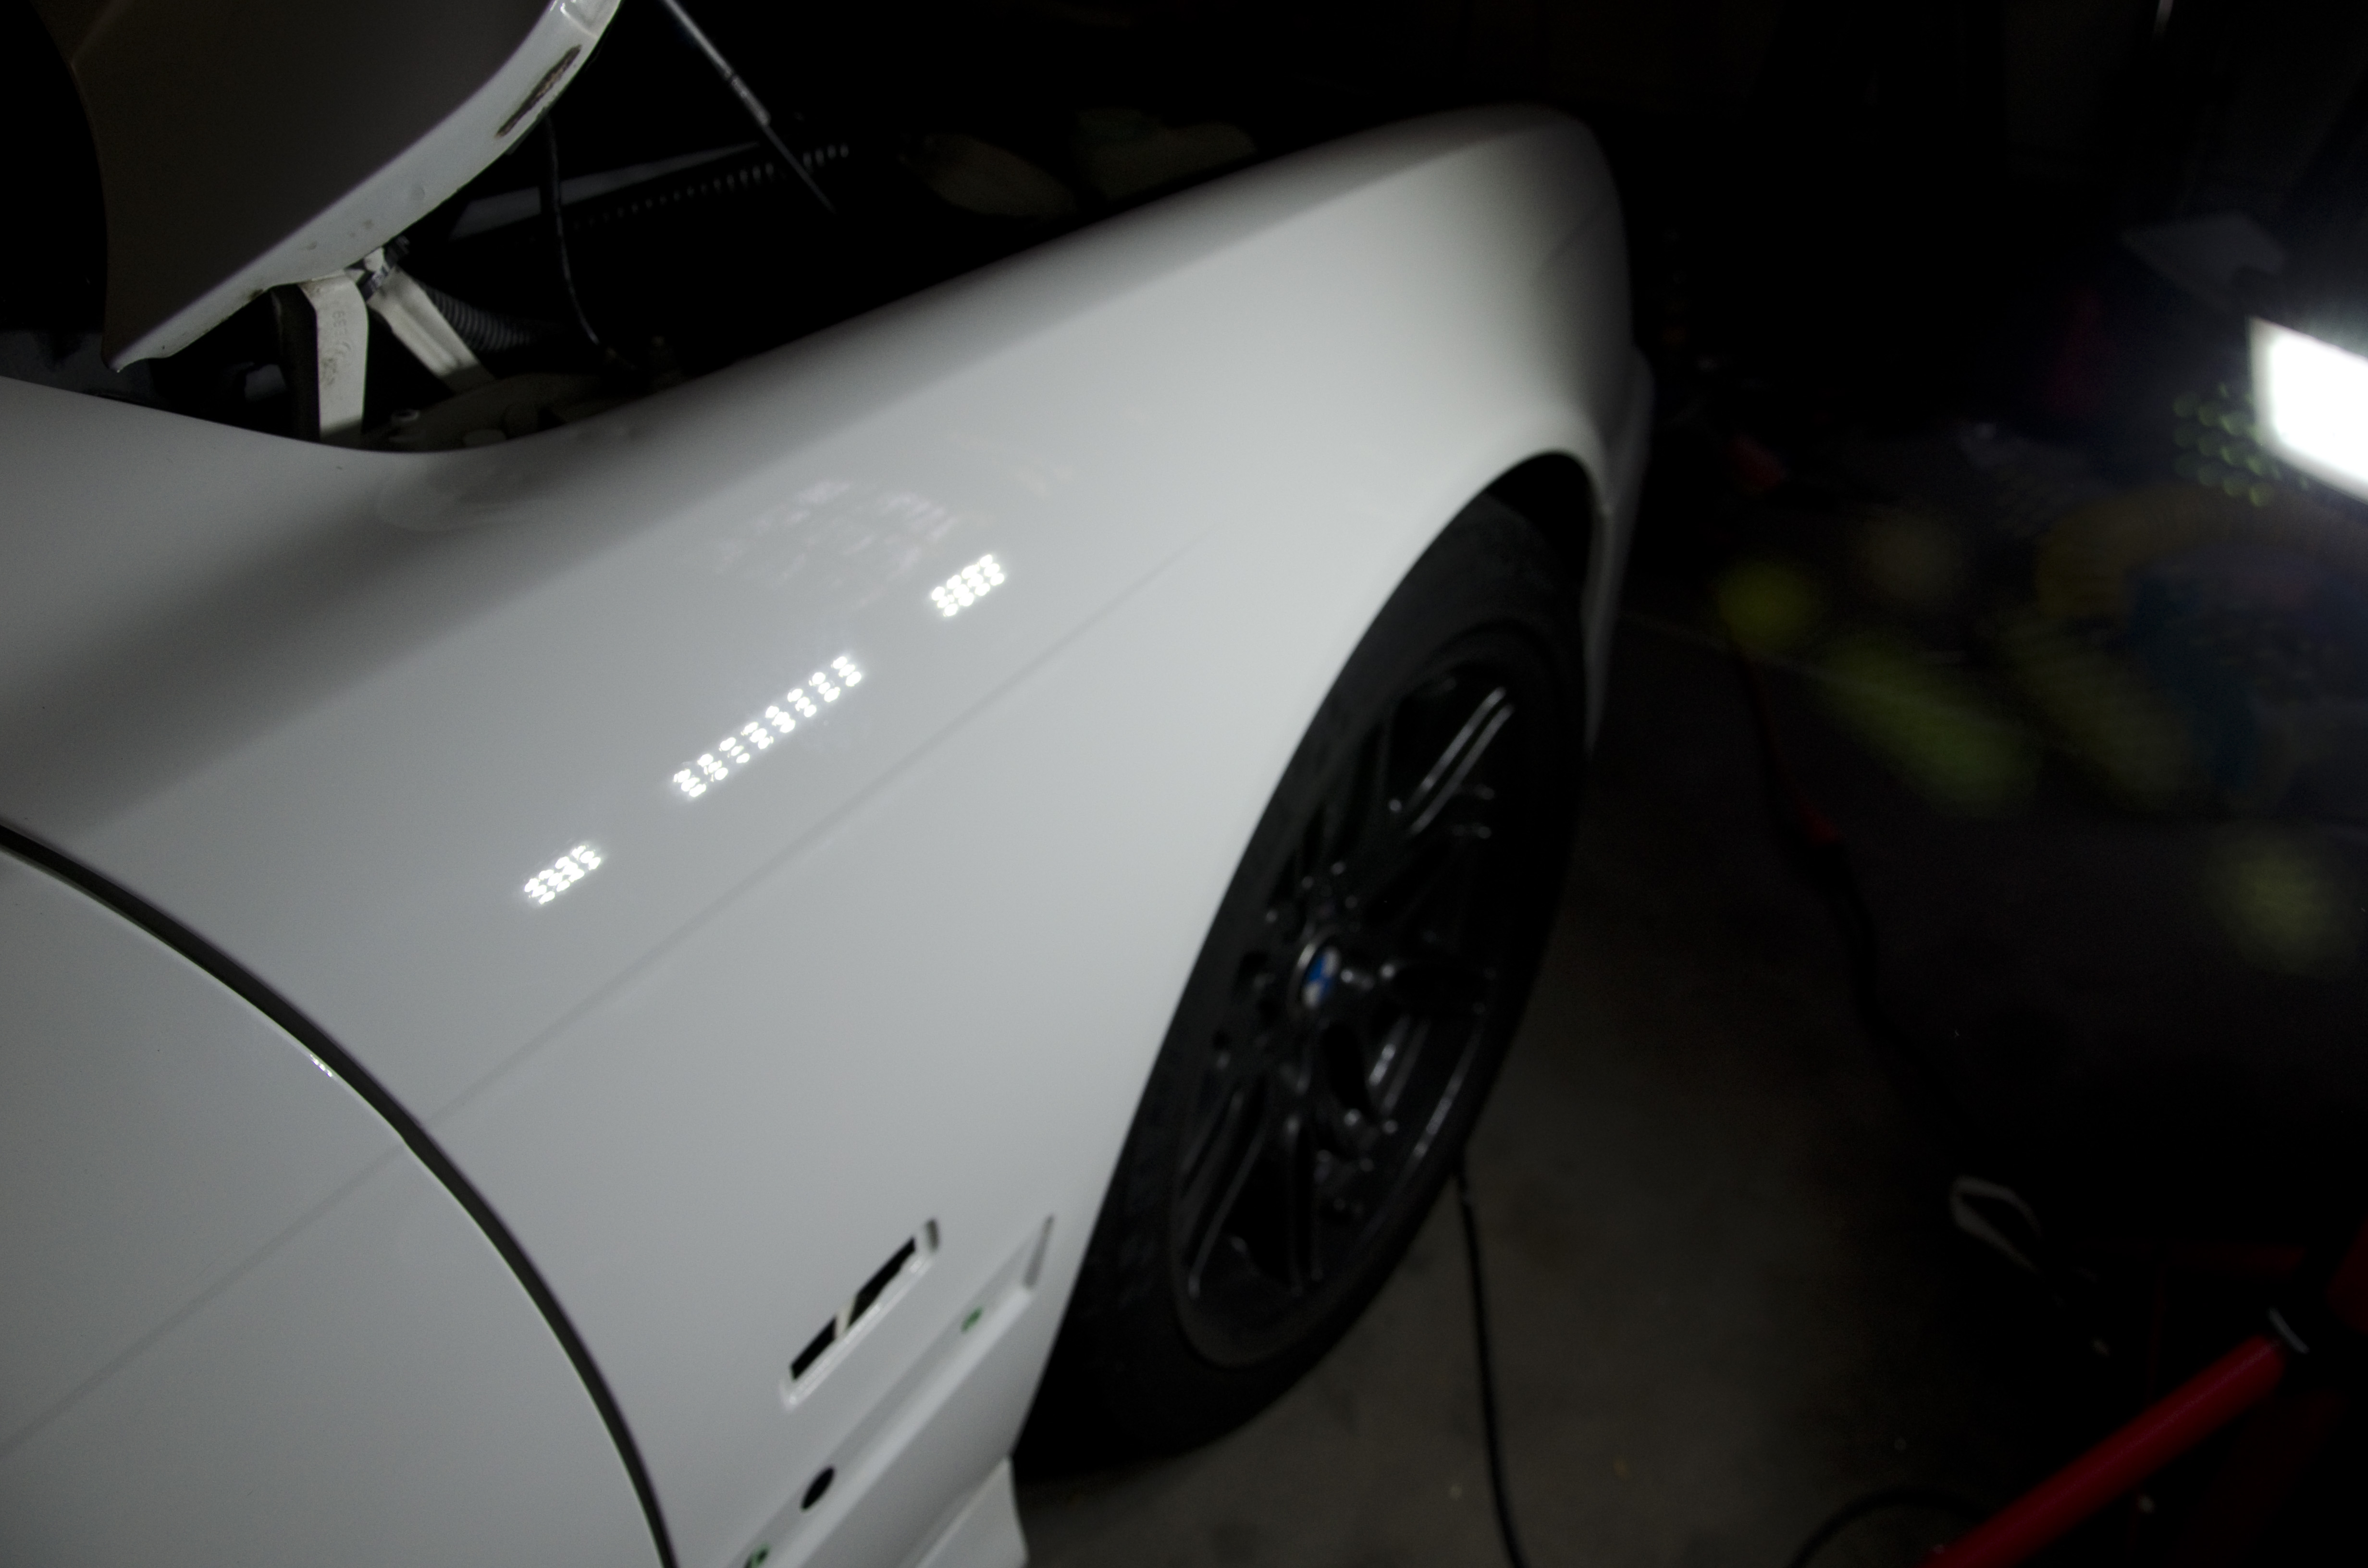
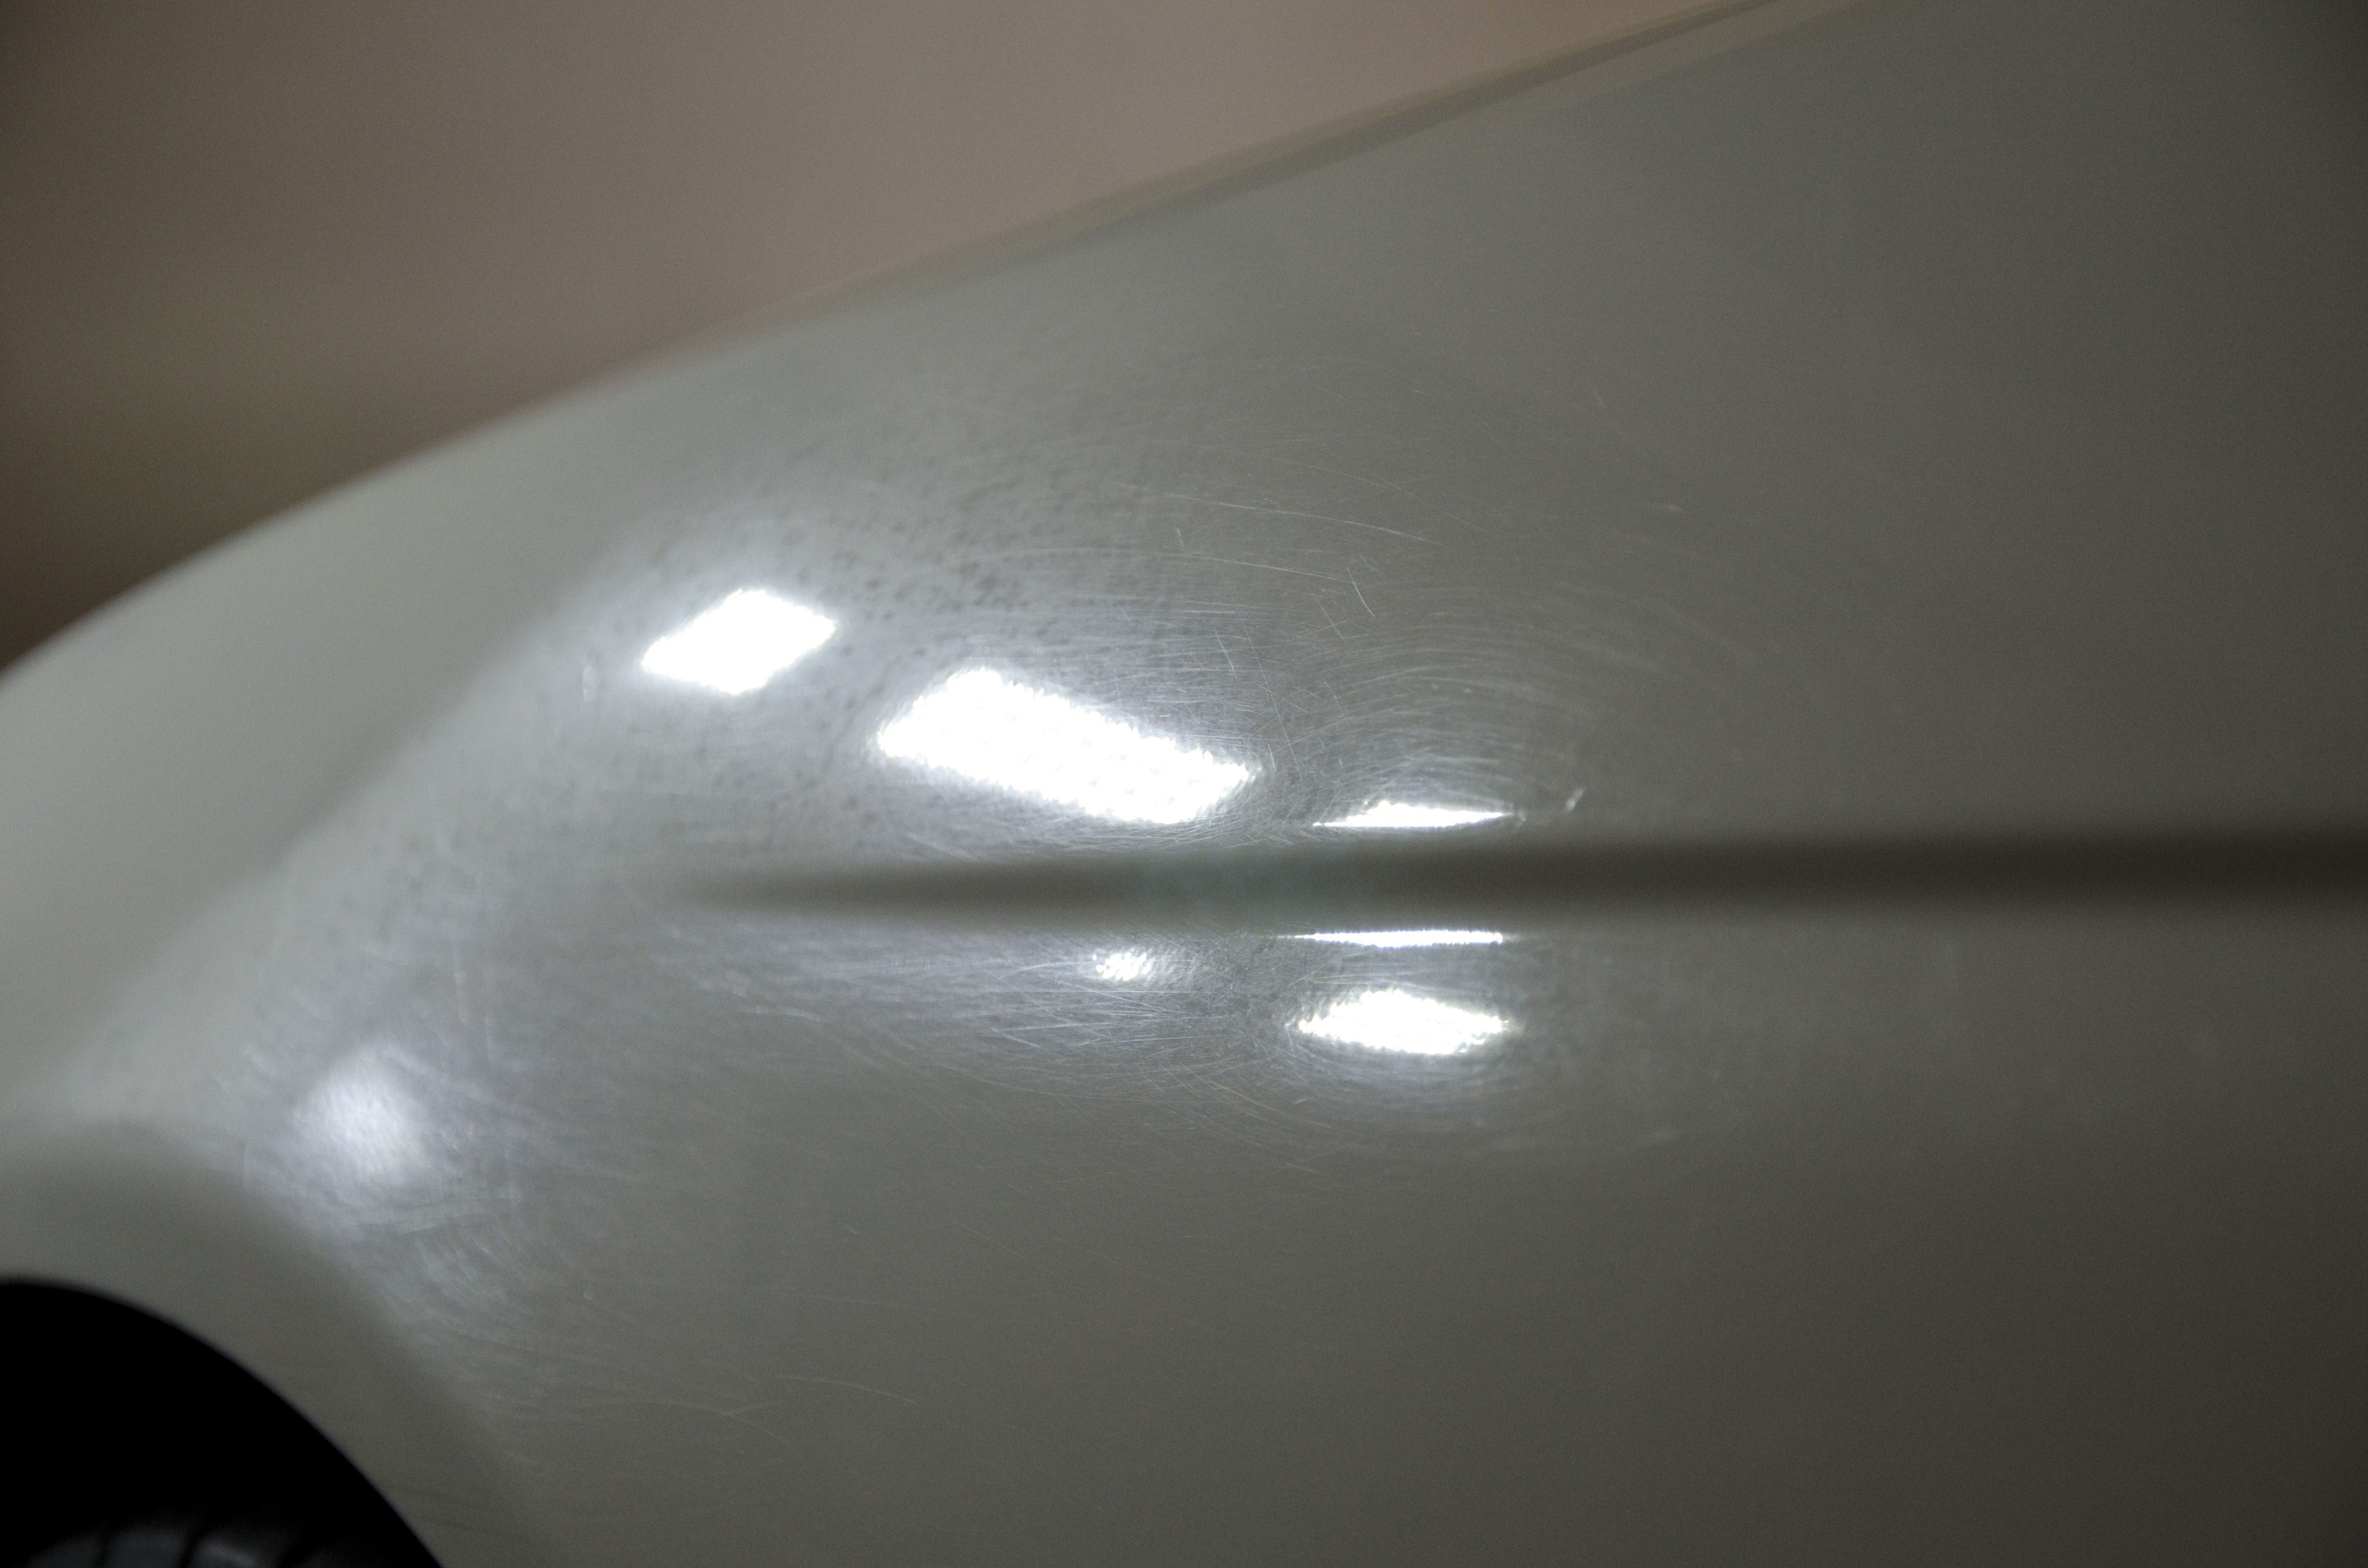
eM Detailing was in Florida to work on M5board member GSFent’s car. This 570hp supercharged M5 came in Jet Black, a very soft and difficult color to work with. Over the course of the car’s life the soft black paint had acquired many swirls and light scratches. At some point a “detailer” with a rotary polisher left some unsightly holograms in the paint as well. There was also a film buildup of hard water and a little bit of etching from bugs (click any picture to enlarge).
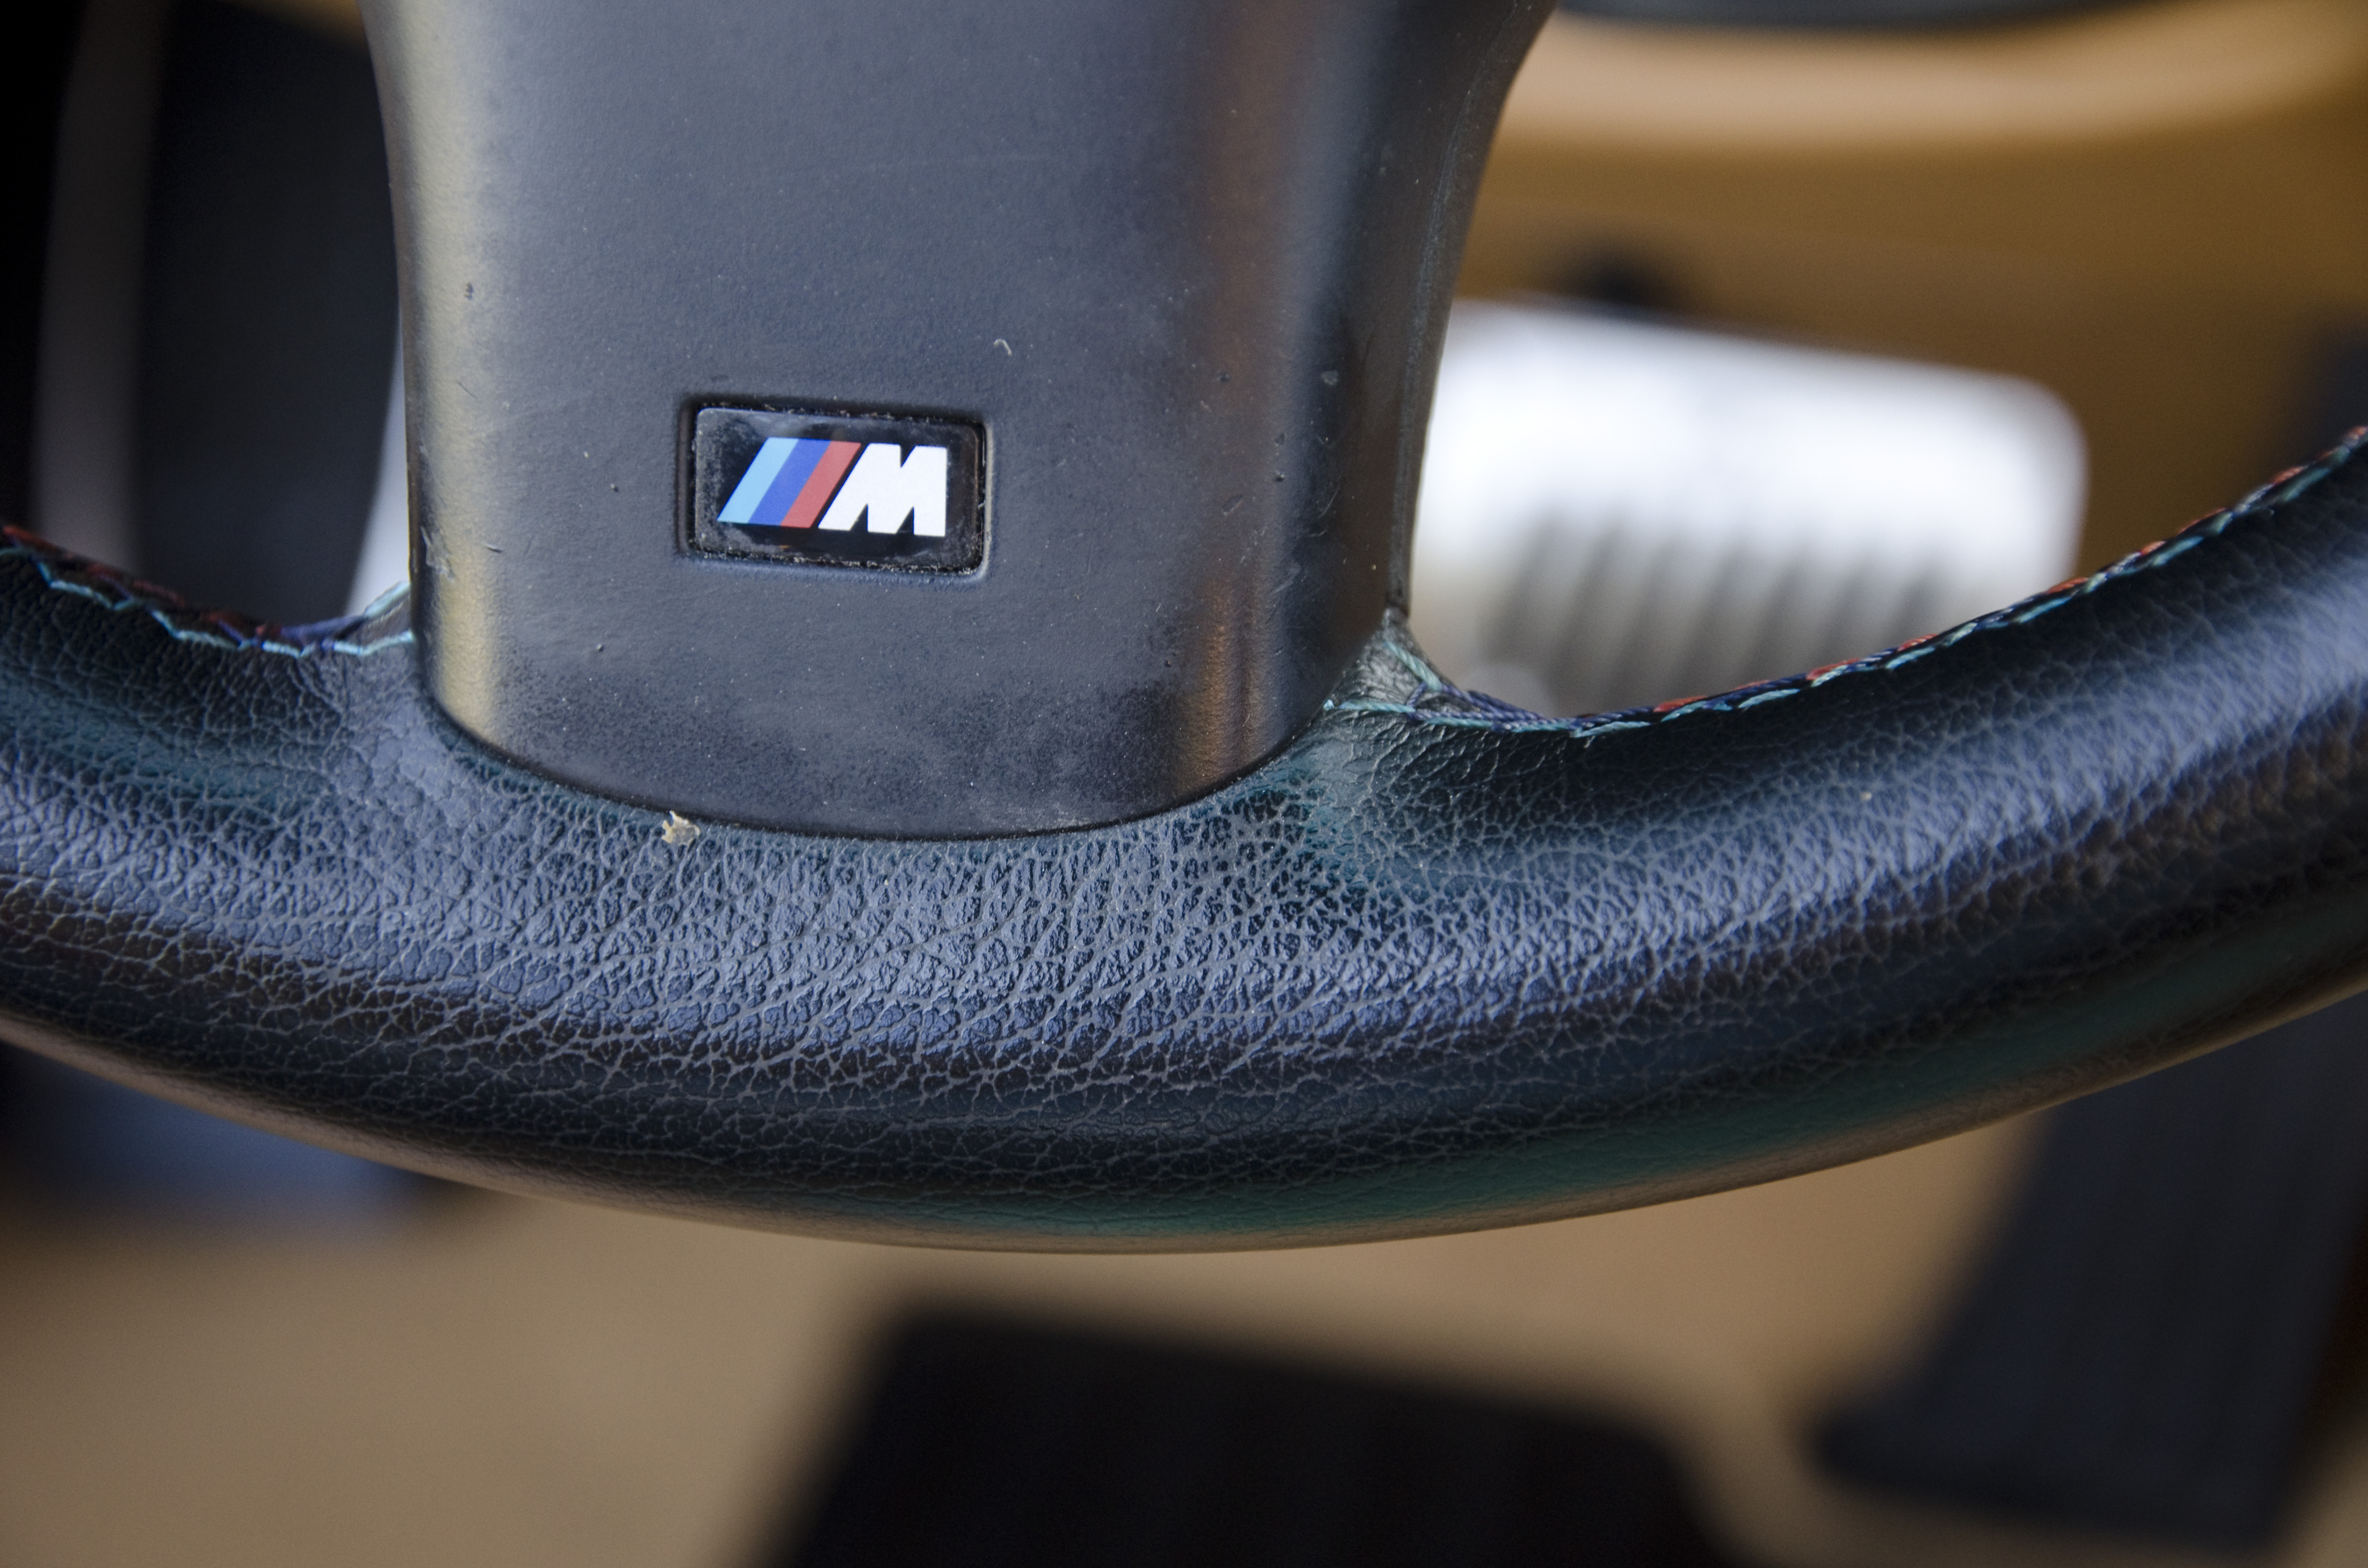
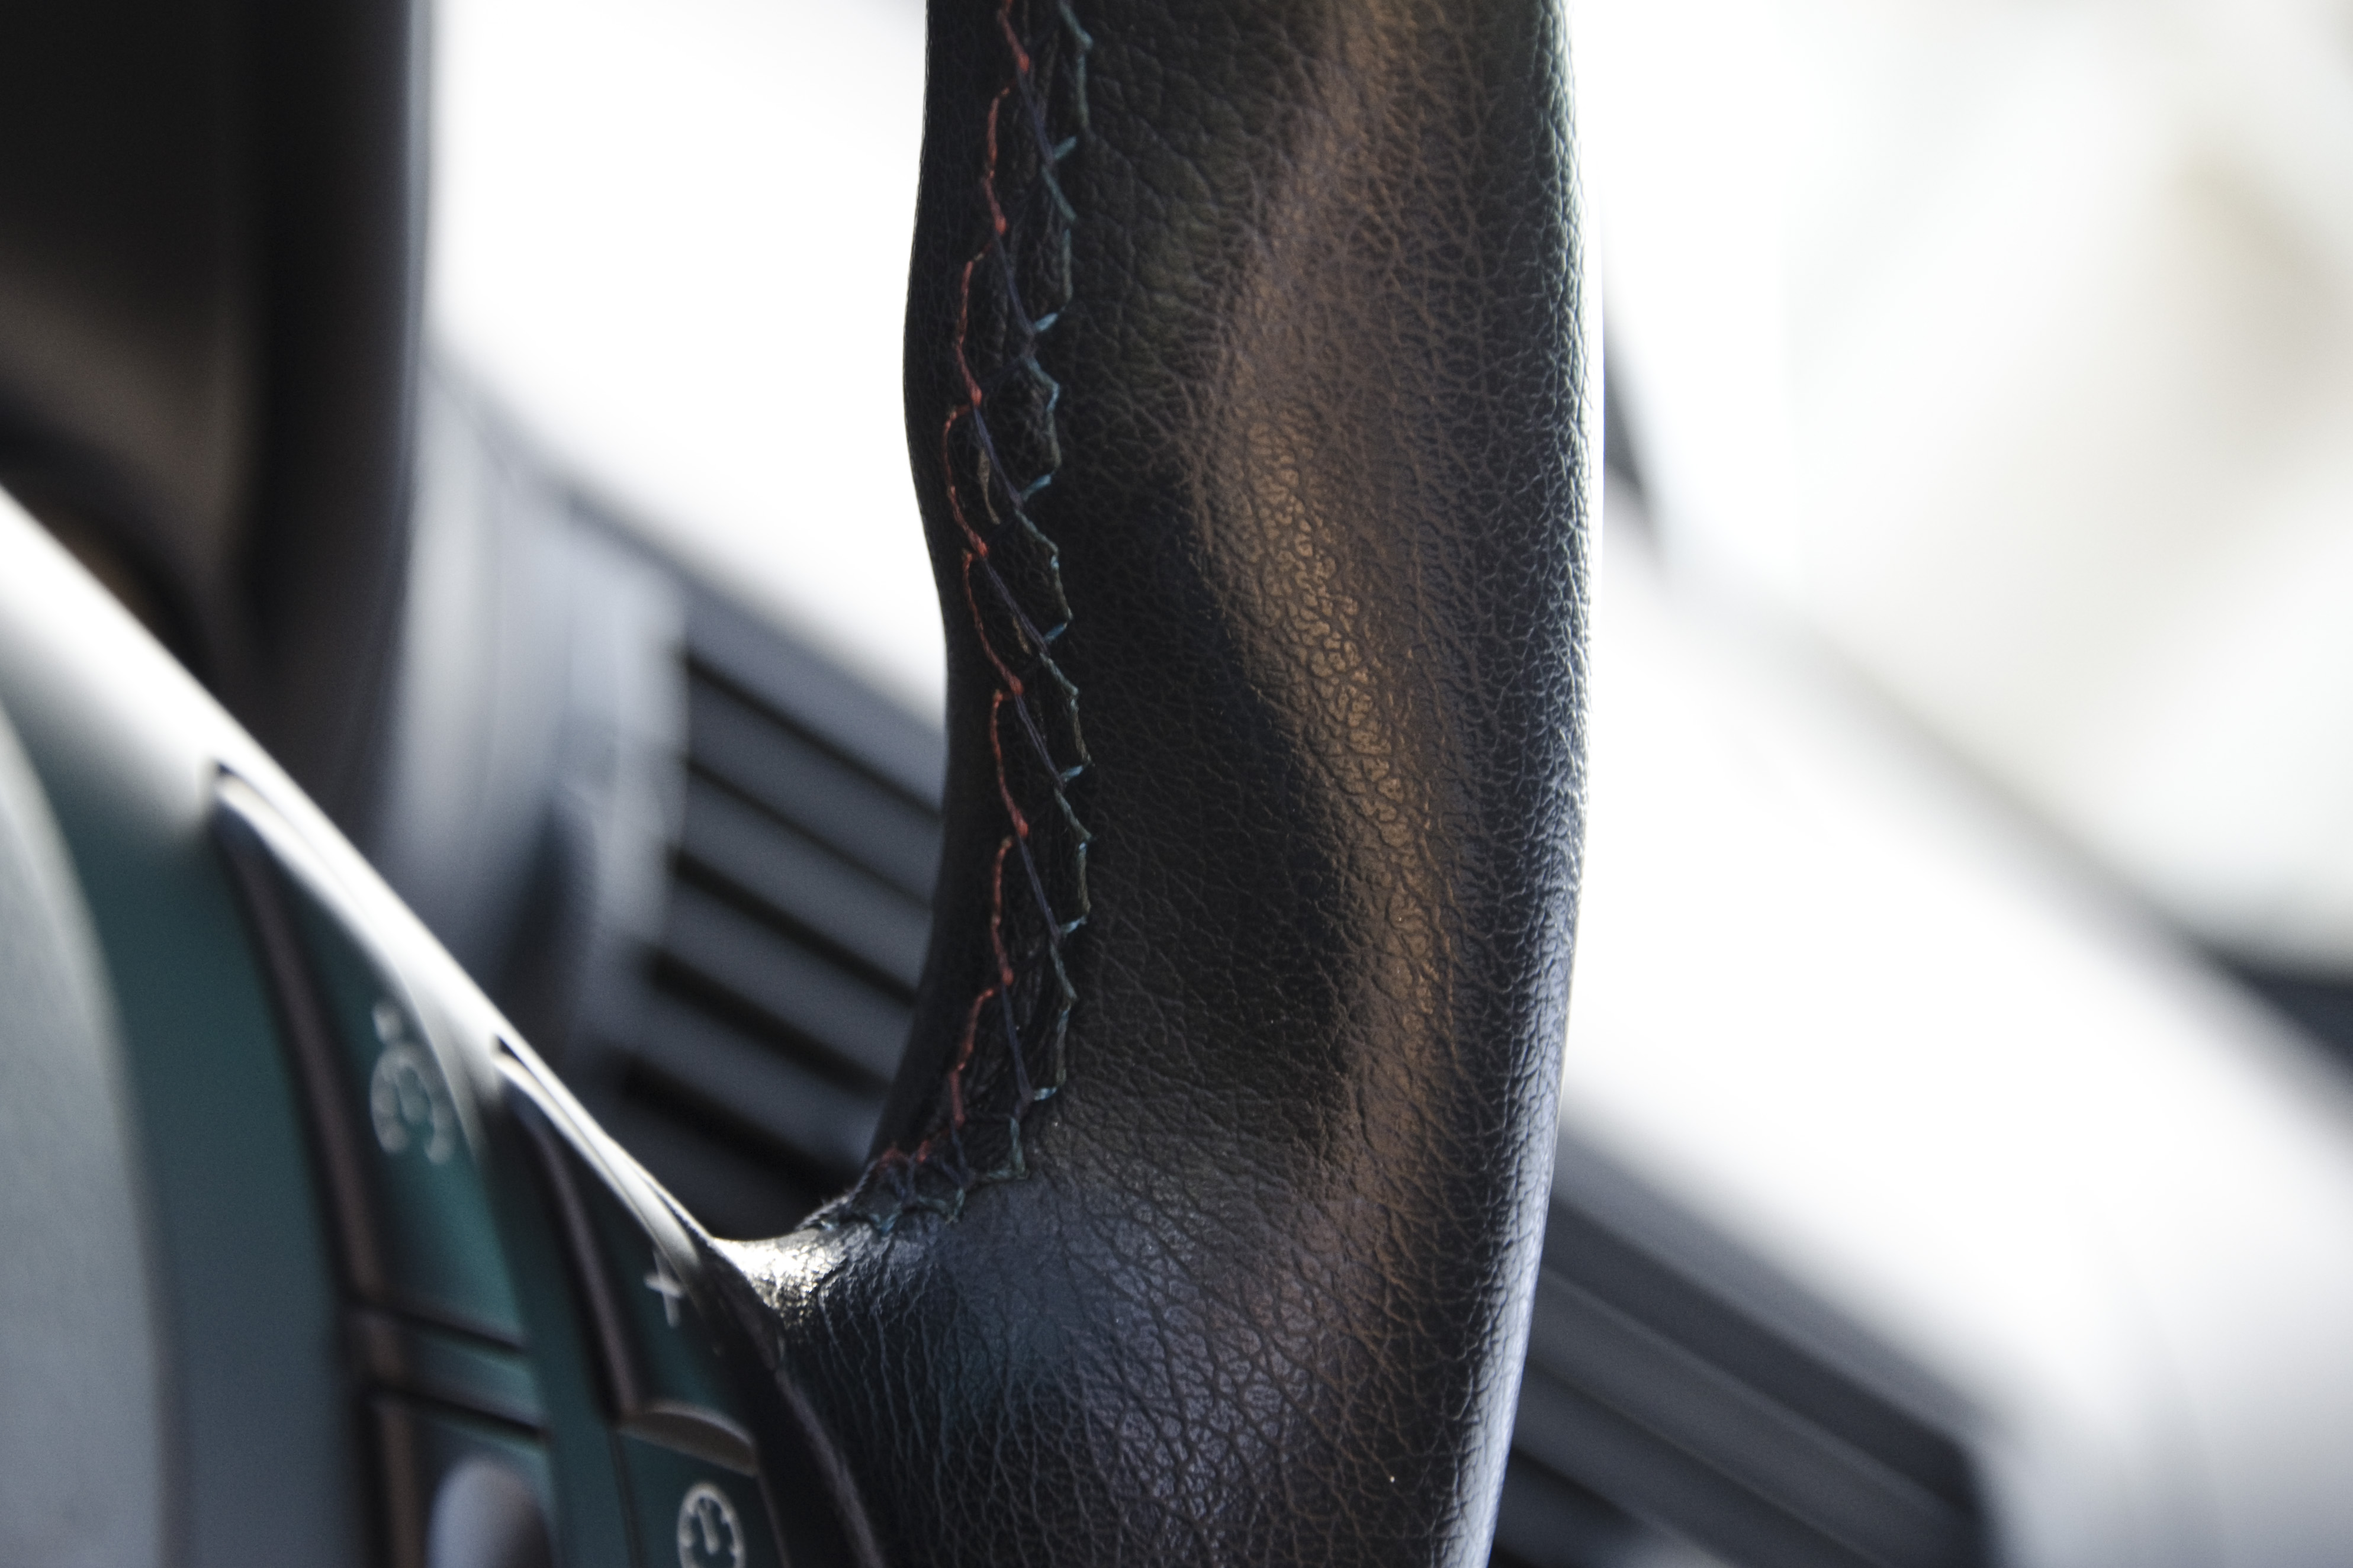
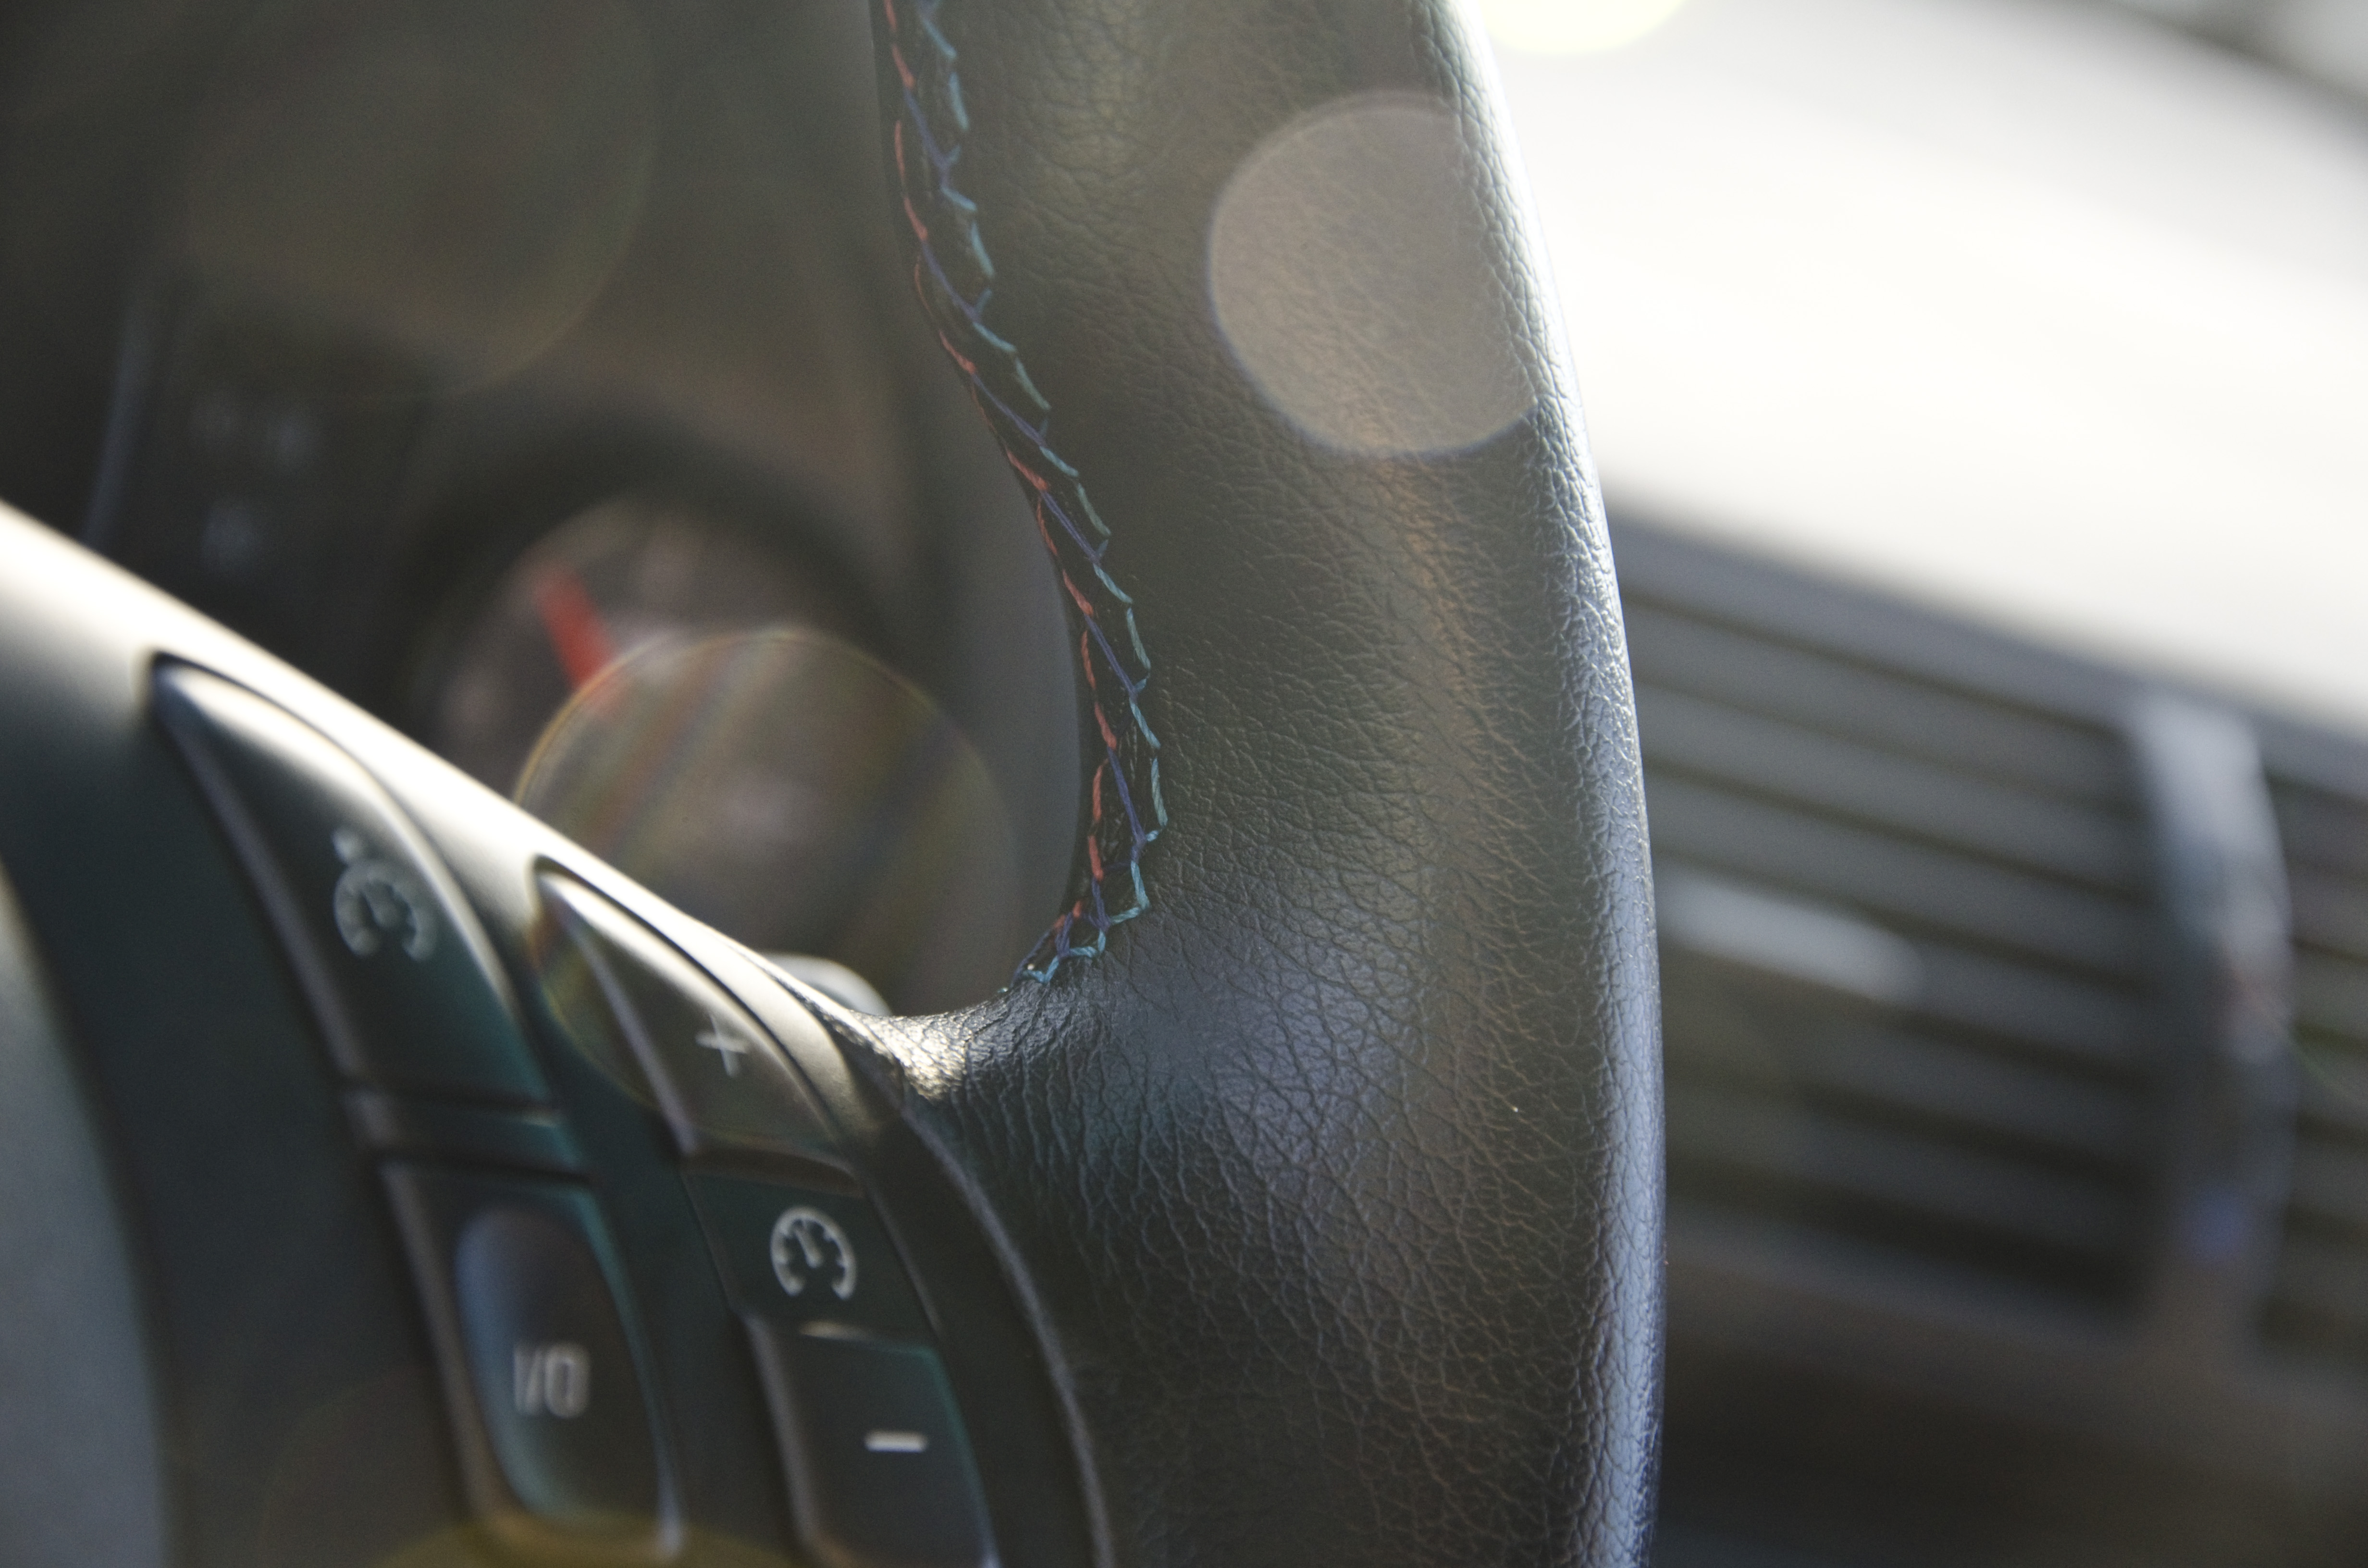
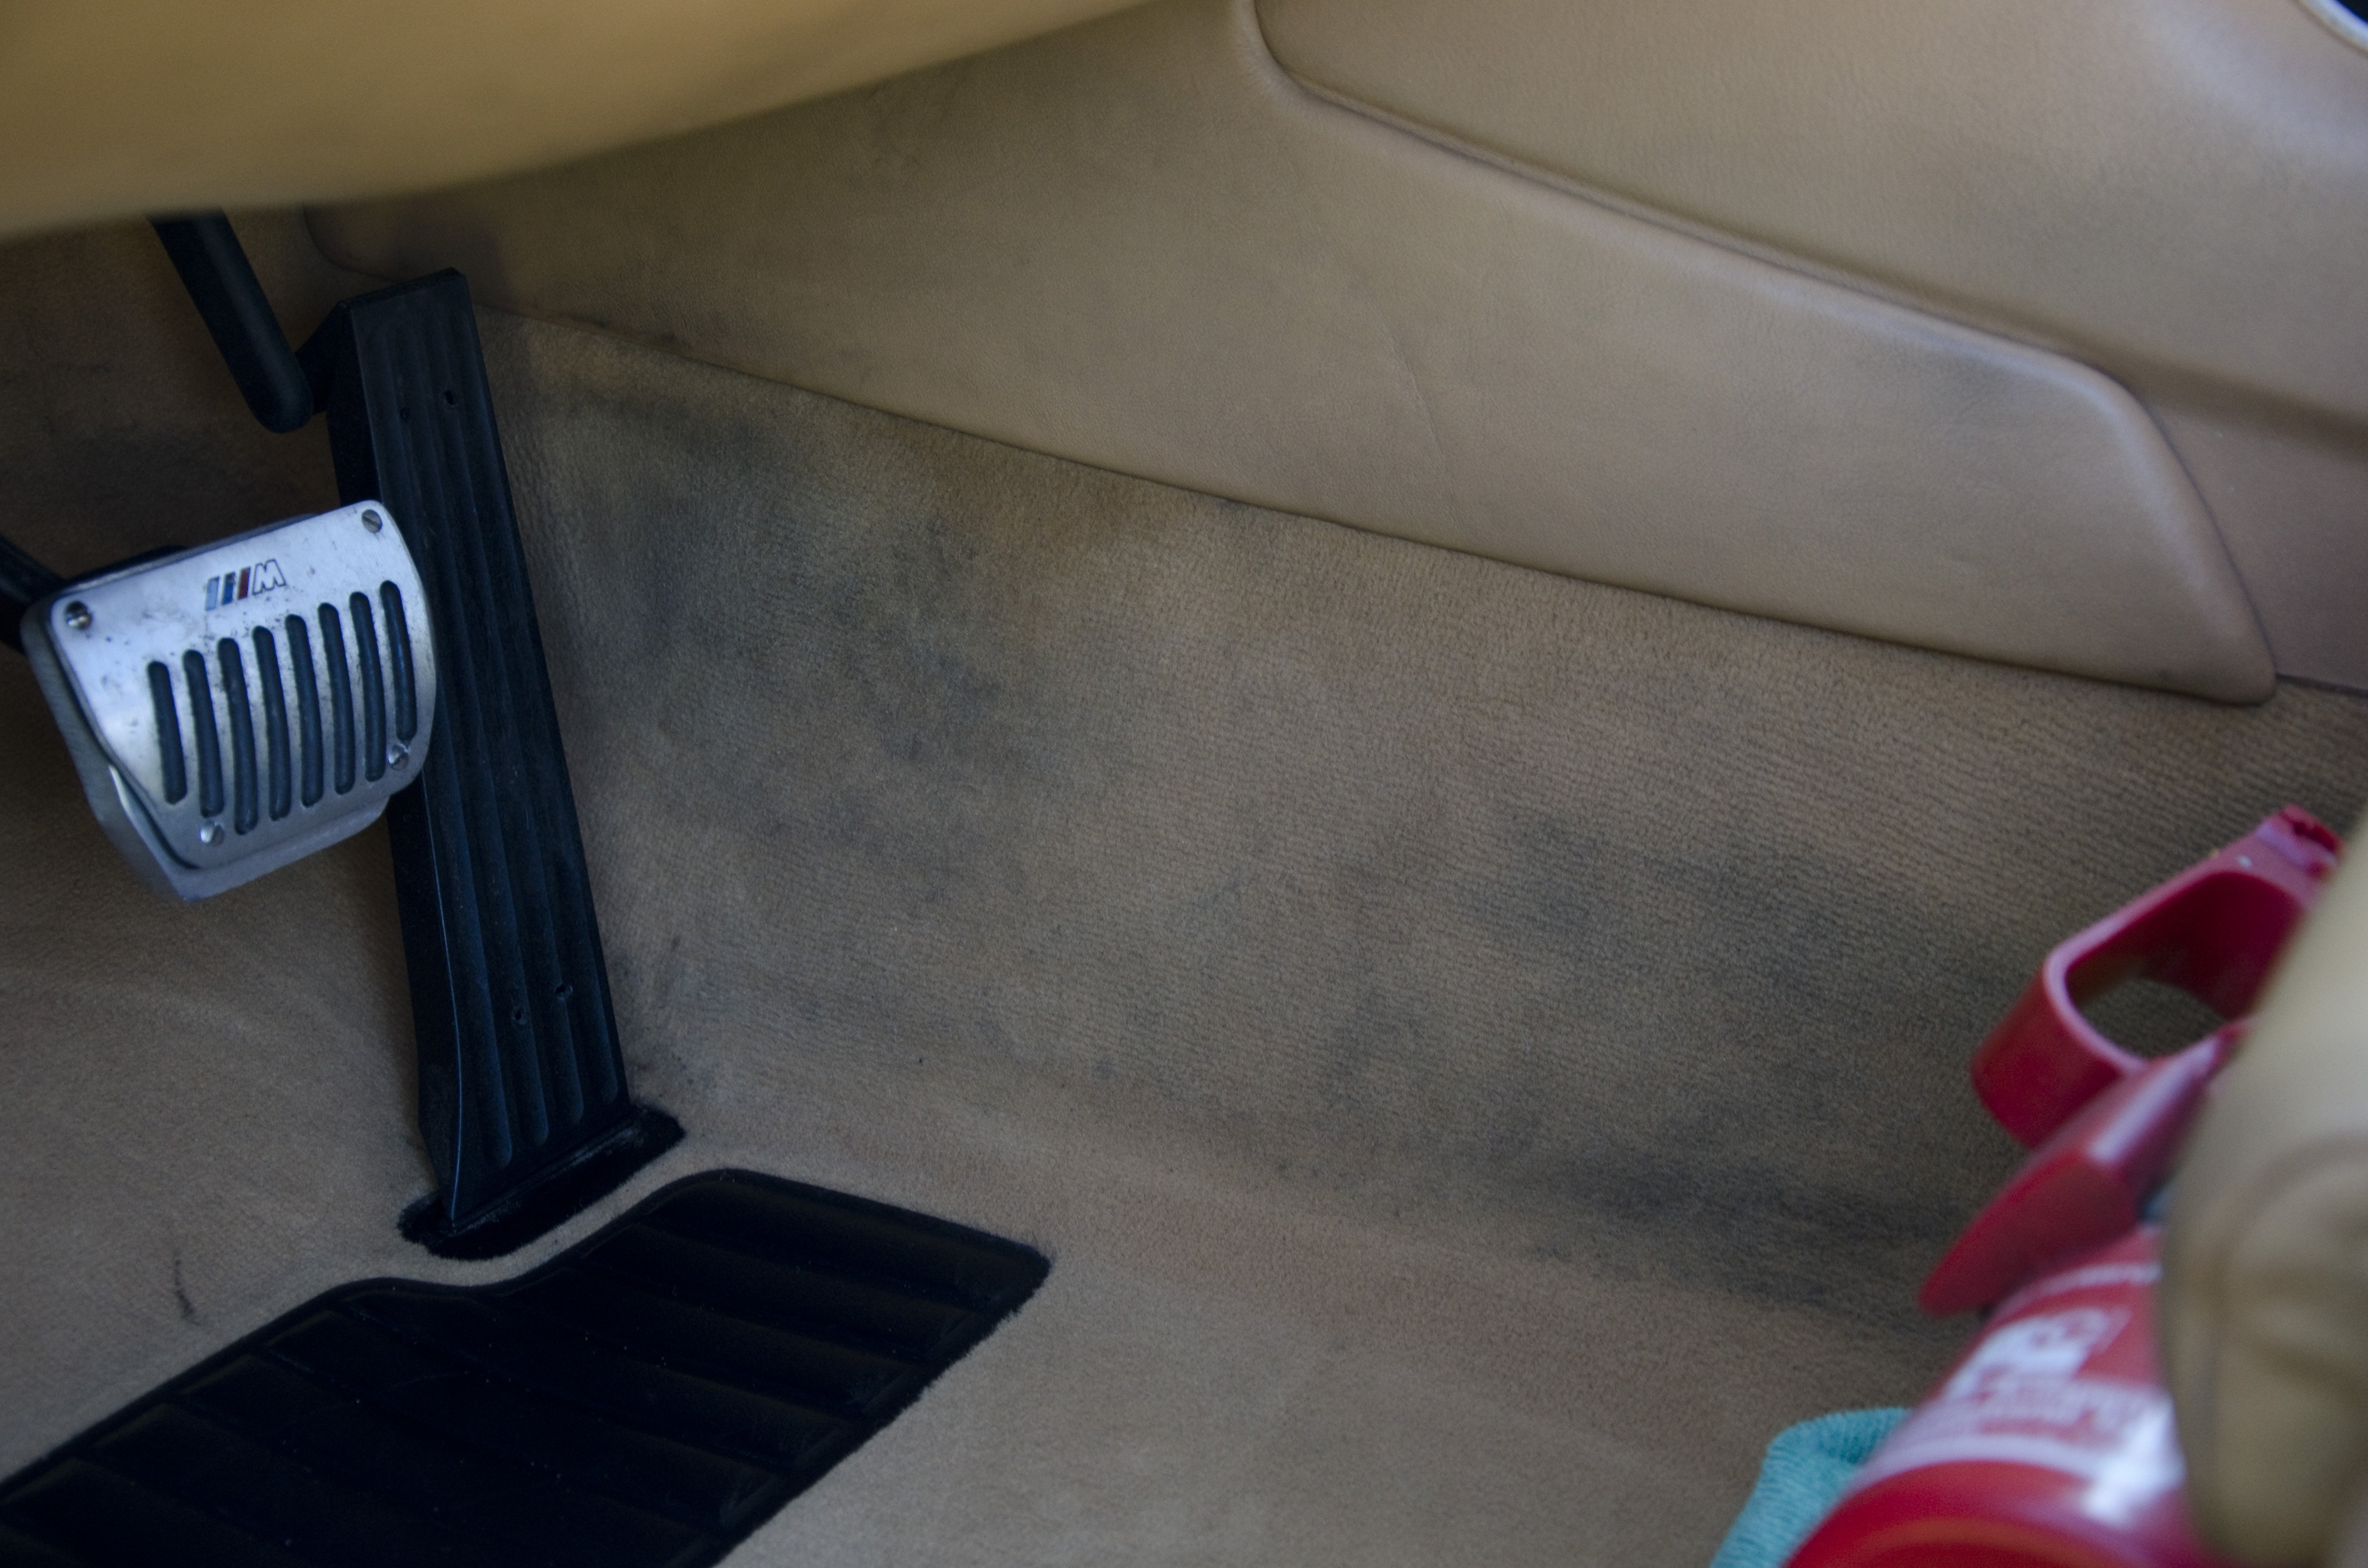
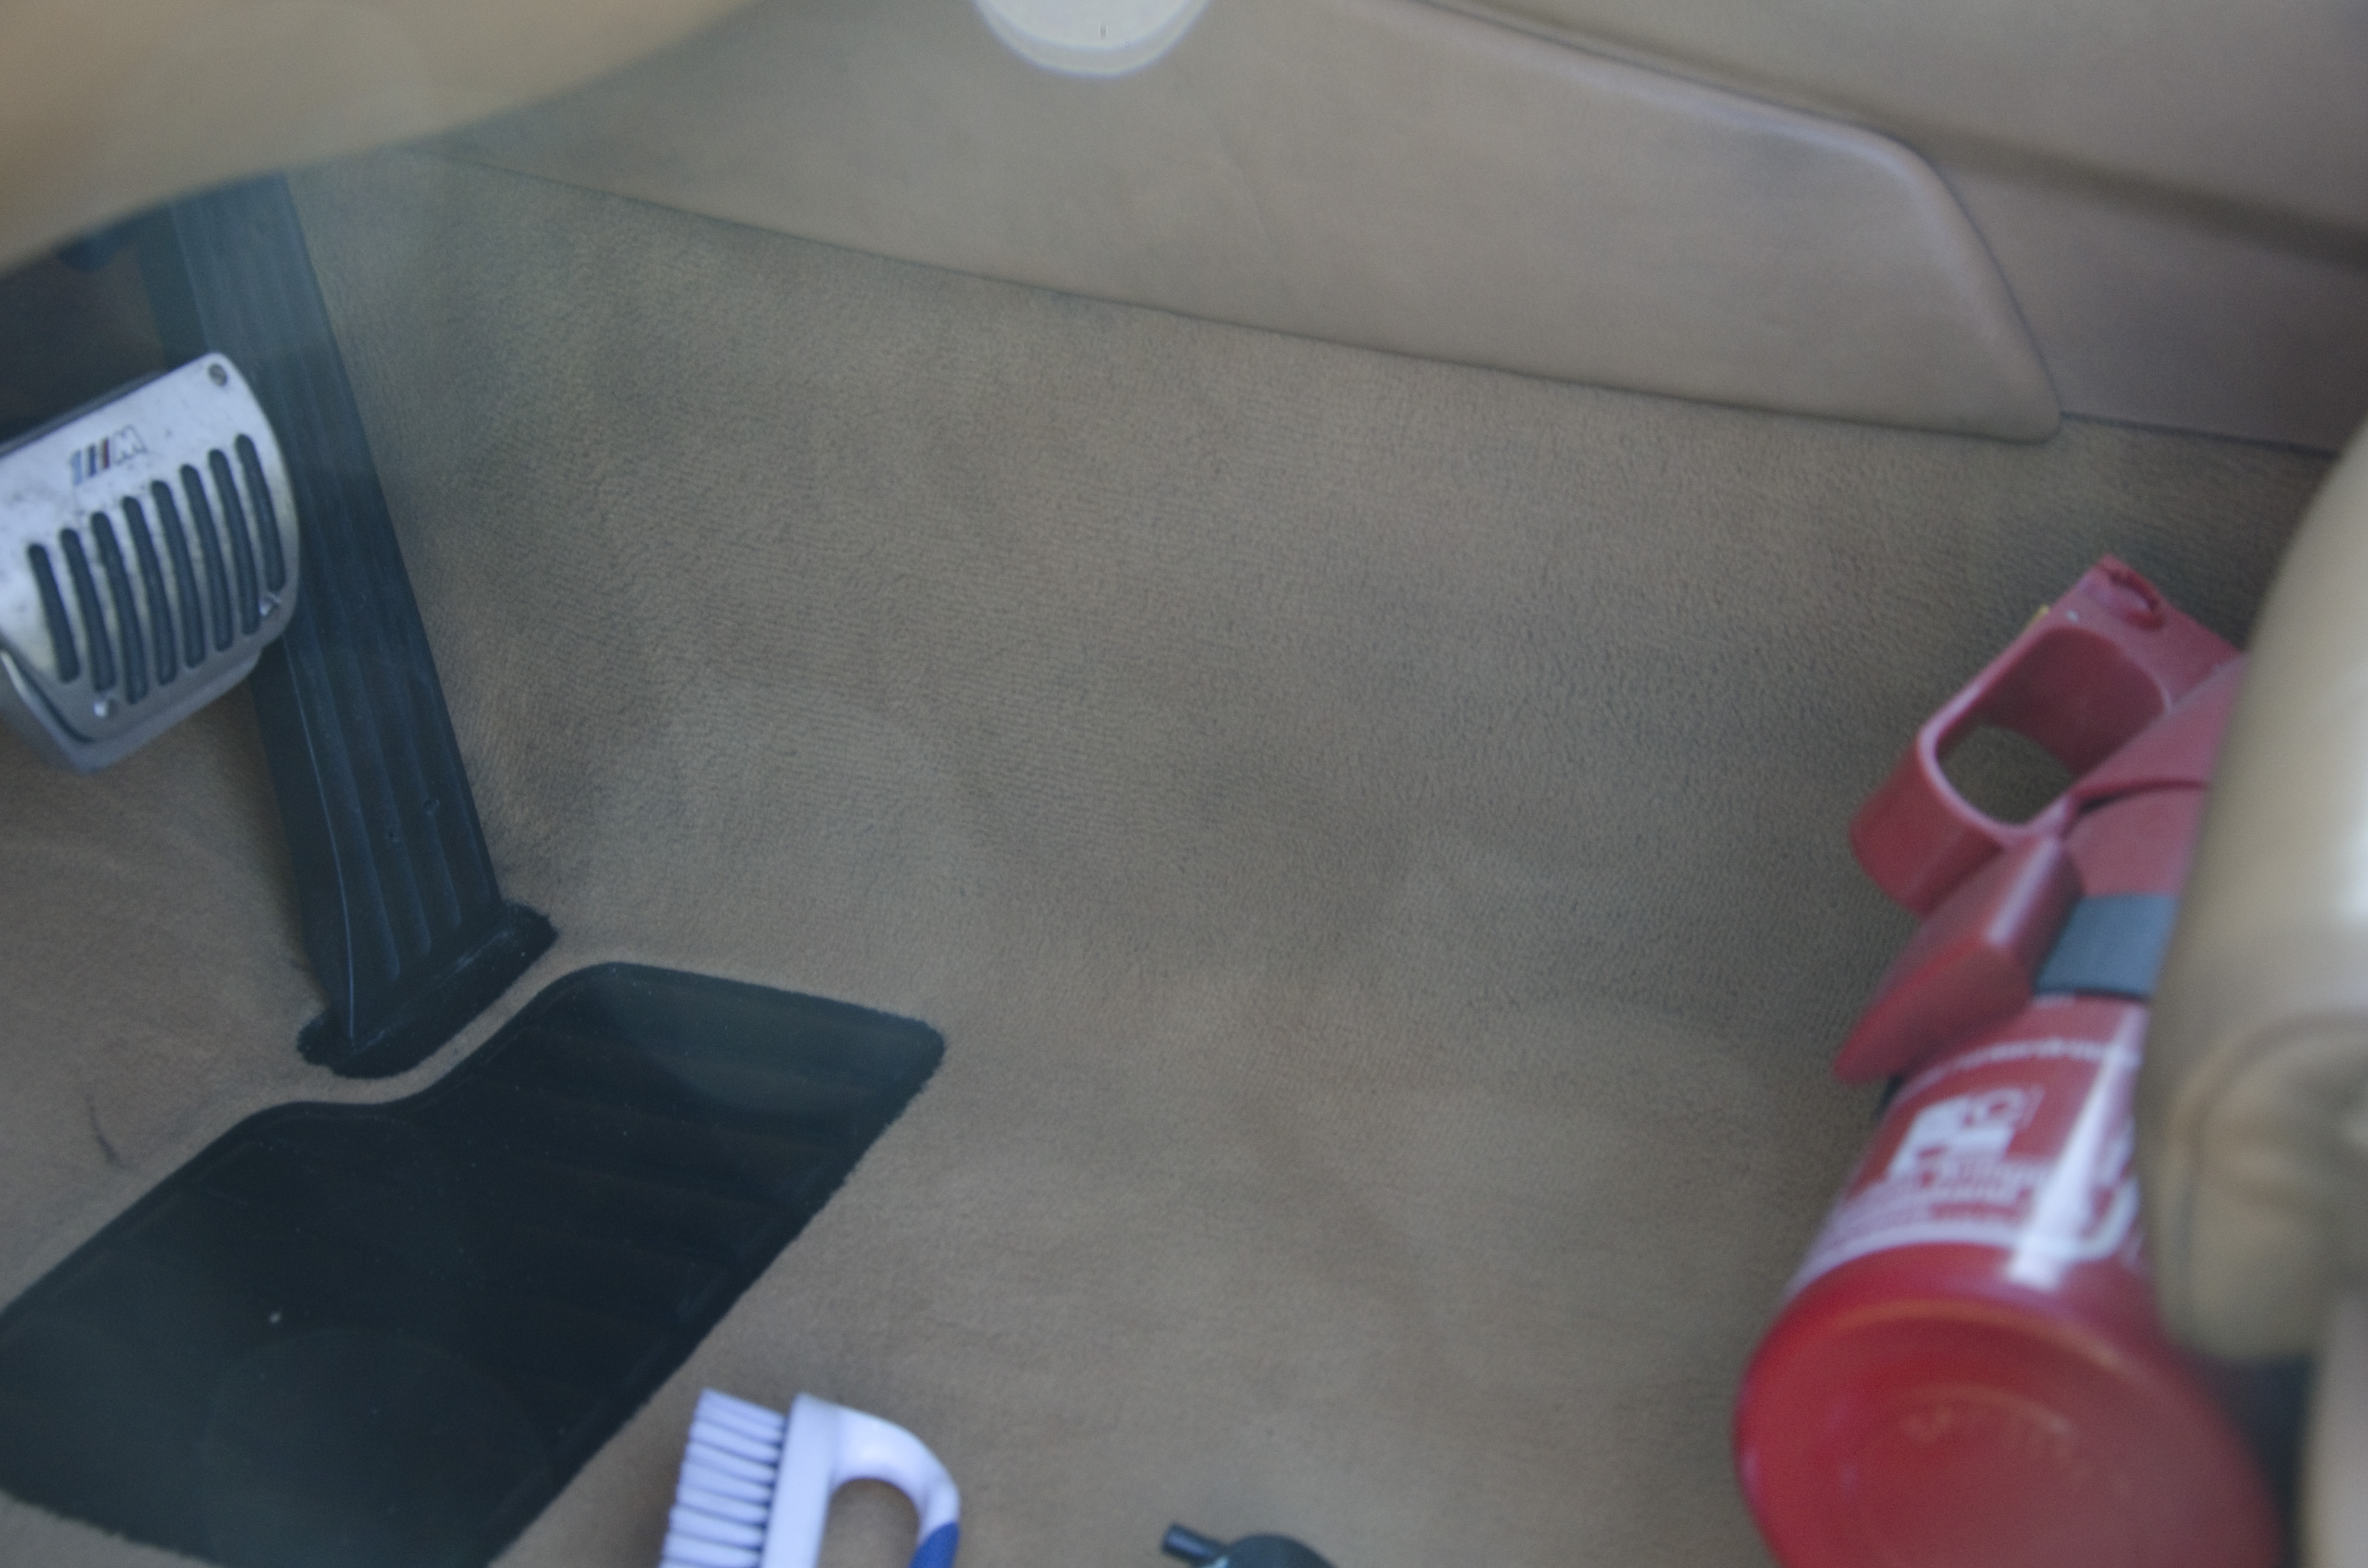
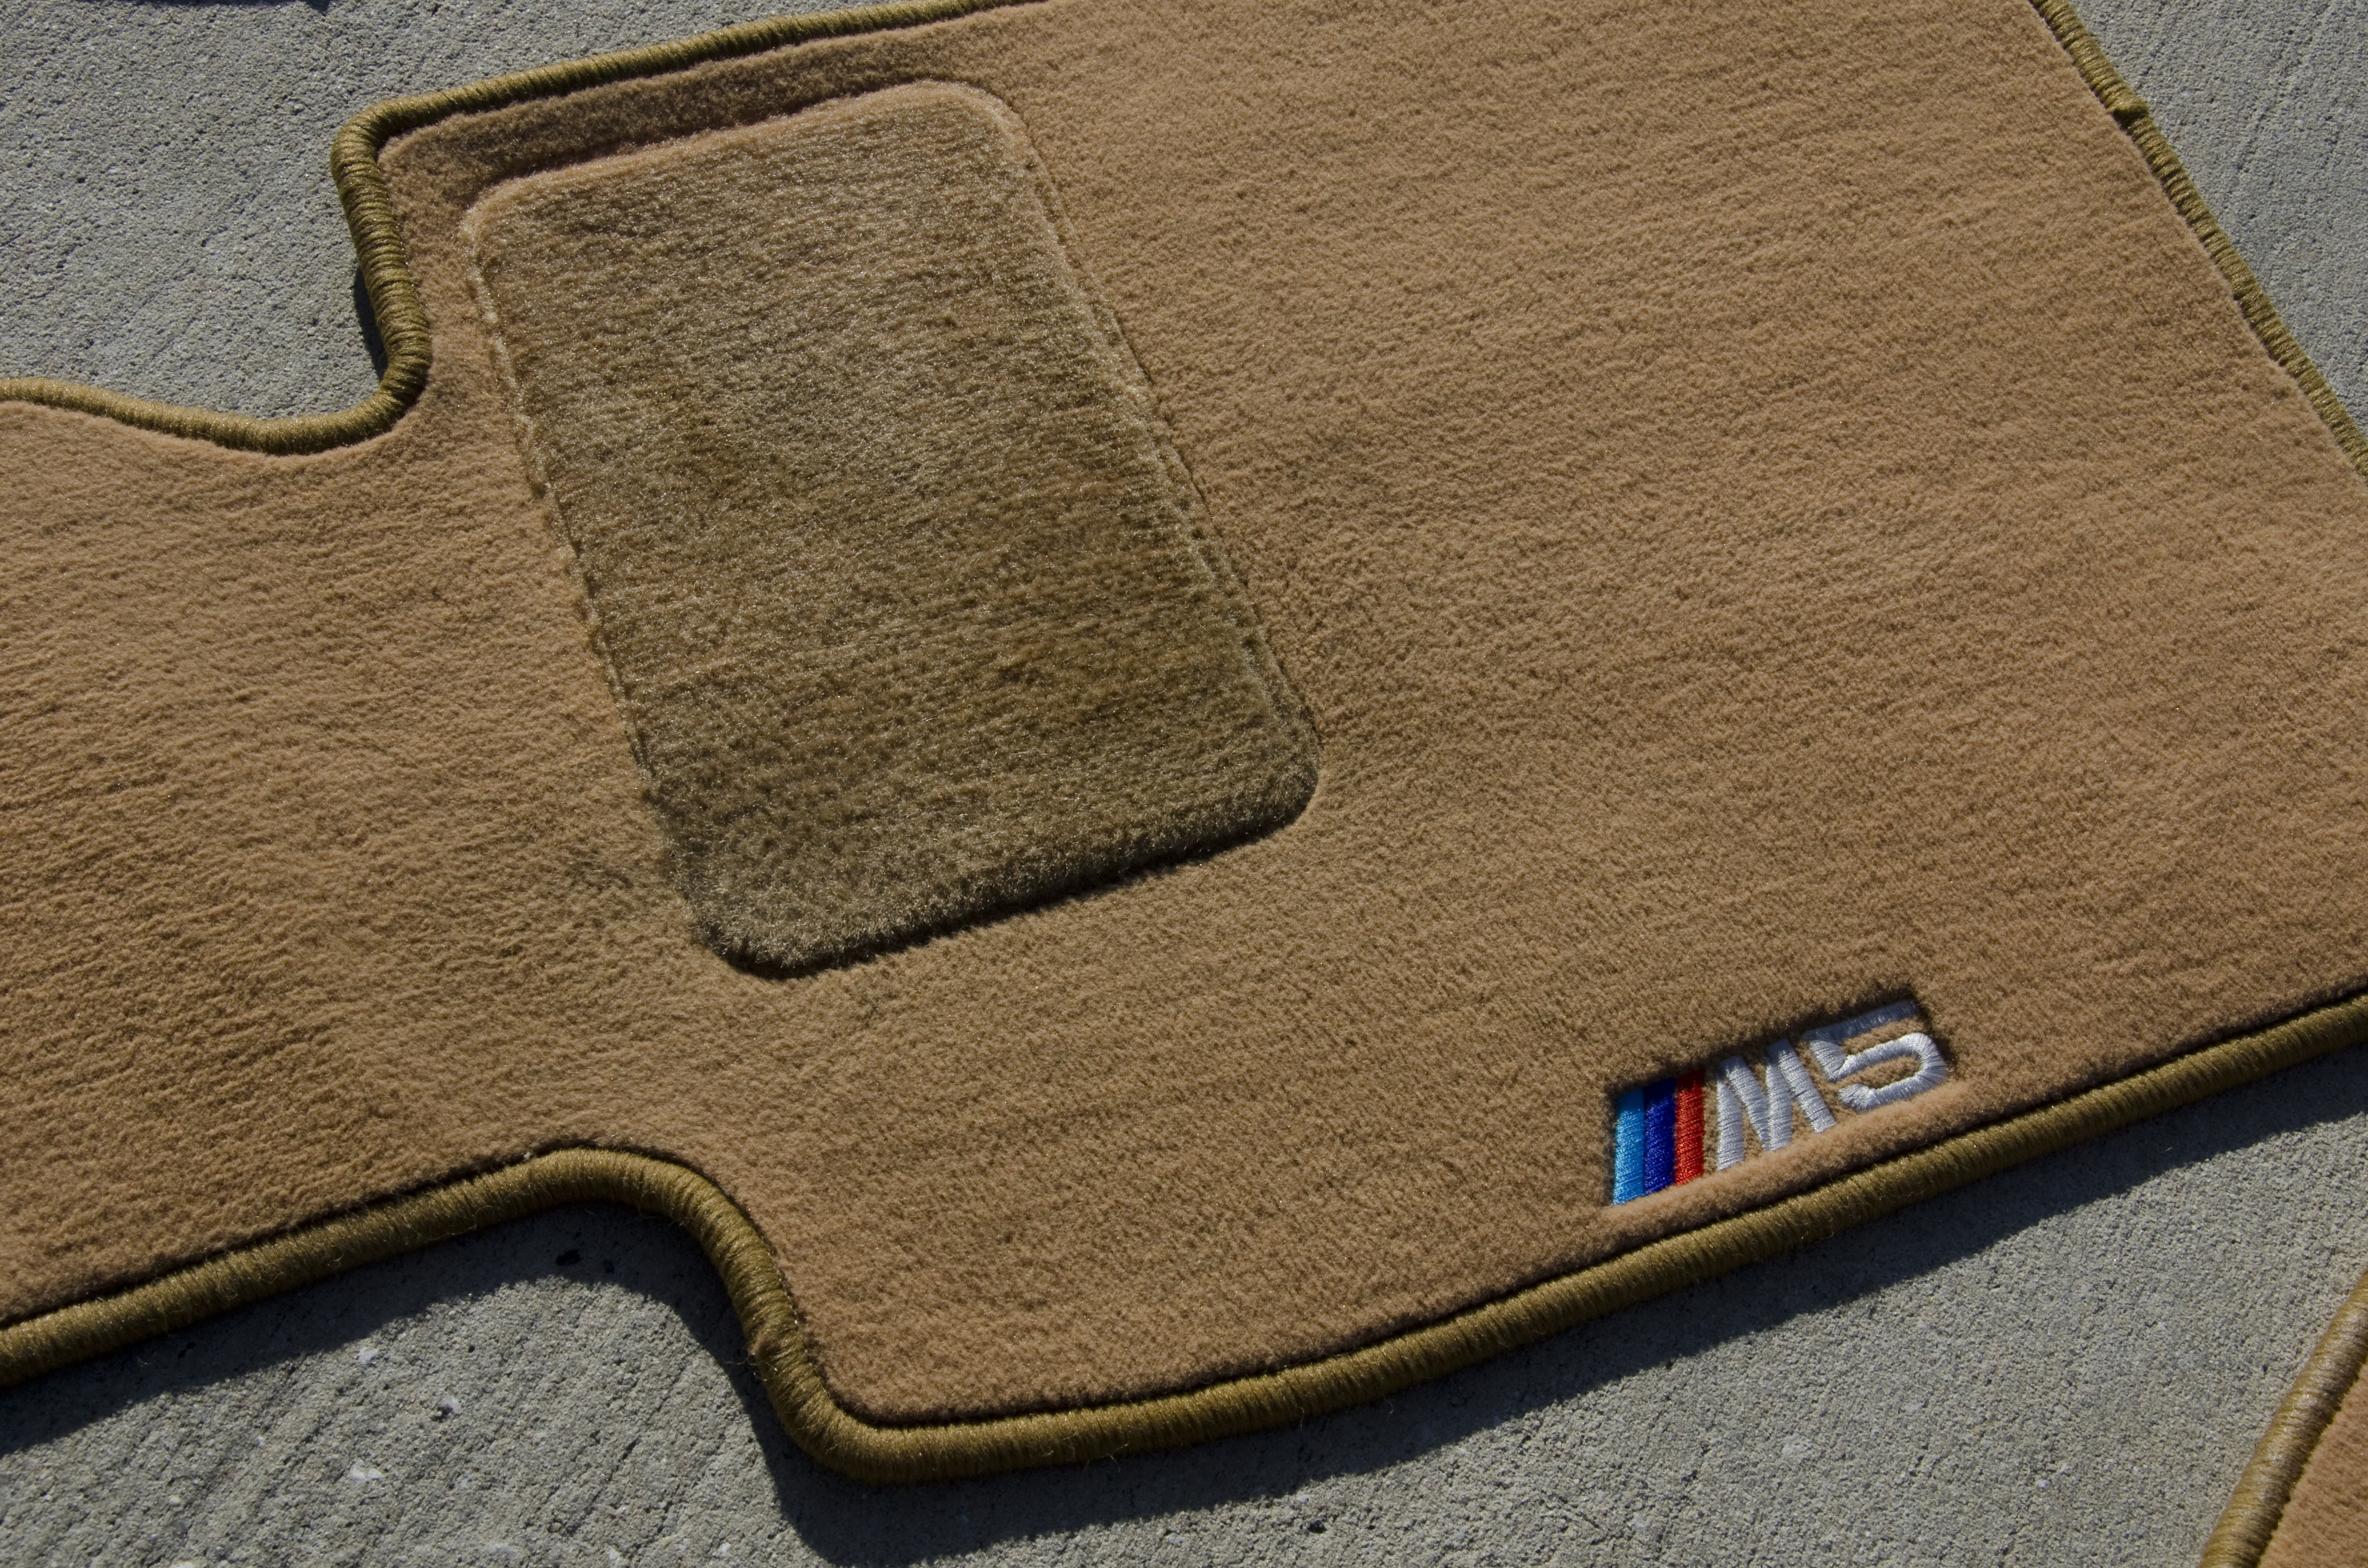
As usual, we started with decontaminating the exterior with a thorough wash and iron removal step, as well as clay bar where needed. Before starting on the paint correction, the interior got a thorough wipe down and vacuum and we focused on cleaning the leather and stitching on the M-Sport steering wheel. All leather was then conditioned and various stains were removed from the carpet.
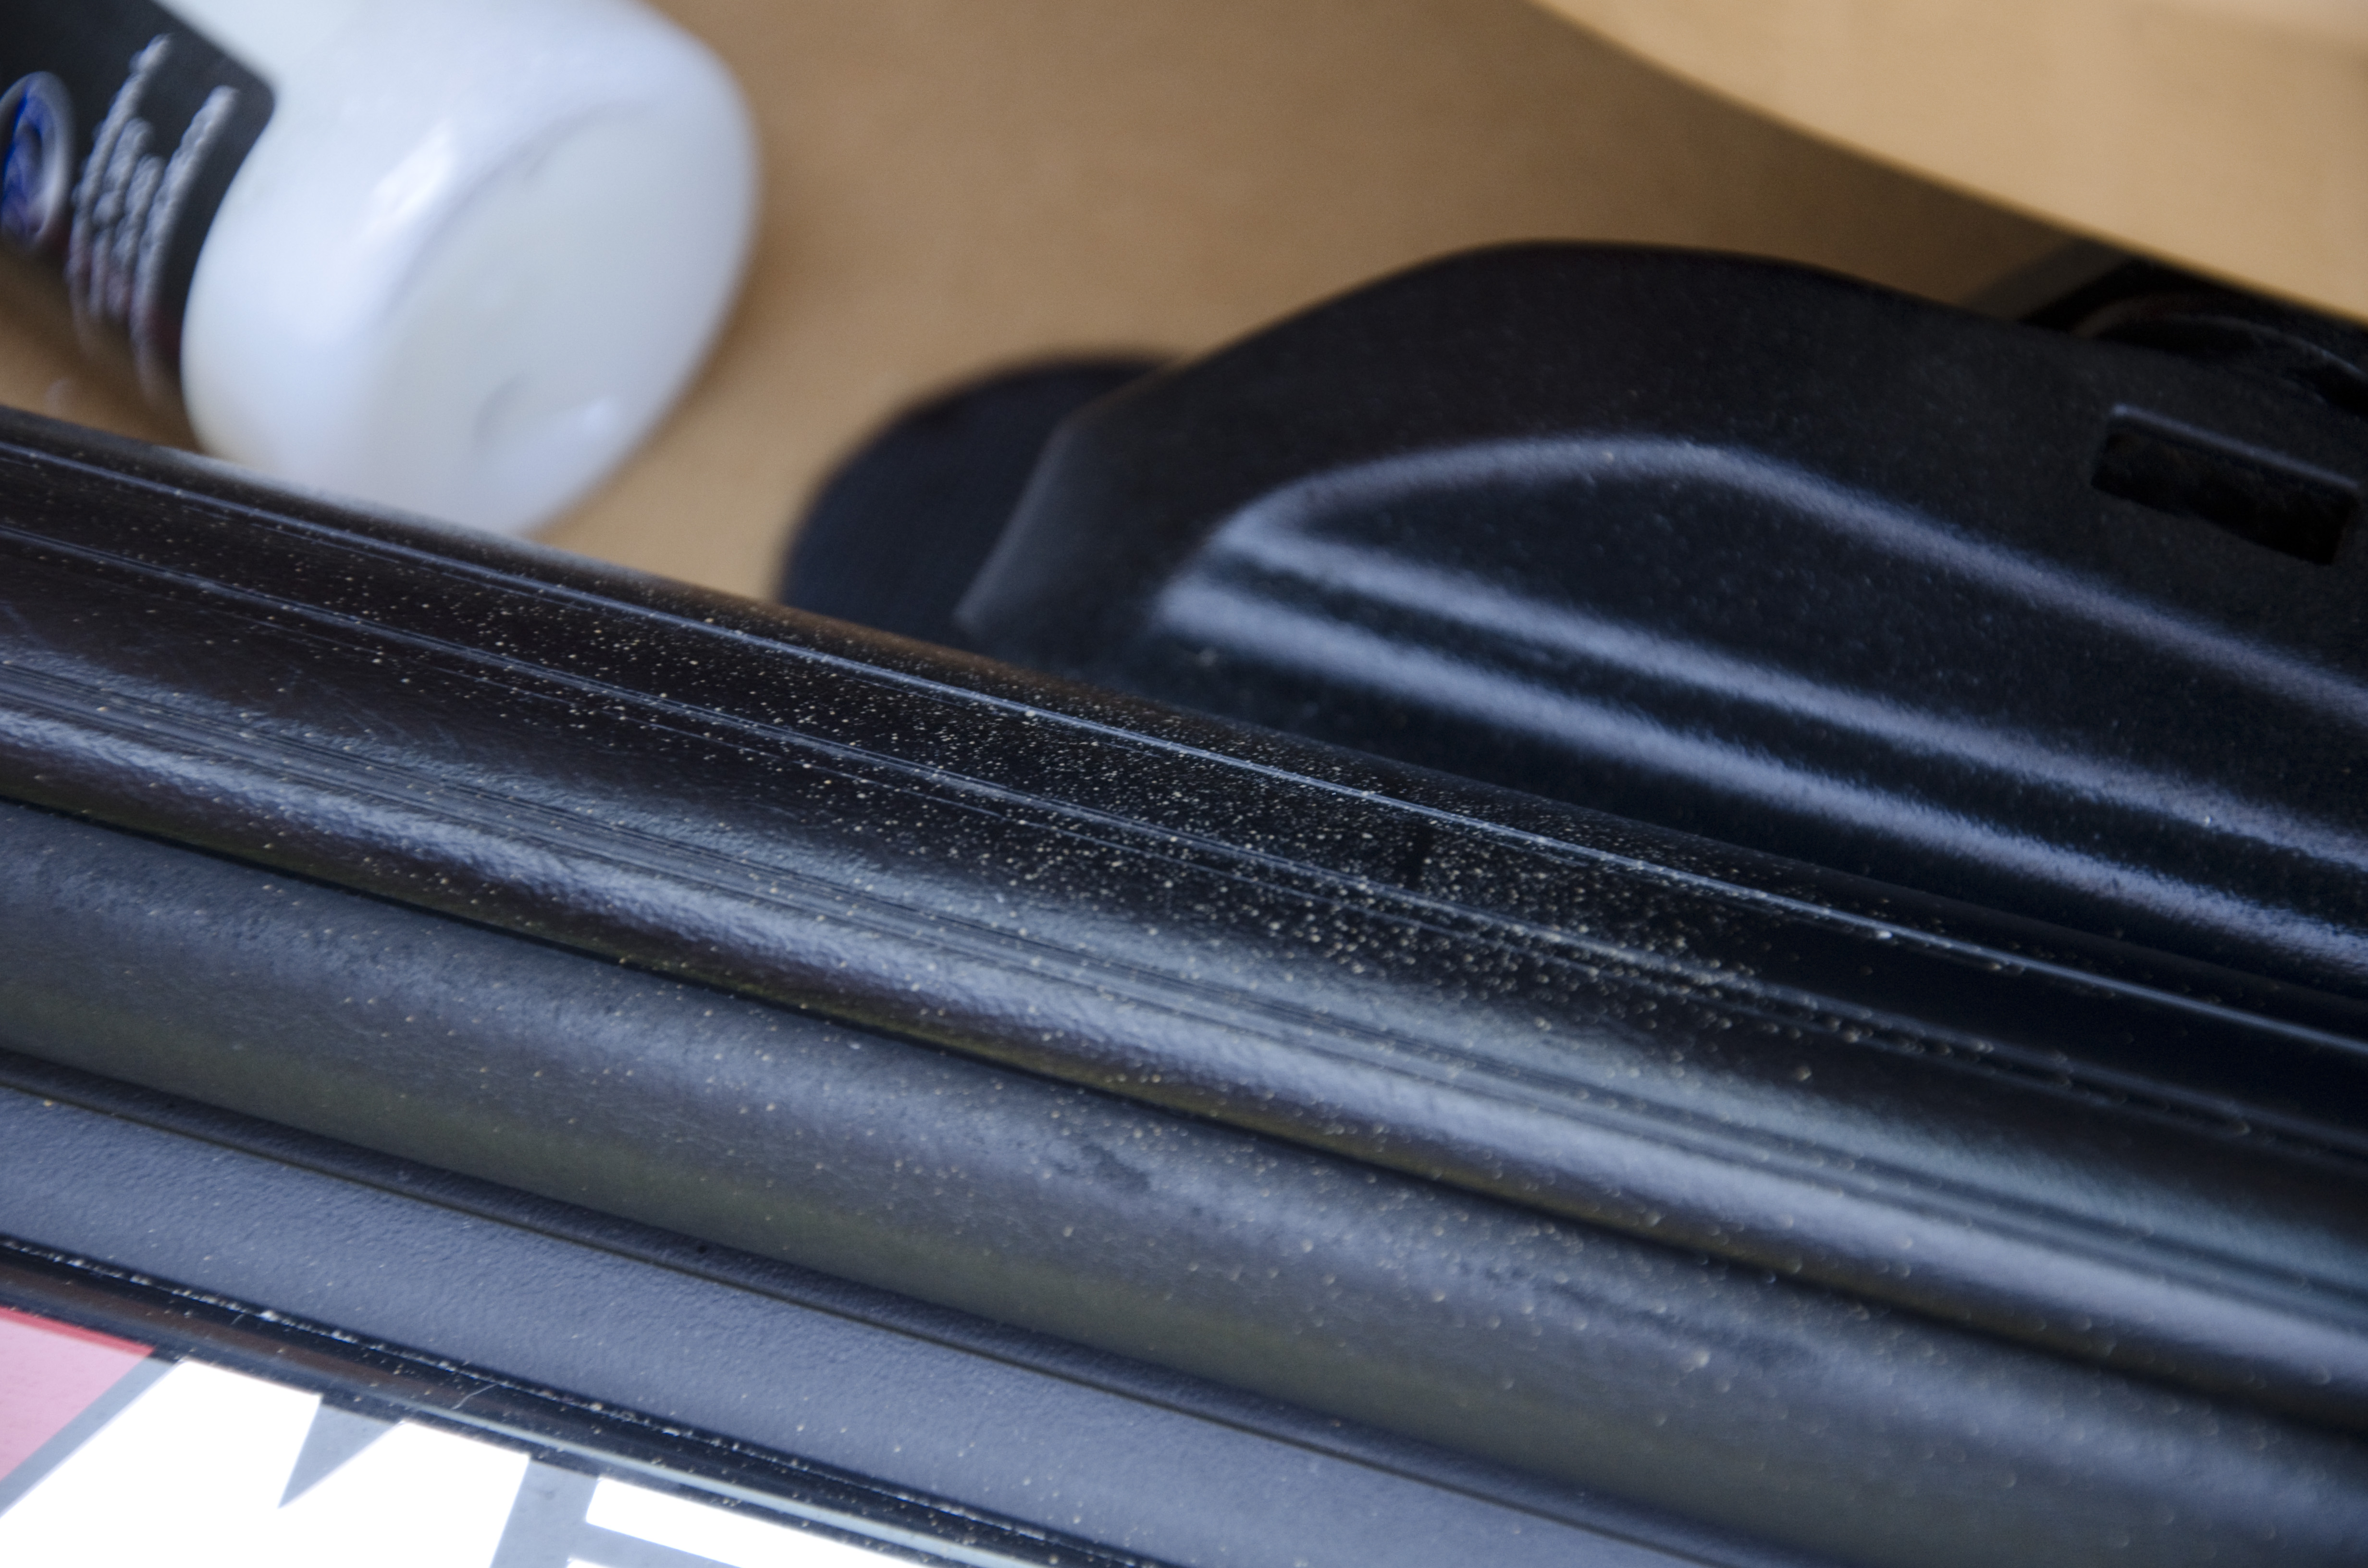
Some overspray from a leather dye job.
Did you know there can be as many as 700 different germs per square inch of steering wheel? That is 9 times more than a public toilet! As we cleaned the steering wheel and the M-Sport Stitching the wheel was restored to its original matte lustre.
Few coffee spots here and there, no match!
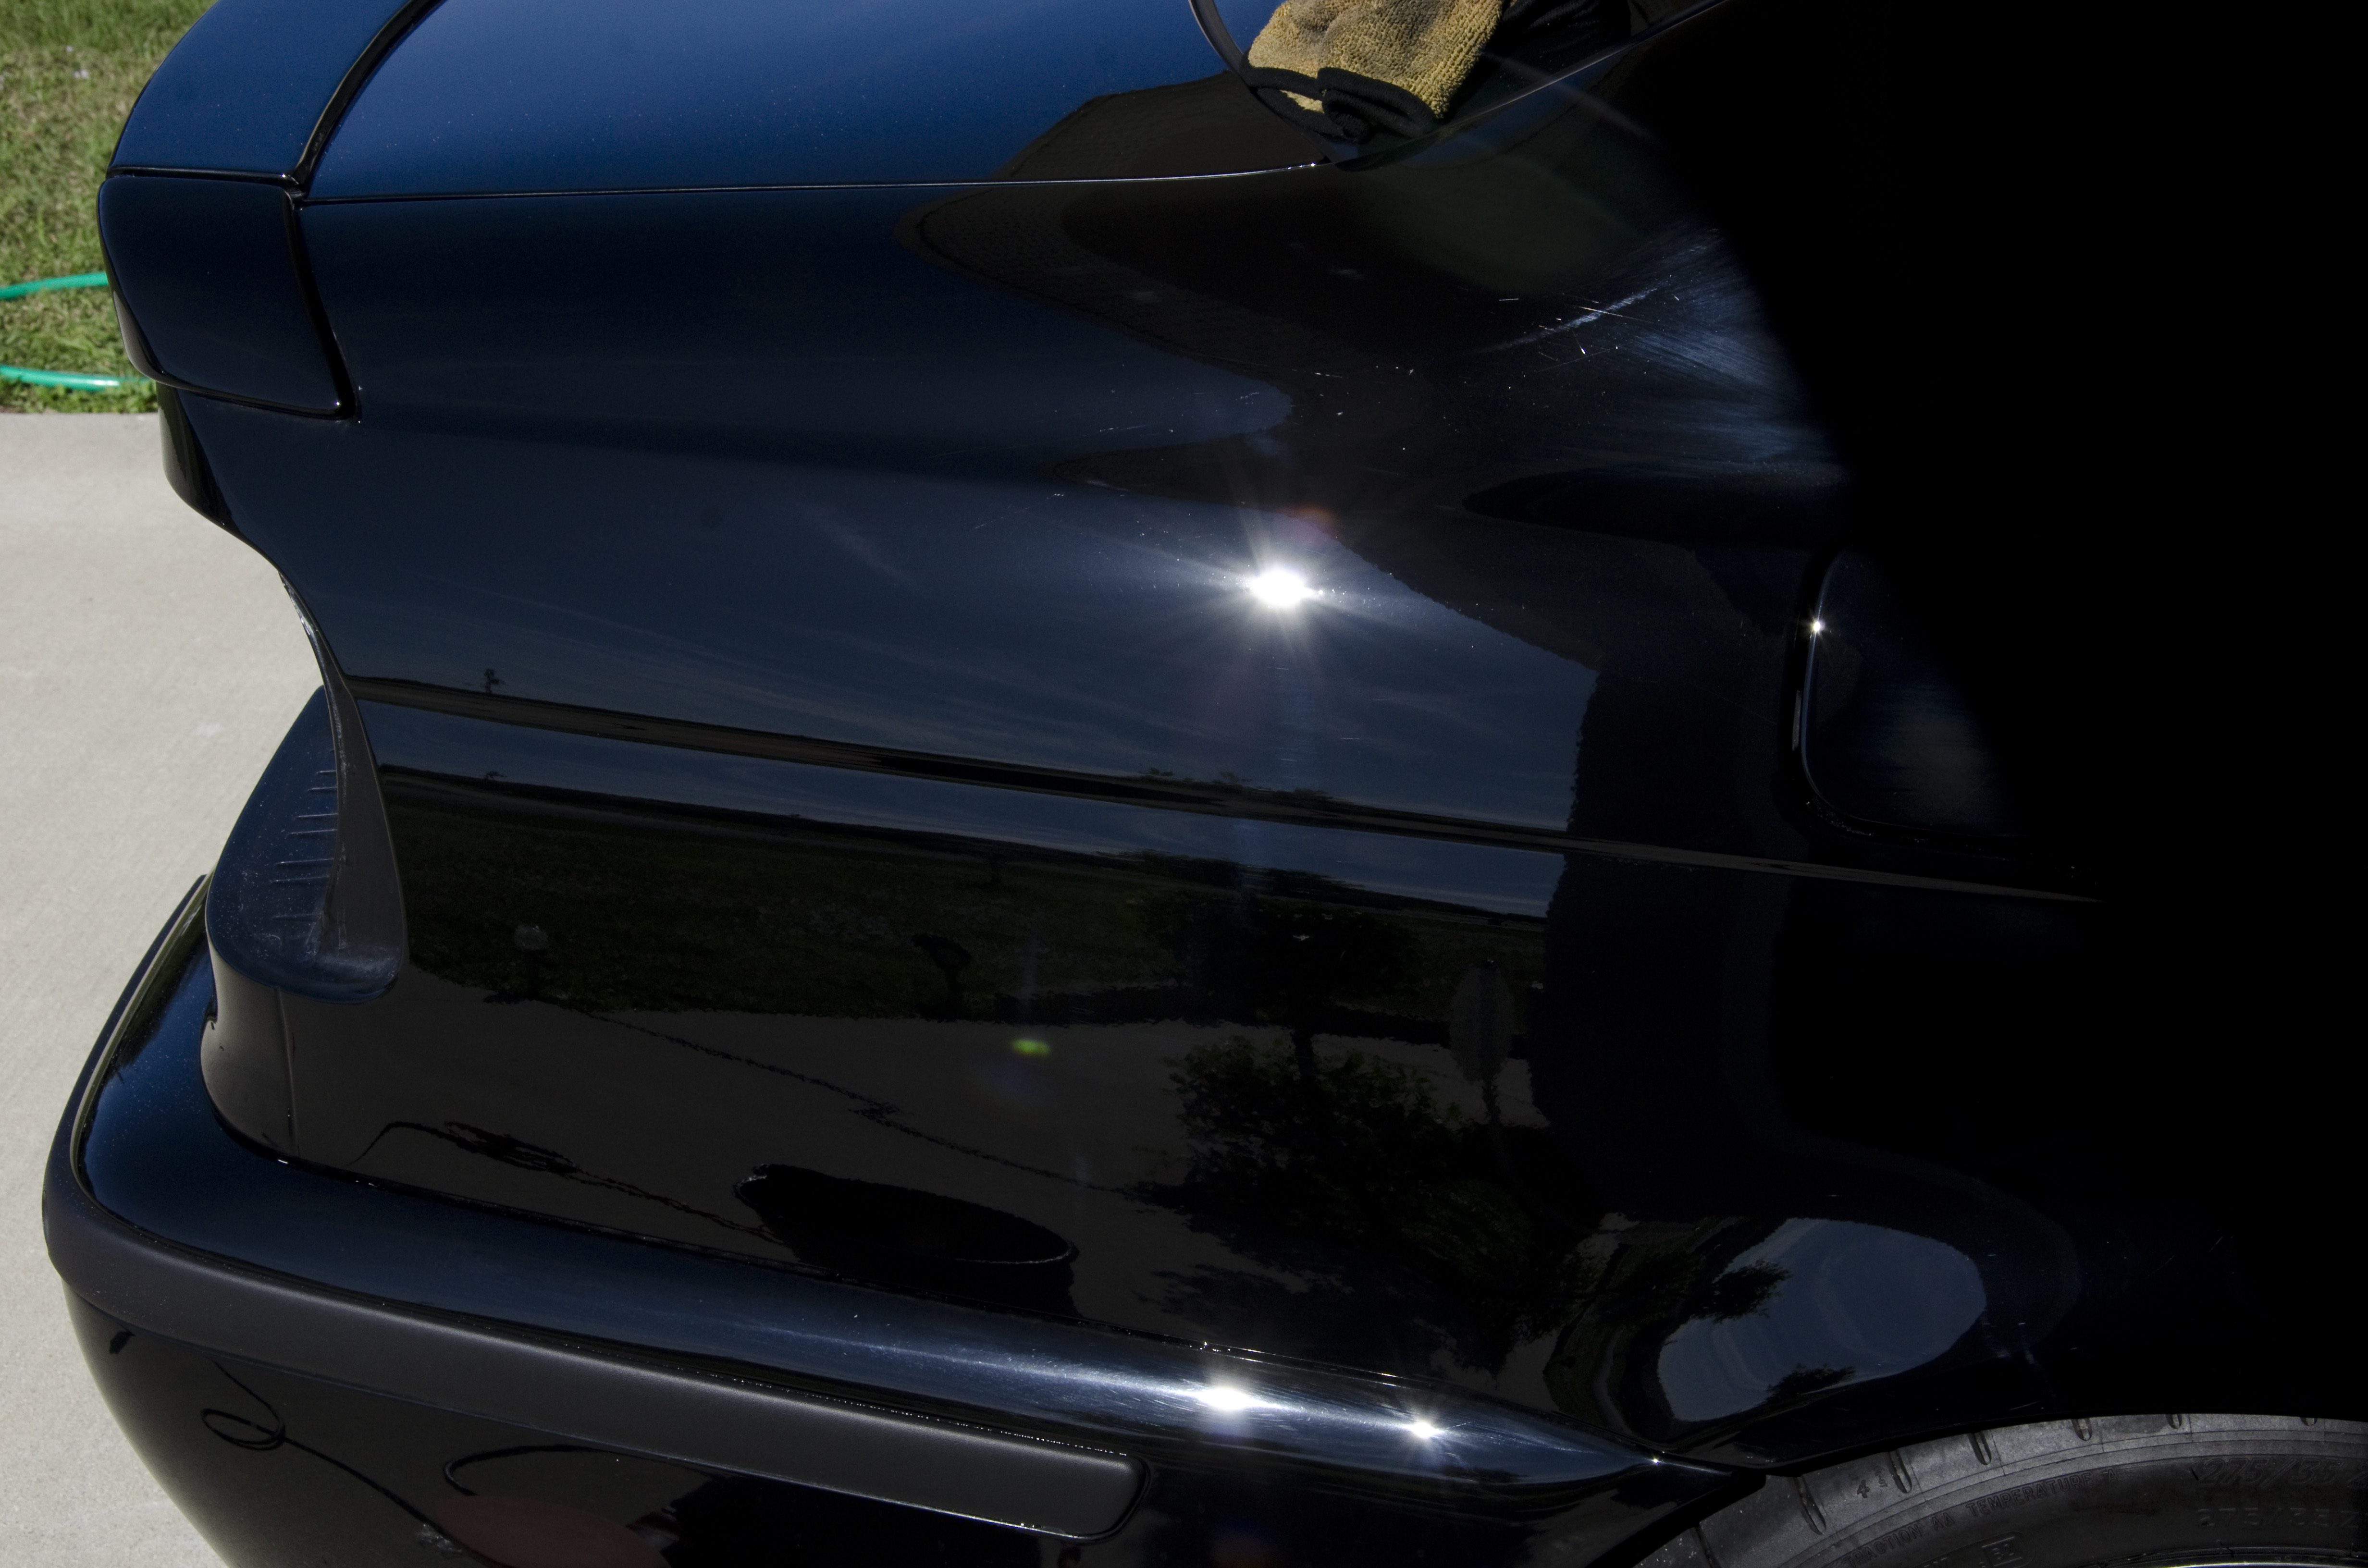
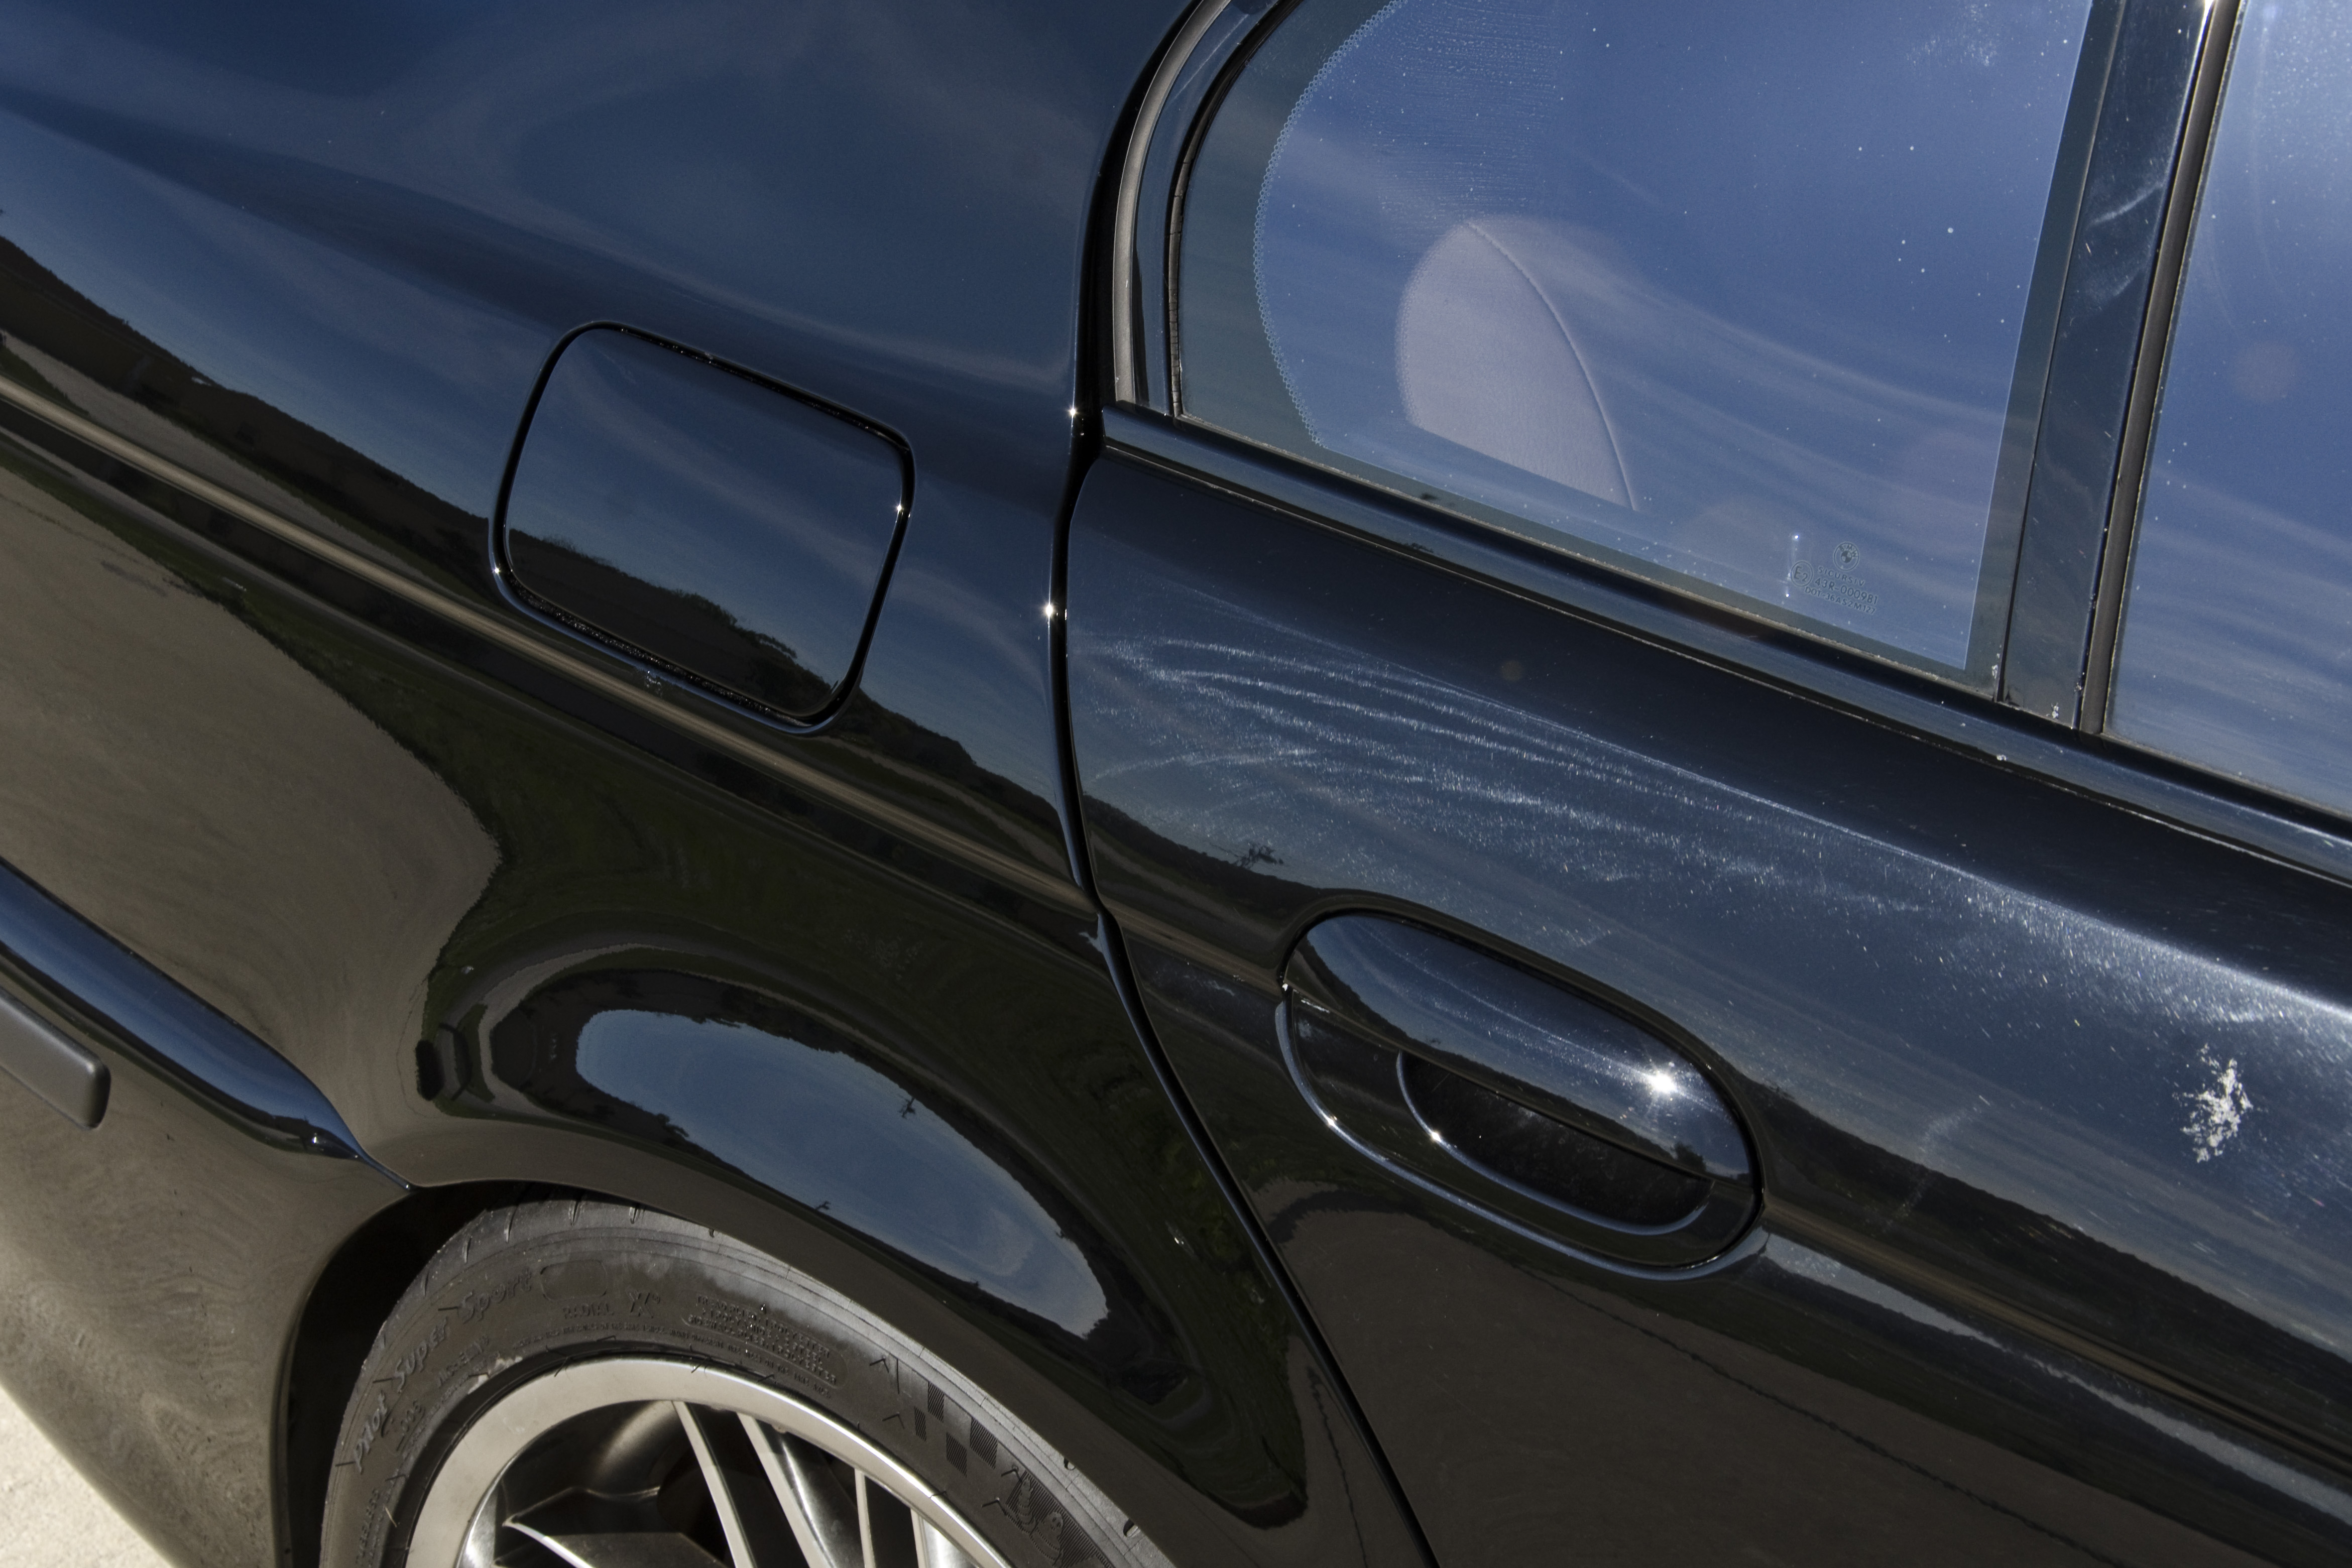
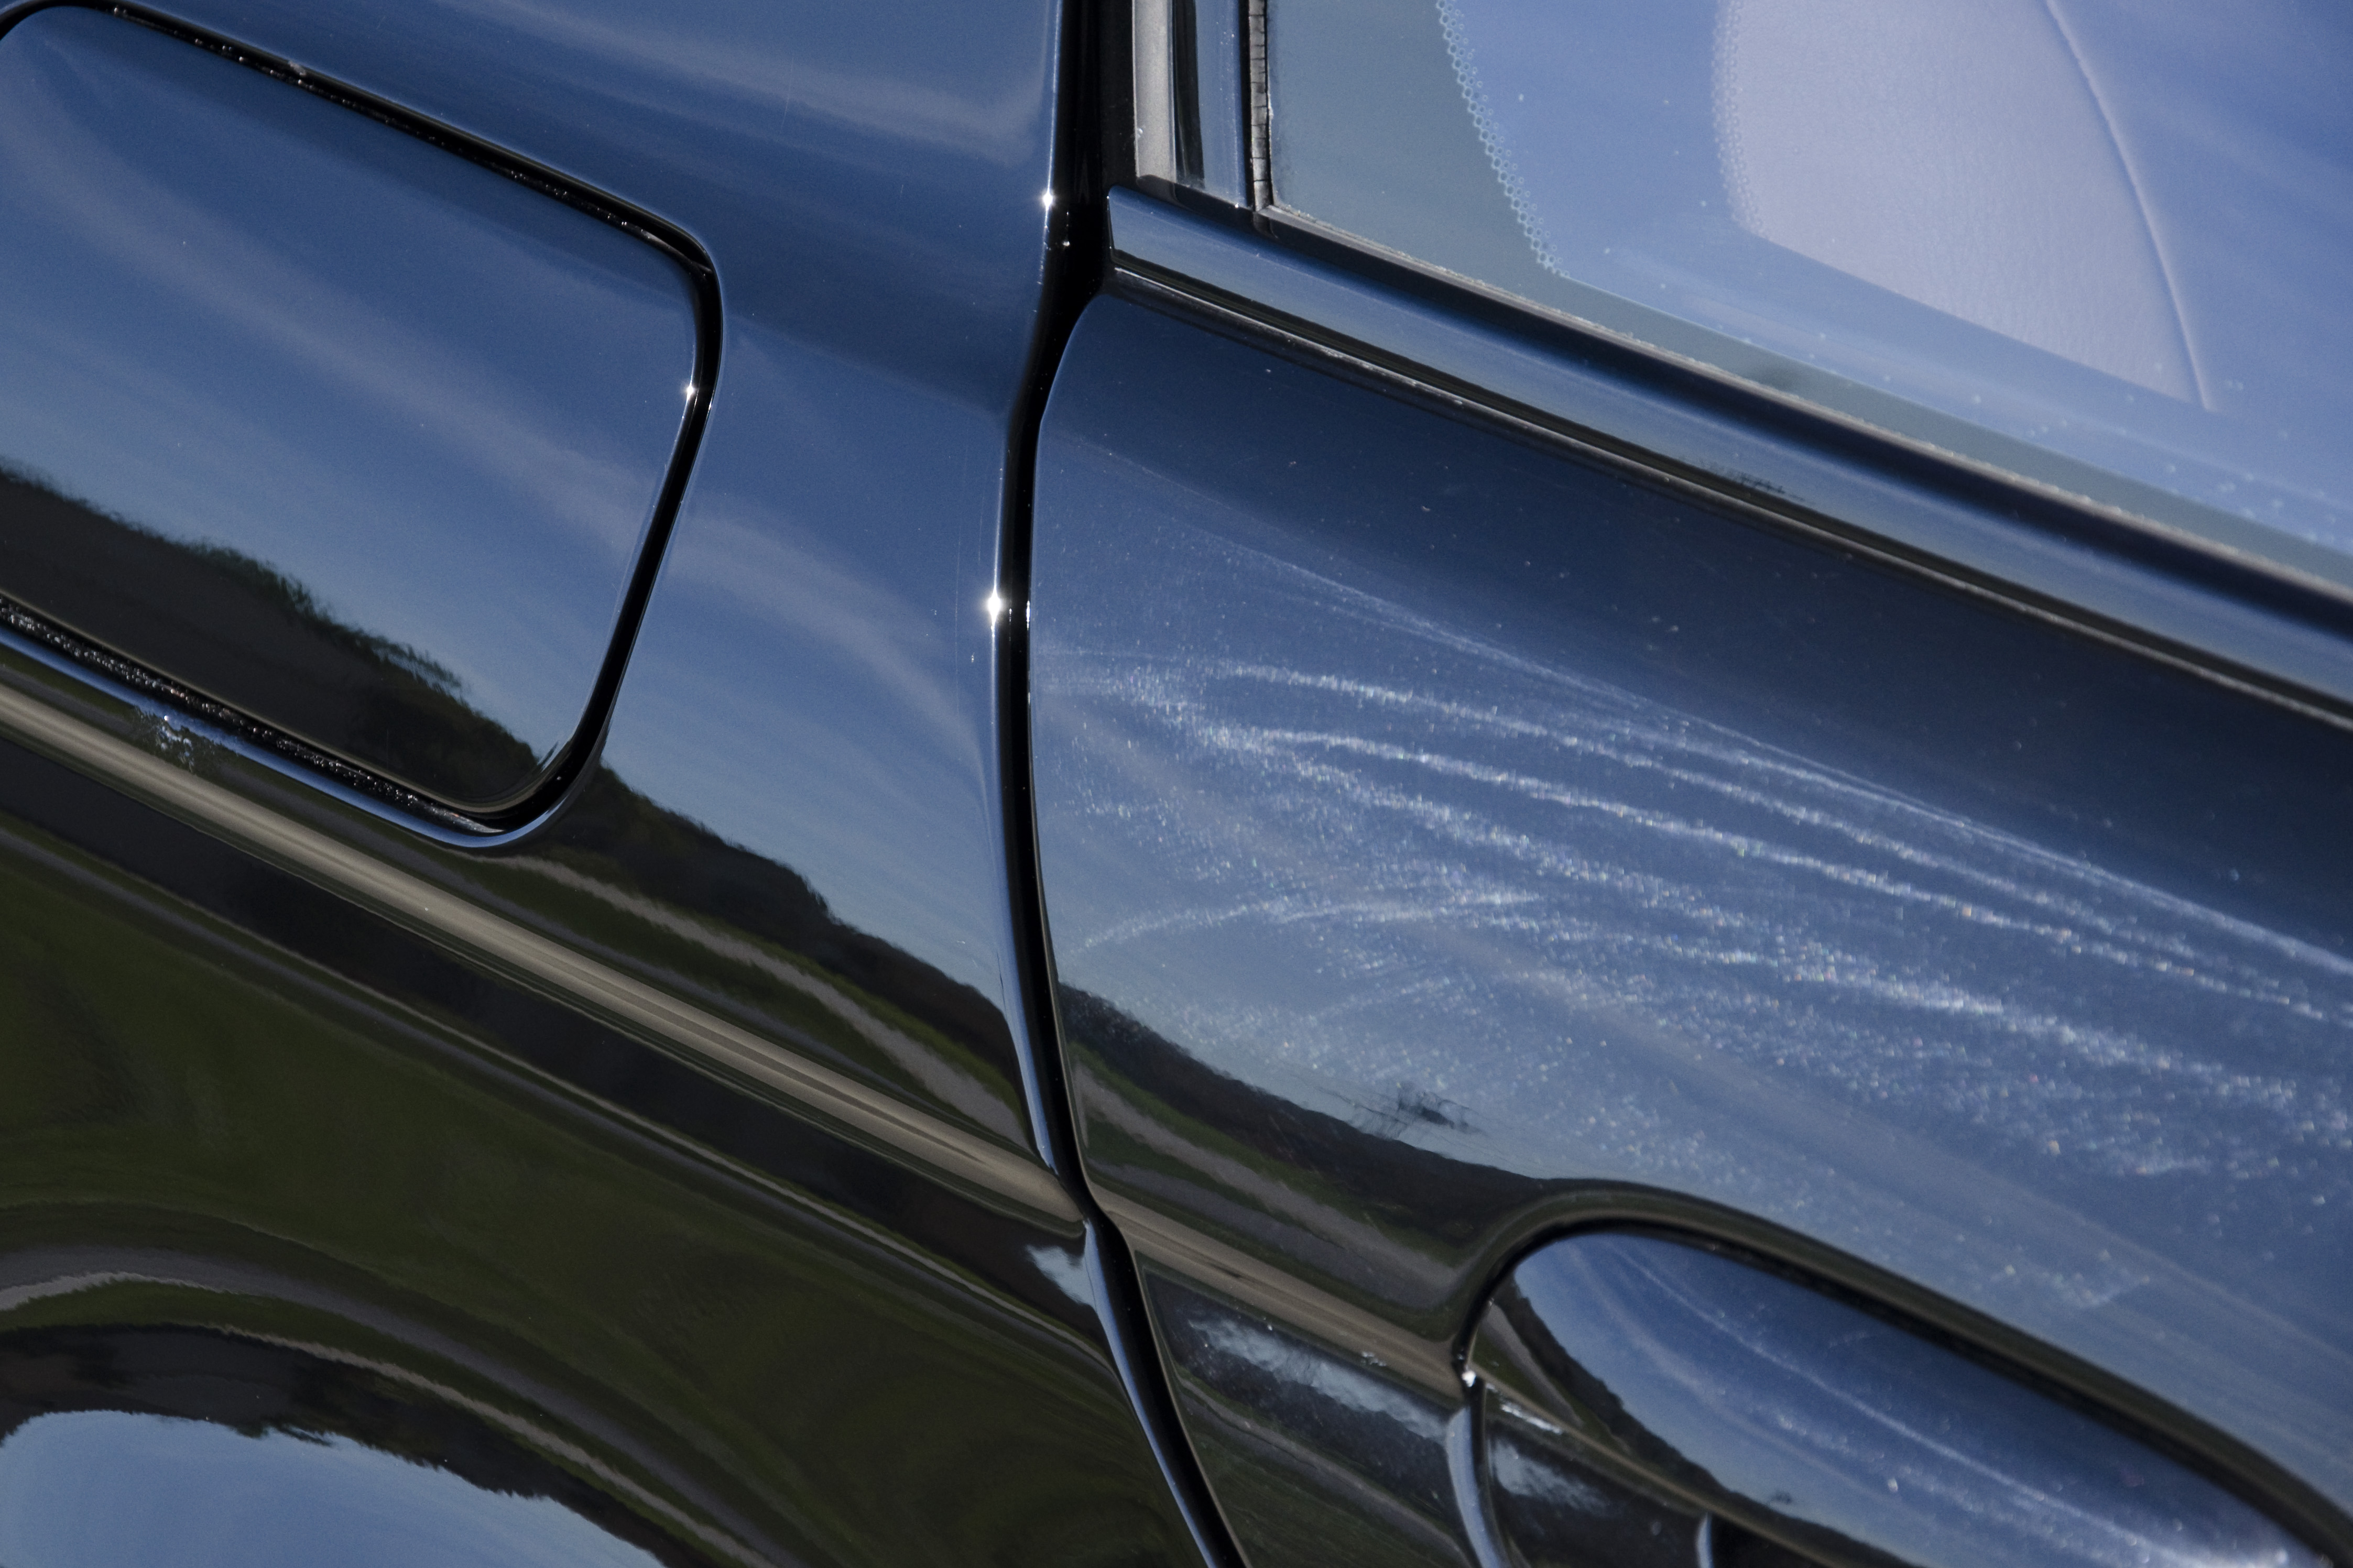
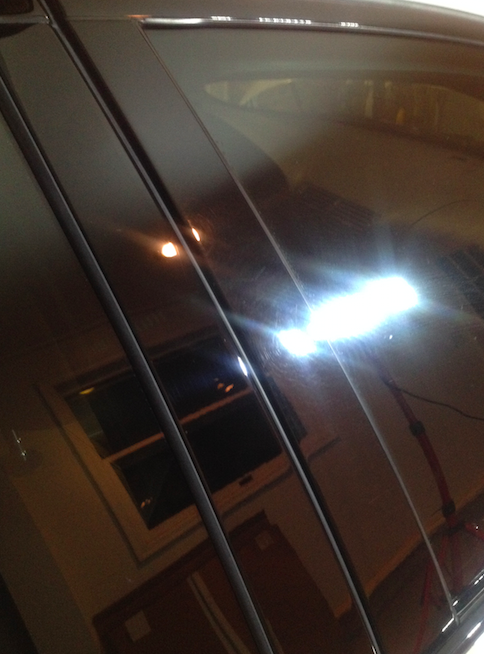
Unfortunately there was a lot to be done, and not a lot of pictures were taken. Here are just a few shots showing the difference.
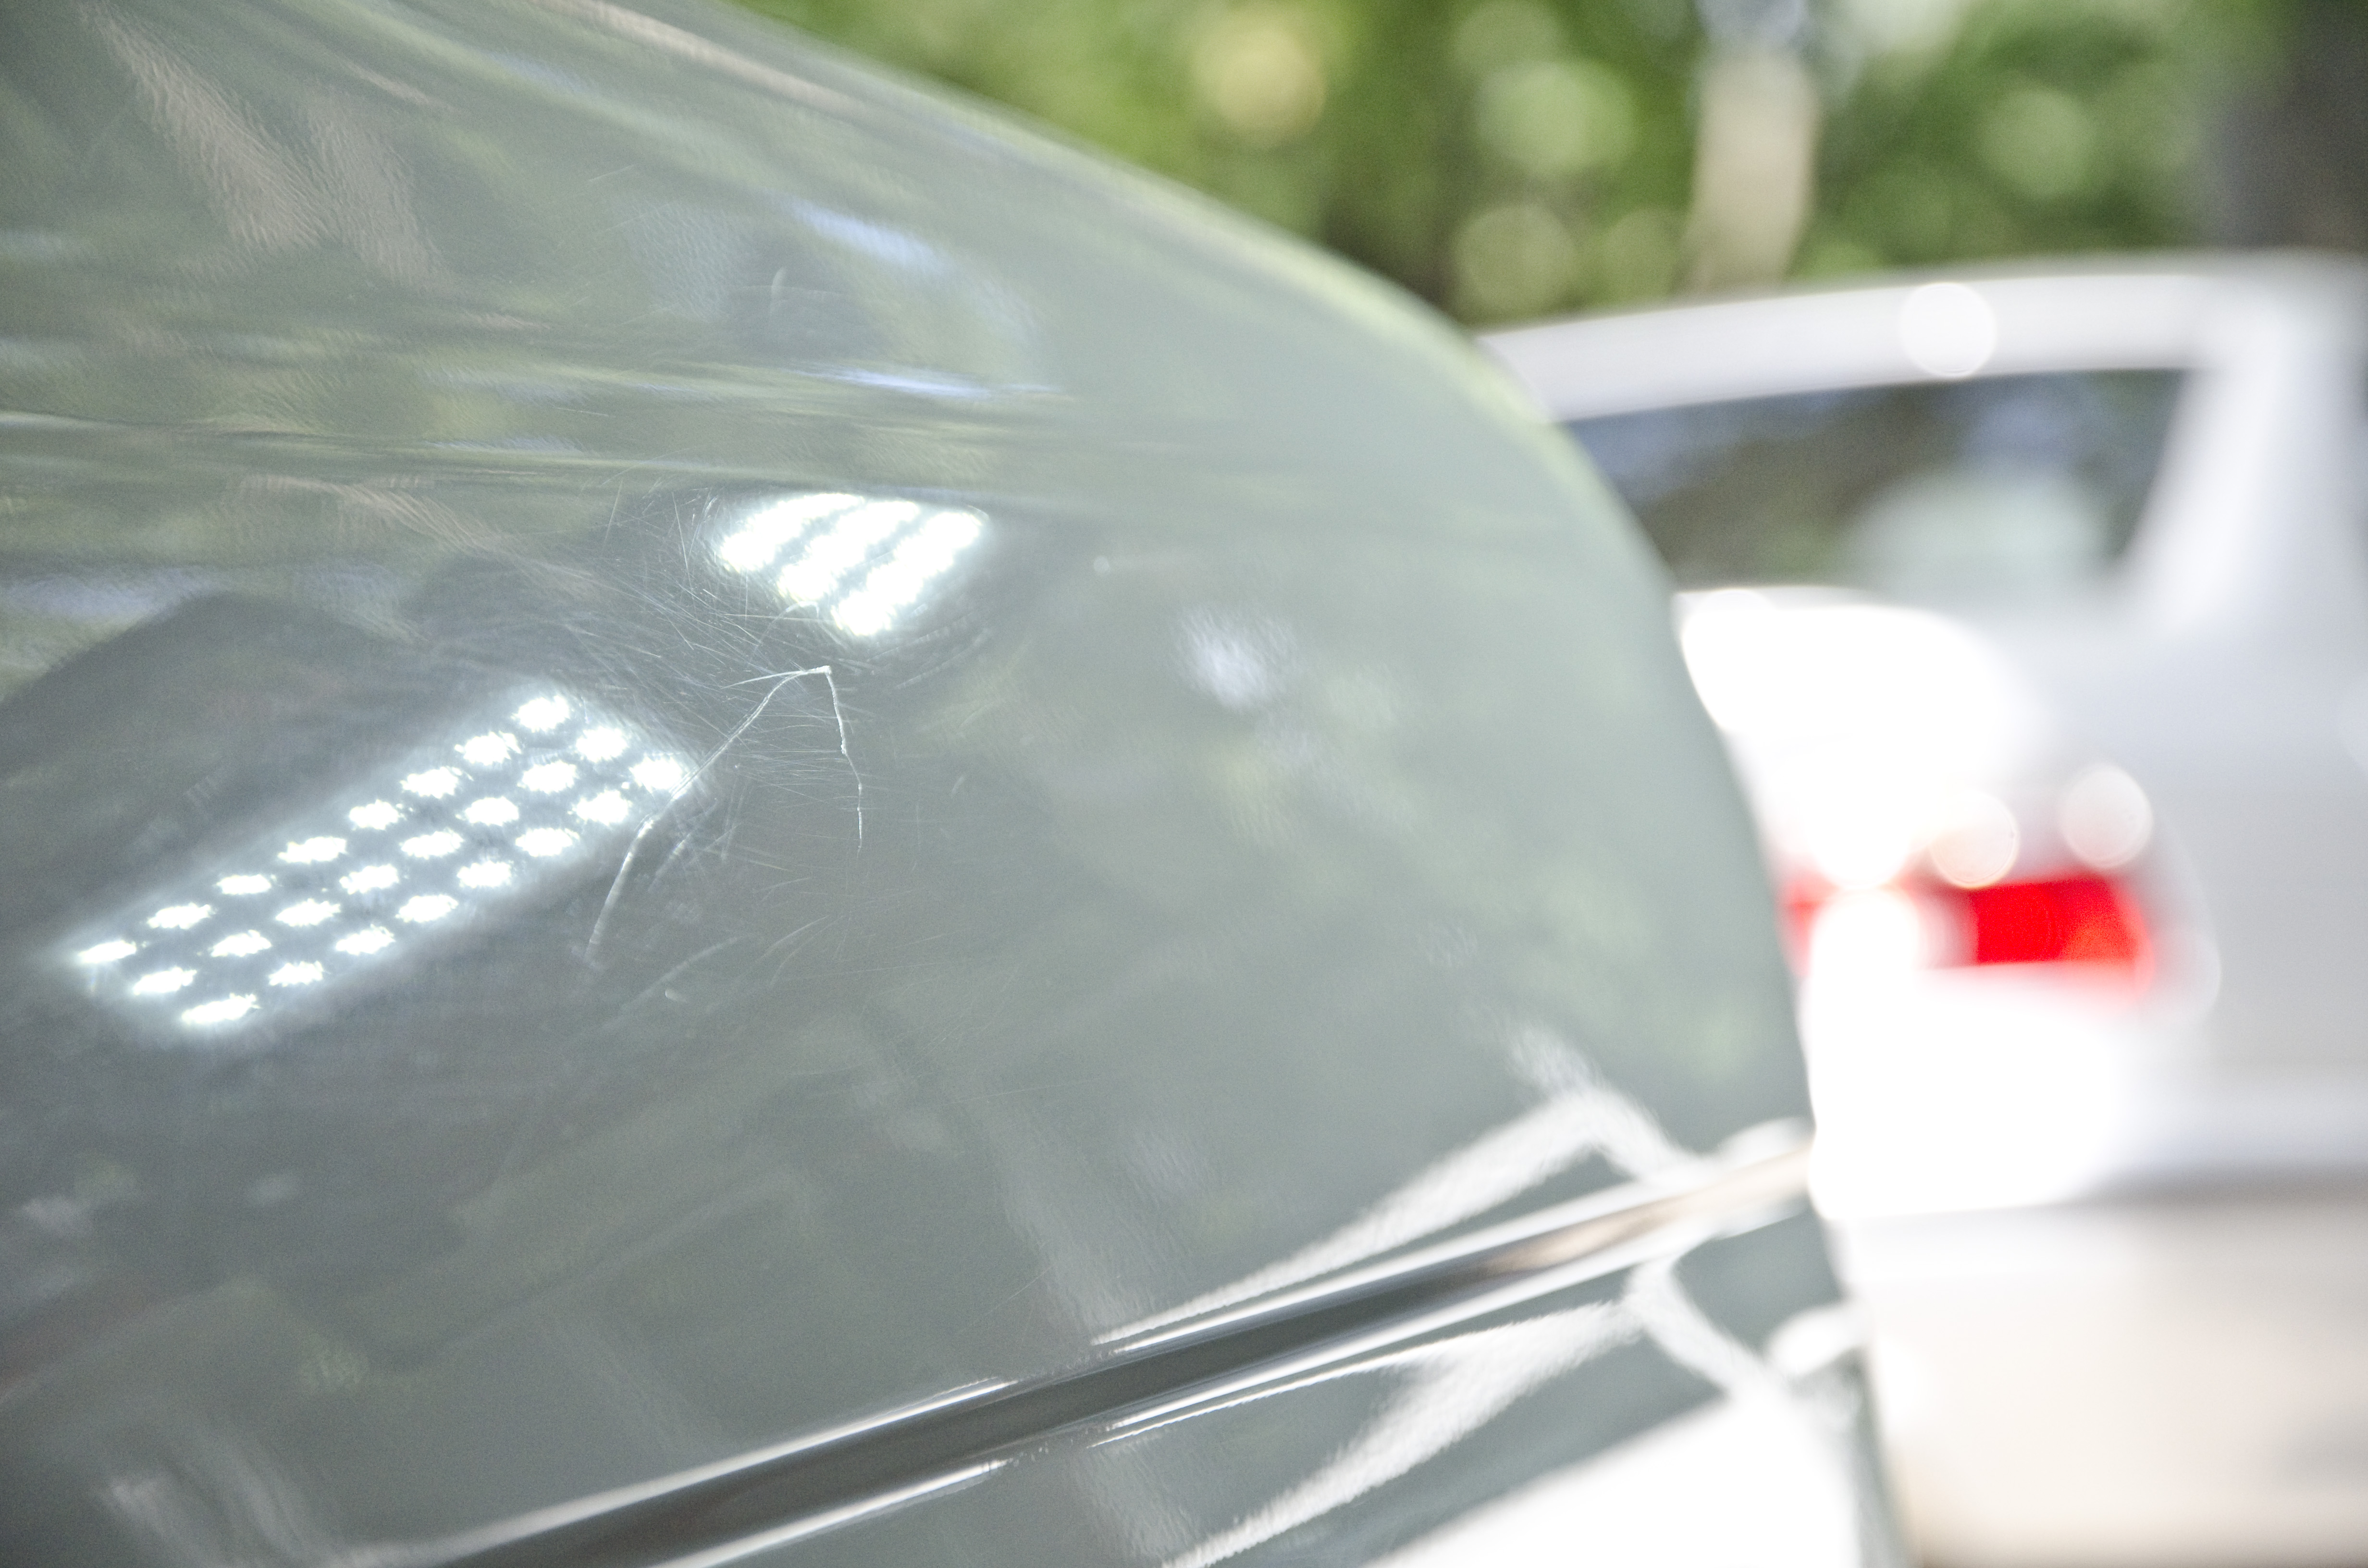
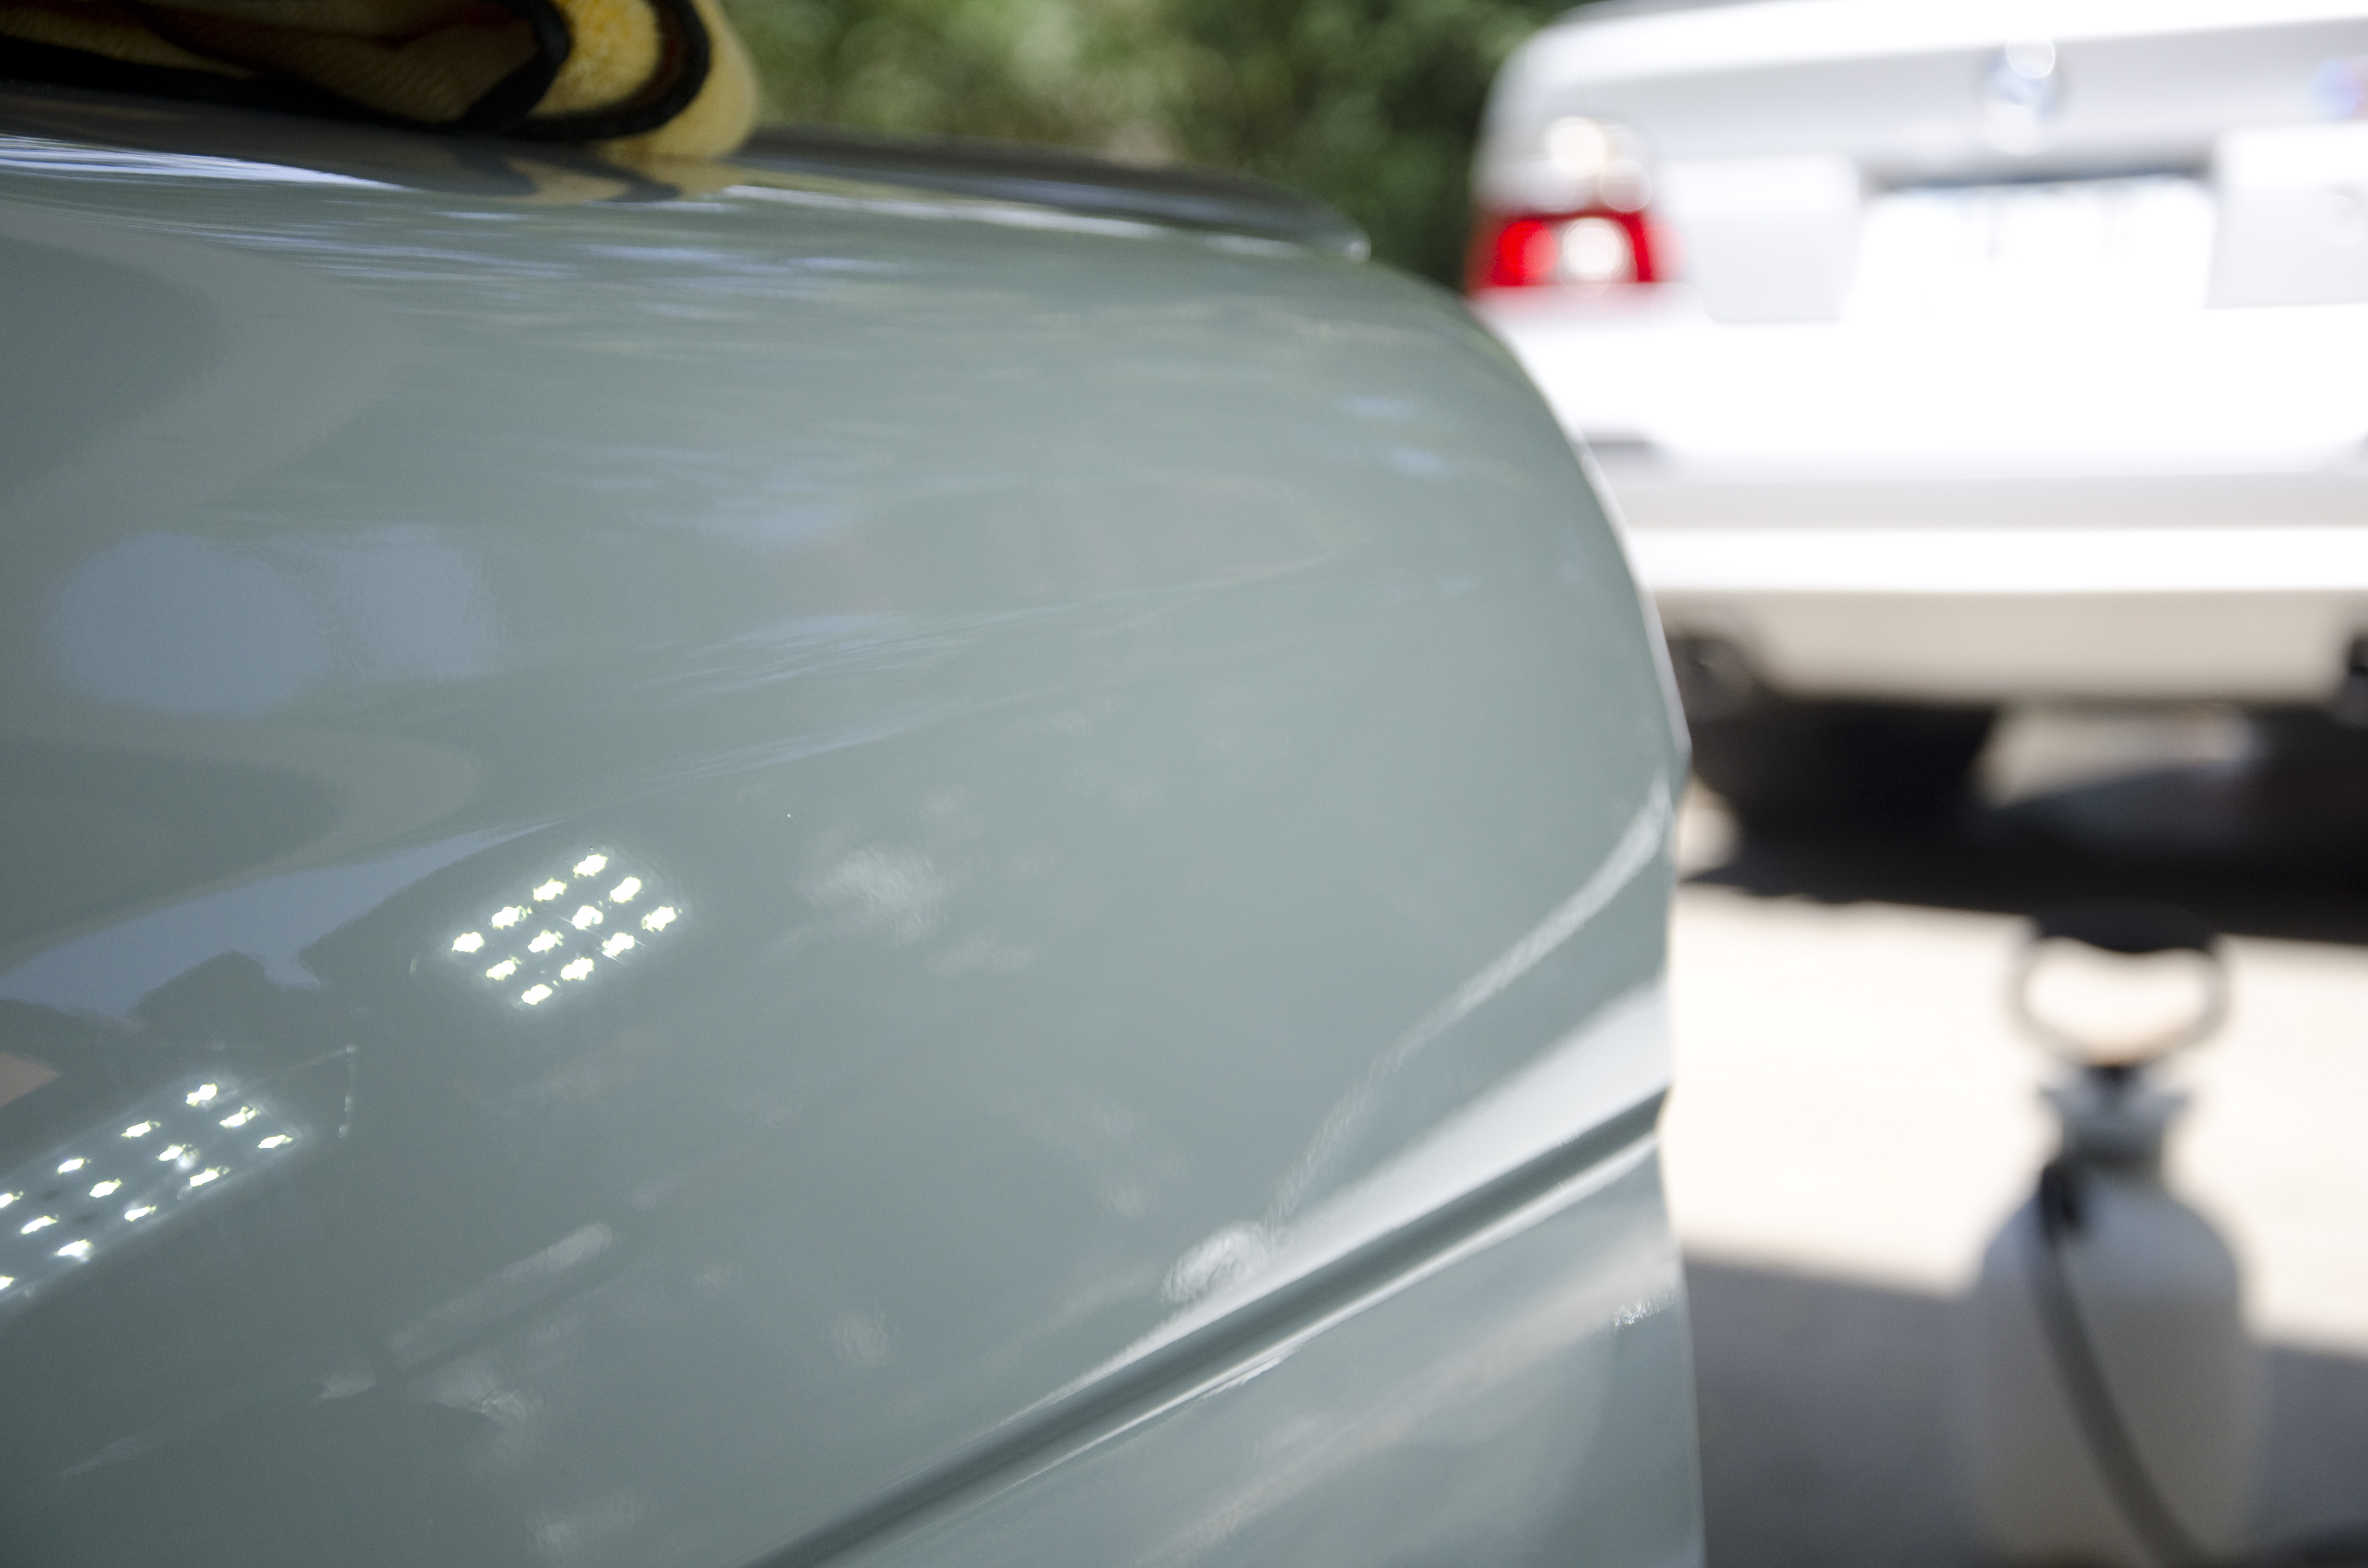
Contrast between door (unpolished) and quarter panel.
After paint correction the entire car was coated in Opti-Coat Pro, which was then topped in Gloss Coat for even more shine and slickness. The wheels were cleaned and Opti-Coated as well.
Opti Coat Pro is a ceramic coating applied after paint correction that provides wax like properties of water beading and UV protection, permanently. Opti Coat Pro does not strip off and cannot be removed other than through heavy compounding. We topped the Opti Coat Pro with Gloss Coat, which provides even more shine and slickness for up to two years. No need to wax again, ever! Below is a video of this car repelling water with Opti Coat Pro alone, once we added gloss coat, repellency went up, like this silver M5’s video(scroll down).
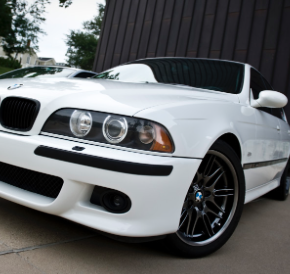
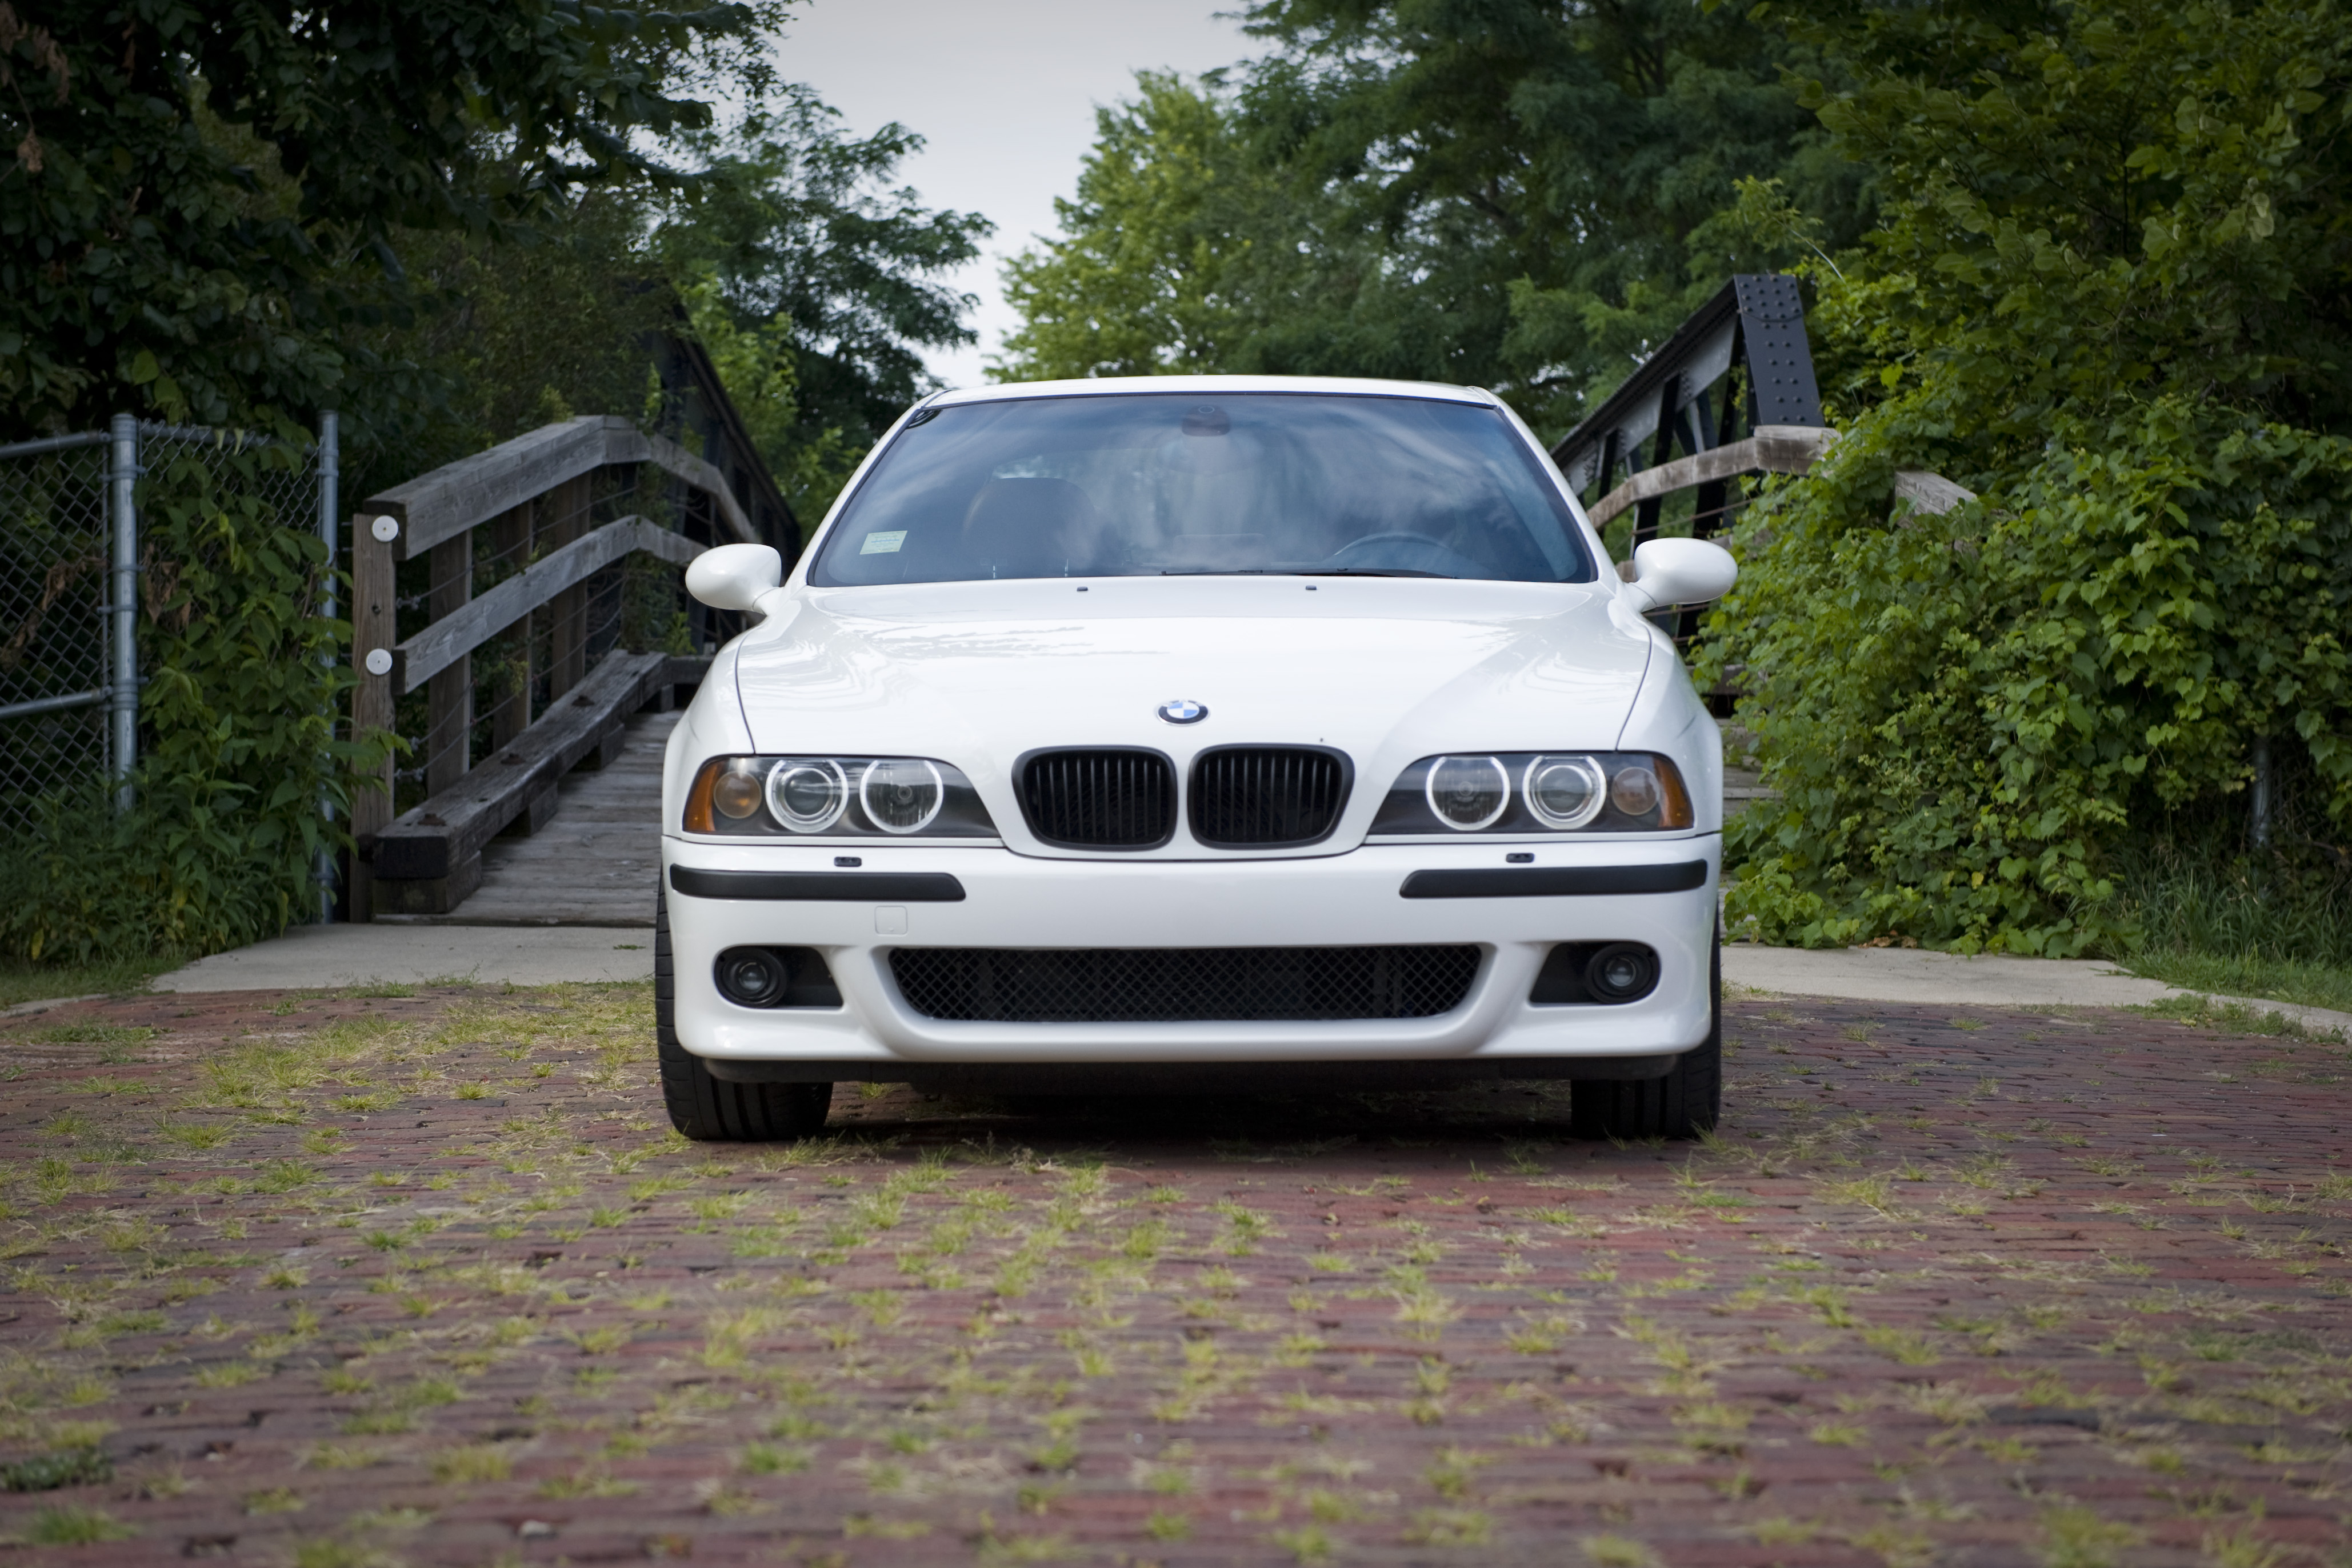
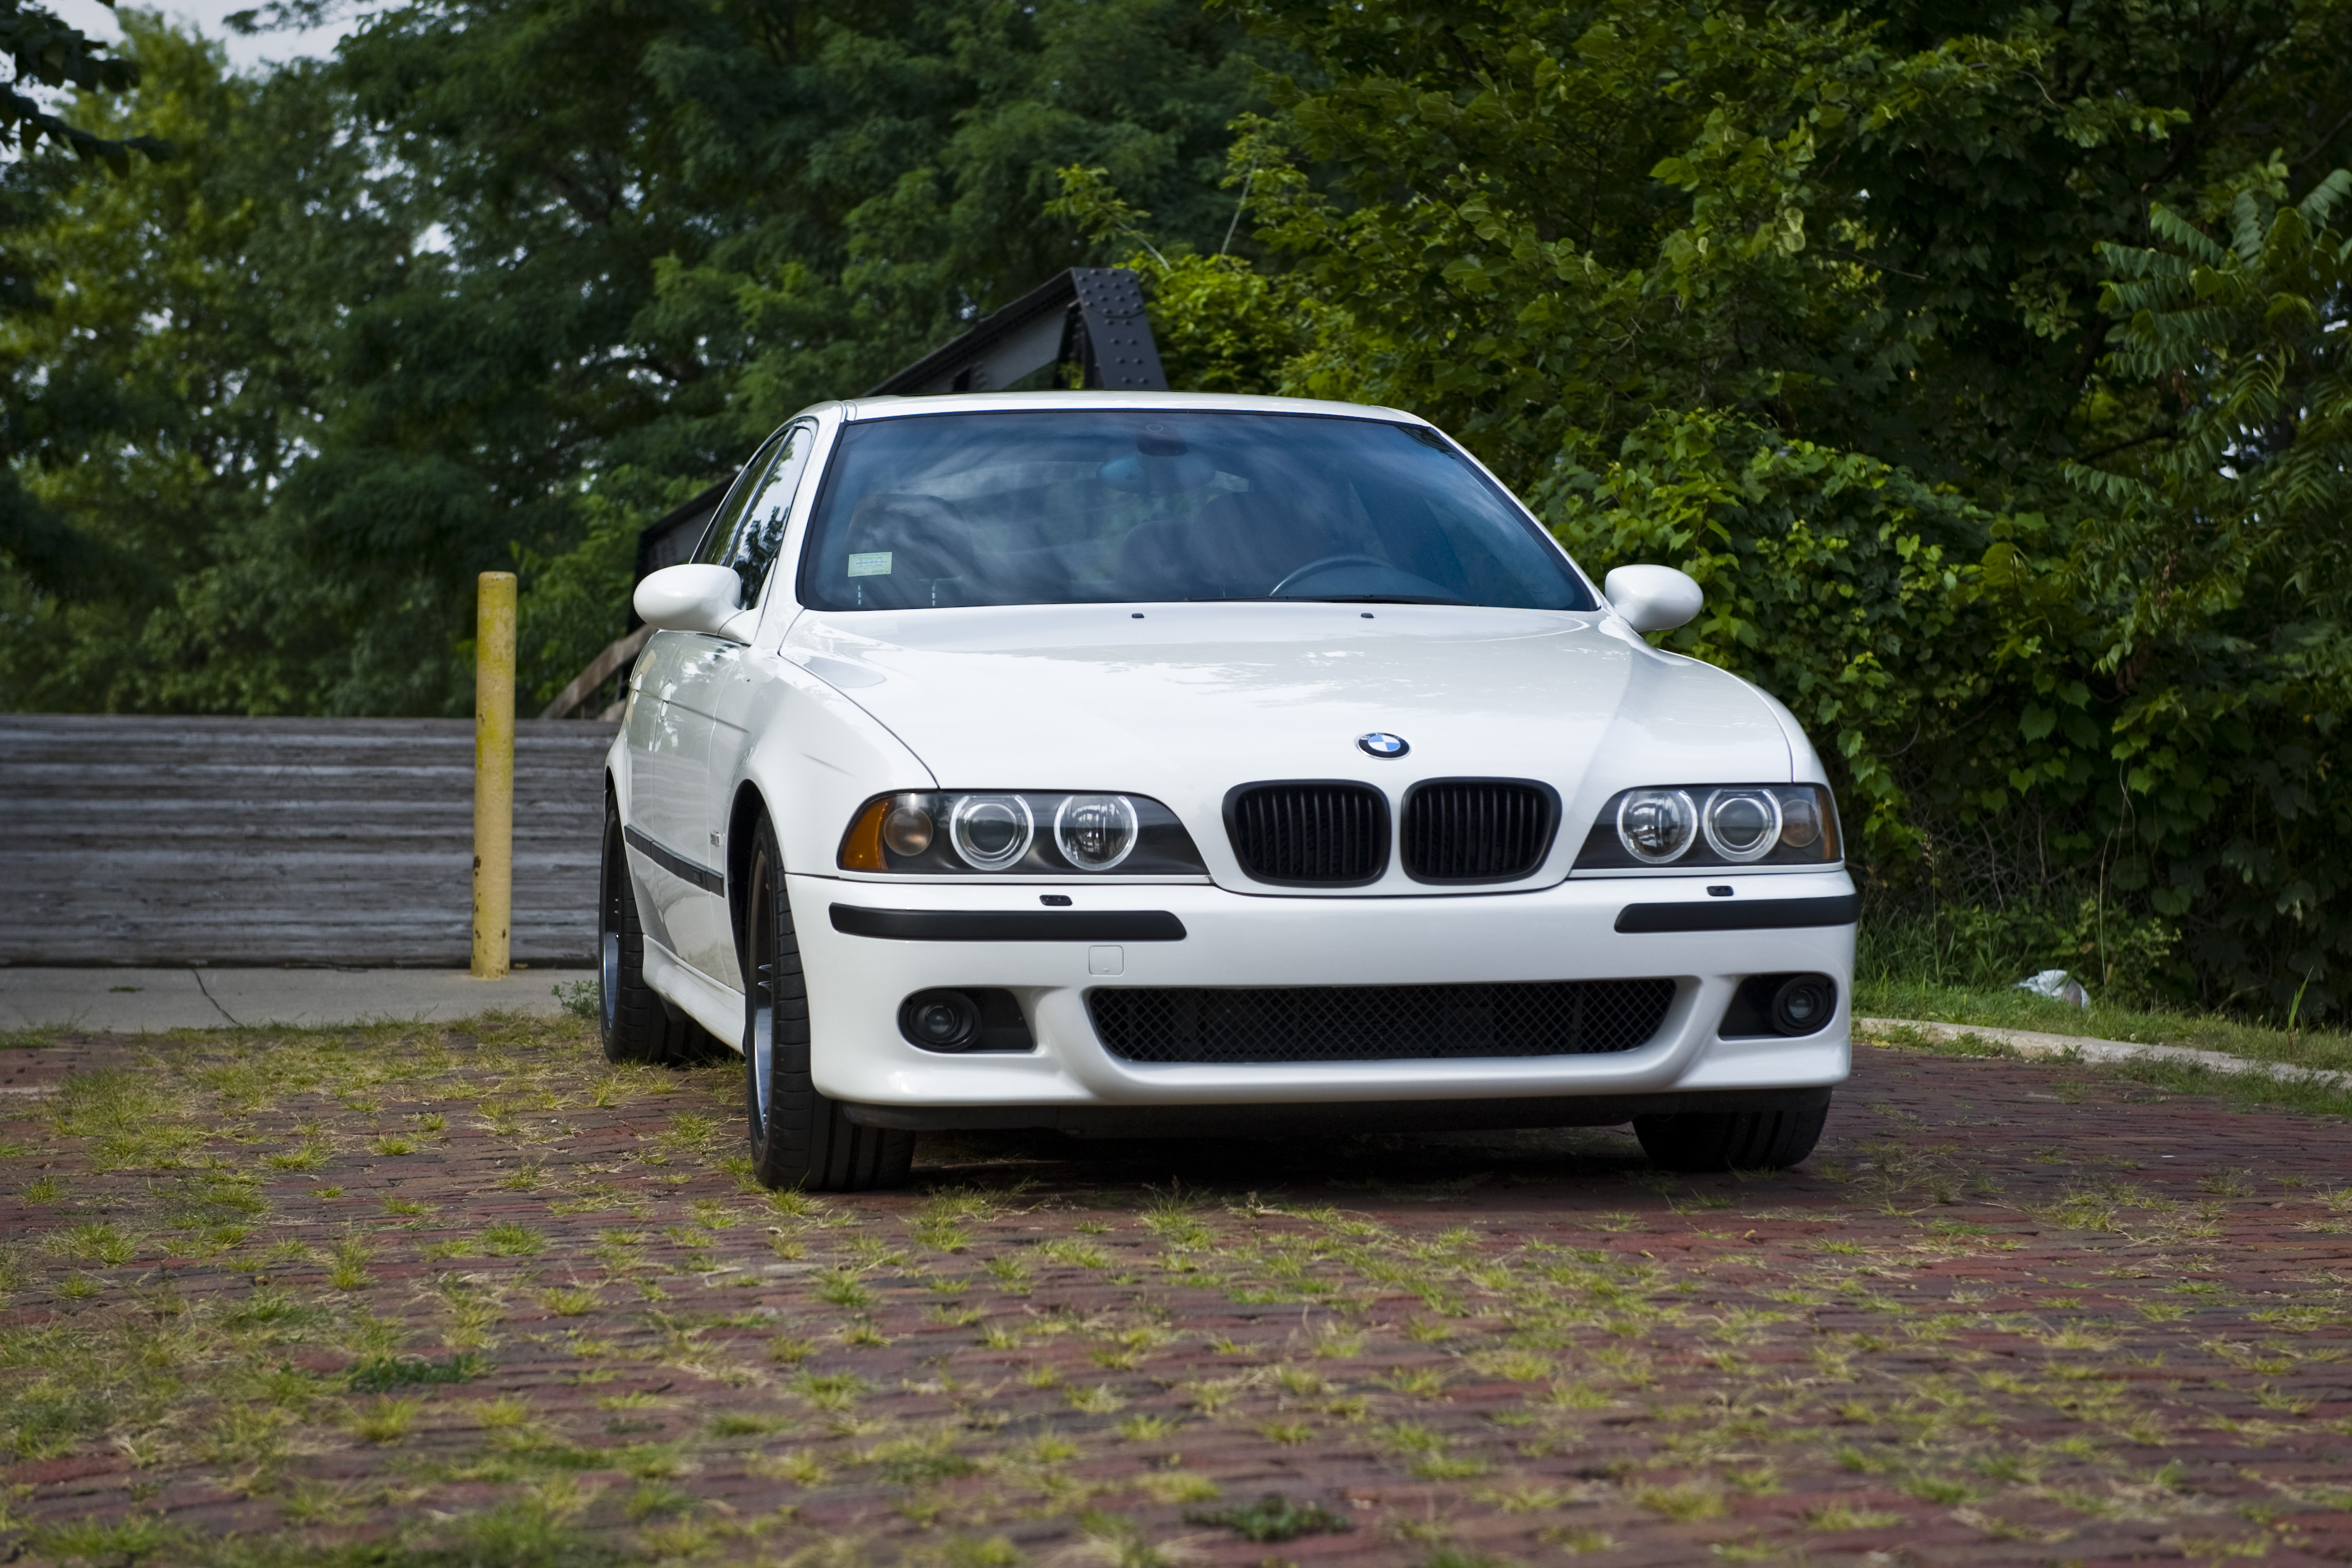
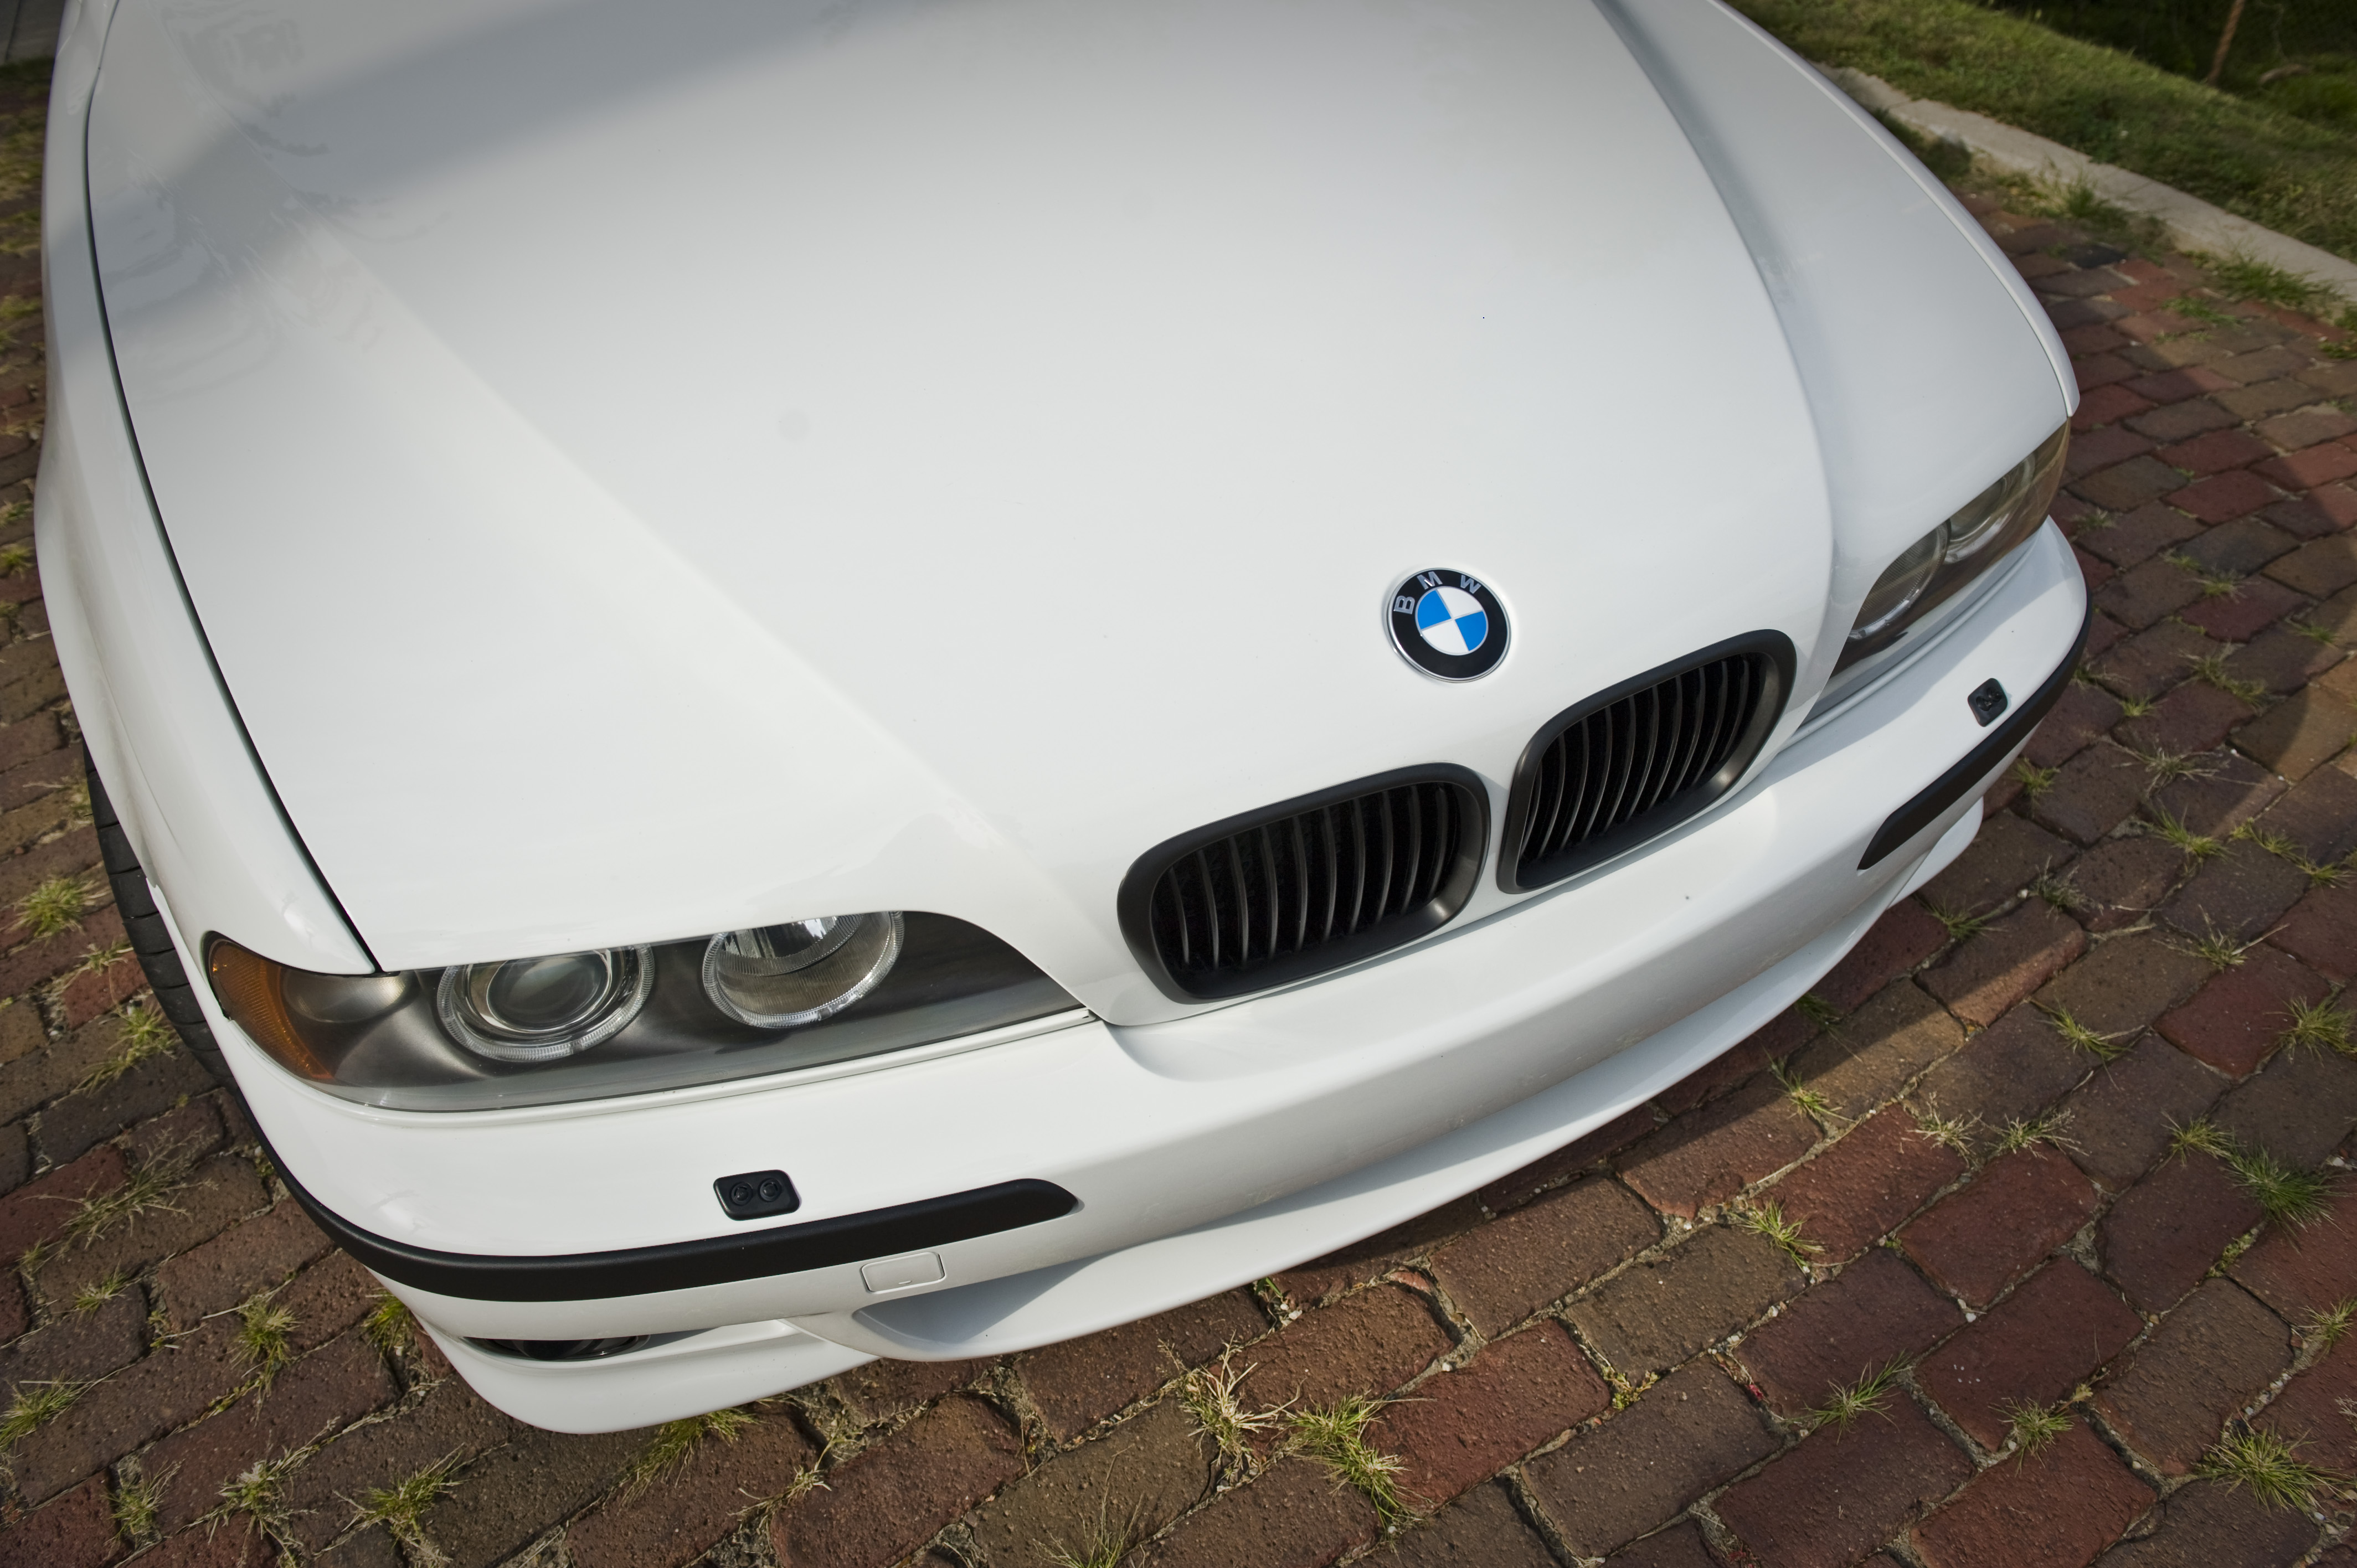
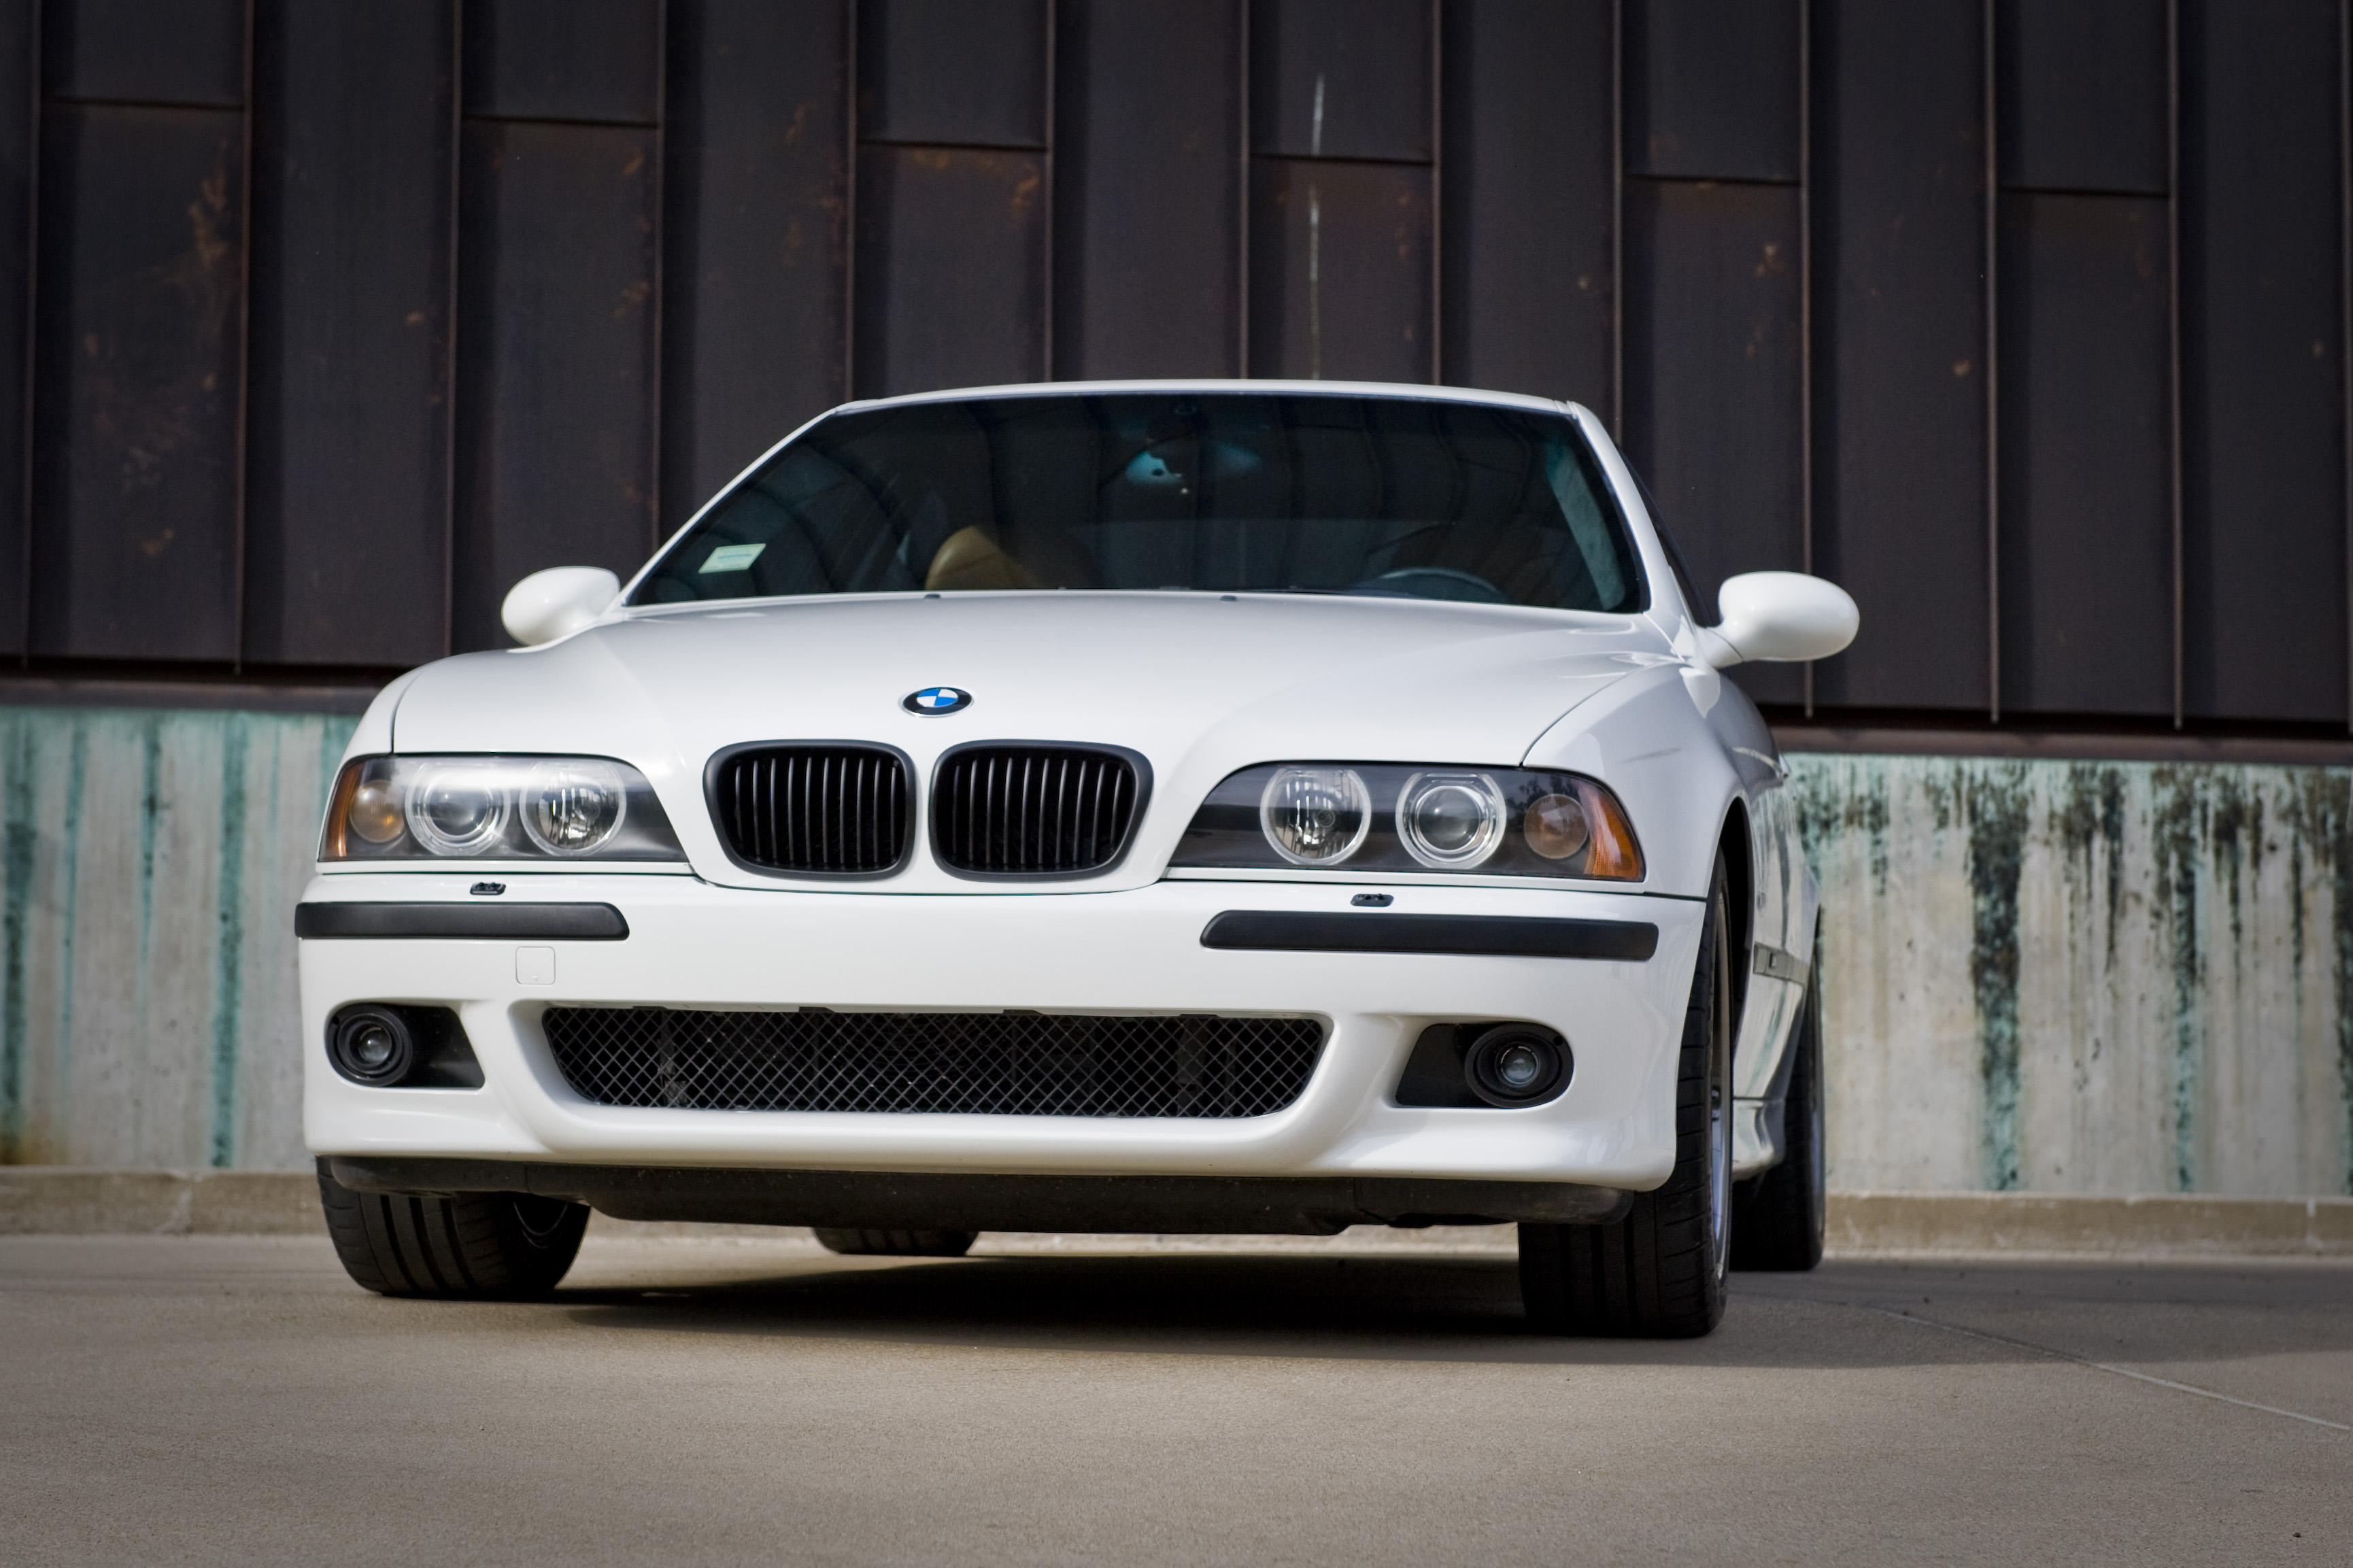
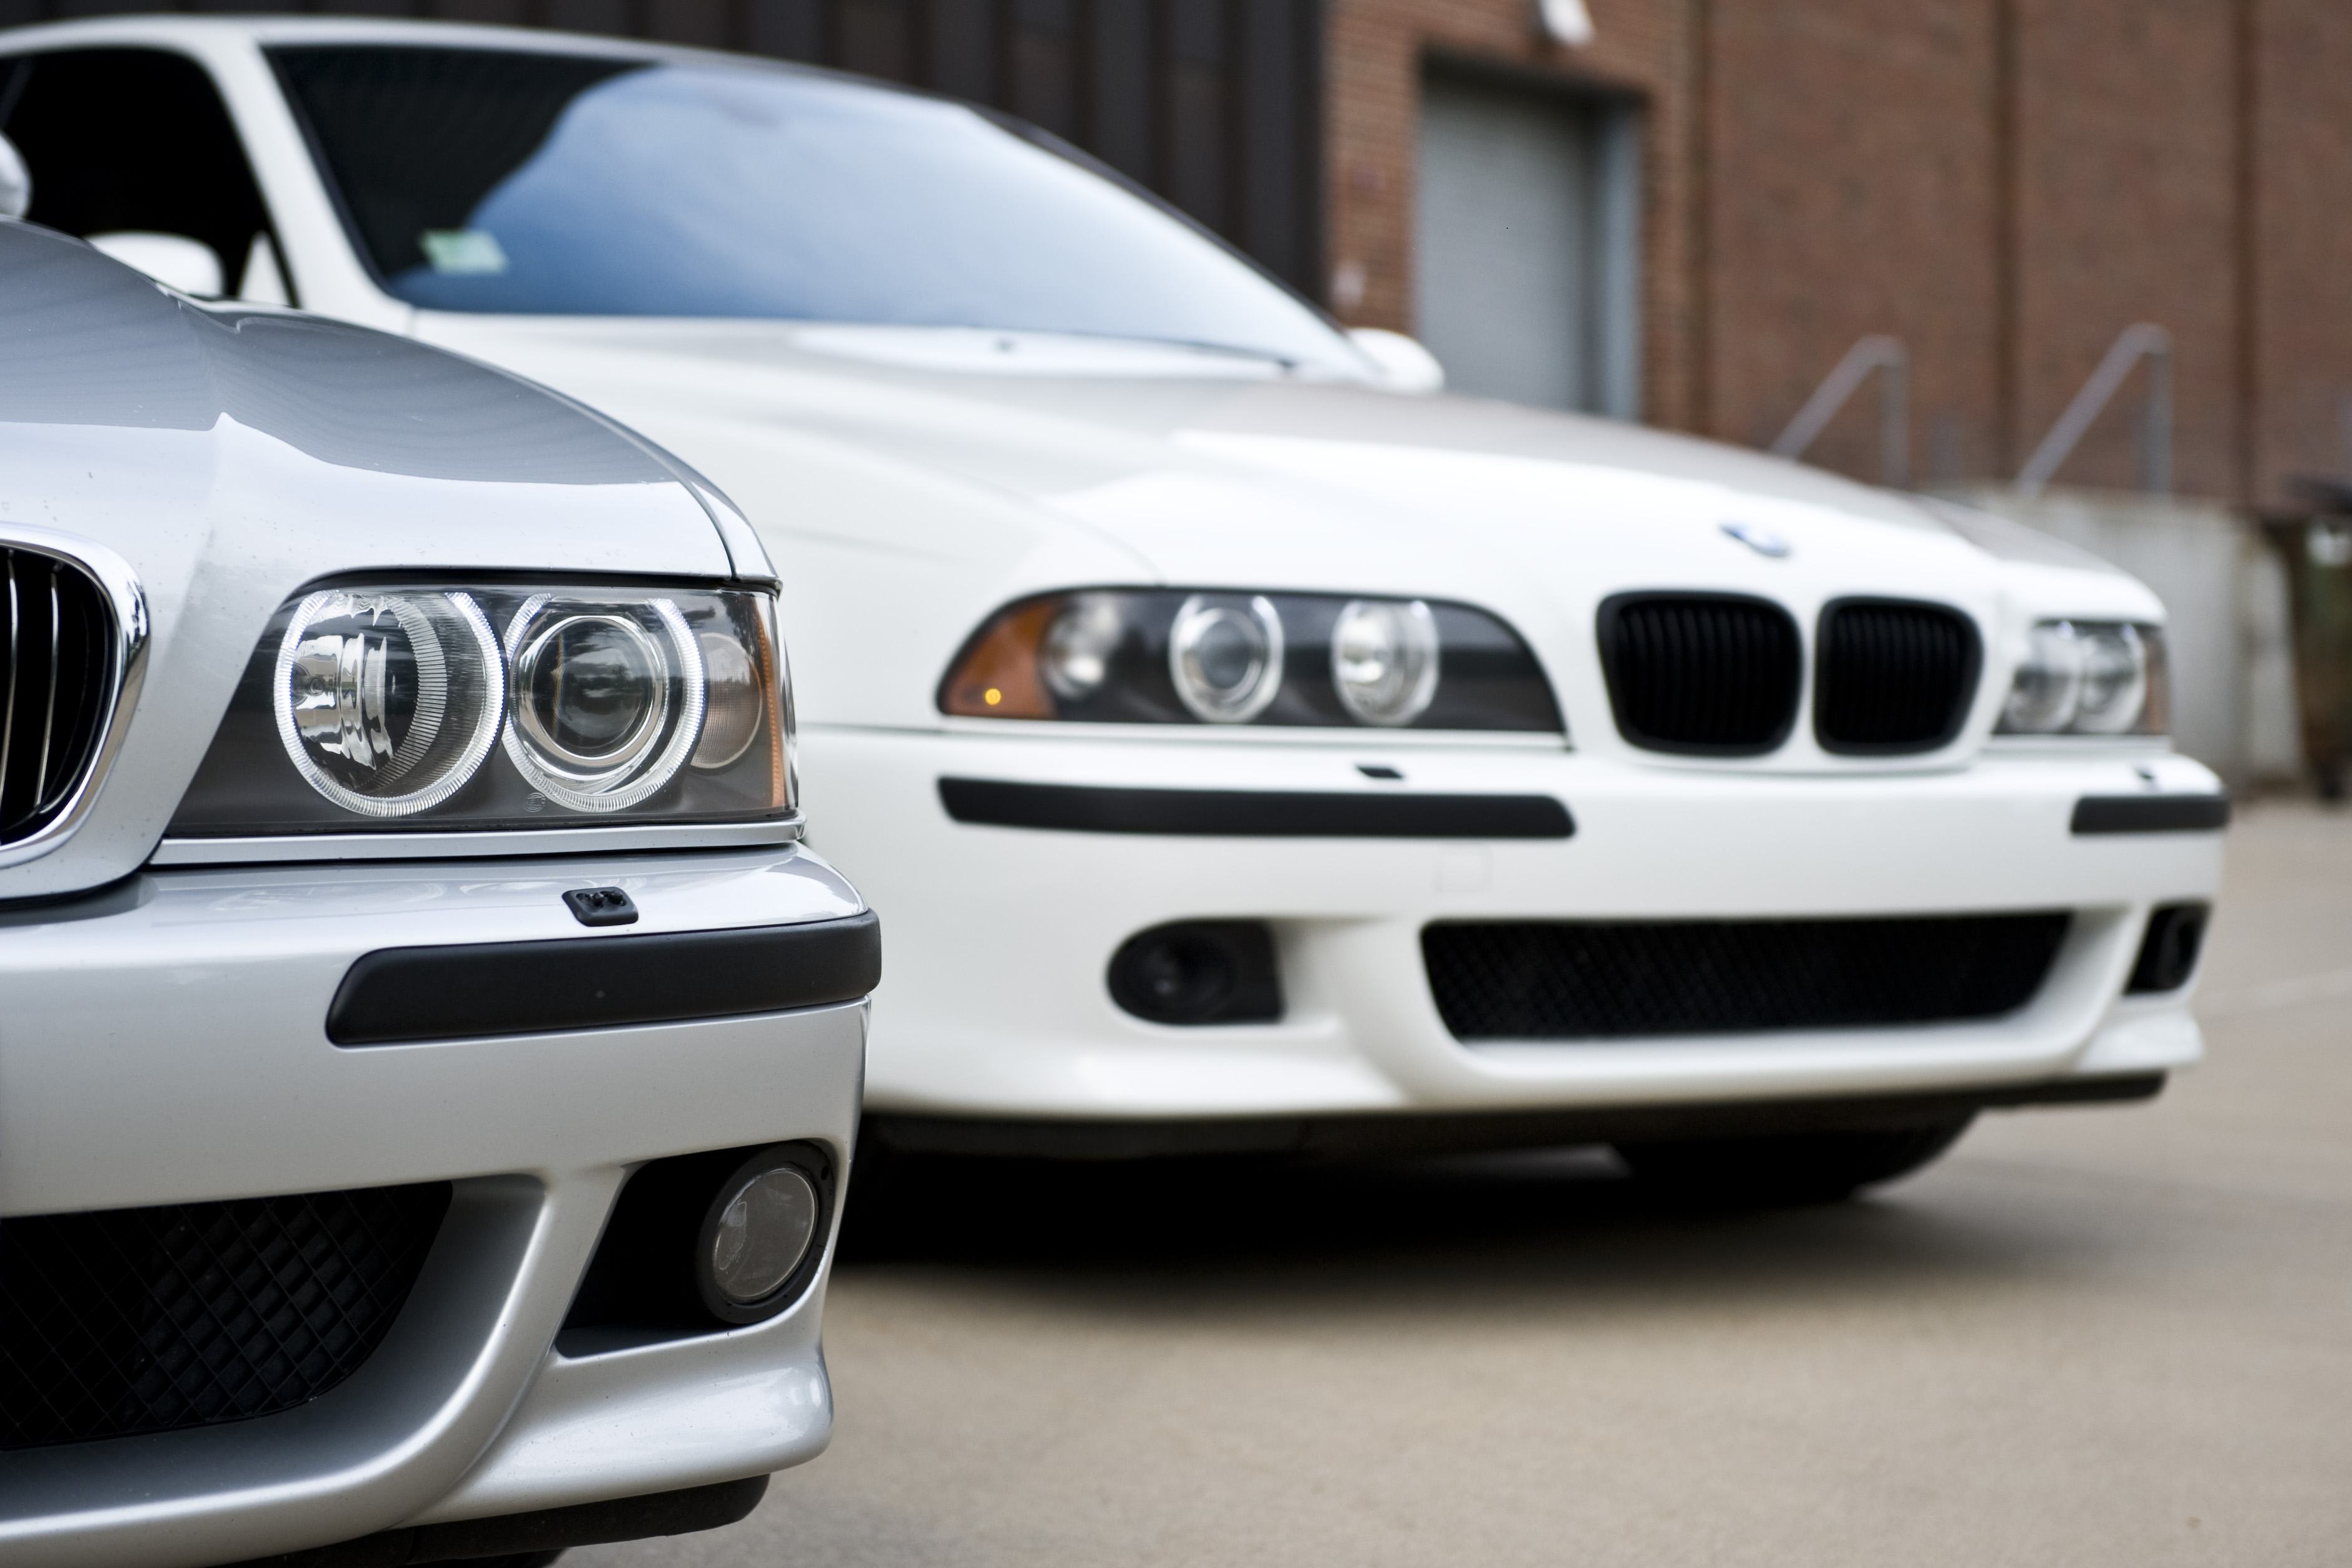
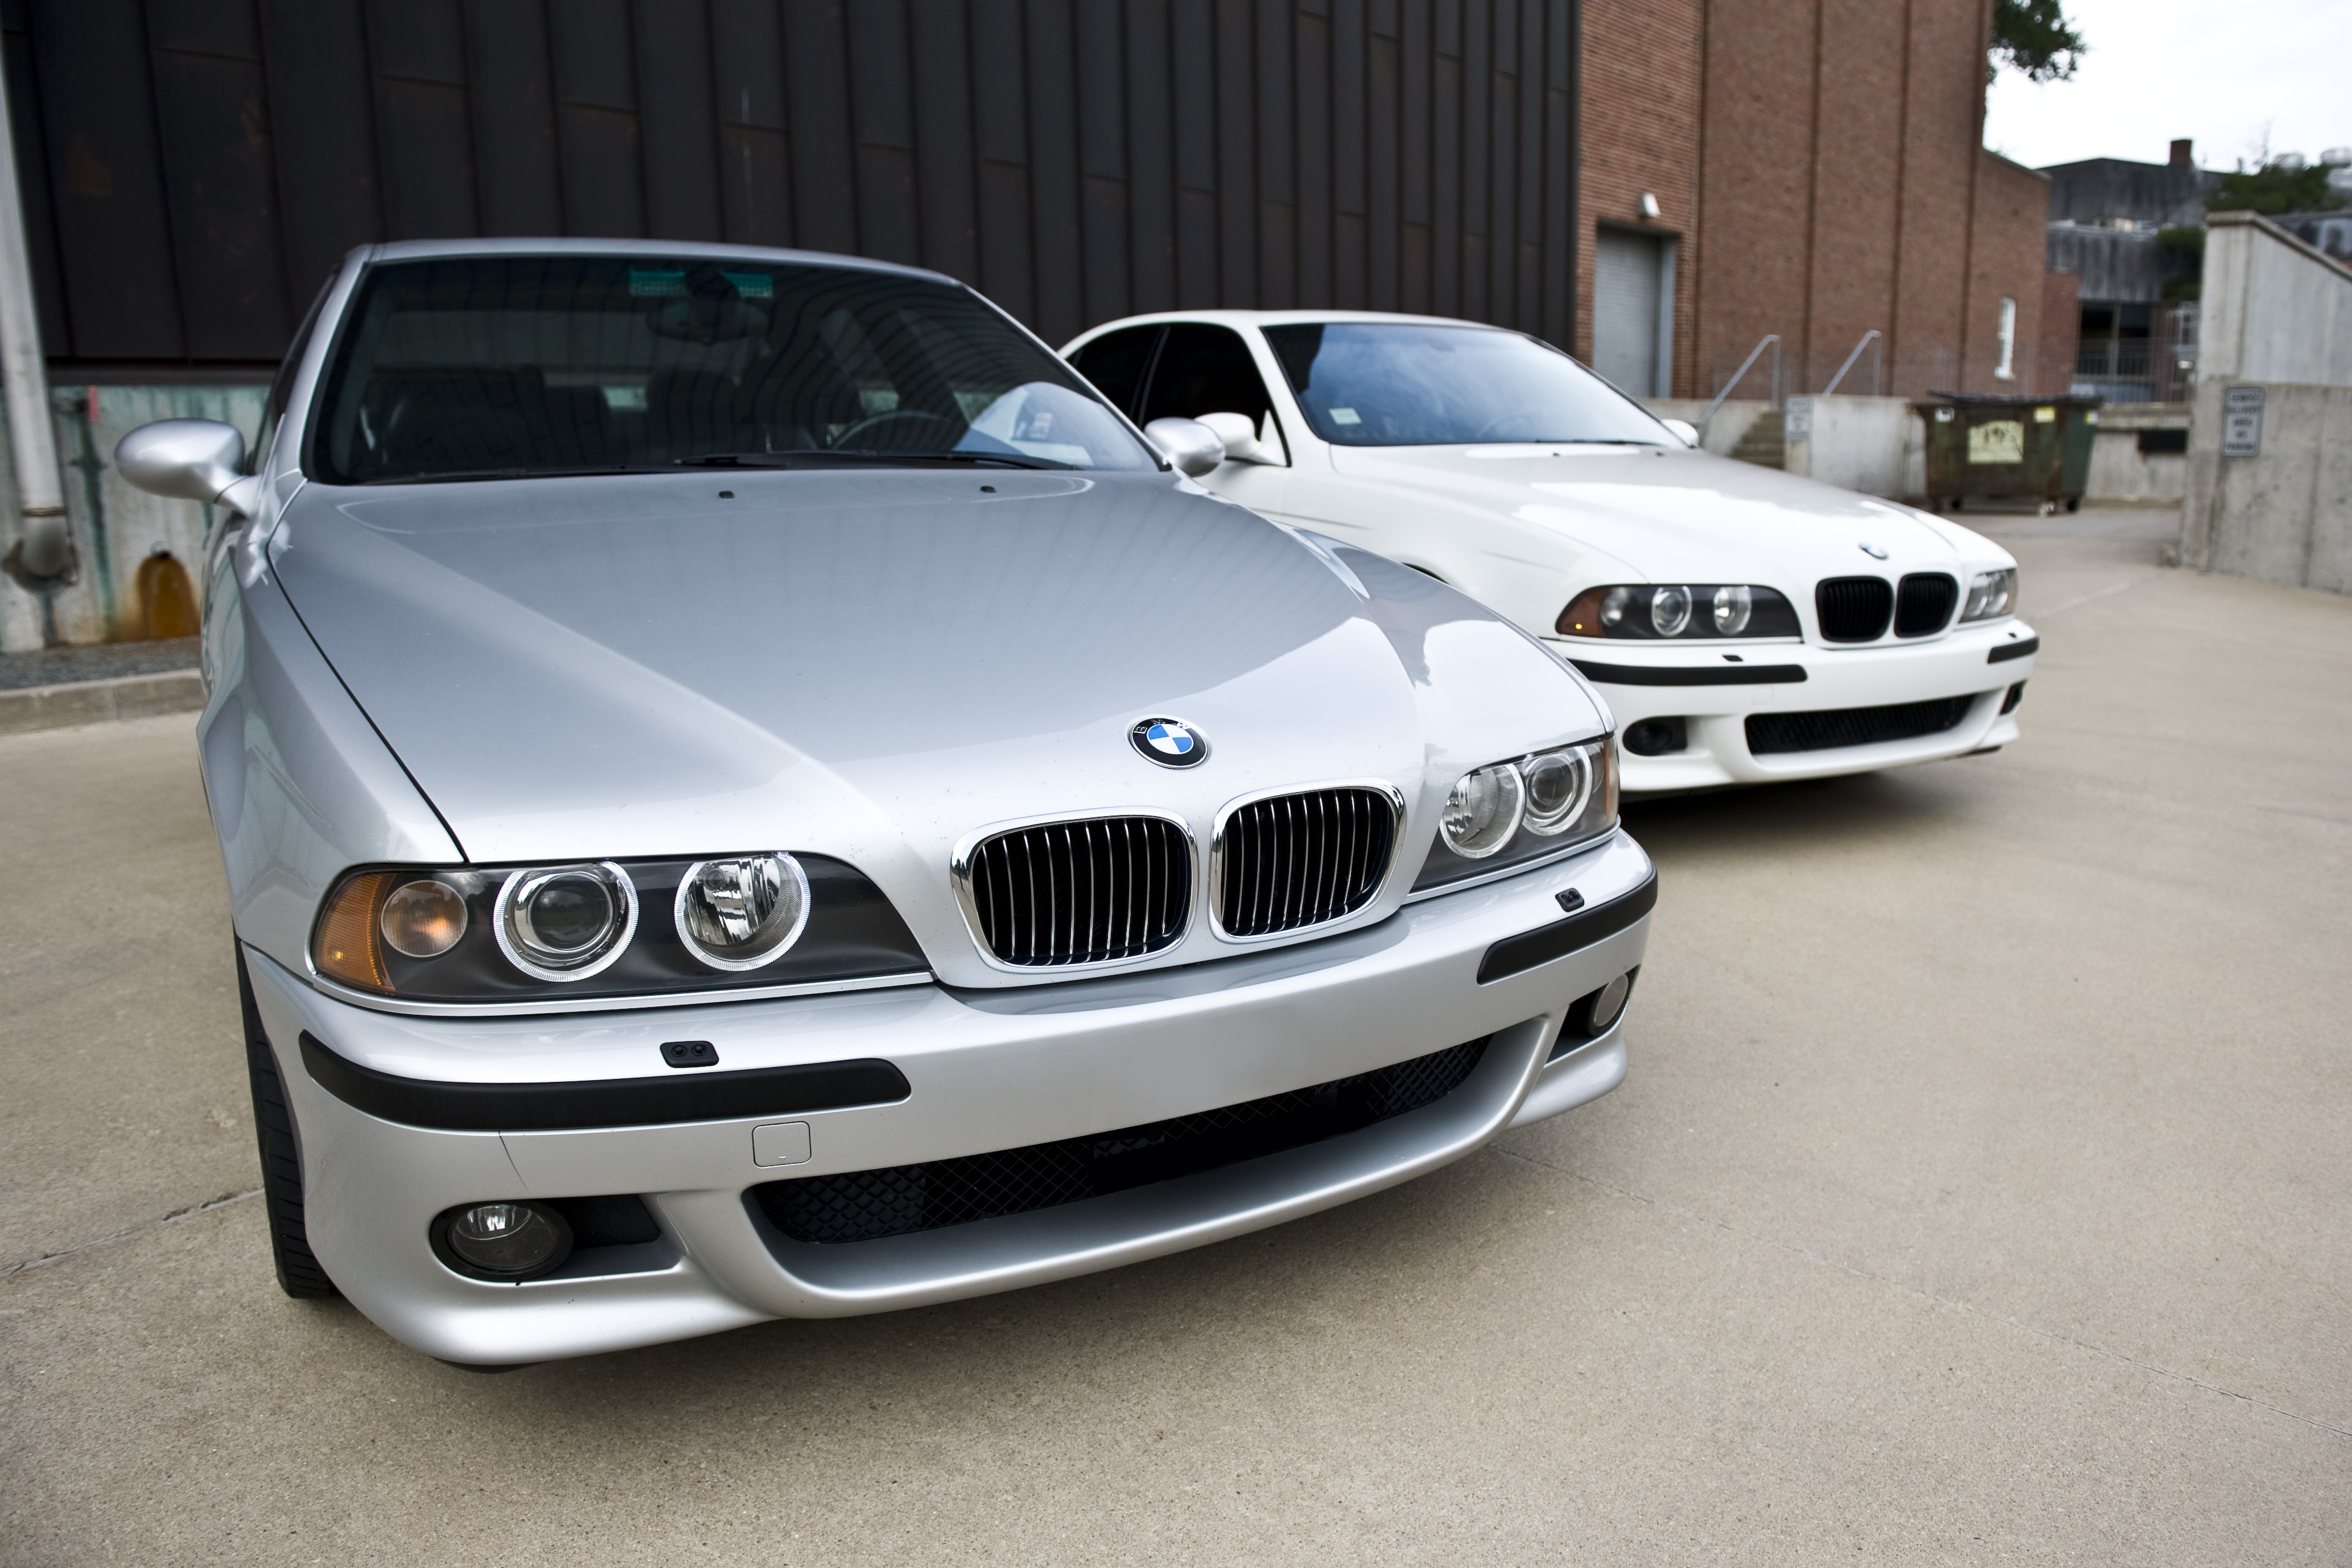
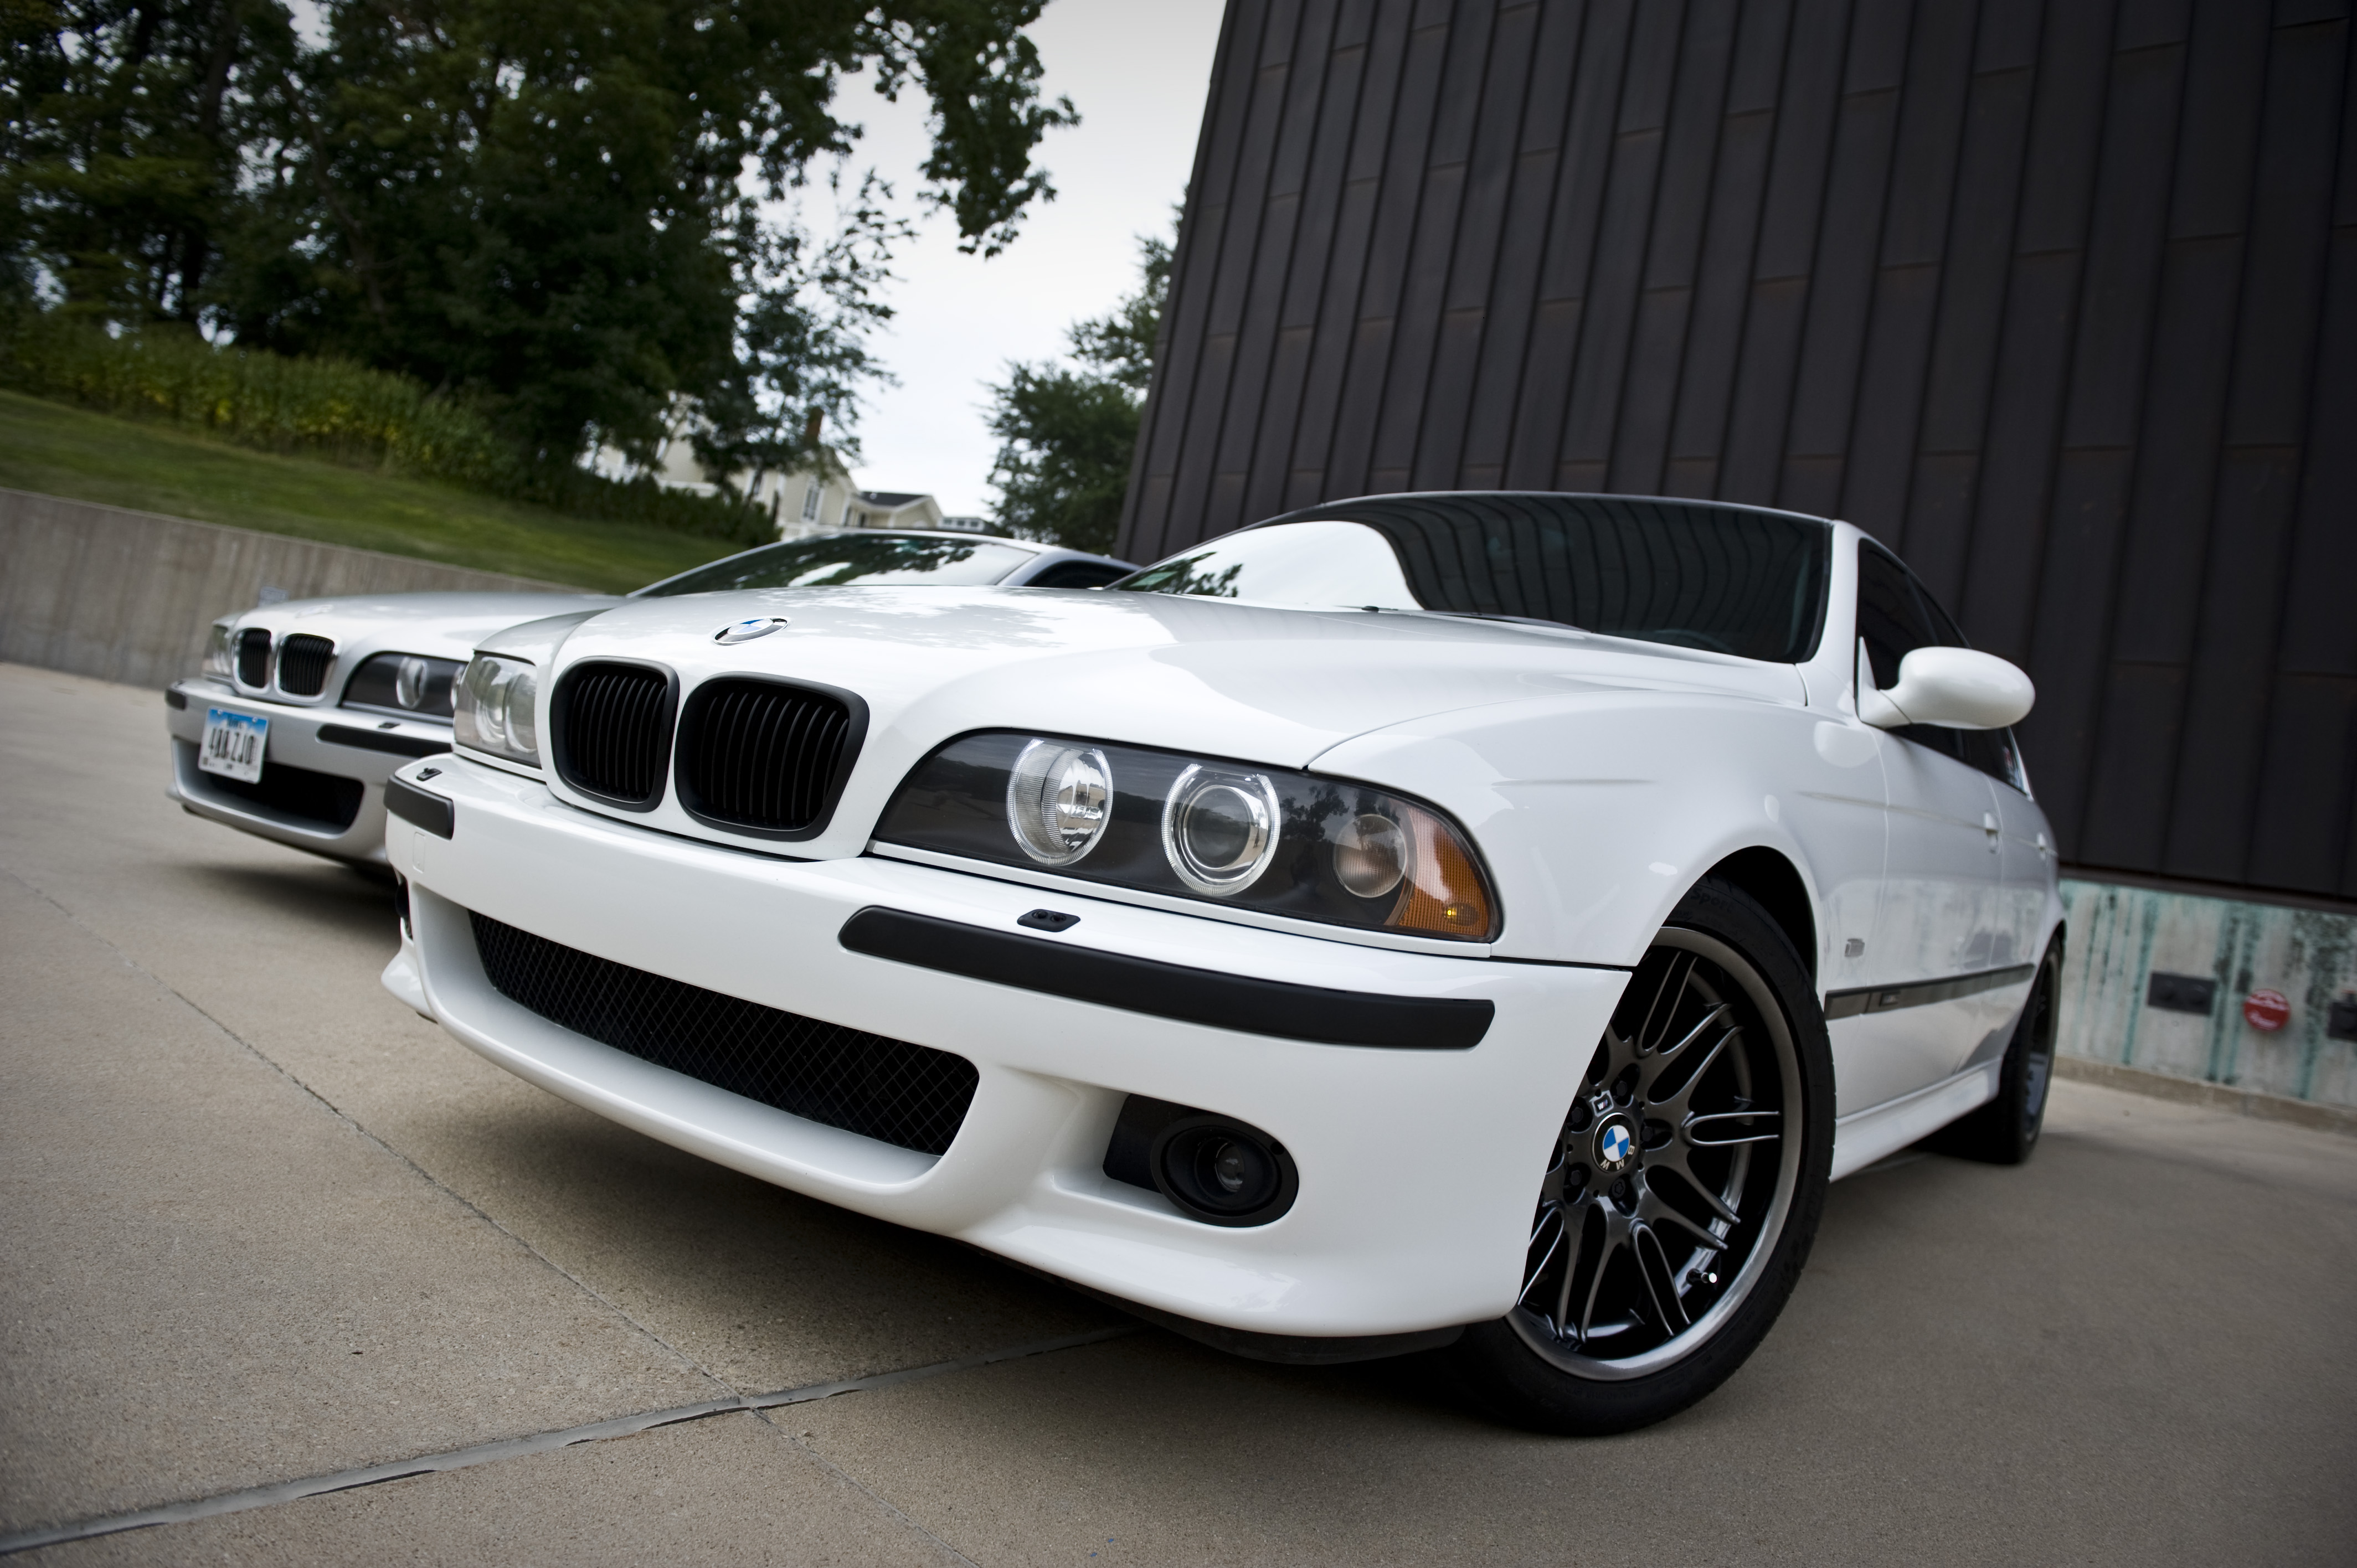
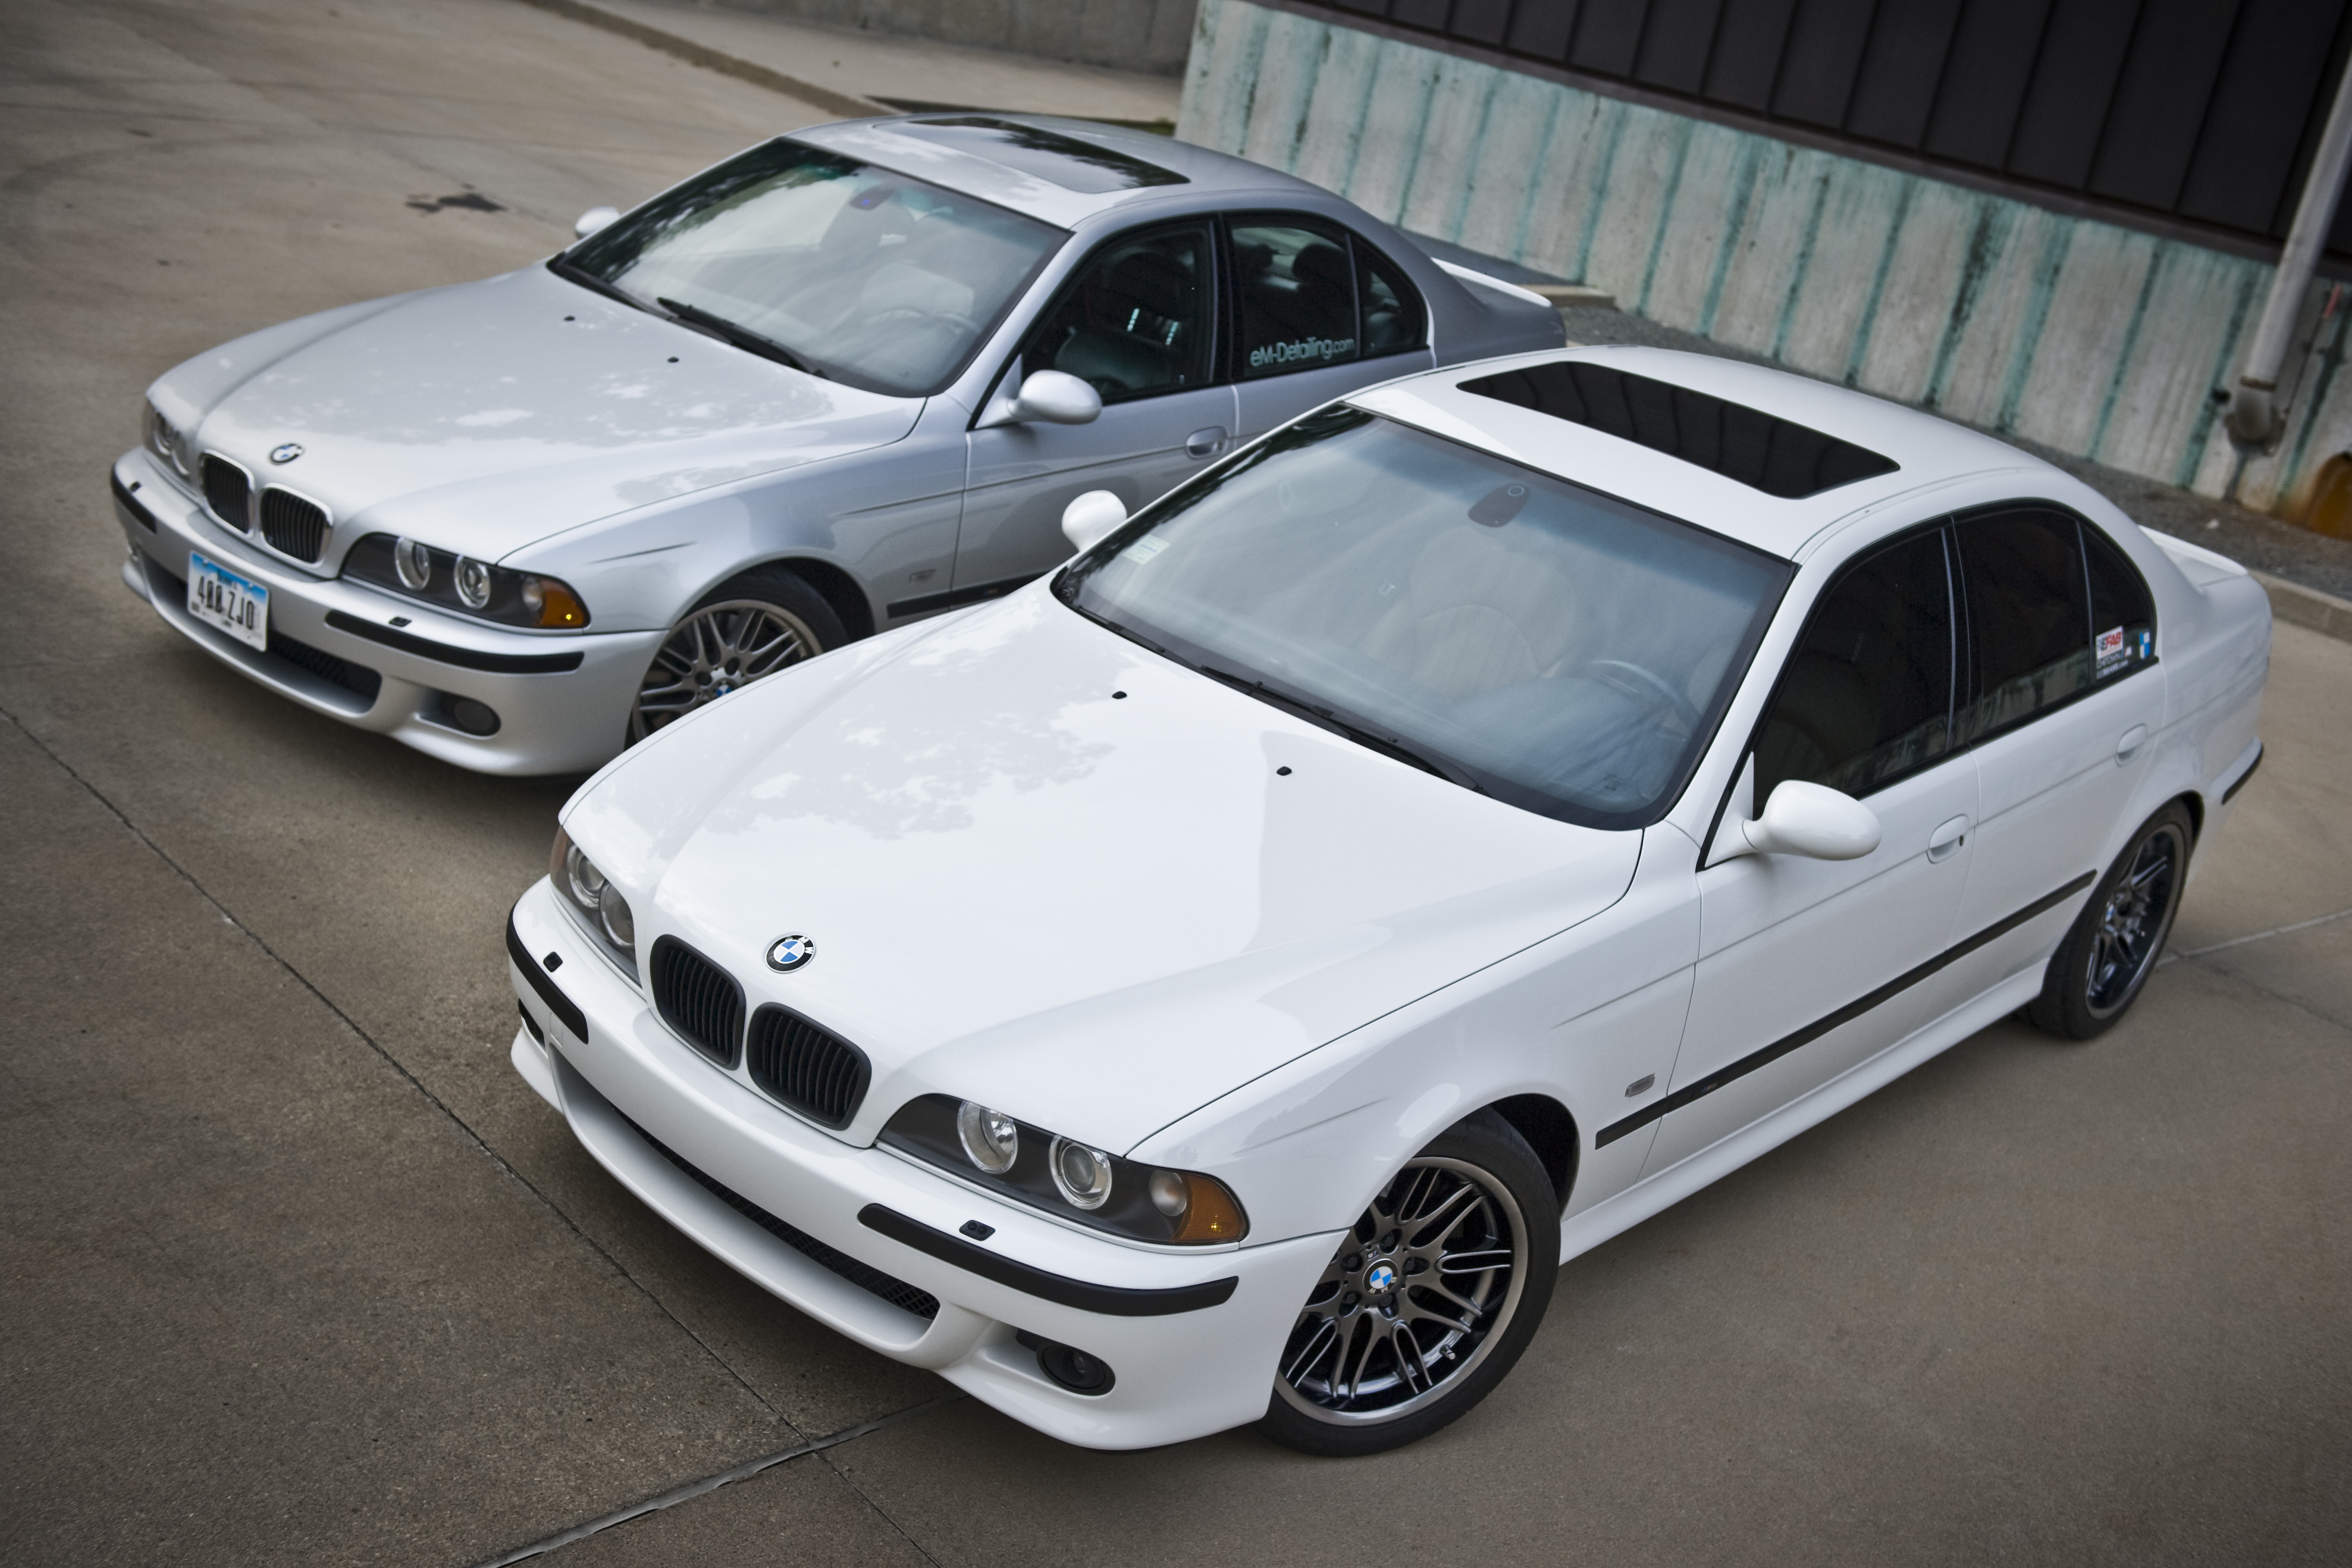
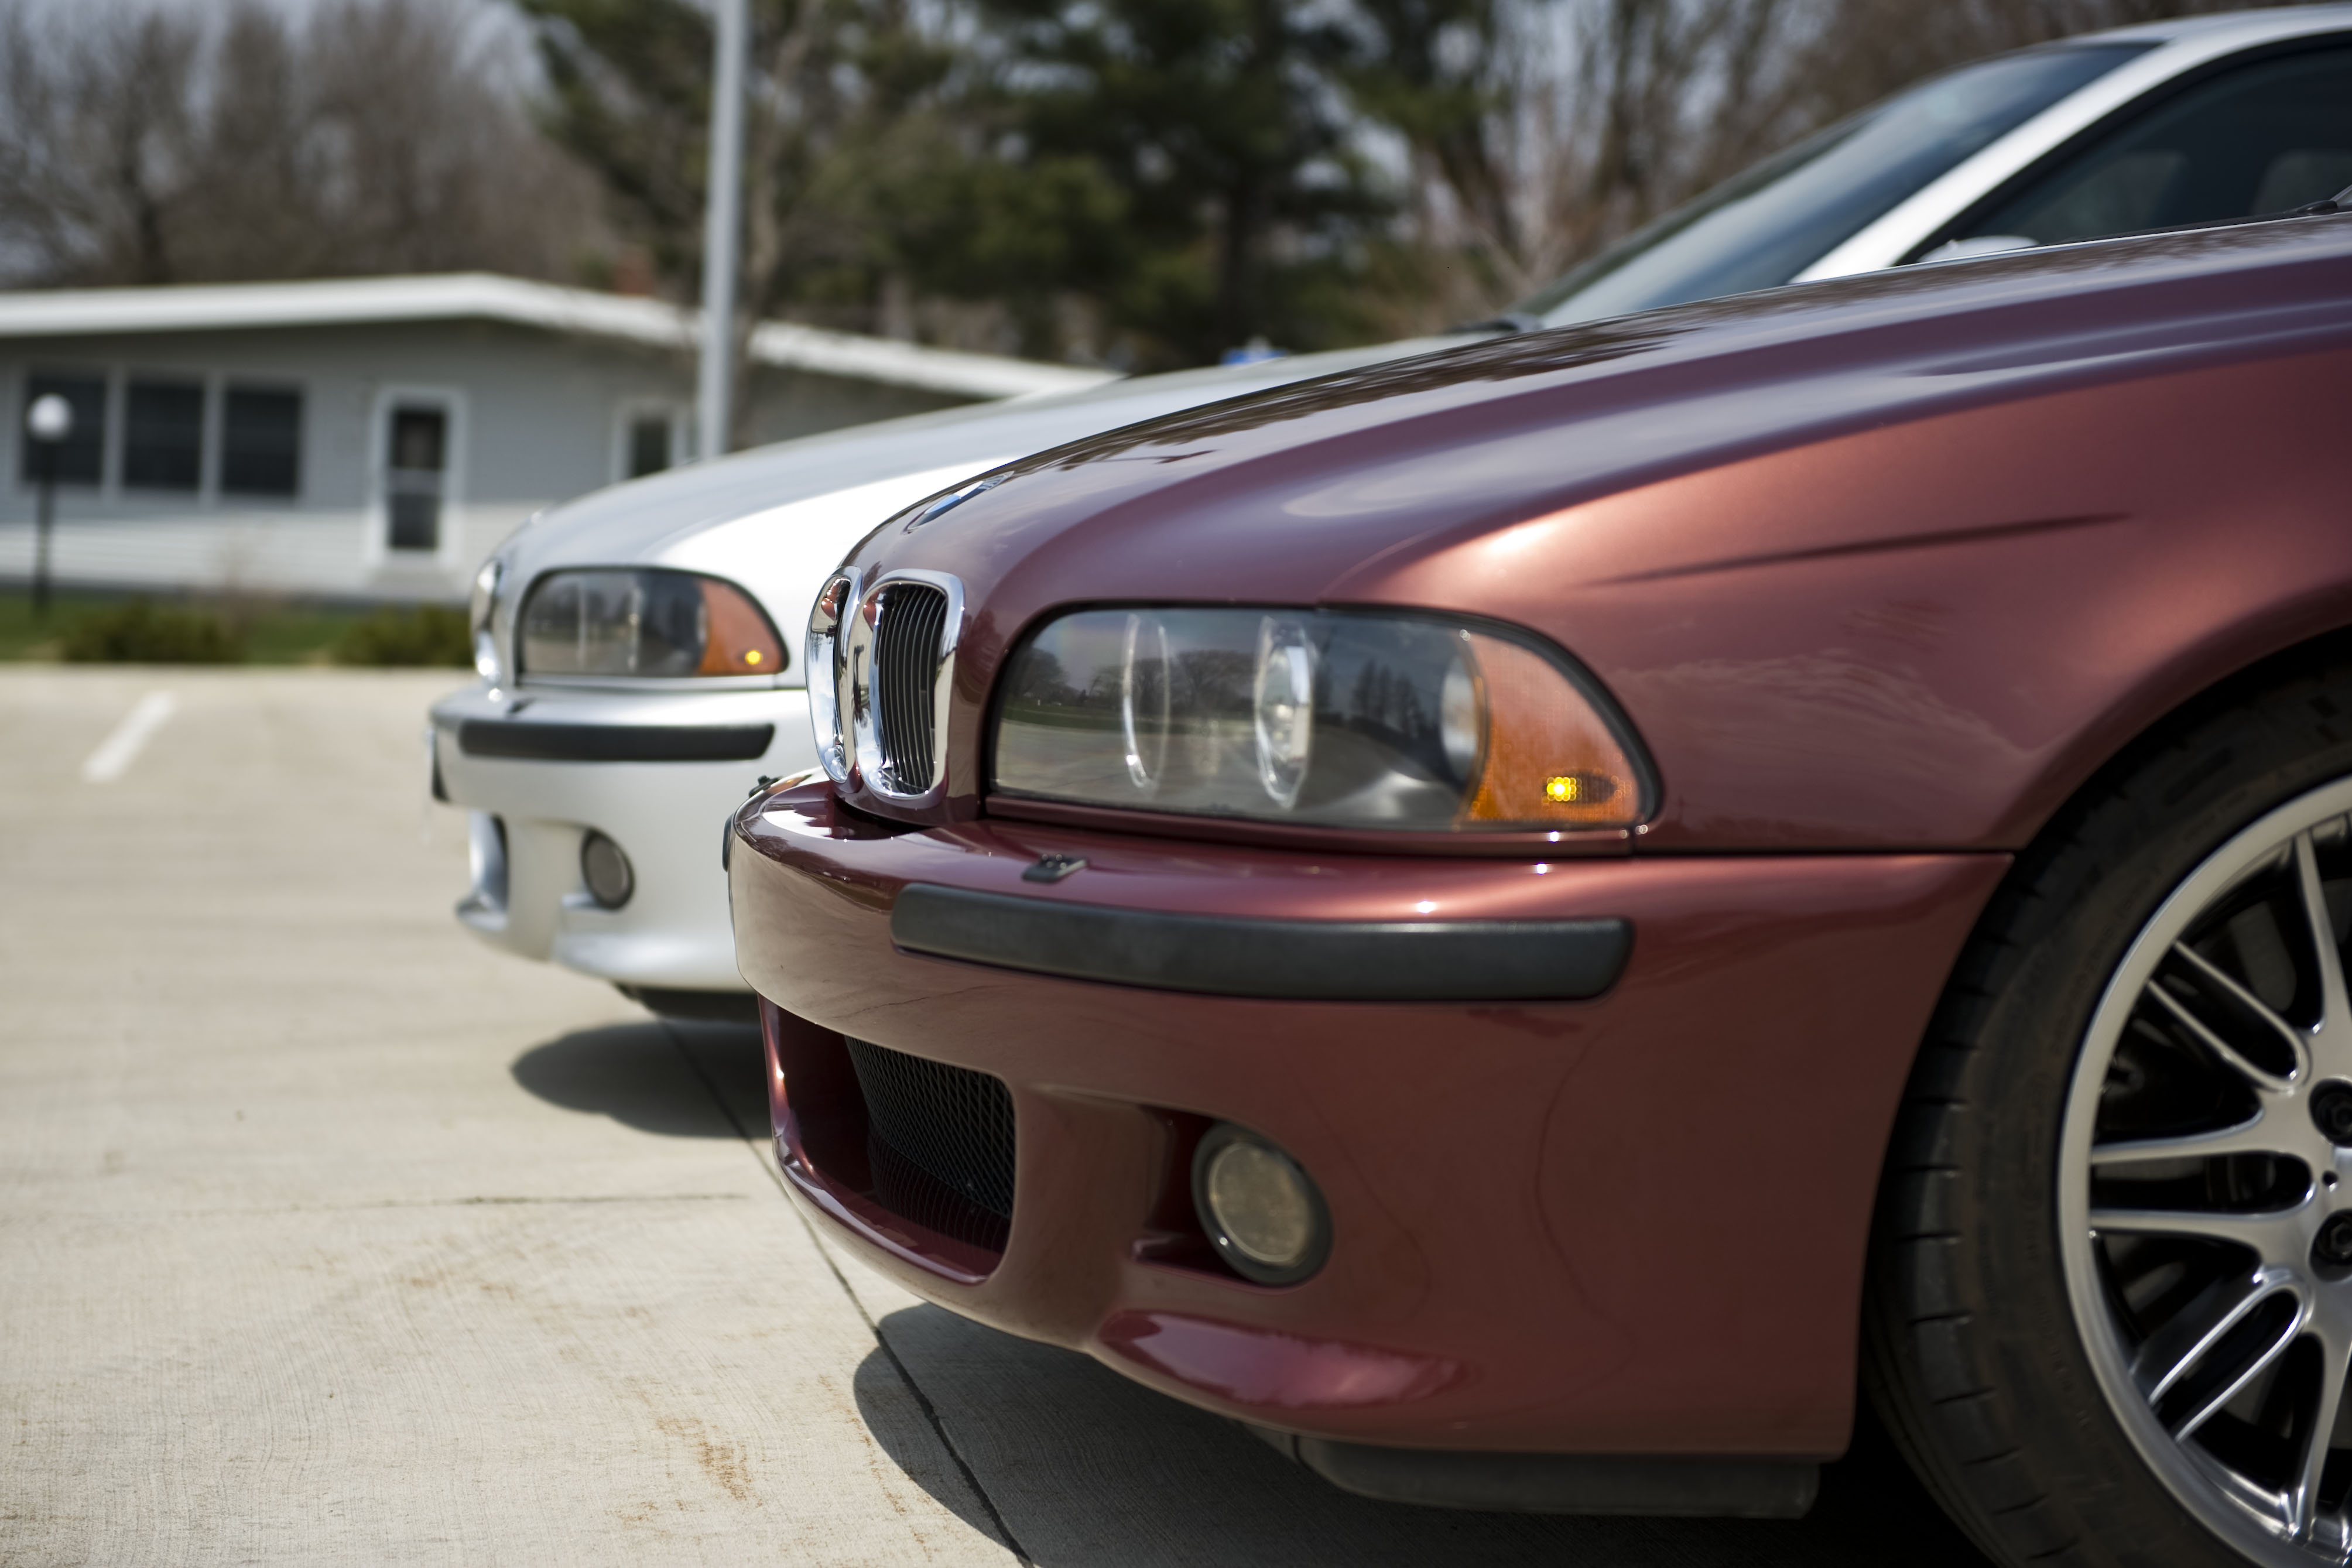
Like the Chiaretto Red, This 2003 Alpine White M5 came to us all the way from Chicago for a paint correction and ceramic coating. The owner was already familiar with the benefits of Opti-Coat from his other car, and wanted his new M5 to have the same quality protection.
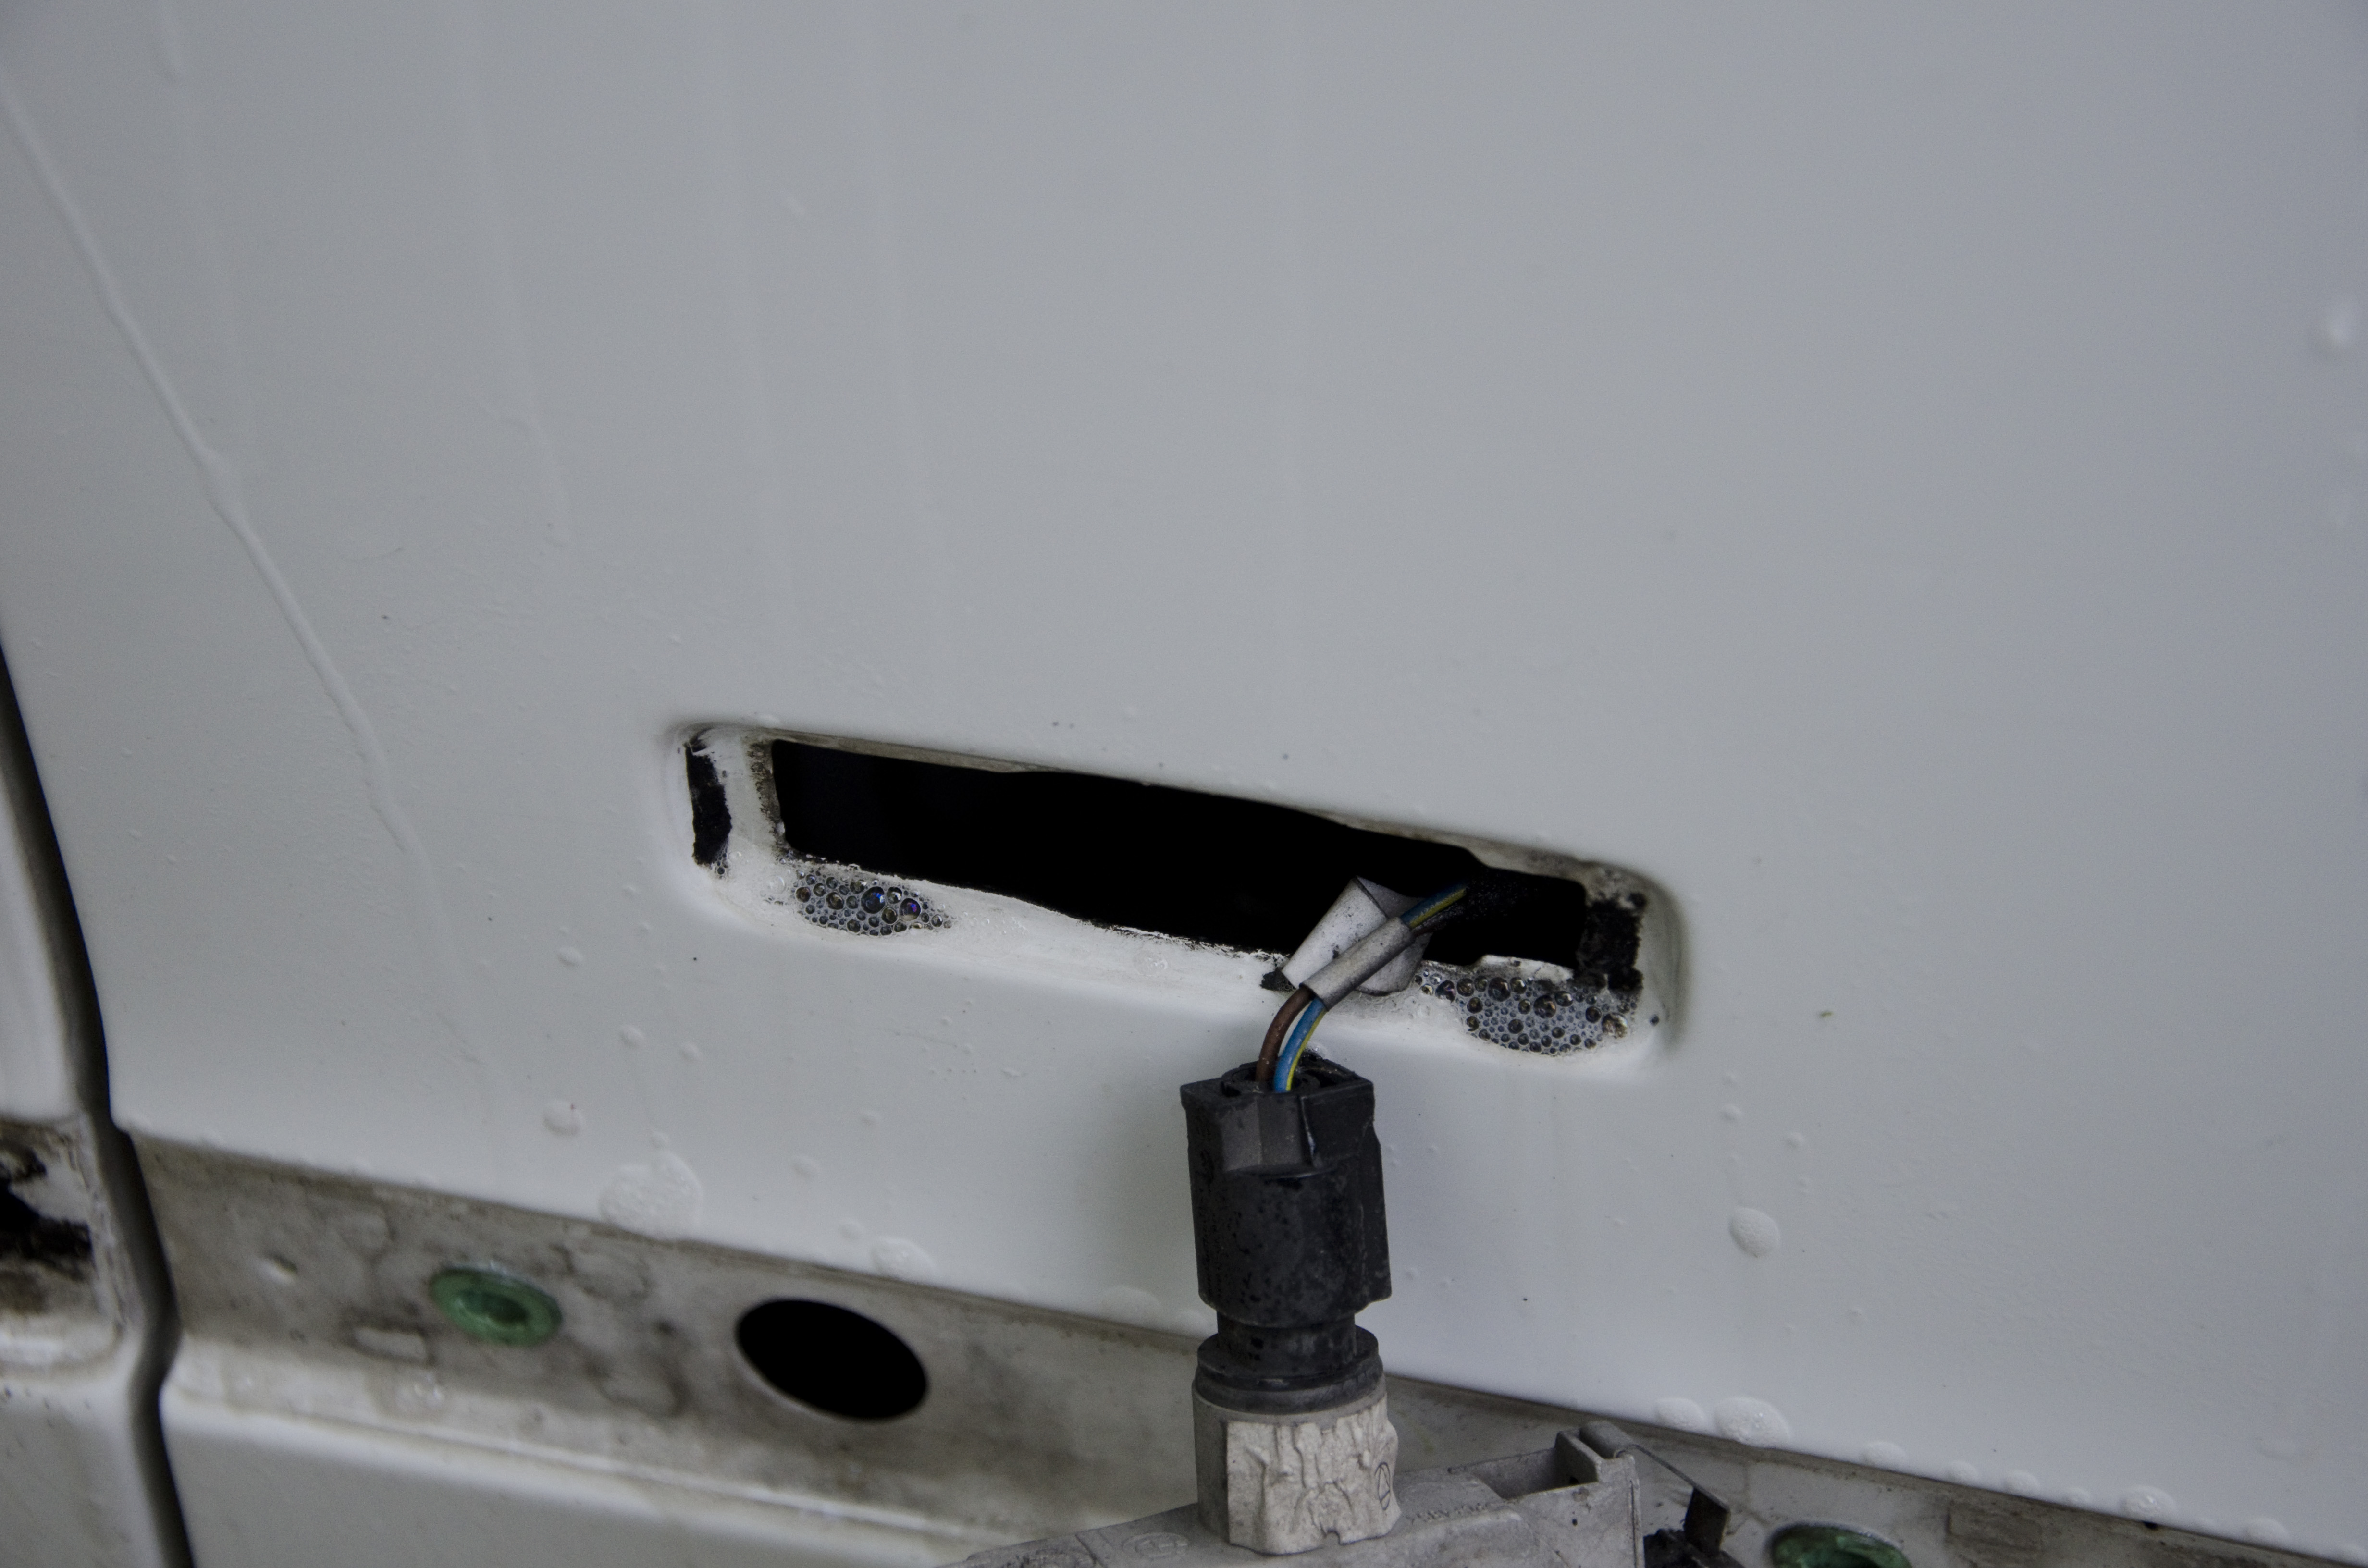
We started with a deep cleaning, pulling off trim, tail lights, and aftermarket badges. The drive from Chicago had taken a few insects out of the gene pool, a generous dosing of power clean melted them right off the leading edges of the M5
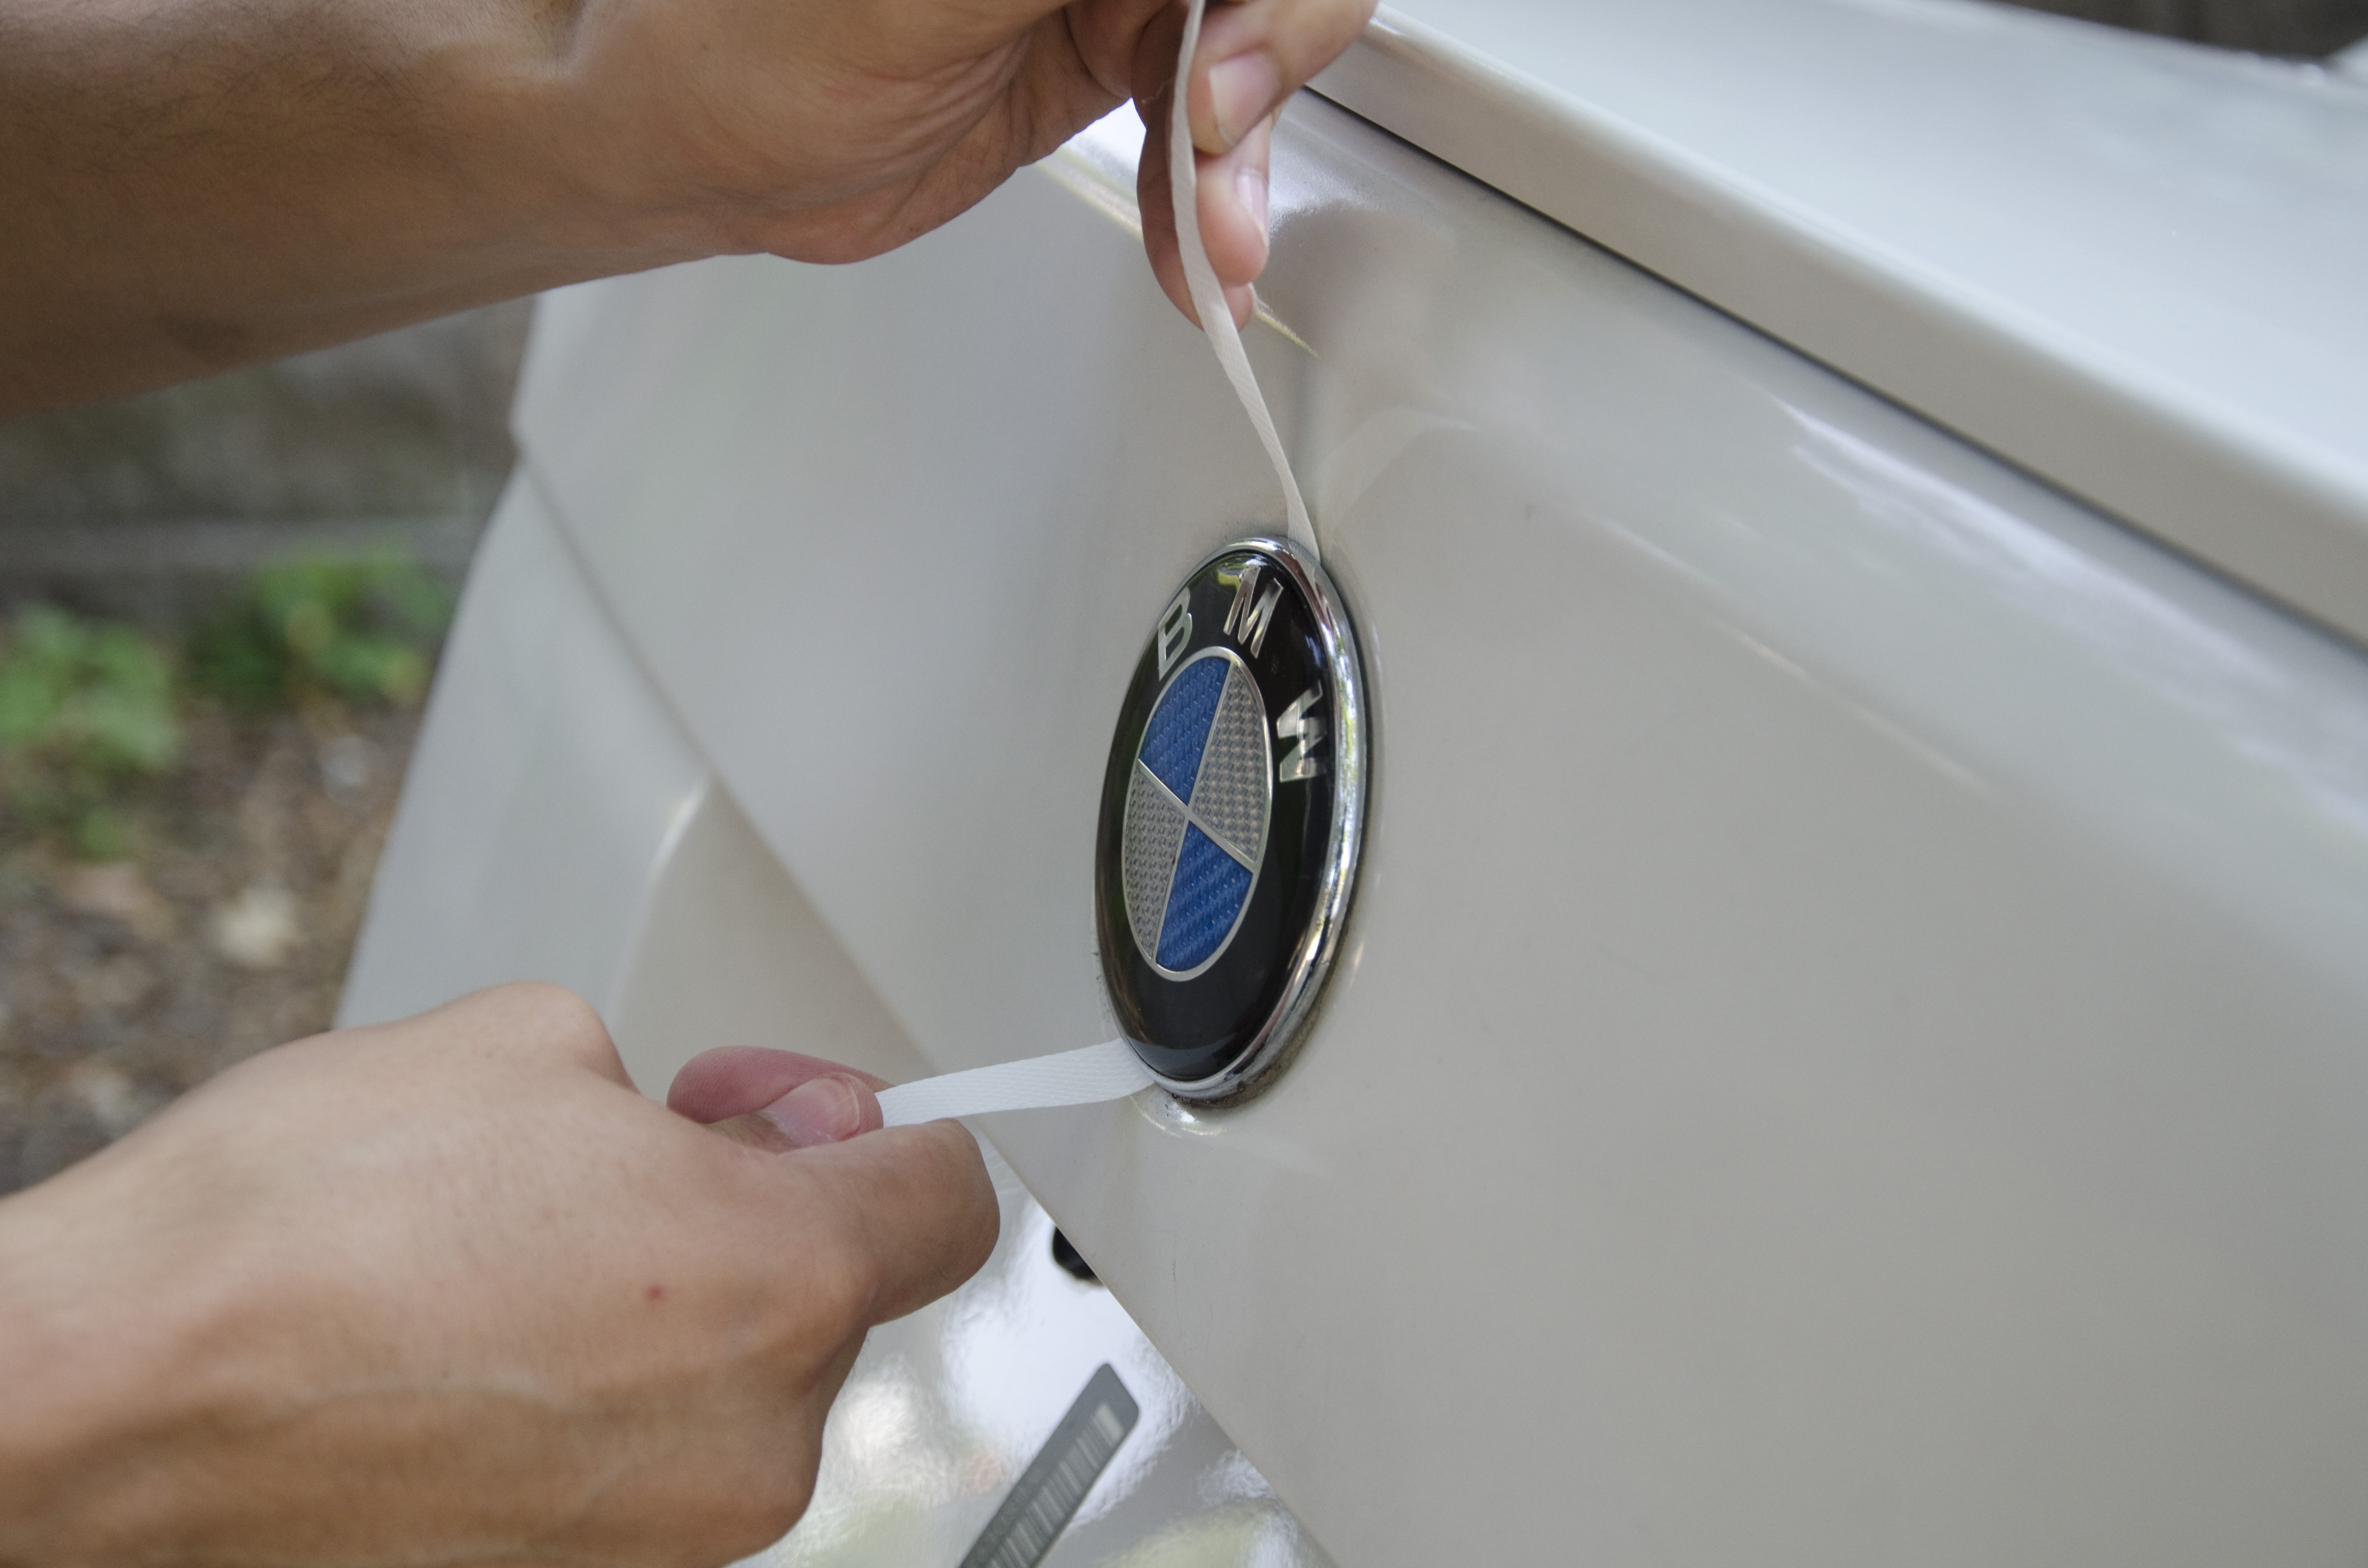
We removed the carbon fiber knockoff emblems, not even the gorilla glue utilized was a match for the proprietary BMW roundel removal tool (click to enlarge pics):
In fact, we made a video of the process featuring the specialty tool:
We know BMW’s, especially E39’s, and all their dirt accumulation areas. Trim and lights were removed and soon the car looked like it had entered a chop shop.
Another concern the owner had was the poor touch up job done on the front of the car; although it looked like someone had used whiteout to touch up paint chips, in reality we suspect this is due to the huge paint brush that comes with BMW touch up paint. Ironically, all the excess paint remained, except on the actual paint chips.
We wet sanded away the excess paint, and reapplied (with a fine point brush) new touchup paint where appropriate. Sanding marks were later polished away with compound (making sanding marks disappear is still one of life’s miracles).
And on to the polishing, click to enlarge.
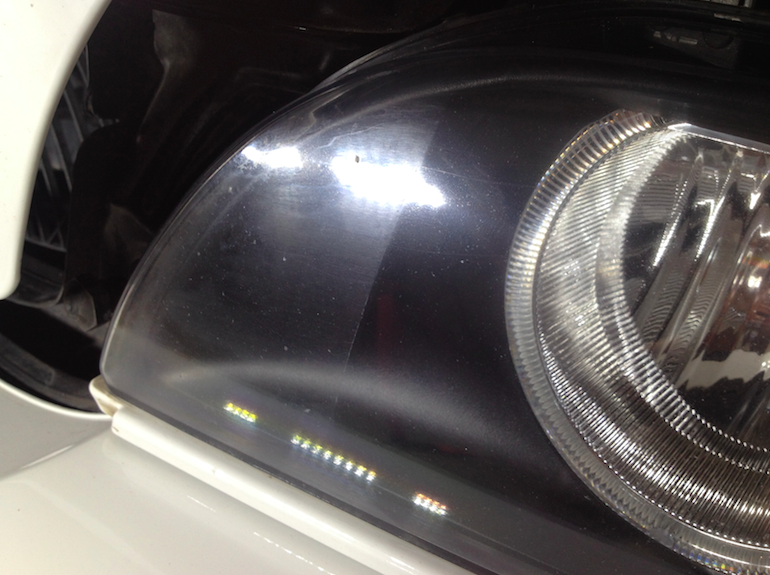
Headlights were refreshed and window trim was polished to a high shine
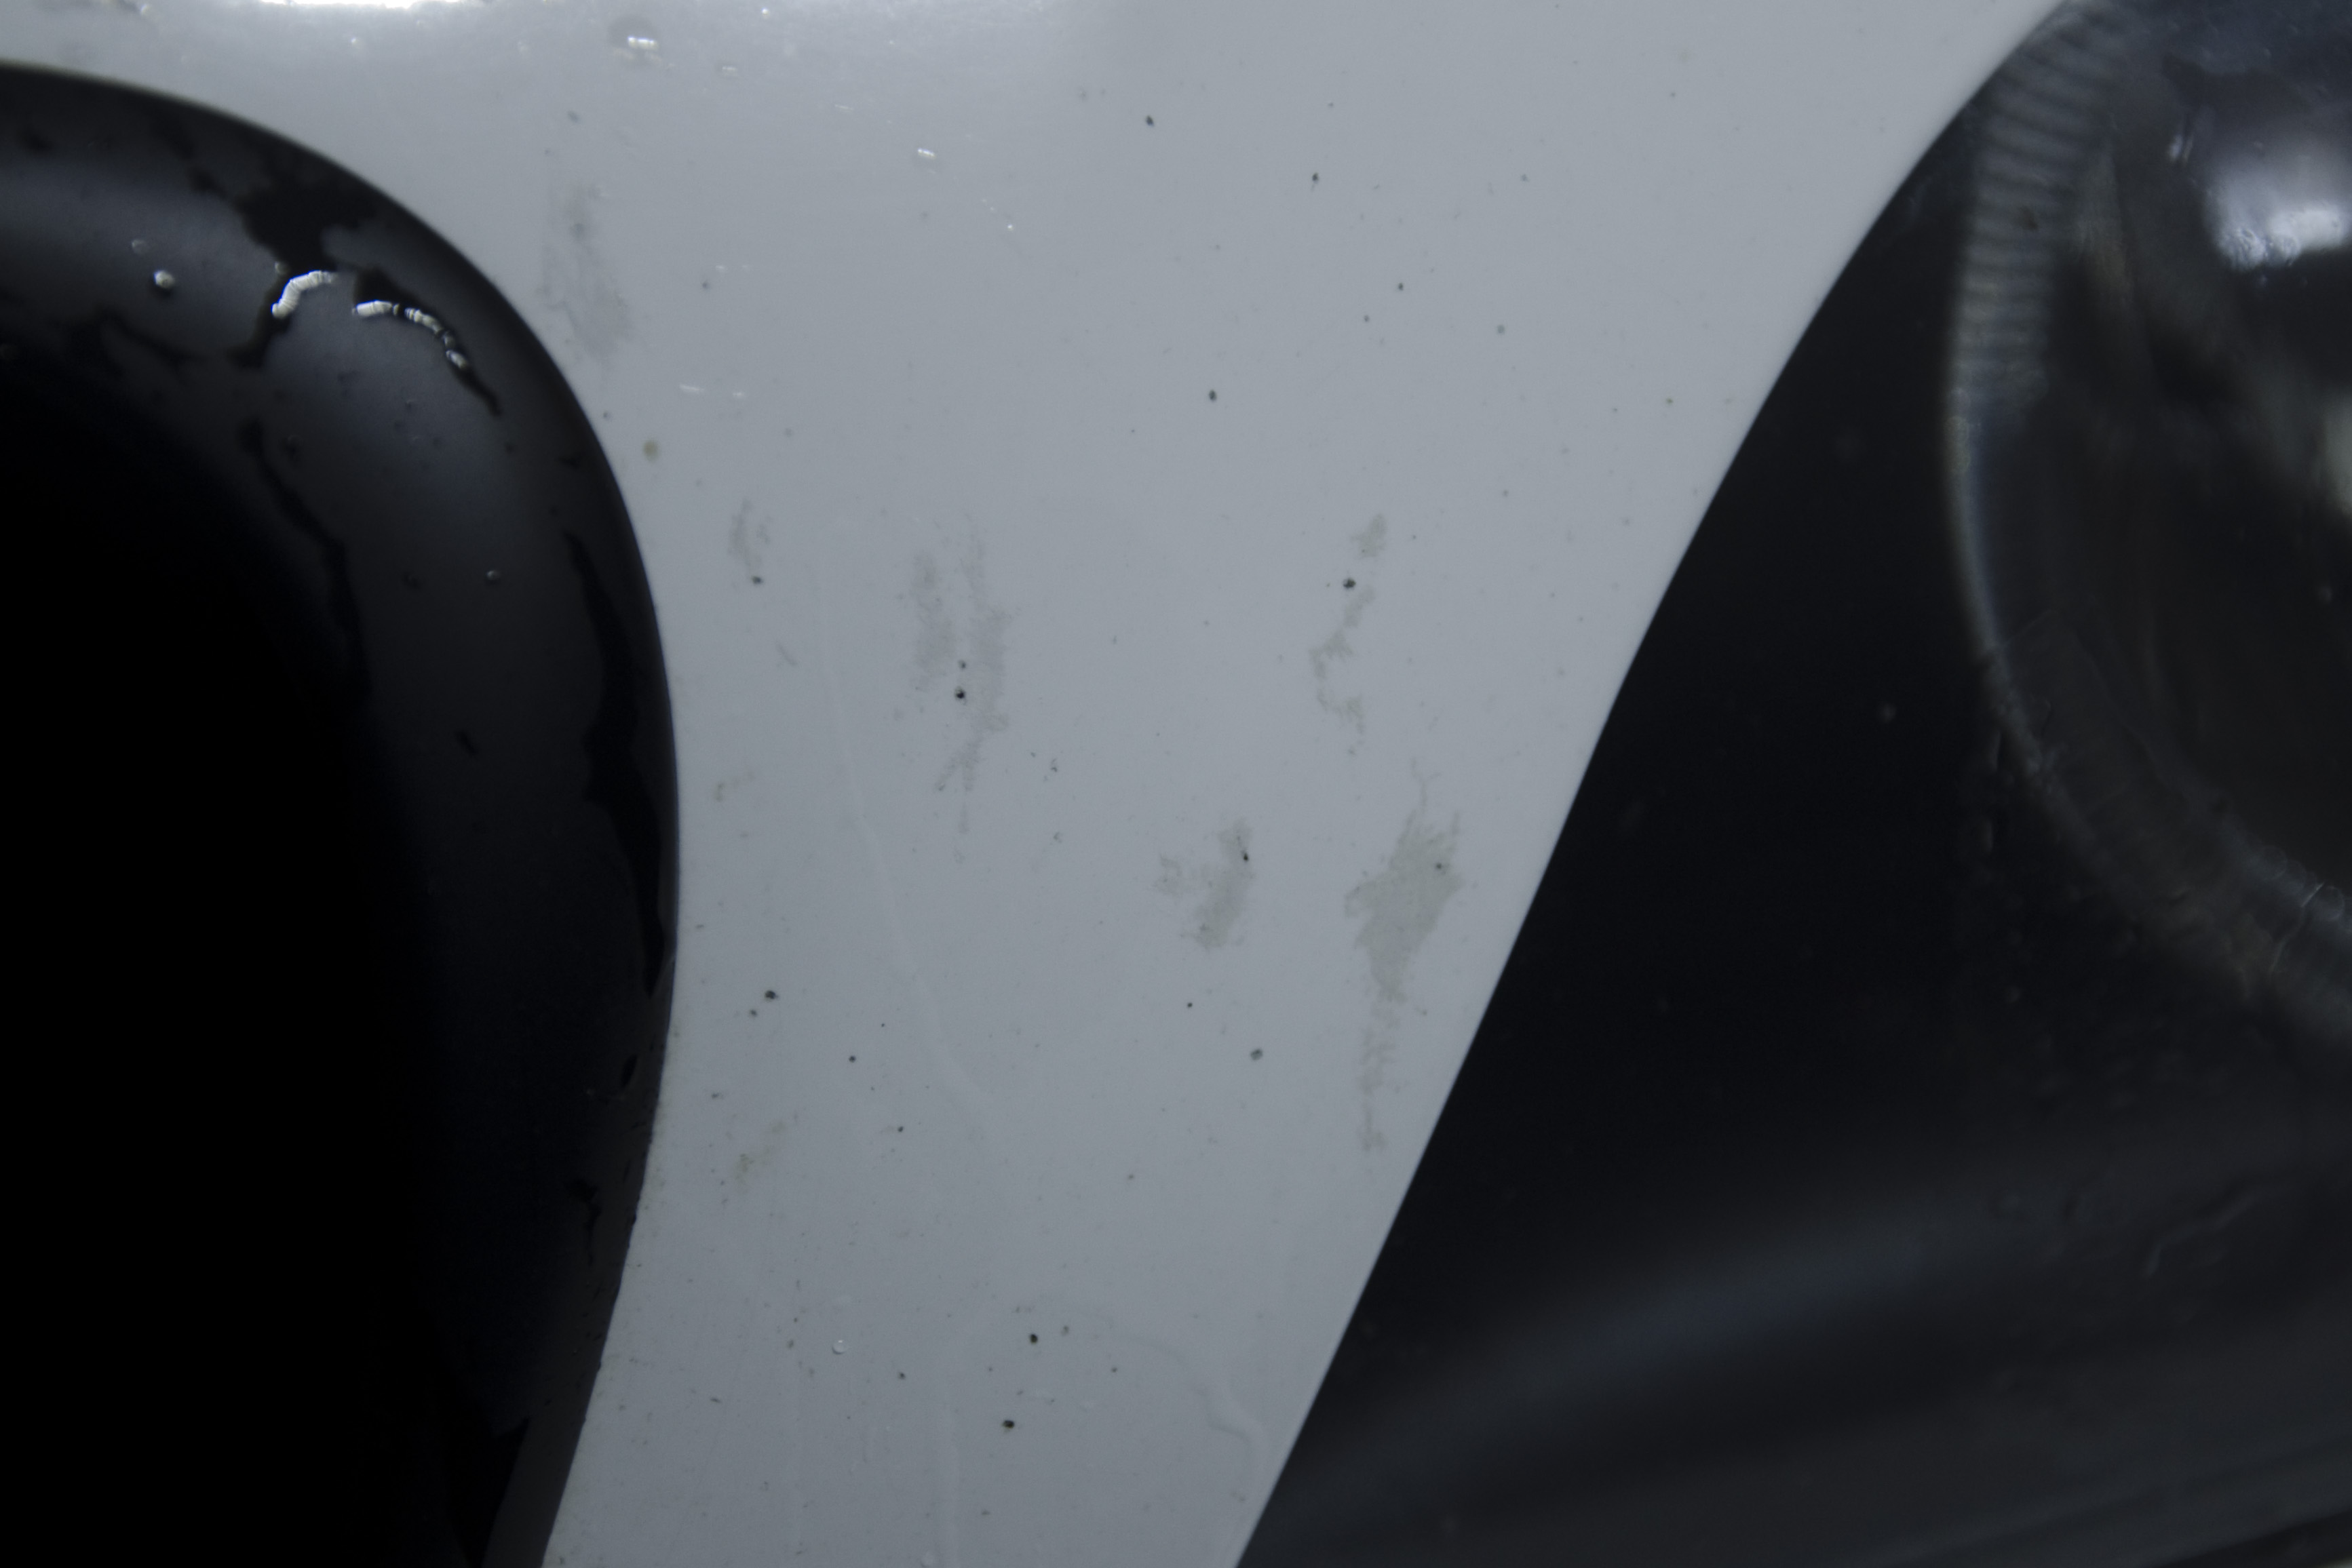
The trunk lid had been repainted, badly. The difference in paint texture had trapped pollutants and slowly changed the color of the trunk lid to an off-white/beige. This was mostly noticeable after we polished away the contaminate. The trunk, matched much more closely with the rest of the car now. There was a significant amount of overspray on the front fender as well. We got rid of all of it, though forgot to take a picture so you will have to take our word for it..
All trim pieces were cleaned and treated with 303 Aerospace protectant.
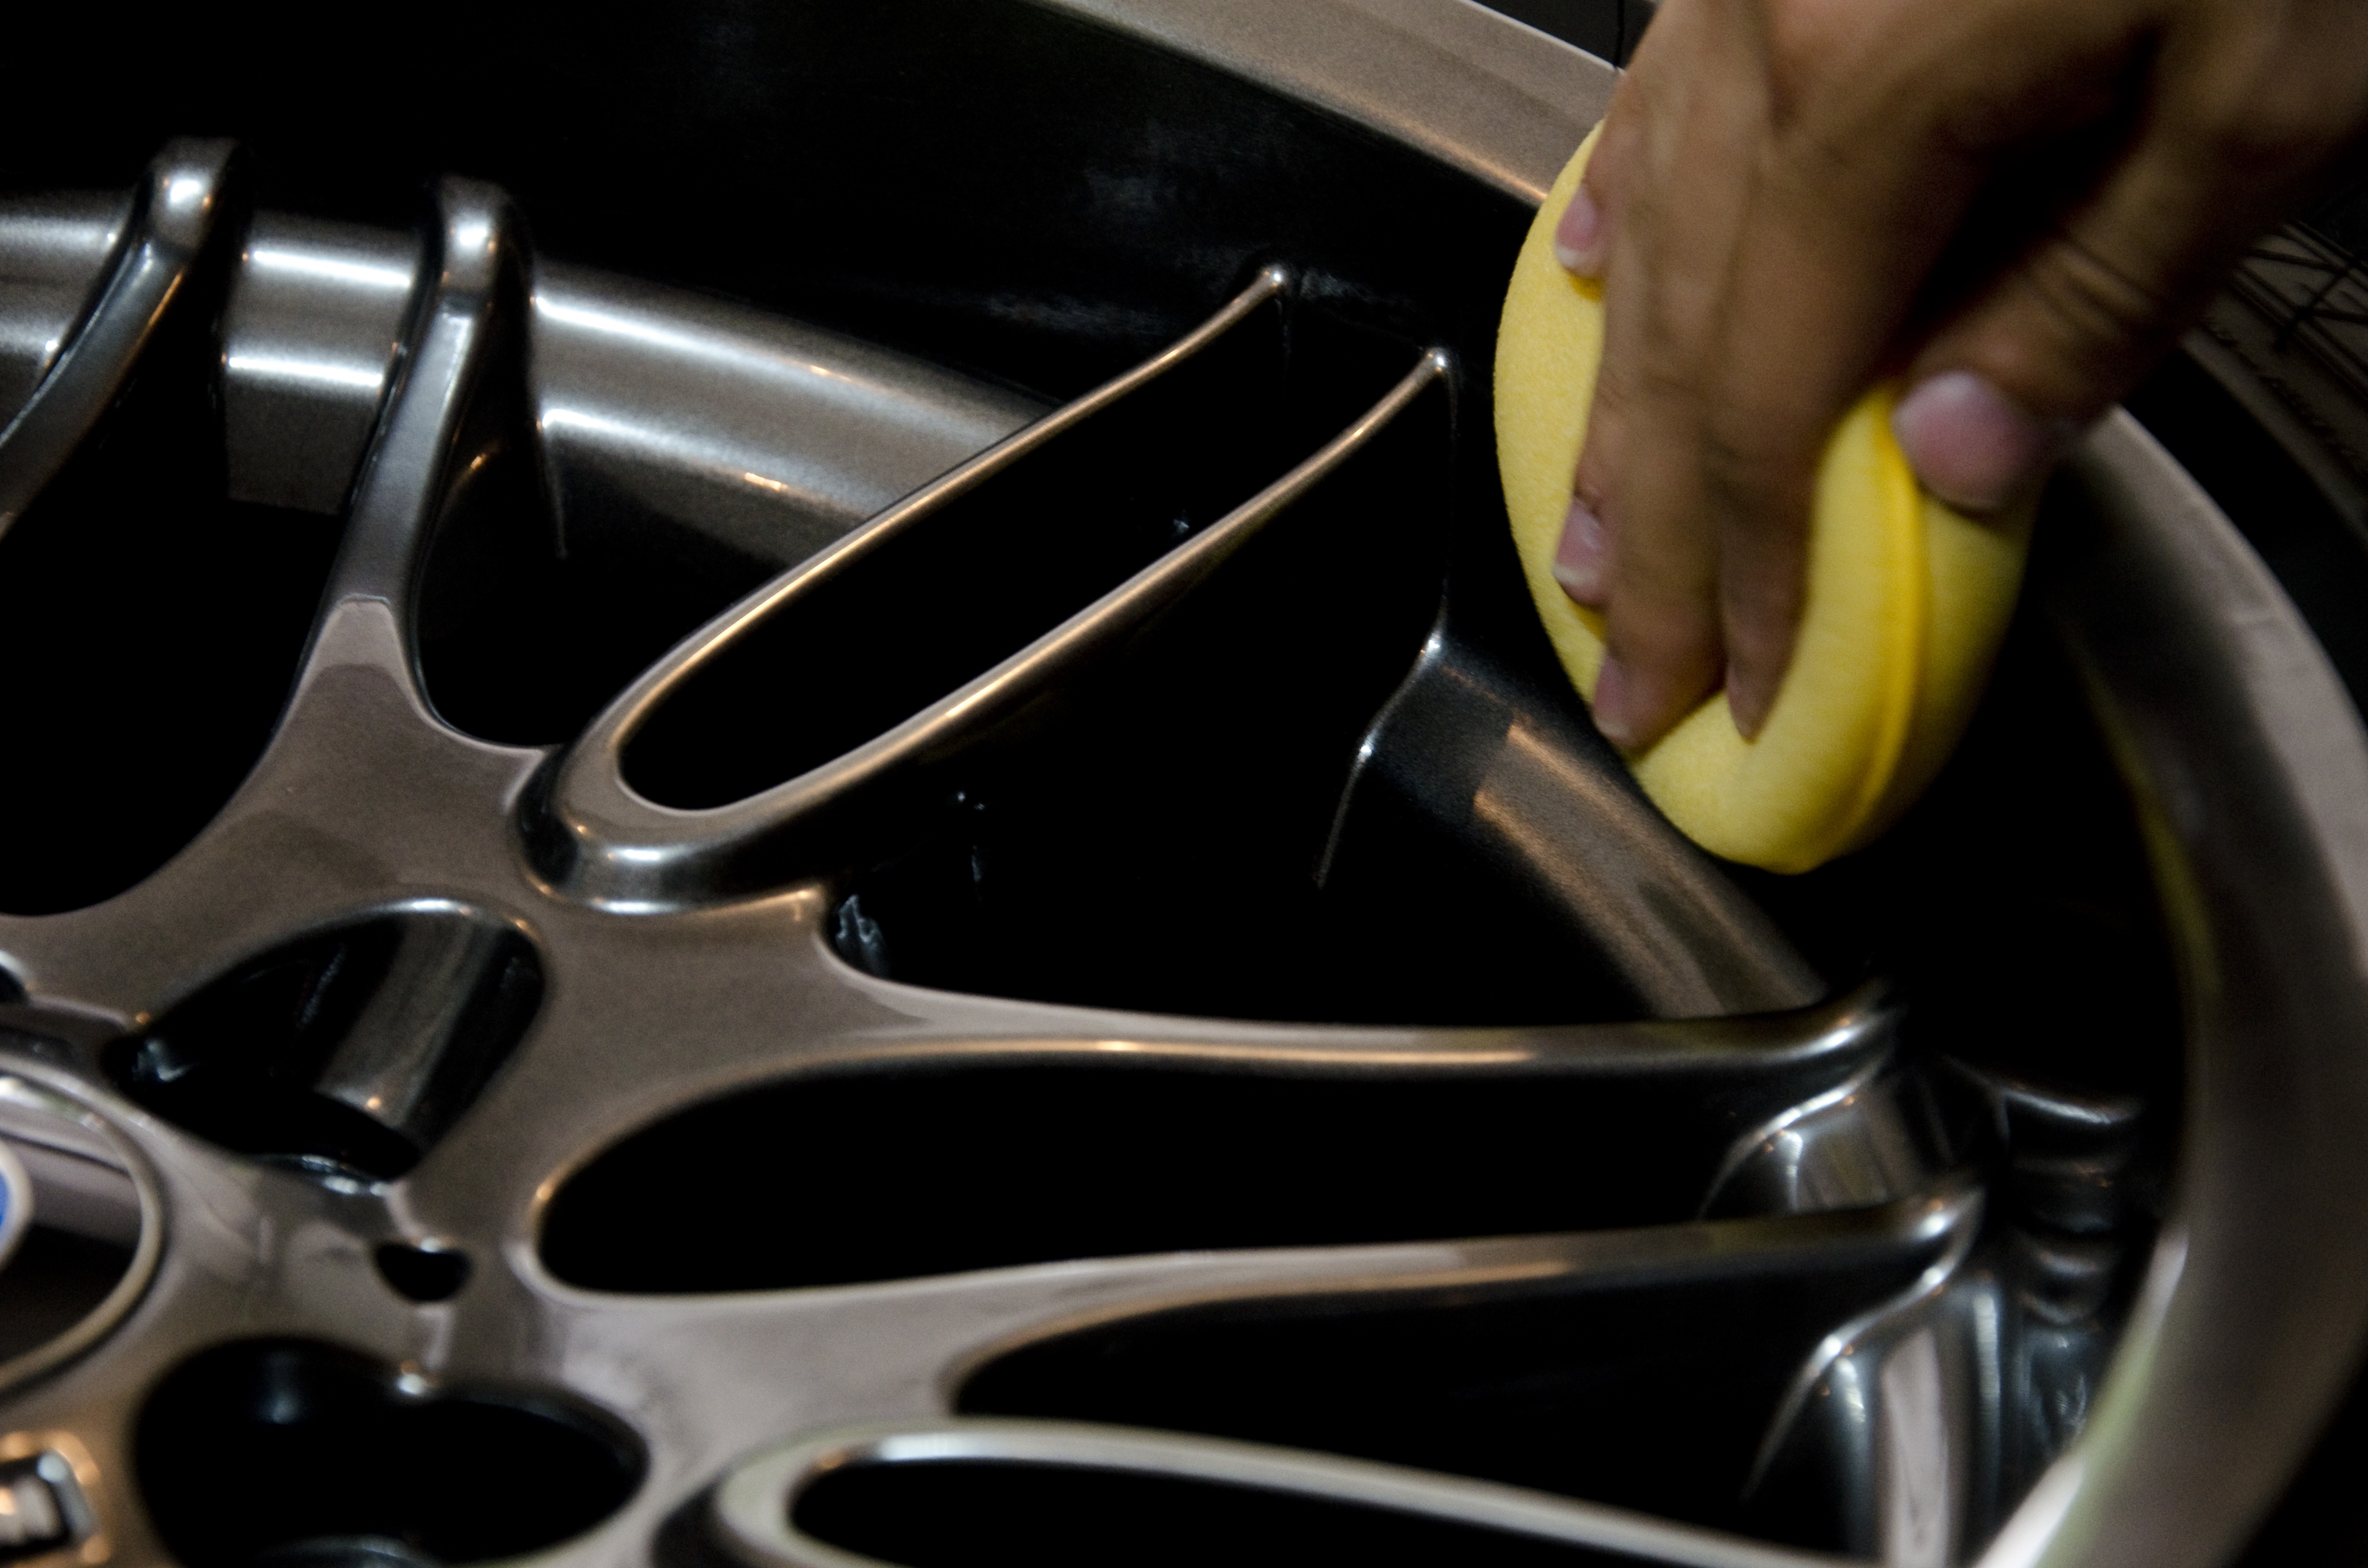
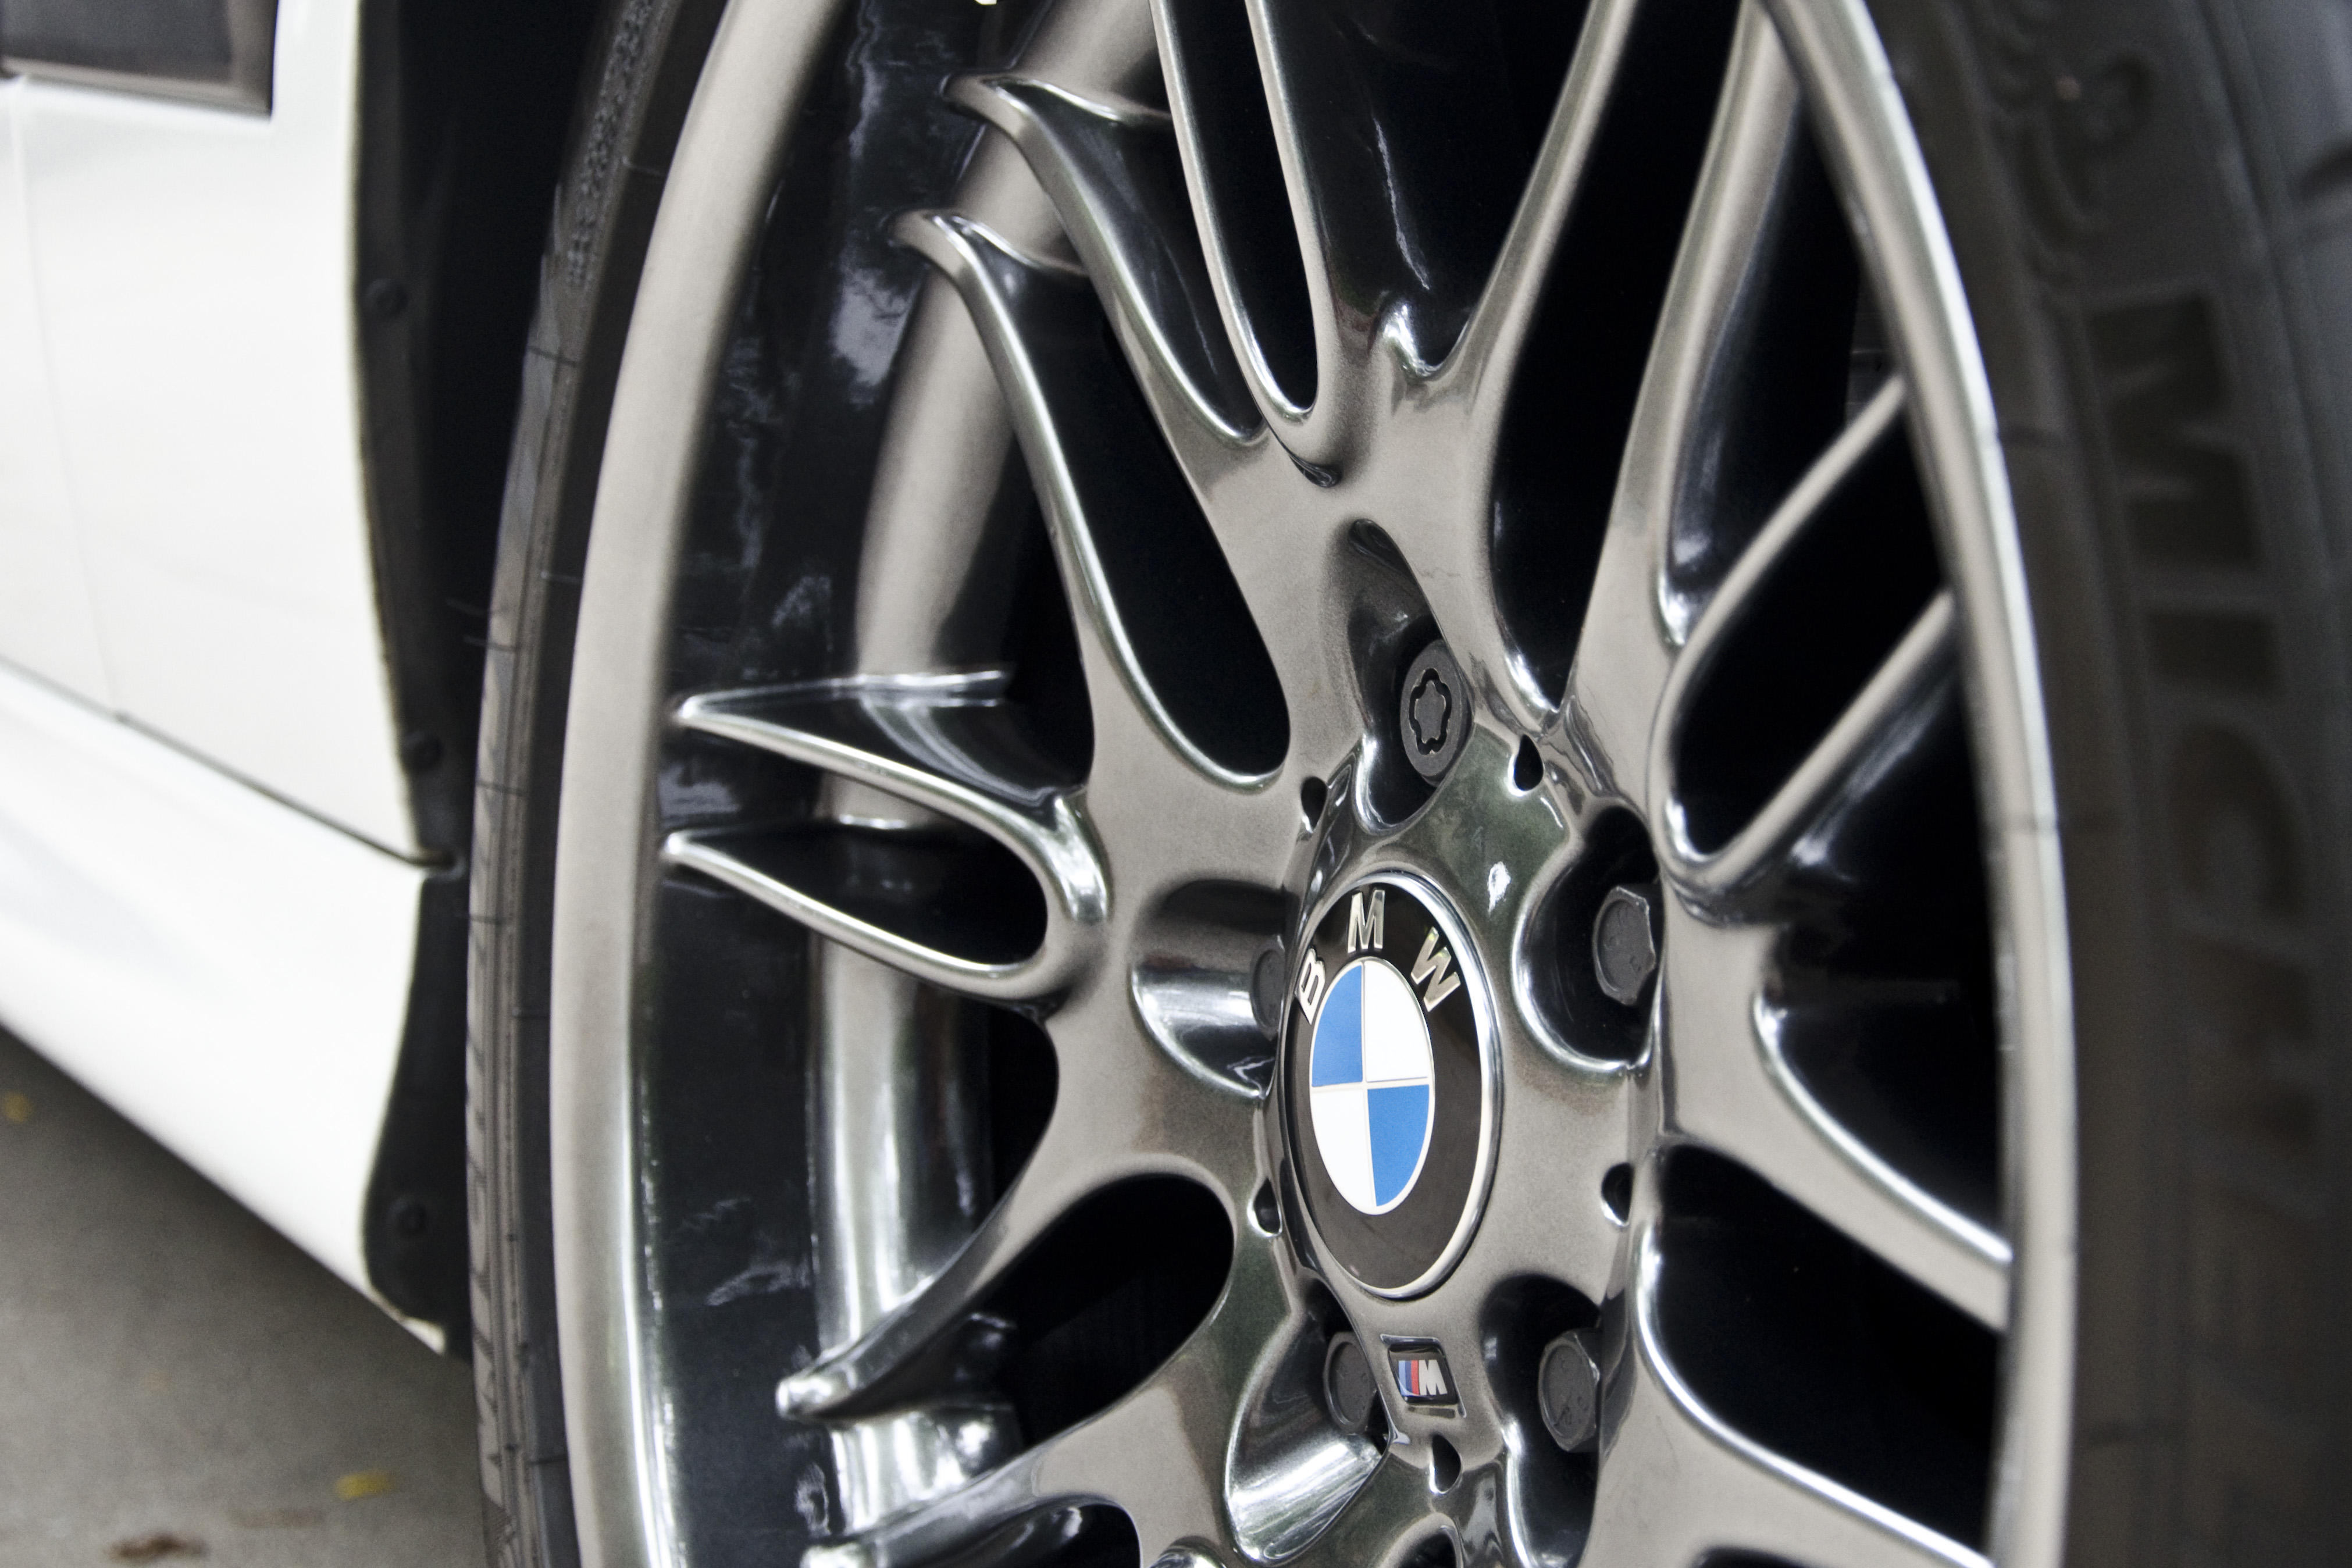
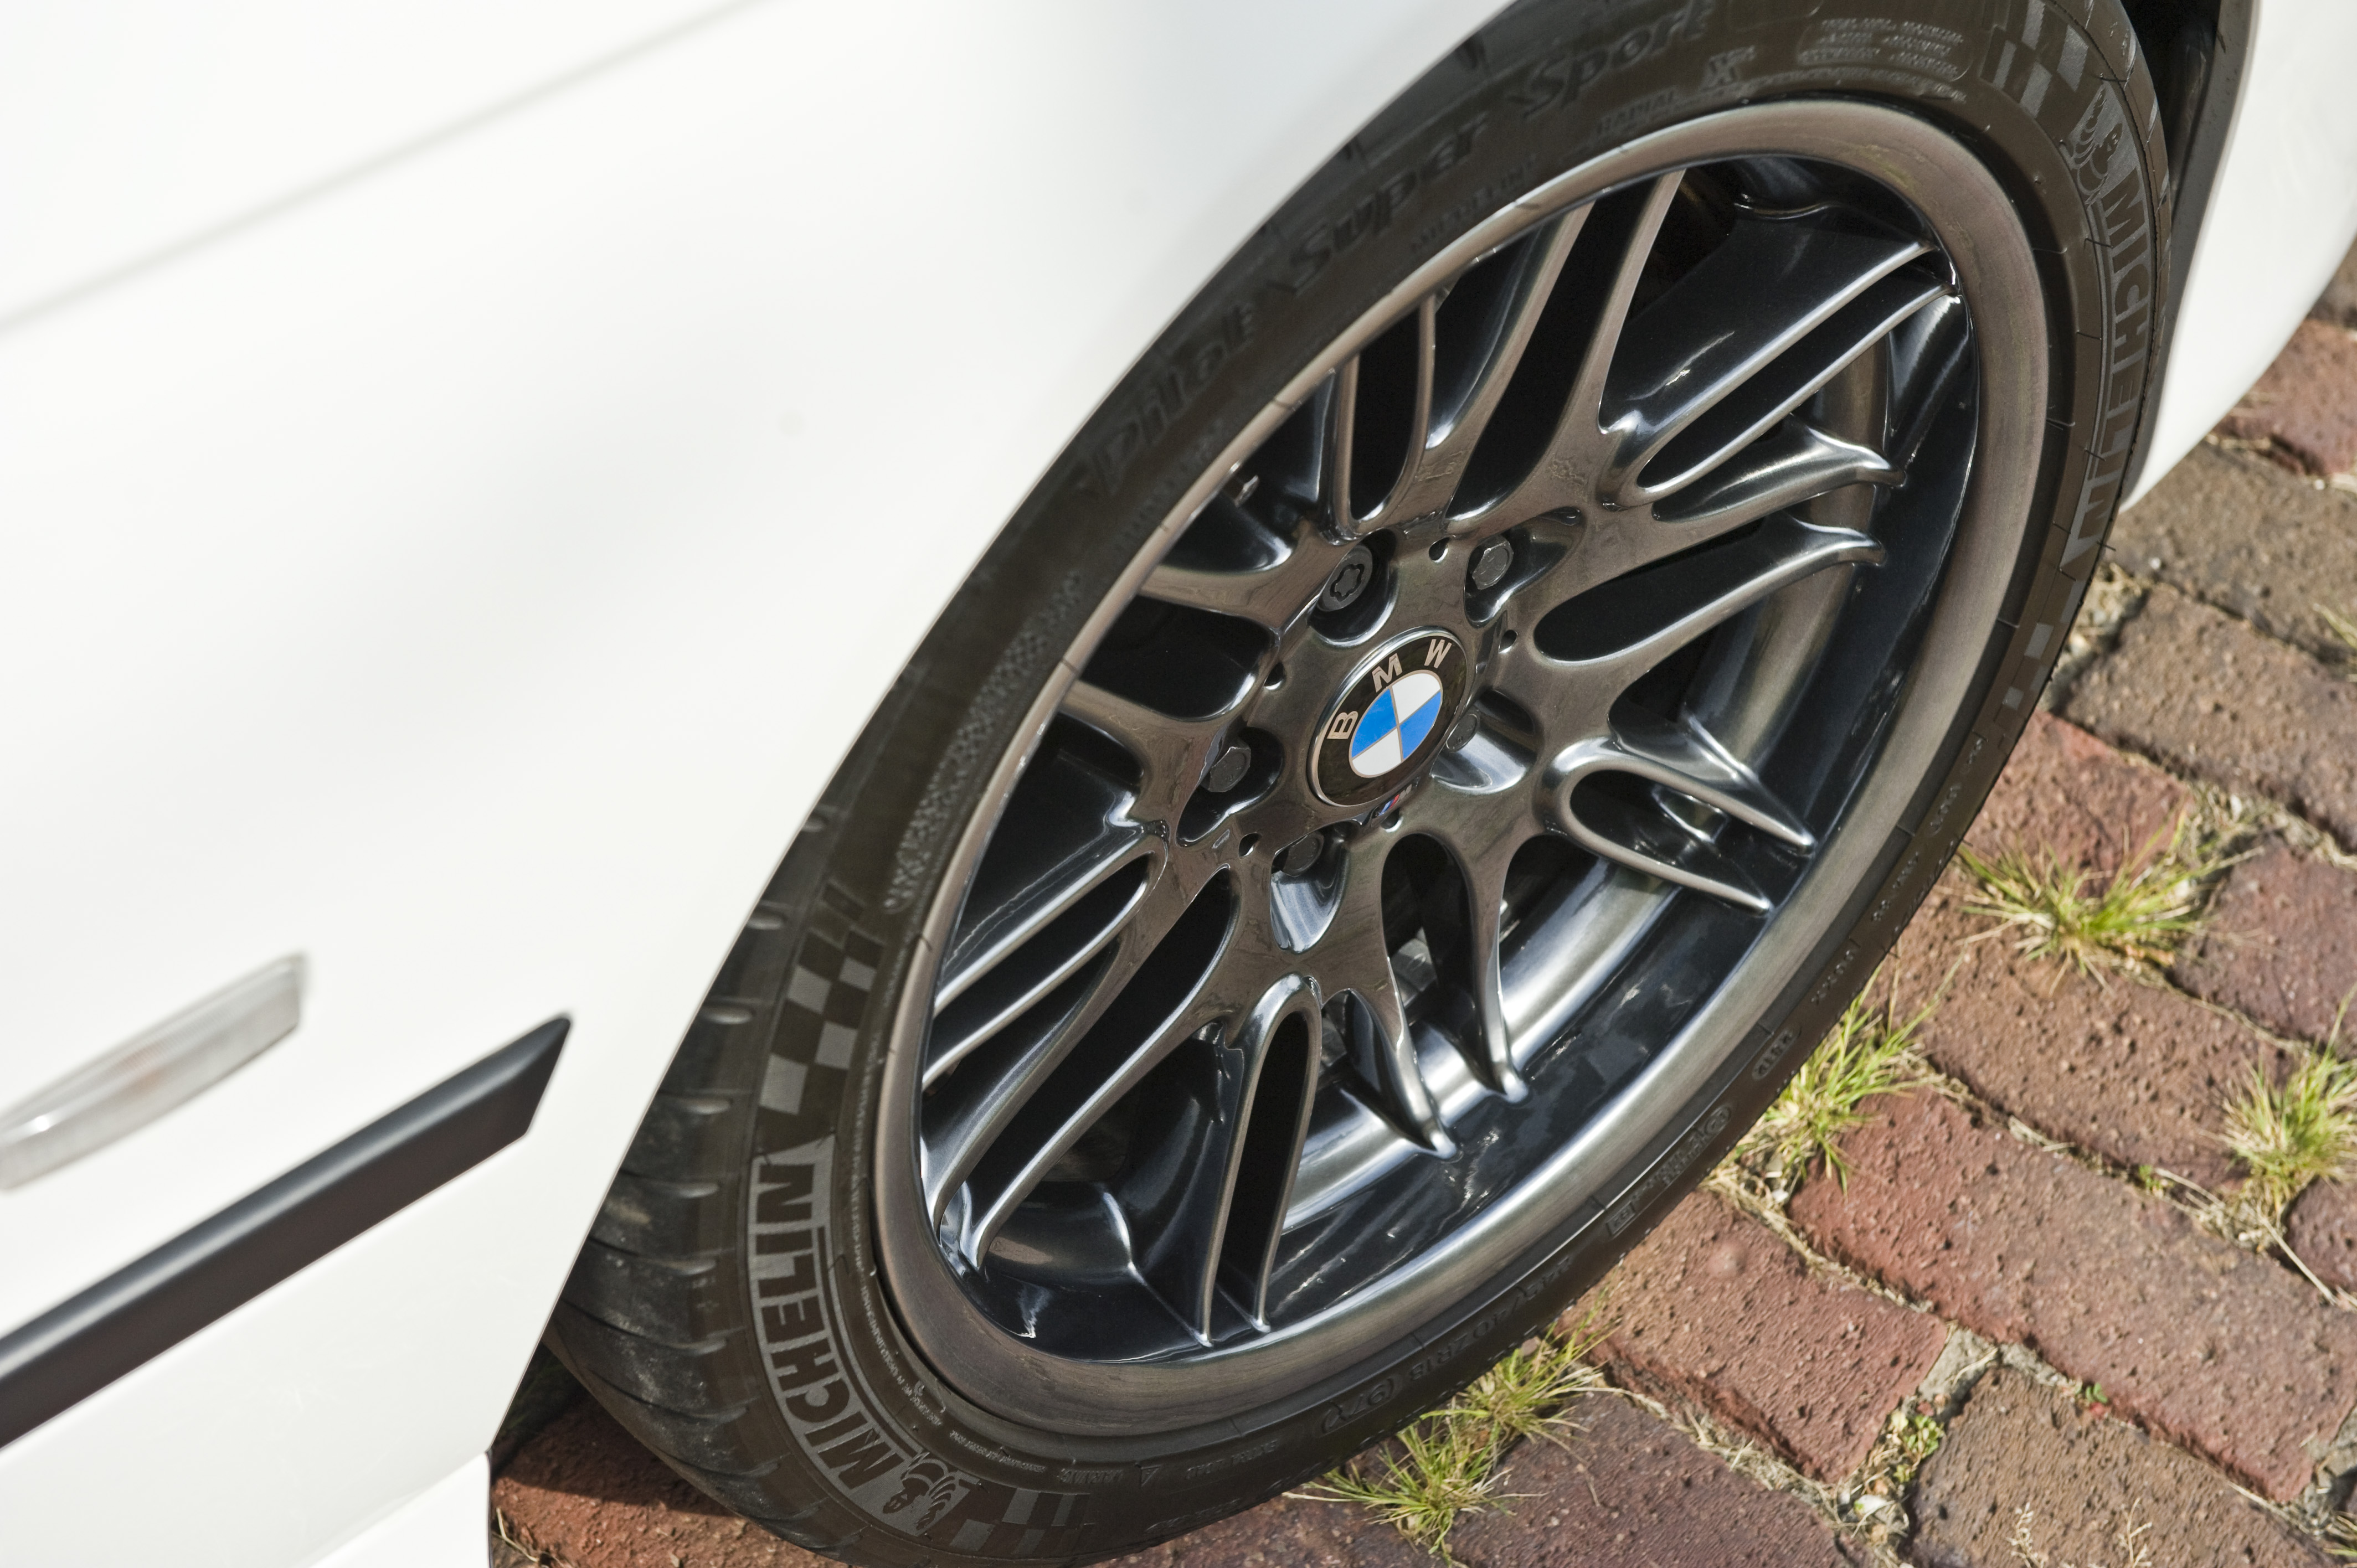
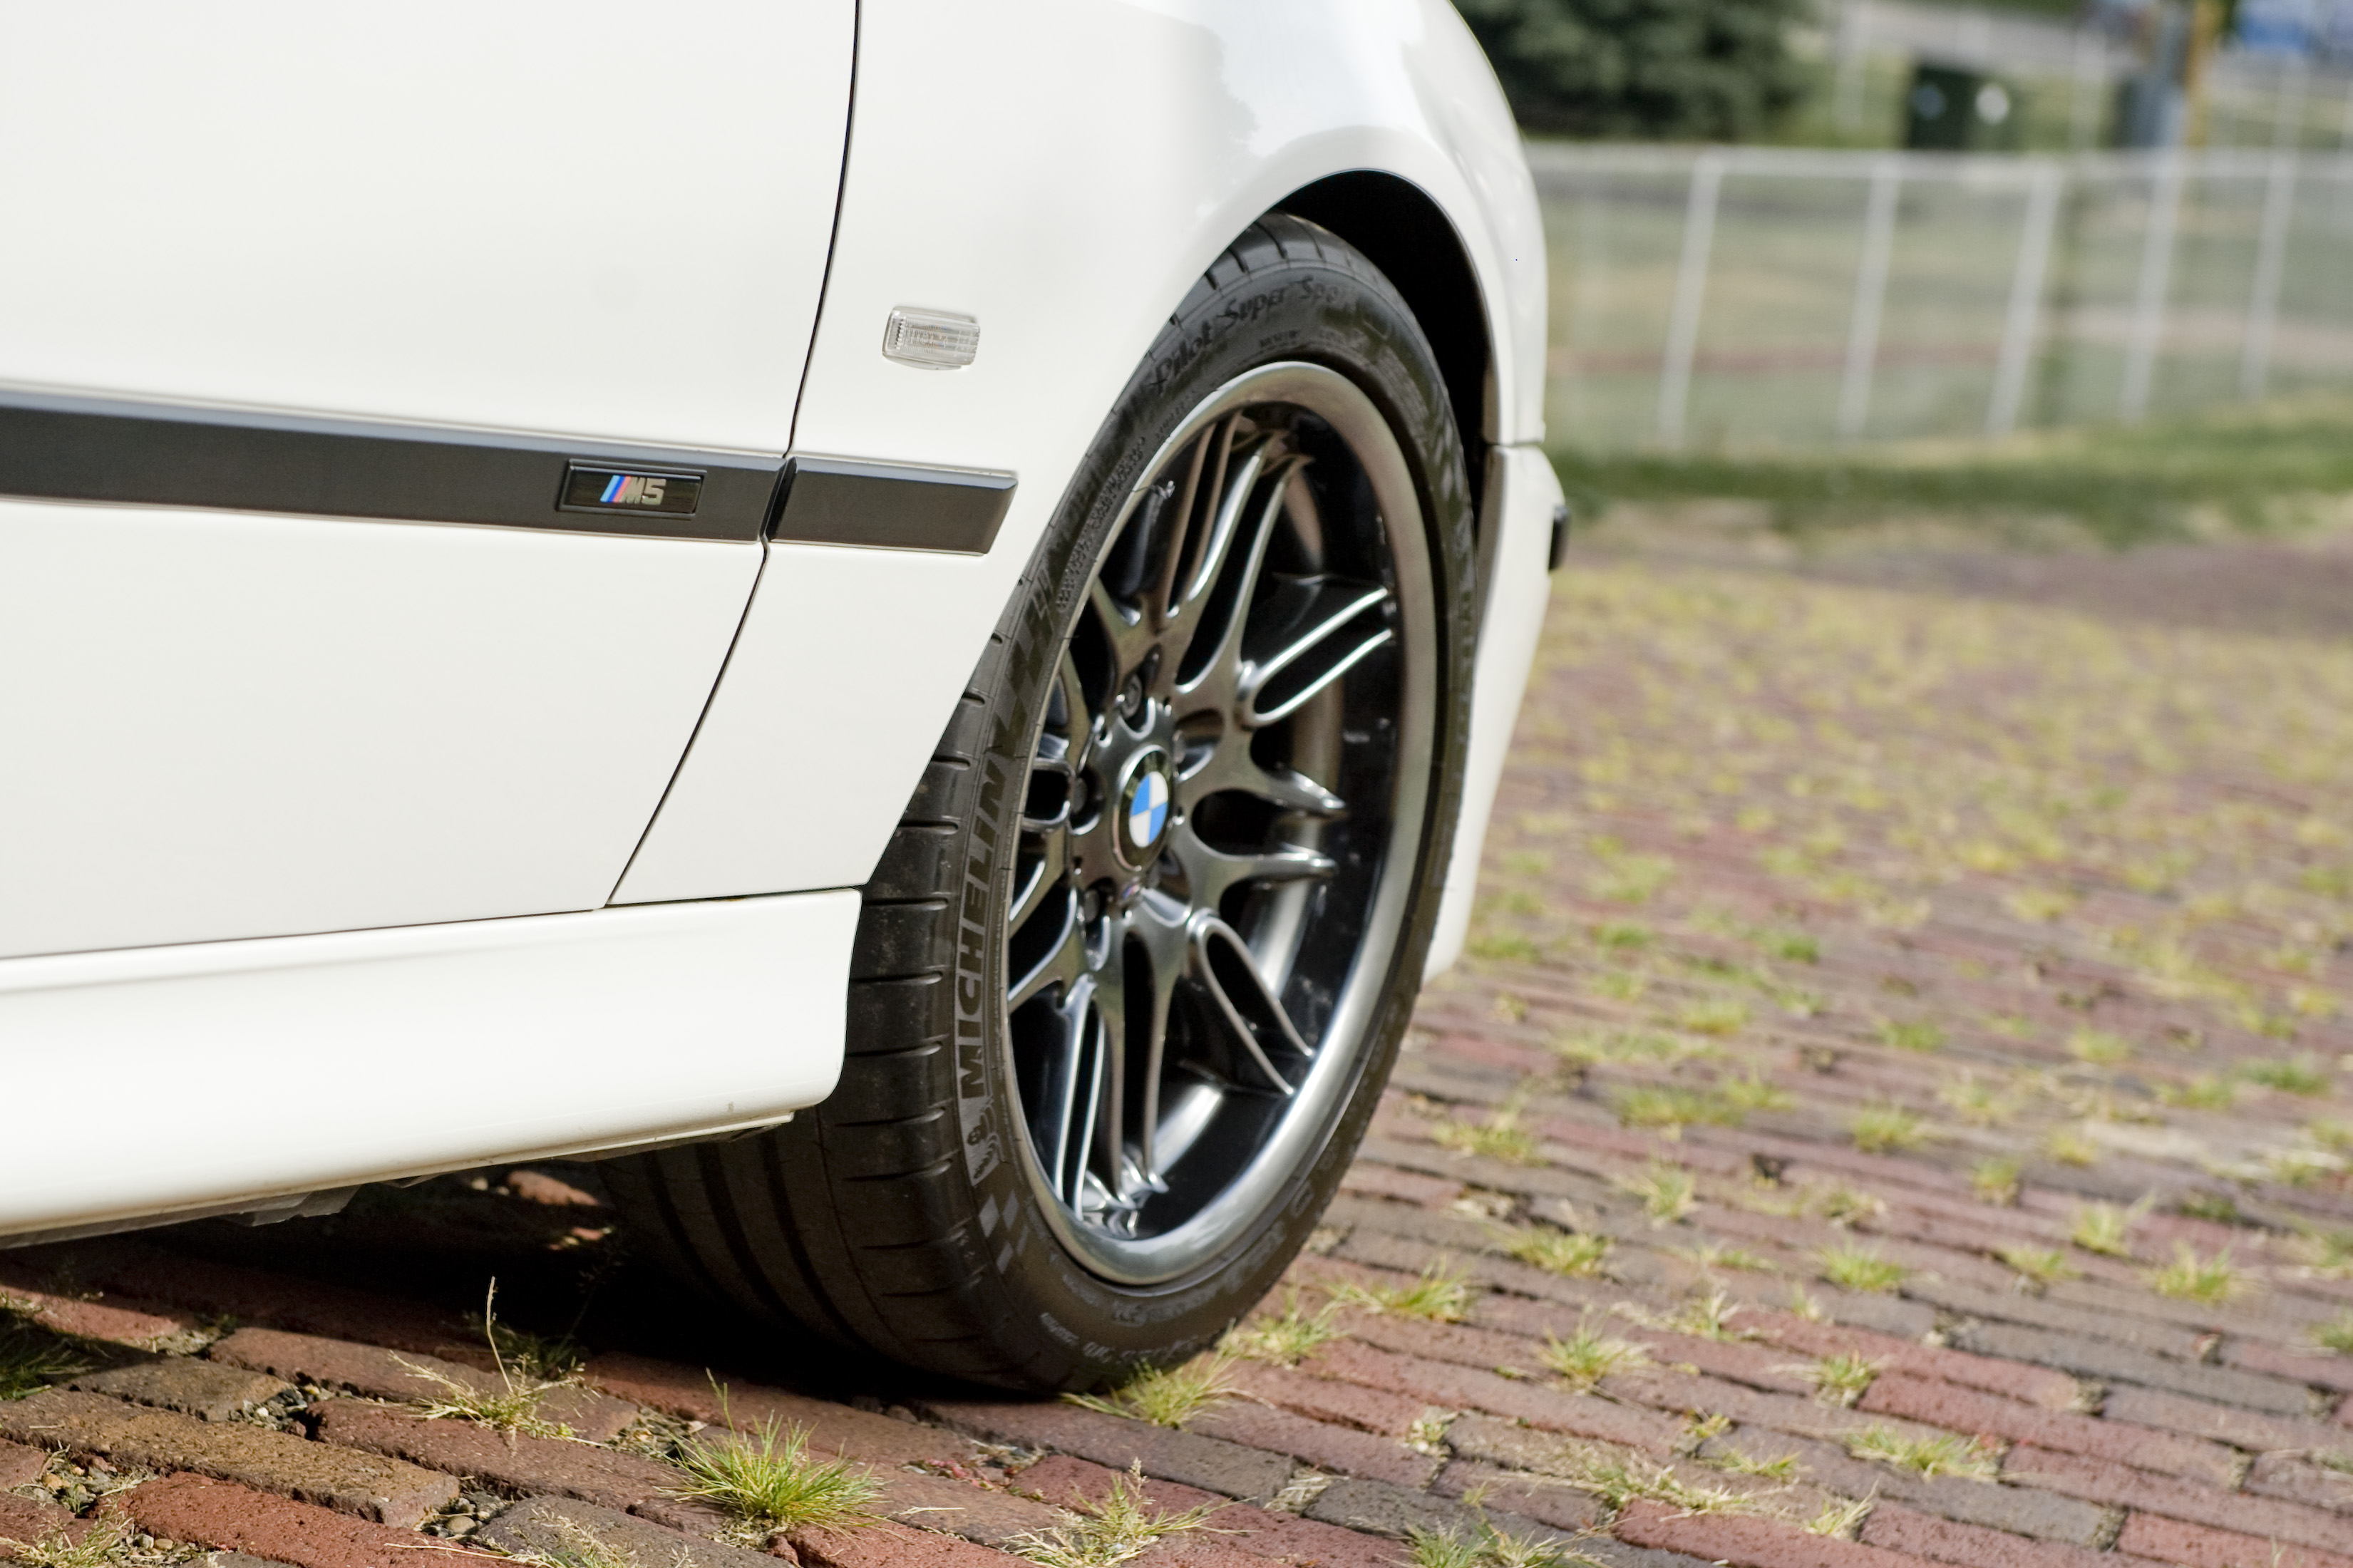
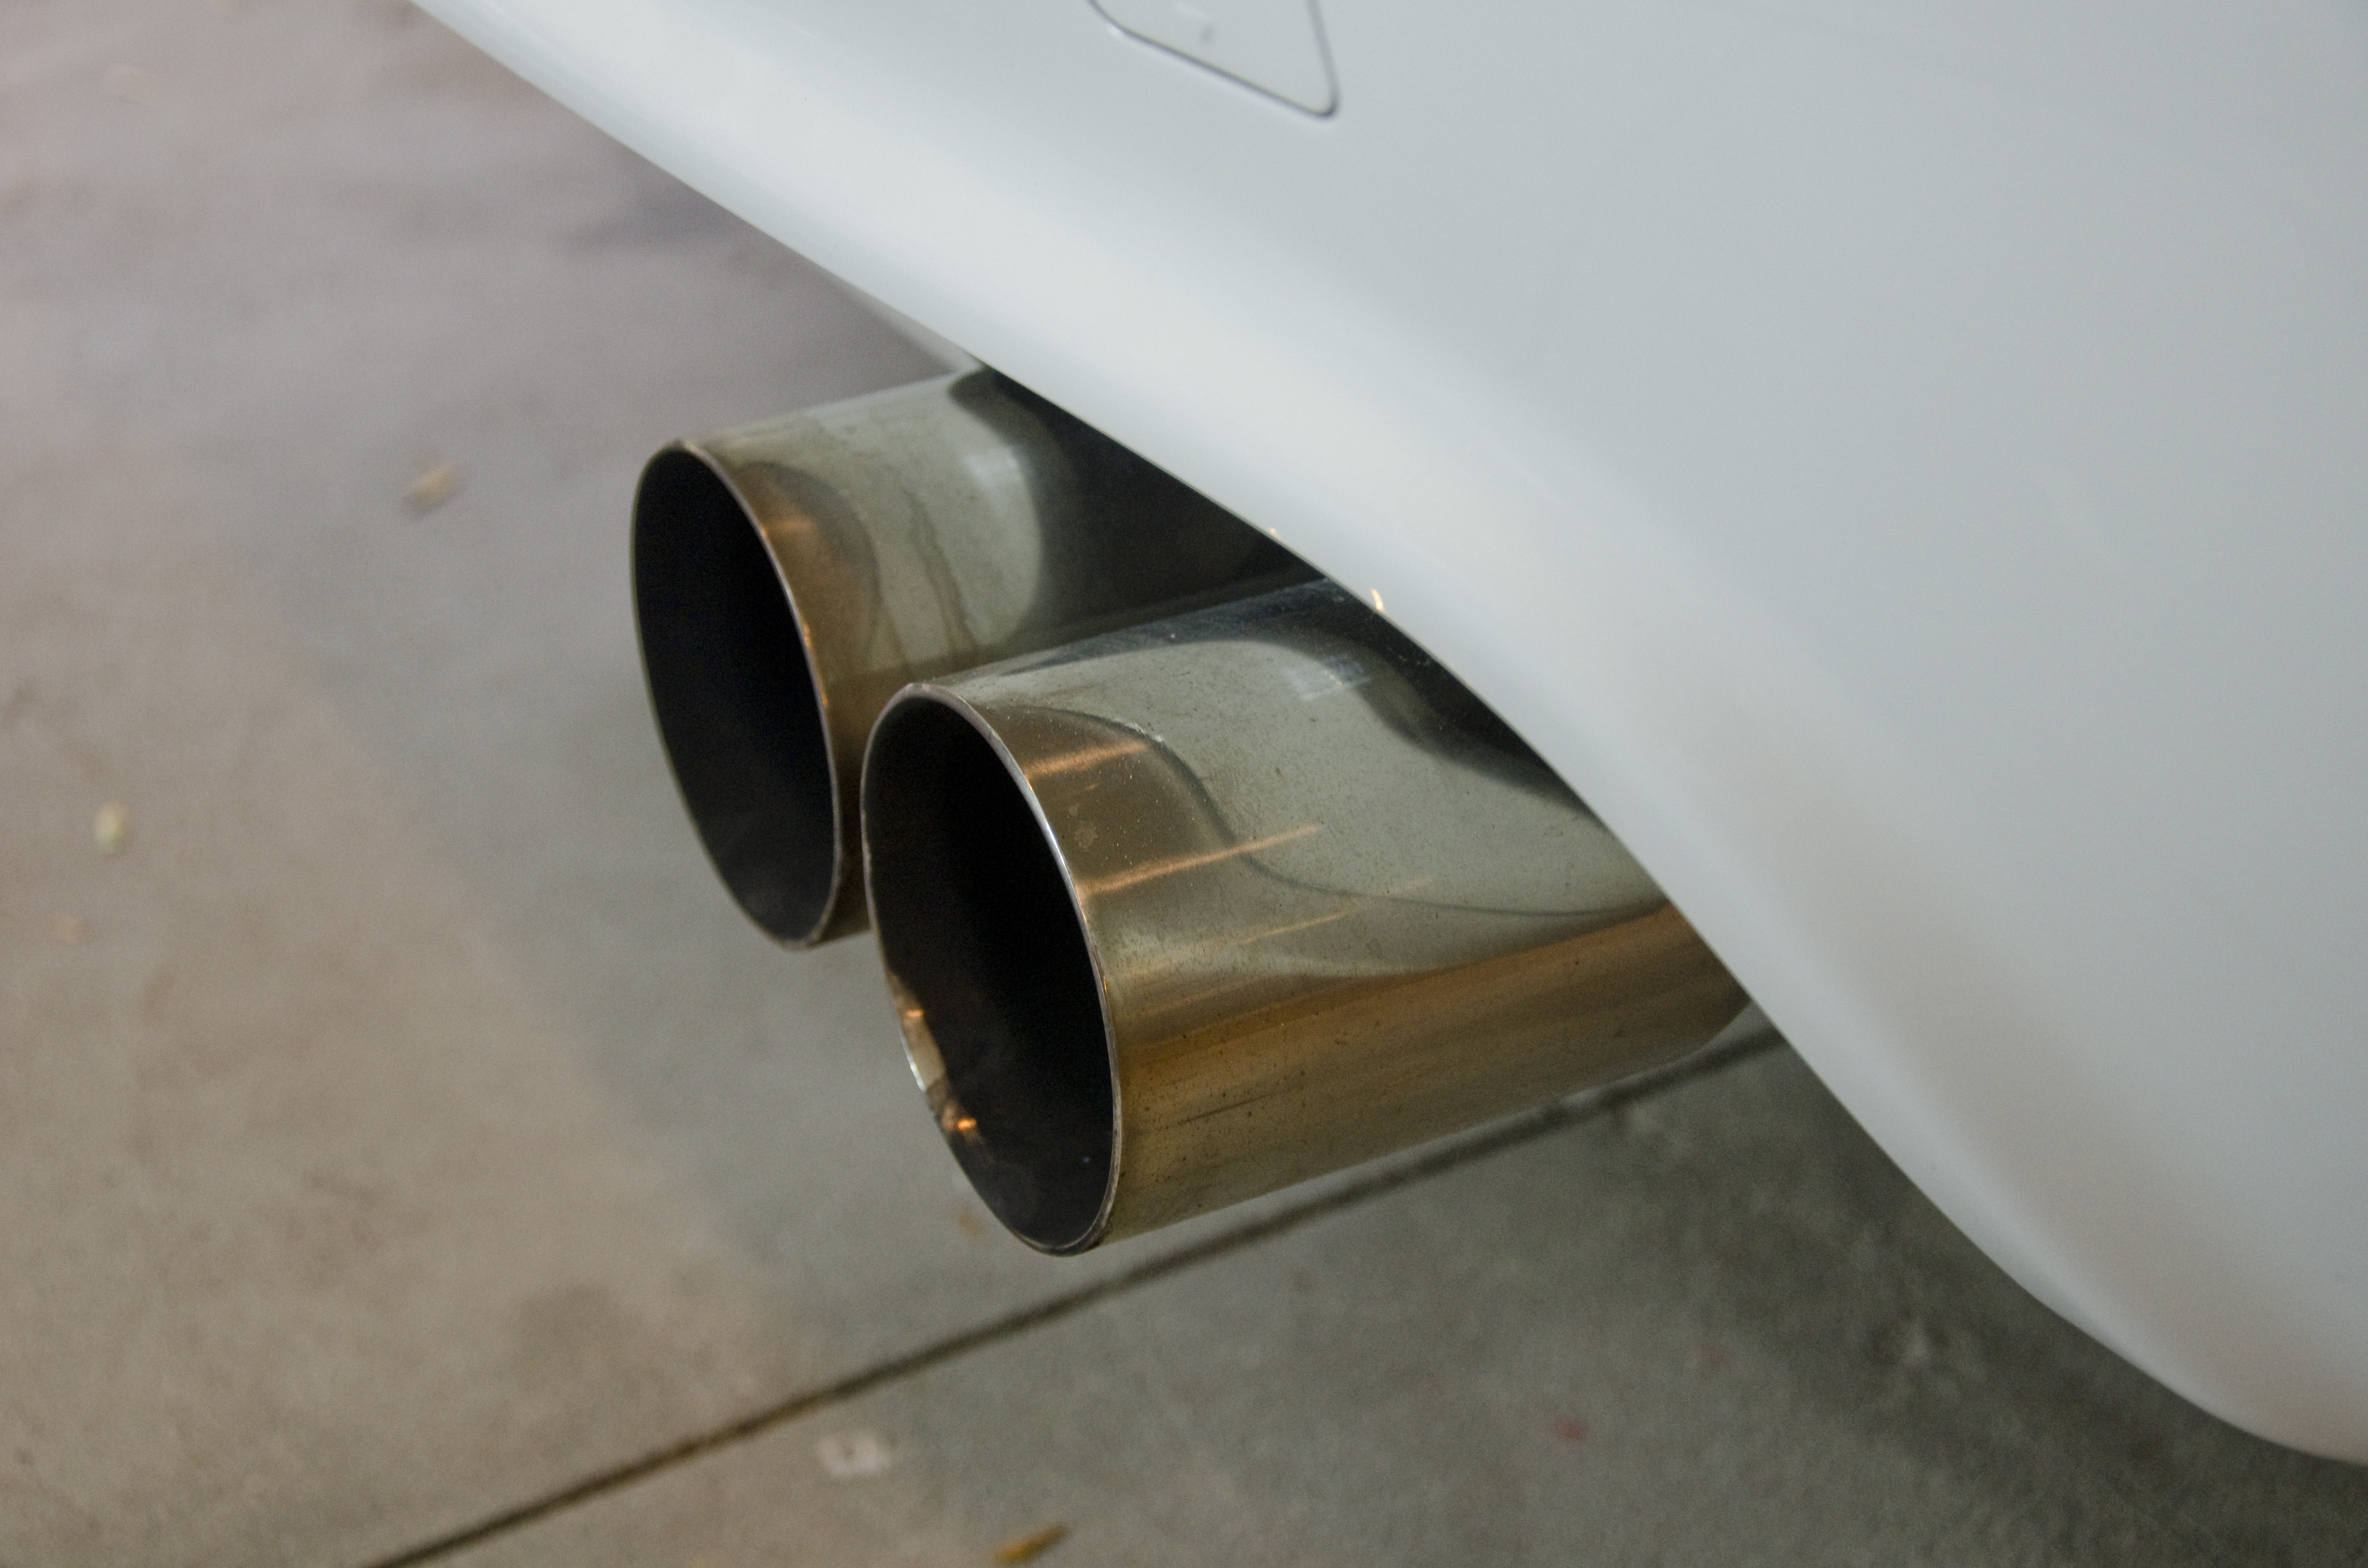
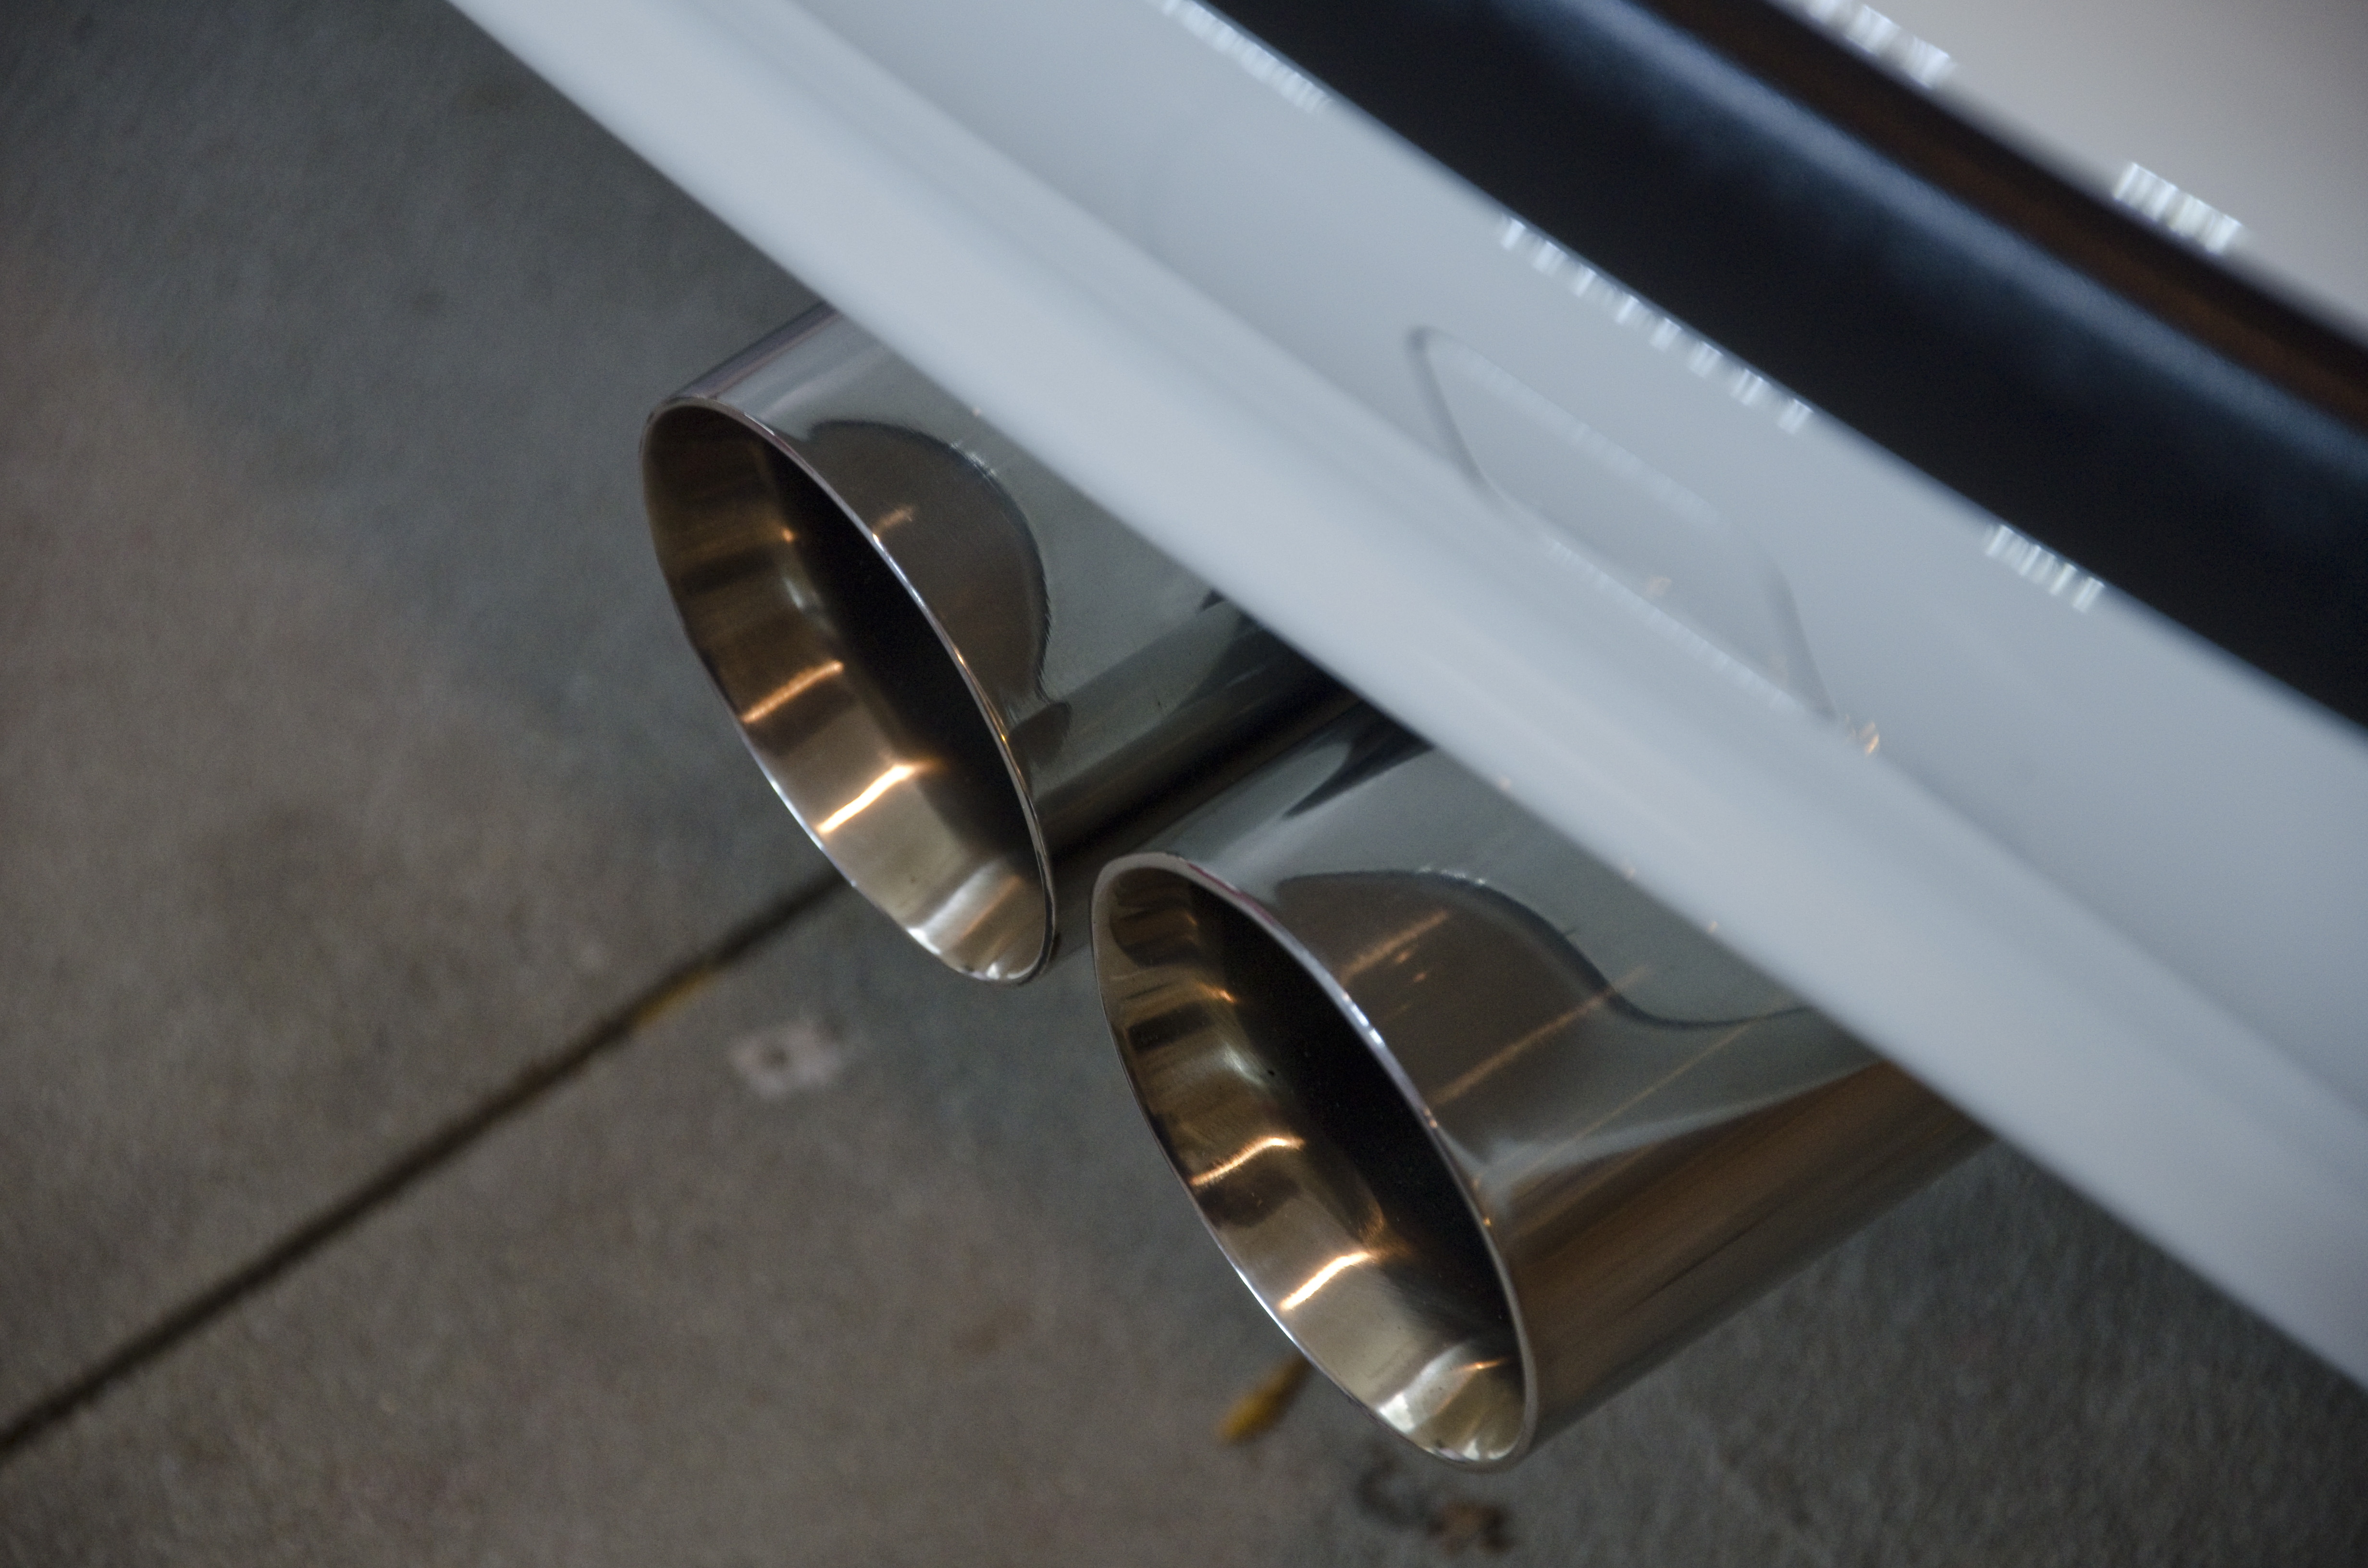
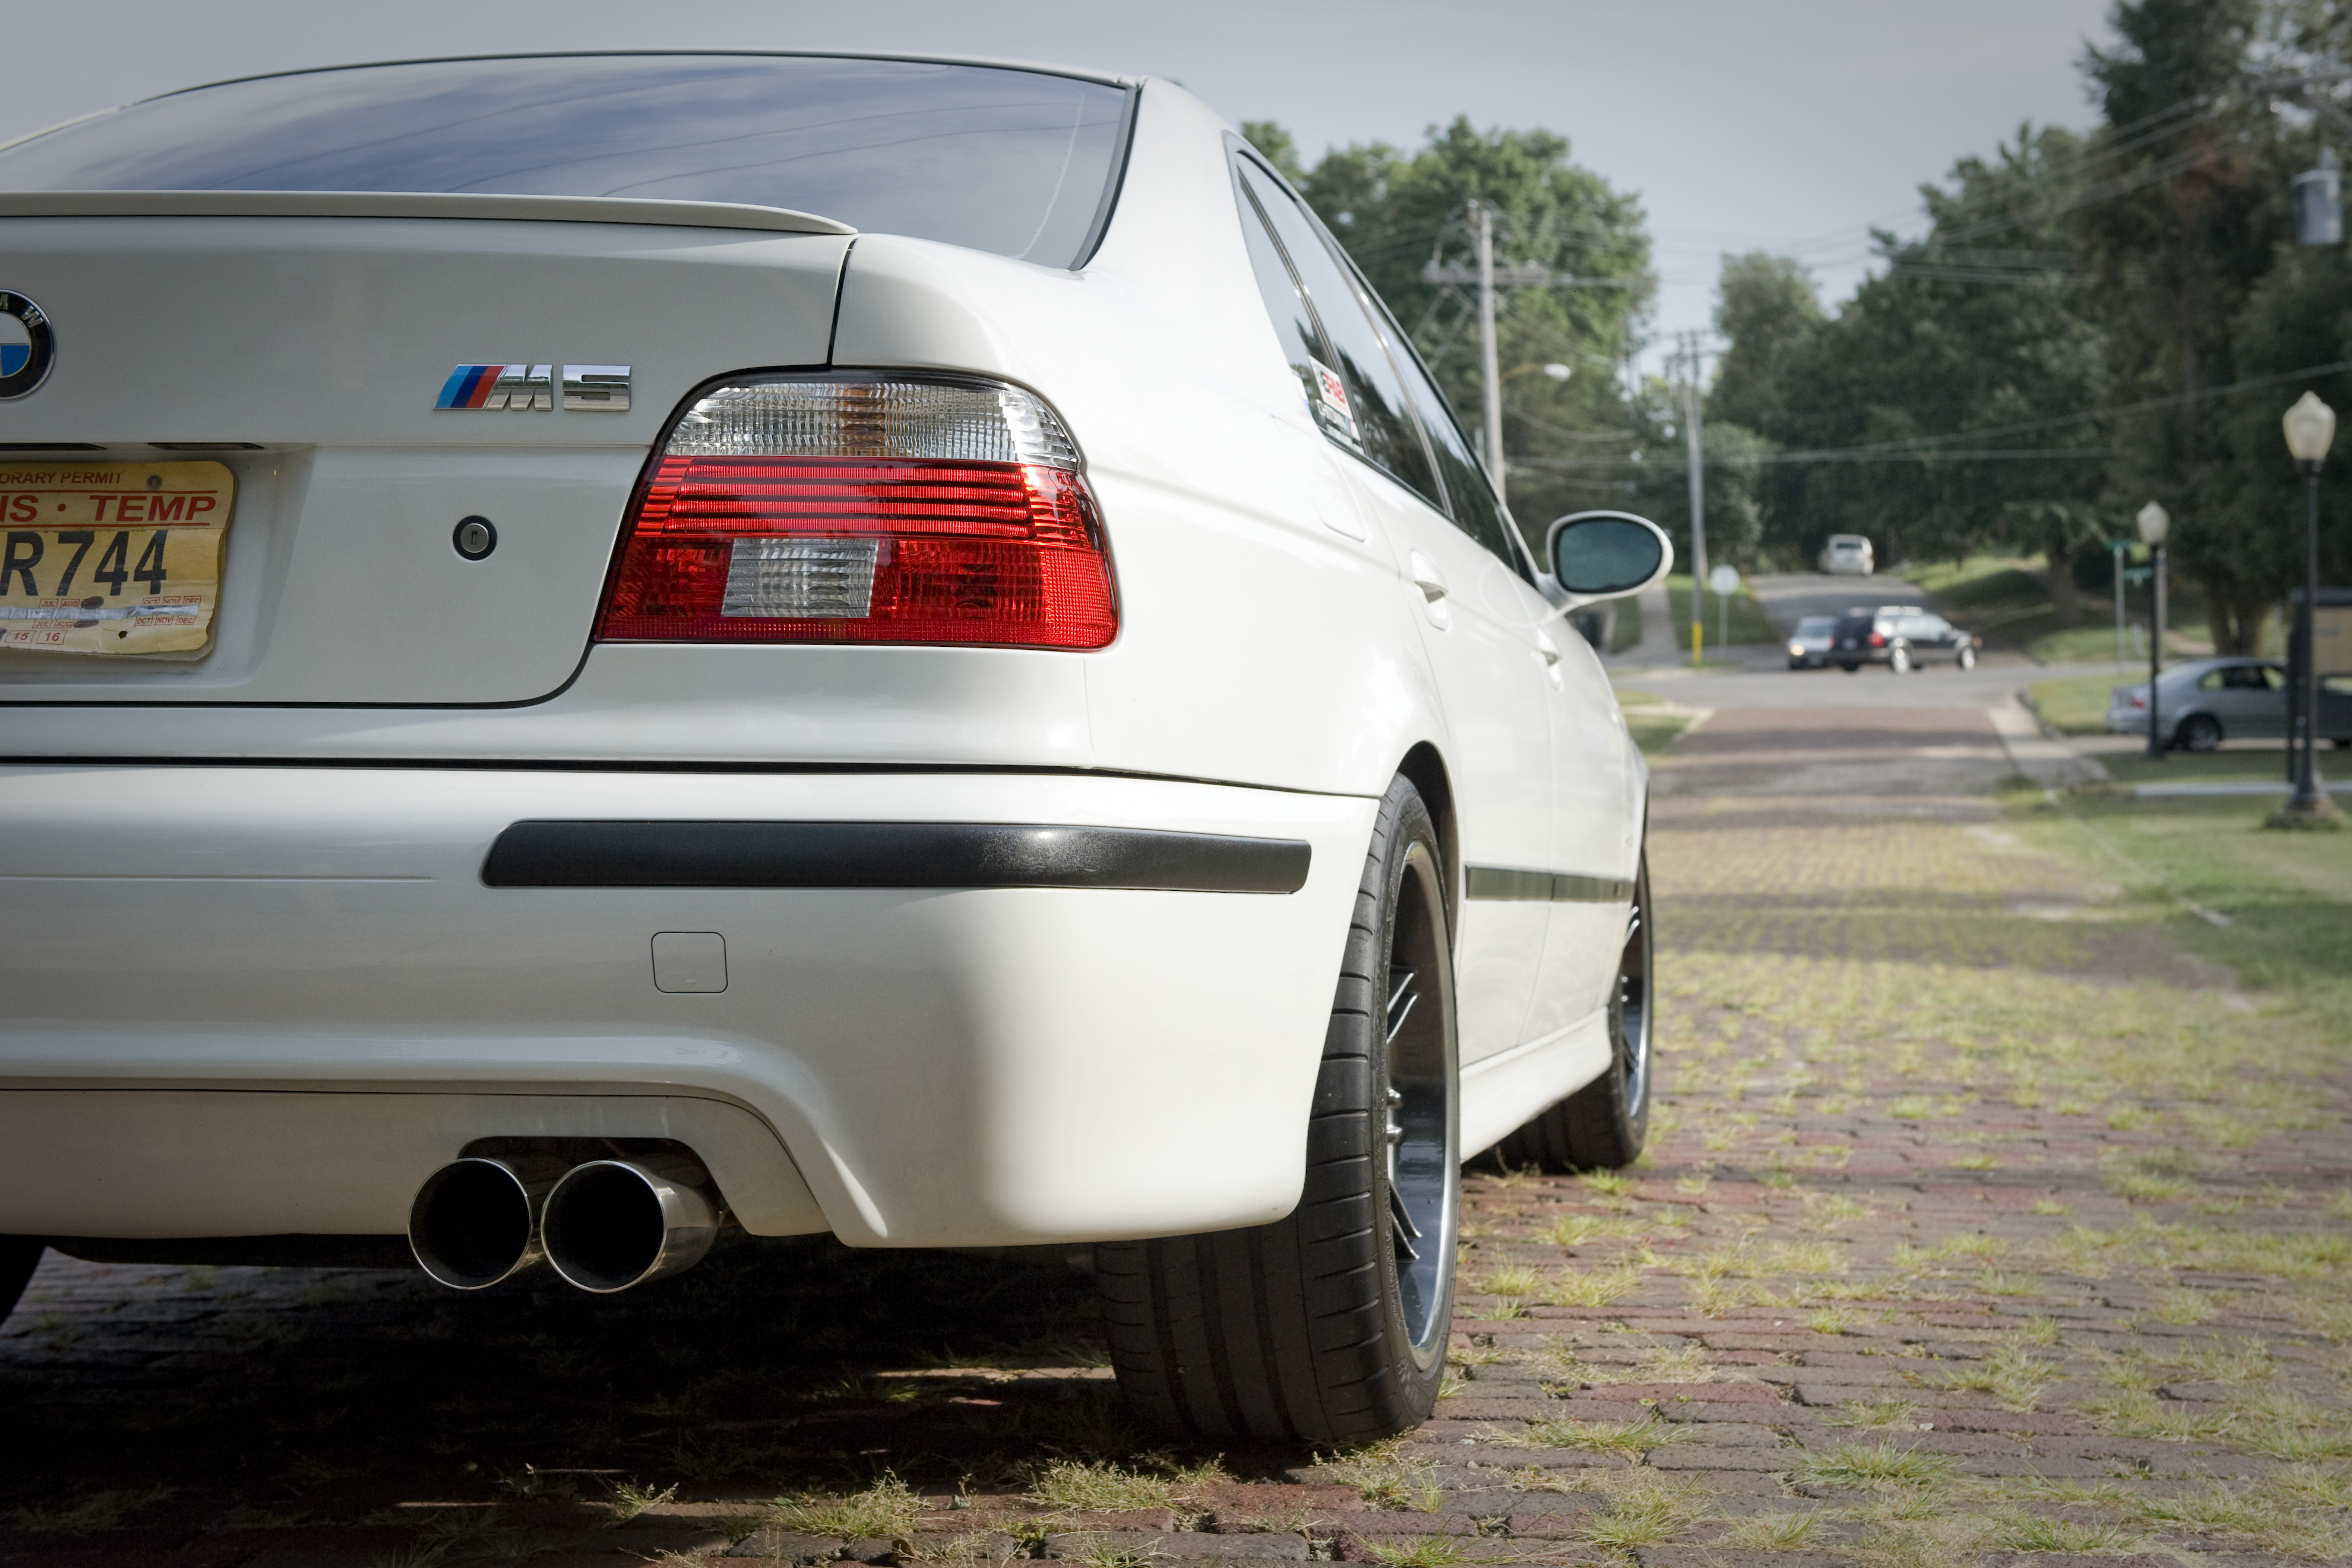
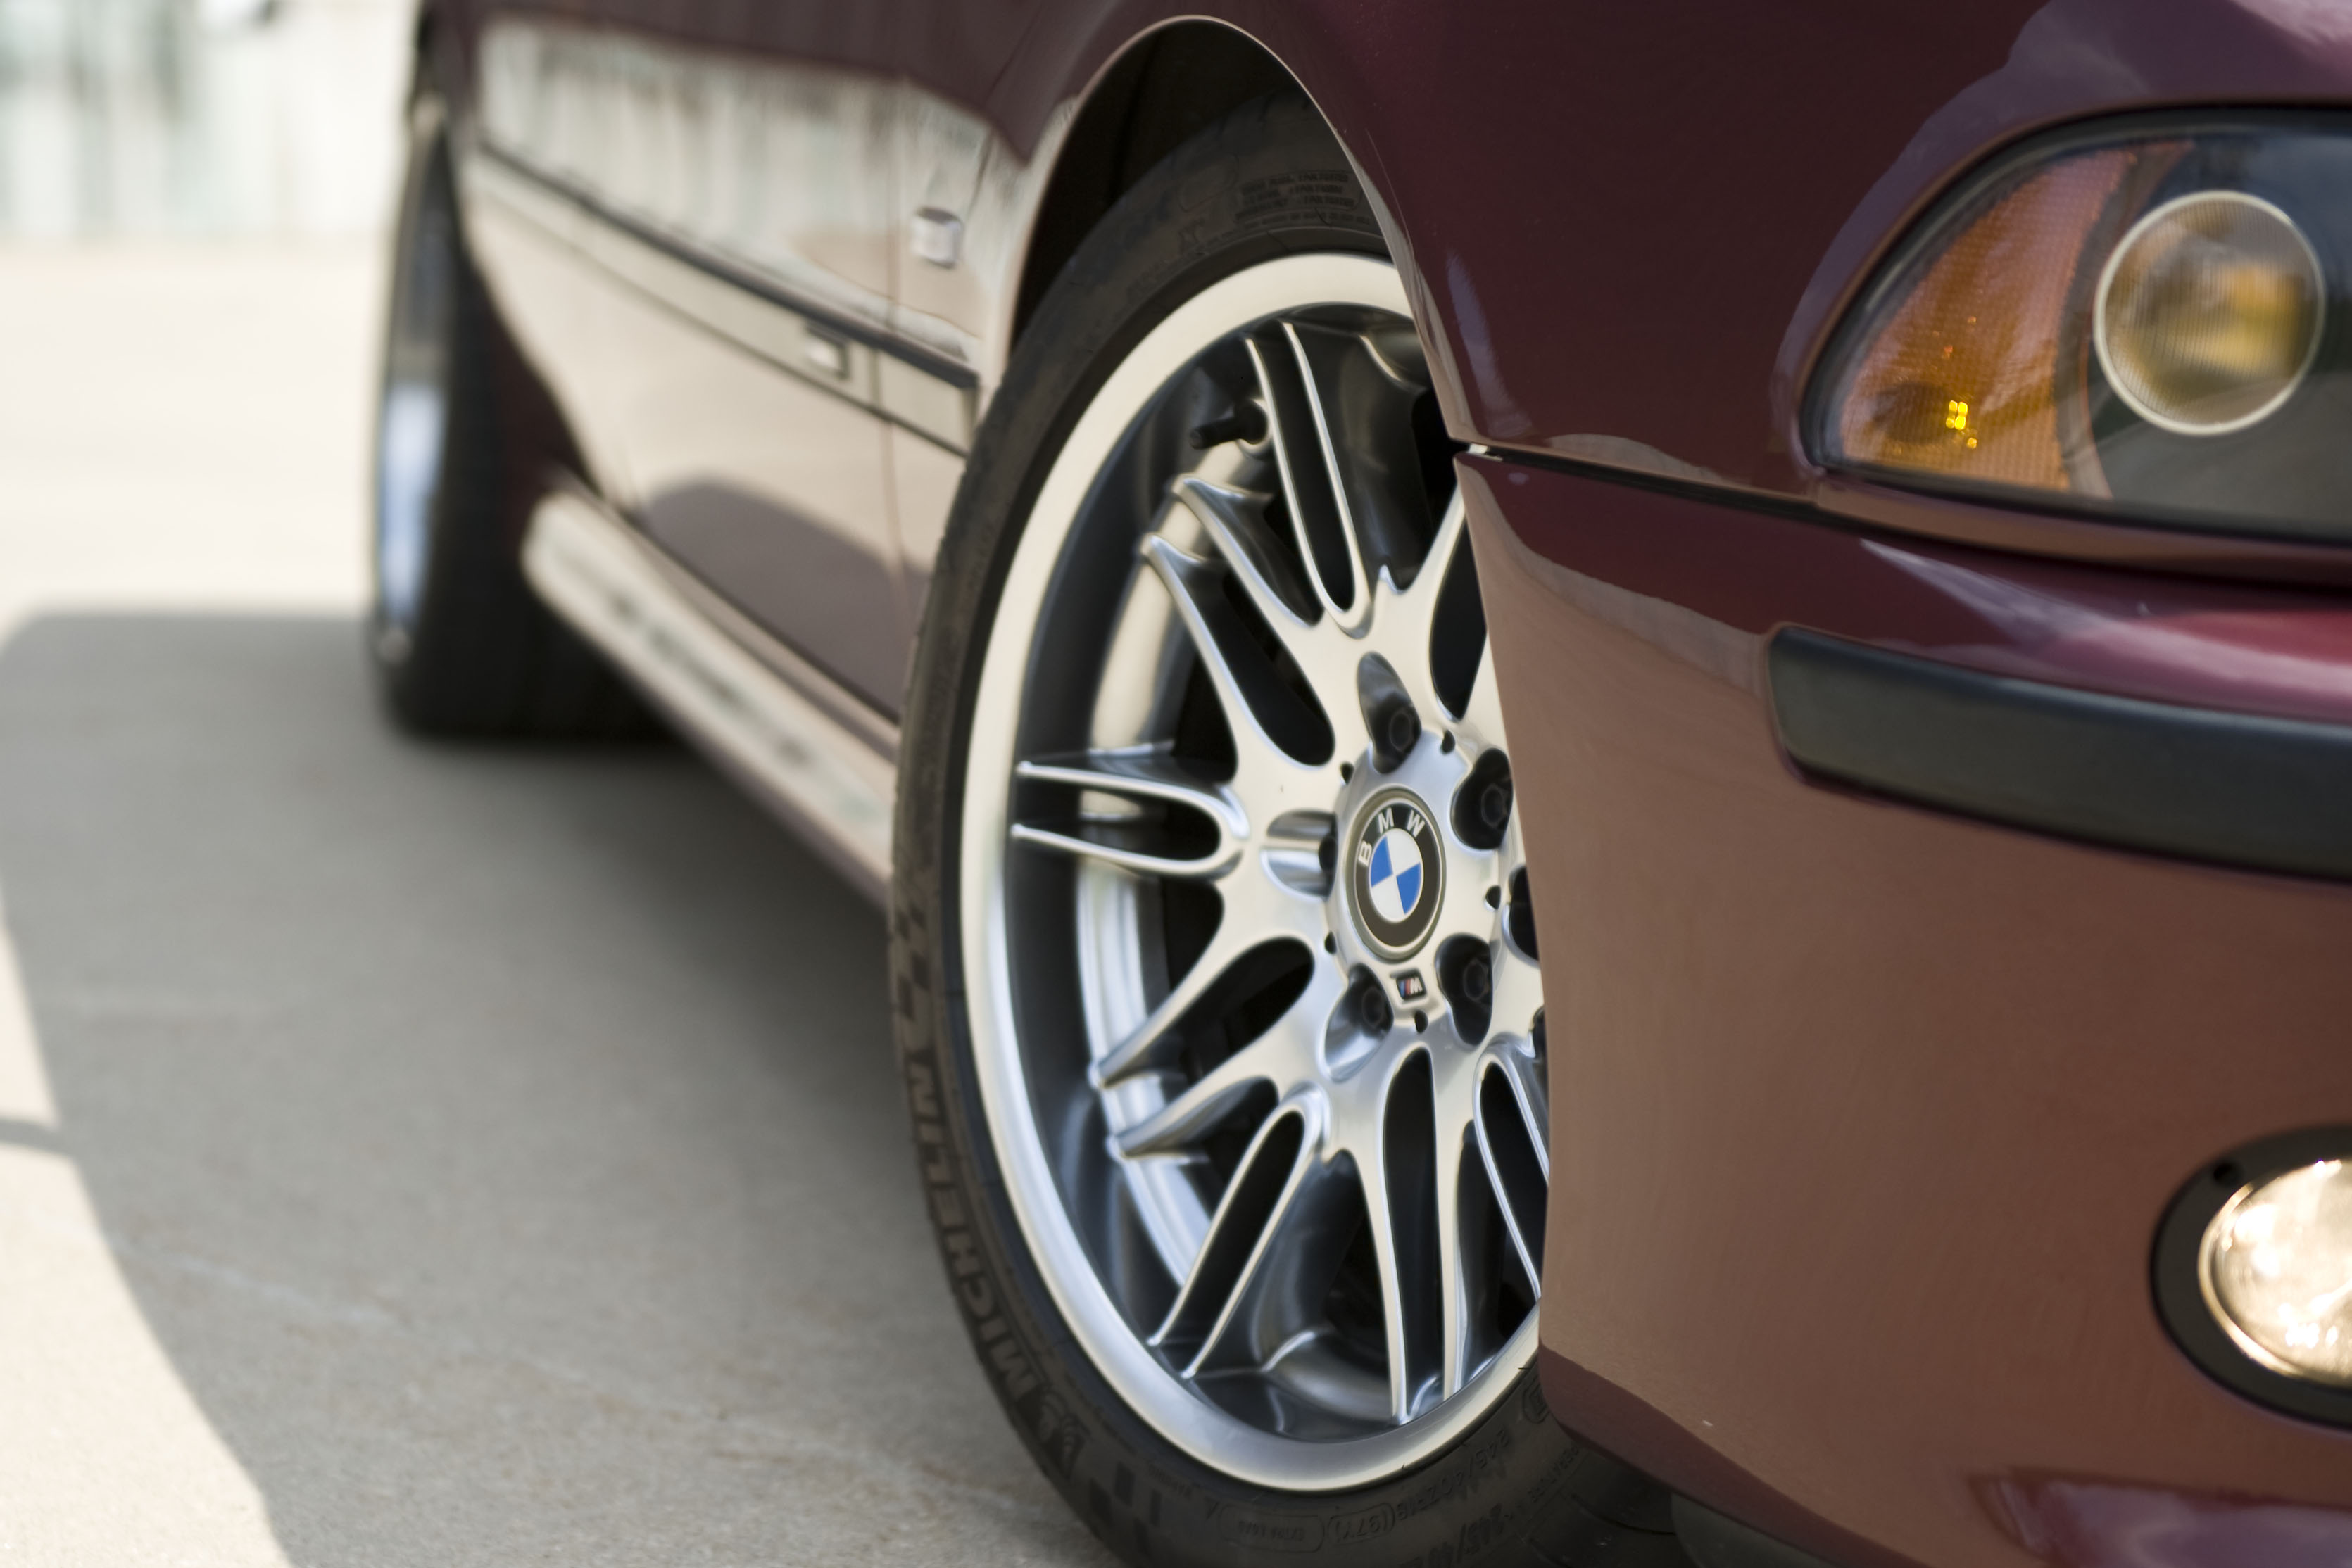
The style 65 wheels were removed, cleaned, and coated with Opti-Coat. The owner accused us of performing magic on the wheels as he did not recognize them anymore 🙂 Tires were dressed in 303 aerospace protectant, and exhaust tips were polished up as well, revealing the dual wall construction.
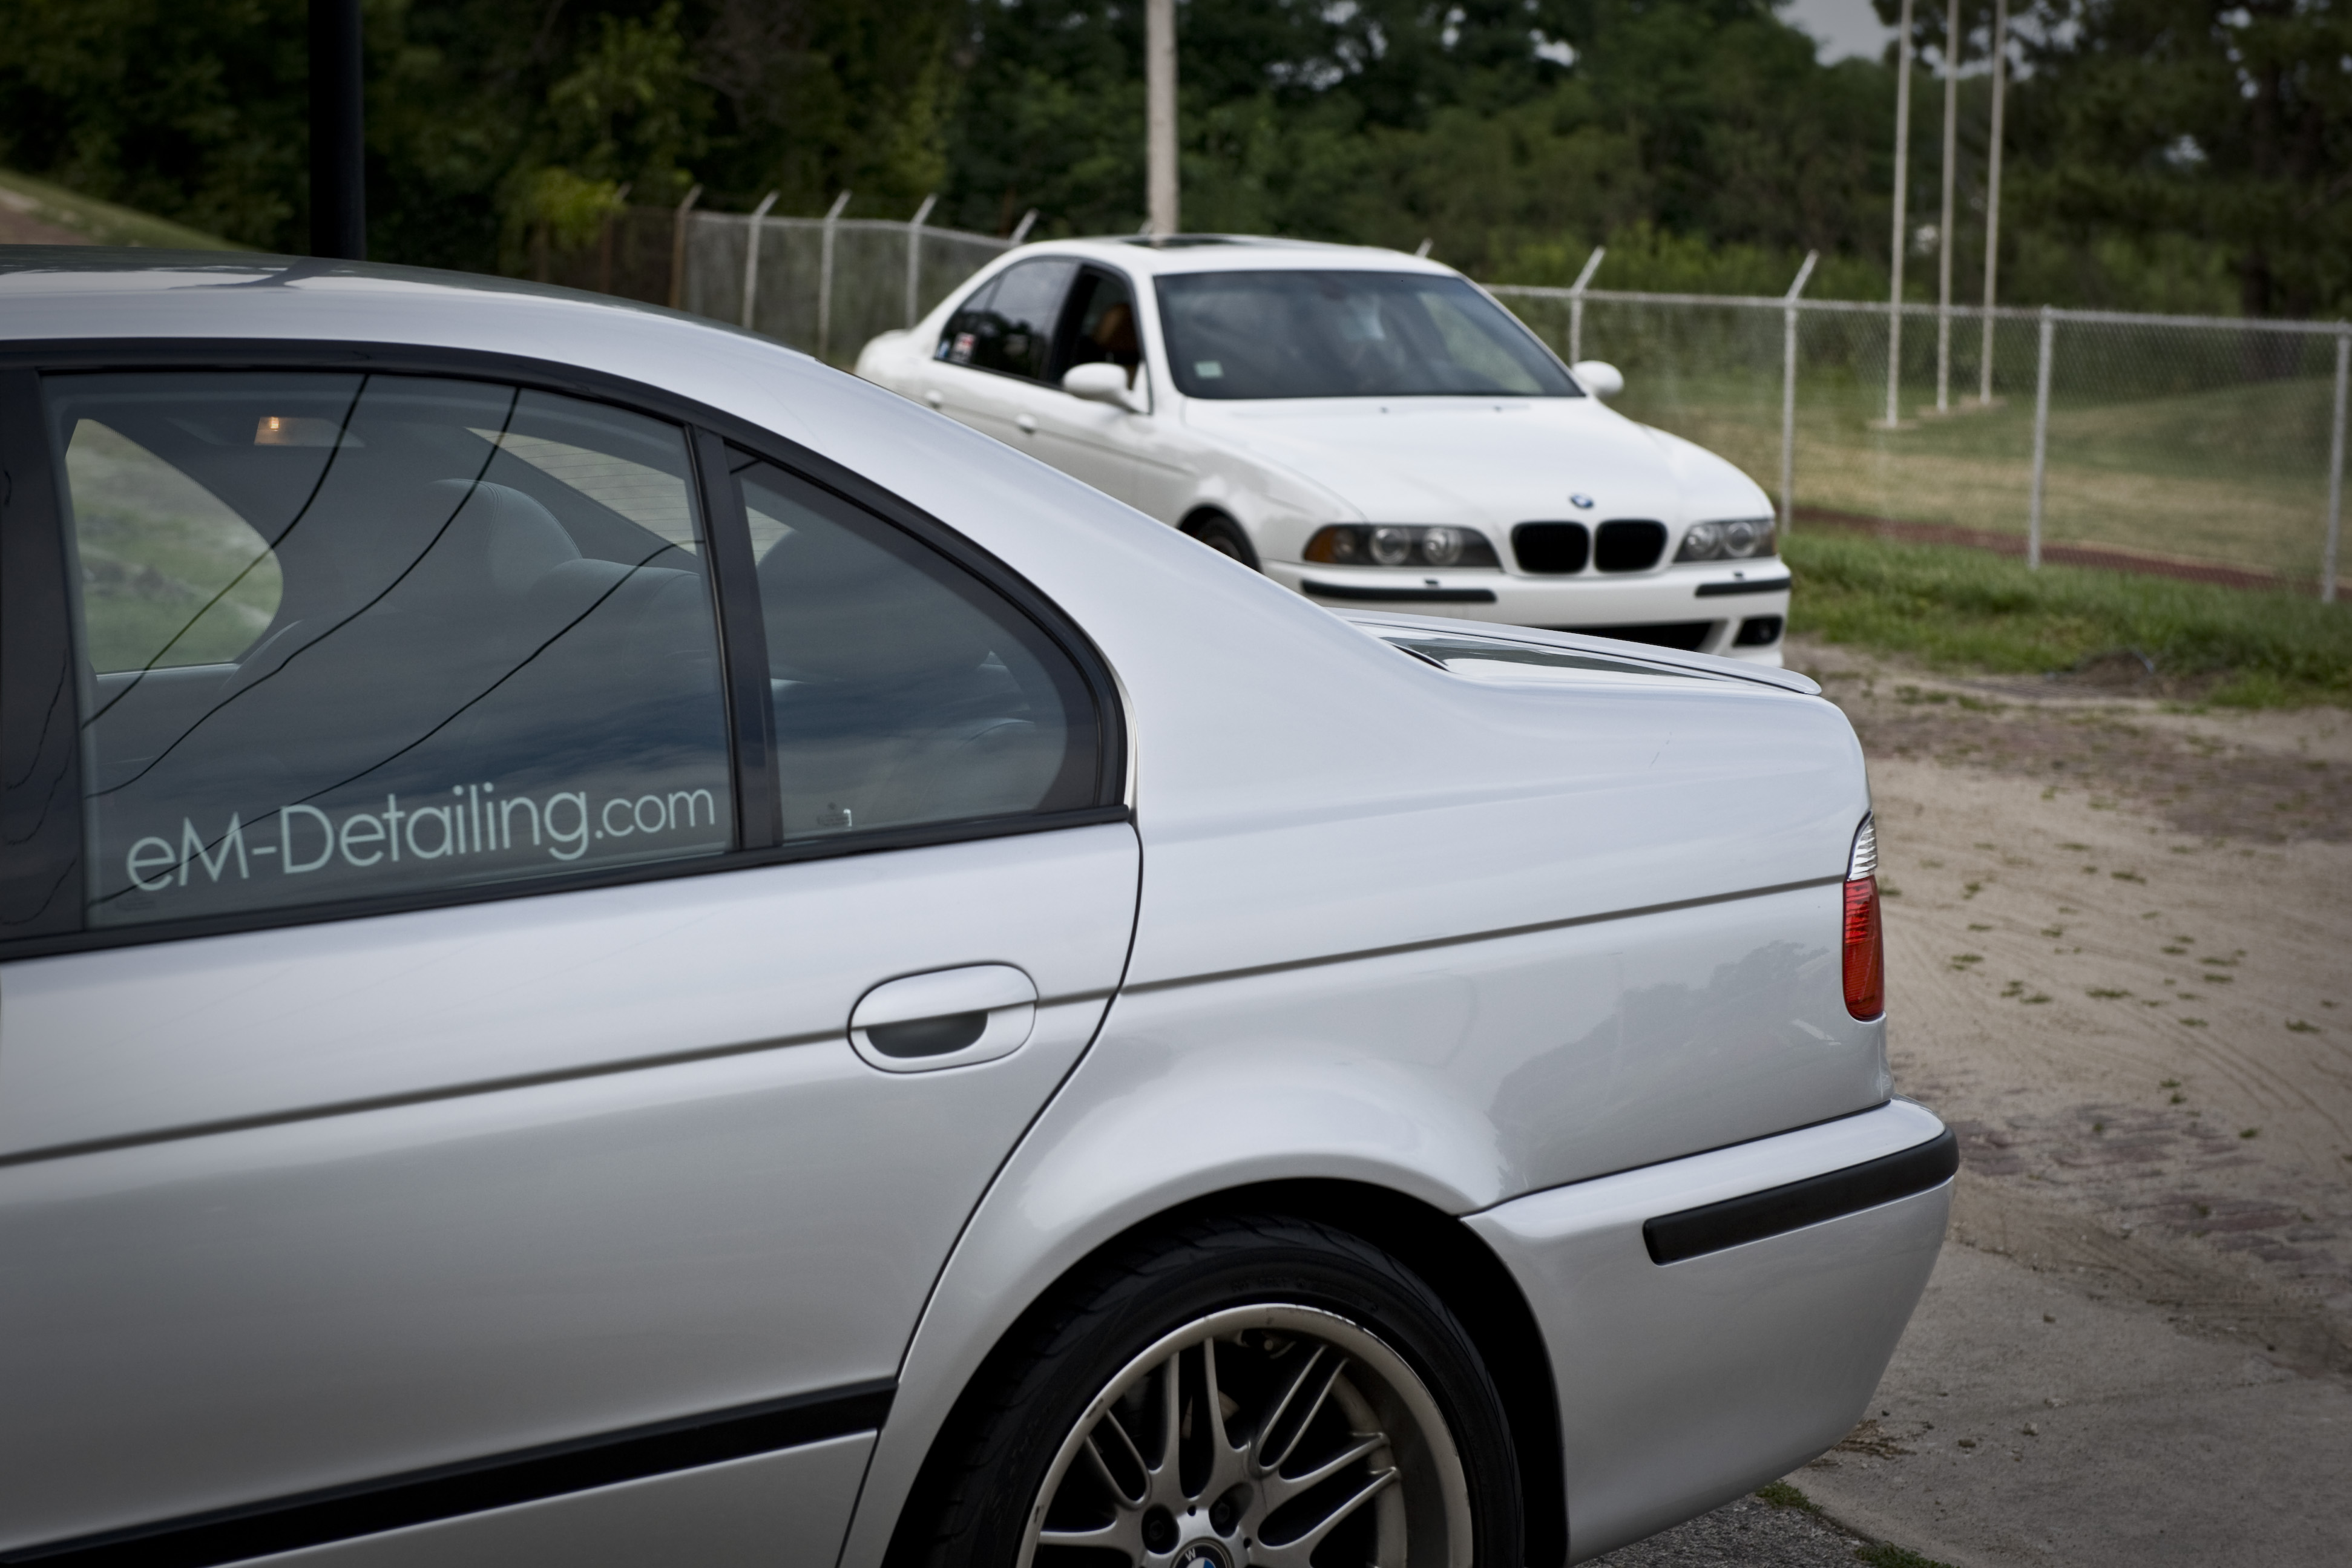
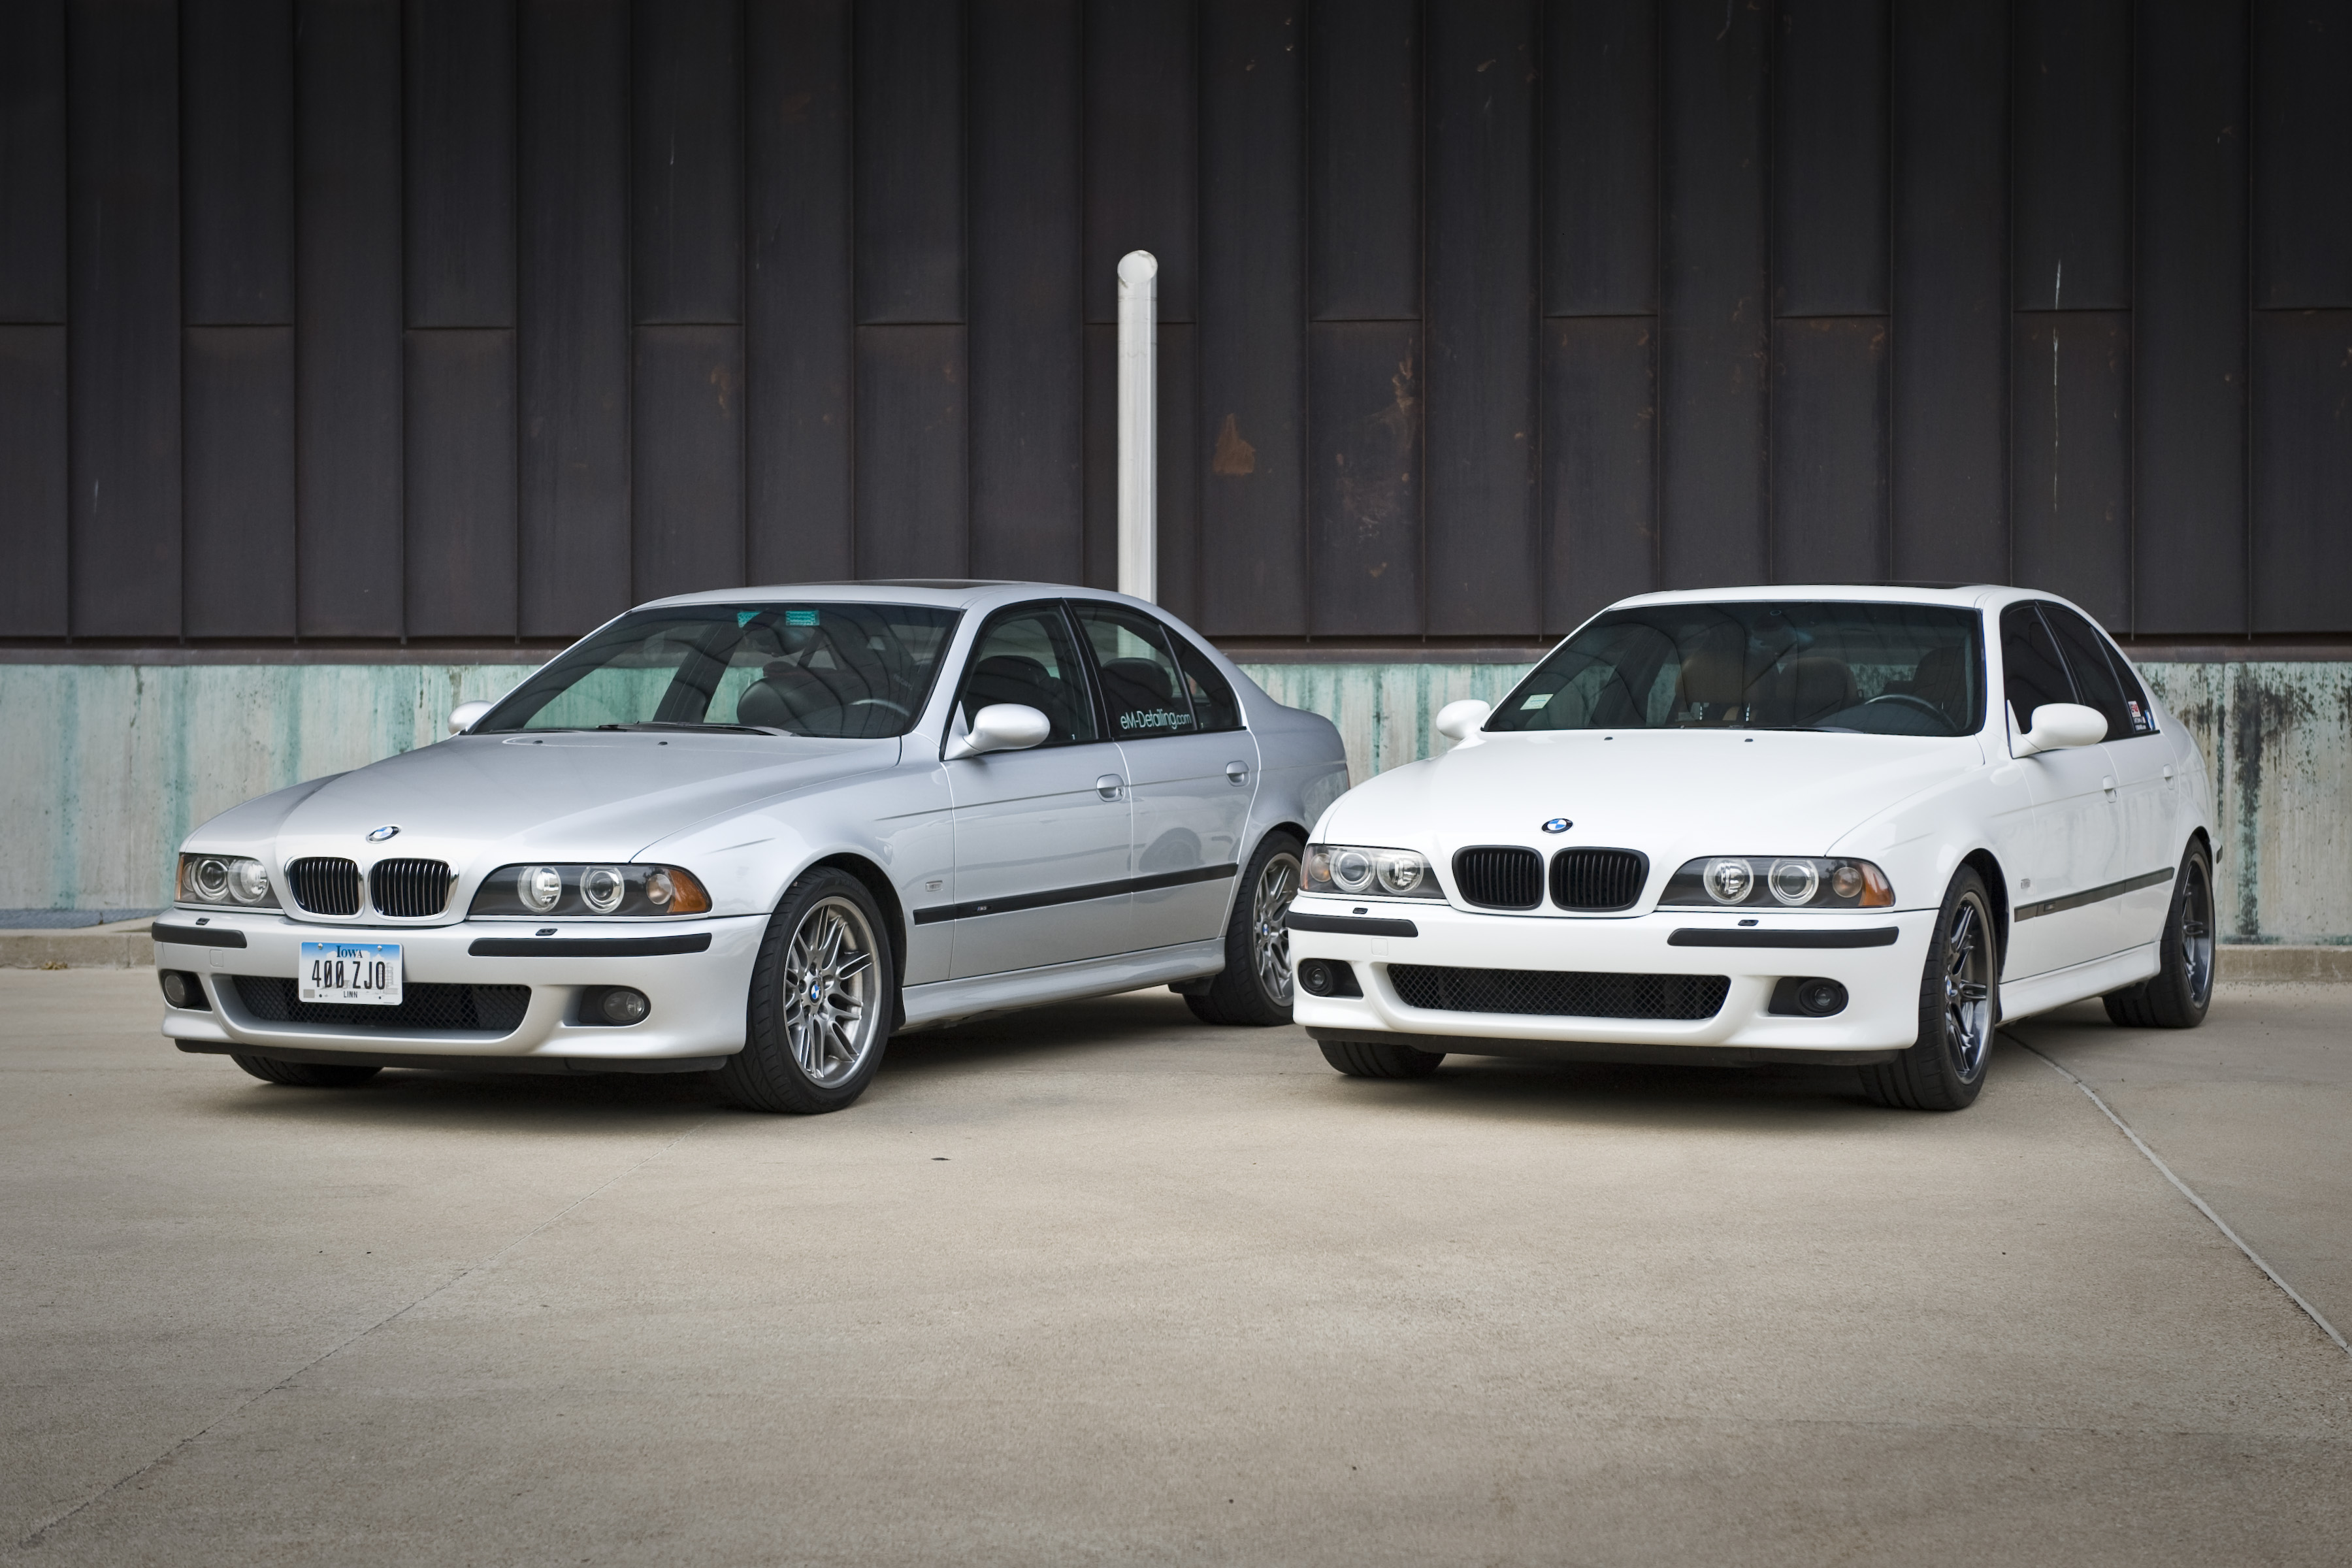
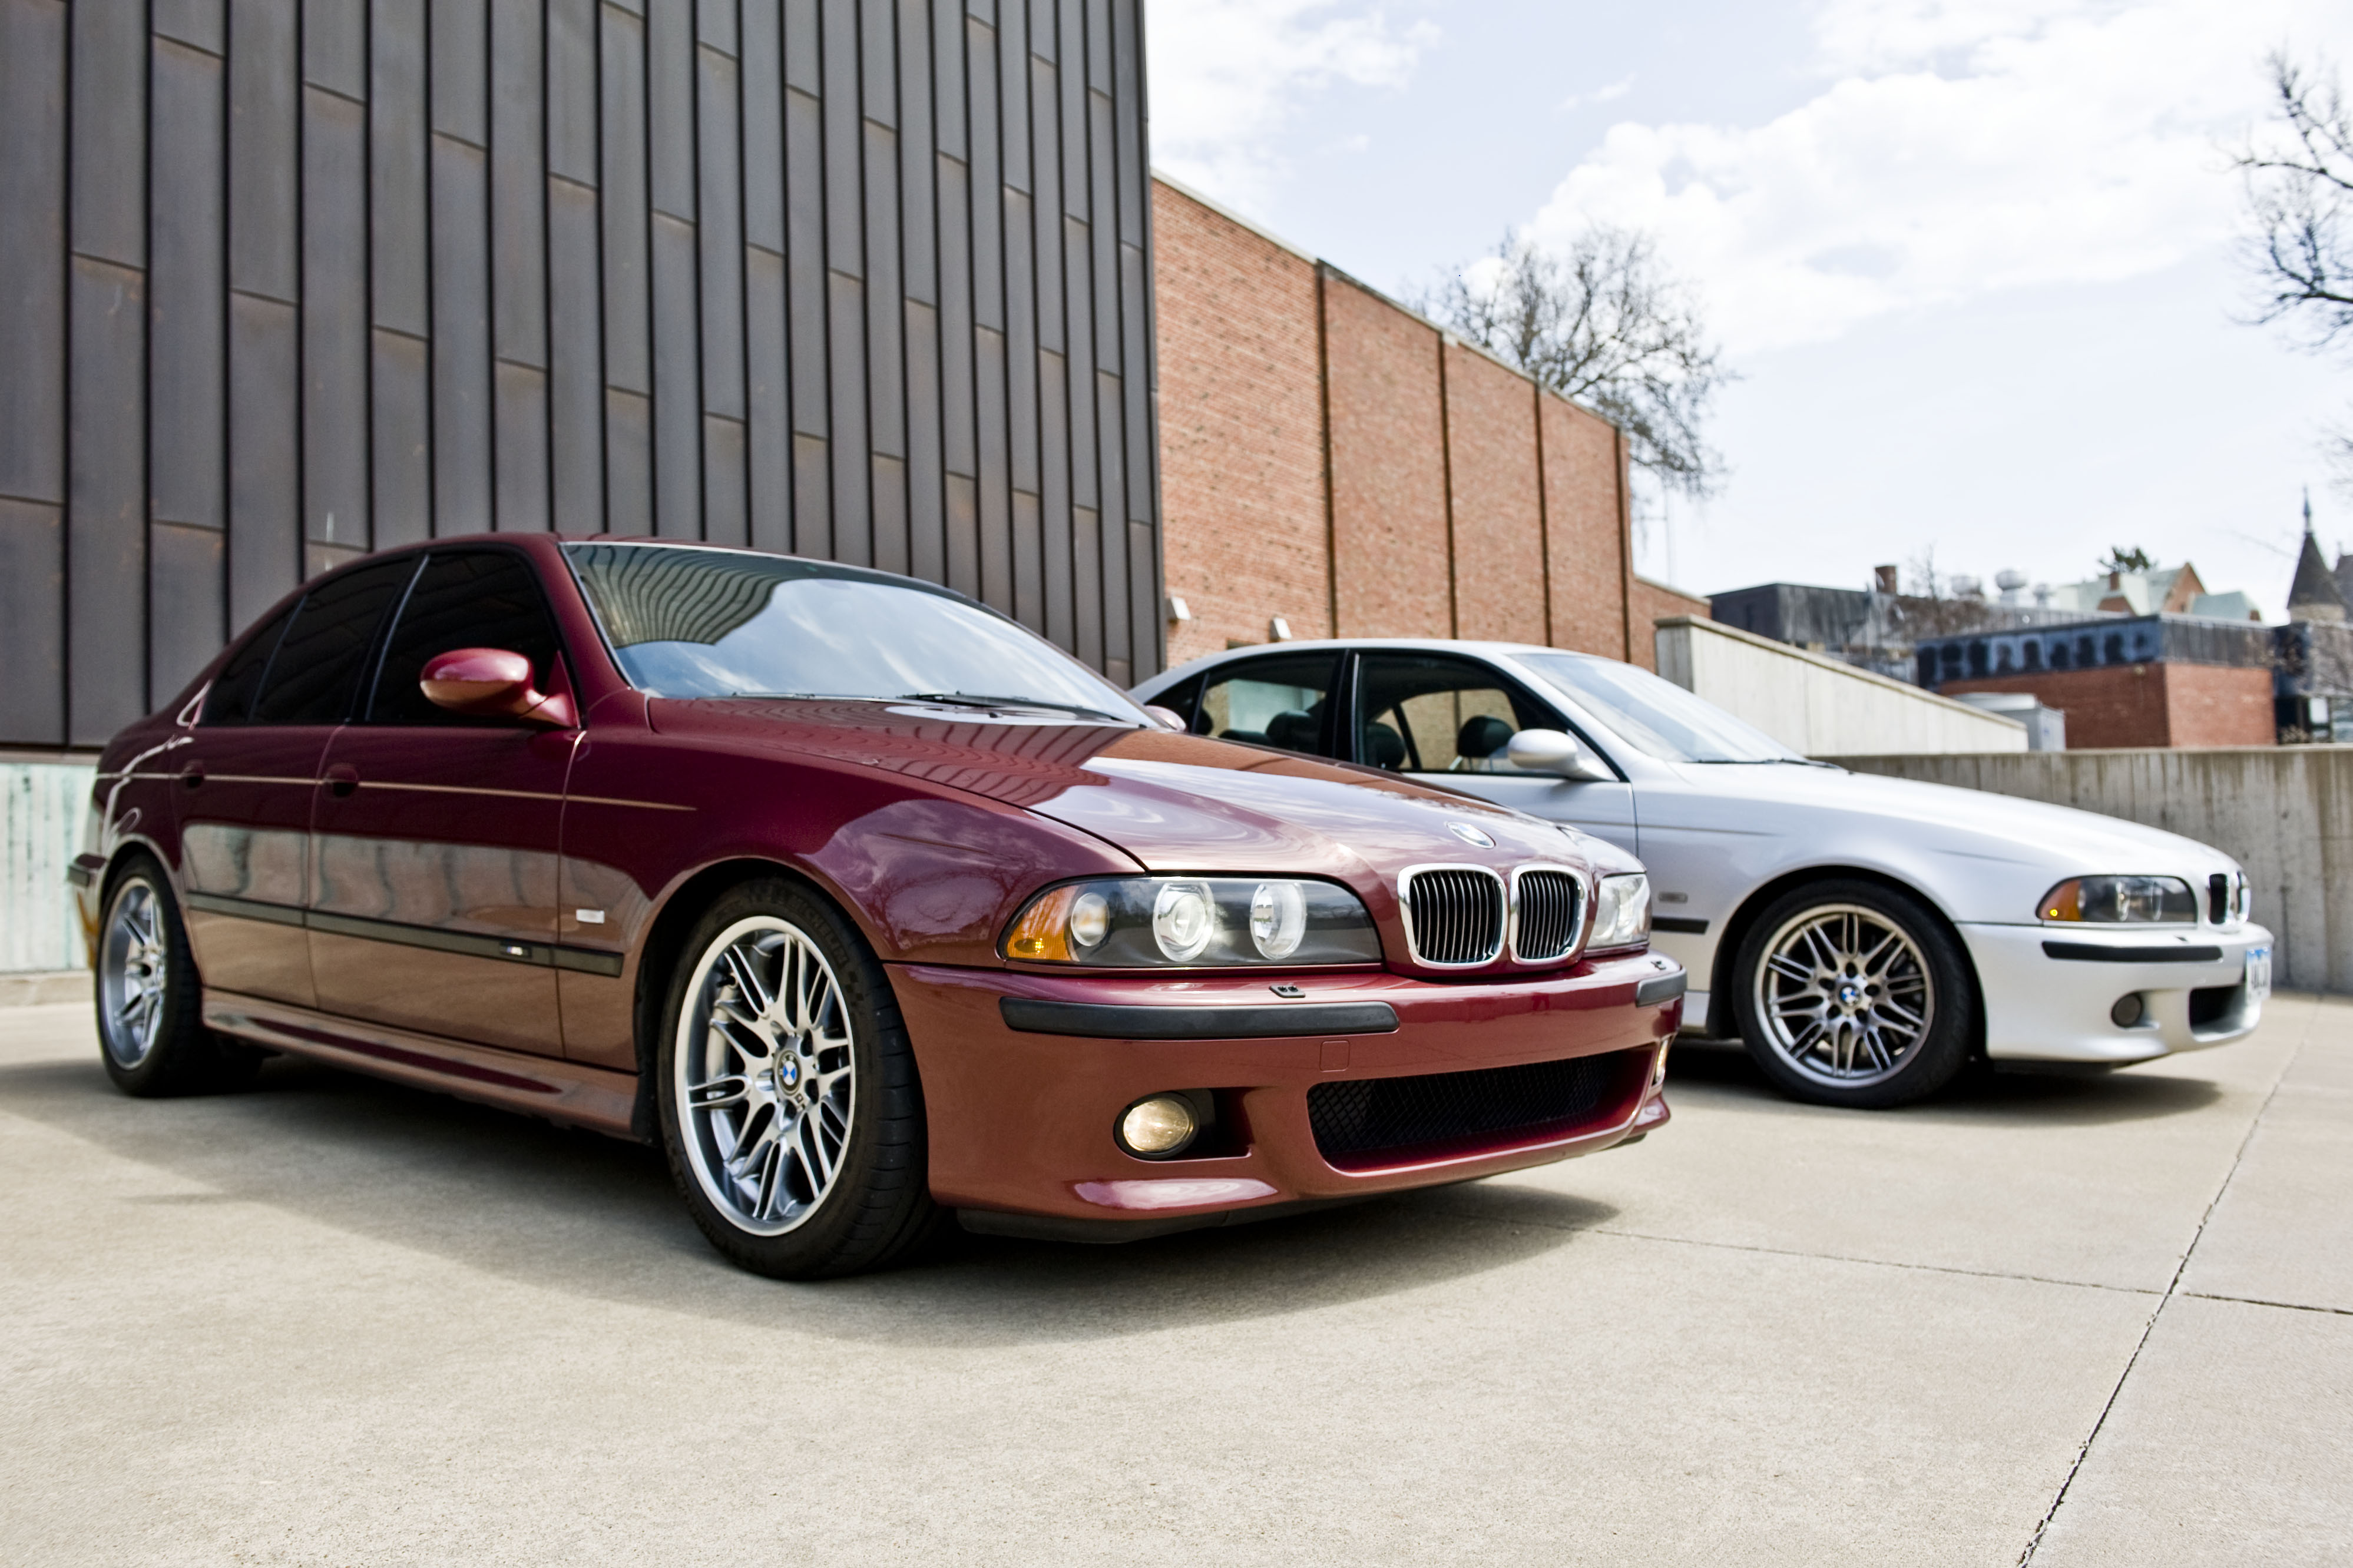
Following a final inspection, the car was prepped, and coated with Optimum Opti-Coat 2.0. We finished the day with a photoshoot, my own Titanium Silver M5 made a cameo as well, sporting its fresh coat of Gtechniq EXO.
Full Paint Correction and Opti-Coat on 2002 BMW e39 M5
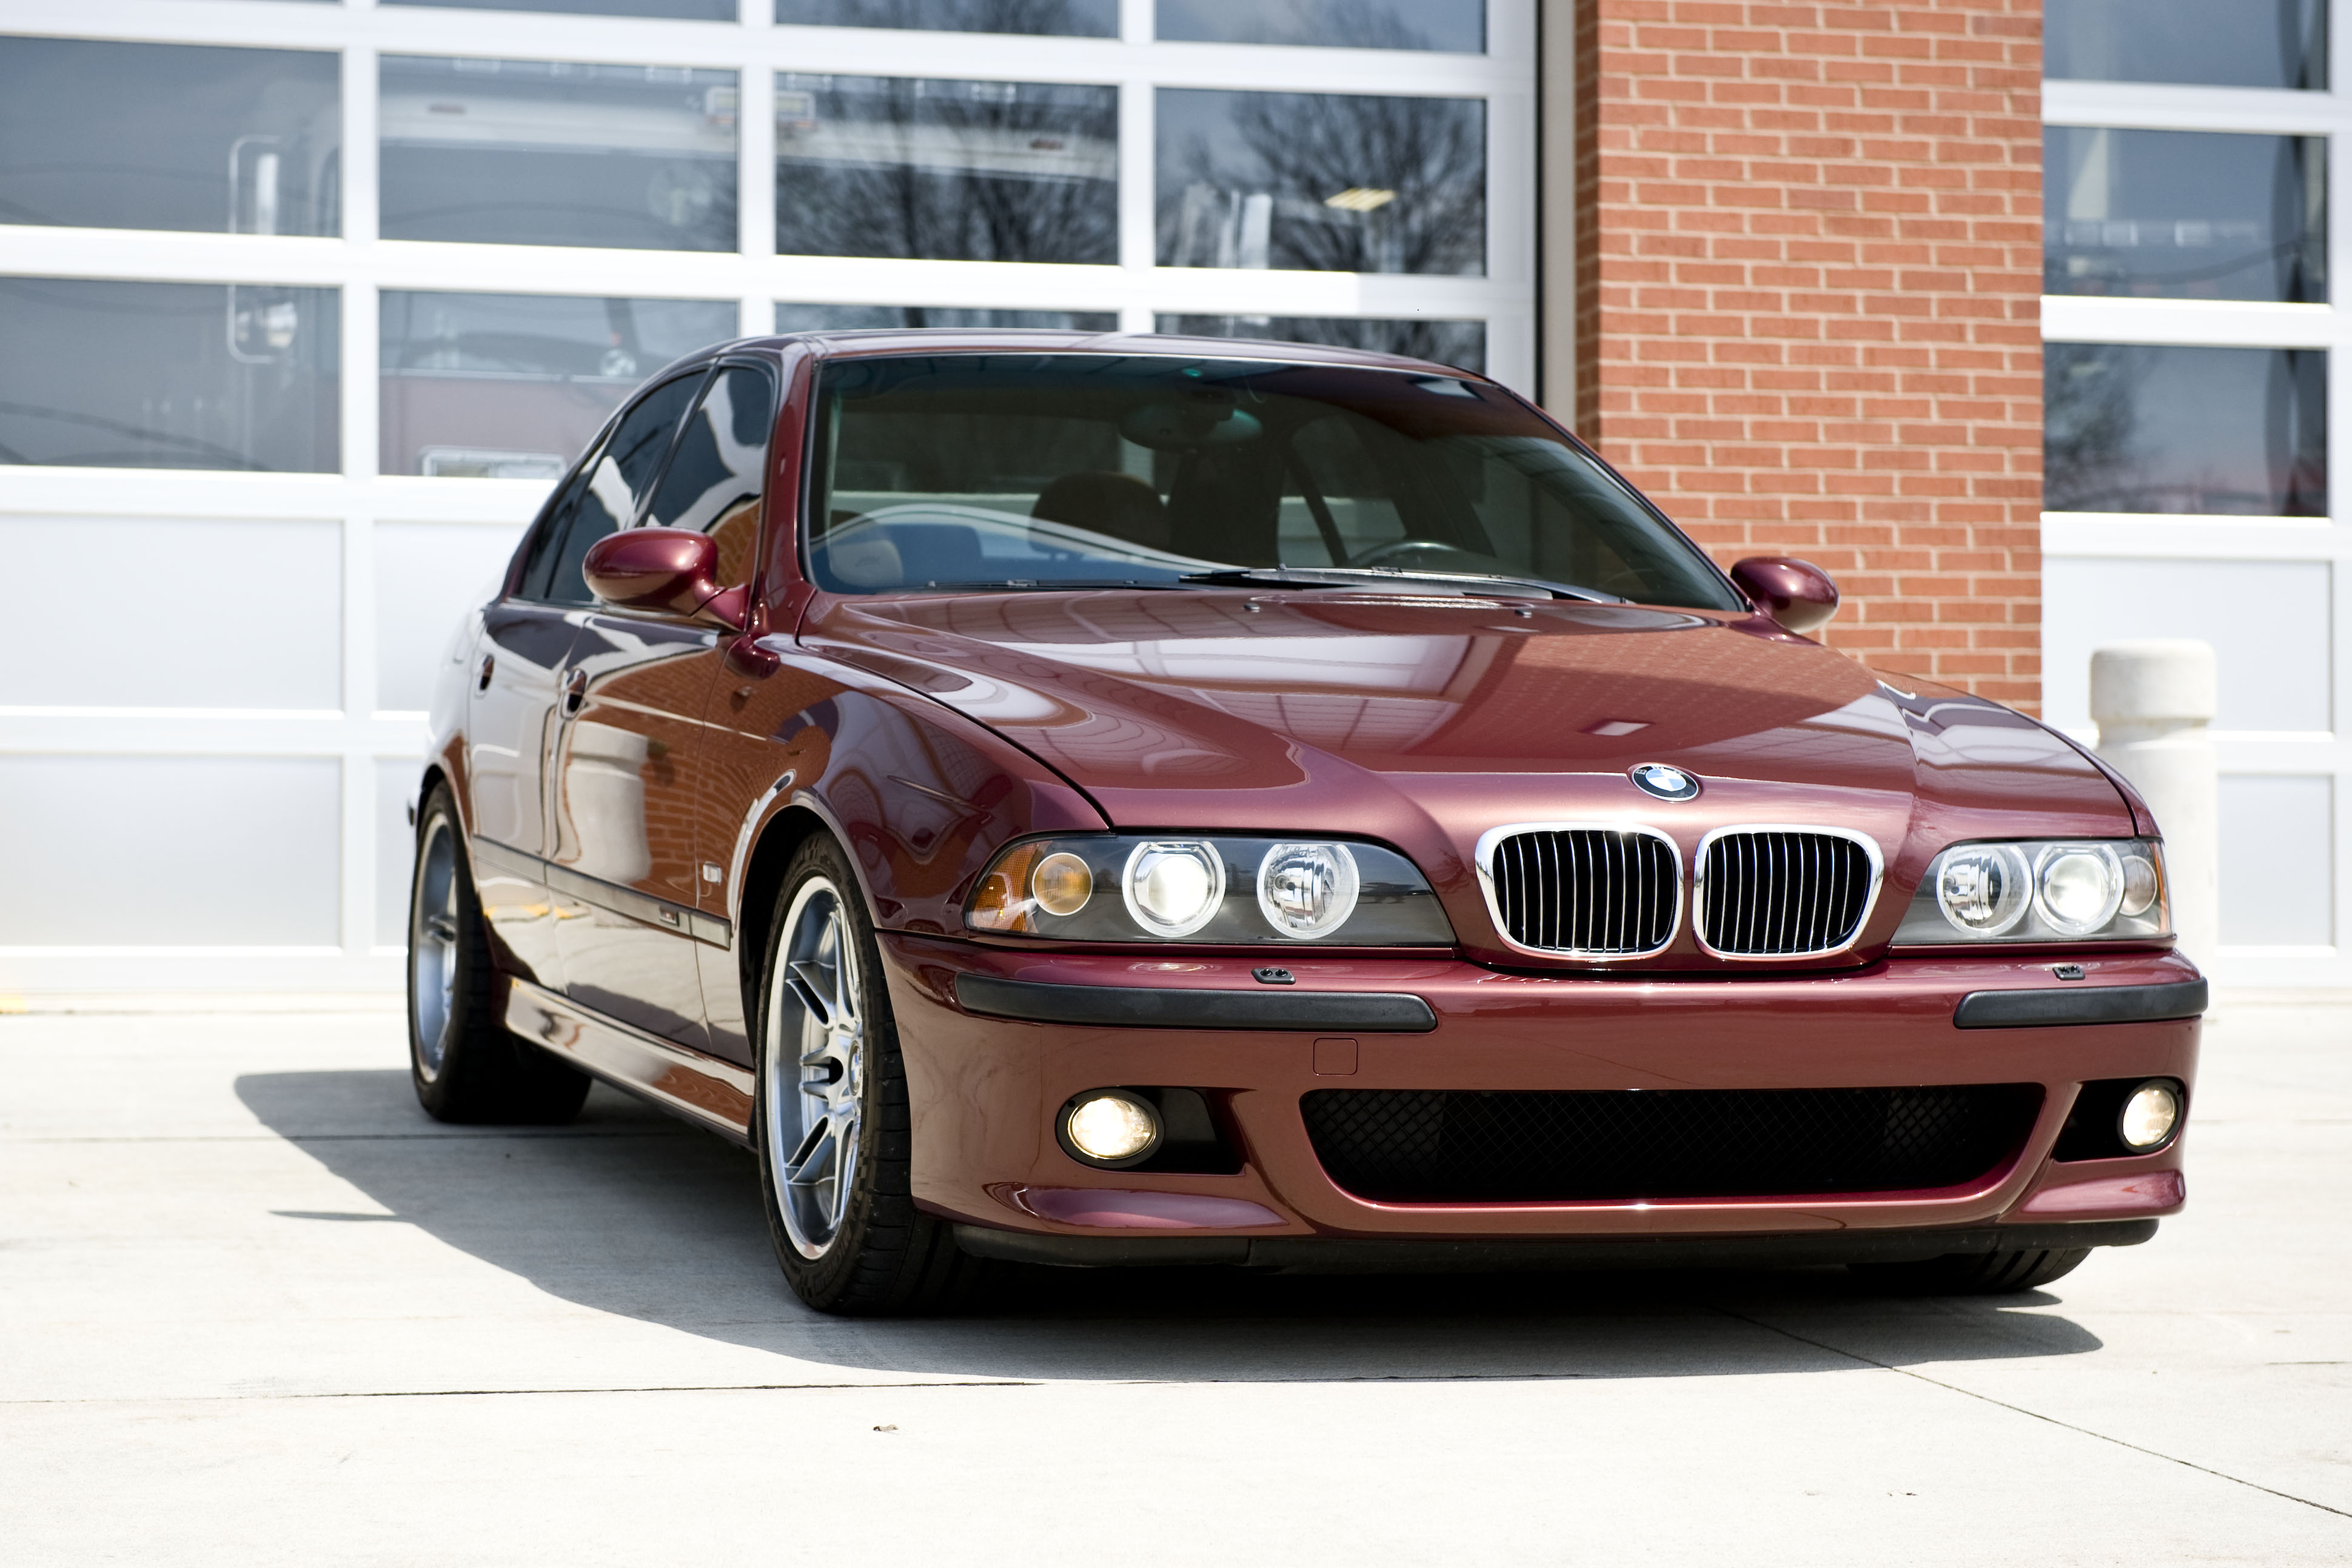
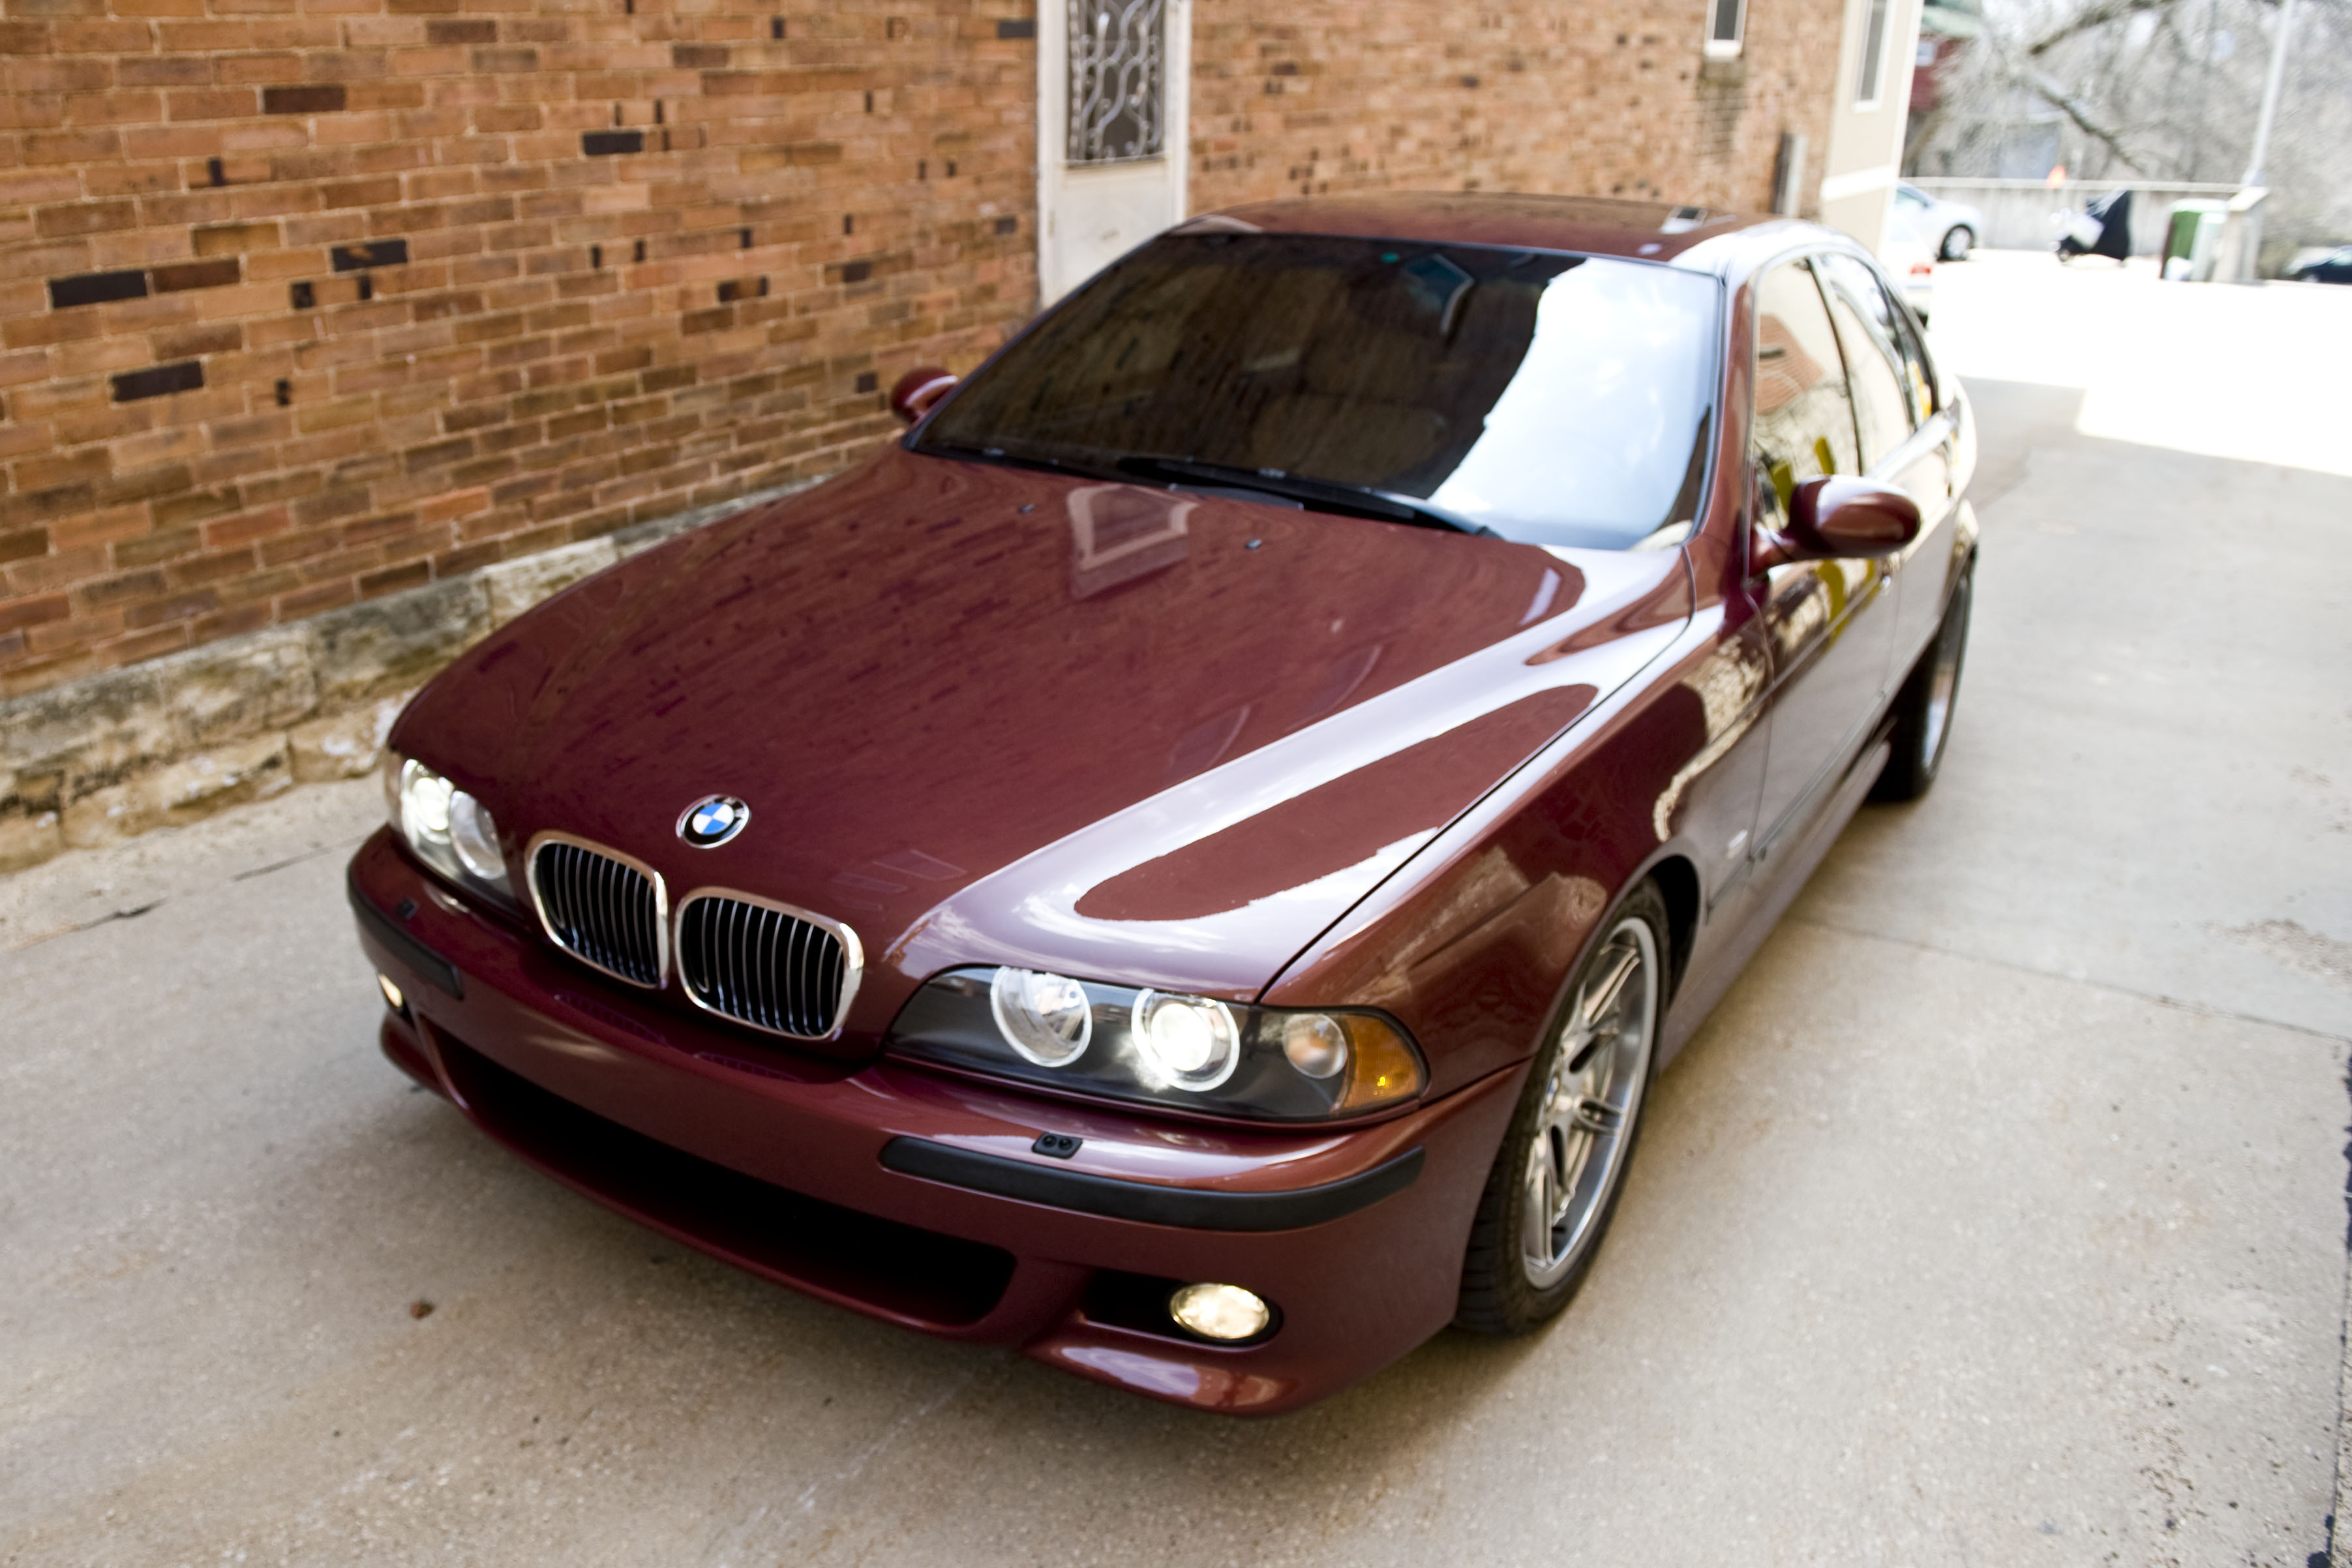
This 2002 BMW M5 came to us all the way from Illinois for a paint correction and Opti-Coat application. This e39 M5 arrived Friday evening – to be picked up again Sunday noon. Since there was rain forecast for Sunday (rain that never did come) I set out to have the car fully coated by Saturday night, to allow for the most cure time before it had to get out in the rain.
Strip Down
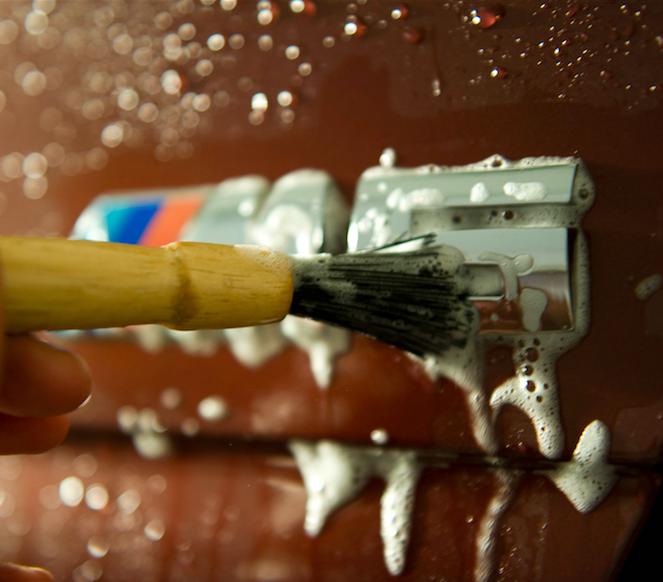
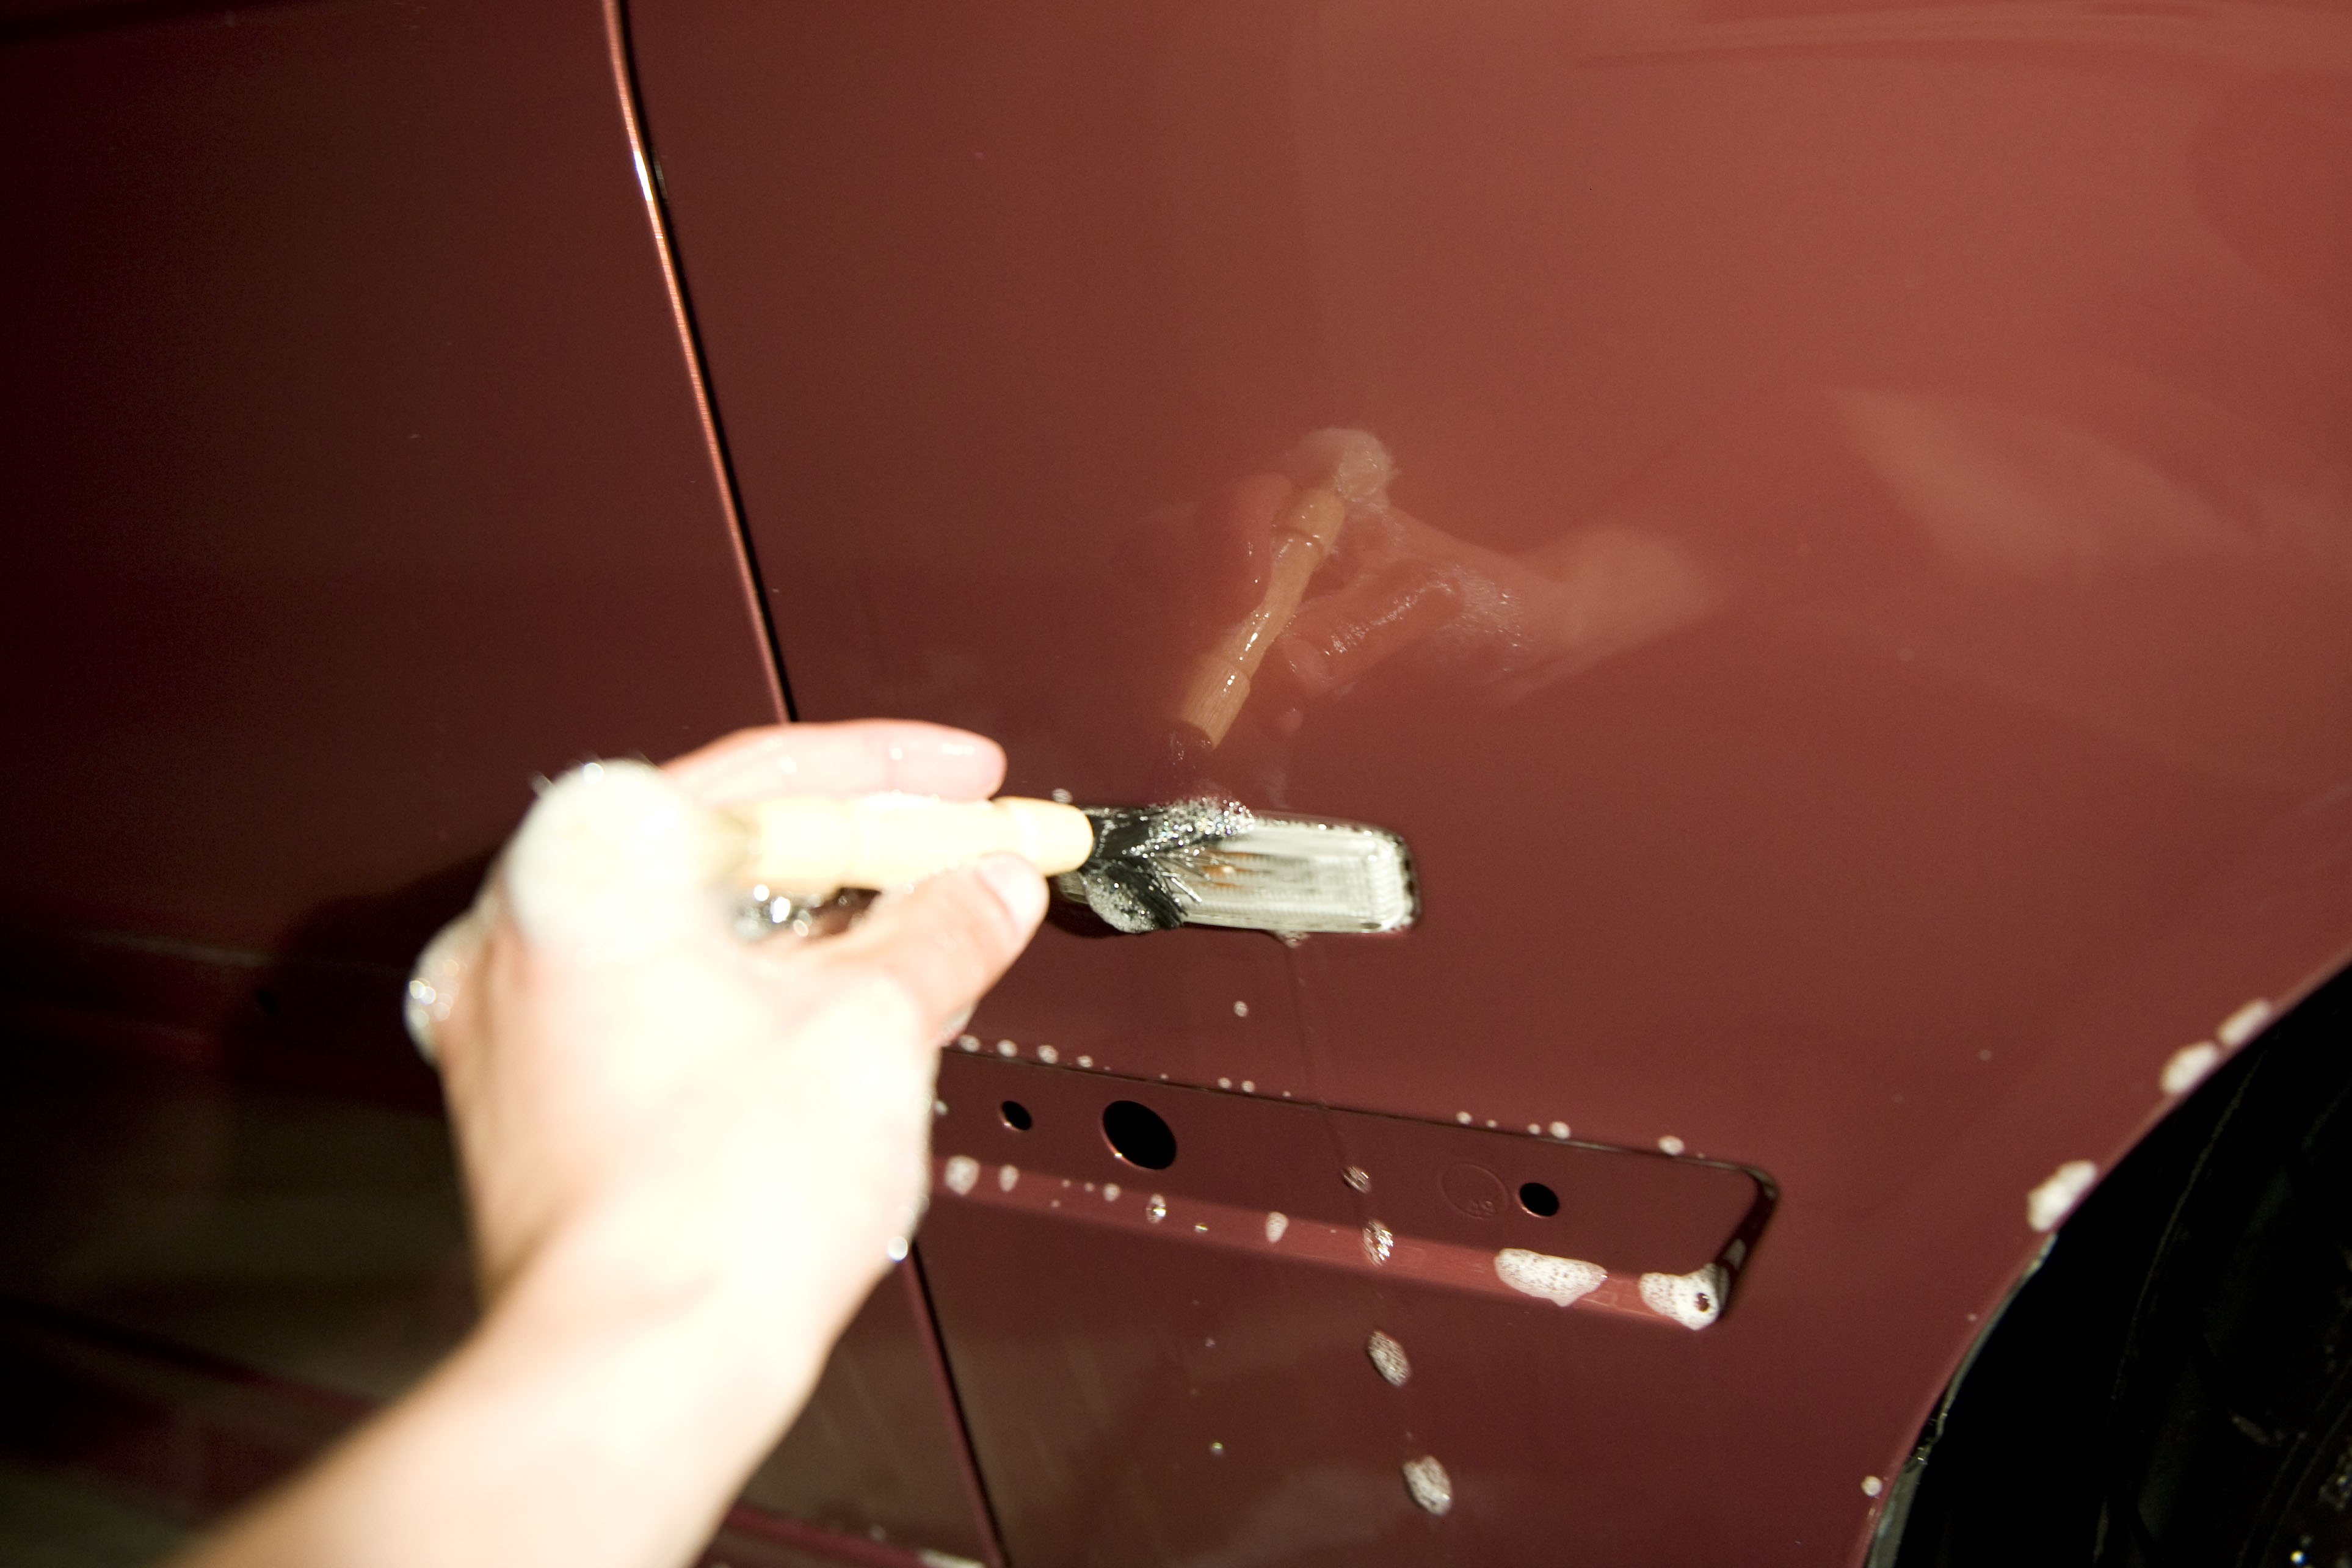
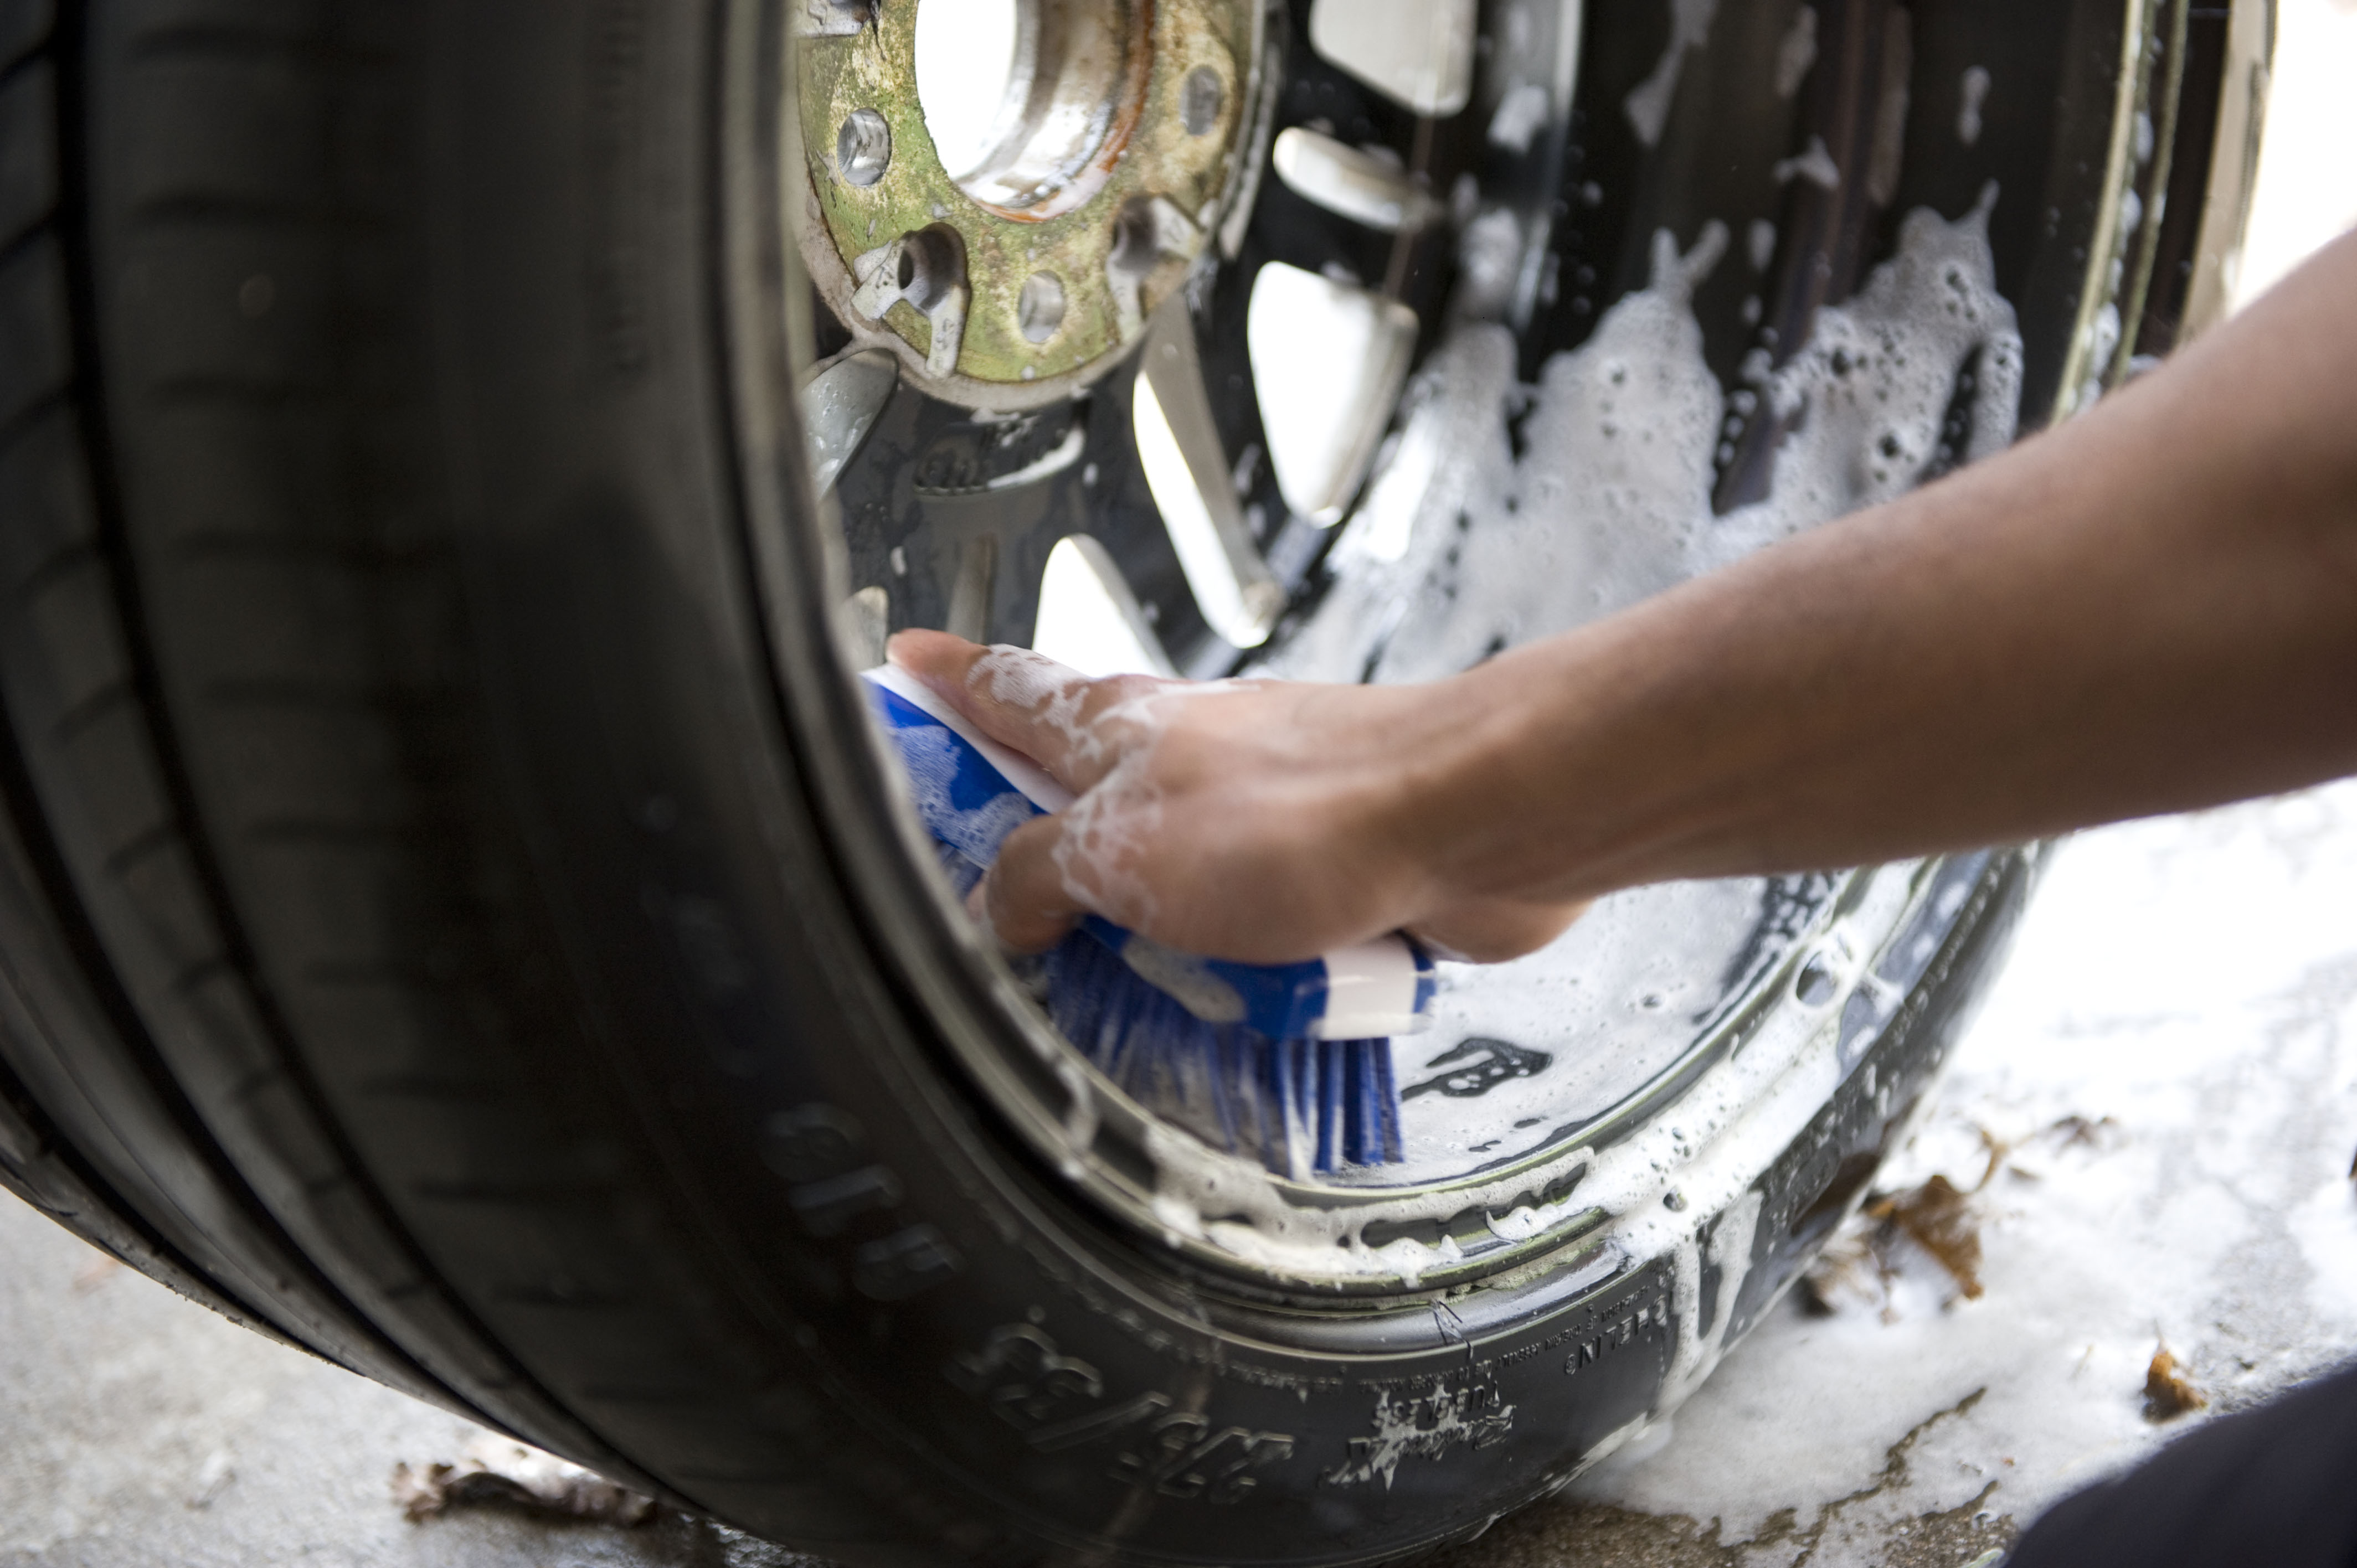
As soon as the car went through the intake process, all trim pieces, license plates, and tail lights were removed. Since the car was beading quite well – indicative of wax – the M5 was washed with a dish soap detergent to remove as much wax as possible. (anytime you see my left hand cleaning something, rest assured that shot is staged – my camera operates right handed)
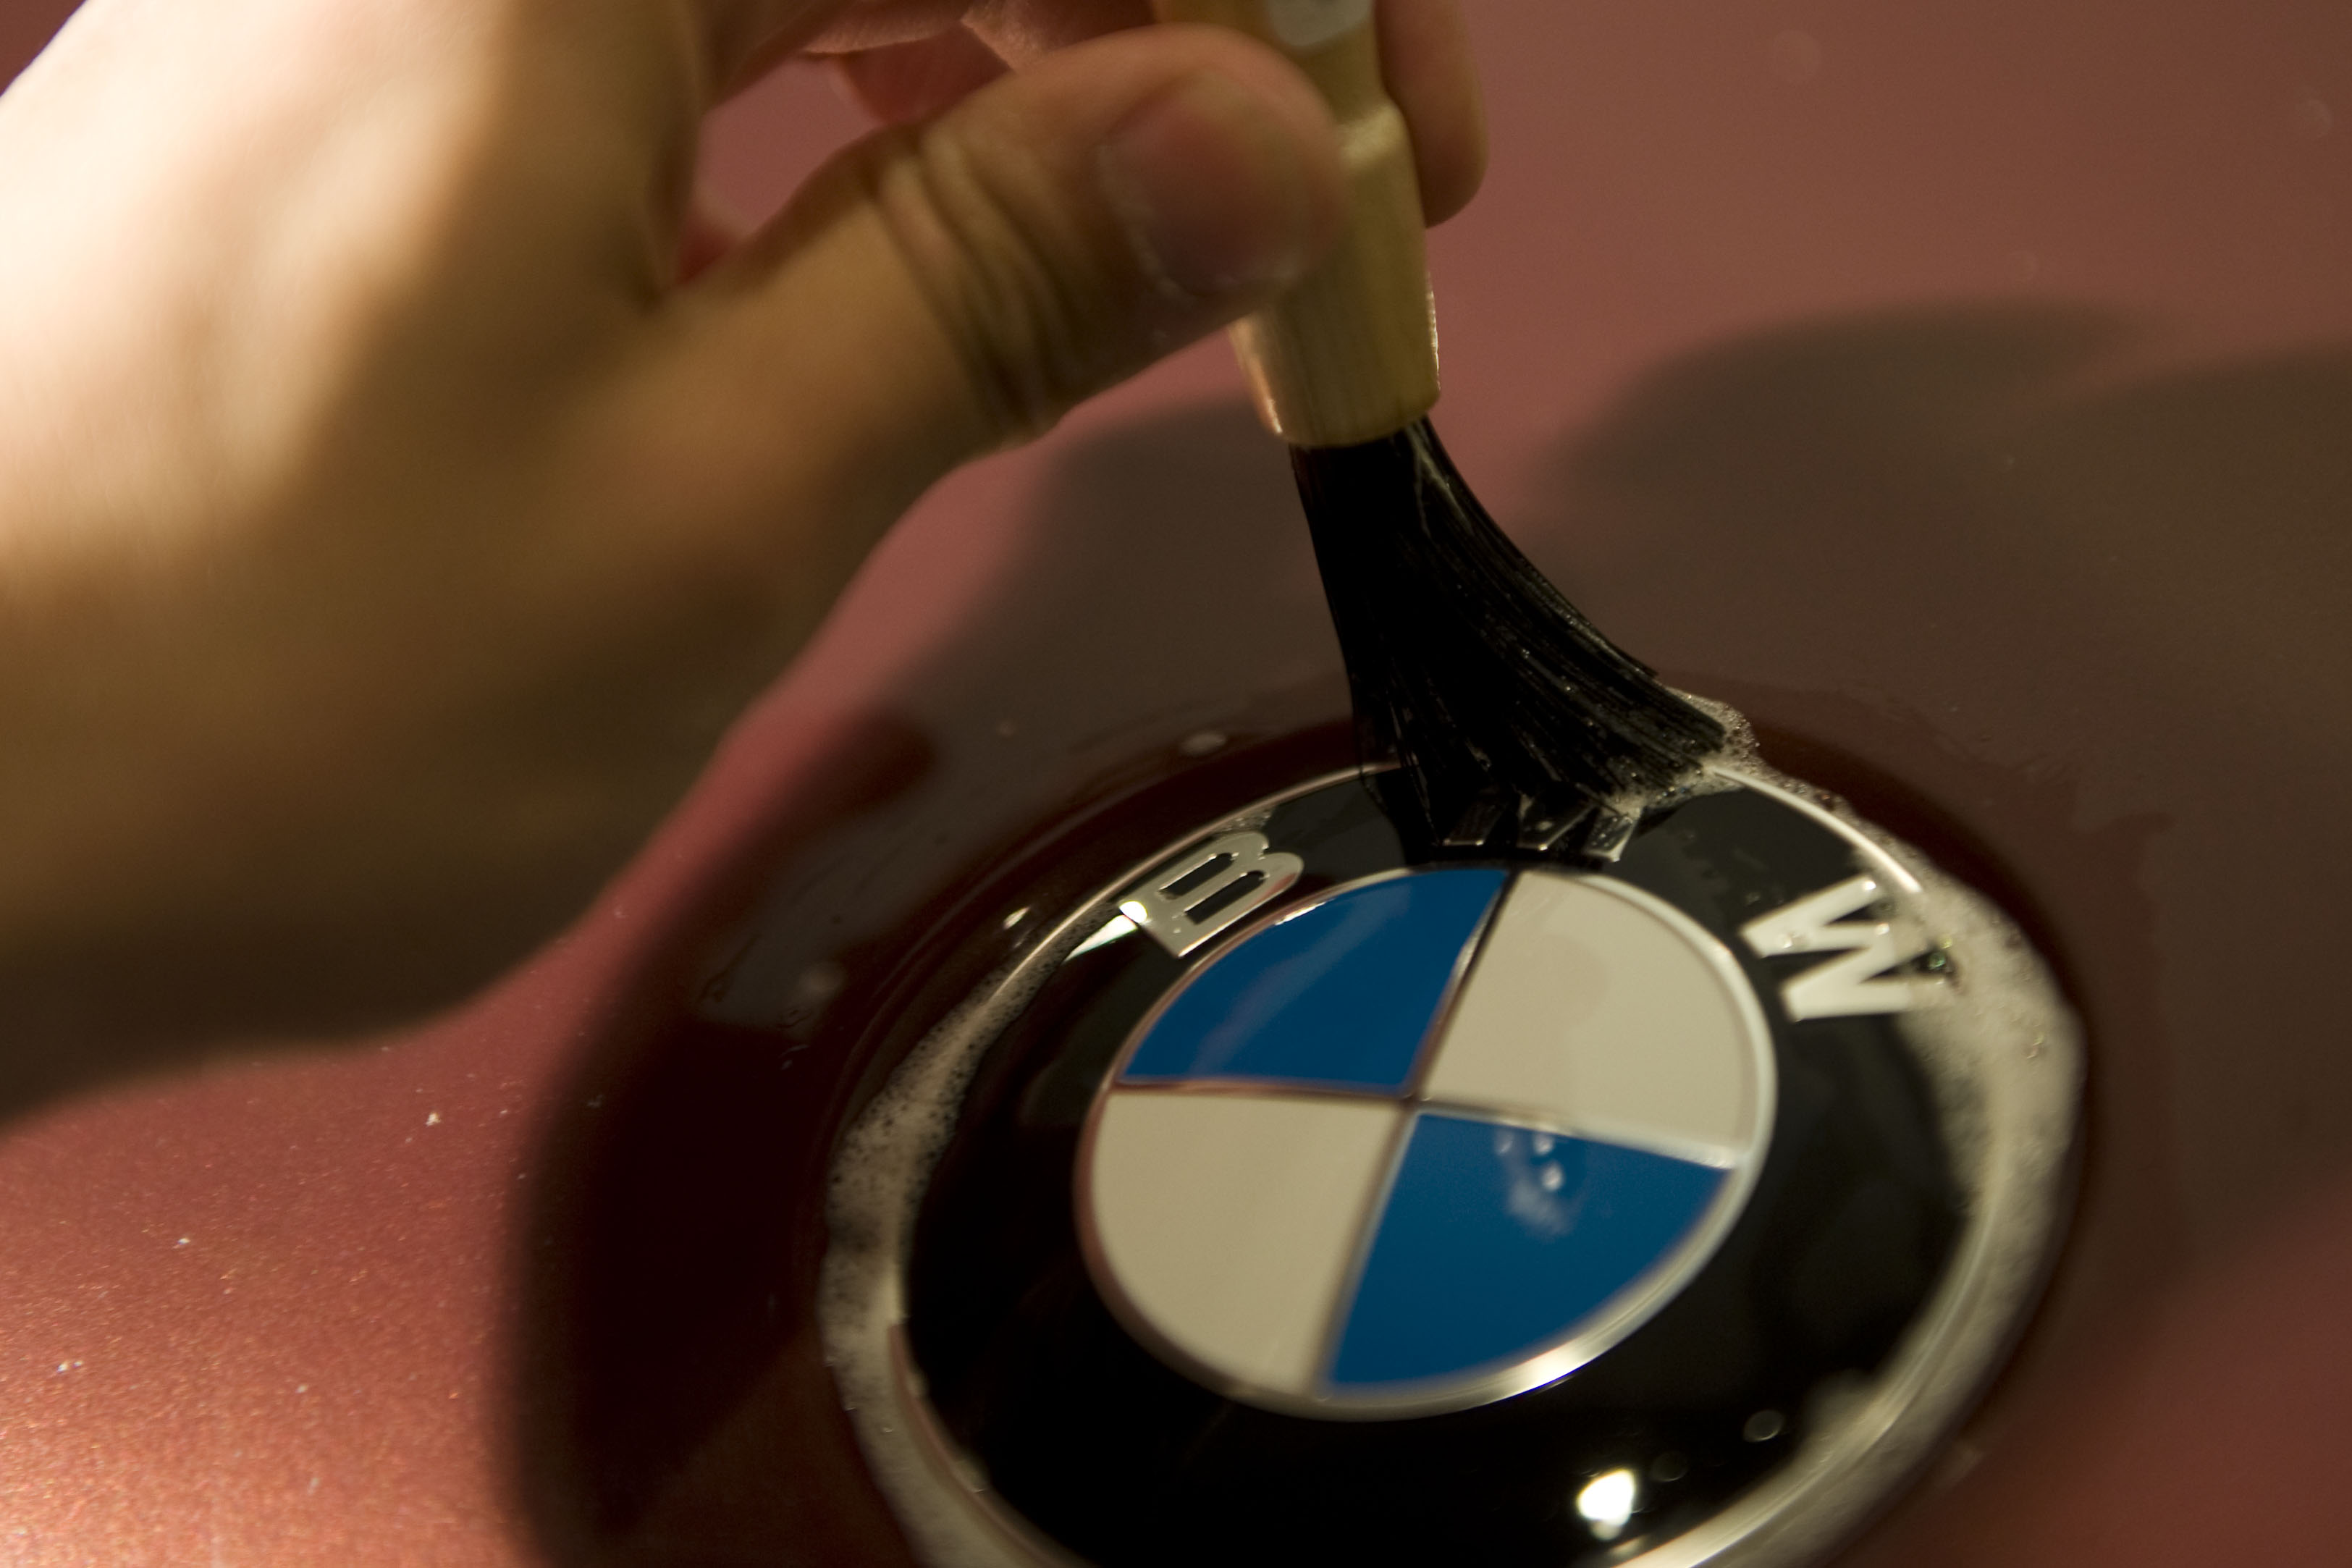
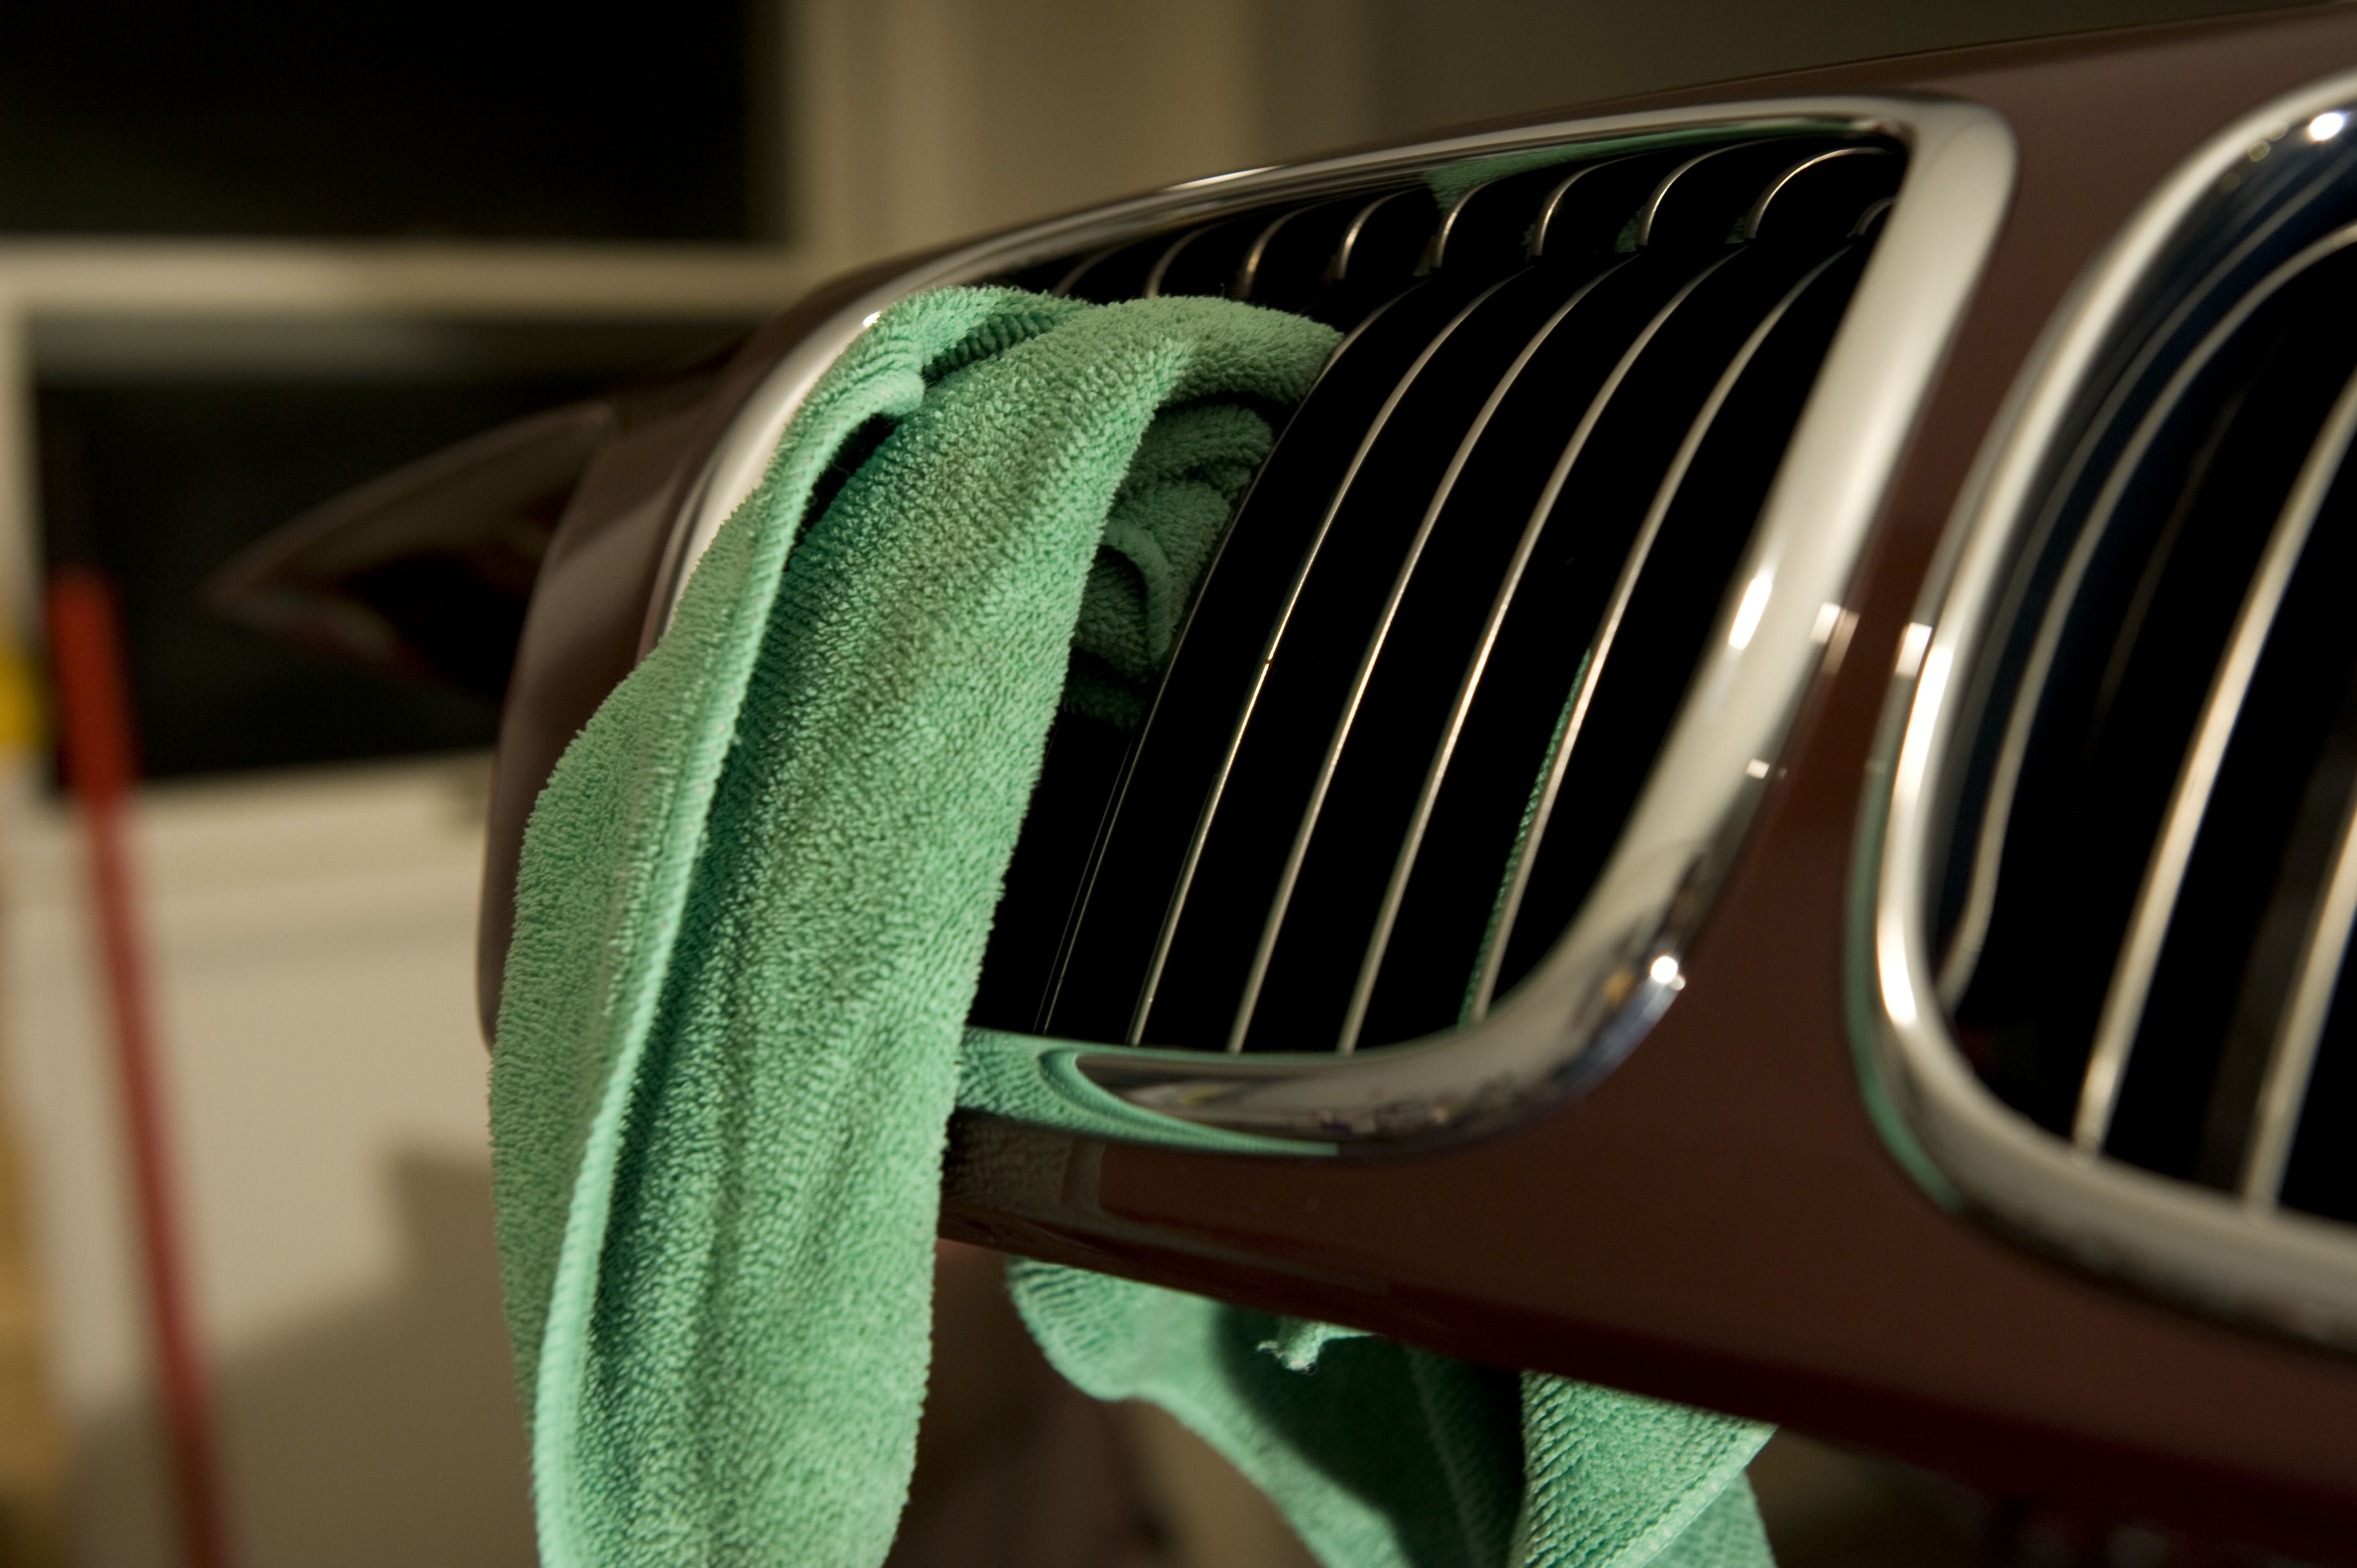
The grill got flossed, and any remaining wax residues were cleared out of the crevices
Paint Correction
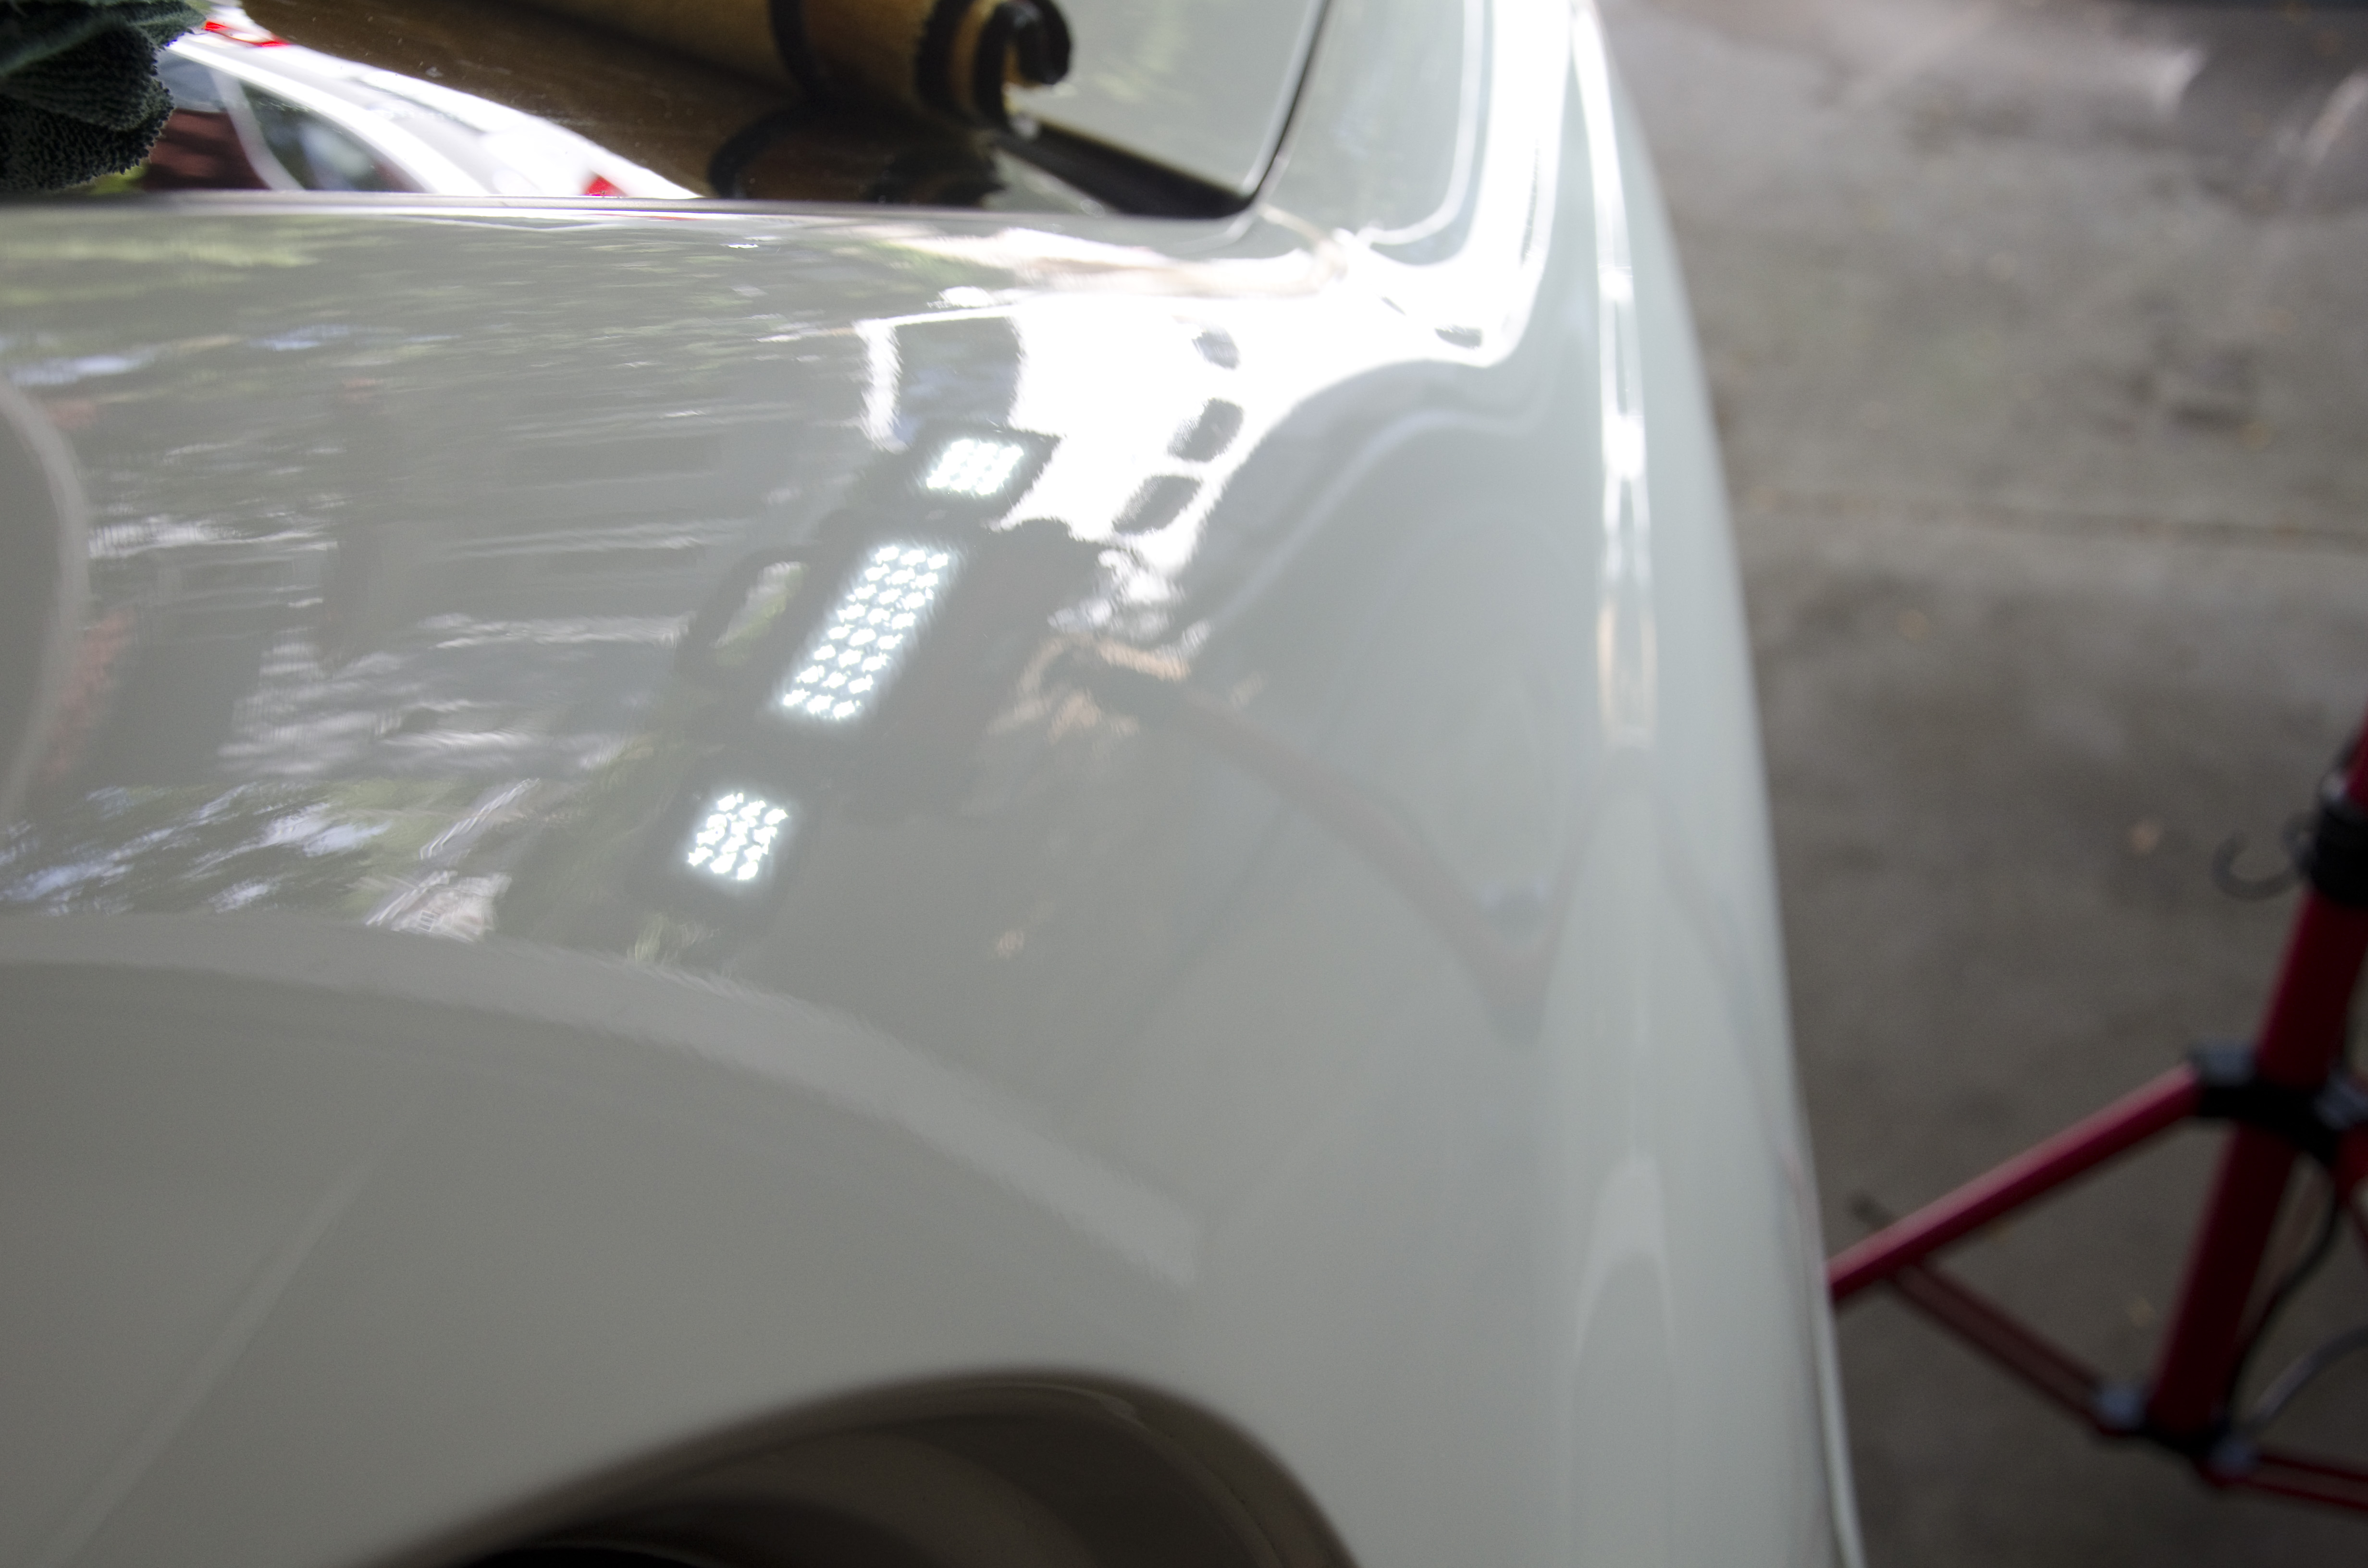
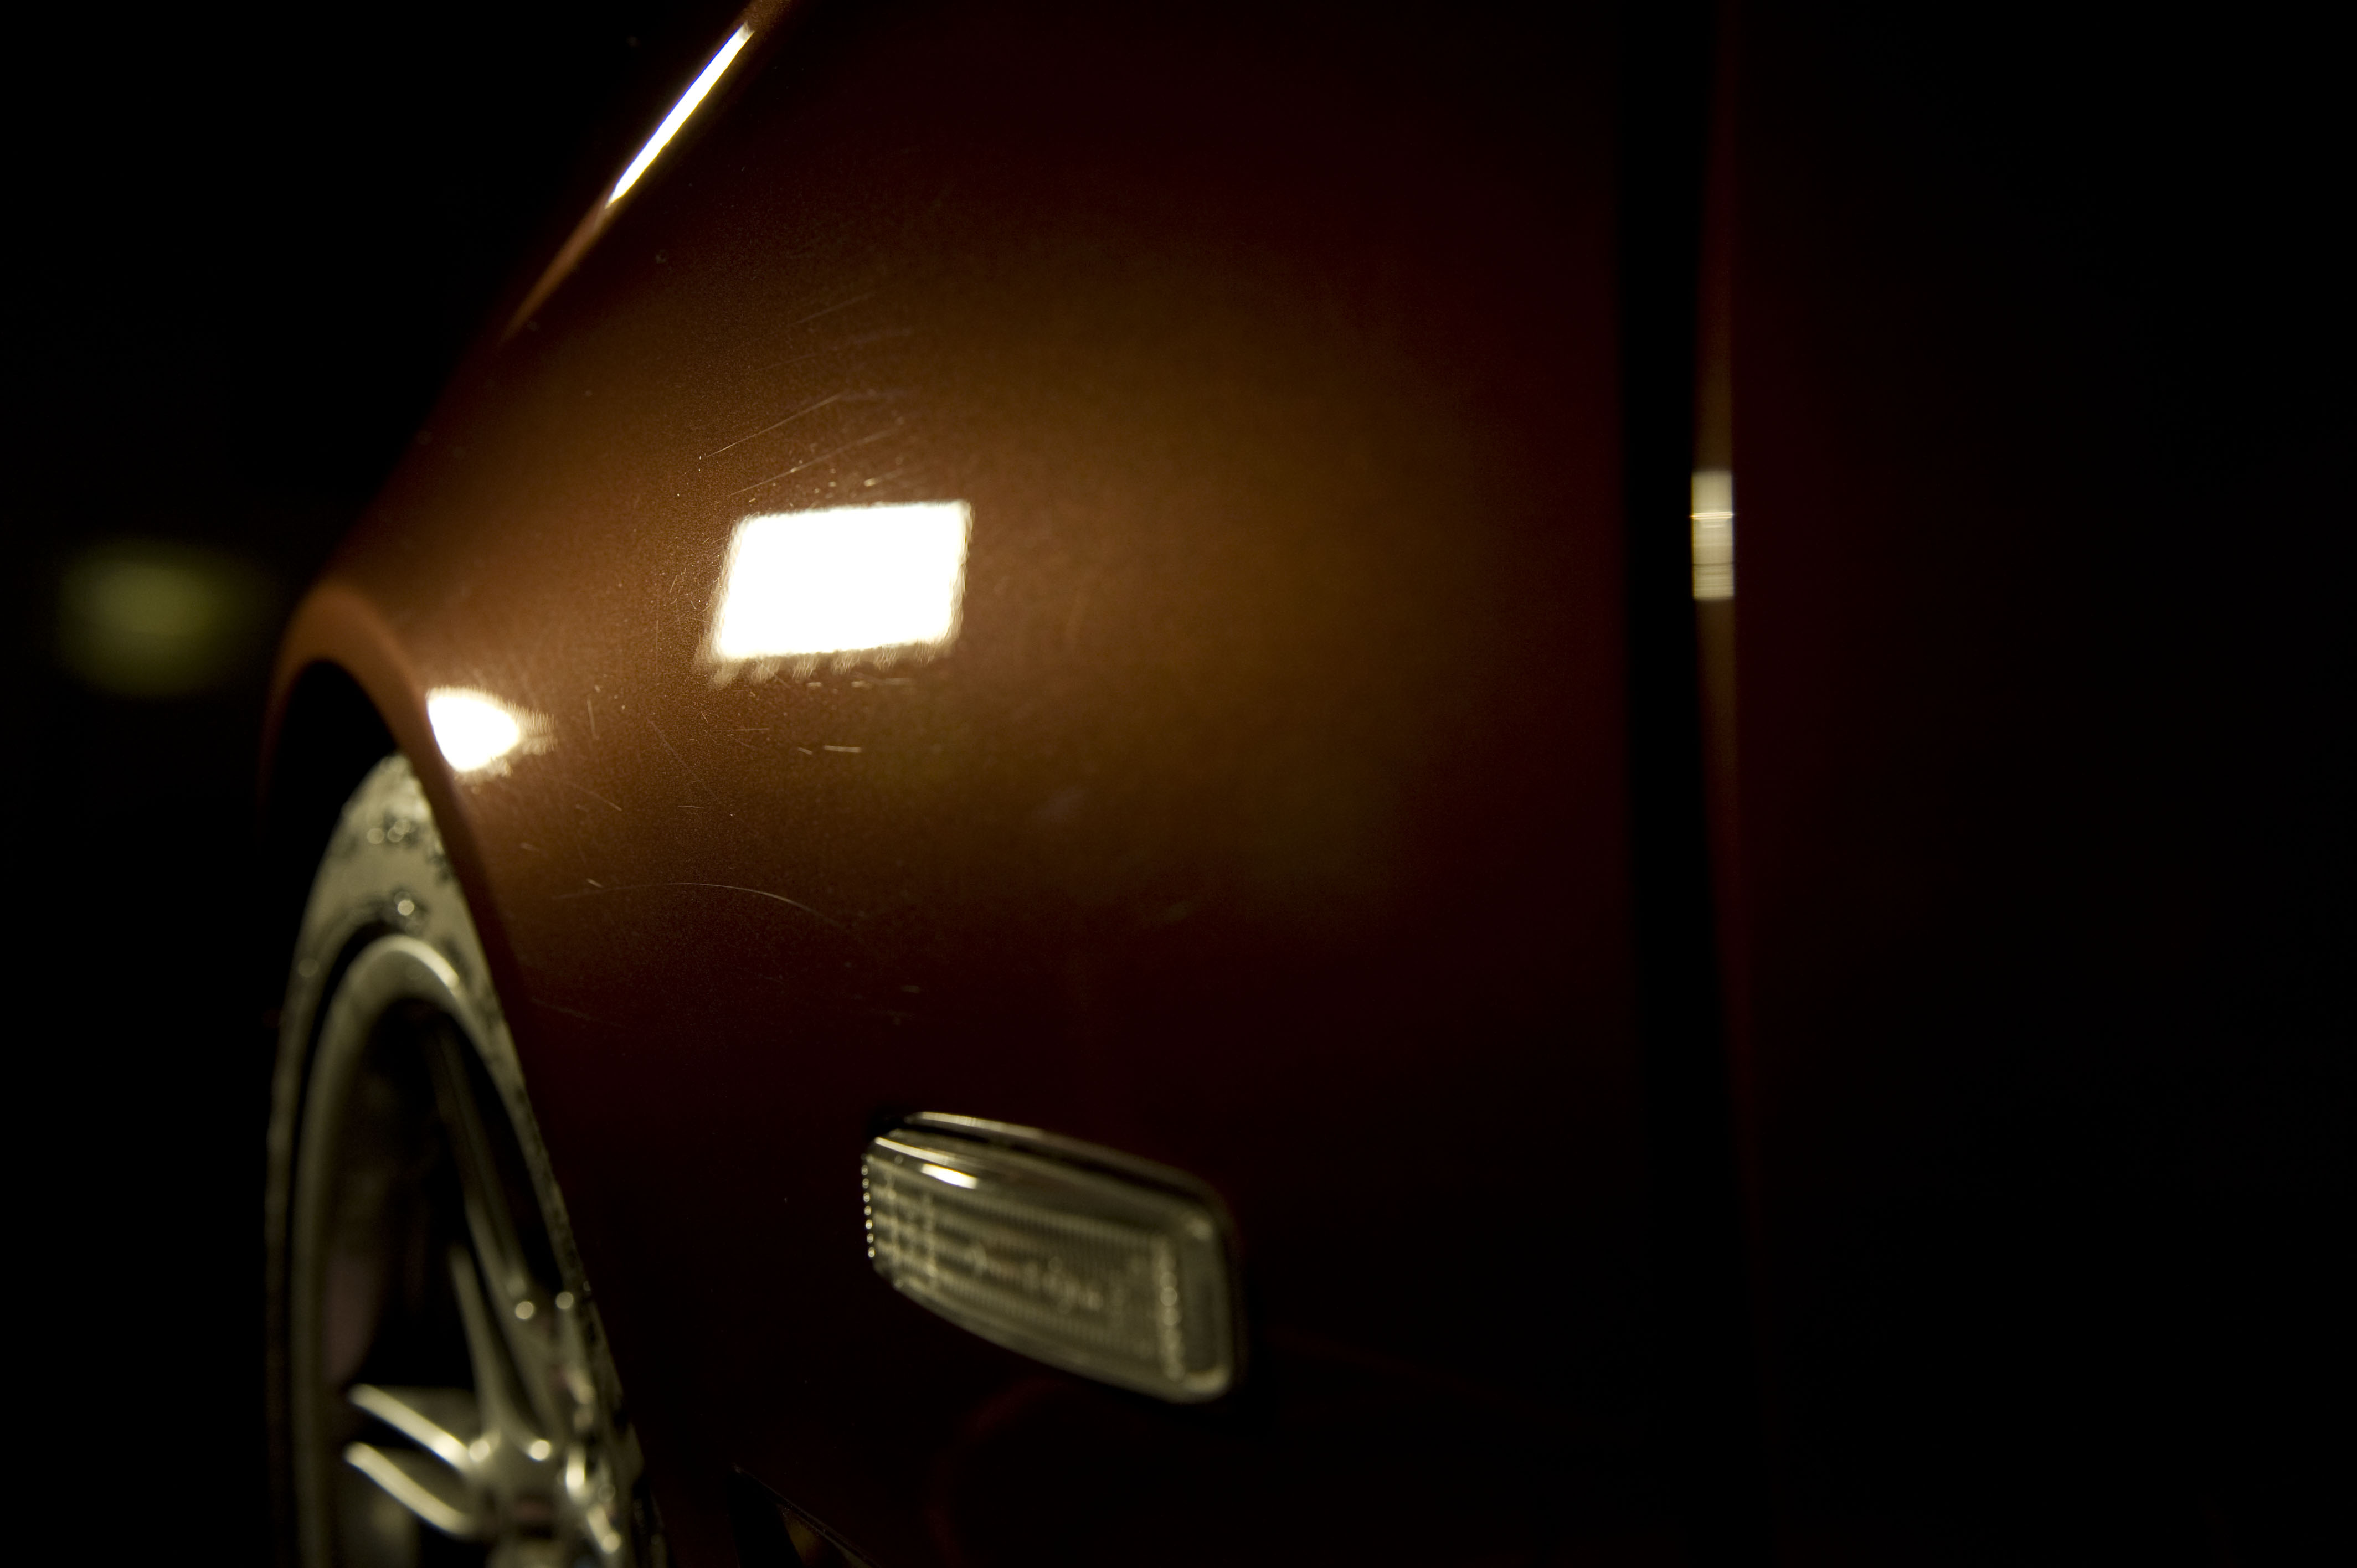
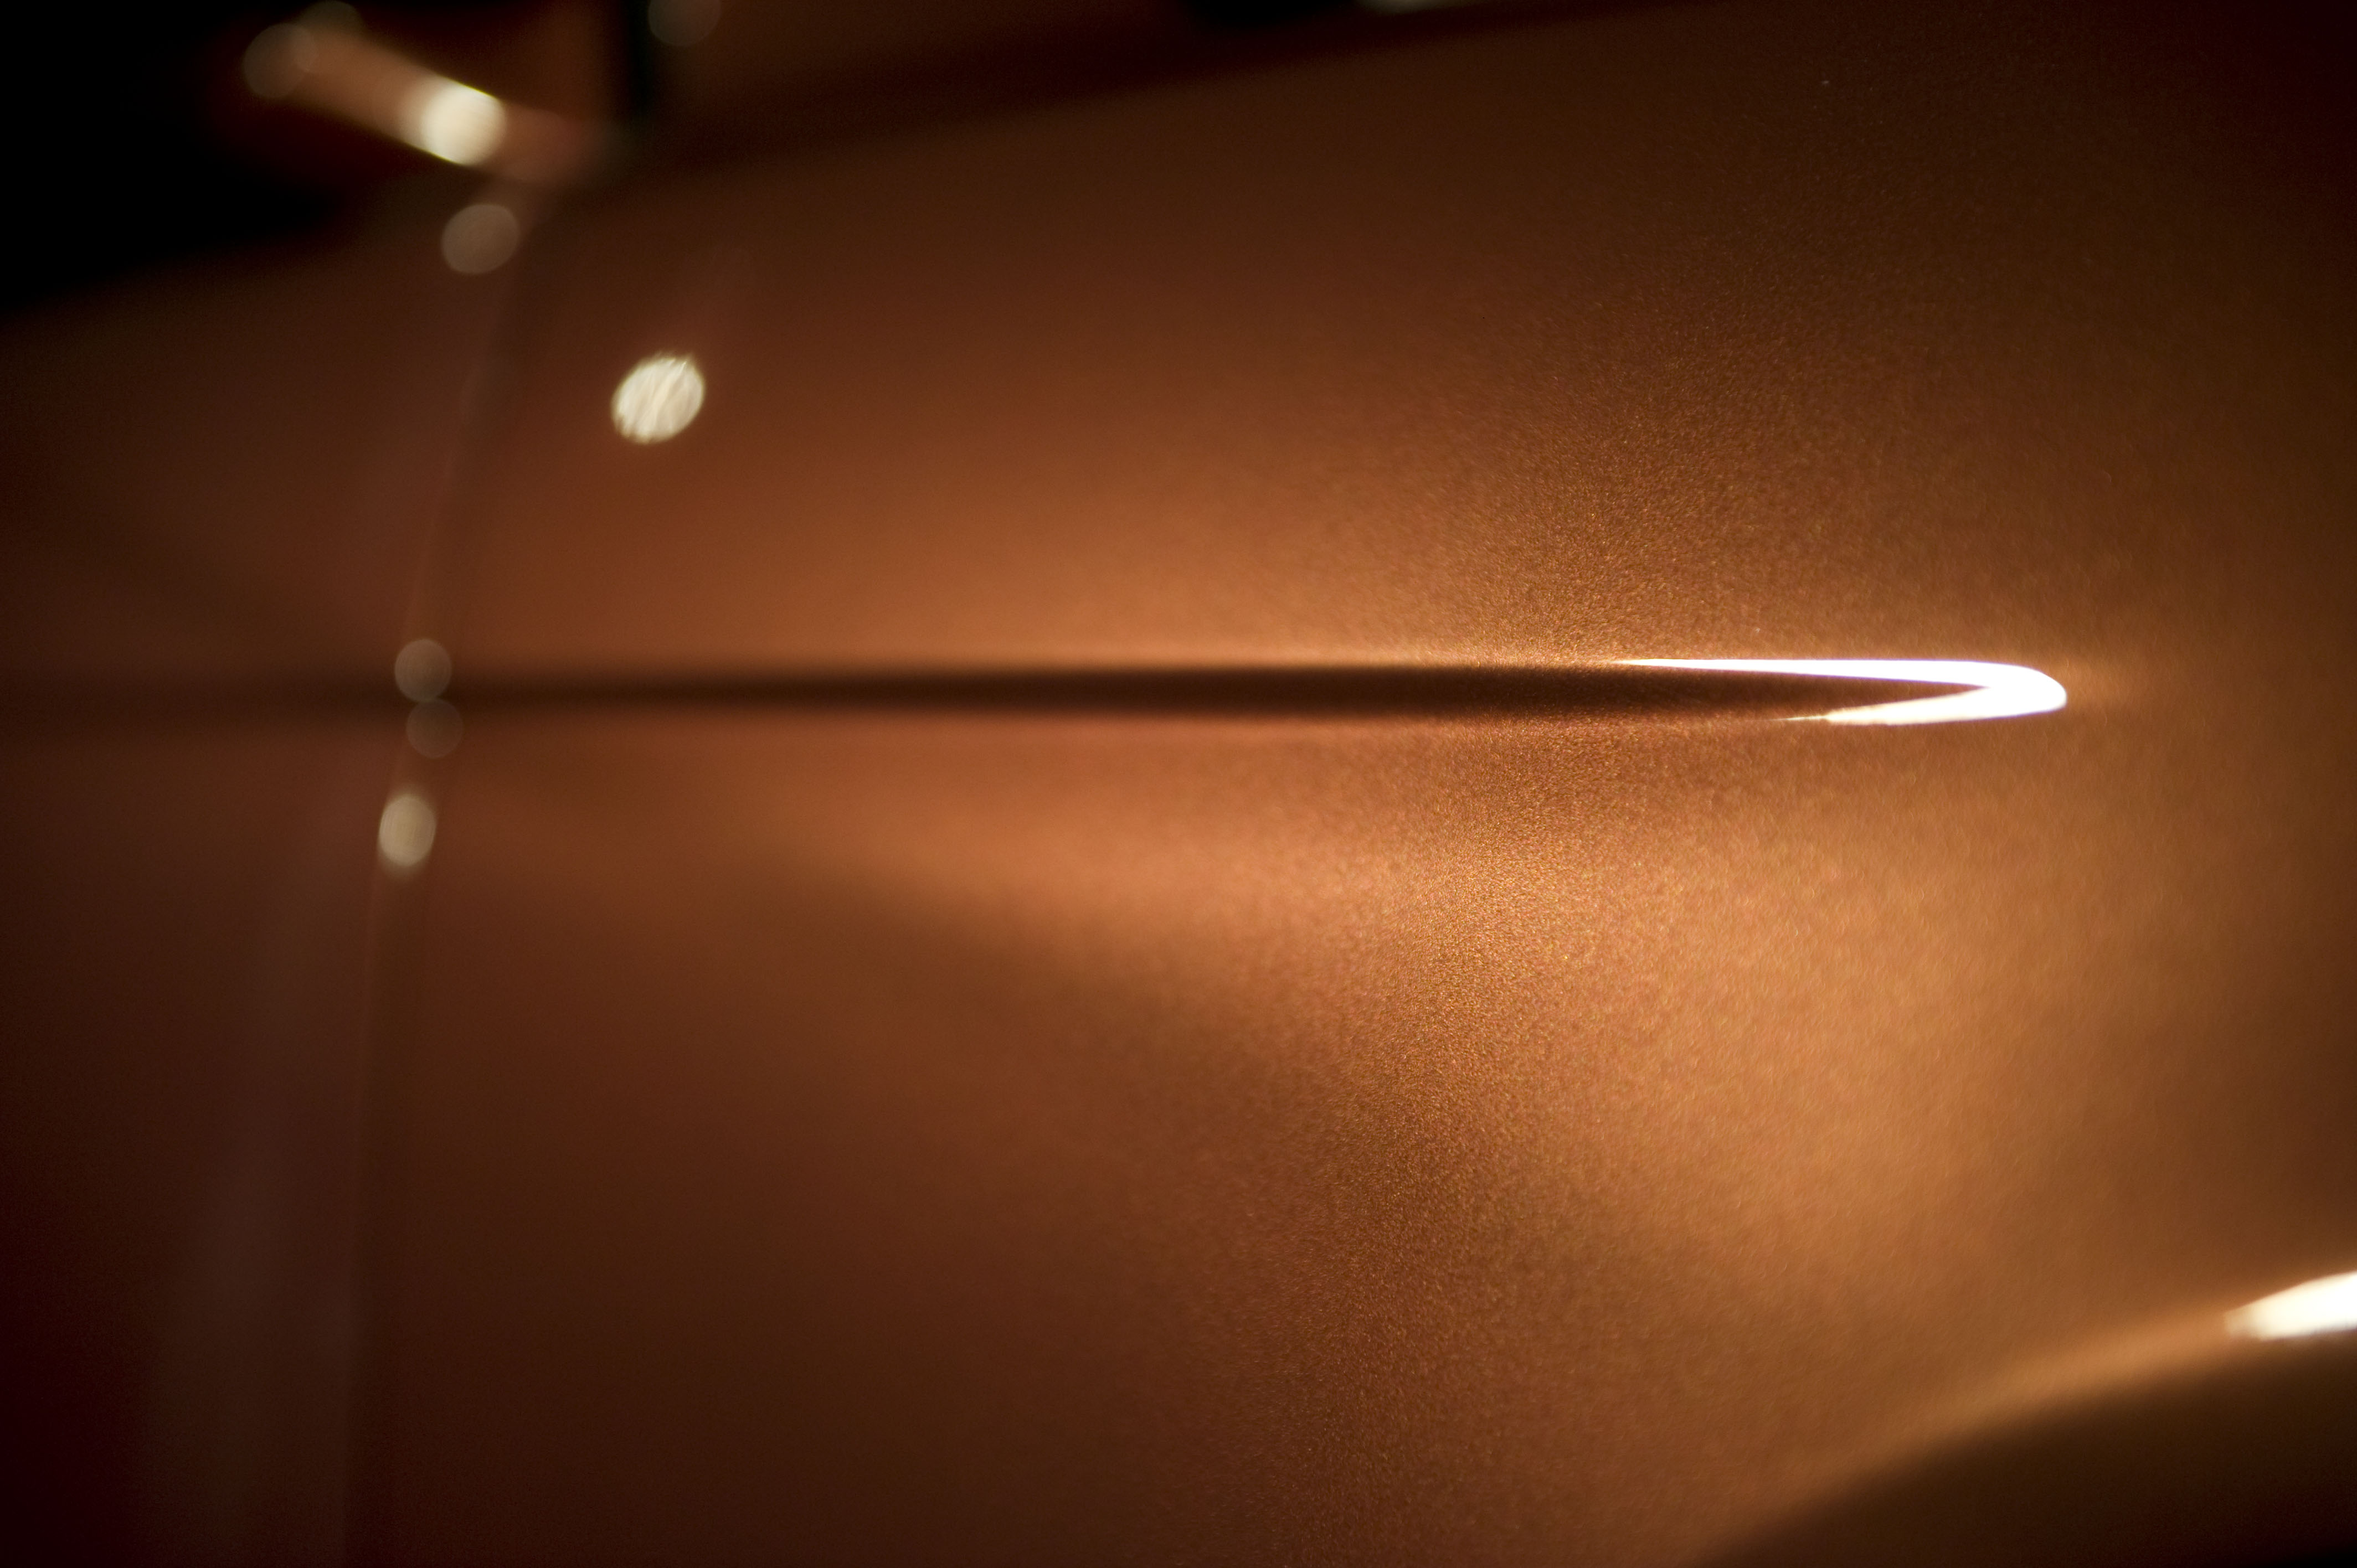
This car was in fairly decent shape, indicative of the great care it has received. The number of visible swirls did not nearly interfere with the shine as much as the Ford from last week, but we still were able to restore a lot of depth and shine back to the paint by polishing away the most minute interferences in the paint. (click any picture to enlarge)
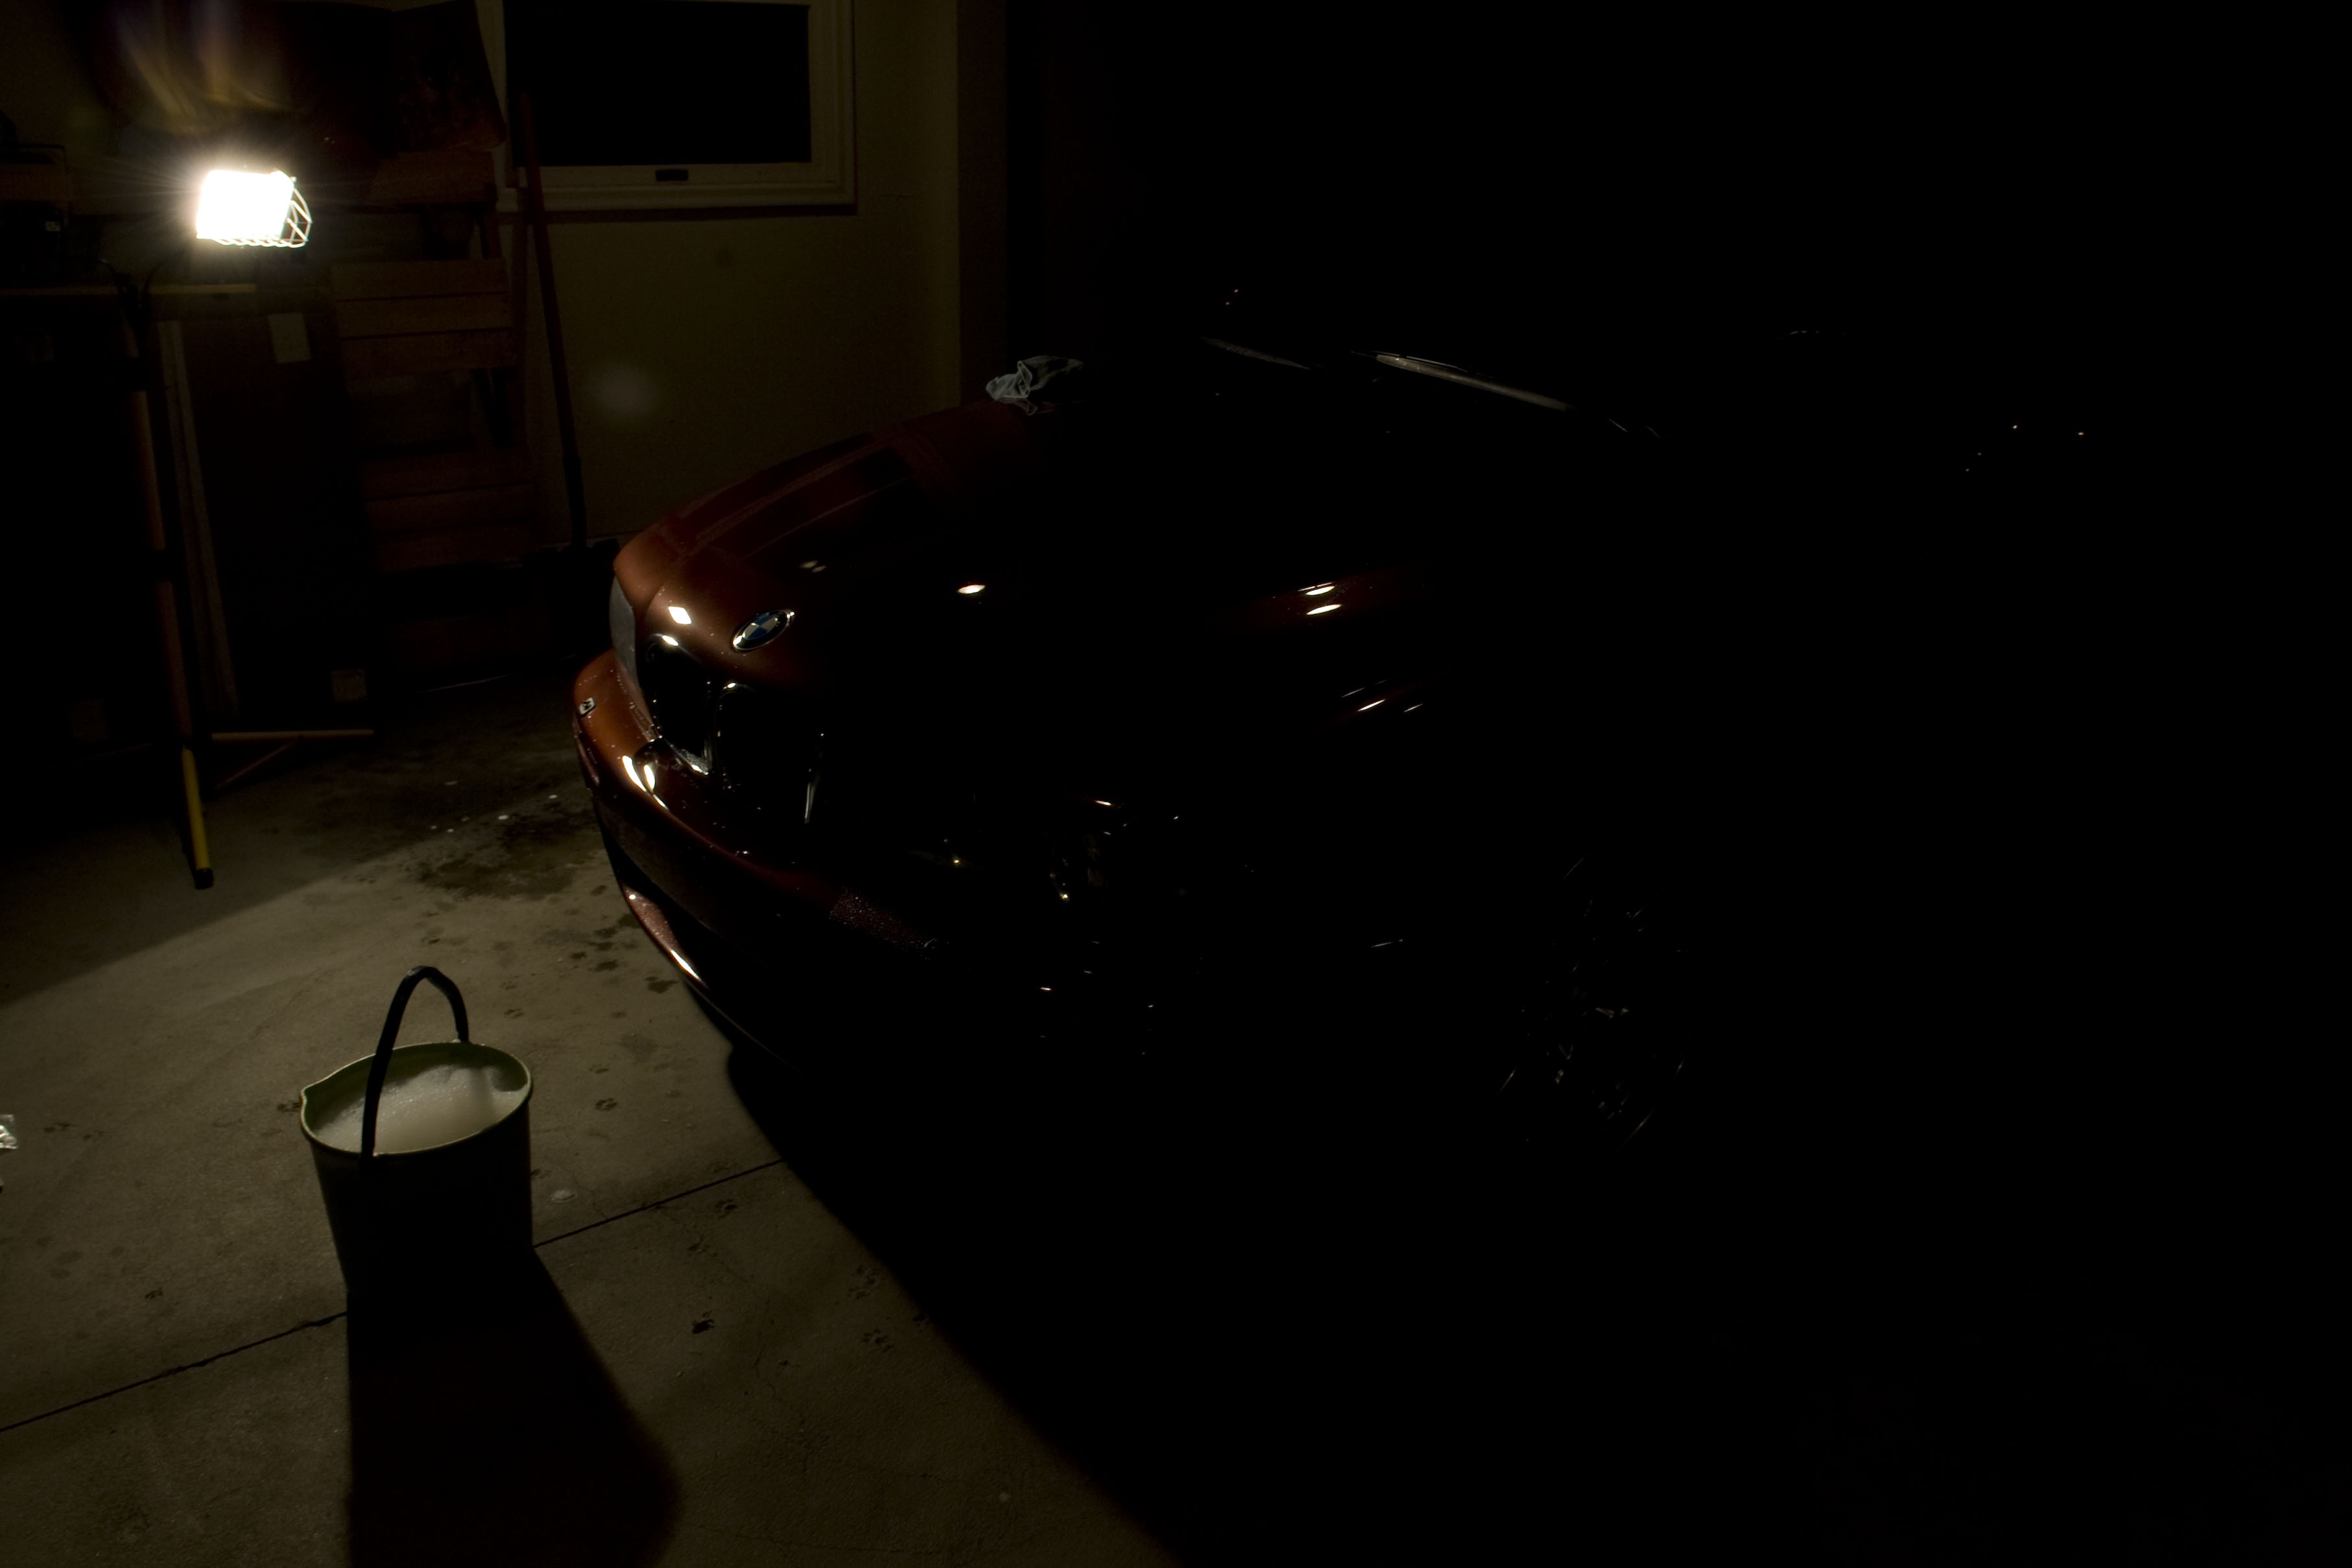
The late night low light and schedule constraints of this detail, along with the color’s forgiving nature, did not produce the usual amount of dramatic 50/50 photography, but in person, it was easy to see that our hard work was going to be rewarded with a significant depth and clarity increase.
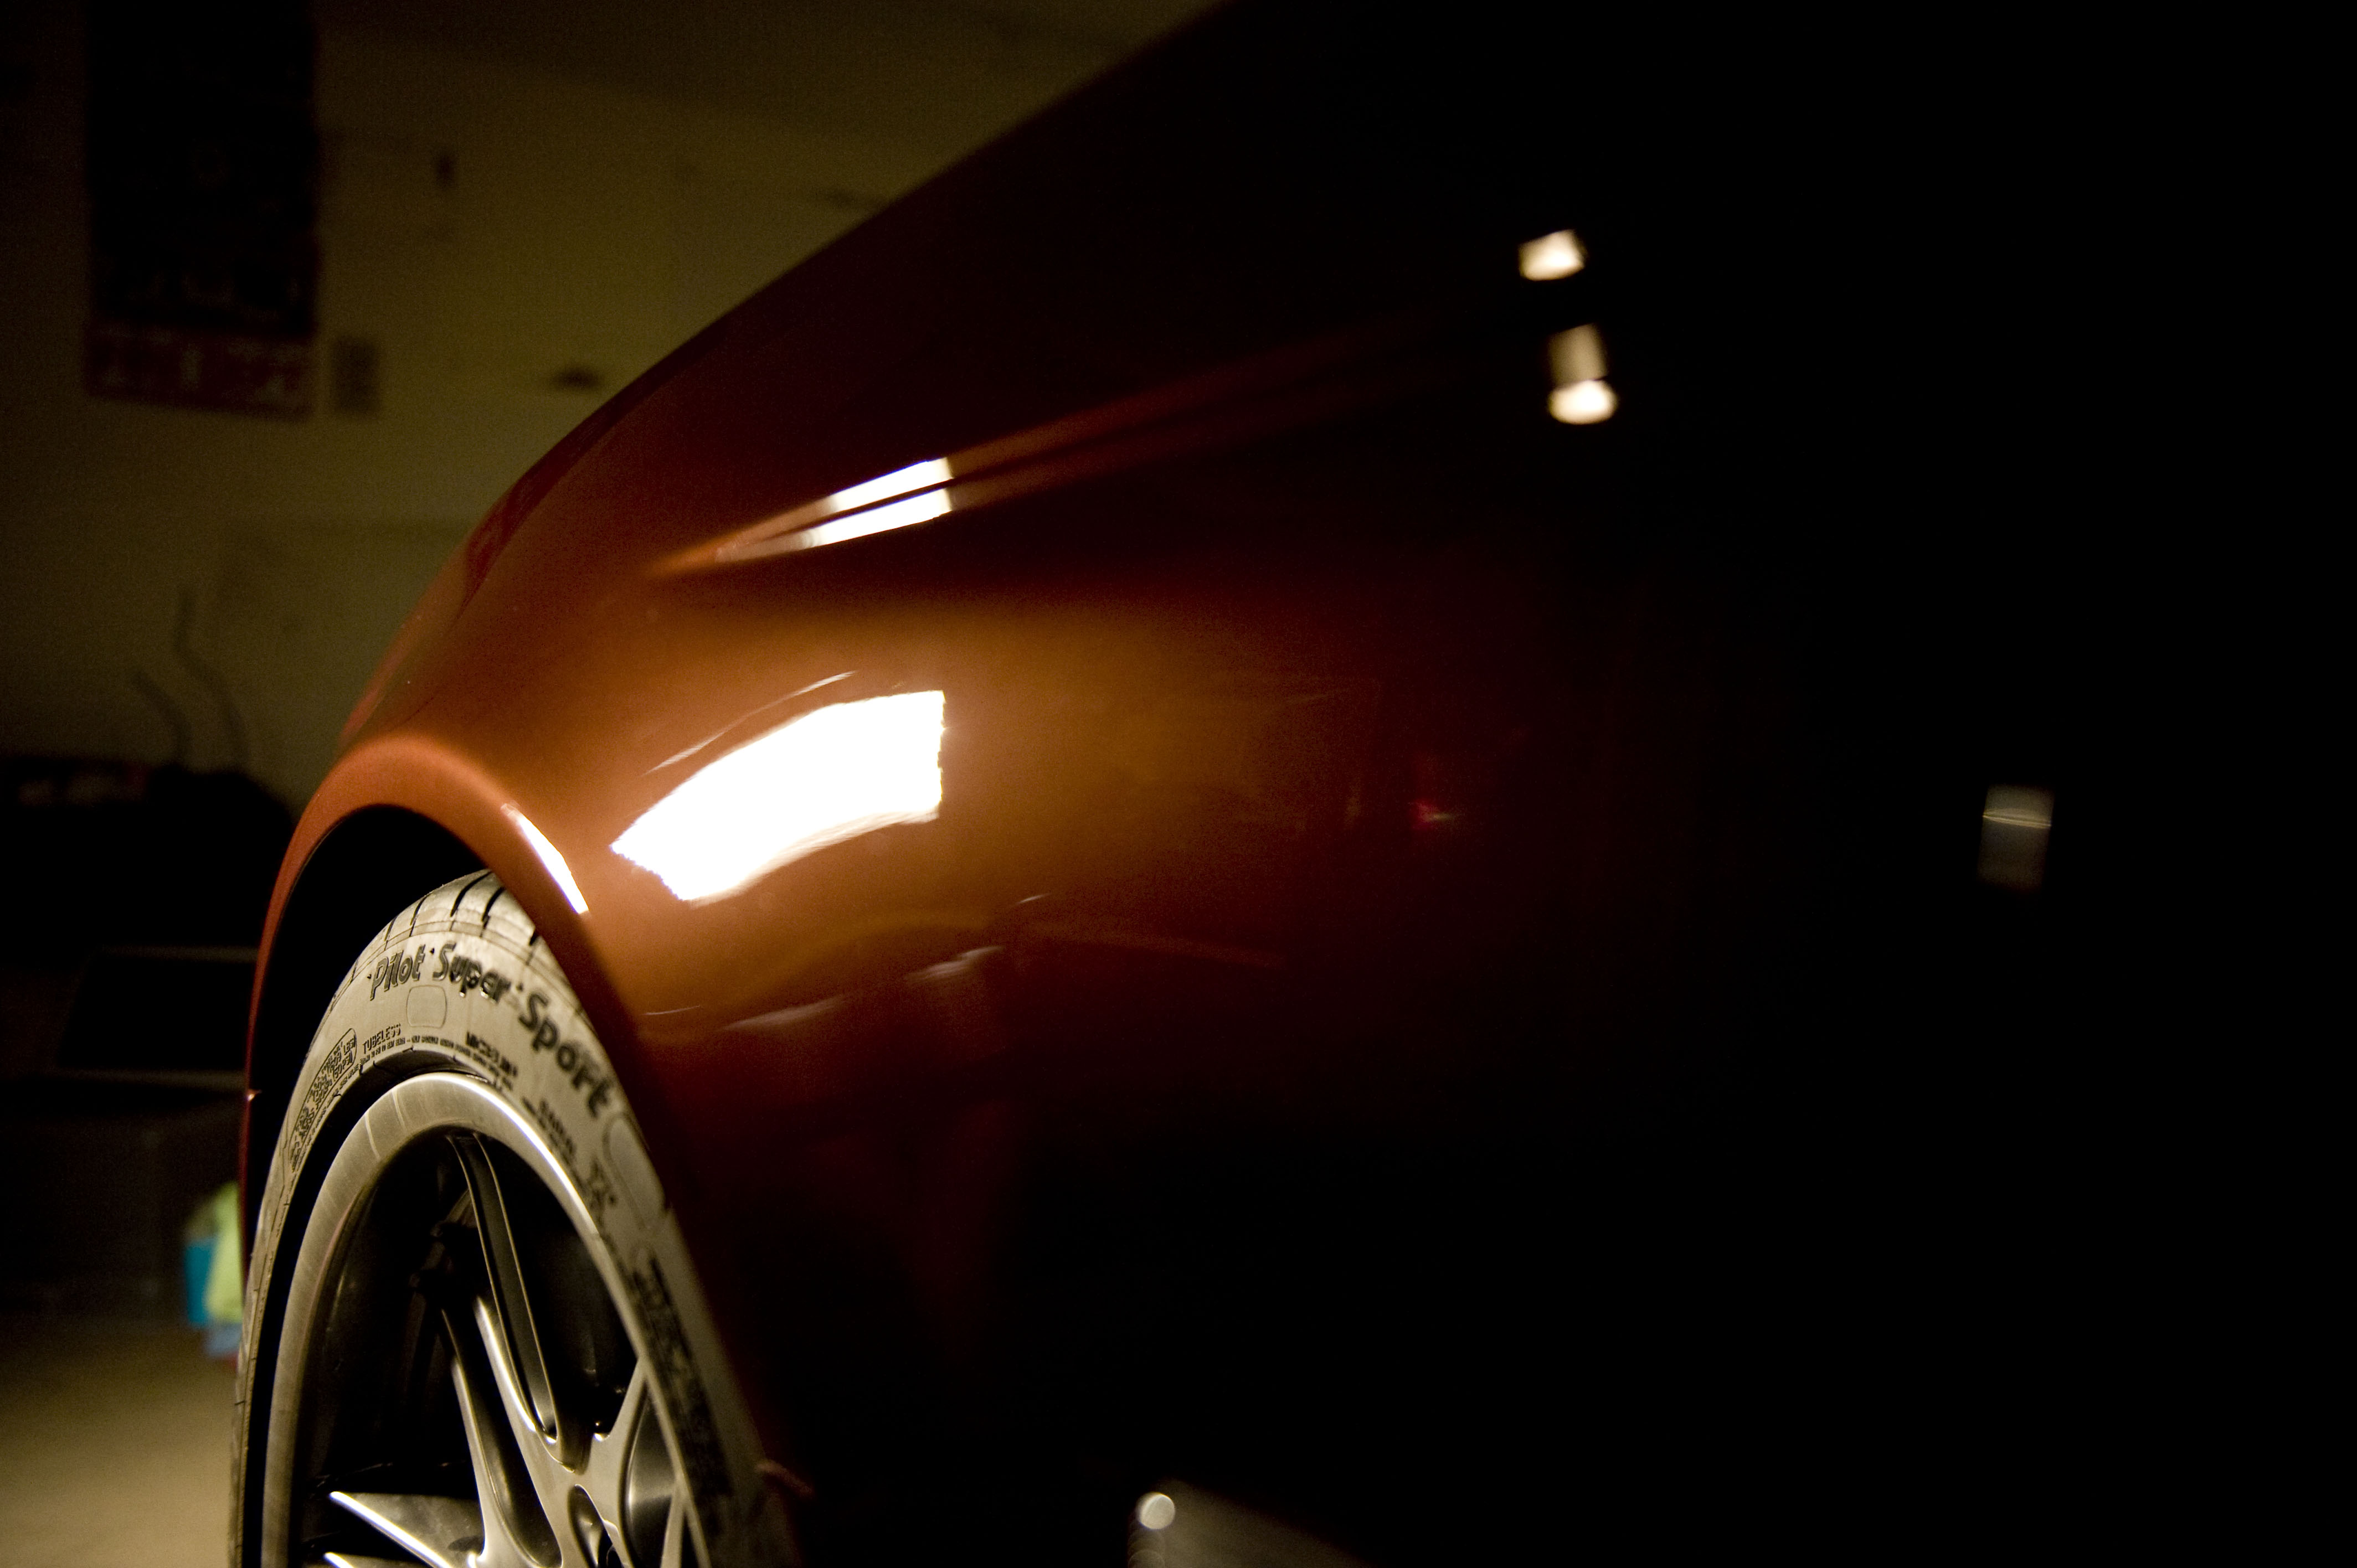
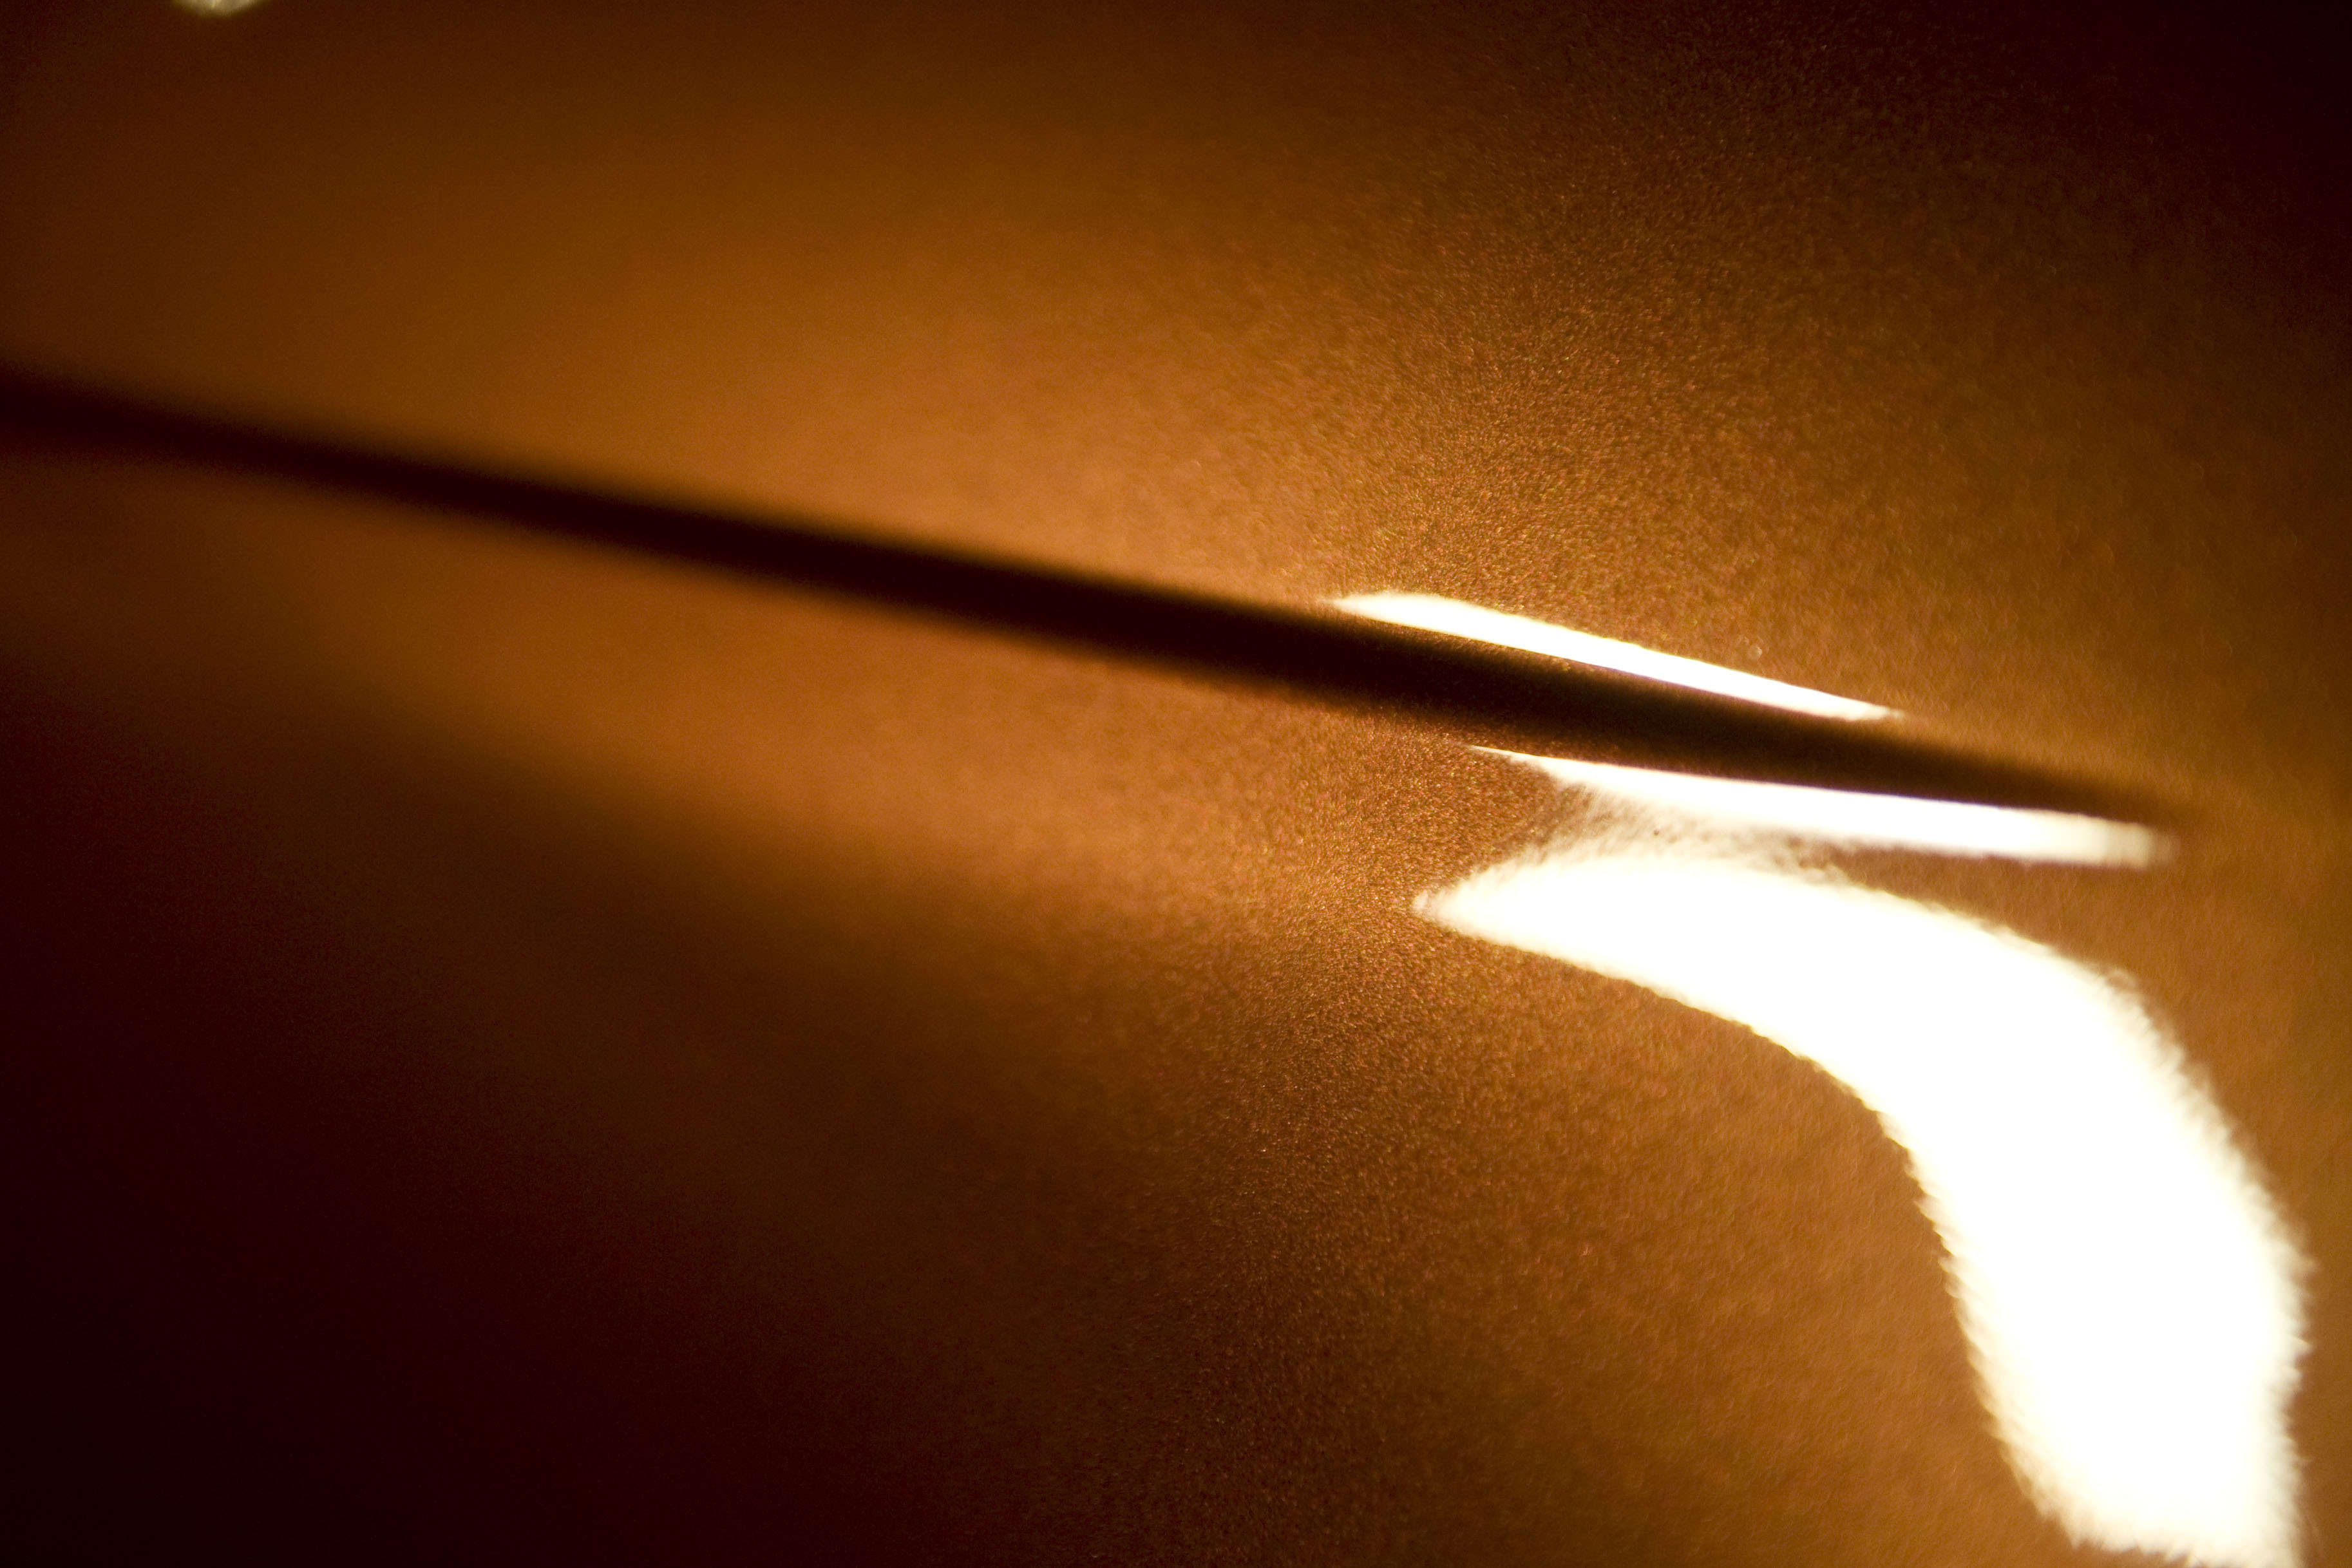
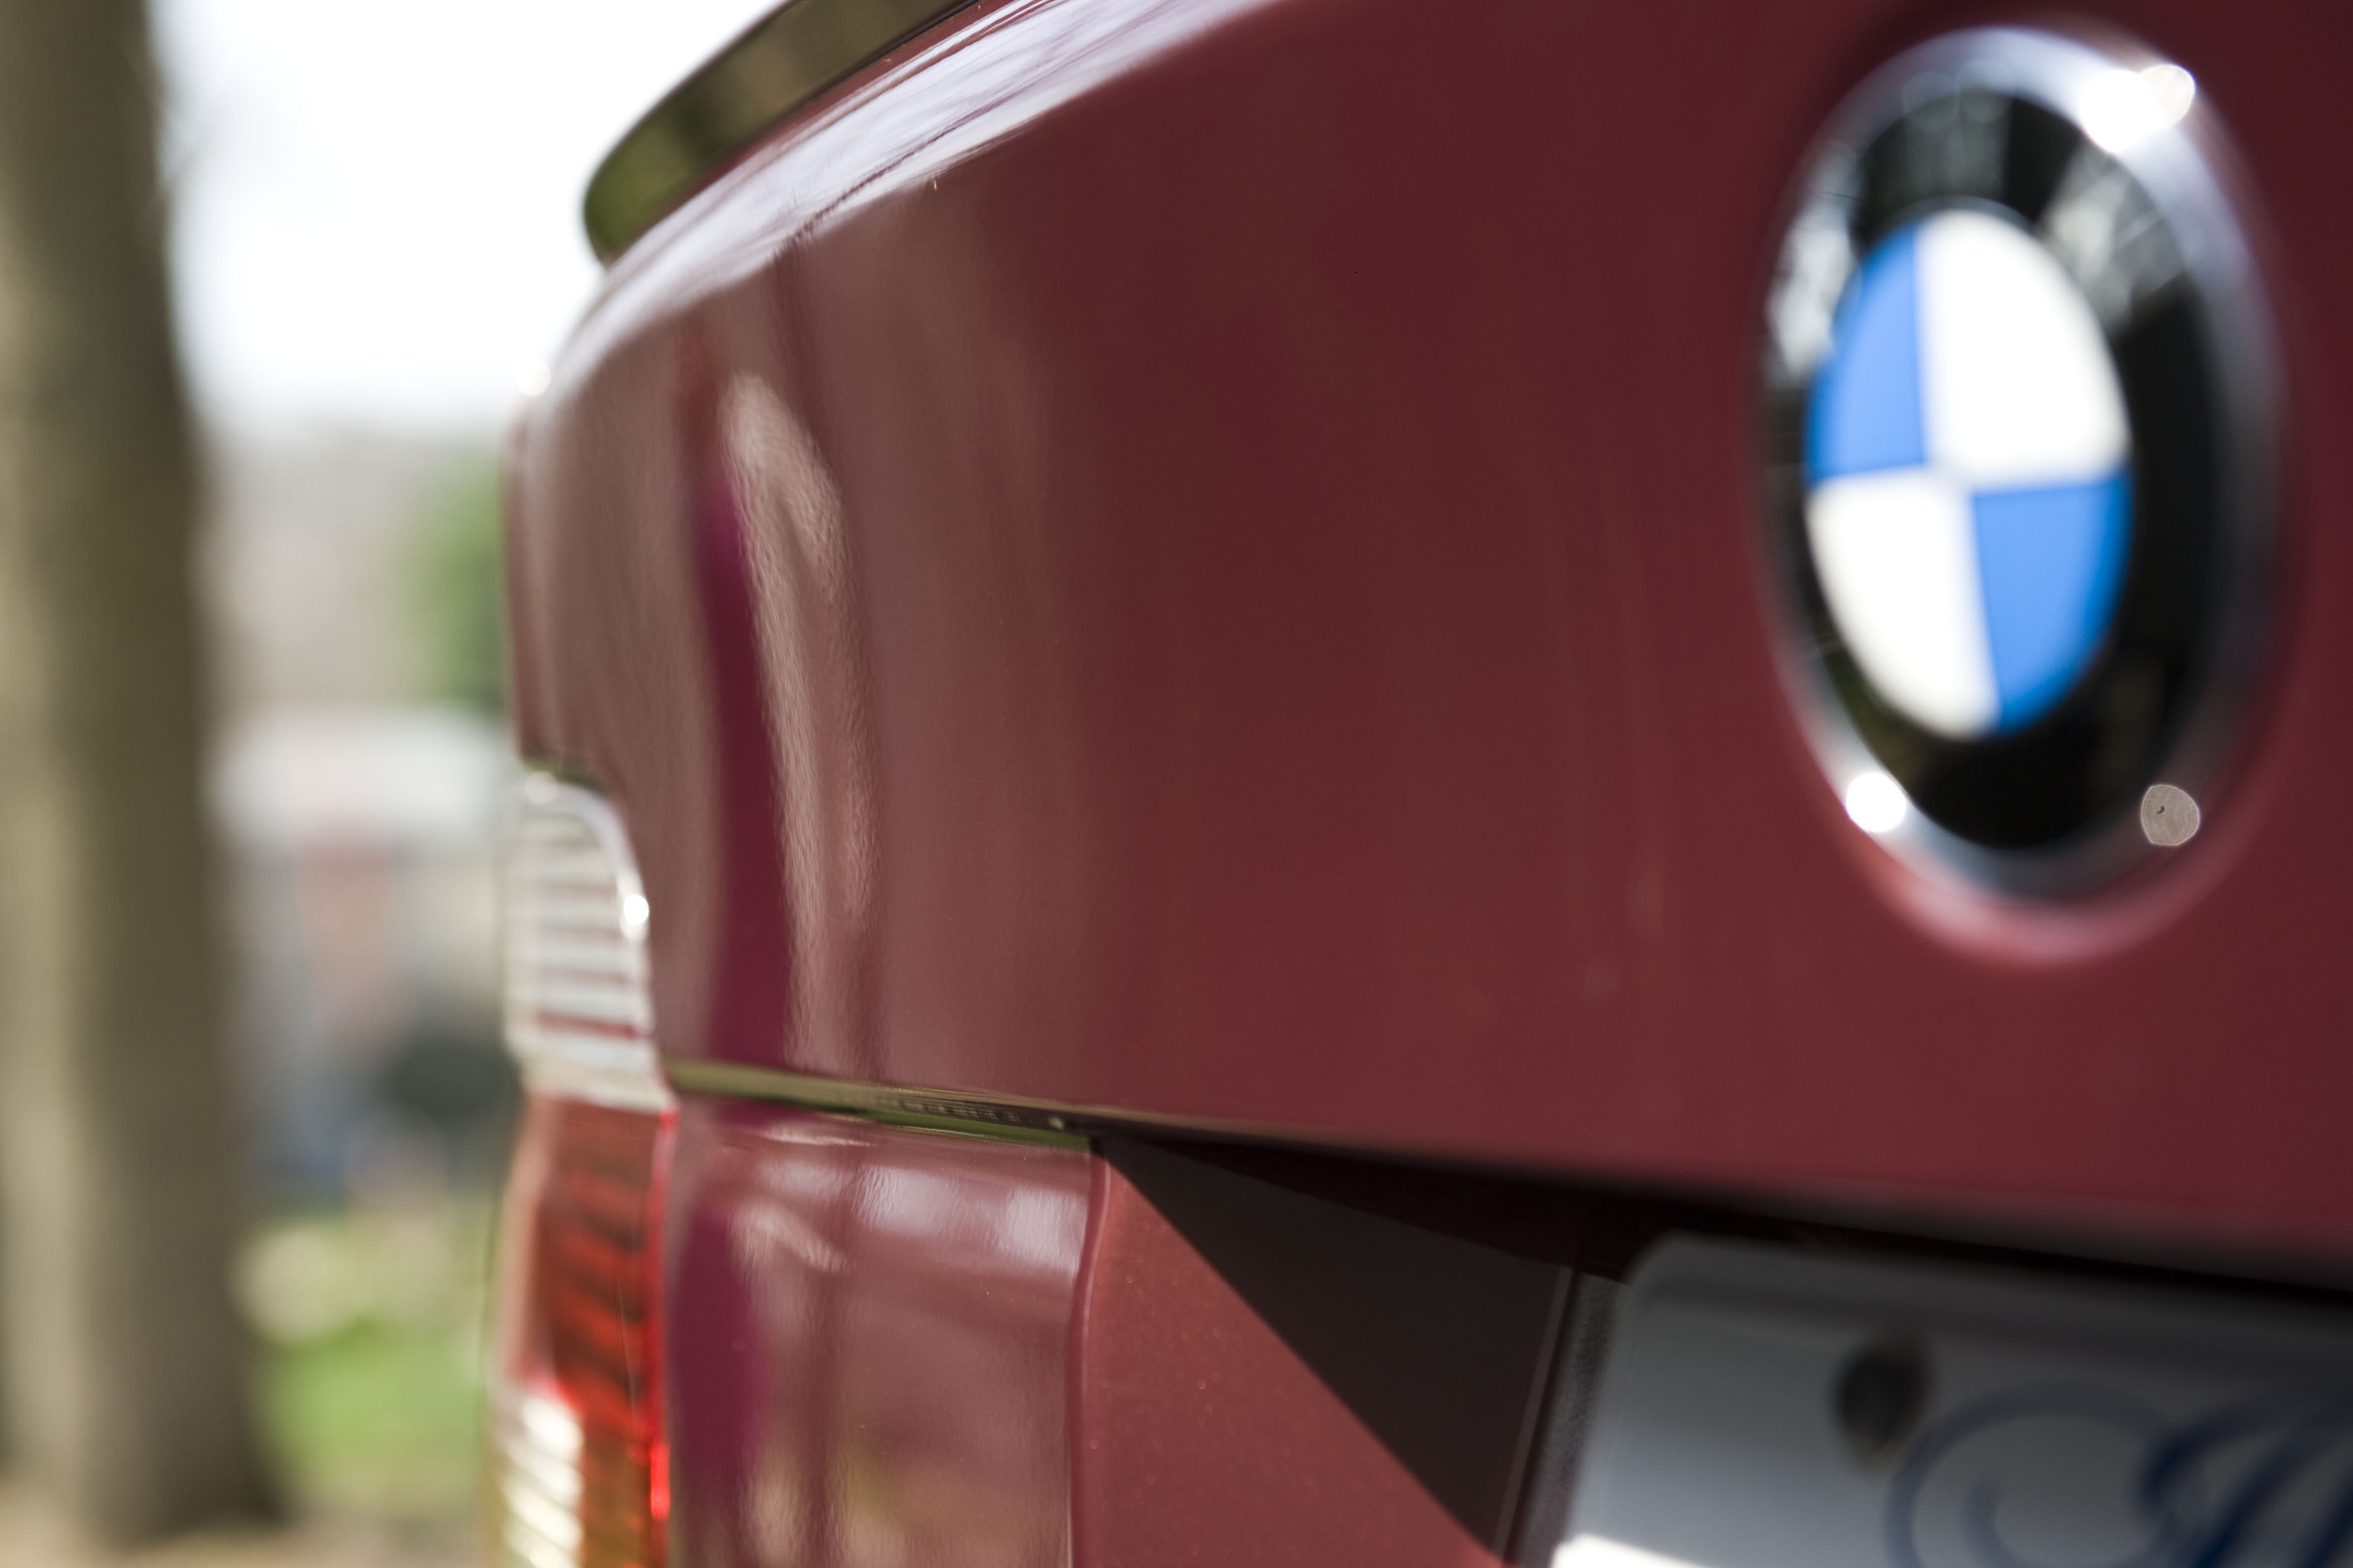
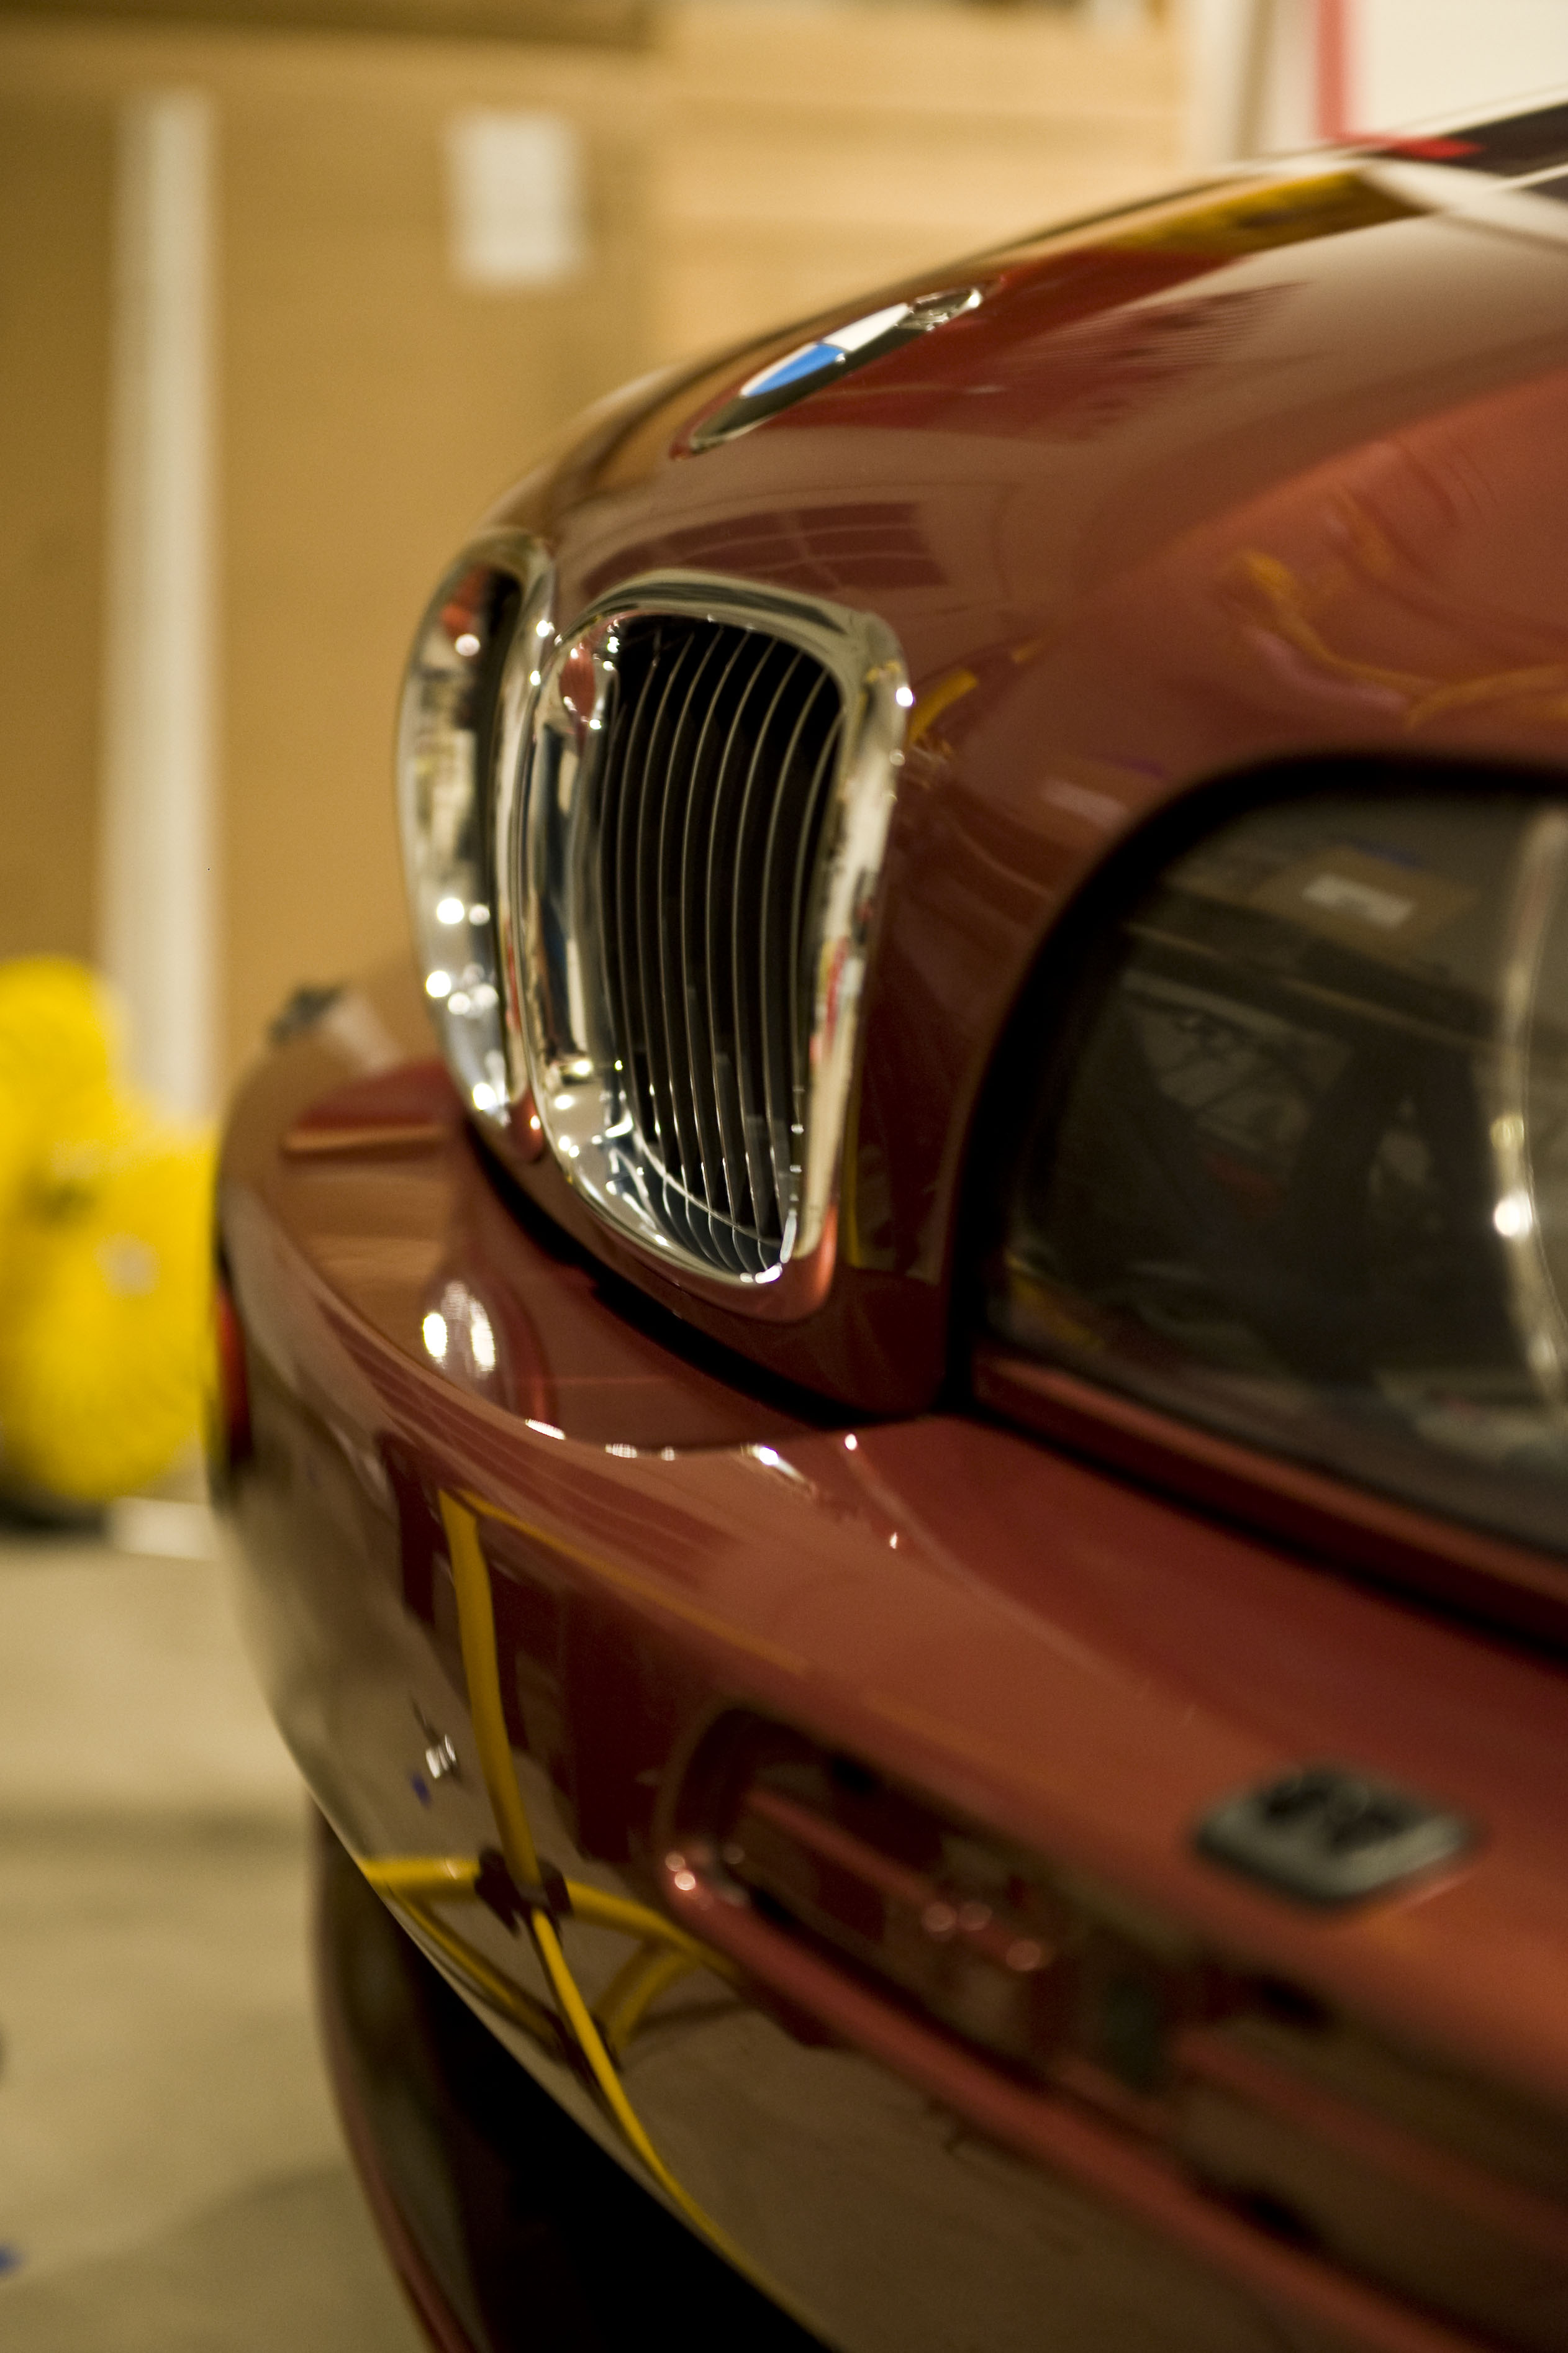
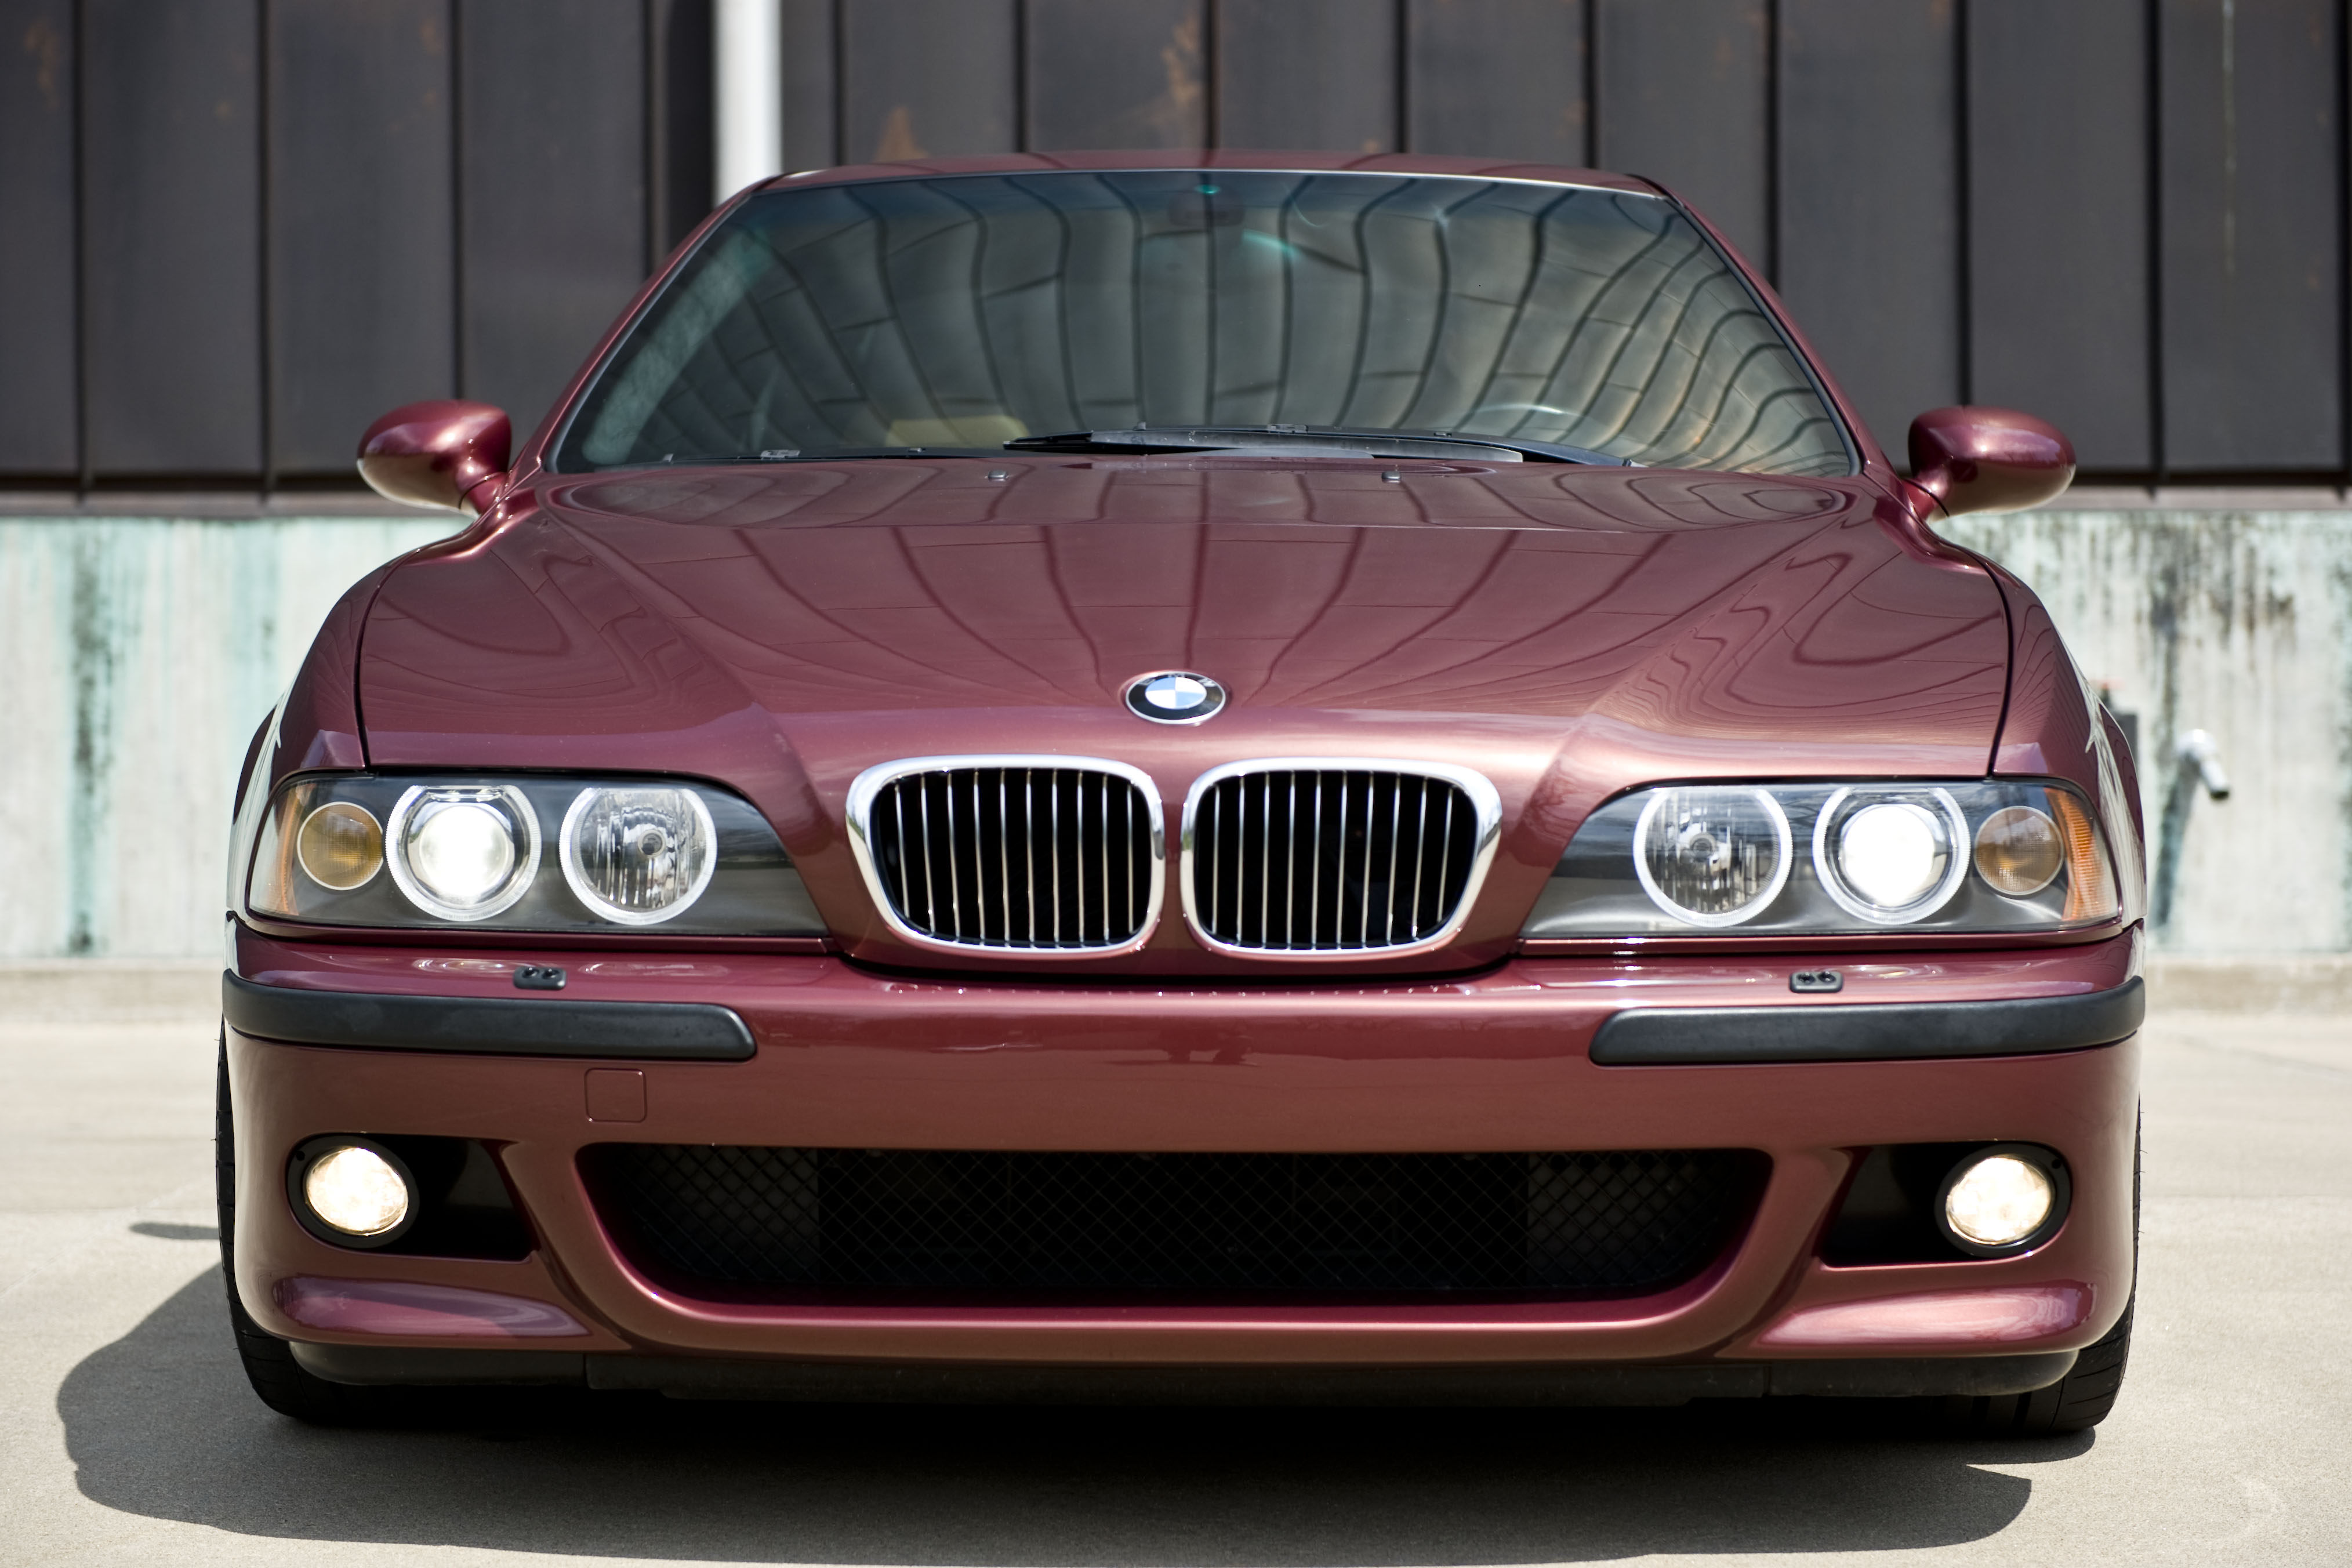
As we worked on under the scrutiny of hot halogen lights, we really got to appreciate the full dynamic color range of the Chiaretto Red paint.
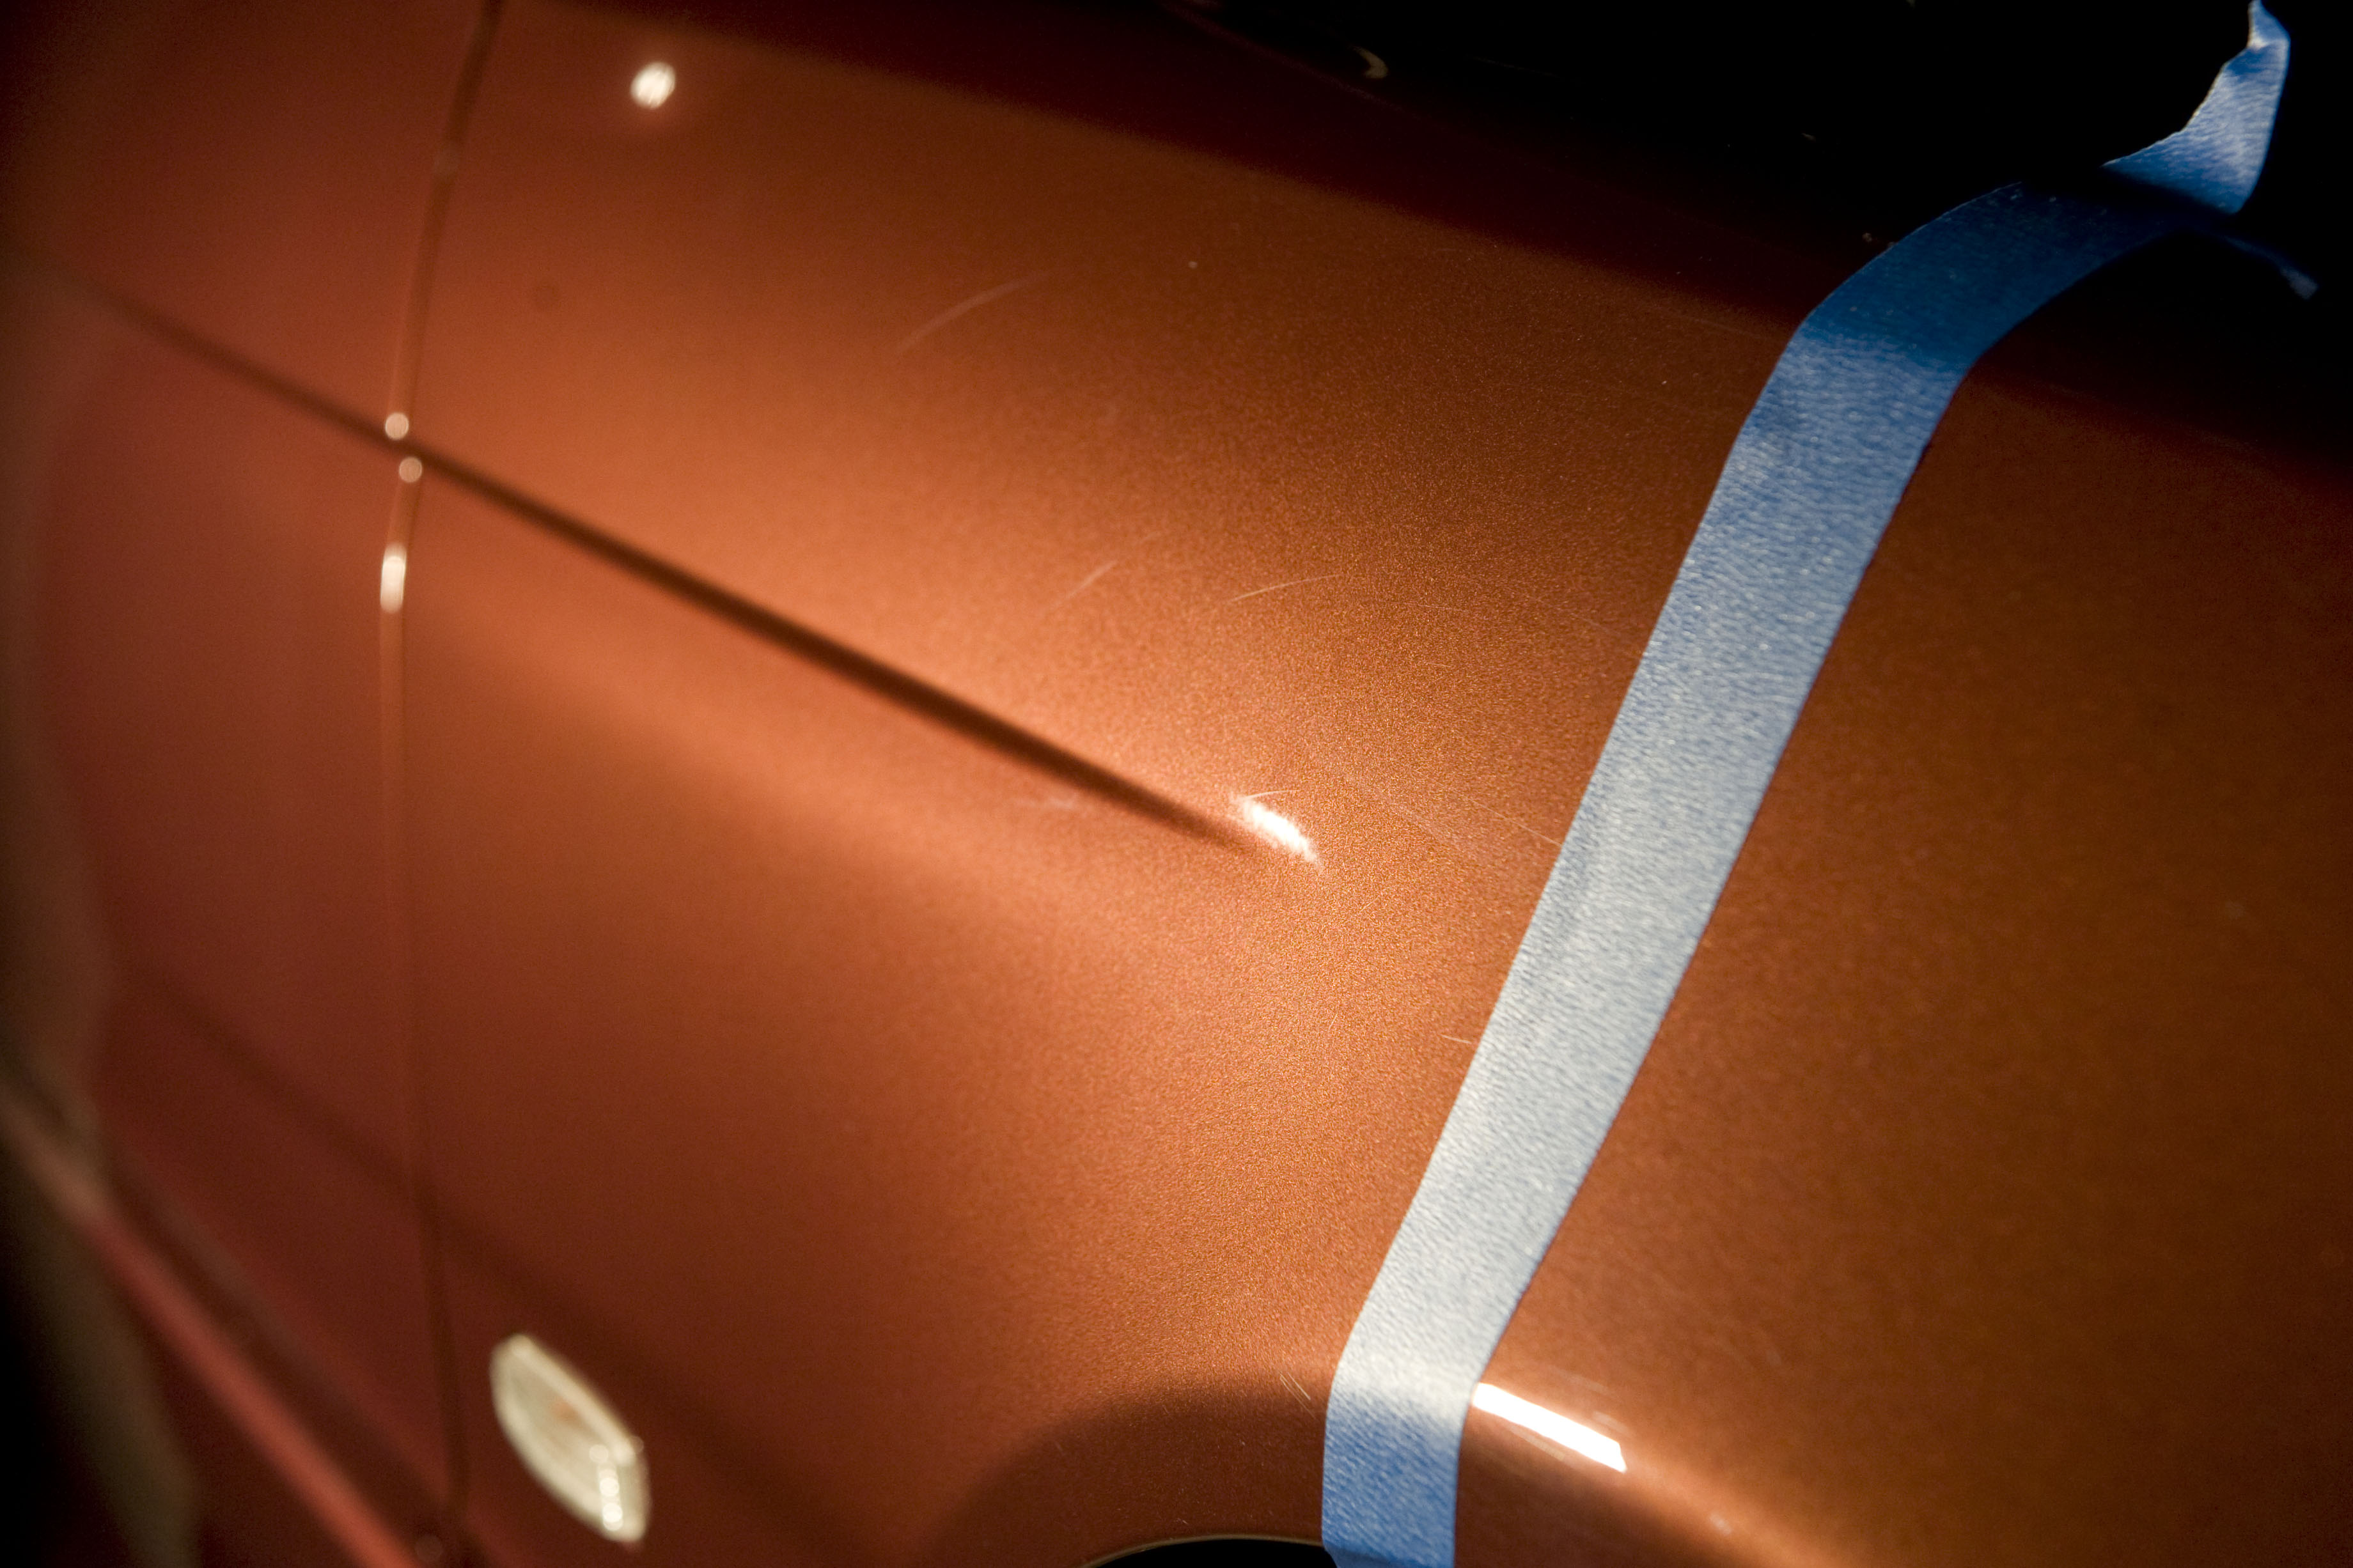
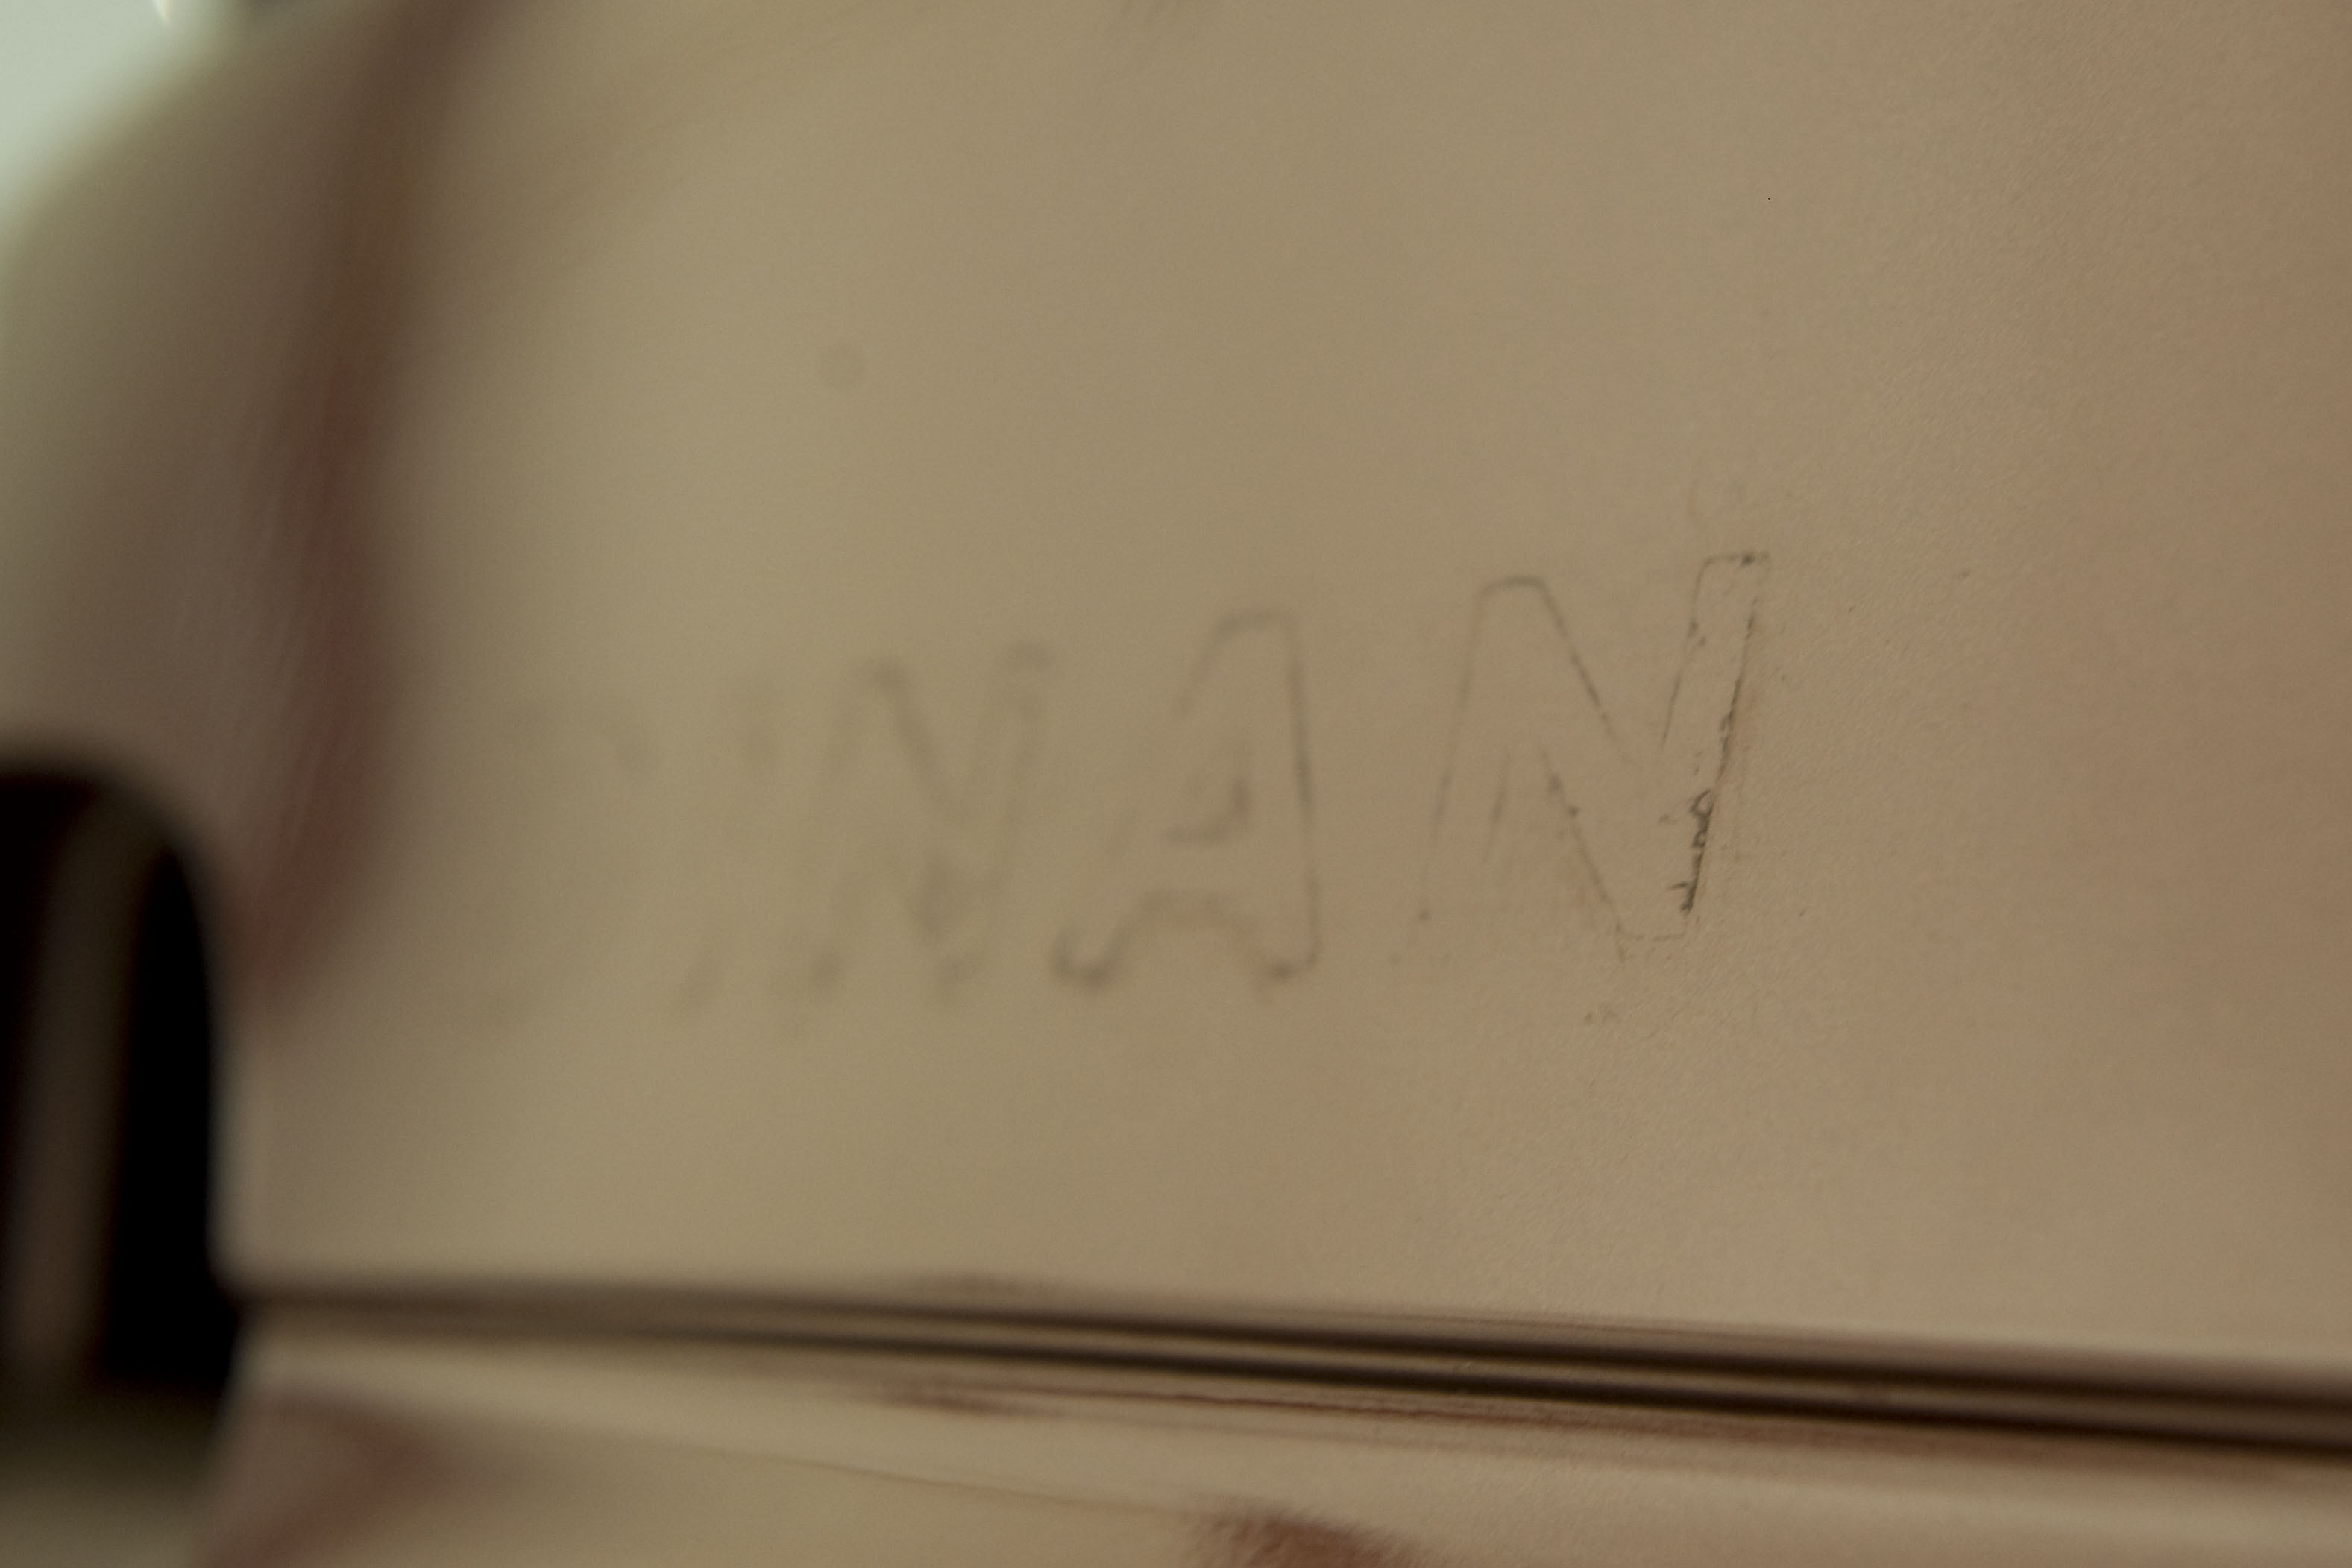
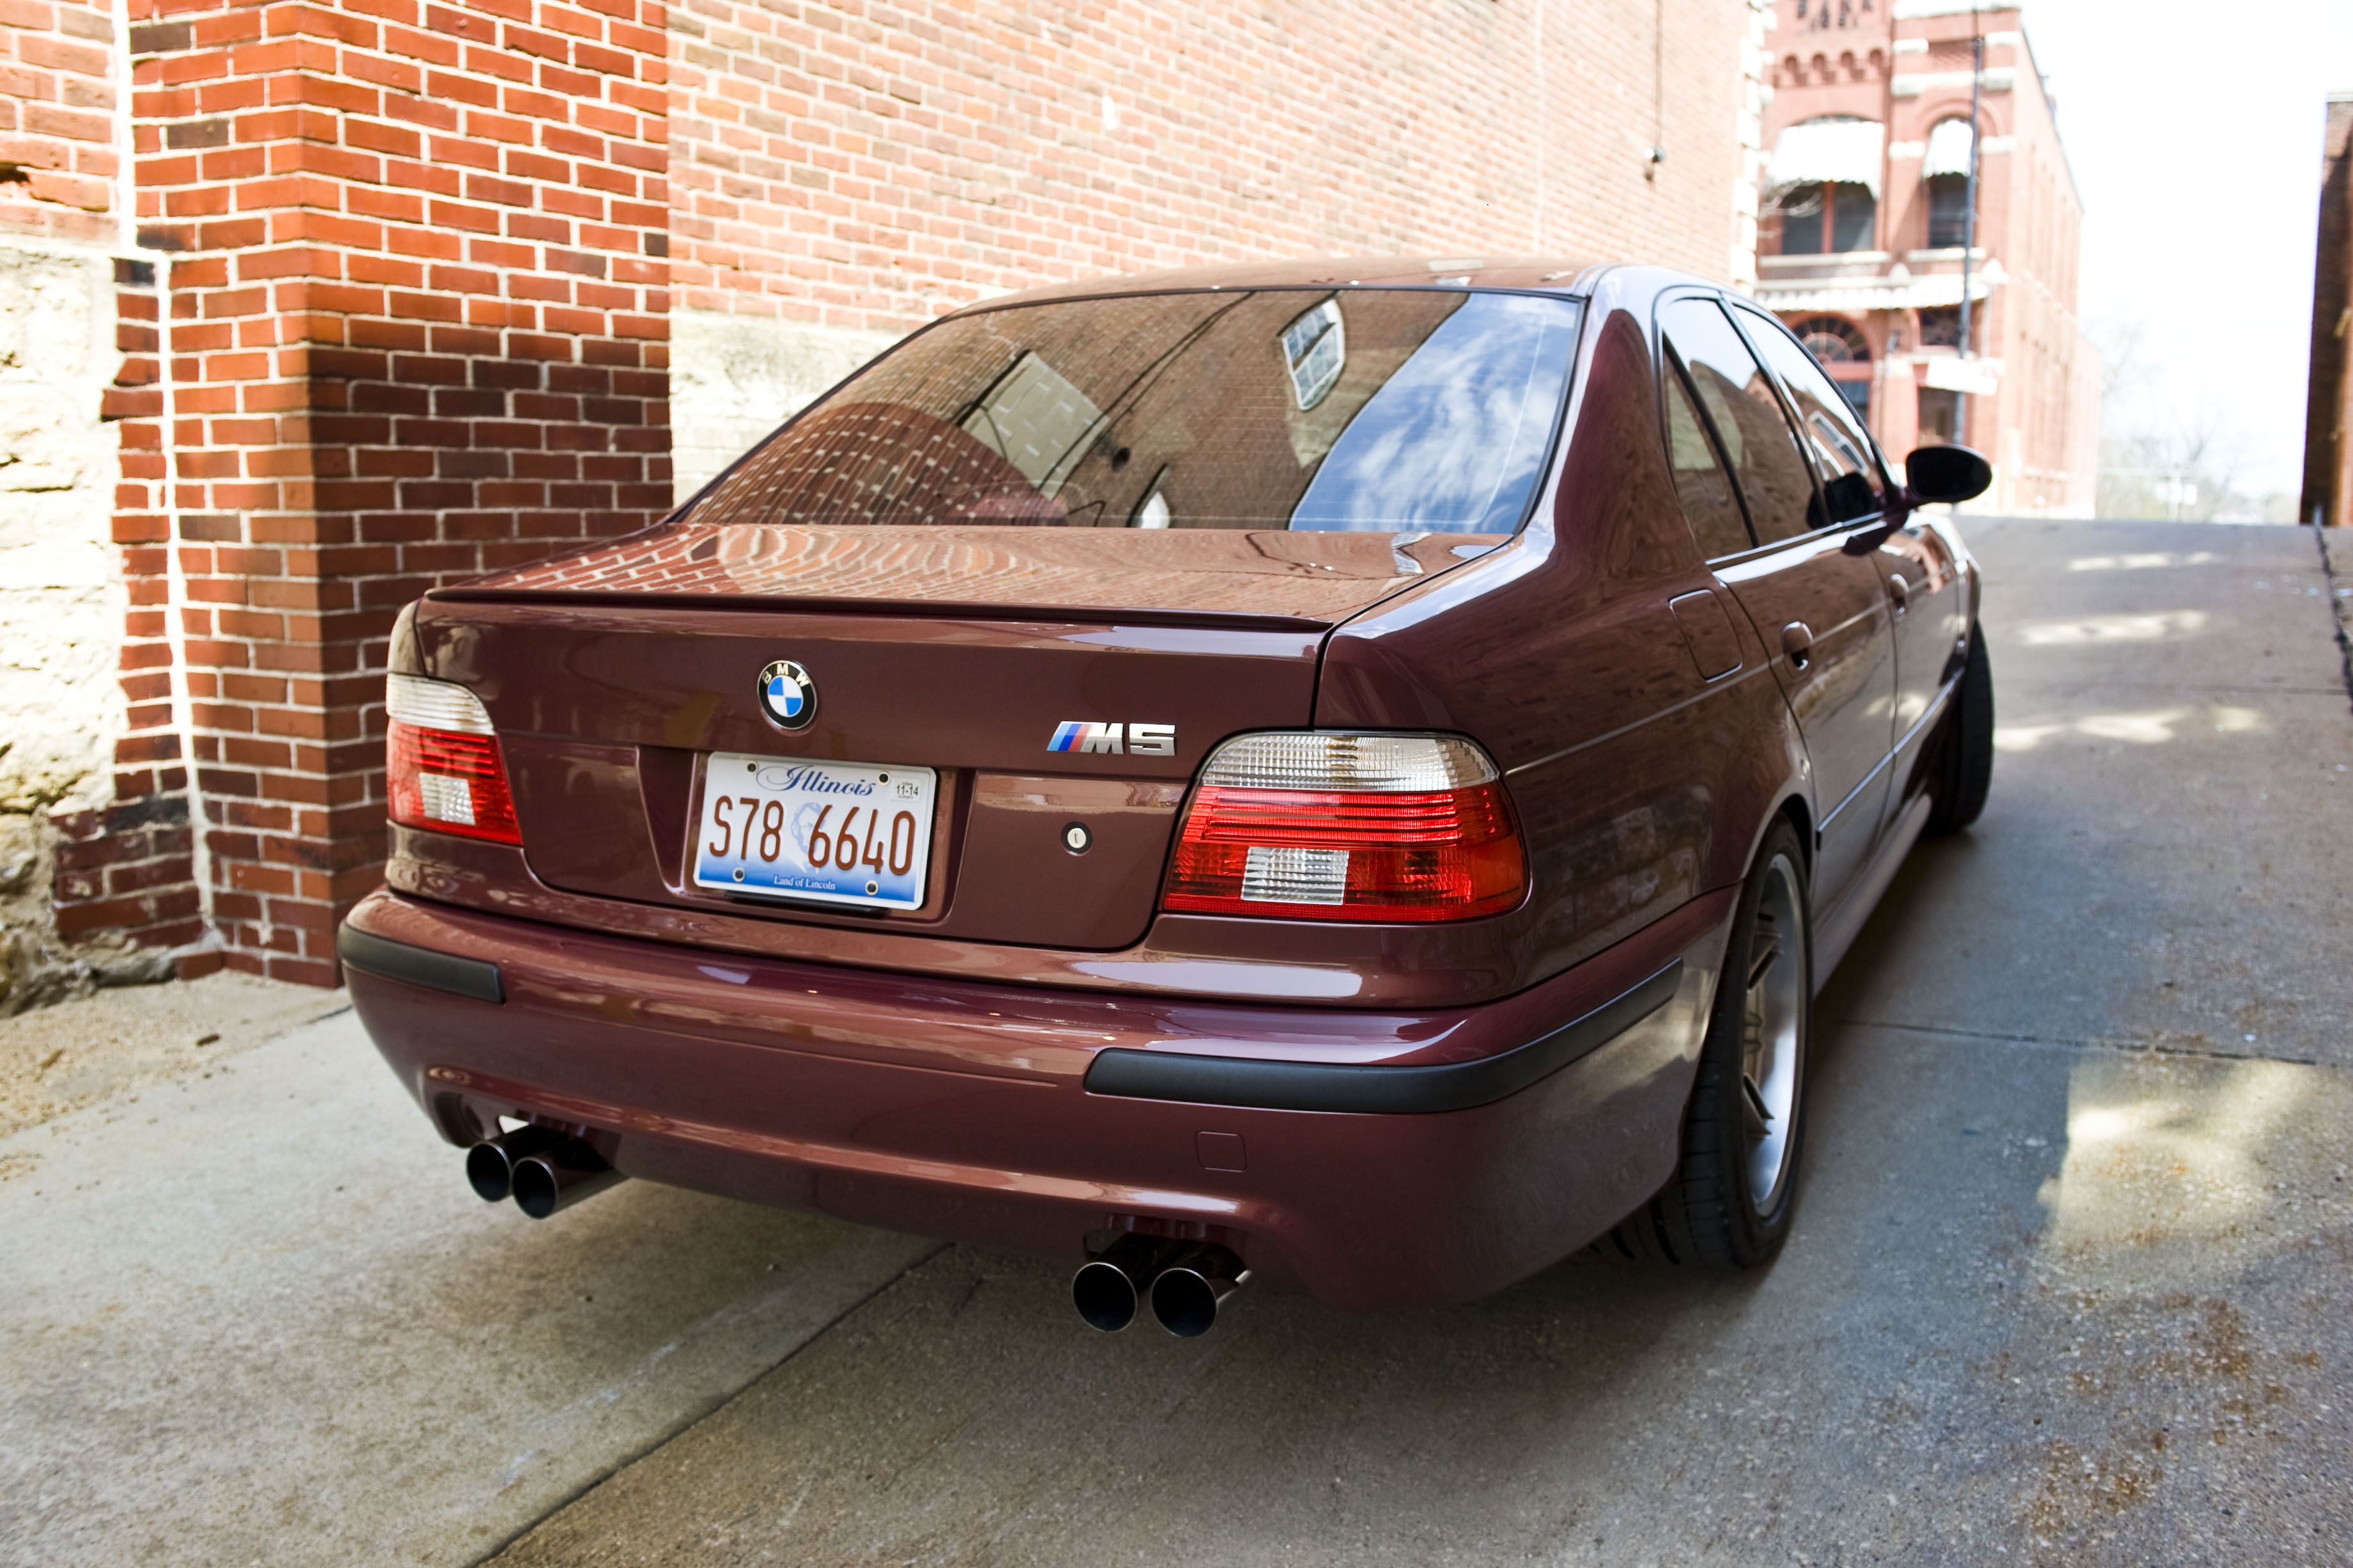
The owner also specified the he would like us to remove the DINAN badge.
After heating the adhesive loose we were able to peel these off. A clay bar and much cleaning took care of the residue adhesive and wax, and the polishing step got rid of the marring that was left behind, leaving a smooth clean surface.
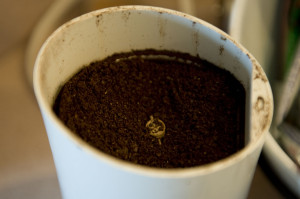
After a late night/early morning on the first day, copious amount of a special grind were produced to aid in the clarity of the process..
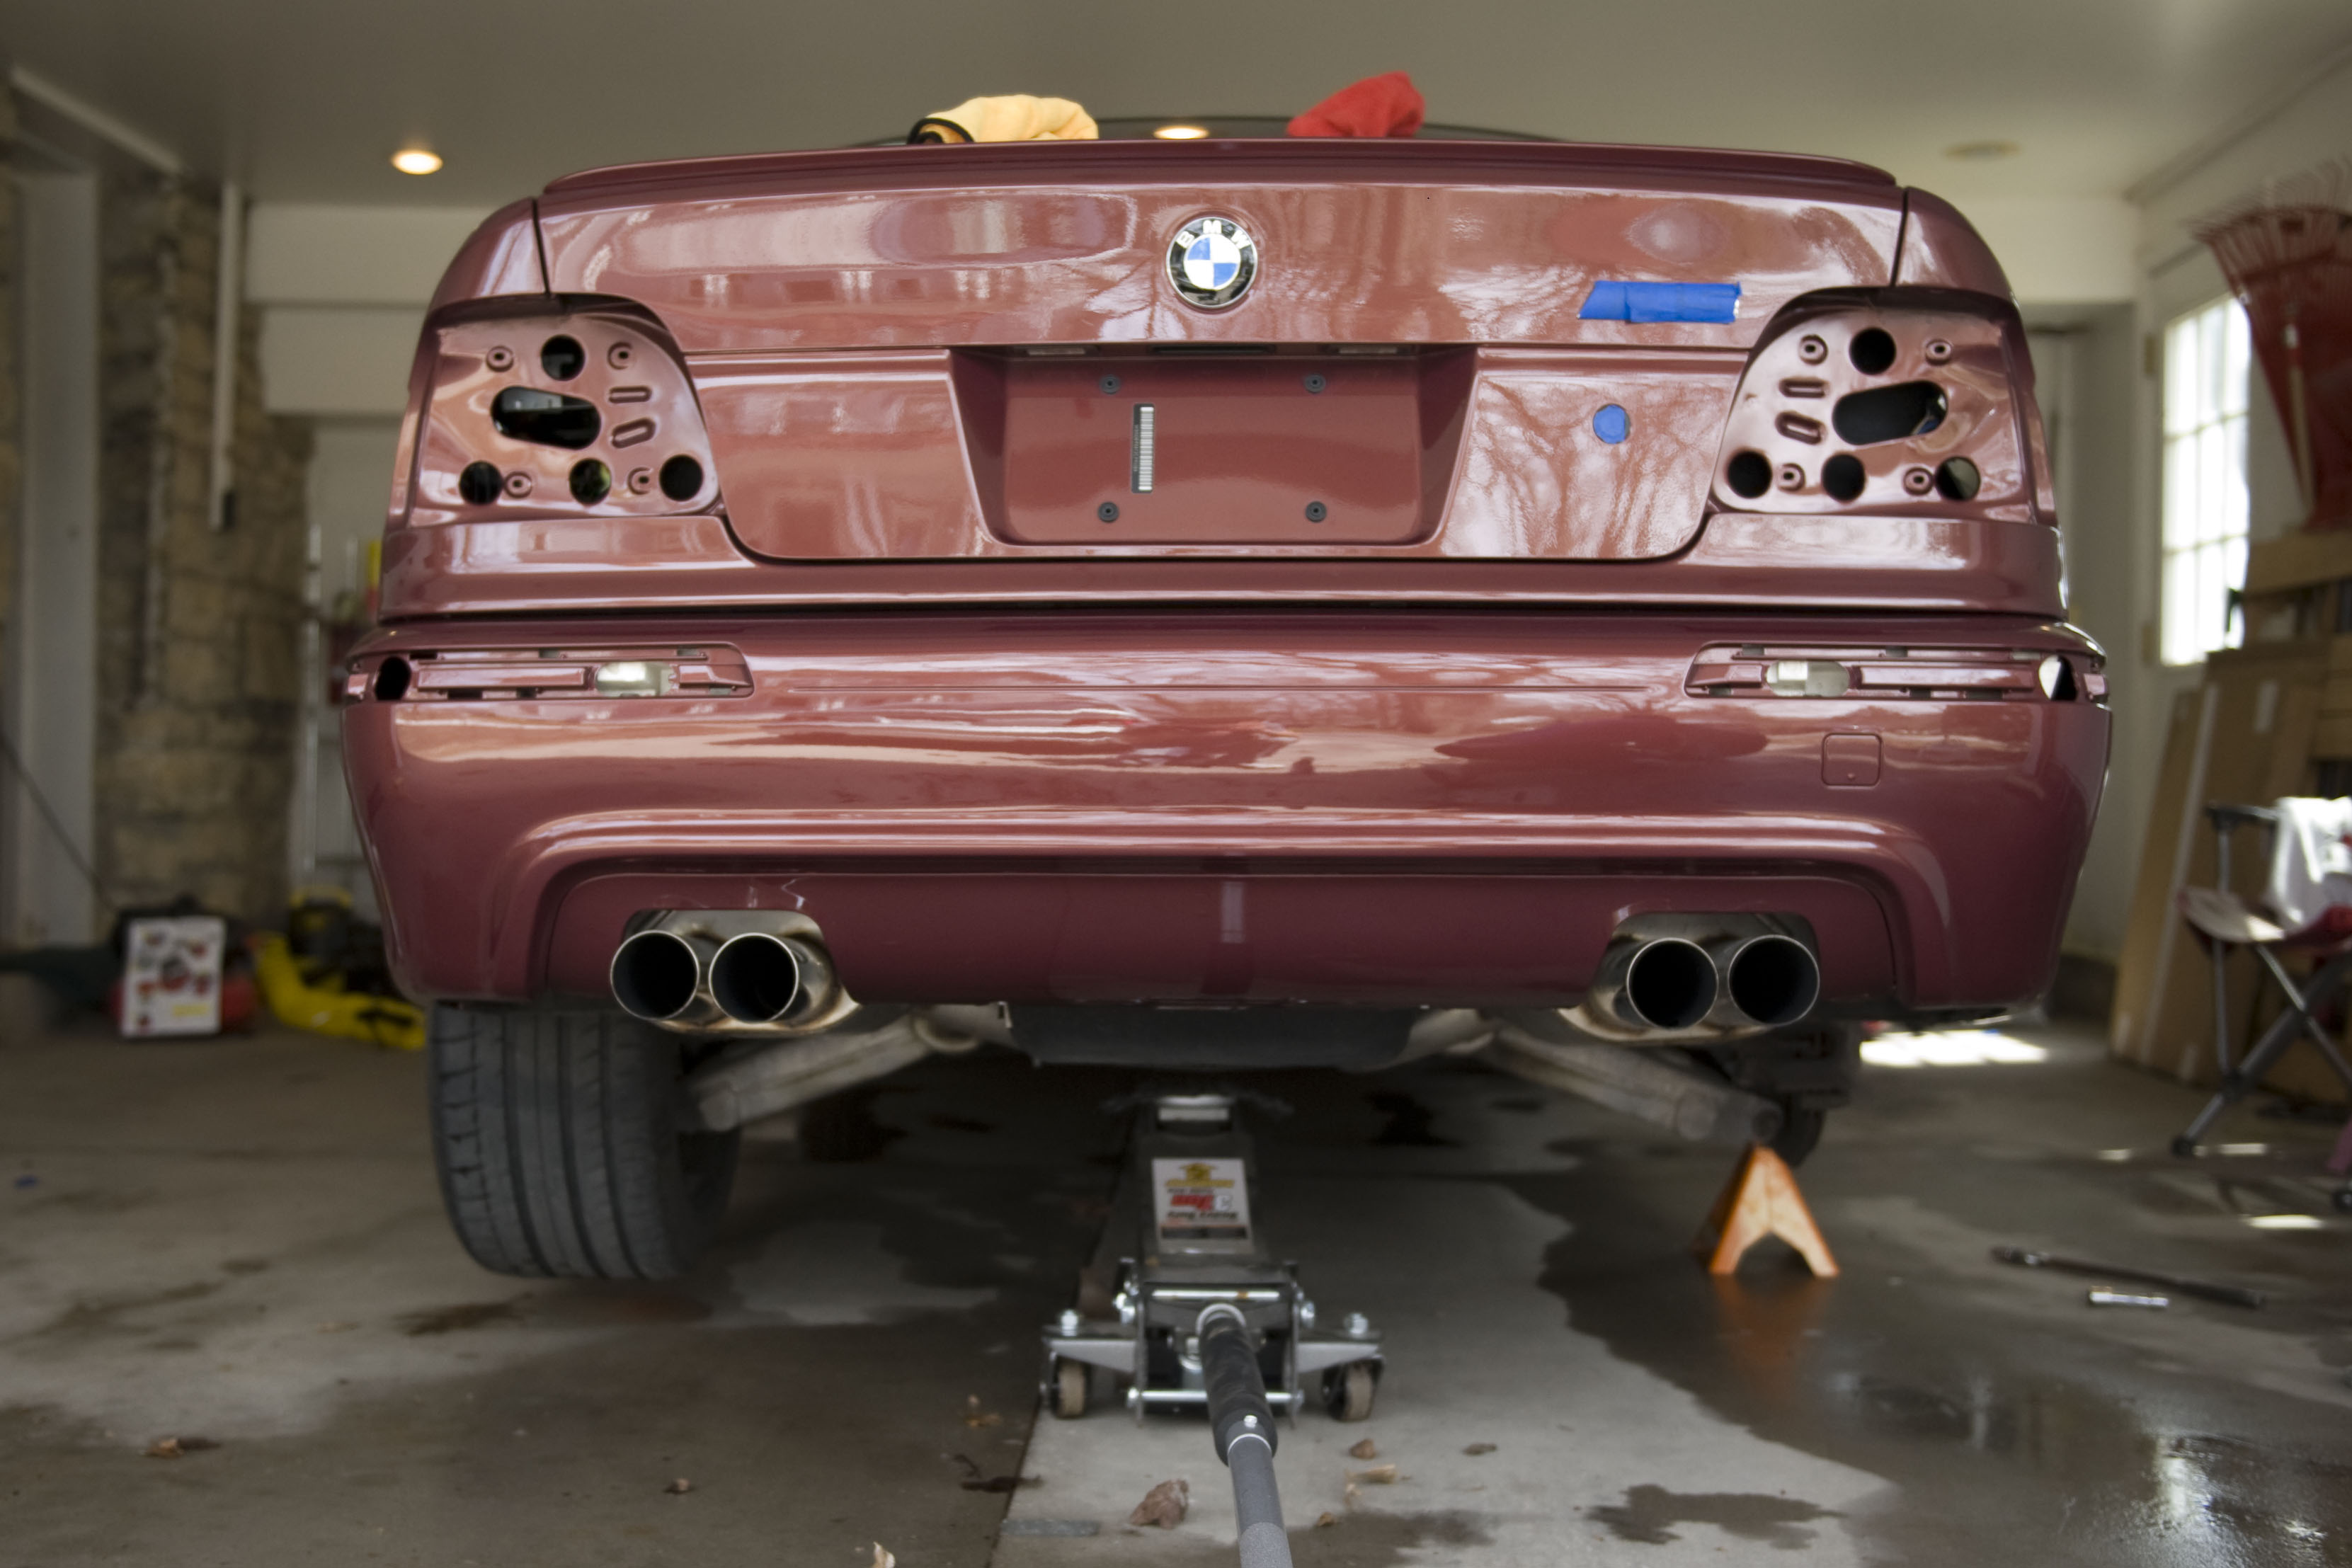
The headlights were polished – to further correct them would require a sanding step. The car was lifted up to gain better access to the diffuser and bumpers.
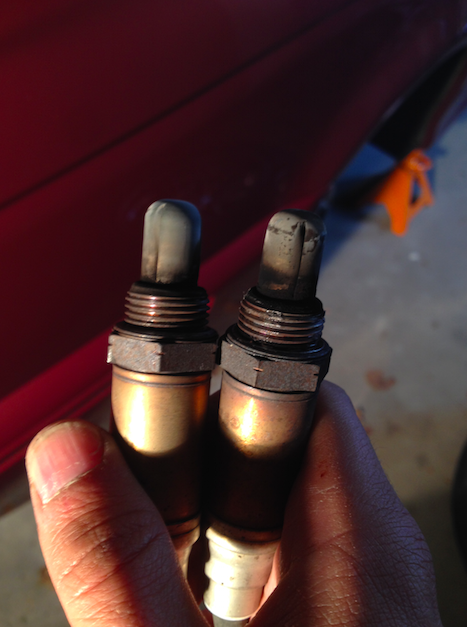
Wheels were removed, cleaned, and topped with a sealant. Pre-Cat O2 sensors were replaced as well.
The car got its final wipedown and inspection, then it was topped with a layer of Opti-Coat to protect our hard work. Following an overnight cure, we reinstalled all that we had removed and went out on the town to get some beauty shots.